
Welcome back to our full walkthrough for Metroid Prime Remastered.
We're really in the home stretch now, which means that this section will focus on the Metroid Quarantine segment of the Phazon Mines. We're going to be picking up the last remaining Power Suit upgrades required to take on the game's final boss battles.
So let's get cracking.
Subscribe to Nintendo Life on YouTube846k
Metroid Prime Remastered: Walkthrough - Phazon Mines Metroid Quarantine
Head back to Metroid Quarantine A where you disabled the force field and unleashed the Metroids within. To get there, transport to Magmoor Caverns South, and head through the Ice Door in the Phazon Processing Center. Before doing so though...
Scan Entry - Plasma Trooper
In the Phazon Processing Center, a group of Troopers will attack you, and one of them will be sporting the rather fetching red colour representing the Plasma Beam. Scan it.

From there, roll through the Maintenance Tunnel until you reach Elite Control. You should know where to go from here, but consult your map if you're unsure.
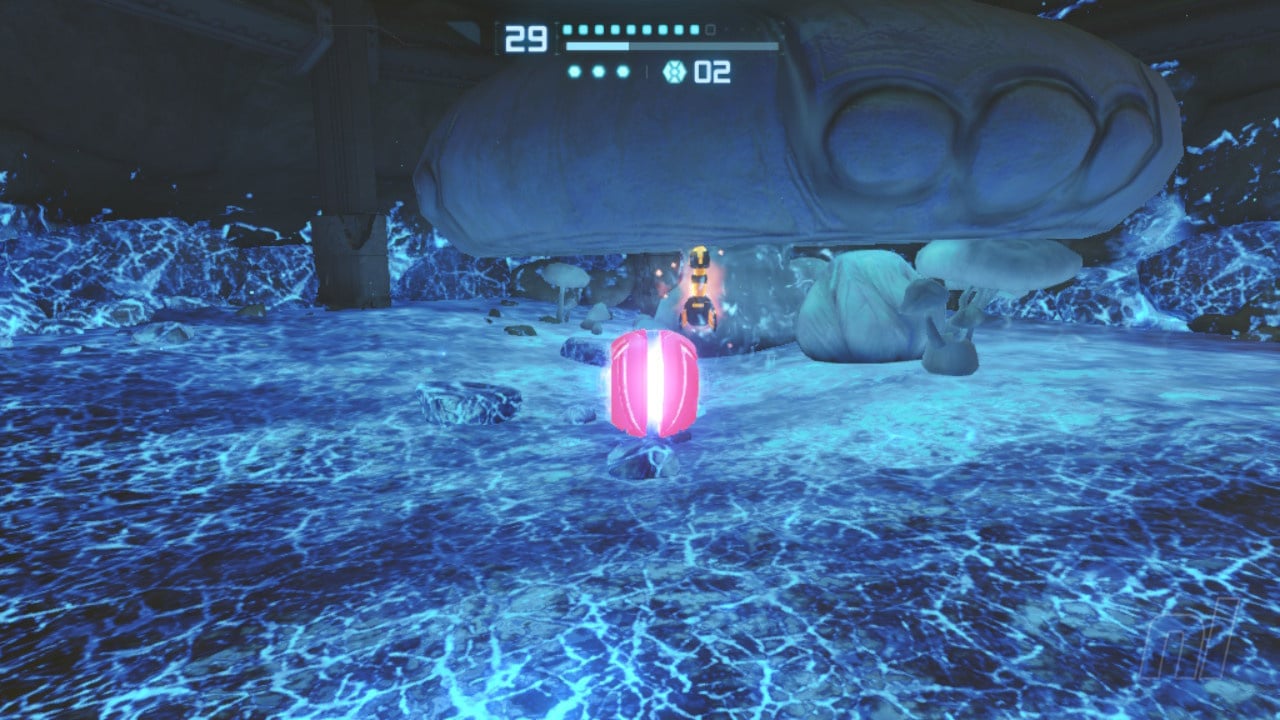
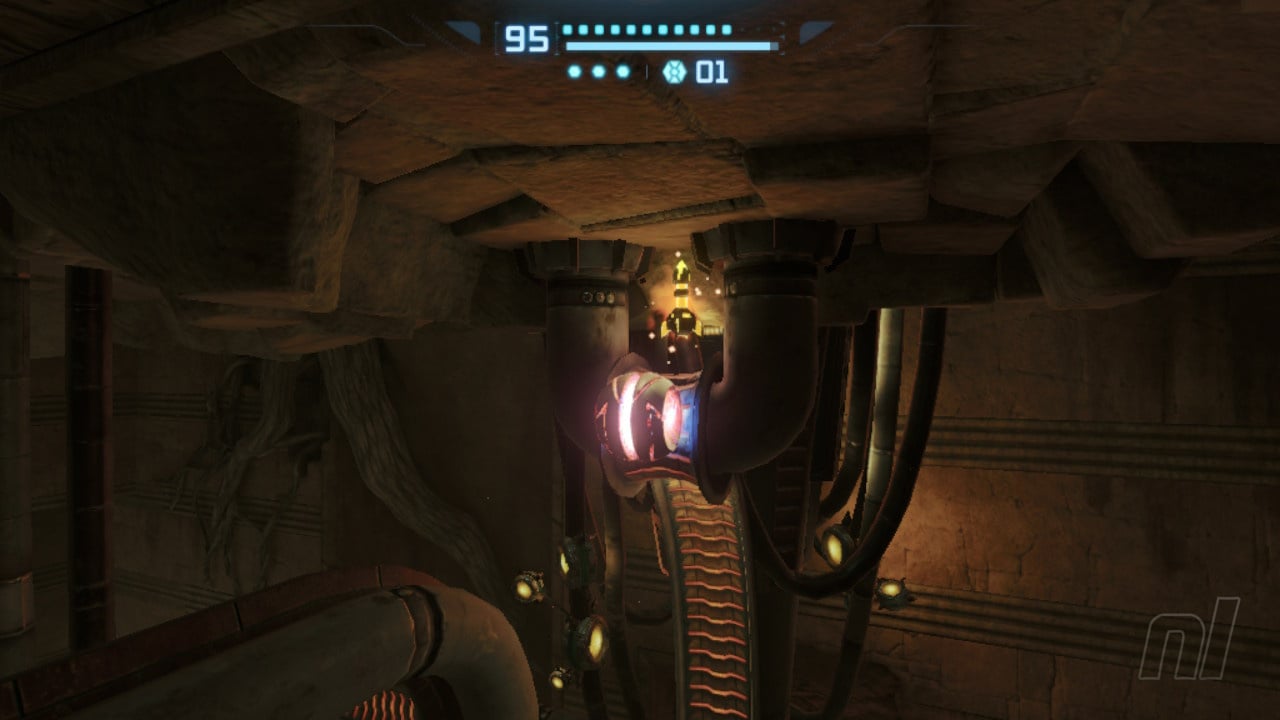
Once you're in Metroid Quarantine A, get rid of the enemies and then jump up onto the giant blue mushroom overlooking the lake of Phazon. Whip out your X-Ray Visor and you'll see a group of invisible moving platforms that will allow you to safely cross the lake. Jump across.
Missile Expansion 34 - Metroid Quarantine A
When you reach the other side of the lake, jump up and you should see a pair of diagonally facing Spider Tracks above another platform. Jump to the platform, but don't get on the tracks just yet. Instead, drop a Power Bomb and the wall to your left will explode. Behind this is another wall, so drop another Power Bomb to destroy it.
From here, you can make your way across a Spider Track bridge. At the end, jump on the vertically moving platform and make your way to the ledge above. On here, a missile expansion will be waiting for you.
Now you can navigate the diagonal Spider Tracks, head through the Ice Door and proceed down Elevator B.
Missile Expansion 35 - Fungal Hall Access
In this small room, deal with the Space Pirate, then jump down onto the mushrooms below. Underneath the lowest mushroom is another missile expansion. Grab it, but be quick - the Phazon at this stage will damage you.
In Fungal Hall A, a group of Hunter Metroid will attack you, so deal with them first before attempting to navigate the mushroom platforms. At the end, a Glider will be floating around, so wait until it's at the opportune position before using your Grapple Beam to cross the gap.
In the Phazon Mining Tunnel, drop a Power Bomb to gain access to the maze. Quickly navigate over the disappearing blocks and drop down a level. Now head through the opening and go through the door.
Now, Fungal Hall B is quite dark, so feel free to use your Thermal Visor if need be. Deal with the Metroids, then when you see the Glider, wait until it's positioned for you to take the left path. Grapple over the gap and head through the door to save your game.
Now go back out and use the glider to get across the other side. Before going through the door though...
Missile Expansion 36 - Fungal Hall B
Drop down just below the door - don't worry, there won't be any Phazon here - and you'll notice a group of small mushrooms packed together. Bomb the centre and a small opening will reveal a Missile Expansion inside.

In Metroid Quarantine B, defeat the Plasma Troopers, then use the Spider Tracks to cross the large gap. Finally, grapple over to the far side. Disengage the force field.
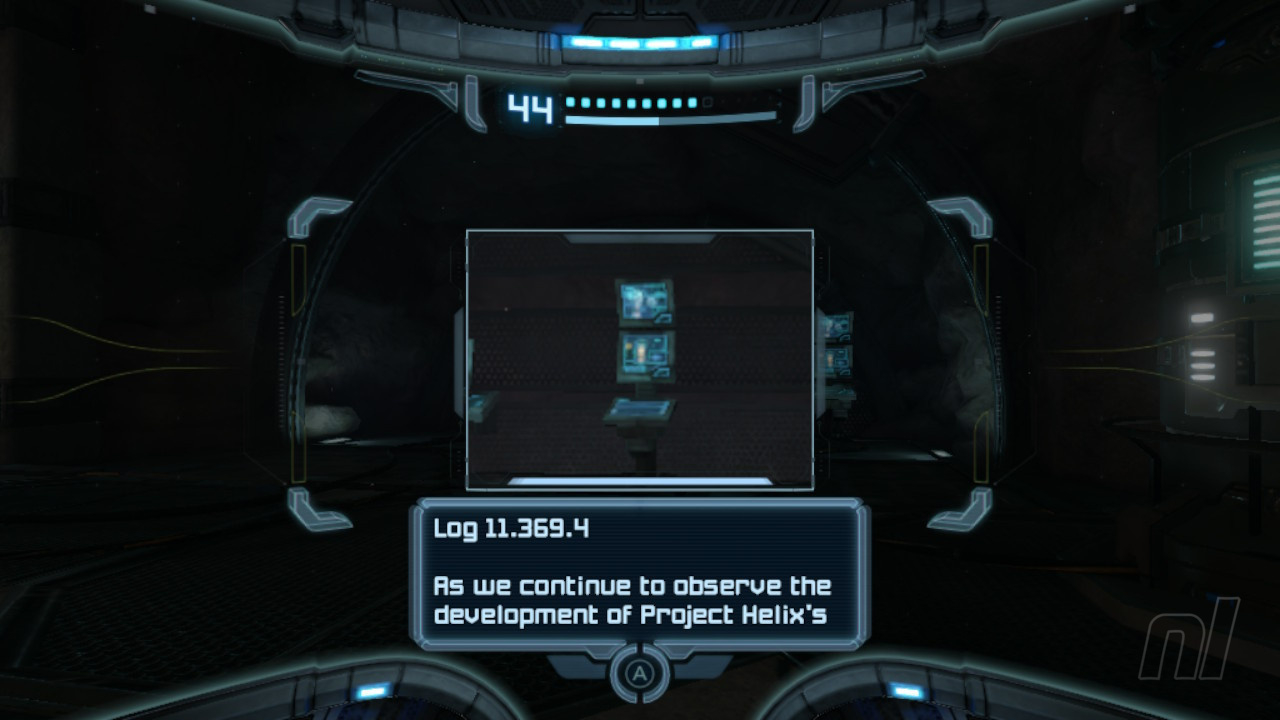
Scan Entry - Pirate Log - Metroid Quarantine B
Just past the force field is another Pirate Log entry, so scan it.
Missile Expansion 37 - Metroid Quarantine B
Just to the right of the Pirate Log is a Cordite tank. Use a Super Missile to destroy it, then grab the missile expansion within.

On the same floor, head through the Plasma door to find a Save Station and save your game here.
Now head through the Plasma door on the upper floor and into Elite Quarters Access. There will be a Plasma Trooper waiting for you, so take it out, then use your Plasma Beam to melt the ice above the next door. Go through it, and prepare yourself.
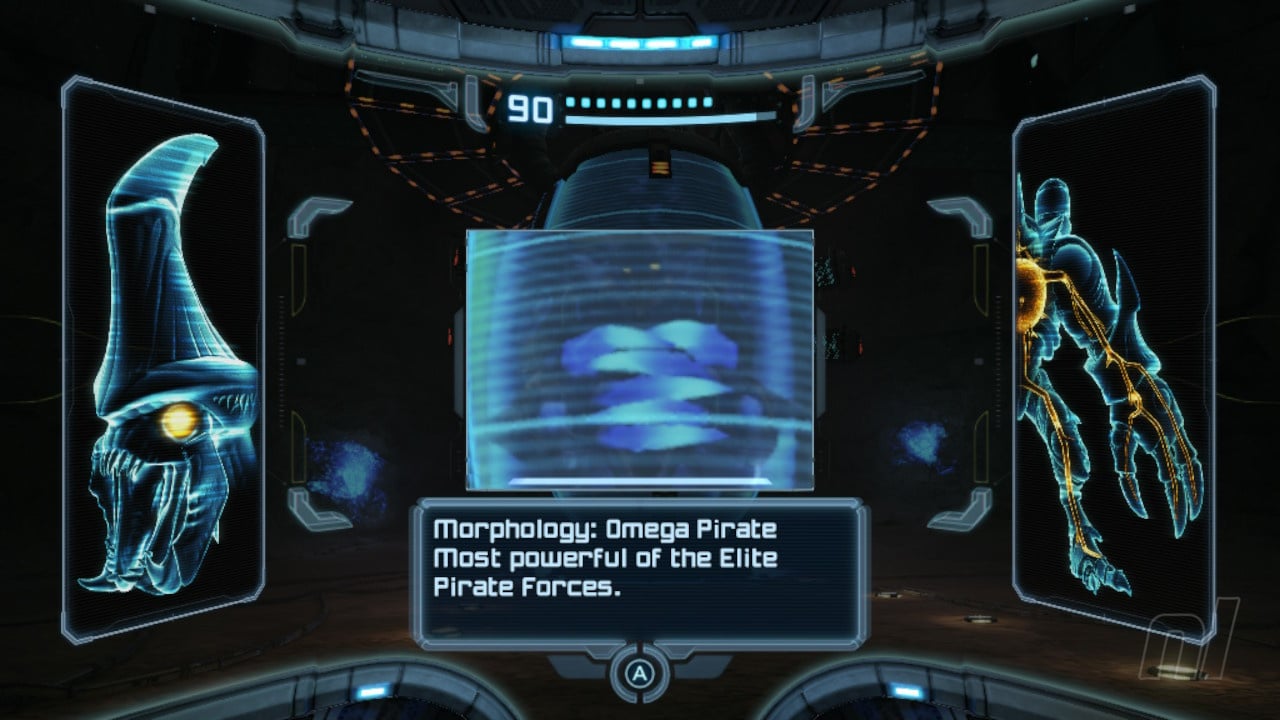
Scan Entry - Omega Pirate
The Omega Pirate can be an intimidating beast, but don't let this deter you. Make sure to whip out your scan visor before doing anything else.
Okay, good to go? Great stuff. If you need any help with this boss, be sure to check out our guide on How to Defeat Omega Pirate.
When the Omega Pirate is down, Samus will automatically gain the Phazon Suit. This thing is excellent, as it will nullify any damage taken by entering any Phazon pools.
Now head to the small elevator on the right side of the wall (as you're facing when you first entered the room). When you're at the top, navigate around the platform and go through the door.
Energy Tank 12 - Processing Center Access
Immediately, you'll see an Energy Tank waiting for you. You can't miss it, so grab it.
From here, you're pretty much done with the mandatory Power Suit upgrades, so it's time to mop up all remaining optional pickups before we head into the endgame. For the sake of simplicity, we're just going to list out the upgrades along with their location.
First, we're going to stay in Phazon Mines for now.
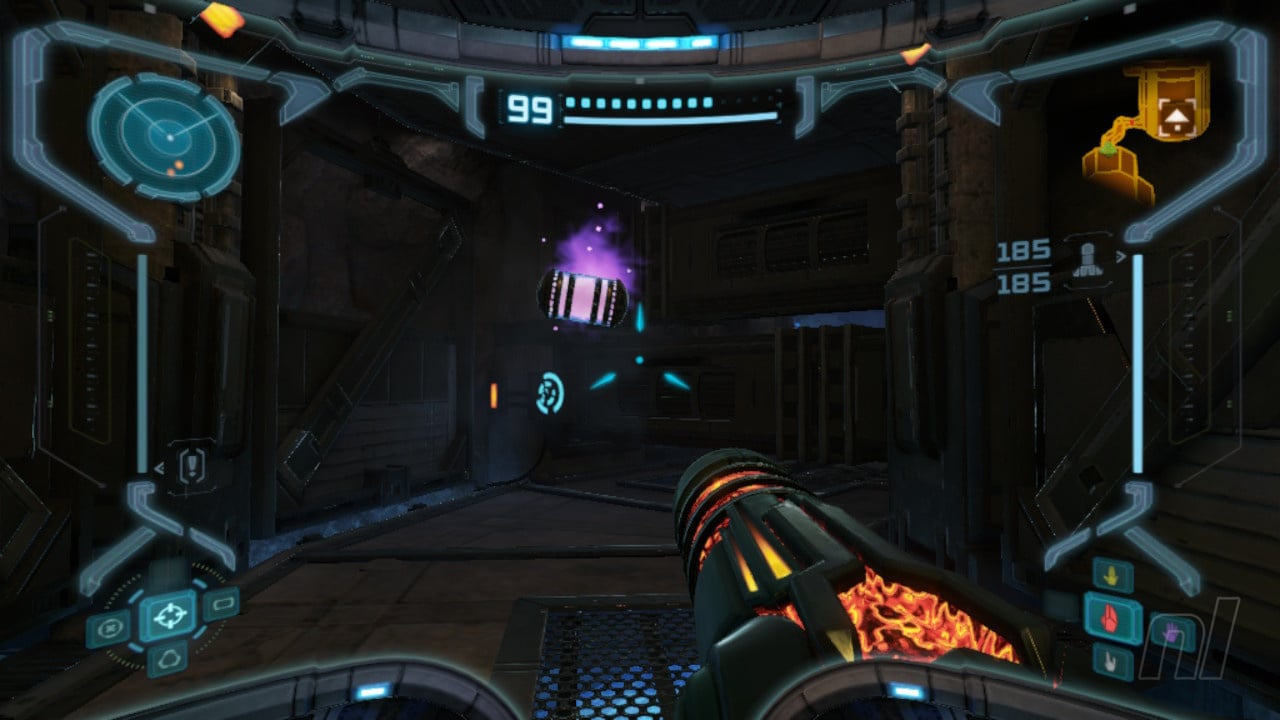
Power Suit Upgrade - Flamethrower - Mine Security Station
First of all, on the top floor, there's a wall of Bendezium next to the Ice Door. Destroy this with a Power Bomb. Scan the terminal.
This will remove the force field blocking the Plasma door on the lower floor. Head down, go through the door, and pick up the Flamethrower.

Scan Entry - Phazon Elite
In Elite Research, drop a Power Bomb next to the ominous-looking tank in the centre of the room. A Phazon Elite will emerge, so make sure you scan it.

Defeat it in the same way as the standard Elite Pirates to bag yourself a Chozo Artifact.
Missile Expansion 38 - Phazon Processing Center
Halfway up this large chamber, whip out your X-Ray Visor to scope out some invisible platforms. These lead to a Bendezium wall, so destroy it with a Power Bomb and grab the missile expansion.
Now head to Chozo Ruins.
Missile Expansion 39 - Furnace
Below the Spider Track, drop a Power Bomb to destroy a layer of Bendezium, revealing a halfpipe below. Use this to boost your way up to the Spider Track. Make your way around (carefully!) and grab the missile expansion.
Now let's head to the Root Cave in Tallon Overworld.
Missile Expansion 40 - Arbor Chamber
Climb the Root Cave until it looks like you can go no further. Break out the X-Ray Visor and you'll see some platforms that will take you to the top. Go through the Plasma Door and pick up the missile expansion.

Okay, now make your way to Magmoor Caverns.
Missile Expansion 41 - Triclops Pit
Using your X-Ray Visor, look for some invisible platforms that lead to a pillar in the centre of the room. Jump over these and shoot a Super Missile a the pillar. Grab the missile expansion.

Now go to Phendrana Drifts - there are quite a few bits and bobs to pick up here.
Missile Expansion 42 - Phendrana Shorelines
First, scope out a large boulder to the right of the cave leading to the Save Station. On its backside, a block of ice is hiding a missile expansion. Hit it with your Plasma Beam, then grab the upgrade.
Missile Expansion 43 - Ice Ruins East
For the first of two expansions in this area, look for a Spider Track on the eastern wall; it's tucked in around the corner as you jump across the roofs.

Missile Expansion 44 - Ice Ruins East
For the second one, look for a wall of ice below the door leading to Plaza Walkway. Blast it with your Plasma Beam, then head inside to claim your expansion.

Power Bomb Expansion 2 - Ice Ruins West
In this area, hop across each of the roofs until you see a sheet of ice on the floor of the far northern roof. Blast it with your Plasma Beam, then grab the Power Bomb expansion within.

Missile Expansion 45 - Quarantine Monitor
You might not recognise the name of this room because you probably haven't visited it yet. It's in the Quarantine Cave, where you fought Thardus. Simply use the Grapple points to reach a ledge containing a Morph Ball tunnel. Roll through and you'll find your missile expansion.
Energy Tank 13 - Transport Access
Now head over to the Transport Access corridor. You'll immediately see a large block of ice, so melt it with your Plasma Beam. Inside lies another Energy Tank, so grab it.

Missile Expansion 46 - Frost Cave
Use the Glider's grapple point to reach the highest possible ledge. From here, look up and you'll see a stalactite on the ceiling. Whack it with a missile. It will fall into the ice below, revealing a pathway to the missile expansion within.
Power Bomb Expansion 3 - Phendrana's Edge
Head right to the top of this room via the grapple points and Glider. At the top, there will be a short Morph Ball tunnel. Head through to find the Power Bomb expansion.
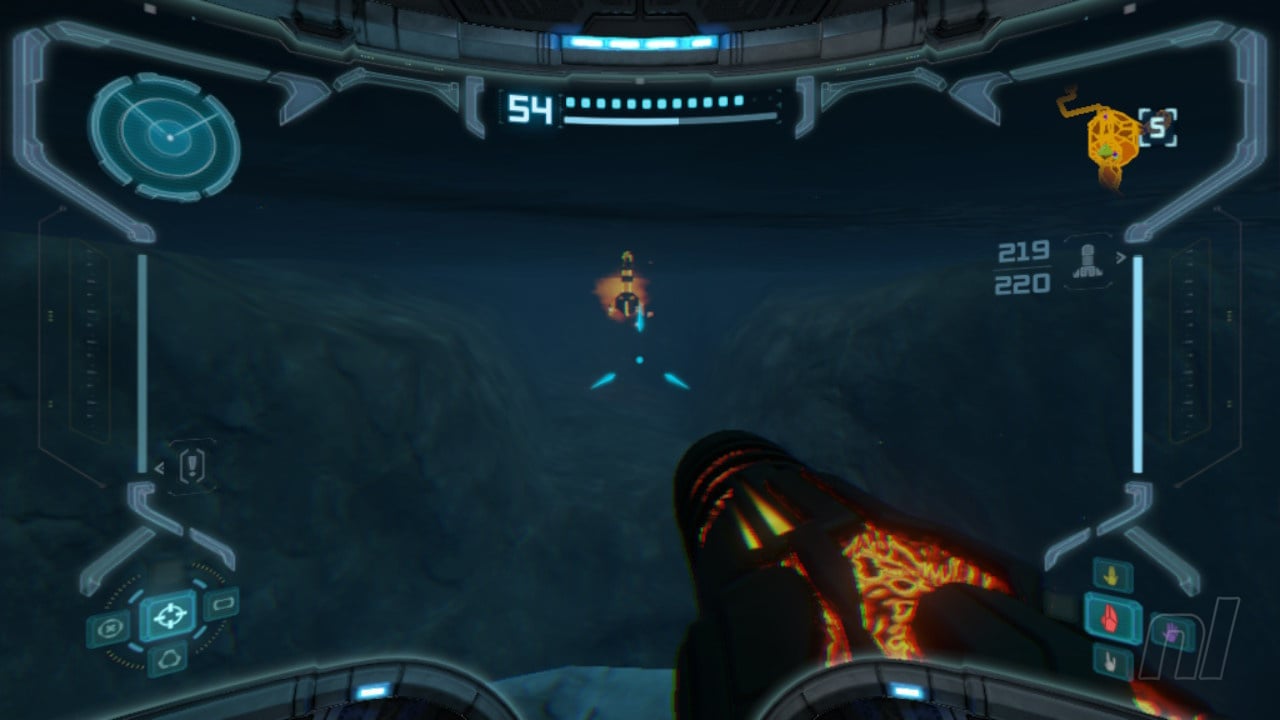
Missile Expansion 47 - Gravity Chamber
Above water, you'll see a group of icy stalactites on the ceiling. Hit it with your Plasma Beam to destroy it. This will reveal a grapple point, which you can now use to reach the missile expansion on the elevated platform.

Finally, head over to Magmoor Caverns and, specifically, the Monitor Station
Power Bomb Expansion 4 - Warrior Shrine
In the room where you pick up the Warrior Artifact, you need to drop a Power Bomb next to the statue held within. This will reveal a small opening that contains your final Power Bomb expansion.
That's it! You can now make your way back to Tallon Overworld, where in our next section, we'll detail how to gain access to the Impact Crater and reach the game's final area.
Energy Tank 14 - Magmoor Workstation
Simply use the Thermal Visor here to energize three Power Conduits with the Wave Beam. This will activate a cooling machine and solidify a section of the lava. Head through the tunnel and scan the panel at the end to open up another pathway.
Make your way through here and grab the last Energy Tank.
Check out our full Metroid Prime Remastered walkthrough for more tips and tricks.


Comments 2
"Now, Fungal Hall B is quite dark, so feel free to use your Thermal Visor if need be. Deal with the Metroids, then when you see the Glider, wait until it's positioned for you to take the left path. Grapple over the gap and head through the door to save your game."
This isn't a save point in this room, it's a missile station.
"Before going through the door though...
Drop down just below the door - don't worry, there won't be any Phazon here"
This is like the third time in this guide that you point out upgrades AFTER you've directed the player to head for the exit. This item should be the first thing pointed out as you'll probably fall down near it half a dozen times trying to use the grapple point on the glider. Waiting until the player has successfully made the jump to the exit to tell them they need to jump back down and do it all over again makes no sense.
Show Comments
Leave A Comment
Hold on there, you need to login to post a comment...