Torvus Bog Header
Image: Nintendo Life

Welcome back to our full walkthrough of Metroid Prime 2: Echoes.

After retrieving the energy in the Agon Wastes, it’s time to head to the Torvus Bog and do the same for the swamp.

Into the Torvus Bog

As you progress through the game, crossing between the Light and Dark Aether areas will become more common. Also, a lot of backtracking to and from previously visited areas will occur in this part of the walkthrough to keep things as chronological as possible.

Keep that in mind as we head into the Torvus Bog. We’ll try to use as specific directions as possible because this one will be a bit of a trek. Starting from U-Mos, take the orange hologram door in the junction in the Great Temple.

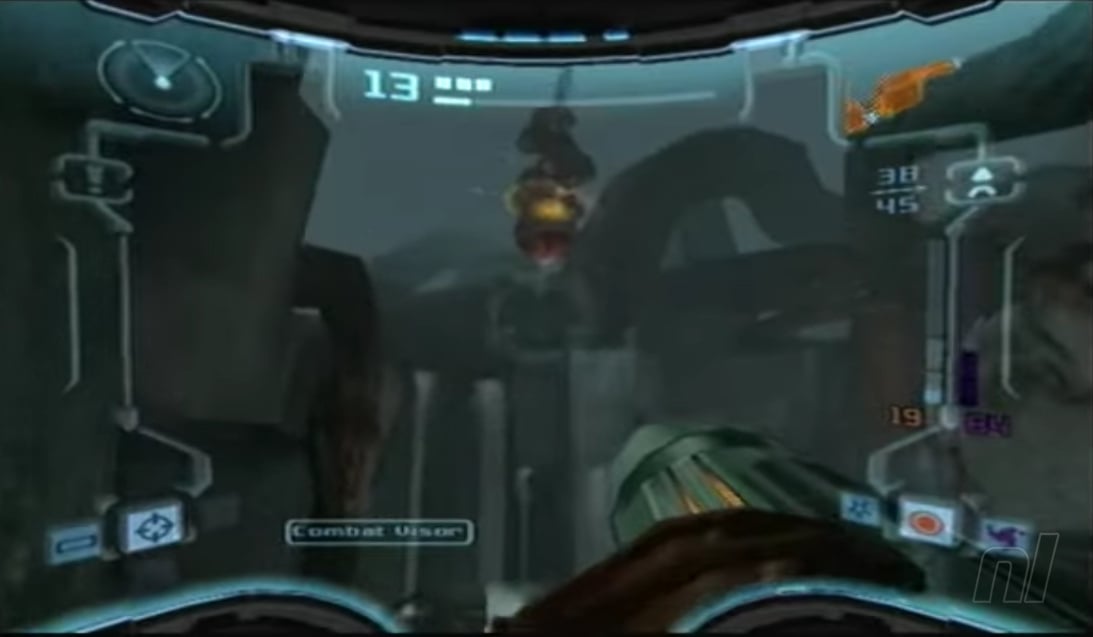
Scan Entry - Harmony Class Drone

When the path opens you’ll see a floating Harmony Class Drone; scan it for its logbook entry, then destroy it. Take the elevator down and head outdoors.

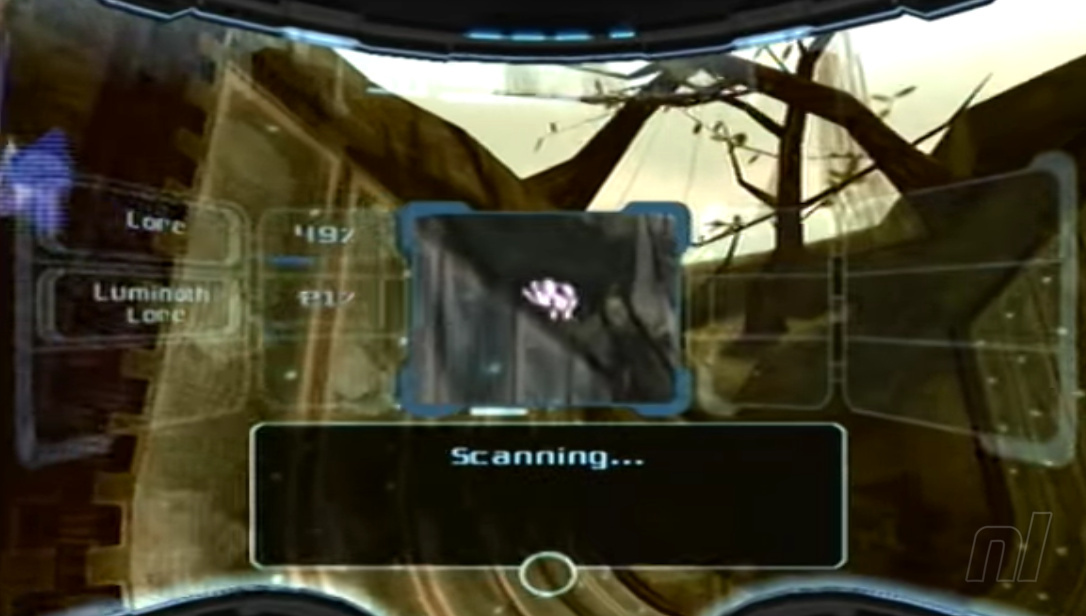
Scan Entry - Age of Anxiety

Scan lore entry
Image: Nintendo Life

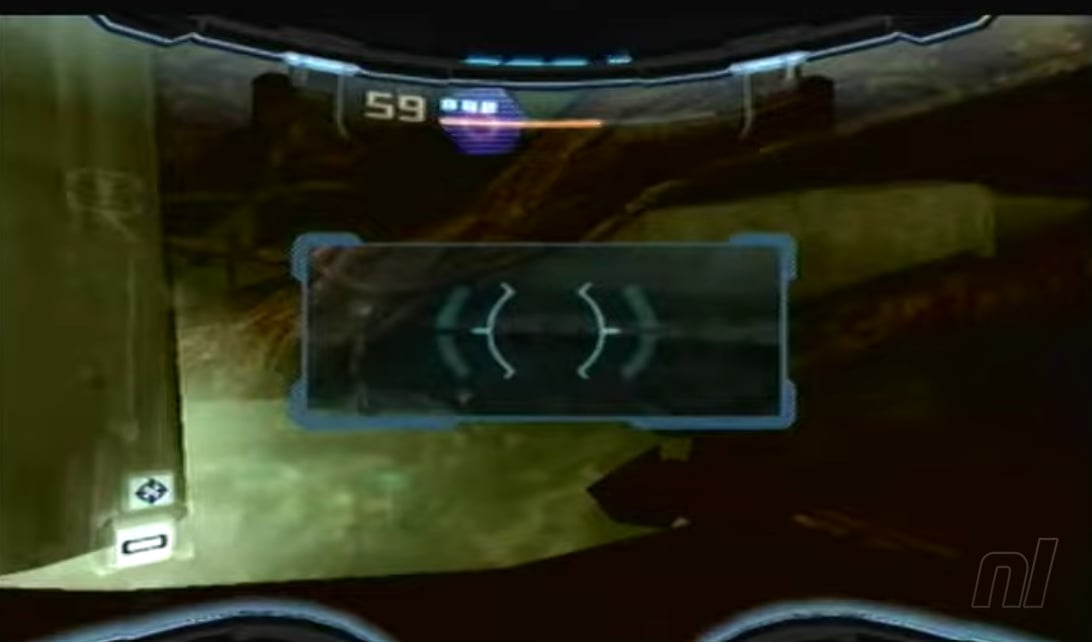
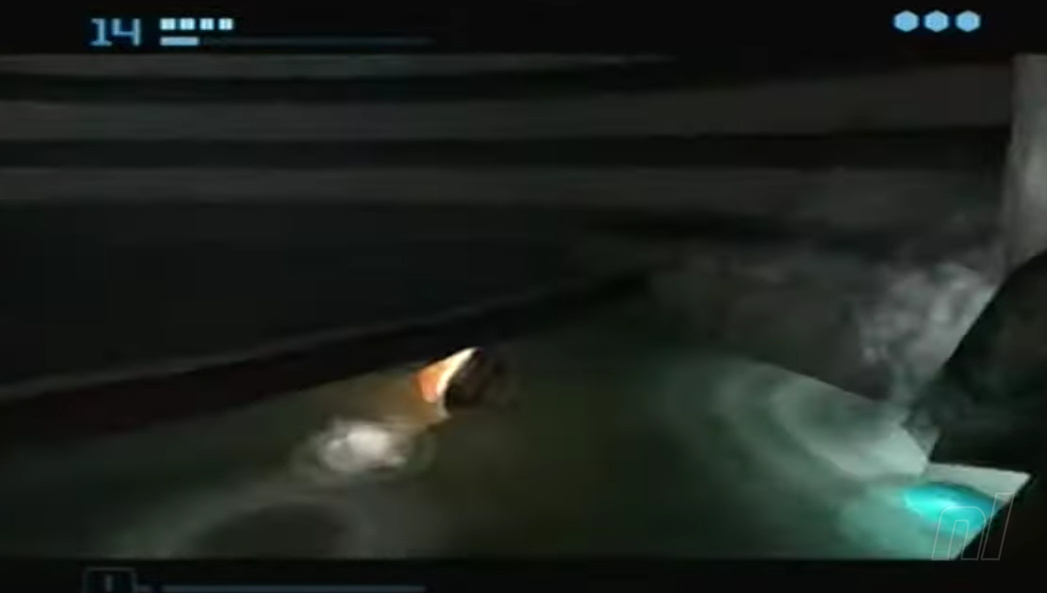
As you head forward, stop halfway across what looks like a half-pipe and look up left to find the Age of Anxiety lore logbook entry. Wow, I sure wouldn’t want to live through an age like that!

Proceed through the area until you arrive at a Dark Portal. We don’t want to go back to Dark Aether either, but let’s take it and move on.

Portal on the way to torvus
Image: Nintendo Life

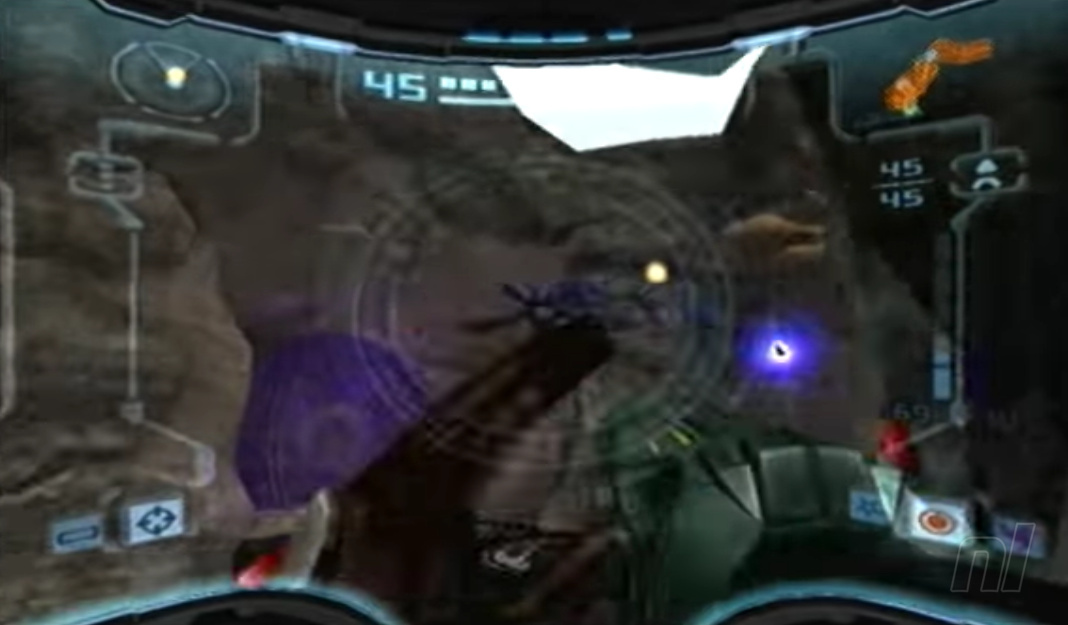
Scan Entry - Corrupted Sentreye

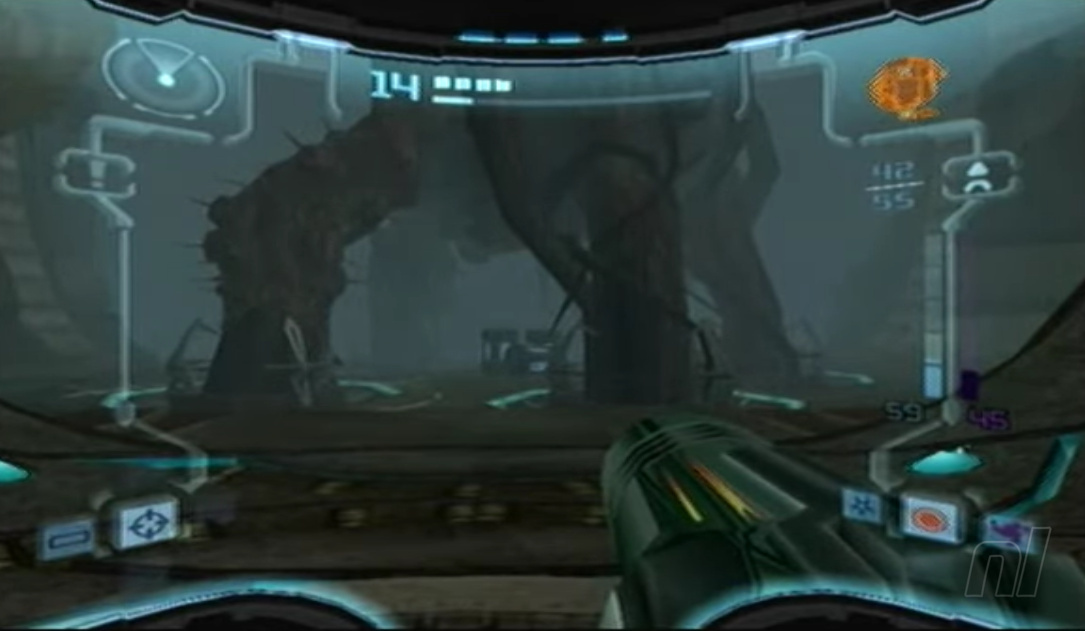
Moving on through the Dark Aether until you come across some ominous lasers. There are Corrupted Sentreye; scan one for its logbook entry before destroying each one with your beam cannon. Keep moving forward until you reach a ramp that leads to a dead end.

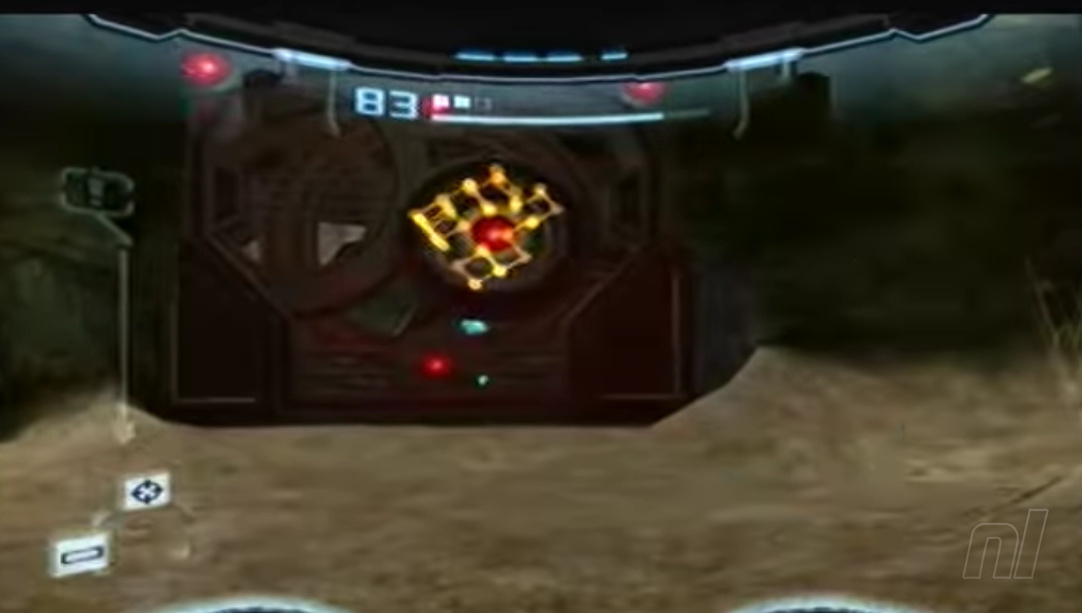
In the room with a large claw device at the top of the room. Roll into the small elevators on either side of the dead end to reach a series of bomb slots. Be sure to activate them all with morph ball bombs until the claw is grappling the platform. Hop on because it’s time to go for a ride.

At the end of the ride, you’ll see a Light Portal, head on through it, and continue along the path, battling the odd pirate and jumping over the walls. Be sure to hit any purple crystals you see on the way with a Light Beam blast to access their benefit, be it a door or a platform to jump on.

Head forward and scan the large amber door; it’s time to officially enter the Torvus Bog.

amber door
Image: Nintendo Life

Scan Entry - The World Warped

On the left wall, roll through the tunnel and shoot the purple crystal to open the way. Before leaving the room, look upwards and left to an alien text hologram. This is The World Warped lore. Scan it for another entry for your logbook. Now turn back around, roll back through the tunnel you came through, go on through the new door you previously accessed, and follow the path on the cliff-edge and through a red blast dooruntil you take an elevator down further into the bog.

Scan Entry - Torvus Bearerpod

After the ride down, you’ll enter into an area with Torvus Bearerpods protruding from the ground behind the elevator. Scan them and head on through the door.

Scan Entry - Torvus Hanging Pod

scan entry torvus
Image: Nintendo Life

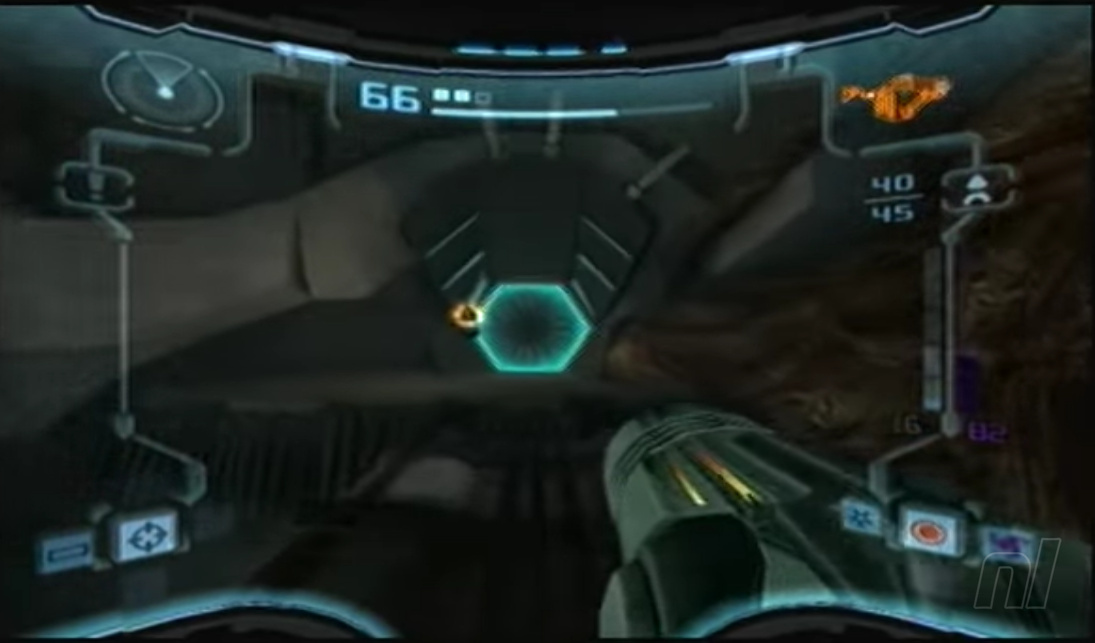
Look up as soon as you enter the new area to find some Torvus Hanging Pods on the ceiling. Scan them and be prepared to formally enter the Torvus Bog.

Scan Entry - S-Dly’s Testament

You’ll see a dead alien corpse on the ground, scan them to receive the Dly’s Testament lore entry for the logbook.

Scan Entry - Shredder

Nearby will be a flock of Shredder creatures, flying enemies that explode upon contact with Samus, not to be confused with a certain enemy of the turtles. Scan ‘em, shoot ’em, and move on.

Scan Entry - Hydlings

Inside a small pool of - what we hope is - water are Hydlings. They’ll cause minor damage but aren’t a major threat. Scan them and jump up towards the red blast door in the area on a platform near the alien corpse to access a save point. Once you head back out, it's time to go underwater.

Jump in the small pool and swim around until you find a dark energy door. Watch out for the Hydlings as you go - just keep swimming, just keep swimming.

Scan Entry - Shrieker

Jump out of the water in the next room and enter a new area. In the water, a group of Shriekers will attack you; scan one of them before taking defensive measures.

Scan Entry - Sentinel Crystal

scan progress
Image: Nintendo Life

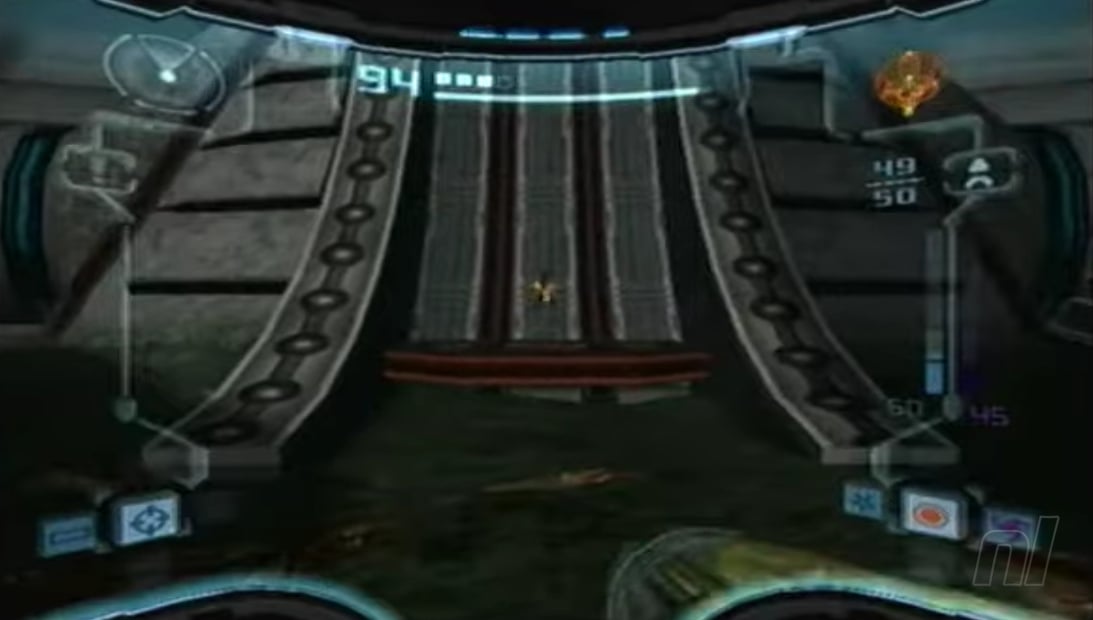
At the back of the area, next to a waterfall, will be a Sentinel Crystal on a wall. Scan it, then turn around and head through the red blast door.

Inside, hug the wall as a morph ball and bomb jump across the shelves to access the next area. Continue until you come across a gate with a panel next to it. Scan it to lower the gates in the area and proceed through the light energy doors in the rooms after, continuing until a cutscene plays.

Scan Entry - Grenchler

Why does it sound like this thing is planning to steal Christmas? Anyway, scan the Grenchler walking around the area, then circle and jump around, aiming at its back to defeat it.

Scan Entry - Bloatsac

Nearby, you’ll find a Bloatsac, scan it, and use the platforms to jump over the river in the area and head on up the path, taking a bridge towards a Dark Portal. Blast it with a dark beam and walk through the portal into Dark Torvus Bog.

Scan Entry - Dark Sentinel Crystal

Head toward the centre of the bridge area, and you’ll see a Dark Sentinel Crystal on the wall just waiting to be scanned.

Scan Entry - Ingsphere Cache

Staying where you are, quickly survey the area to find an Ingsphere Cache. Scan both and head towards the nearby Bomb Slot inside a light bubble. Using it will change the bridge's direction to a new door.

Scan Entry - Dark Phlogus

Before setting off, look down into the area below to see a Dark Phlogus, scan the carnivorous planet, and head over the bridge, but not all the way. As you get to the centre, jump to a platform across the gap and head back through the portal.

Scan Entry - Dark Pirate Commando

When you arrive, a few Dark Pirate Commandos will spawn in; scan one of them before taking them on. After the fight, head towards the door you changed the bridge around to access.

Collectible - Missile Expansion

unmissable missle
Image: Nintendo Life

You’ll find another Missile Expansion pack before heading on through the door.

Scan Entry - Sporb

In the new area, you’ll find a Sporb attached to the wall. Scan it for its logbook entry and shoot it for good measure. Just before dropping down, roll into a ball, following the cave wall and rolling through a tunnel into a new place.

In this area, you’ll see a grapple point on the ceiling. We can’t use this yet, so fall into the area on purpose and head through the door behind you to escape. Behind the door, scan the control panel to activate the Morph Ball Cannon, jump over to it, and you’ll be shot back onto the path.

Collectible - Energy Tank

Cross the bridge and enter a dark energy door, turn into a ball, and use a bomb on the first circular pattern on the floor. Below will be another Energy Tank. You’ll have to make your way back to this corridor after collecting it.

Suit Upgrade - Super Missile

Super Missile
Image: Nintendo Life

After proceeding through the path, you enter a large open arena; beating the pirates that ambush you will reward you with the Super Missile Suit Upgrade. Head up the nearby elevator to proceed upwards and use a Super Missile to destroy green blast doors.

Collectible - Emerald Energy Transfer Module

Continue until you enter a room with another Energy Controller and a green hologram, which will grant you the ability to scan emerald (GREEN) alien text holograms in a cutscene.

Scan Entry - Dark Aether

scan lore entry
Image: Nintendo Life

Try out the newly acquired scan ability by scanning the nearby green alien text hologram to receive the Dark Aether lore entry for the logbook. Now it’s time to head back to the arena and scan the green hologram to make the elevator go down and the nearby large green alien text door accessible.

Collectible - Missile Expansion

missile expansion under floor in water
Image: Nintendo Life

Inside a tunnel, drop into the water, turn into a ball, and roll under the platform you were stood on to find a hidden Missile Expansion pack.

Scan Entry - Our War Begins

Progress through the watery tunnel, and you’ll find the Our War Begins Lore entry for the logbook on a wall near the exit.

Scan Entry - Pirate Commando

large tree area
Image: Nintendo Life

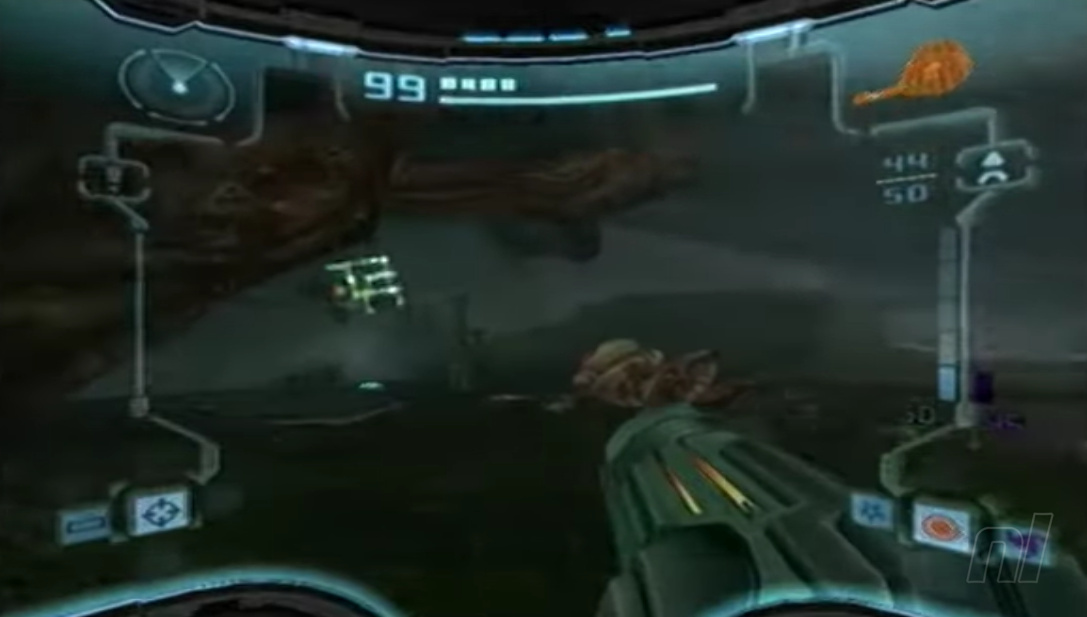
Proceed into an area with a large tree, and you’ll be ambushed by a group of Pirate Troopers and their leader, a Pirate Commando. Scan him for the logbook entry, then blow him away! Head on through the door in the area, and you’ll find another dark portal to go through.

Scan Entry - Hunter Ing

Inside the Dark Aether, you’ll find a glowing creature fluttering around. This is a Hunter Ing; scan it before destroying it with light beam blasts.

You’ll now want to climb up the tree using platforms until you reach a dark energy door, follow the path to a save point, and take a breather. Next, take the path that leads away from the tree until you hit a light energy door.

Head on through the door and roll through a tunnel of tree roots. The following room will lead into another tunnel and into a large arena. It’s time for a boss fight.

Scan Entry - Boost Guardian

Quickly scan the Boost Guardian before taking it on to gain its logbook entry.

Boost Guardian
Image: Nintendo Life

Suit Upgrade - Boost Ball

After defeating the Boost Guardian, you’ll be rewarded with the Boost Ball Suit Upgrade. Holding the jump button in ball form will allow it to charge and get a large burst of speed.

Collectible - Dark Temple Key

Dark Temple Key
Image: Nintendo Life

Heading back into the room that took you to this area, use the Boost Ball ability on the half pipe to reach the Dark Temple Key inside the right-hand wall of the area. You’ll now want to use the boost to reach a platform to leave the area and head back the way you came towards the large tree. Stopping at the save point on the way, head towards the portal and go back to the Light Aether.

Head through the area with the large tree and use the boost ball up the right side of the half-pipe near the door to proceed until you reach a dark energy door.

Scan Entry - Krocuss

Onward, you’ll find a few Krocuss in a pool behind a waterfall. Scan one before moving on.

Scan Entry - Spinner

spinner
Image: Nintendo Life

Proceed through the vegetation until you reach a small beacon on the floor, and scan it to reveal that it's a Spinner; using the boost ball ability will activate its use. In this case, it opens the gate next to it.

Collectible Detour

We’ll be taking a quick detour back to the starting area to gain some scan entries and collectibles that are now accessible to us.

Heading through the gate, you’ll enter the area with the bridge that changes direction. Go directly across the area until you hit the light energy door. Proceed on that route until you are on the path leading back towards the Temple Grounds.

half pipe leftward
Image: Nintendo Life

Head through a green blast door, past the dark portal, keep going until you hit a half-pipe, boost up the left side of it, and roll through a nearby tunnel.

Suit Upgrade - Seeker Launcher

Following the tunnel, you’ll enter an arena with a large floor puzzle. Find the nearby Spinners to change the floor's layout until it matches up.

The key to solving this is to make sure the red circle is pointing towards the nearby portal. Solving this will reward you with the Seeker Launcher Suit Upgrade. Holding the missile fire button will allow it to lock onto multiple targets.

Head towards the purple blast door, using the newly acquired Seeker Launcher to lock onto the surrounding locks and destroy them to proceed.

Scan Entry - M-Dhe's Testament

Continue on the path until you come across a dead alien sitting up. Scan them to receive the M-Dhe's Testament lore entry for the logbook.

return to prologue area
Image: Nintendo Life

Walk onward, and you’ll appear in a familiar area. It’s the starting location with Samus’s Gunship! Jump into the area, remember to quickly spin around, and activate the crystal with a light beam blast for a useful platform. Head on into the ship to save your game and gain your ammo and health back.

Follow the path as you did at the start of the game until you reach the fork in the road, head left, and scan the alien text door and the one following it to open the path.

Scan Entry - Dark Missile Trooper

Before continuing, head back to the fork and go right, dropping into an area with a dead trooper. He’ll awaken, turning into a Dark Missile Trooper. Make short work of him with some Light Beam blasts.

dark missile tropper mini boss
Image: Nintendo Life

Collectible - Missile Expansion

Defeating the Dark Missile Trooper will reward you with a Missile Expansion pack.

Collectible - Missile Expansion

Continue on the path as you did at the start of our walkthrough until you find a blocked tunnel next to an accessible one. Use a bomb on a blocked tunnel to find another Missile Expansion pack.

destroy vent
Image: Nintendo Life

Back to the Torvus Bog

We’re pretty much done here, it's time to head back to the Torvus Bog. Aim to get to the room with the only Morph ball cannon. From there, head through the door just across the gap from the Morph ball cannon and follow the path until you come across a hidden purple blast door on the left side of the circular area. Blast it and head on through, taking the elevator to get back into Agon Wastes. You don’t need to take this right now, but in Metroidvania games, it’s important to make backtracking paths as accessible as possible.

Back in the circular room, go into the tunnel ahead of you, blasting past a green blast door. Take the elevator down into the depths of the Torvus Bog.

spinning platform room
Image: Nintendo Life

Scan Entry - Preed

You’ll enter a room with spinning platforms. A Preed will be floating around nearby, make sure you scan it before heading upwards. Jump towards the red blast door and head on through it to access a save point.

Scan Entry - Blogg

Jump all the way back down and into the water, and you’ll want to scan the Blogg swimming around. Aim for its mouth to get rid of this fishy fiend. From there, keep diving until you find an underwater structure. Be sure to scan the nearby lock, which will allow us to proceed. Use the underwatch morph ball cannon to shoot back up to the surface.

Collectible - Missile Expansion

missile expansion pack purple door
Image: Nintendo Life

Back underwater, find a purple blast door close to the surface; in front of it will be another Missile Expansion for you to collect. Head on through the purple blast door and follow the tunnel. A cutscene will play, showing that Dark Samus has returned!

Scan Entry - Recovering Energy

Quickly defeat all the underwater enemies in the area to use the nearby spinner. Before using it, scan the green alien text on the wall for the Recovering Energy lore entry for the logbook. It might not appear due to how hard it is to see in the dirty water, but it will appear on your scan visor.

red pipe puzzle
Image: Nintendo Life

Now you may use the spinner to turn the floor into an accessible tunnel, line up the red lines, and roll through, proceeding through a dark energy door. Make your way through a tube system until you enter a new area.

Scan Entry - The New Terror

On the other side of the room, The New Terror lore entry will be scannable from where you’re standing.

Scan Entry - G-Sch's Testament

Make your way through the room, and you’ll eventually find a dead alien. Scan them to gain the G-Sch's Testament lore entry for the logbook. Now, head for the dark energy door and proceed on the route.

Scan Entry - Bloggling

You’ll enter a new underwater area, scan the Boggling swimming around to gain its logbook entry, and then scan the nearby lock to progress through a new door nearby.

direction door
Image: Nintendo Life

Scan Entry - Seedburster

Follow the path through the new door and you’ll come across a bunch of Seedbursters, scan them for their lore entry then blast them away and continue. You’ll now want to head back down to where you moved the floor around to change the tunnel access underwater, this time linking the blue tunnels together.

Head through the light energy door and follow the system of underwater tubes. The goal here is to activate the bomb slots along the way. Keep following the tubes, and you’ll end up in a new area with a device spewing a laser and spiky objects in the water.

Scan Entry - New Weapons

Go for a swim in the water ahead of you and use your scan visor to look around, and you’ll find the New Weapons lore entry for the logbook.

While still in the water, aim upwards at the spiky things and blast them with a dark energy blast; they’ll flip over to create new platforms. Use the nearby platforms to jump out of the water, jump over the pool, and activate a bomb slot on the other side of the area. This will open an underwater gate previously blocking access to a dark portal; activate it and head on through to the Dark Aether.

laser direction
Image: Nintendo Life

After battling the enemies attacking you in the Dark Aether, aim for the device with a laser flowing out of it and use the spinner underneath it to change its direction to the other side of the room. Now, back through the portal to the Light Aether. Jump over the pool, use the morph ball cannon, and head through the light energy door. Scanning the final lock and opening the area beneath you deep underwater.

underwater door
Image: Nintendo Life

Scan Entry - Alpha Blogg

As you progress downwards, you’ll spot something eerie moving in the water behind a gated window; scan it for its logbook entry and be prepared for an underwater boss fight coming up.

Suit Upgrade - Gravity Boost

Keep progressing through the area, working your way down, and you’ll eventually come across the room with the Gravity Boost Suit Upgrade inside. This allows you to float in the water when you hold the jump button after double jumping.

Defeat the Alpha Blogg and you’ll see a turbine at the top of the boss room slow down, use it as a platform, and head upwards through its arena. Continue heading upwards, using the Gravity Boost to lift yourself out of the water. We recommend making a pit stop at the save point next to the spinning platforms.

Back underwater, we go and head through the dark energy door, following the path into the room. Activate the bomb slot hidden underwater to unblock the dark portal. Next, head into the bomb slot in the room that’ll send you into a system of underwater tubes.

Collectible - Energy Tank

energy tank in tubes
Image: Nintendo Life

Using well-timed bomb jumps to get up to triple jumps, solve the puzzle by activating the bomb slots, which turn on streams, giving you more air in your jump. Your bomb jumping abilities are rewarded with another Energy Tank.

Scan Entry - Dark Grenchler

Now, head back into the previous room and activate the dark portal. Inside, you’ll want to scan the Dark Grenchler roaming around inside the area for its logbook entry. Proceed through the same water tube system where you found the Energy Tank inside and come out the other side. You’ll enter a room with large light devices. Make a beeline for the other end and proceed through another water tube system.

Collectible - Missile Expansion

hidden missile expansion pack
Image: Nintendo Life

Inside this underwater tube system, you can find a hidden Missile Expansion pack by using a morph ball bomb jump back up a tube before heading to the exit on the left.

In the next room, shoot the crystal in front of you with a dark energy beam blast to activate the necessary platforms in the area. Climb up the room by jumping across the platforms and proceed through the light energy door. Following the path you'll drop into a new area, jump upwards, and use the morph ball cannon to access the save point if you wish.

Head down into the path with the barred walls, use the nearby bomb slot to turn the path, and proceed through the door.

Scan Entry - Grapple Guardian

Follow the path until you’re ambushed by the Grapple Guardian, quickly scan it for its logbook entry!

Grapple Boss
Image: Nintendo Life

Suit Upgrade - Grapple Beam

When you’ve defeated the Grapple Guardian, you’ll be rewarded the Grapple Beam Suit Upgrade.

Scan Entry - Grapple Point

Take a gander upwards to the top of the room, and you’ll see a Grapple Point; scan it for the logbook entry. Use your newly acquired Grapple Beam to hook onto it and leave the area.

grapple hook
Image: Nintendo Life

When you’ve returned to the area you left, head right, grappling over the gap towards the light energy door, and follow the path. In the next room, on the bottom floor, take the portal back into the Light Aether, climb out of the water, and take the door after the morph ball cannon to progress.

In the next room, take the door at the bottom of the water pool and continue towards where you fought the Alpha Blogg. On the way, you’ll see a pillar with a mechanism moving inside it. Jump on top of this and go through the dark portal ahead of you.

Collectible - Dark Temple Key

Heading through the portal, you’ll find the Second Dark Temple Key for this area on the other side.

Head back through the portal to the Light Aether and make your way to the room with the spinning platforms. Go through the door that’ll bring you to an elevator and proceed through the tunnel. Take the right-hand fork in the road, rolling under any debris, then take another elevator back up to the agon wastes.

Quick Detour to Agon Wastes

We're going to stop by Agon Wastes to pick up some things we can now access.

Blast your way through the purple blast door and move on. Follow the path and head left towards the main save point in Agon Wastes. From the save point, head towards the area where you fought the Bomb Guardian. Head left as you enter, roll into a small opening and blow up the blockage with bombs. Turn left and go through the dark energy door.

Collectible - Energy Tank

Proceed through the ball maze, go up and left as much as possible and you’ll find another Energy Tank.

Head down and left, roll out of the tunnel, and proceed through the purple energy door. Follow the path, activate a morph ball cannon on the way, and you’ll come into a clearing.

Scan Entry - Kralee

In the clearing, scan one of the Kralee lurking around for their logbook entry. Activate the bomb slot to turn on the large spinning device. Afterwards, head across the area to a morph ball cannon inside a half-pipe.

Scan Entry - The Stellar Object

You’ll be shot up to another bomb slot attached to a window. Just right of it will be The Stellar Object lore entry; scan it for the logbook. Activate the bomb slot to stop the spinning device and turn it into a bridge.

Head up the left-hand side of the half-pipe with the boost ability and proceed through the dark portal. Inside the Dark Aether, head on through what looks like a crack in the wall, jump up to a platform, turn around, and across the area towards a door. Follow the path until you come across a portal, and take it back to the Light Aether in the Agon Wastes.

Suit Upgrade - Darkburst

proceed onward
Image: Nintendo Life

You’ll come out behind a barred gate, take the tunnel behind the nearby door, and follow the path until you come across the Darkburst Suit Upgrade, a power blast of dark energy. Some pirates will spawn in for you to test it out.

Collectible - Missile Expansion

half pipe boost up to portal
Image: Nintendo Life

It’s time to head off. Proceed back the way you came through the Bomb Guardian boss room. Head through the temple where you originally went into the Dark Aether, take the left door, use the half-pipe, and go through this Dark Portal. A Missile Expansion pack will be directly in front of you to collect.

Jump down, turn left, head through a door towards the temple with the main portal in Agon Wastes, and return to the Light Aether through the main portal in the Agon Wastes. Head back the way you came, go left up the half-pipe, and down an elevator to the Torvus Bog. When you arrive, take the platform up and head through the dark energy door.

Back to the Torvus Bog (again)

Continue until you reach a long bridge with a green alien text door to the right and down from it. Scan the door and head through it. Inside, you’ll find the map of the area. Head back out and use the morph ball cannon to get back on the bridge. Jump across the area to a light energy door and go through it.

Collectible - Missile Expansion

grapple up to missile expansion pack
Image: Nintendo Life

Enter the room, quickly turn around, and look up to see a Missile Expansion pack; use the nearby grapple to get up to it. Use the grapple to jump over the gap and roll through the tunnel. Proceed through the area until you come across the dark portal in the room with the diagonal bridge. Head on through it.

Scan Entry - Liftvine Crystal

In the Dark Aether, take out all the enemies in the room and take the green blast door. Follow the path that leads to the Liftvine Crystal on the ground in front of you; scanning it will reveal that using the light beam will activate it.

elevator crystal
Image: Nintendo Life

Use the raised platform to proceed into a tunnel, and follow the corridor until you enter into a large room. Take the tunnel just to the right of you as you enter.

Collectible - Dark Temple Key

Dark Temple key 3
Image: Nintendo Life

You’ll see a grapple marker above you. Use it to make the leap, and you’ll have the third and final Dark Temple Key for the Torvus Bog. Head through the nearby red blast door to save your progress.

Leave the save room and start heading for the Dark Temple in the Torvus Bog via the Dark Energy door, follow the tunnel in that room and head through the door.

Collectible - Beam Ammo Expansion

Turning right in the following room, take the route via the purple blast door, and behind it will be another Beam Ammo Expansion pack.

Collectible - Missile Expansion

Leave the room, head left out the door, and jump up the platforms until you come across a small tunnel that leads to a portal. Take it into the Light Aether, and you’ll find a Missile Expansion pack on the other side.

Head on back through the portal and go backward through the tunnels until you come into a room with a light energy door on the other side, take it, and follow the tunnel.

correct direction light energy door
Image: Nintendo Life

Before going into the hologram in the middle of the room, at the fork in the road, go left, rolling under some roots through a door. This is an ammo replenish spot, so it's good to restock. Now go back out and step up to the hologram; the three keys will grant you access to the Dark Temple.

A large object will be held up by four points; shoot it down with Seeker missiles, and be prepared to take on the Chykka boss fight.

Scan Entry - Dark Shredder

After the boss fight begins, some Dark Shredders will appear. Scan them before blasting them away.

Scan Entry - Chykka Larva

The Chykka Larva will swim around the side of the arena like a shark; scan it while you have the chance.

Larva Chykka
Image: Nintendo Life

Scan Entry - Chykka

Adult Chykka
Image: Nintendo Life

After beating its first form, Chykka will appear in its adult form, looking like a moth. Give it a quick scan before giving this oversized fly a beatdown.

Scan Entry - Dark Chykka

The final phase is Dark Chykka. It won’t change its name by the health bar, but the boss will physically be wrapped in dark energy. Scan it for its logbook entry, and finally, take it down with a blast of your Light Beam.

Scan Entry - Chyklings

Occasionally, Dark Chykka will fire some Chyklings at you; be sure to scan one before taking Chykka down permanently.

Suit Upgrade - Dark Visor

Dark Visor
Image: Nintendo Life

Your reward for defeating Chykka is the Dark Visor Suit Upgrade, which allows you to see invisible objects otherwise hidden from you. Use it to find some invisible platforms, jump up them, access the bomb slot, and move onward to the Energy Controller.

Collectible - Energy Tank

Head back through the boss room and use the lift to go down. Turn around, and you’ll see a green blast door, behind which is an Energy Tank.

Head towards the light energy door and proceed through the tunnel system. In the next room, use the crystal platform in the centre to go up and leave through the door. Take the elevator and tunnel to the next room and proceed. Follow the trail until you end up in a large room with the diagonal bridge, use the portal across the gap, and take it to return to the Light Aether.

Head back to the Energy Controller in the Torvus Bog and finally restore the energy for the region. We’re almost done with Torvus, head back across the arena taking the dark energy door route until you enter a room with a grapple overhead.

back on track
Image: Nintendo Life

Scan Entry - The Ing Attack

On the wall inside will be a lore entry, The Ing Attack; scan it for its logbook entry before swinging across.

Collectible - Missile Expansion

Swing across the gap, and you’ll find another Missile Expansion pack. Jump down into the pool of water and proceed through the dark energy door.

Collectible - Missile Expansion

You’ll enter into one of the earlier areas of the Torvus Bog, head into the pool of water, and go left until you see a Missile Expansion pack. Reach it with your Gravity Boost ability and prepare to move on.

underwater missile pack
Image: Nintendo Life

It’s time to head back to the Temple Grounds, follow the path from the first save point in the Torvus Bog, and take the elevator up. From there, head towards the green energy door and proceed through this new route. We’re going this way to collect something.

Collectible - Energy Tank

As you take the morph ball cannon across a chasm, check left, and you’ll see an Energy Tank, grapple across the gap to collect it. Head back towards the Torvus Bog and make your way back to U-Mos. Follow the path that takes you to a half-pipe and an elevator leading to the Great Temple.

We're officially done with the Torvus Bog! It's time to head through the Temple Grounds towards the new area, but first we need to check in with U-Mos in the Great Temple.

Onward to the Sanctuary Fortress!

You’ll find U-Mos, who’ll tell you that we’ve gotten two out of three temples under our belt, and now we have to travel to a new cliff-based area to restore the energy for the final temple.

Collectible - Missile Expansion

Quickly roll into the save room on the right-hand side, and follow the cables on the ground if you’re having trouble. At the back of the room will be some destroyable rubble. Blow it up, and you’ll find another Missile Expansion pack. Also, save for good measure, we’ve done A LOT with this entry. Leave the area and head down to the junction room with four paths to take; go through the one with a green alien text door.

dark visor seeker missle door
Image: Nintendo Life

Continue until you come across a large round object across a gap over a morph ball cannon; use your Dark Visor and Seeker Missiles to unlock this door and progress.

Scan Entry - Luminoth Turret

Head through the area with the large federation ship, and scan the green alien door near the front of the ship. Inside will be a Luminoth Turret; scan it and shoot.

Scan Entry - The Sky Temple

Proceed through the area, and you’ll find a lore entry on the wall near the window overlooking the cliff. Scan it to add The Sky Temple to the logbook. Keep following the corridors, and you’ll find an elevator that will take you down to the next area, the Sanctuary Fortress.


This was a long one so check back through the hub of our full walkthrough of Metroid Prime 2: Echoes in case you missed anything.