Welcome to our Bloodstained: Ritual of the Night walkthrough for Nintendo Switch! If you're looking for more, head over to our complete Bloodstained guide page.
Dian Cecht Cathedral
Once you’re back in the Diac Cecht Cathedral, exit to the left. Go down to the bottom floor and exit through the left. In here, continue left two screens until you’re in one of the main cathedral rooms.
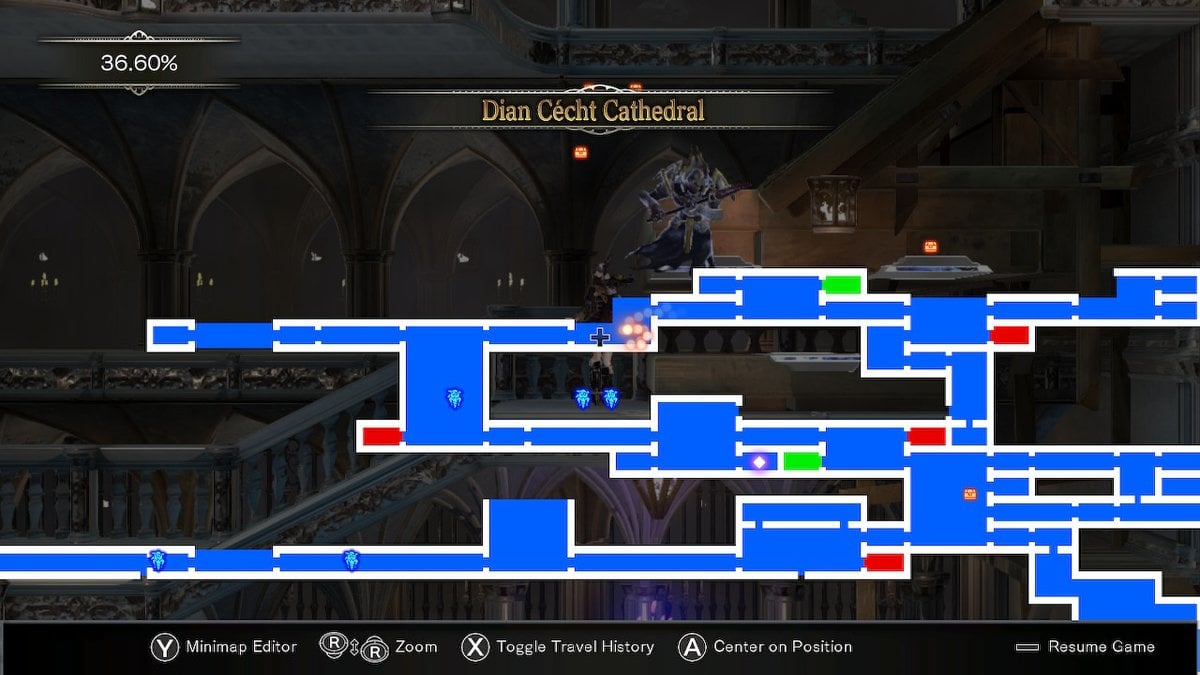
Use your Reflector Ray to move through the path in the bottom right corner to get the Ammo Capacity Up you likely saw earlier in the game but couldn’t determine how to get. In the green chest nearby, there is a weapon waiting for you. Exit this space and go to the left corner at the top of the room.
Use your Reflector Ray to reflect light off the two white plates on the left and then teleport yourself to where that light takes you. Climb up and go through the middle section. Up here, you can either go left or right: go left. Climb up and defeat the Lance Armor demon. Jump up into the bell to get an HP Max Up.
Explore the area above the bell for items like an Ammo Capacity Up and a blue chest containing Iron.
When you’re done doing that, go back to the bell and exit out on the right. In this outdoor bridge, there is a Lance Armor followed by a Leraje to kill. After dispatching them, jump up into the ceiling with Welcome Company unleashed. Up here, you’ll find a green orb statue with a Silver Knight Shard, an HP Max Up and an MP Max Up too.
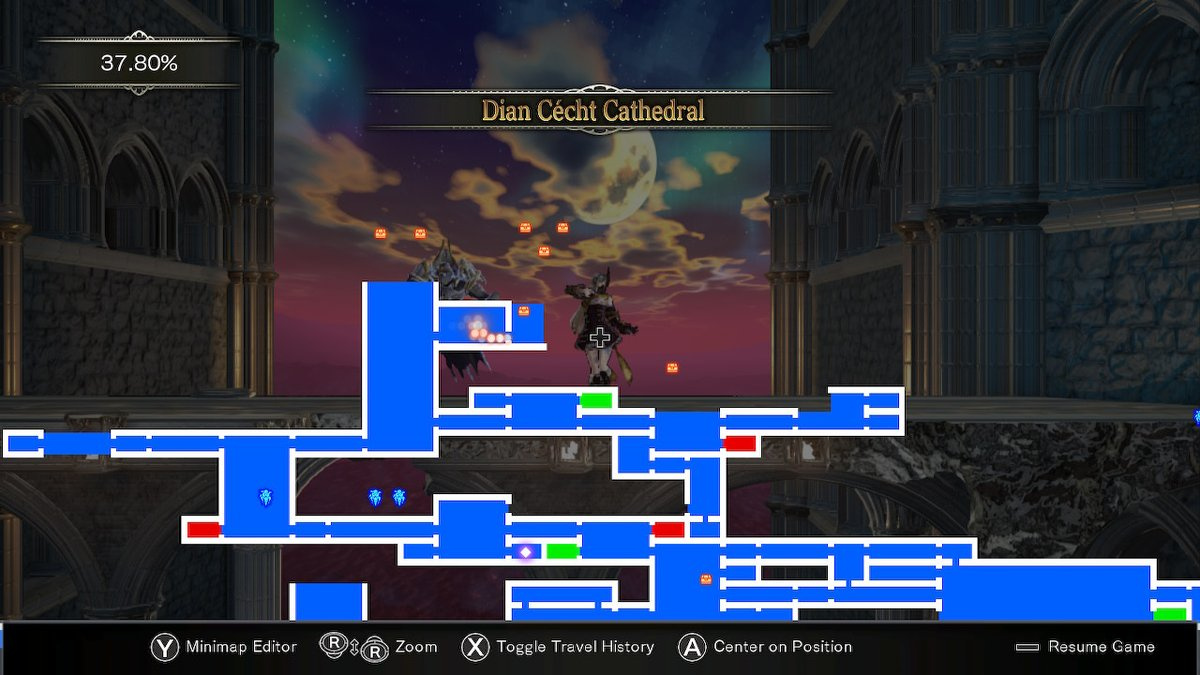
After this, drop back down and go to the new area on the right. In here, there is a Ocypete demon for you to kill. Kill it and head up via the platforms. Climb up, picking up the items in the blue chest and the HP Max Up along the way, and at the top, use your Reflector Ray to reach a red chest with 2000 gold and a brown chest with Scrambled Eggs.
After that, exit on the right near the top. Run across this passageway, kill the Gamigin demon and go to the next area through the doorway on the right.
In this room, there are Maledictions which can petrify you. If you’re petrified while on the ground, mash buttons to break out. If you’re petrified in the air, you’ll crash into the ground and instantly die so be careful to remain out of the air while Maledictions are about.
Jump onto the bell below, move it with you Craftwork Shard and watch it drop to the floor. When it falls, it will destroy the rubble blocking the bottom left exit we need to go through.
Head through this exit to find a green chest with a recipe for Cake and a lever that unlocks a shortcut to an area you were at earlier.
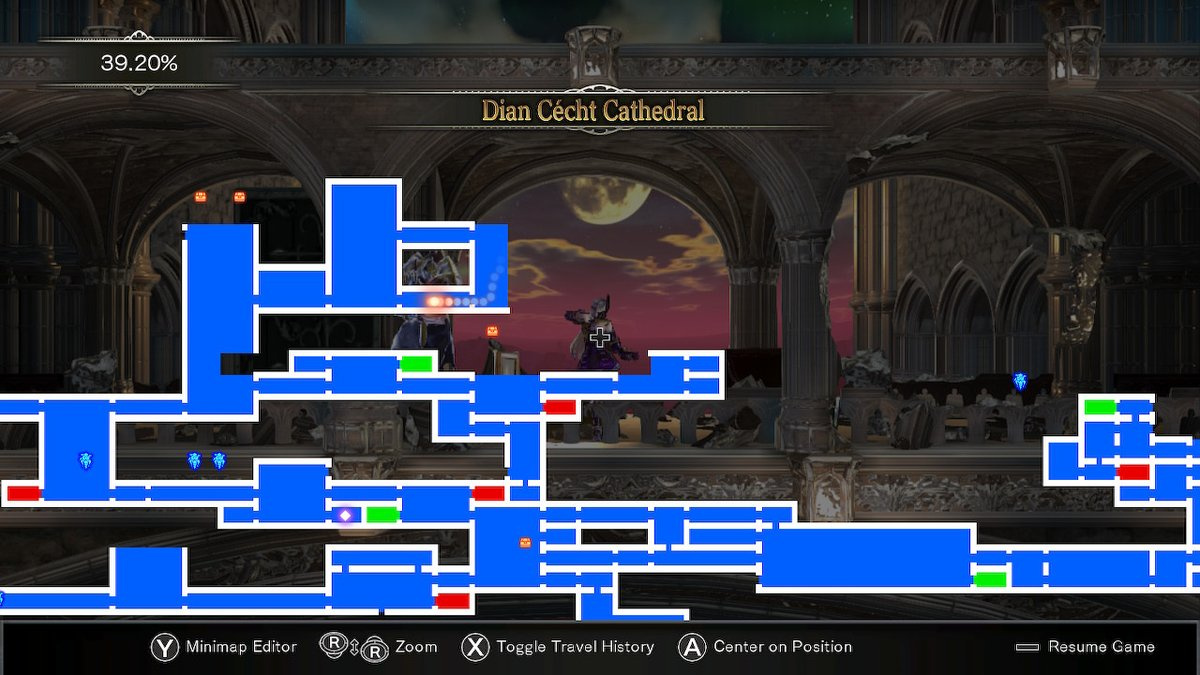
After interacting with the lever, ignore the shortcut. Instead, go right and jump onto the ledge on the far right. Attack the wall to get an HP Max Up. Traverse up using your Reflector Ray — use this ray to jump into the bell where a secret HP Max Up awaits. After getting that, jump on top of the giant bell on the ground and continue jumping on it until it cracks the floor and reveals a new exit.
Drop down into here to find a green chest with Hair Apparent X inside and another lever that unlocks a quick way to a different part of the cathedral. After that, head back up and take the exit on the right. Kill the enemies in this room and proceed right through the exit.
In the bottom right corner is a bookcase you can inspect to learn the Lunging Serpent technique. After that, take the exit to the right to discover a Save Room.
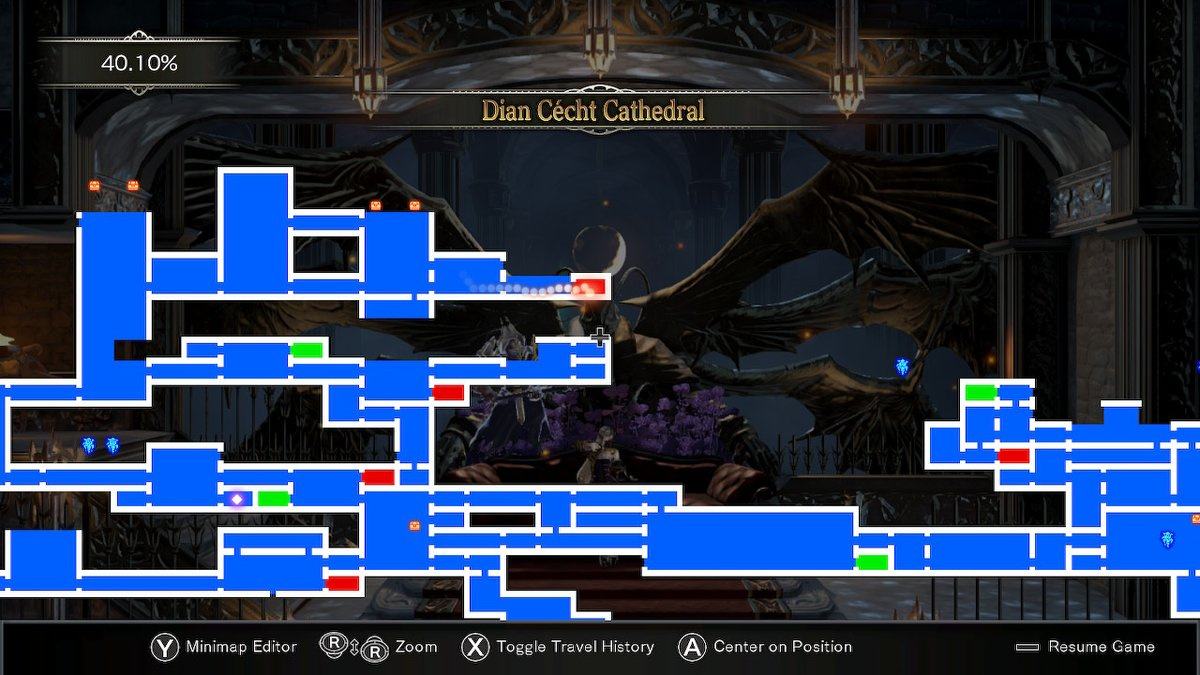
After saving, exit the Save Room and go through the exit in the top right corner. Go through this passageway to find a boss door.
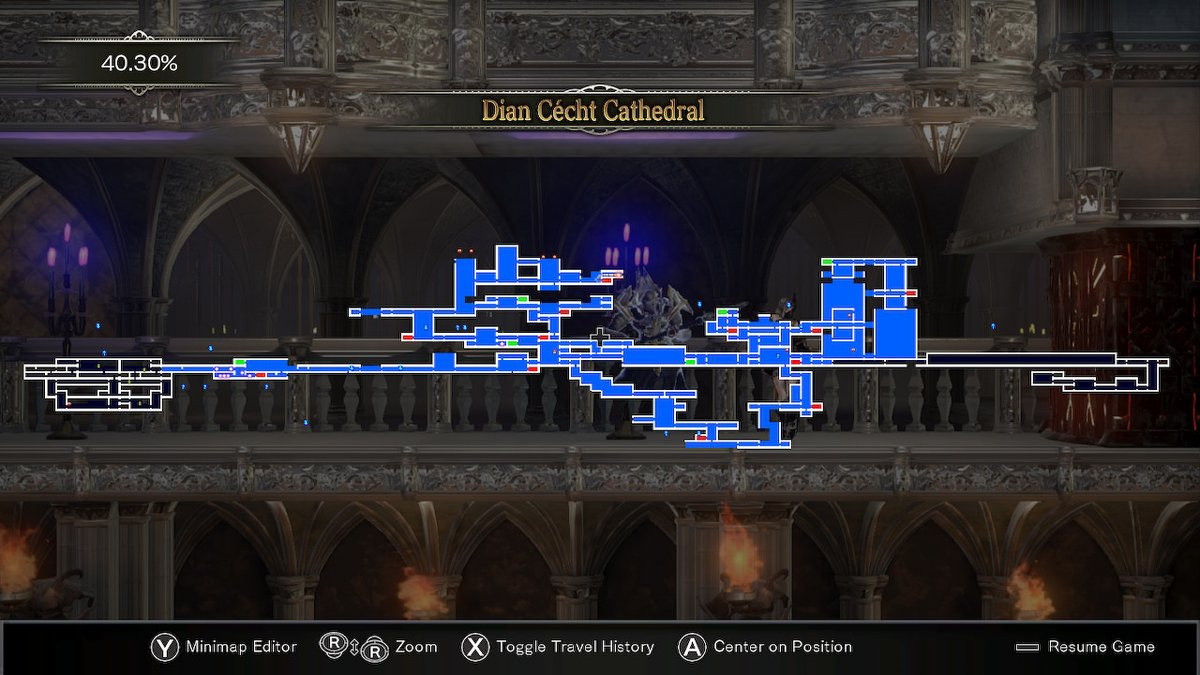
Your map should look like this at the end of the Dian Cecht Cathedral.
Boss Fight: Bloodless

Bloodless is one of the hardest bosses in the game and that’s because she’s tough to dodge and inflicts a minimum of 60hp with every hit. Her attacks are easy to read though. She’ll either throw some umbrellas at you, shoot a stream of blood at you, throw a blood ball at you or simply slash at you. All of these moves are telegraphed easily.
The problem is that to damage Bloodless, you have to be quite close to her. Every single time you run into her or she runs into you, she’ll inflict roughly 60hp. Now, when you attack, she’ll make a point to jump at you to inflict that damage before tossing one of her own attacks at you.
Our strategy for this fight is to constantly keep Welcome Company going and equip your strongest defensive and offensive armor and weapons. Attack, dodge her return, jump behind her if you can, attack and repeat. Be sure to bring a lot of potions because chances are, no matter how well you dodge her attacks, she’s still going to do some serious damage to you.
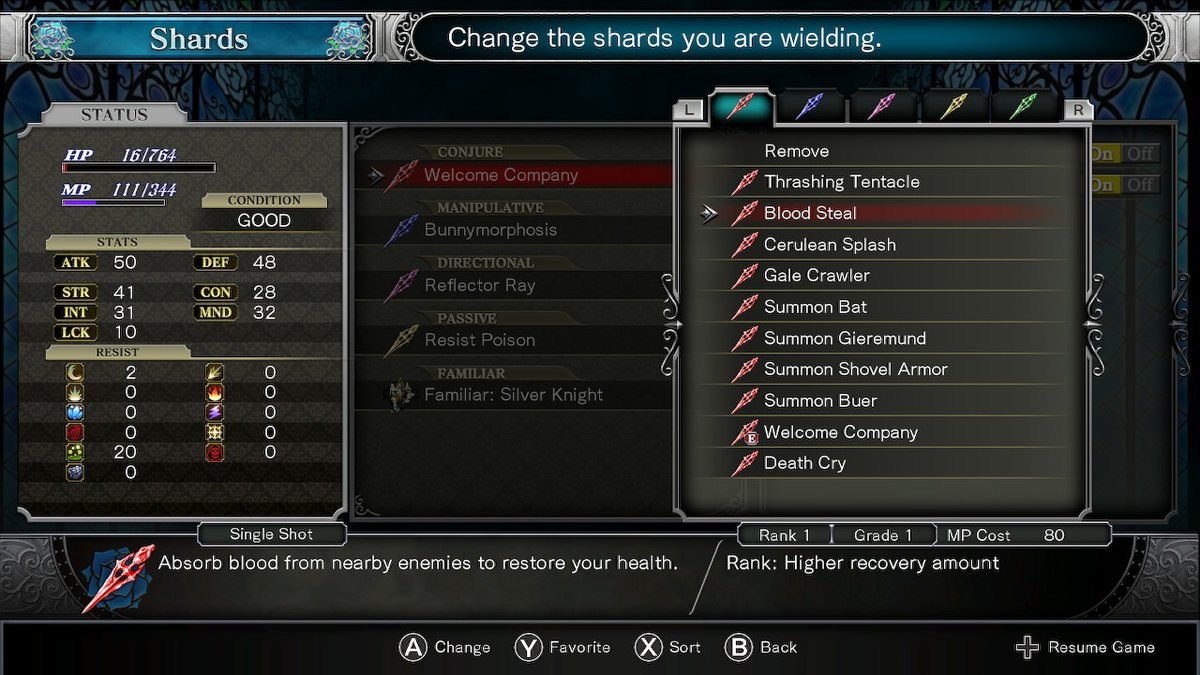
With her defeated, you’ll get the Blood Steal Shard.
Livre Ex Machina
With the Bloodless defeated, proceed to the right where a green chest with a Red Umbrella inside awaits. Pick it up and continue to the right. You’re back in Livre Ex Machina now.
Hop across the way and push the bookcase into the pressure plate to the right. This will lower a chain. Make your way down and kill the Titania demon waiting for you. There’s an Axe Outsider demon behind it so be prepared to take that on as well. Head right and through the exit. Kill the three demons in here and continue to the right. Take this exit to find a lever you need to interact with.
Upon doing so, a bridge of sorts will appear. Head across it and continue through the exit on the right. Take out the Lance Armor in this next room and inspect the bookcase to learn the Jinrai technique. After learning this, drop through the floor.
In this new room, stick to the left. Go through the left exit to enter an area with a green Dragon. Don’t be scared — it’s just a standard demon. Kill it and proceed to the left side of the room to find a green chest with a Gold Equipment recipe inside. From here, use your Reflector Ray to reach the ledge above you in the left corner. Attack the wall here to get another Traverser’s Ring.
Once you’ve picked that up, head right and go back to the area you were in before. Jump over the spikes on the ground to reach the right side. Here, drop through the floor into a new area.
Go left into the next area and use your Reflector Ray to jump from pillar to pillar until you reach the exit on the right side of this room. In the next room, drop down through the floor and kill the guitarist demon on the left.
When the wheel starts to head toward you, use your Reflector Ray to teleport to the bottom right corner where an HP Max Up awaits.
Proceed to the right through two rooms. In here, go up one screen and you’ll be back in the room from earlier. Jump onto the bookcases and go through the exit in upper right ceiling of this room.
Go left and attack the wall to get an Ammo Capacity Up. After picking this up, go right and take out the two demons before you. Go through the exit on the right. Proceed right and go through the exit on the right once more. In this new room, jump through the ceiling and you’ll be in a new room with a magical moving bookcase.
Jump onto the magical moving bookcase and then jump to the left ledge and get back on the bookcases when they come back around. Ride this bookcase to the top and jump through the ceiling to land into a new room. Kill the Mimic here and go through the exit on the left to get into a new spike-filled room.
Jump onto the moving bookcases in front of you and proceed to the upper left corner and through the doorway. In this new room, hop up onto the stairs to go to another room. Inspect the bookcase here on the ledge for some backstory. After that, go through the doorway on the right to reach a Save Room.
After saving, leave the Save Room and climb up. Take the exit to the left and continue left in this hallway to reach a boss.
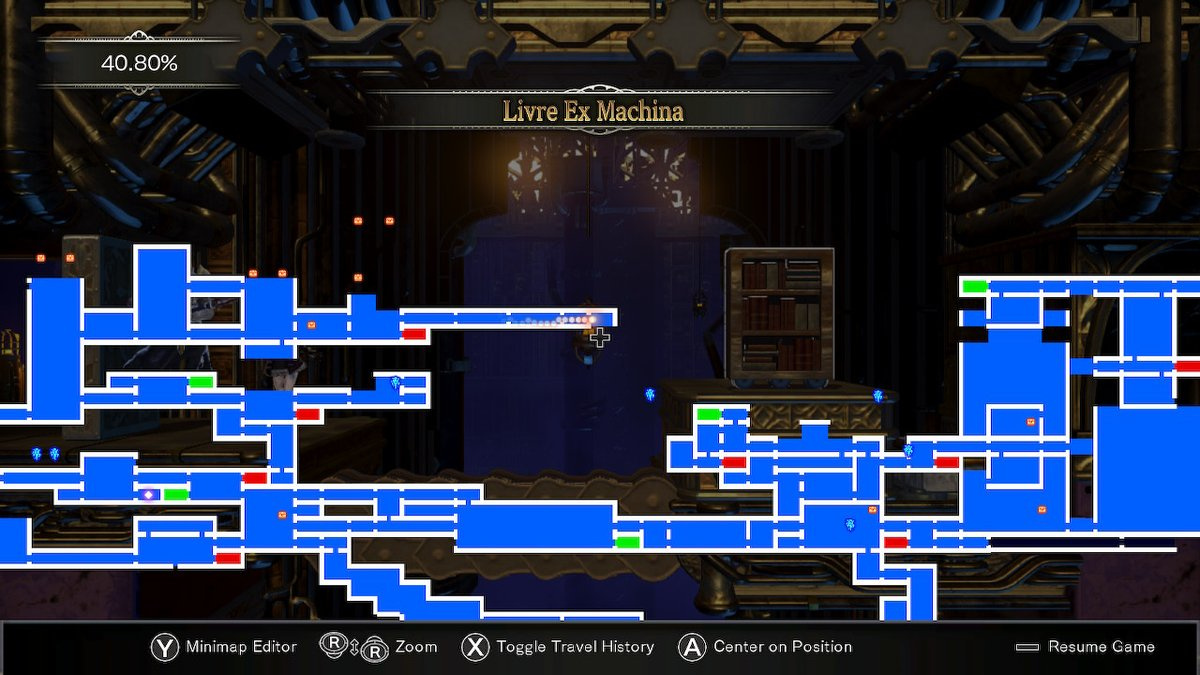
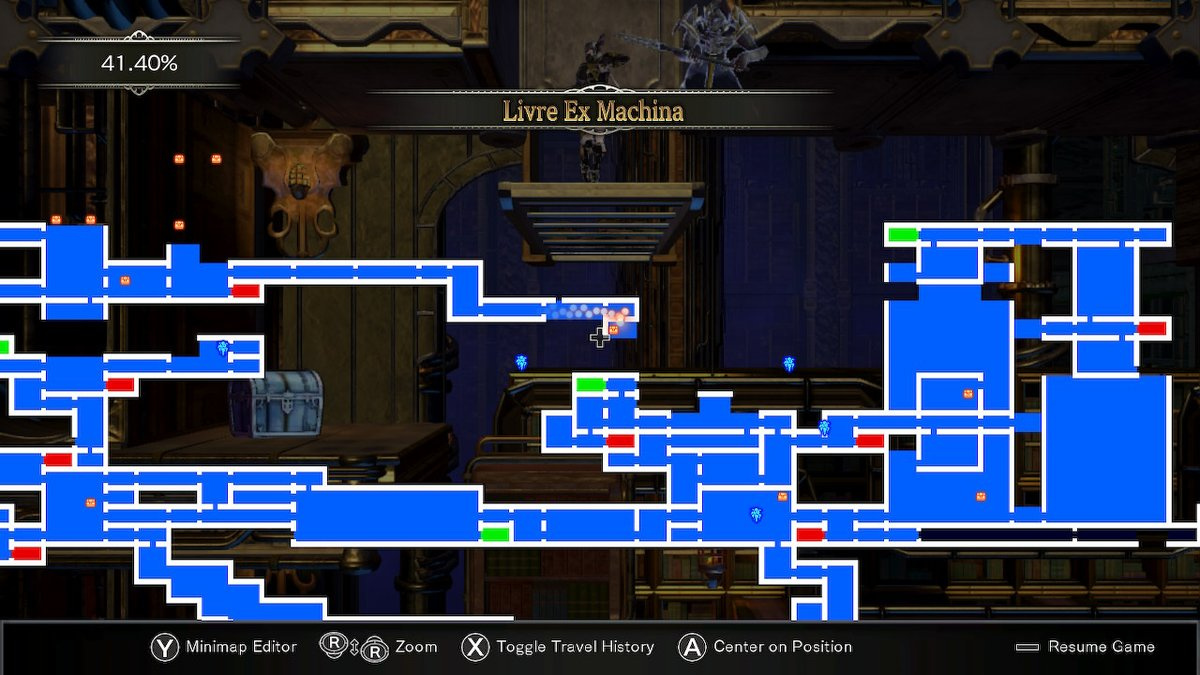
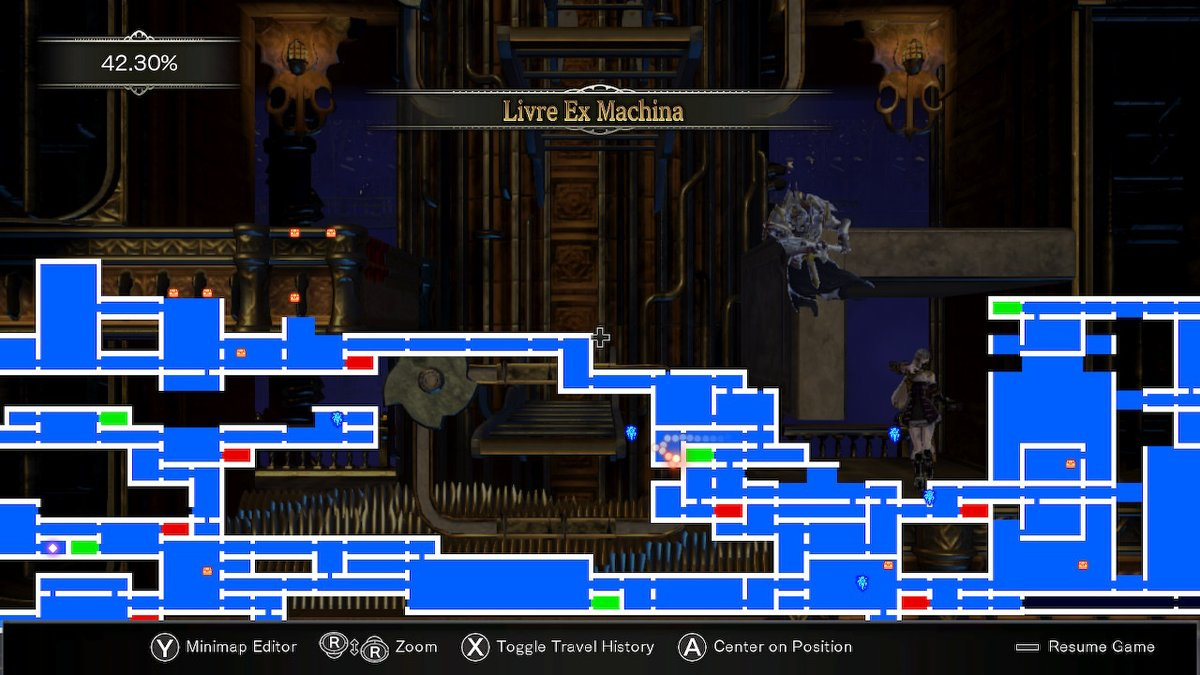
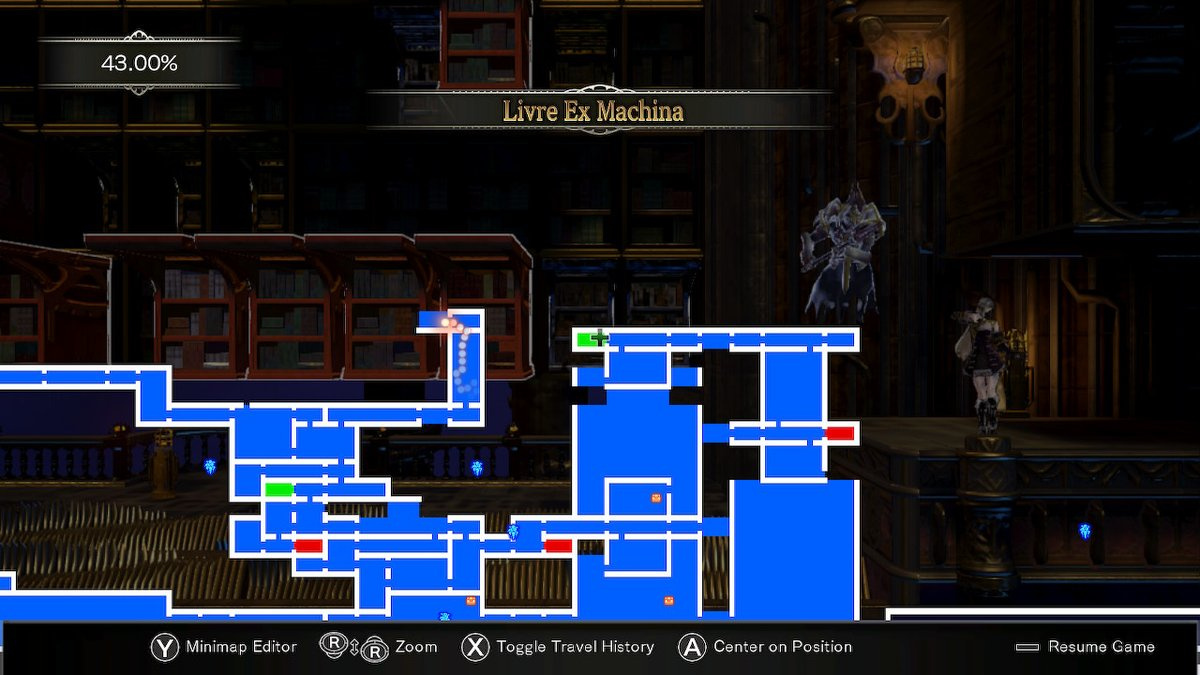
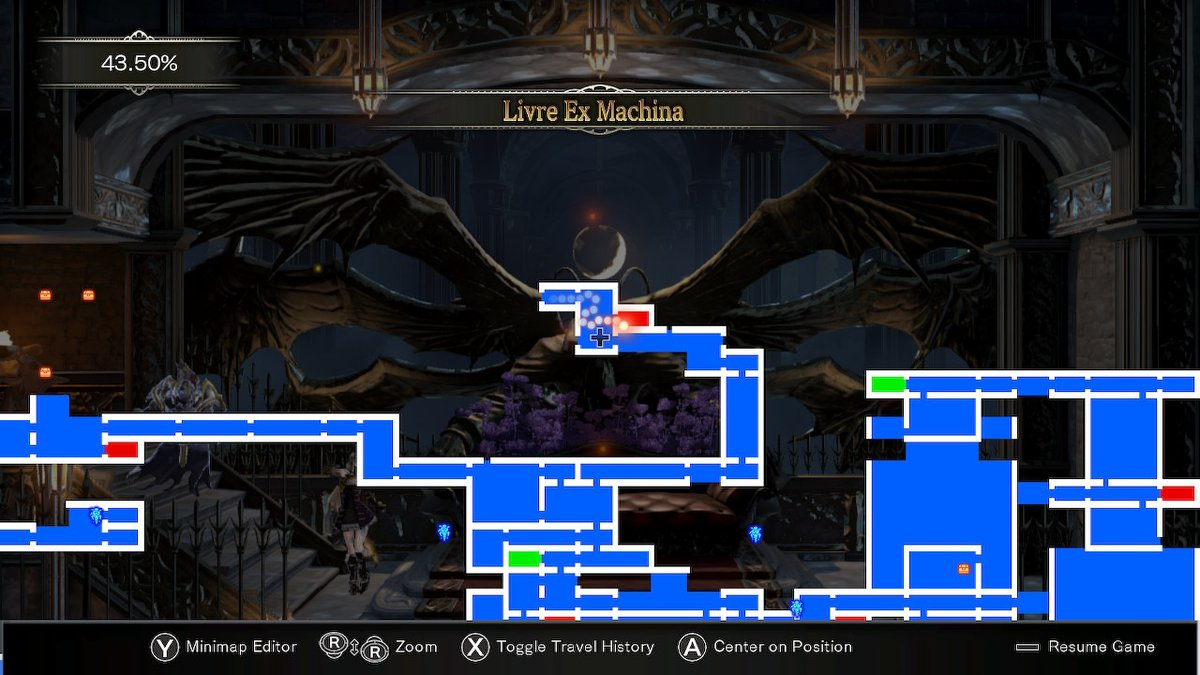
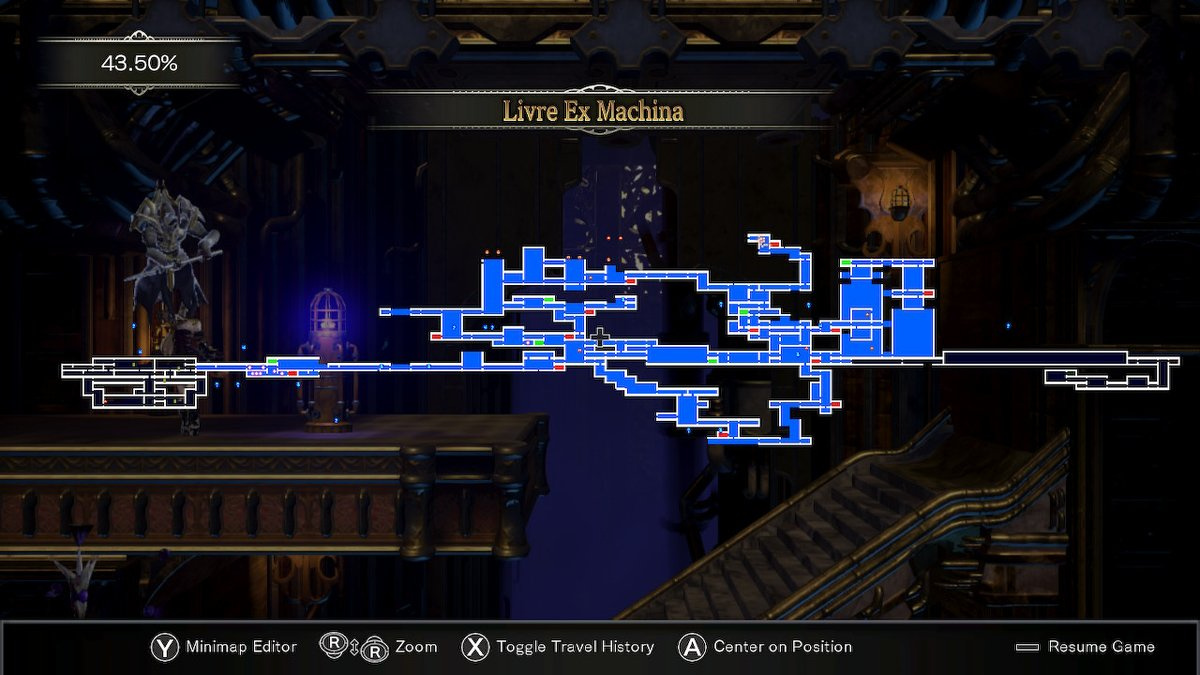
Your map should look like this after Livre Ex Machina:
Abyssal Guardian
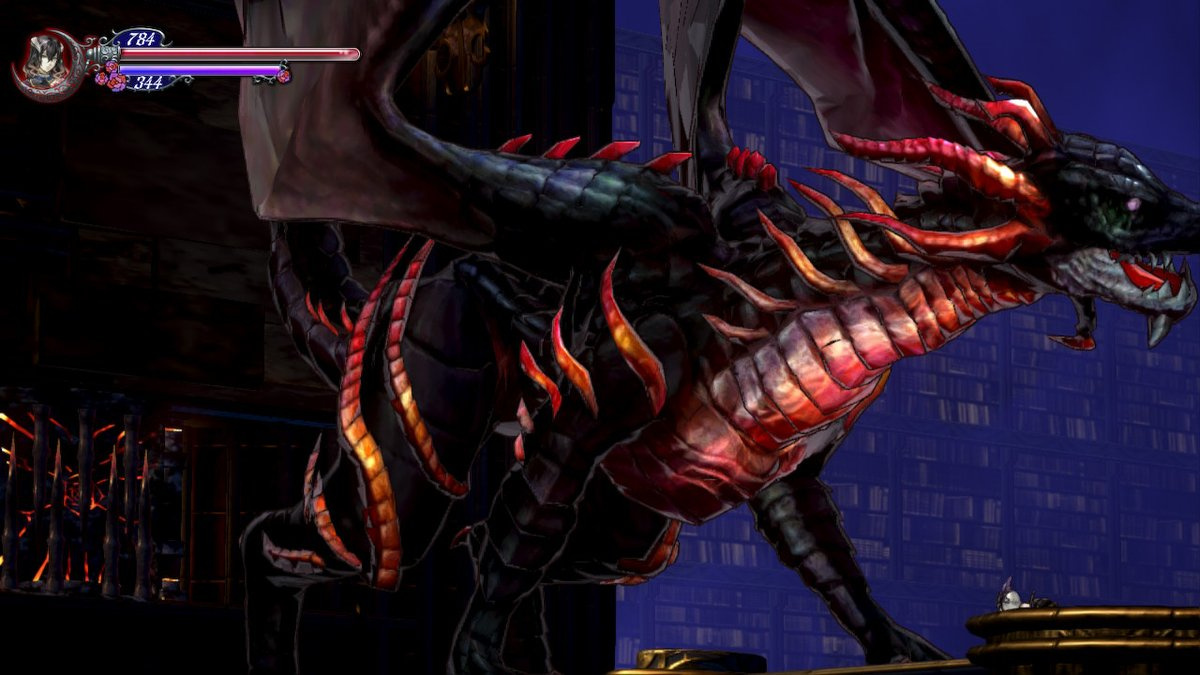
Abyssal Guardian is another easy boss fight. It’s a massive dragon and it has a perfect little cubby for you to hangout in during the fight. When the fight begins, rush to the spot under its head. From here, you should be able to attack at your will all while avoiding any attacks the dragon does using its head.
The only attack to truly be wary of is its tail swipe. You can hop over it but if it hits, don’t worry — it doesn’t do much damage. Just return to your spot and continue attacking until the dragon is dead.
With the Abyssal Guardian dead, there are two options before you. If you’re ready to roll credits and get the bad ending, read on in the following sections of this guide.


Comments 0
Wow, no comments yet... why not be the first?
Leave A Comment
Hold on there, you need to login to post a comment...