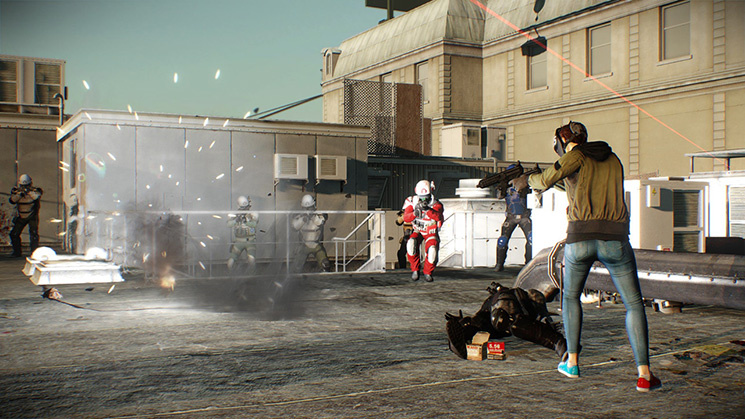
Equipment can completely turn the tide of battle, looting, and escaping in PAYDAY 2. In fact, it's a pretty essential feature of the game, and bringing a variety that each complement each other can make your life an awful lot easier.
But first you have to know what each of the equipment types are capable of, and that's where we come in. We're going to go through each type of equipment and explain how it works to help you decide whether or not you need it.
Ammo Bags
As the name suggests, ammo bags provide a nice ammunition boost in times of need. You know, like when you're being fired on by vicious swarms of law enforcement officers.
Subscribe to Nintendo Life on YouTube845k
You unlock the ammo bag by spending a single skill point in the Enforcer skill tree. By default, you can only take a single bag with you in each mission, but you can purchase more skills to unlock more.
Once an ammo bag is placed, you and your crew can interact with it to fully refill your primary and secondary ammo. The number of times you can interact with the bag depends on how many charges you've unlocked using skill points.
So you should only use it if you really need to, and try to refrain from using it until you're very low, or out, of ammo. You can't move the ammo bag once it's been placed either, so bear that in mind.
Doctor Bags
Again, you can probably tell what doctor bags do from reading their name alone. That's right, they completely restore your health when you interact with them. What you might not expect though is that the doctor bag also resets the number of times you can bleed out before being taken into custody.
To unlock the doctor bag, you only have to spend a single skill point in the mastermind tree. This gets you the default bag, which only provides two charges, but you can enhance it by spending further points in the tree.
Just like with the ammo bag, you place a doctor bag on the ground and interact with it to use it. We recommend placing it in a strategic location because you can't move it once its placed.
We also recommend not using it unless you absolutely have to. It restores your health completely and the default version can only be used twice, so you might want to hold of if you've only taken minor, or even moderate, damage.

Finally, you can buy a basic version of the doctor bag as a supply, but only during certain heists.
ECM Jammer
The ECM jammer temporarily shuts down all electronics in a very small radius from where you place it. You can unlock it by spending a single point in the ghost skill tree.
You can place the ECM jammer on any horizontal or vertical surface, and it will do its thing automatically. The jammer lasts 30 seconds so do what you have to do quickly, before it runs out.
Given the small radius and the fact you can only use it once by default, we recommend thinking very hard about where you place it before you do. Once you've used it, that's it, so you want to make sure it has maximum impact.
Having said that, you can enhance the number of charges, its radius, and how long the jammer lasts by spending more skill points in the mastermind tree. Eventually, it can even incapacitate all nearby enemies too.
But, by default, the ECM jammer will shut off literally every single piece of electronic equipment in its small radius, and this includes anything in nearby rooms as it passes through walls. Use it to your advantage.
Sentry Gun
The sentry gun is an ideal piece of equipment for watching your back while in a difficult shoot out. You can deploy it anywhere and it will automatically shoot all enemies in its range.
It won't shoot your crew or civilians though, so don't worry about that. Do worry about its limited ammo and health though. Law enforcement officers will actively try and bring it down, rather than just run into the bullets.
You can unlock the sentry gun by unlocking tier three in the Technician skill tree, and you can increase its damage, health, and accuracy. You can even unlock a second to bring into a mission with you.
That might be a good idea because, just like with other pieces of equipment, once you've deployed it you can't move or un-deploy it.
You've probably already got good ideas about where you can deploy the sentry gun. It's best placed to mark doorways and corridors during a shoot out, and can even alert you to incoming cops if placed near entrances and exits.
Trip Mine
Much like sentry guns, you can deploy trip mines to cover your back or alert you to incoming police officers. These will explode though, and the blast should take out at least a single enemy.
You can unlock trip mines by spending a single point in the technician tree. By default, you get two trip mines but can unlock more, and enhance them by spending further skill points in this tree.
Curiously, you can also unlock different types of trip mine. By default, they have a laser sensor that triggers the explosion when tripped. Don't worry though, because neither you or your crew can trip it.
By spending skill points in the technician tree, you can unlock a proximity sensor instead. This results in the mine blowing up whenever an enemy gets close.
You can also turn it into a C4, which you can place on a door or safe to blow it to smithereens, but making a huge racket in the process. Still, at least you got the thing open, right?


Comments 0
Wow, no comments yet... why not be the first?
Leave A Comment
Hold on there, you need to login to post a comment...