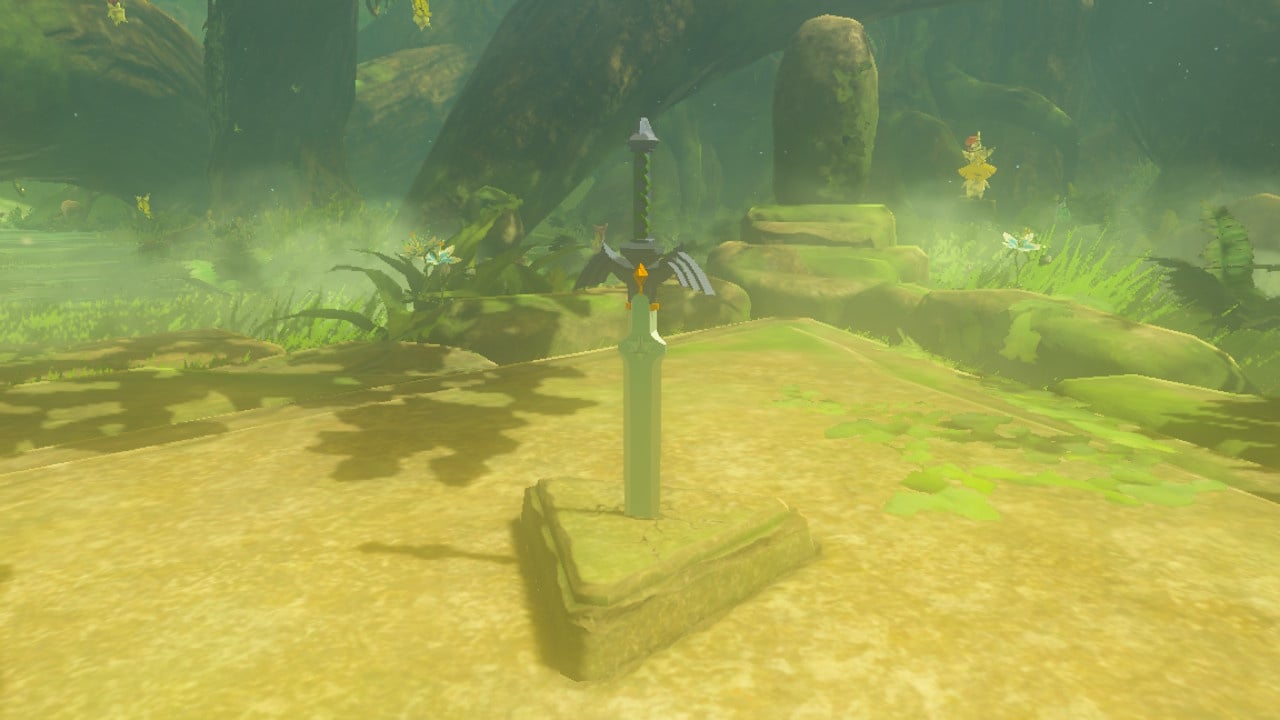
The first DLC pack for The Legend of Zelda: Breath of the Wild has been released and with it comes the Trial of the Sword, a series of 50 challenges split across three sections which Link must complete in order to fully power up the Master Sword. Completing all three sections will raise the Master Sword's power from 30 all the way to 60, releasing the power that normally only manifests when around creatures tainted by Calamity Ganon's dark power.
Clearing this trial is no simple task, so we here at Nintendo Life have scoured every nook and cranny of each floor to bring you the best strategies for defeating Ganon's minions. Read on for some in-depth strategies to help you on your path to unlocking the Master Sword's true potential.
Subscribe to Nintendo Life on YouTube846k
This guide is for the Beginner Trials. If you're looking for the Middle Trials click here, or if you're in search of the Final Trials click here.
Before you Begin
It should be noted that the Trial of the Sword is certainly not easy. While not as difficult as Breath of the Wild's new Master Mode, it's no slouch. If you want to get through the trials without crushing your Joy-Con out of frustration we humbly recommend you check out the three tips below to help you prepare for the coming onslaught.
Track Treasure Chests
Few tips are going to be as critical as this one: set your Sheikah Sensor to track treasure chests. To do this, snap a photo of any treasure chest you find out there in Hyrule, then open your map, hit Y, choose change target and find and select that photo of a treasure chest you just took. This will help you locate hidden chests in any of the 50 floors you'll be battling your way through.
Max out Hearts
If you haven't yet finished all of Breath of the Wild's shrines, now would be a good time to do so. On later floors a single attack could take as much as 75 percent of your hearts, even at the maximum amount, so be sure to pray to those Goddess statues!
Visit Hestu
Weapons are a commodity in the Trial of the Sword. So much so, in fact, that you're going to need to expand your available melee weapon slots to make sure you have what it takes to make life easier on our hero. We had 19 slots going into the trials which certainly made life and inventory management much easier. We would recommend a minimum of 15 before you dive headlong into this. With 10 bow slots and seven shield slots we never found ourselves worrying, so we'd say those are the sweet spot for those items as well.
Beginner Trials
Underground Floor 1
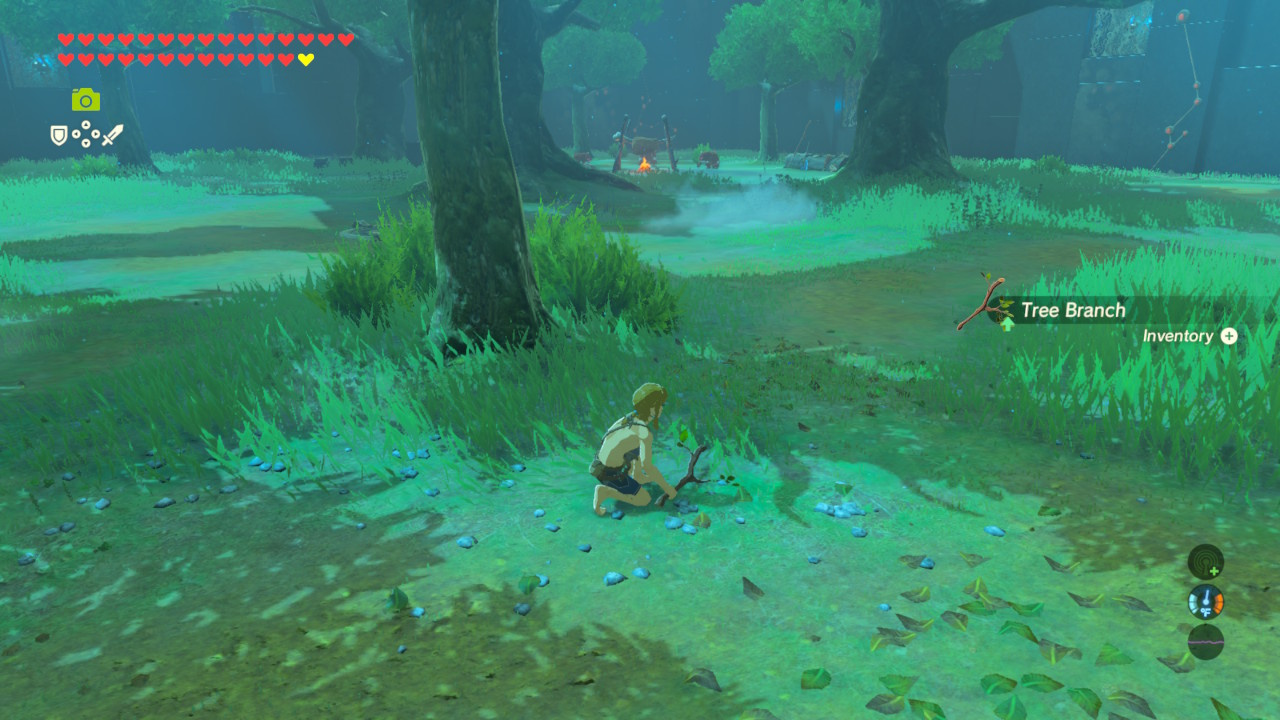
The first floor is fairly simple, but you’ll need to be careful as healing items are scarce. From where you spawn you’ll see three Bokoblins around a campfire. To the right is a log with all of their weapons leaned up against it, and immediately in front of you is a tree branch. Grab the tree branch, and stealthily flank the bokoblin camp, being careful not to be spotted. Once you’re close enough, rush the log and collect all their weapons before they can get to them. After that, make quick work of them with their own stolen weapons. Be careful not to be hit, as you’ll take far more damage than normal on account of not having any defensive gear.
Another option is to simply hurl one of your bombs at the group before they see you and detonate it once it's near the campfire - a single blast is enough to slay these low-level enemies but it has the unwanted side-effect of scattering items, potentially making them harder to find.
Once you’ve cleared the camp and dispatched the three Bokoblins, scour the area for items. There are a few boxes off to the left containing food. Also make sure to grab the seared steak on the fire, then proceed to the next floor.
Underground Floor 2
The second floor lays out all its threats right in front of you, but far enough away to where you won’t be spotted immediately, so use that to your advantage. The structure directly in front of Link has three Bokoblins atop it, with an archer keeping watch. Be careful not to catch its eye as you move closer as you’re only ever so slightly out of its line of sight where you start out. To the right there’s a lone Bokoblin on a small platform and to the left is a Fire Chu Chu.
We recommend starting out by heading left to flank the archer on the larger platform and climb a tree. Land behind the archer and you should be able to sneak up behind him for a sneak strike. It might not be enough to kill him, but it should make him drop his bow. For the remaining two, you’ll need to use good old fashioned violence. Once you’ve cleared the Bokoblins from the first platform, hop off and take care of the lone archer on the right. He should be easy to take out as long as you don’t walk directly in front of him.
After you’ve made short work of the four Bokoblins, track down the Fire Chu Chu and kill it with a bomb so you don’t waste arrow and aren’t caught in his explosion when he dies. With that done all that’s left is to loot any boxes or barrels you find and move on.
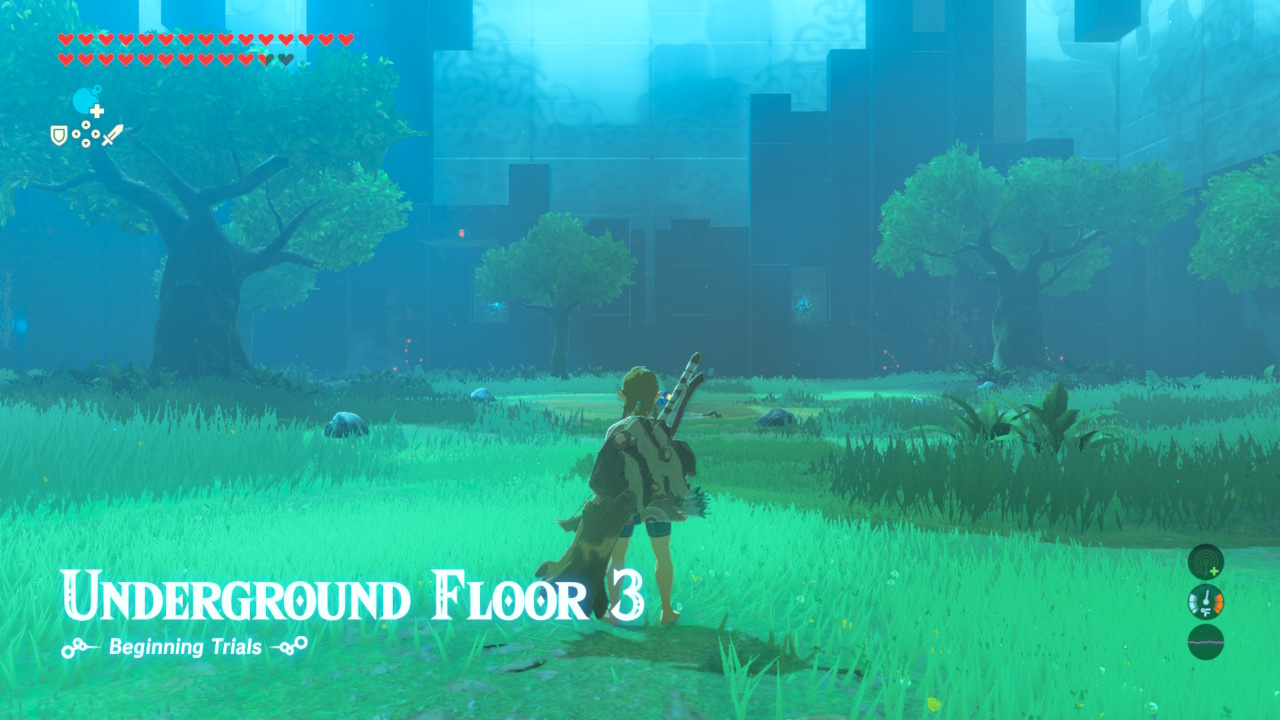
Underground Floor 3
Thankfully, this floor is a piece of cake. Then you start you’ll a single, small Chu Chu inching its way toward you. As we did on floor 2, kill the little bugger with a bomb; once you do, four fire Chu Chu will pop up to challenge you. Kill them, and four more fire chu chu will spring up, only this time they’ll be much larger. Keep throwing bombs until the final four Chu Chu are down and the gate to the next floor is open.
Make sure to keep your eyes peeled for two treasure chests on a wooden platforms attached to walls. To reach these, tempt a Fire Chu Chu near the wall and use the flames it has created as an updraft to sail up to the platform using your paraglider.
Underground Floor 4
When you start the fourth floor, the first thing you’ll notice is a very tall tower to your right and a Bokoblin camp directly in front of you. Climb the tower and knock the Bokoblin archer off. You’ll find two explosive barrels; throw them onto the unsuspecting Bokoblins below, then use your paraglider to sail in and finish the job. There are two red and two blue Bokoblins. Focus on the red ones first as they’re much easier to kill, then shift your attention to the much sturdier blue ones.
We highly recommend using a spear to take them on as their weapons are far more powerful than anything you’ll have encountered in the trials up to this point. Once you’ve finished them off, smash all the boxes and barrels in the camp and proceed to the next floor.
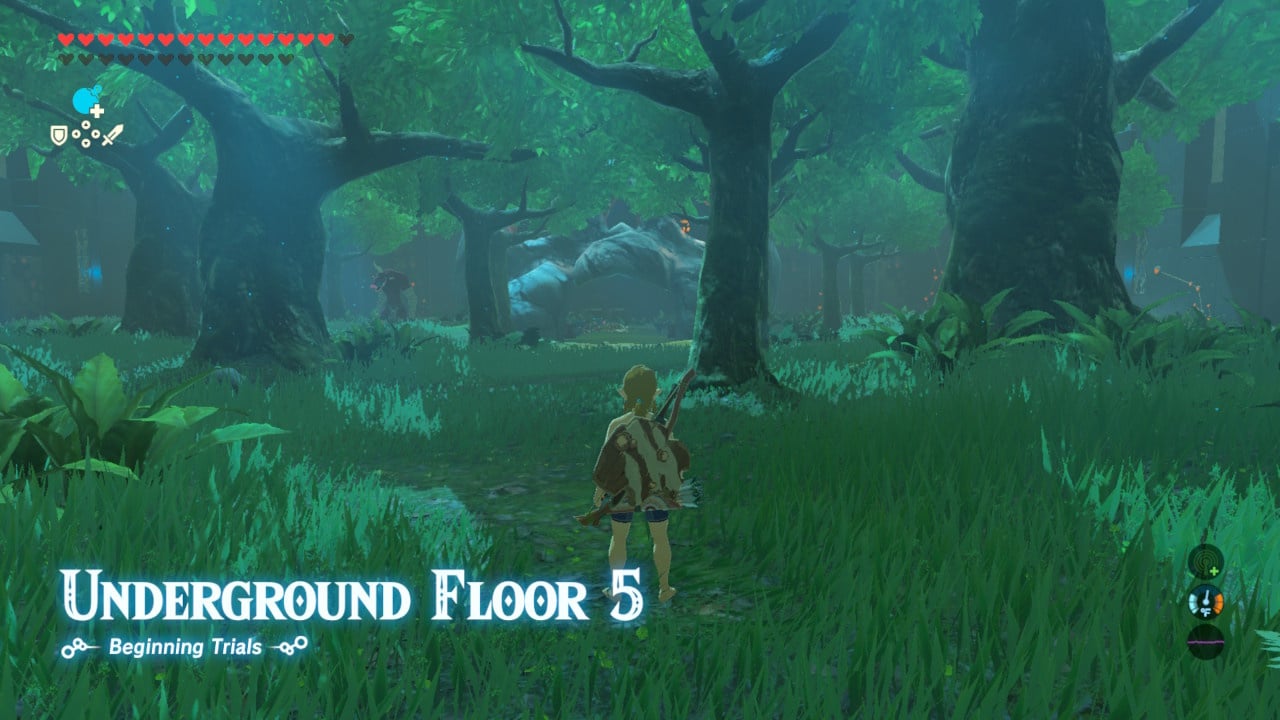
Underground Floor 5
The fifth floor contains the first Moblins of the trials, as well as one of Hyrule’s familiar skull-shaped enemy camps. There are two Moblins between you and the camp. They’re strong, so we recommend staying out of sight.
Go to the right and hug the wall. Wall along the wall until you reach the other side, then walk around the back of the skull-like structure. You can then climb up the structure and hurl bombs onto the Moblins below without them even realising you're there. Don't worry about being accurate with your throws - the Moblins will investigate when they see the bomb hit the floor, making it easy to take them out. A few blasts on each Moblin is enough to kill them, and you may even find the foolish Bokoblins exit the safety of the camp and get caught in the blast as well.
Once you've dealt with the Moblins, place (don't throw) a bomb from the top of the skull-like structure and you'll find that it rolls into one of the eye sockets - detonate it and it will trigger a chain reaction thanks to the explosive barrels contained within. Once you've killed all of the enemies, drop down and grab the loot - there are arrows, food and weapons inside, but be fast as some of them will be on fire and will end up being destroyed if you're not swift enough.
Underground Floor 6
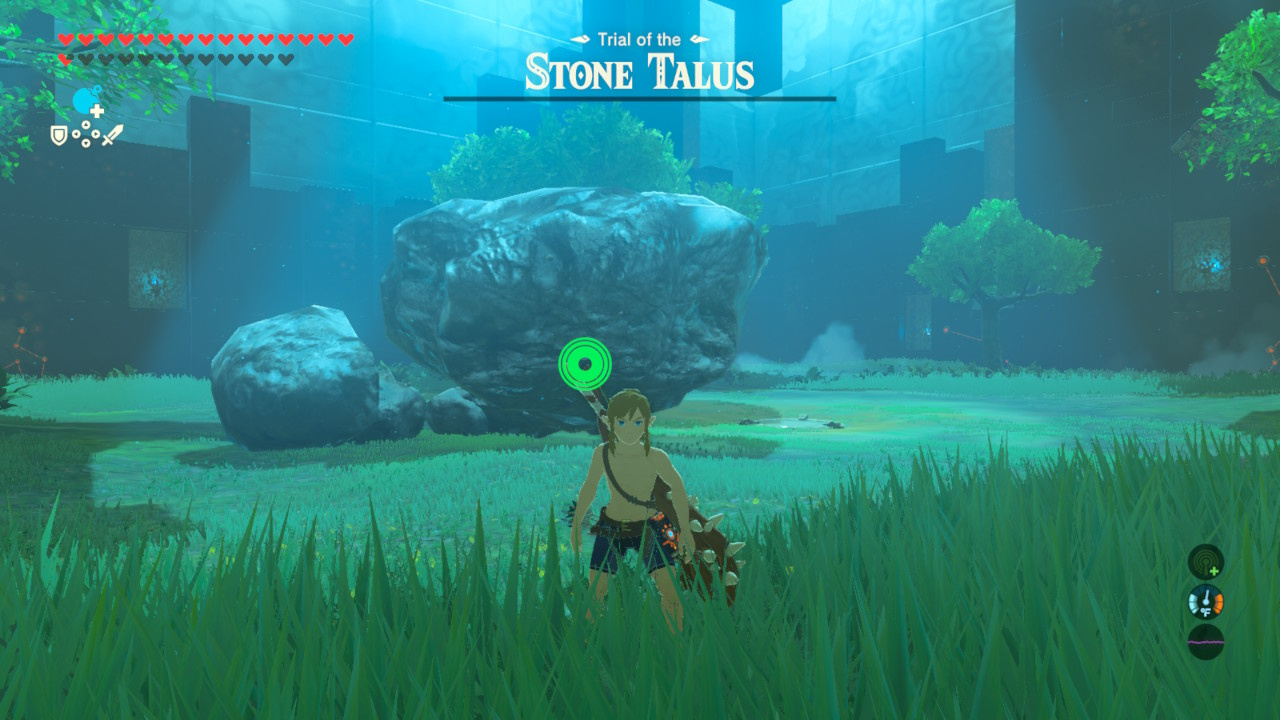
The sixth floor is Link’s first major challenge. Directly in front of you is a Stone Talus; it’s the only enemy in the room. Use what you’ve gathered to this point to kill it. There are two metal crates and some explosive barrels around to help you, but we recommend simply using remote bombs to destroy one of its arms, climbing it, attacking the weak point on its head and repeating until the deed is done. If you’re good at timing your bombs, the stone talus should never have an opportunity to attack.
If you're not confident and don't mind spending a bit more time you can scale one of the trees and hurl bombs down on the enemy - time the detonation properly and you can chip away at its health without it even having a chance to retaliate. This is a good strategy if you're keen to conserve your weapons, too.
Once it’s defeated, head to the next floor.
Underground Floor 7
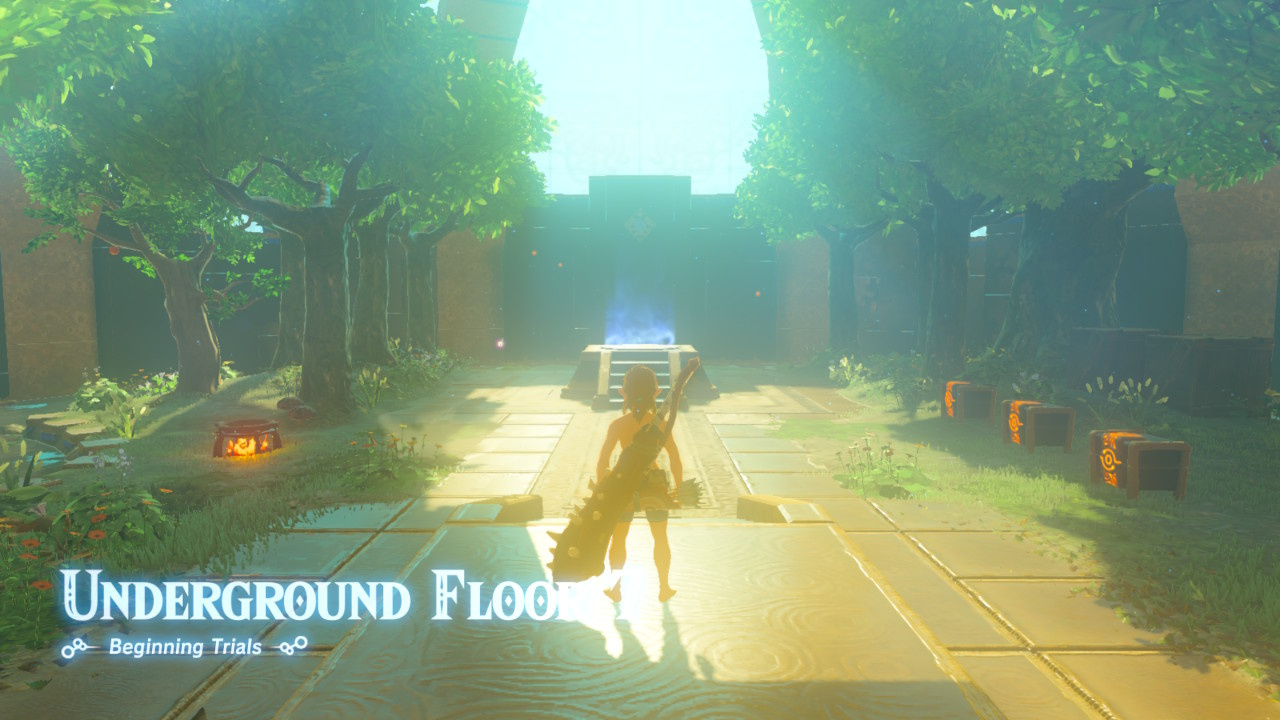
Here you’ll get a chance to restock on food, weapons and arrows. The floor is simply a place for Link to catch a quick rest. Though you can’t fill up your hearts, you can cook food using materials gathered thus far and the three chests to your right contain some higher-end weaponry than what you’ve been able to scavenge.
Make sure to take everything, from the apples in the trees to the fairy flying around, to the armored carp in the pond. There are also mushrooms to pick and use in dishes. Cook all the food you’ve got and move on when you’re ready. There's also a Korok Leaf to collect here which comes in handy later.
Underground Floor 8
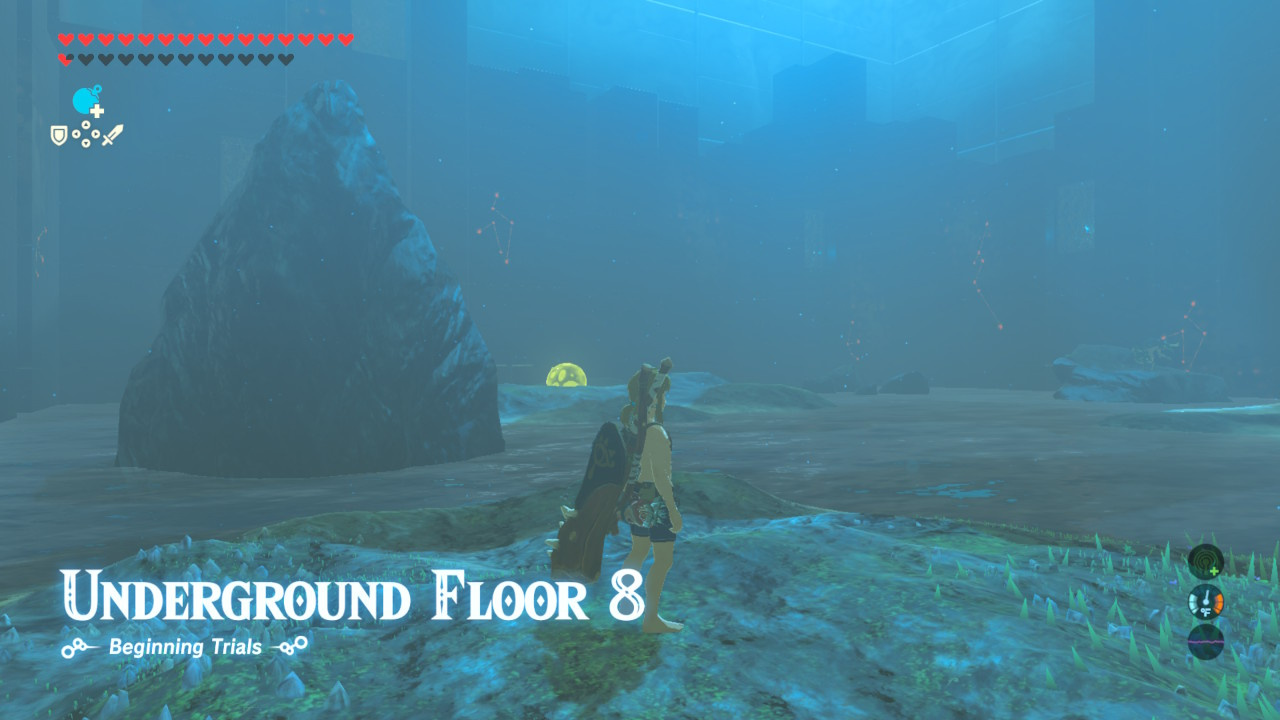
The eighth floor is all about Lizalfos. On your left you’ll see a camp containing two of them and an electric Chu Chu. To the right of that camp is a lone Lizalfos archer and there's a Lizalfos directly in front of your starting position. We recommend starting from the camp, as it’s the easiest place to pick off your foes from.
From a safe distance, take out the electric Chu Chu with an arrow to shock the Lizalfos, causing them to drop their weapons. While they’re stunned, steal their weapons and lay into them. Once you’ve defeated them, take the roasted bass and Boko spears from around the camp fire, then turn your attention to the archer. Take it out then use your arrows to take out the remaining Lizalfos from a safe distance. Once you're done, use magnesis to find a chest and metal box in the water. Bring them up, take the loot and go to the next floor.
Underground Floor 9
The ninth floor is rather easy, but is going to rely entirely on your archery skills. There are two Octoroks and an electric Wizrobe. The Octoroks will go down from a single shot (you can also stand close to the water's edge and deflect their projectile back at them by blocking it with your shield), but you’ll need to be more careful with the Wizrobe as it can be cause for consternation if not handled appropriately.
Fortunately, when a Wizrobe first notices you it’ll wave; take this opportunity to shoot it in the head with an arrow, knocking it down. If you’re within range, start attacking it. If your weapon is powerful enough this should do the trick, but if need be simply repeat this until you’ve taken care of it, and take its lightning rod weapon as it’s incredibly useful.
Before you leave, check the upper-right corner of the map for a treasure chest you can lift out of the water with cryonis. There’s also a metal box in the water nearby that you can get out with magenesis.
Underground Floor 10
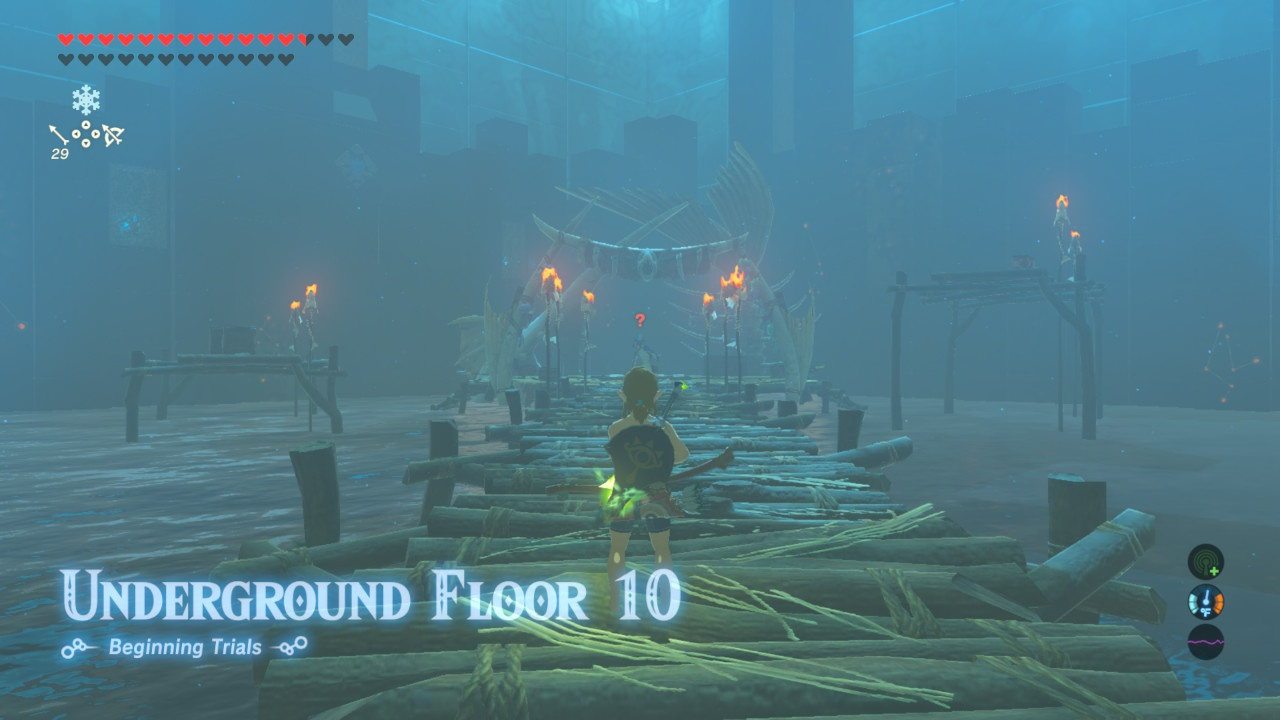
This time you won’t have an opportunity to think. The second you drop you’ll be rushed by two Lizalfos. Use the lightning rod you picked up on the last floor and disarm them, then attack with another weapon. Once they’re knocked out of your way, rush the archer and disarm it as well. Another option - if you're skilled enough - is to use your bombs to blow the enemies off the platform and into the water, where they're less of a danger.
Finish the three Lizalfos off; if they take to the water and attack you from there, use arrows or bombs to finish the job. Once they’re defeated, make sure to smash all the wooden boxes and barrels, and use magnesis to bring the two metal boxes far to the left to you, then smash them, take your spoils and move on.
Underground Floor 11
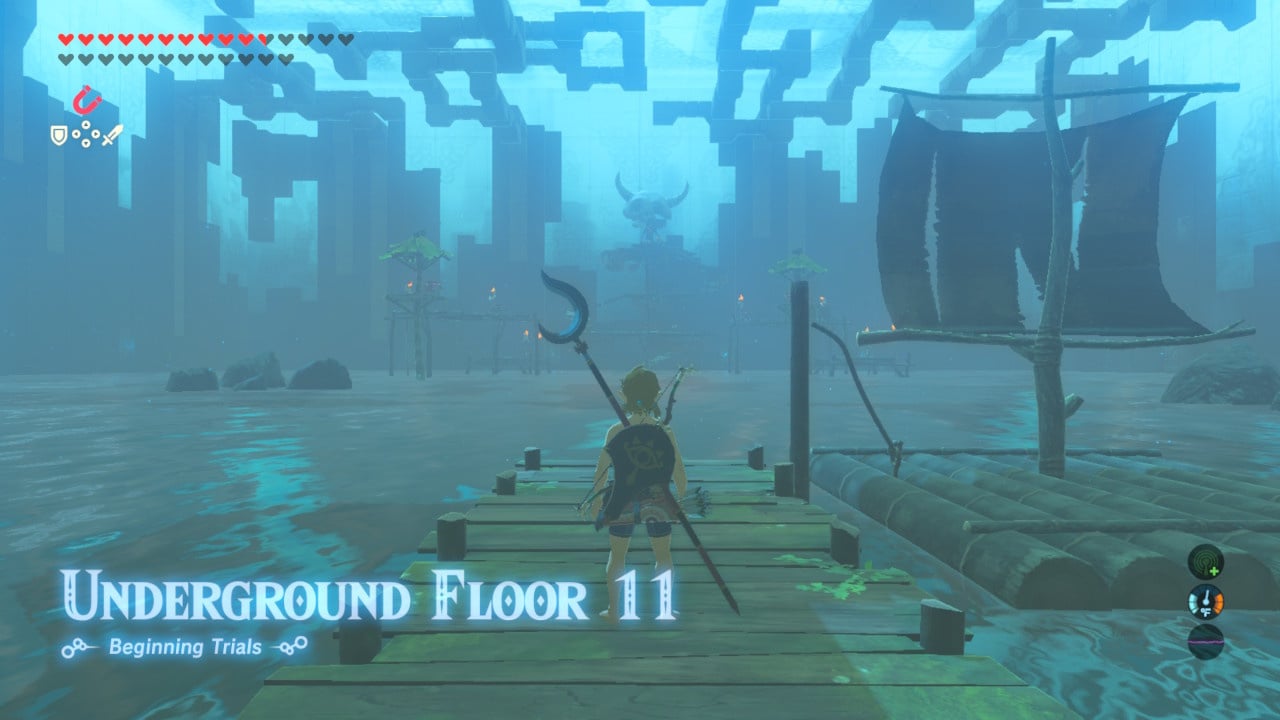
The next challenge presents Link with a large enemy camp, a breeze and a raft. If you have a Korok Leaf it’ll come in handy here, otherwise, you’ll need to defend yourself and your raft as you drift toward the enemy camp. On both sides of your raft you’ll encounter Bokoblin archers with fire arrows. A single headshot should be enough to take each Bokoblin out if you equip your most powerful bow, but do be mindful of their arrows as they’ll deal a hefty amount of damage to an unarmoured Link. Once you arrive at the enemy camp you’ll need to be very careful as there are several Bokoblin and a powerful Moblin lying in wait.
The best strategy here is to knock the enemies off the platform and into the water below as they’ll die instantly from contact with it. When you get an enemy’s attention lure it down the steps to the lowest platform, then board your raft and use an arrow to knock them into the water. Repeat this as many times as needed and you’ll clear this floor without issue. The Bokoblin camp contains a treasure chest as well as a few boxes to smash for some items. Once you’ve had your fill, proceed to the final floor.
Underground Floor 12
The final floor of the beginner challenges is a boss battle against a Hinox. Like the Stone Talus before it, it’s the only enemy on this floor. To defeat the Hinox, shoot an arrow into its eye and attack it while it’s stunned. From time to time the Hinox will cover its eye to prevent you from hitting it; lob a few bombs at its feet to shake things up a bit. Make sure to keep your distance as the Hinox can easily fell Link in a single blow.
When fighting from a distance the Hinox will also attempt to throw trees at Link, so if you see it nearing a tree, throwing a bomb to destroy the tree is a good idea. Once you’ve killed the Hinox, don’t bother looking for any loot as you’ve completed this section of the Trial of the Sword and can’t take anything back with you.
Now that you’ve completed the beginning trials, the Master Sword will be powered up from 30 attack to 40 and the Middle Trials will be unlocked.


Comments 16
Thanks Steve, this will come handy, only made it to the 6th floor on my first blind try.
I've managed to get as far as eleven and will pick it up after work. Gets tough with limited weapons when you reach the lizalfos stages.
The Sword Trials have brought me to a hard realization: having spent so much time now in the main game with leveled-up armor and plenty of recovery items made me a bit lazy regarding practicing techniques like perfect-dodging and shield-blocking. It's pretty much forcing me to go back to basics...but that's a positive thing.
Of course, check back after my next attempt to beat the Guardian waiting at the end of more than an hour's worth of play time in the Middle Trials and I might have a different, less positive take. Having to go all the way back through again after dying is frankly soul-crushing. I don't want to lose interest due to the time investment required, but that's definitely a possibility if too many deep attempts suddenly go awry.
Almost got here! So you get breaks? Thats a relief!!!
@AtlanteanMan Hey just don't get too frustrated. I was too at first, now I go back and beat them all just for fun. The more you play, the more you learn and get better at it
What I find really helps with EVERY floor you go to - Master and constantly use slow motion head shots with your bow. Always look for places to get the high ground, jump, and use your bow in mid-air.
I personally found the beginning trials harder than the intermediate trials, because you stay almost naked and defenseless to the very end.
@Excalibur_120 Agreed. The later trials throw too many resources at you every rest stop and even give you access to ancient arrows. I also feel like some of the enemy placement in this makes a lot more diificult than in the later trials.
Any buffs you have prior to placing the master sword on the pedestal will carry on to the trials. I have found that a 30 min high level defense buff (eg. 4 ironshrooms and 1 farosh horn) is the best available option. Also if you have not bothered to go shrine hunting for the maximum amount of hearts, you can use a recipe that will give you temporary hearts up to the max. So make sure you are well prepared before entering the trials.
I've only managed to get to floor 8. I knew I'd find this hard, though, so will just keep trying. Maybe I'll even get it done by the time the second DLC launches.
Now do one for Master Mode Trial of the Sword. Hehe.
But seriously though, the beginning trials felt a lot harder than the middle and final trials. What's the point of throwing Lynels at me if you're also going to give me a bunch of ancient arrows? I found the floor with a the Lizalfos to be the most annoying because they knocked me into the water and then proceeded to shoot projectiles at me, and it was nearly impossible to get back out of the water. Grrrr...
Also I should add, get stasis+ before attempting these trials. It makes Hinox fights an absolute joke. Stasis, arrow to the eye, slash a bunch, repeat.
@Sakura If you're careful to dodge attacks, attack from a distance as much as possible, and use slow mo headshots with arrows, this really isn't too bad. In fact, the beginning trials honestly feel harder than the middle and final trials. I actually did the whole thing in around four hours so you can too!
Ah so I don't have to do the full 45 rooms in one sitting and can just tackle them a difficulty at a time? You can start from the middle Trials after beating the beginner?
@Giygas_95 Thanks for the tips! I'll keep at it definitely, it just takes me a while to "get" it. Feels great when it finally clicks, though.
@Baker1000 That is correct! In fact the game pretty much forces you to do that as you are transported out after beating a section. I think subsequent runs allow you to do it all in one go, but I'm not sure.
@Sakura No problem! Hope you beat it!
The Hinox always guards his eye after you've shot it three times, unless he's holding something.
In Underground Floor 1 there's also bird eggs in the tree directly in front of you when you begin.
Show Comments
Leave A Comment
Hold on there, you need to login to post a comment...