Captain Toad: Treasure Tracker is now available in North America and Europe, adding another excellent title to the Wii U library. In this game the goal for Captain Toad and Toadette isn't simply nabbing the star at the end of each stage, but also picking up three gems hidden throughout each level. These become vital in unlocking later content, so they can't be ignored.
Some of these gems can be tricky to find or reach, so we thought we'd help you out. Below you'll find a step-by-step guide to finding all of the gems in the lengthy Episode 3 of the game; you can read our episode 1 guide here and also learn all of the episode 2 gem locations. Whether you want a walkthrough for your first play, or just pointers to gems that have eluded you, we've got you covered.
The episode's 28 stages are below — enjoy!

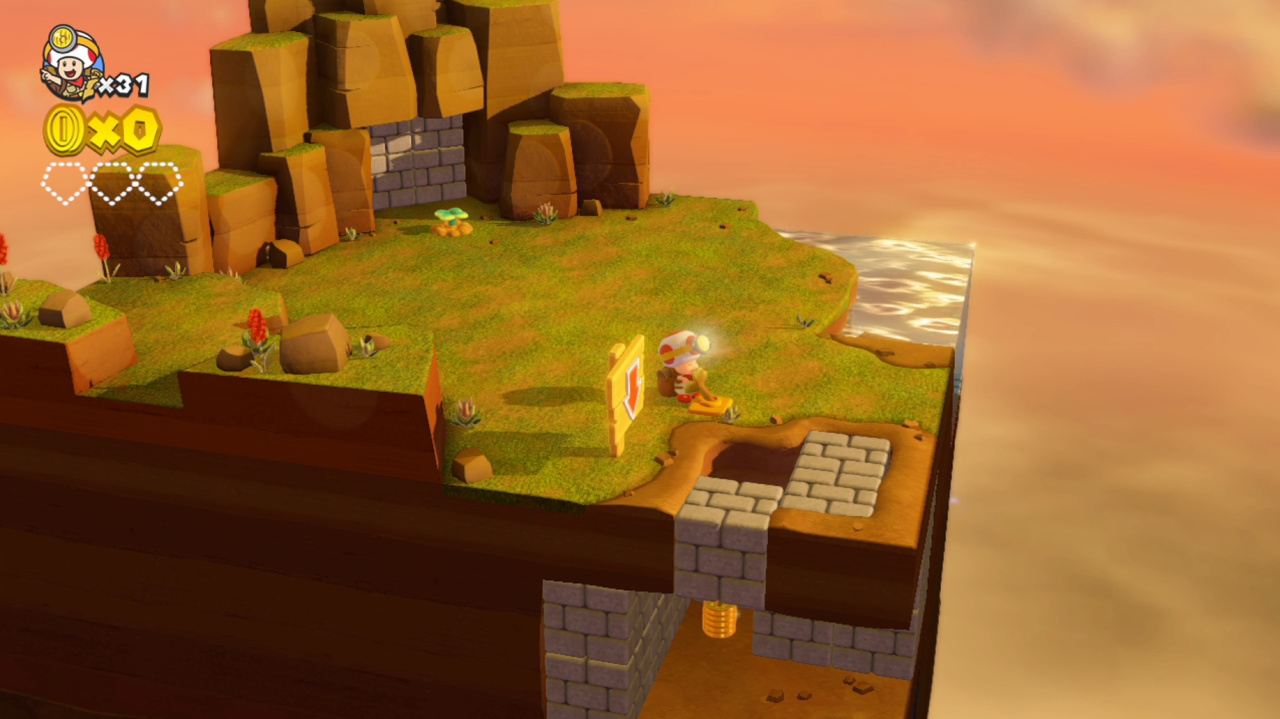
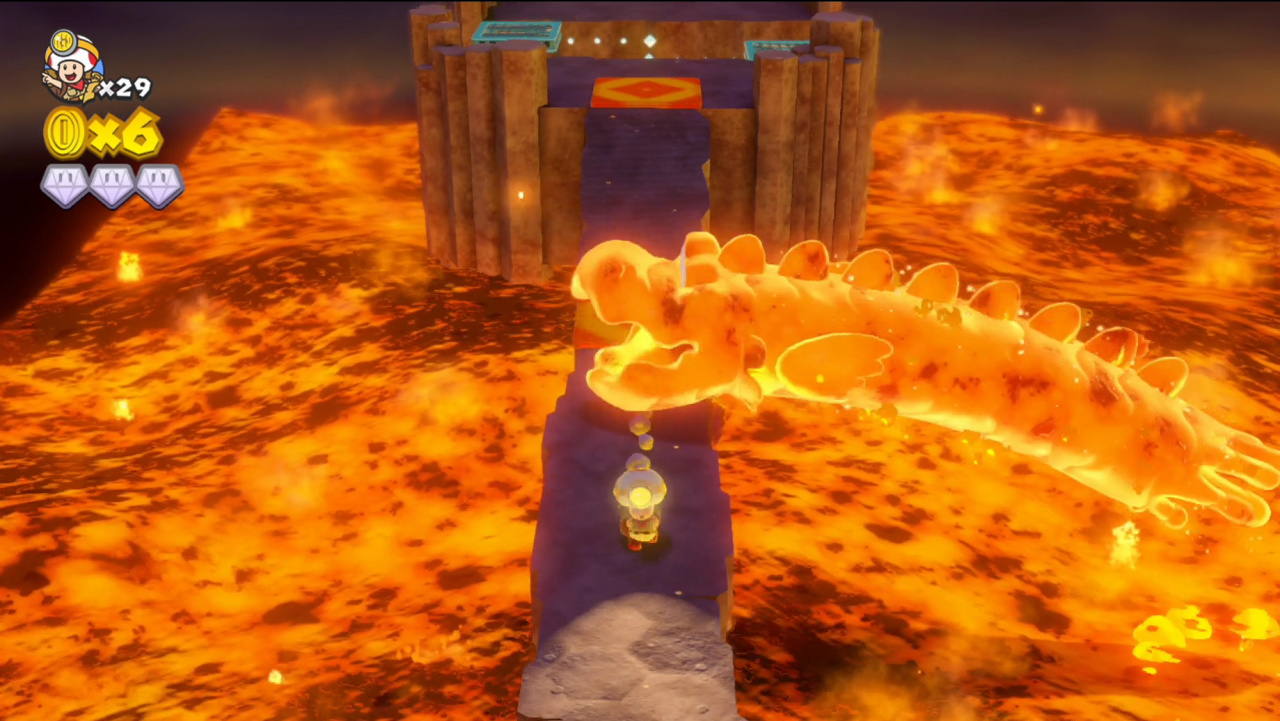
Level 1: Rolling Inferno
See the stacks of coins on the platform in the back left corner of the stage? Well, just to the right of that there's one of those raise-by-blowing-in-the-mic platforms. When you arrive on this platform, don't raise it. Instead, rotate the camera until you see an opening in the structure ahead. Walk through it and around the corner to collect the first gem.
Subscribe to Nintendo Life on YouTube845k
At the highest point of the stage is where you'll find the next gem – and it is right out in the open. When you arrive in the area, run along the long green rolling cylinder – avoiding the lava dragon that lunges by – and make your way to the gem.
Go back on the long green roller on the end closest to the edge of the stage and blow into the mic. You should notice that the blue platform below has moved directly below you. Walk off the edge and fall on it, immediately turn around to enter the structure behind you, and then turn a couple corners to get the last gem.
Level 2: Seesaw Sizzle
When you reach the second seesaw, instead of being launched into the air by a falling boulder you'll need to walk onto the edge of the teetering platform until you can enter a doorway on the wall ahead. Once in here, you'll make a right turn and exit to an outer walkway with a ladder and a turnip stem. Rip up that stem to get a gem.
The third seesaw of the stage will lunge Toad forward, landing on the head of a Spike (the little green enemy that throws those massive spiky boulders). After you've flattened out Spike, drop off the platform and onto the walkway below. As soon as you pass through the doorway ahead, make a right turn toward the centre of the stage and nab the gem that's tucked away.
When tracking down the last gem, you likely noticed that the next gem is sitting out in the open on the platform just above. Head over to the P-switch, across the platform and up the ladder. That gem that you spied earlier is actually at the end of this walkway, under the seesaw. To get there you need to be quick and avoiding the dropping spiky boulders.
Level 3: Beep Block Sky Plaza
Immediately to the right of the block that Toad starts on, you should see a doorway with a gem inside. This one is very easy to get to, as long as you mind your timing on the Beep Blocks just ahead.
Three bricks away from the starting point you should see a group of four stems – these are actually turnips. Looking toward the middle of the stage, you should also see a gem when the blue blocks clear away. Use the turnips to get this gem.
The third and final gem is attached to the stem directly beside the Fire Bro. The best way to get it without taking damage is to bring a turnip along with you from the previous safe platform and throw it in his face.
Level 4: Pickaxe Cave Plummet
At the very top floor of the stage there's a corner filled with water. Under the water, there's a grey brick planted in the ground. Get one of the pickaxes from the stems above and use it to crumble this bricks to be rewarded with a gem.
Keep moving forward and uncovering the pickaxes as you break the grey bricks. When you get a few floors down, you should see a gem encased in more grey bricks. Bust them up with the pickaxe and get the gem.
The final gem is located at the very end of the stage. You may need to replay the stage once or twice to know how to make the right moves to collect it. Basically, as you're descending and continuing your pickaxe streak, stick to the left side. When you fall into the final room with the star in the middle, you need to be on the left platform with an active pickaxe. Use it to break the wall of grey bricks to uncover the gem.
Level 5: Stumpy Springs Sanctuary
See the log slide above Toadette's head at the start of the stage? There's an opening in the wall just below it that allows you to climb down a small ladder and enter the water below. To the right of that ladder, on the same wall, there's a compartment that houses a gem. Grab it.
When the geyser launches you to the very top of the stage and you drop into the opening in the middle of the log, walk in the direction back toward the geyser, where you'll collect the second gem.
After falling from the log at the tippy top of the stage and landing on a P-switch, rotate the camera around until you see the gem and the walkway leading to it. Head on over to the gem and pick it up.
Level 6: Biddybud Snow Stroll
See the lone stem on the top floor of the stage? That's a gem. It will take some trial and error to get there because some of the tiles drop to the area below. Keep heading back up and working toward it.
From the starting point, it's the tile in the upper right corner that drops you right onto a gem in the area below. Once again, a little trial and error will allow you to make your way there.
The last gem is down in the lower area and can be reached without too much effort. Walk around the area while avoiding the Fuzzies moving on their path. When you come to a certain point, you should see a recessed compartment with a gem inside. There are two Fuzzies attempting to guard this gem, but you should possess the skills to sneak past.

Level 7: Cagey Conkdor Caper
The first gem is directly in front of the third Conkdor from the stage's start. You'll need to be swift to get this one.
After riding the tallest yellow pipe up, falling through the rotating wheel and then yanking up the pull switch, the row of three Conkdors will raise to the upper platform of the stage. You should notice that these Conkdors are now aligned with a few grey bricks. Take the yellow pipe opposite of the first yellow pipe to reach this walkway. Now, have the Conkdors smash all the bricks so you can get to that stem, which is a gem.
The final gem is located on top of the rotating cylinder on the lower part of the level. When you're on top of the cylinder, make it spin until you see the gem. Now, quickly make a run for it – but beware of the Conkdor.
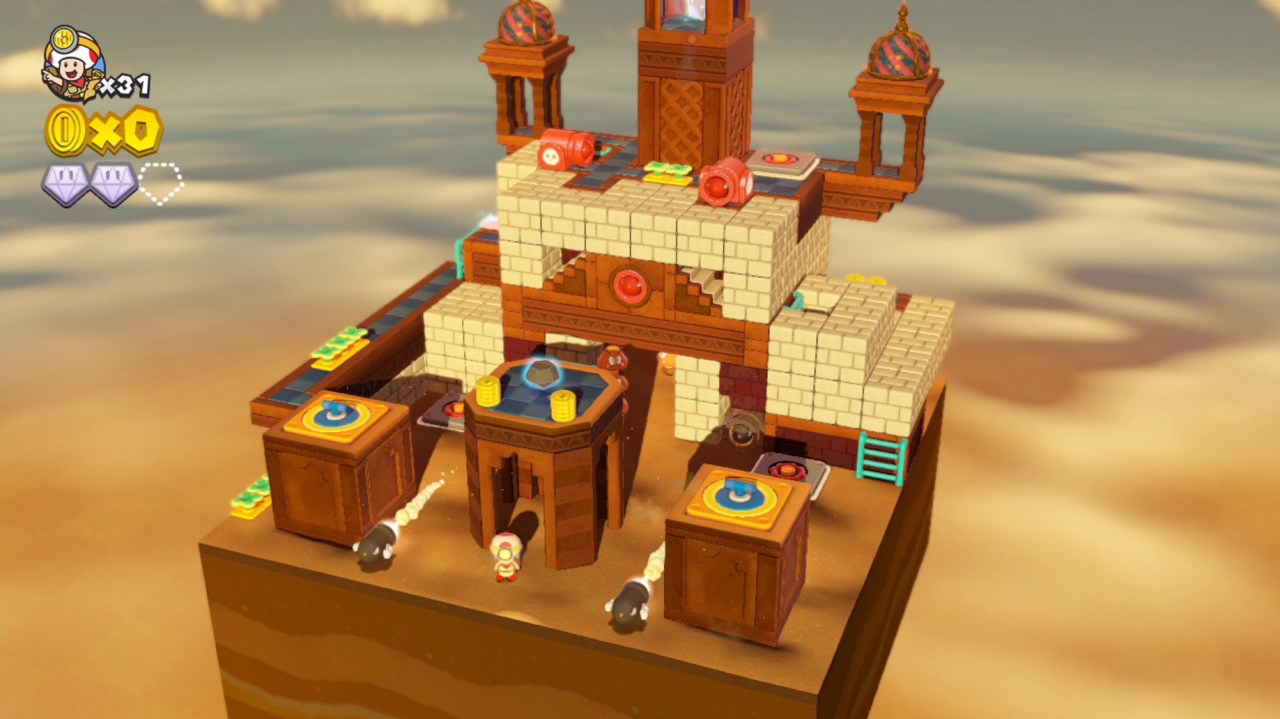
Level 8: Up 'n' Down Desert
When you start the stage, look to the corner ahead to see two P-switches on the sides of a platform with two stems, one being an enemy and the other a gem. If you step on the P-switch on the right side (the inner side) it will lower this platform to ground level, letting you collect the gem.
You should see the next gem when walking on the inclined pathway on the edge of the stage. To get this gem, use the three P-switches around it to raise the rock platform with the enemy on it, creating a bridge.
The final gem could be reached from the top floor of the stage if it weren't floating out of reach. What you need to do is pluck one of the enemies from the ground and throw him at the gem, just like you've done with turnips in the past.
Level 9: Mine Cart Ruins Rumble
The first gem is a good ways into the stage. When you've hopped into the second mine cart, you'll notice a pyramid of bricks to the right of the tracks. Shoot this pyramid apart to find a gem hiding in the middle.
Shortly after collecting the first gem, you'll come to a group of Mud Troopers crowding around a POW block. Shoot the POW block, which will cause the Troopers to disperse. You'll then have a clear view of the gem. Shoot a turnip at it.
After making the very big drop to a new section of the stage, keep your eyes focused on the rock pillar on your left. On the backside of this pillar will be some bricks with a gem on top. Launch a turnip at it to add it to your collection.
Level 10: Multi-Vator Mayhem
Once you've created four Toads by consuming the cherries, you'll arrive at one of those yellow elevators marked with the number 4. Instead of loading all the Toads onto it right away, start pulling up stems until you find a pickaxe. When you have the pickaxe, hurry over to the couple grey bricks in the corner and break them to reach a gem.
For the next gem, take that same elevator marked with the #4 up to the top of the stage, and the gem will be directly in front of you when arriving.
The final gem is located on the main floor of the stage, on the platform with the large pine tree, the cherry, and the lone stem. You guessed it – that stem hides a gem! To get there, drop from the platform with the star, which is where you'll be after step 2.
Level 11: Flip Panel Footpath
Note: Follow these steps in order.
The very first gem can be seen on two drop blocks from the start of the stage. Get this one quickly as you're running along the flip panels that lead by. Be sure to be fast and run on one drop block at a time so you have an escape route.
When you get to the floating rug just after the last step, activate both of the switches at the same time. Quickly follow the flip panels to the right to get the gem and then land on the other flip panel pathway and climb the yellow ladder.
From here, drop back onto the two switches that you just activated, but follow the left pathway this time. On the backside of the tower there's a yellow ladder – climb it. At the top, there's a row of stems. Pluck the middle one to own the final gem.
Level 12: Rock Block Badlands
The small structure right in front of Toad when starting the stage has a gem on top of it. Climb the ladder on the side to reach, but be sure to avoid the red Bullet Bills that come flying your way.
Use the spinwheel on the right side of the stage to lower the corresponding platform with a pull switch on top. When you pull that switch you'll enter turnip cannon mode. Look straight ahead to see a gem off in the distance. Shoot a turnip at it and it's yours.
To get the last gem – which is in the back lack corner of the stage – you'll first need to use both turnip cannons to clear all of the grey blocks from the main structure. After you've done this, take the blue staircase on the right side of the structure and make your way across to its left side, avoiding the red Bullet Bills. Once arriving, you'll notice there's a gap in the platform keeping Toad from physically getting to that gem. What you need to do is pluck a turnip from the other end of the narrow platform and throw it at the gem. Voila.
Level 13: Secret of the Golden Realm
As you're approaching your third left turn from the start of the stage, you should see three touchstones in a row, with a door and a gem on the other side. To reach the gem, just make sure to raise the last of the three touchstones all the way up while you're on it.
After you enter a pipe cannon for the first time and launch across the level, you'll come to a couple of touchstone blocks with doors on them. Use these blocks to clear the gap and reach the other side. When you're there, instead of entering the next pipe, enter the door on the wall. Now that you've done that, you'll exit on a lower platform, and just ahead will be a gem sitting on a couple of drop blocks. Walk over the switch to trigger a flip panel pathway and follow it to the gem.
Following your second trip out of a cannon, you'll come to another set of touchstones obstructing your path – these also with doors on them. On top of the touchstone on the right is a gem. To get this gem, walk into the bottom door and you'll exit onto the upper platform on the left. Once there, touch the touchstone block on the right and it will line up with the platform, allowing access to the gem.
Level 14: Shy Guy Shadow Den
When you turn the first corner and sneak past the Shy Guy, you'll enter an area in the centre of the stage with another Shy Guy lurking about. What's he up to? It would seem he's guarding a ladder that leads to a gem. Either run past him when he's not looking or get your hands on a turnip to subtract him from the equation, then go ahead and add another gem to your collection.
After climbing a ladder to the second floor, you will come to a piranha plant that attempts to hit you with fireballs. In one of the corners of this area there's an unlit torch. Lead a fireball to this torch to set it ablaze and a gem with materialize on the nearby staircase.
Immediately following the last step, you should arrive at a hallway with two Shy Guys patrolling around a few columns. There are a couple things to notice here. First is the locked door on the back wall. Second is the opening in the wall closest to where you first entered the hallway. Heading through that doorway will lead you to the star, but instead of getting it, follow the wall shared with the Shy Guy hallway and you will arrive in a small room. In here is where you'll find the key. Take the key back to the locked door, unlock it, climb down the ladder and then go into the purple pipe. When you arrive at the underside of the stage, do what you can to pull the stem in front of the middle piranha plant to get the last gem.
Level 15: Razzle-Dazzle Slider
To get the first gem, slide down the right side of the board and fall down into the first circular opening that you come to. Now, walk into the pipe cannon and shoot yourself out. You should land right on the first gem, which is the one visible from the start of the stage.
The next gem is in the middle of the yellow and green roulette wheel. Just slide right into it during one of your many trips through the board.
Just below the yellow and green roulette wheel is a square opening in the board. Drop into it and you'll be a few steps from the final gem. All that's left to do is sneak past that hulking Walleye.
Level 16: Poison Canal Cannon Run
After shooting out of the second cannon and onto another touchstone platform, you have the option of either going into the pipe that's right there or tapping the platform. Tap the platform – be sure to avoid the Fuzzies so you still have two Toadettes – and then enter the pipe that it takes you to. Once here, stand on both of the switches to earn a gem.
Keep moving from touchstone platform to touchstone platform until you come to one next to a cherry and a gem. Be sure to get one at a time, since there's a divider between them. If you have multiple Toadettes at the time – you will need many for the last gem – this can be very tricky. You might want to get this gem on one run and come back for the next one after.
At the end of the stage there's an elevator platform that can only be activated with three Toadettes. If you have three or more, hop on the elevator to be taken up to the final gem.
Level 17: Fright Train Flight
The first gem is located behind Chargin' Chuck on the raised platform at the start of the stage. As long as you're quick, getting this one is a breeze.
The next gem is also pretty easy to spot. When you arrive at the two Flaptors patrolling around a bunch of crates, make your way to the semi-concealed corridor along the outer edge. If you run quickly past the Flaptor above, this gem is yours for the taking.
To get the final gem you'll need to enlist the aid of Chargin' Chuck. Lure him from the beginning of the stage until the large empty platform that loads with Mud Troopers. In the back right corner of this area there are a few bricks blocking off a ladder. Unsurprisingly, this ladder leads to the gem. Get Chuck to break this bricks and then climb up to get the gem.
Level 18: No Sleep at Magikoopa Keep
On the second floor of the structure there's a row of Stumpers (the wandering trees) that you can ride on. There's also a large opening behind them that contains a gem. Get it while riding across the gap.
After you cross over the Stumpers in the previous step, you'll come to a yellow pipe – don't get in it yet. Walk past the pipe to find a stem and a blow platform. The stem reveals a key. Throw the key on the blow platform and then take the yellow pipe to the next floor. Now, blow into the mic to raise the platform so you can reclaim the key. Once you have a good grip on it, follow the ledge around until you reach a locked door. Remember, the key can be used as a weapon if you throw it at enemies. Just be sure you don't unintentionally hurl it over an edge.
When you've reached the floor with the giant blue ladder that leads to the very top of the stage, you'll notice one of the edges is missing all of its railing. If you look below here, there's a stack of pacing Stumpers and an opening behind them with a staircase. Wait until the moment is right and fall down onto the Stumpers. Then head up the stairs and into the room with coins and stems. One of these stems is connected to the last gem.
Level 19: Retro Ramp-Up
After climbing the ladder up to the second floor you'll see a string of Para-Biddybuds flying in and out of a couple of small square openings in the wall. Just to the left of that is a portion of wall made out of bricks. If you climb the ladder that leads into where the Biddybuds are entering/exiting, you will find a stem that grants you with a pickaxe. Hurry and use it on the brick wall, rotate the camera to the back of the stage and then climb the ladder to get the gem.
The next gem can be found just after the seesaw flings you to the upper portion of the stage. As soon as you've landed, you will notice a small square opening right in front of you. On the level below you, however, is another square opening, and in there is where you'll get the second gem. Just wait for the spiky boulder to pass by before dropping down and making your way there.
Approaching the Spike that guards the star, you'll see a wall made of bricks and a small opening on the left end. Head through the opening and to the back of the stage, where you'll climb a tall ladder. Now back out front, take the blow platform over to the stem, which is a pickaxe. As soon as you have the pickaxe in your possession, drop below, bust up those bricks, and rotate the camera quickly to see the grey set of bricks to the left. If you break the grey bricks in time you'll have access to the gem around the corner.
Level 20: Twisty-Turny Planet
The first gem is on the middle ring. Make Toad run on it to turn it, and the gem will be easy to grab.
The second gem is also on the middle ring, but because it's on a raised platform, you'll need to do more work to get it. Rotate the middle ring until the platform with the gem is dead centre. Then, head to the third ring (from the front) and turn it until you line up a blue platform with the cloud and gem platform. Lastly, hop into the blue pipe to be taken up to the cloud and quickly walk across the platforms to get the gem.
The final gem of the stage is located at the end of the red pipe in the back left corner, but you can't access it from the main floor. Here's the skinny: there's a small hole in the back wall of the third ring. Rotate the ring until you can hop in the opening, and then the ring will naturally rotate until you've reached its lowest point. You should now be right in front of a few Toads. Head over to the Blue Toad and receive your reward.
Level 21: Ghost Gallery Gambit
The first gem is out in the open and can be gathered without effort. Just be sure to let the opposite end of the seesaw raise high enough for you to get it.
You'll run past the second gem but be unable to reach it, and this one requires rather tricky timing due to the rising poisonous water. Continue past the area with the gem, but not too far, and you'll see new flooring appear behind you that grants a path to the gem. Dart back quickly and grab it before escaping to higher ground; it may take a few attempts, or you can grab it, take the death but complete the stage right away in subsequent replays to keep the collected gem.
Like the first, the final gem is easy to get along the way, and the only requirement is manipulating a small seesaw.
Level 22: Touchstone Turmoil
See that gem right next to Toadette when starting the stage? To get it, tap the blue and yellow touchstone one time each, which will align the small yellow ramp ahead with an opening in the blue wall. Get in that opening. Now, tap the yellow touchstone once, and walk around the corner to exit through the opening that leads to the gem.
The second gem, which is on the small yellow platform being blocked by Para-Biddybuds, is simple to get. Just touch the blue and yellow touchstones until the surfaces are aligned, then sneak past the Buds to gather your treasure.
The gem that's in the middle of the ring of Para-Biddybuds is also very easy to get. If the blue touchstone is lowered, stand directly underneath the gem. Now, tap the blue touchstone and you'll be lifted right into the gem – easy.
Level 23: Colour Crate Carousel
This stage is another that's tough to explain. Right from the beginning you can see all of the gems. Just slowly and carefully make your way from one coloured area to the next while the stage rotates.
Here are a couple of pointers: the red and blue spaces lead to the backside of the stage. The red space has an opening inside that allows you to reach the center gem. Knowing that, you should be able to obtain all the gems quickly.
Level 24: Trick-Track Hall
In the centre of the stage is a gem floating over a pit. When you arrive at the two Piranha Sprouts shooting rocks at you, pluck one from the ground and use him to get the gem. Not too tough, just be sure that you line up your shot.
In the same area as the last step, you'll notice one of the Piranha Sprouts is on a touchstone block. On the other side of that touchstone block is a stem attached to a key. Be sure to get rid of the enemy first, then grab the key and stand on the touchstone – lower it. Right around the corner from where you're now at, is a locked door. Avoid the projectiles coming from the Piranha Sprout and unlock the door. The second gem is now yours for the taking.
When you're navigating the moveable panels at the top of the stage, rotate the camera around until you're aware of a gem hiding in a tiny compartment below one of the Spikes. This is pretty easy to get – just use the follow the panels around the edge. You'll have to make a couple out-of-the-way moves to get there, but it's still very straightforward.
Level 25: Deep-Space Gyromajig
All of the gems in this stage are pretty hard to miss along the way. For the first, once you've flipped the stage a second time, the next switch will be guarded by a couple of Bullet Bill cannons. Instead of stepping on the switch, head past it and around the corner to acquire the first gem.
The second gem comes directly after the stage rotates for a third time. You'll notice the gem is on an unreachable platform near you. What you need to do is get one of the turnips from between the two Conkdors – hurry back and use it to throw at the gem.
Immediately following the last step, you have the choice of two different P-switches. The one you want is the one to the opposite side of the Conkdors. But, before you step on it and flip the stage, pull the stem from the ground to get a pickaxe. Now, hurry onto the switch and keep moving as soon as the stage flips. You should see a series of grey bricks just ahead on an outer pathway – break them all. Gem's yours.
Level 26: Magma Road Marathon
For this stage you're forced to dash, so be prepared to make some hasty moves. After an initial straight you'll spy gem one on top of a small ridge, so take a left at the junction and dash up to it. In the next section, as you dash onwards you'll see two blue fan platforms, quickly blow on the mic and run across these for the second gem. Then, not much further on you'll see a cannon on the left, don't miss this. At the subsequent area you'll need some skilful running and mic blowing to grab that third gem.
Level 27: Scalding Saffold Sinkhole
This one is all about speed, as there's rising lava below. The first gem is easily visible early on, but if you pan the camera, you'll see the second is mid-way up on the wrong side of a wall. Don't dawdle at the mid-way point trying to get through, but head up a little and then drop back down on the other side to quickly grab the gem. As you move further you'll see three of those pesky hidden foes guarding a conspicuous root on a ledge away from the basic route; get to it and pluck it for the third gem.
Level 28: Wingo's Whackdown
As you'd expect this late in the game, it's pretty challenging to get all three gems here. After you've climbed up a couple of levels, avoiding the deadly wind, you'll see a wall of orange blocks that you run along to reach a cannon. Pan the camera at a safe spot and you'll see, half way along on the side with the cannon, there's a small opening with a gem. When the orange floor is on the cannon side run halfway along so you're above the gem opening, and when the wind blows the floor to the other side you'll fall down right on top of it; don't hang around though, as you have to dash to the safety of a nearby ladder.
In the second section you need to do two things to get the gem. Once you reach a turn-wheel, use it to rotate the middle section so Wingo's flapping wings will blow wind through towards the orange block ladder. Then, grab onto the ladder while the platform moves over the gem and grab it.
Finally, when you climb to the next section you'll see the third gem on the far side. This is a simple case of timing and judgement, nabbing the gem when the wind-blown platform is in the right place.
That's it for our Gem collecting guides! Remember that you can also read more about the game in our Captain Toad: Treasure Tracker review.


Comments 3
I need this game in my life.
@NintyMan It was definitely a challenge, there's no question about that! Thankfully, I had Tom's help when I ran into any toad-blocks (sorry, couldn't resist).
Anyway, I hope the guide helps you to acquire those last few elusive gems.
Cool guide, for a cool game. I hope we get some extra dlc levels!
I spy Luigi in screenshot 1!
Show Comments
Leave A Comment
Hold on there, you need to login to post a comment...