The enormous world map in Zelda: Tears of the Kingdom comes packed with plenty of pre-set fast travel points for you to make use of during your adventures, with both Skyview Towers and Shrines of Light making long journeys a breeze once they're activated.
However, even when you've unlocked every tower and shrine in Hyrule, there are still some places that can be fairly tricky and time-consuming to get to, and situations when having your own bespoke travel point makes tough battles much easier to navigate.
Subscribe to Nintendo Life on YouTube848k
With this in mind, it's a good idea to unlock and upgrade Travel Medallions as soon as you can. These handy items can be placed anywhere you need to make a fast access point, allowing you to zip back and forth between areas as you please. Let's take a look at where to get your hands on them and how they work.
Zelda: Tears Of The Kingdom: Create Your Own Fast Travel Points, How To Use Travel Medallions
How To Unlock Travel Medallions
To get Travel Medallions, you need to complete both Camera Work in the Depths and A Mystery In The Depths. The latter you can only get after completing at least one Regional Phenomena quest
Once you've completed both of these, speak to Robbie who's now stood by the hot air balloon in Lookout Landing. You'll then get a new Side Adventure — Hateno Village Research Lab.
Complete 'Hateno Village Research Lab'
You'll be tasked with following Robbie to Hateno Village in the southeast of Hyrule to visit the Hateno Ancient Tech Lab. If you've already done a fair bit of travelling then you can get here quickly by using Zanmik Shrine and then heading north to the lab itself. Otherwise, you can use Mount Lanayru Skyview Tower and head south from there
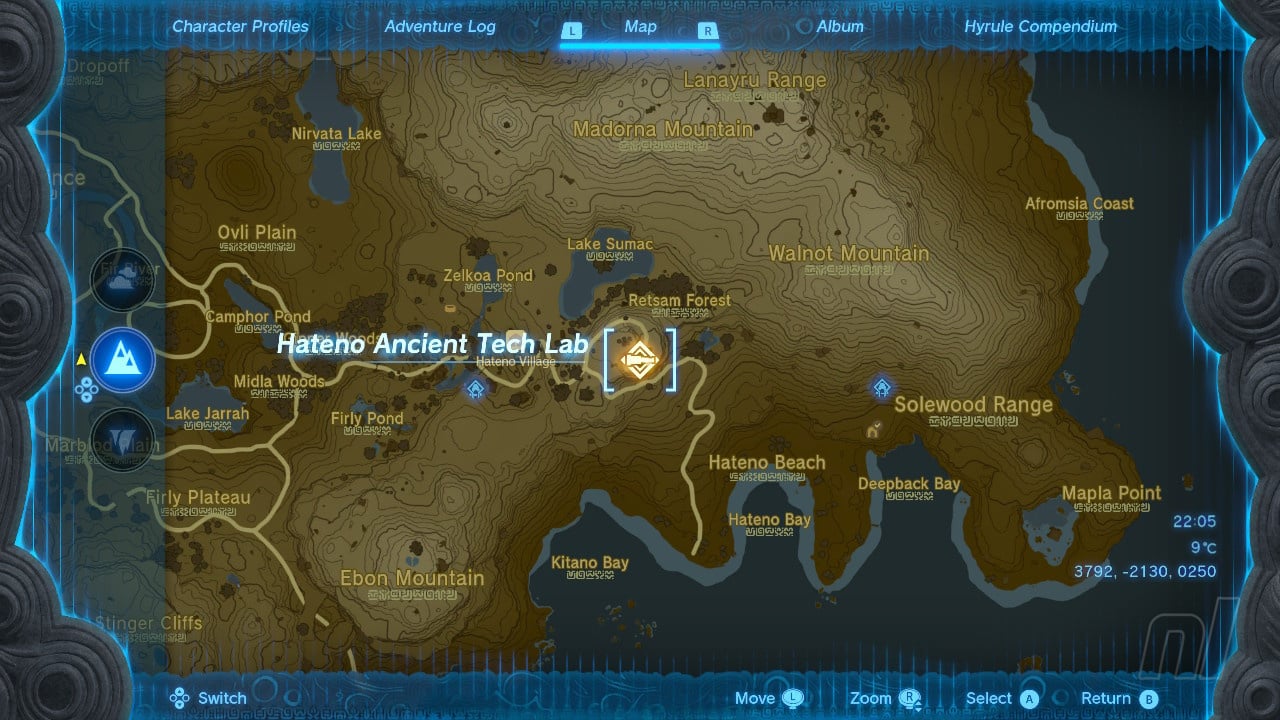
At the lab you'll meet Robbie once again and he'll get you to test out a new Shrine Sensor that he adds to your Purah Pad. This short quest sees you head out to locate a shrine that's located just below the lab itself. With this done you can return to Robbie and he'll explain three new upgrades you can add to your pad, one of which is Travel Medallions.
Complete 'Presenting: The Travel Medallion!'
To activate Travel Medallions, you'll need to complete the Presenting: The Travel Medallion! Side Adventure.
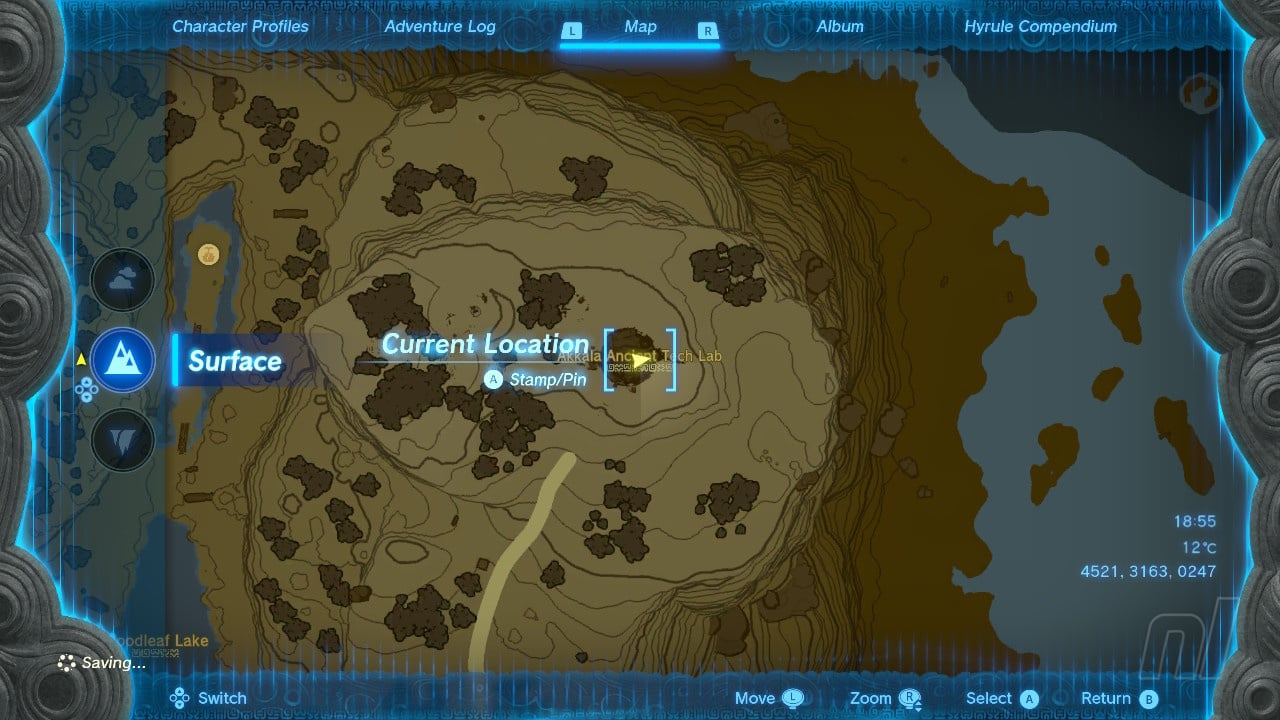
Head to the northeast corner of Hyrule to Akkala Ancient Tech Lab. Once here, prepare to do battle with two members of the Yiga Clan. Deal with your enemies and the door will unlock and you can now head in to grab the Travel Medallion Prototype from the chest located to the right of the ground floor. As a nice bonus, you can also grab the Yiga Clan Armour from the tailor here. Sweet!
With all of these steps completed, you can now head back to Robbie in Hateno Ancient Tech lab and he will install the Travel Medallion system on your Purah Pad.
How To Use Travel Medallions
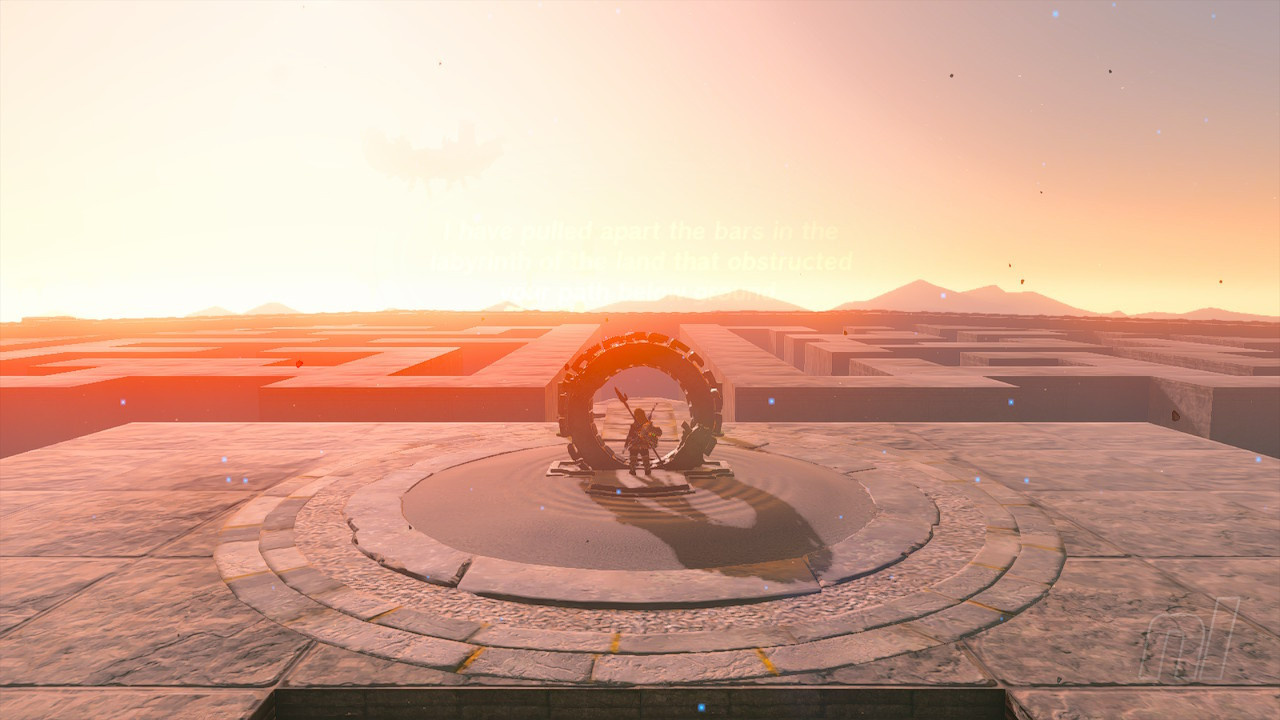
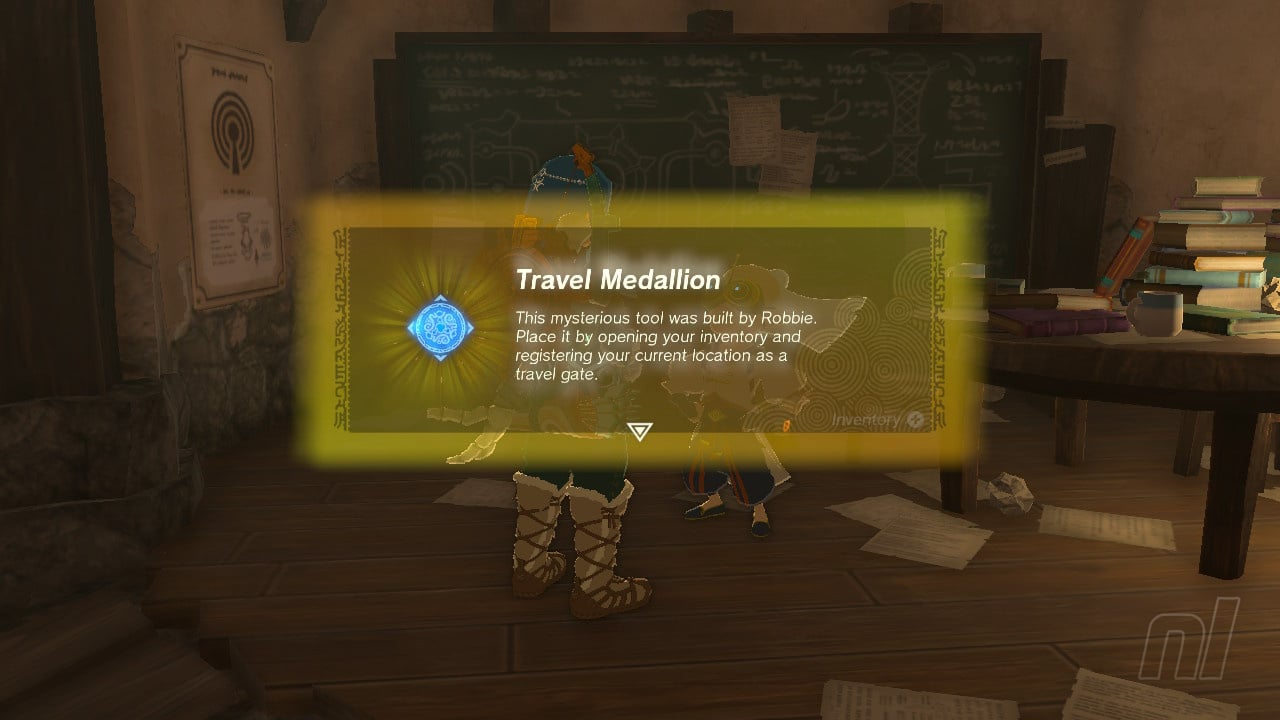
Once unlocked, the Travel Medallion will show up in the Key Items section of Link's inventory. From here you can select a medallion and then place it on the ground to make a fast travel point that you can select on the map.
If you want to get rid of that fast travel point, head into the map and select it to remove it and put it back in your inventory.
You've got a whole new level of flexibility for travelling, now. We use these to get to the King Gleeok battles as they take place in hard-to-reach locations in the Sky. This enables us to fast-travel between the battle and the surface in order to stock up on healing meals, weapons or whatever else you need to successfully finish the fight!
How to get more Travel Medallions
You can get up to three Travel Medallions by helping Robbie out with his research. To upgrade this function, you need to get the map data of multiple different locations on your Purah Pad. That means you'll need to unlock all of the Skyview Towers
When you have 10 maps unlocked, you'll get a second medallion, and when you have all 15 unlocked, you'll get a third.
For more handy guides, check out our Zelda: Tears of the Kingdom walkthrough for all of your adventuring needs.


Comments 0
Wow, no comments yet... why not be the first?
Leave A Comment
Hold on there, you need to login to post a comment...