You've been to all four regions across Hyrule and solved each of the regional problems — but that doesn't mean things are over, oh no. Tears of the Kingdom still has plenty more in store for you once you've completed the Regional Phenomena Main Quest. And this is the first step towards the end of this adventure.
This guide will cover the events after completing this quest — if you're looking for the start of the Crisis at Hyrule Castle quest, you want to check out our guide on Lookout Landing and Captain Hoz.
Subscribe to Nintendo Life on YouTube848k
Hey, listen! We will do our best to minimalise spoilers in these guides, but as we are covering the end-game line of quests, many spoilers will be unavoidable. As such, if you haven't completed the Regional Phenomena quest, turn back now!
Here's what to do after the Regional Phenomena quest, and how to complete the Crisis at Hyrule Castle quest.
Zelda: Tears Of The Kingdom: How To Complete 'Crisis At Hyrule Castle' Quest
Where to go after completing Regional Phenomena?
To progress the main story here, you must have beaten all of the Regional Phenomena quests — Tulin of Rito Village, Yunobo of Goron City, Sidon of the Zora, and Riju of Gerudo Town.
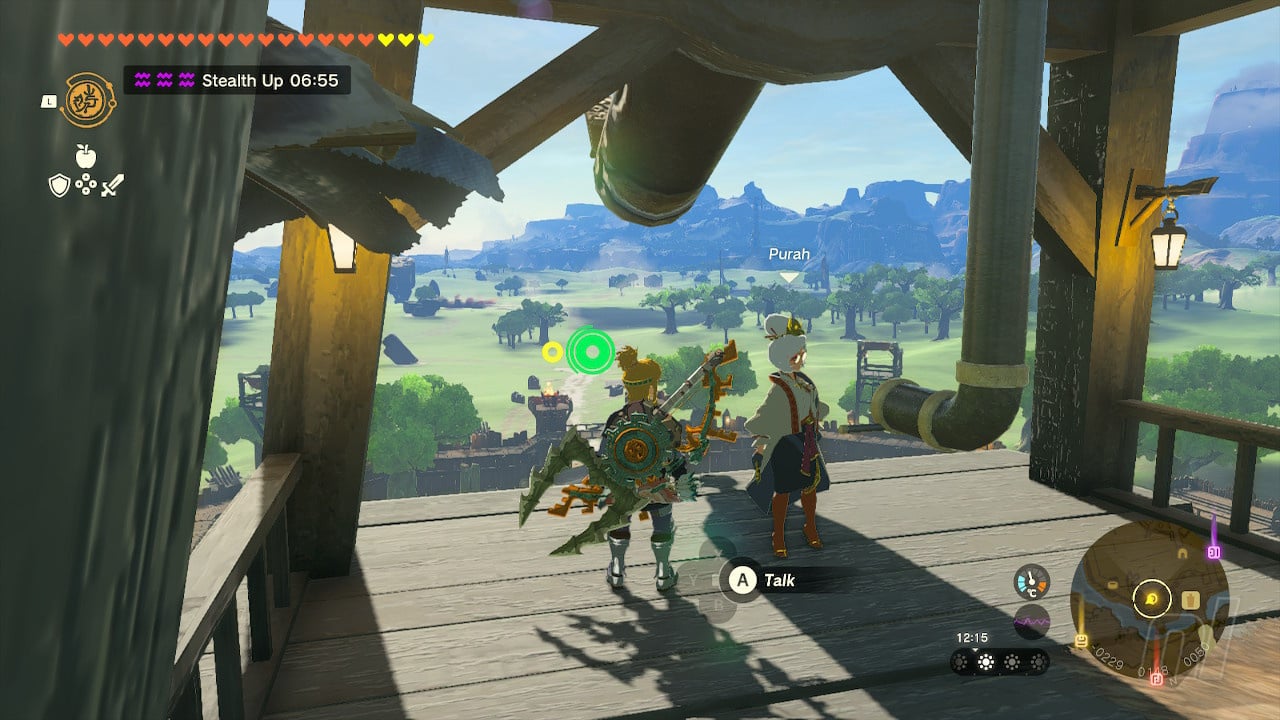
Once you've visited all four regions and completed all four elemental dungeons, your first port of call will be Lookout Landing and Purah's lab.
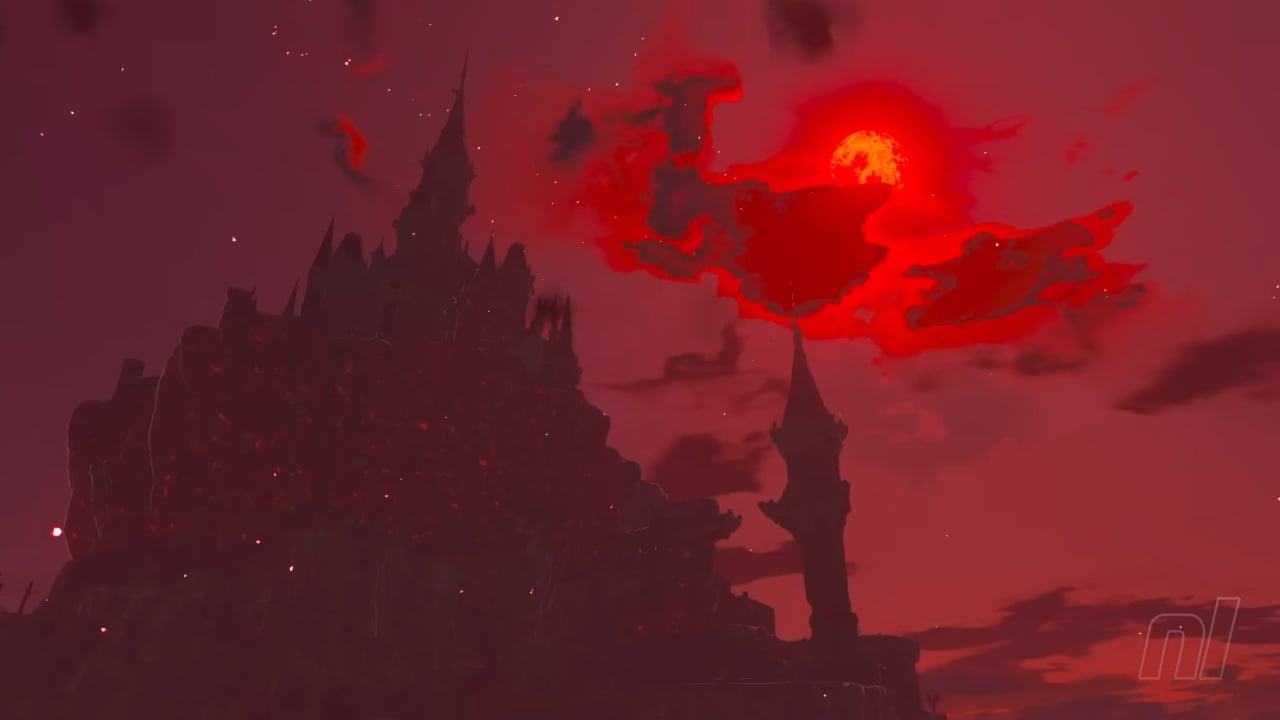
Warp back to your hub town by going to Lookout Landing Skyview Tower, and then head up the stairs at the back of the town to reach the lab. Climb up the ladder to the top of the telescope tower. There, speak to Purah and you'll officially complete the Regional Phenomena quest, but not until after the Blood Moon rises and you spot a familiar face standing outside of Hyrule Castle.
That's right — it's time to explore the castle ruins.
How to prepare for Hyrule Castle
There's a chance you've already been to Hyrule Castle before to snatch up all of the loot inside, but if not, we're going to give you a few tips on how to deal with the castle and the enemies inside.
The outer walls of the castle have a handful of enemies to deal with — Black Horriblins are probably the worst of the bunch, and there's a whole cave of about four of them that you might end up passing through. Luckily, they're easy to headshot, so bring lots of arrows with you.
There's also a lot of gloom covering the castle floor, and you'll have to fight a boss that can inflict gloom damage. Cook up the best gloom-healing and gloom-resistant recipes — we've got guides on how to deal with gloom and a recipe list.
Lastly, as always, use your best weapons. No need to save anything and you'll likely pick up some excellent monster parts to fuse with anyway.
How to get to Hyrule Castle
Hyrule Castle is directly north of Lookout Landing. It's pretty hard to miss — a floating castle, gloom seeping out everywhere, etc. But because it's floating, that makes it a little trickier to get to. Good thing you're accustomed to travelling in the sky.
Head to Lookout Landing Skyview Tower and launch yourself out of the top of it. From there, glide to the north towards the castle. As long as you have a lot of stamina, you should be able to glide all of the way there.
Aim for the bottom right of the castle, where a small drawbridge is sticking out. Land on that building, and you'll hear someone asking for you to come and find them. Open the chest for a Royal Bow, and then drop down into the main chamber.
Where to find the princess
In Hyrule Castle, you'll be following Princess Zelda — her location will be marked on the map multiple times, and you'll need to head to that location.
We'll list the locations below, along with how to get there.
1F - Second Gatehouse
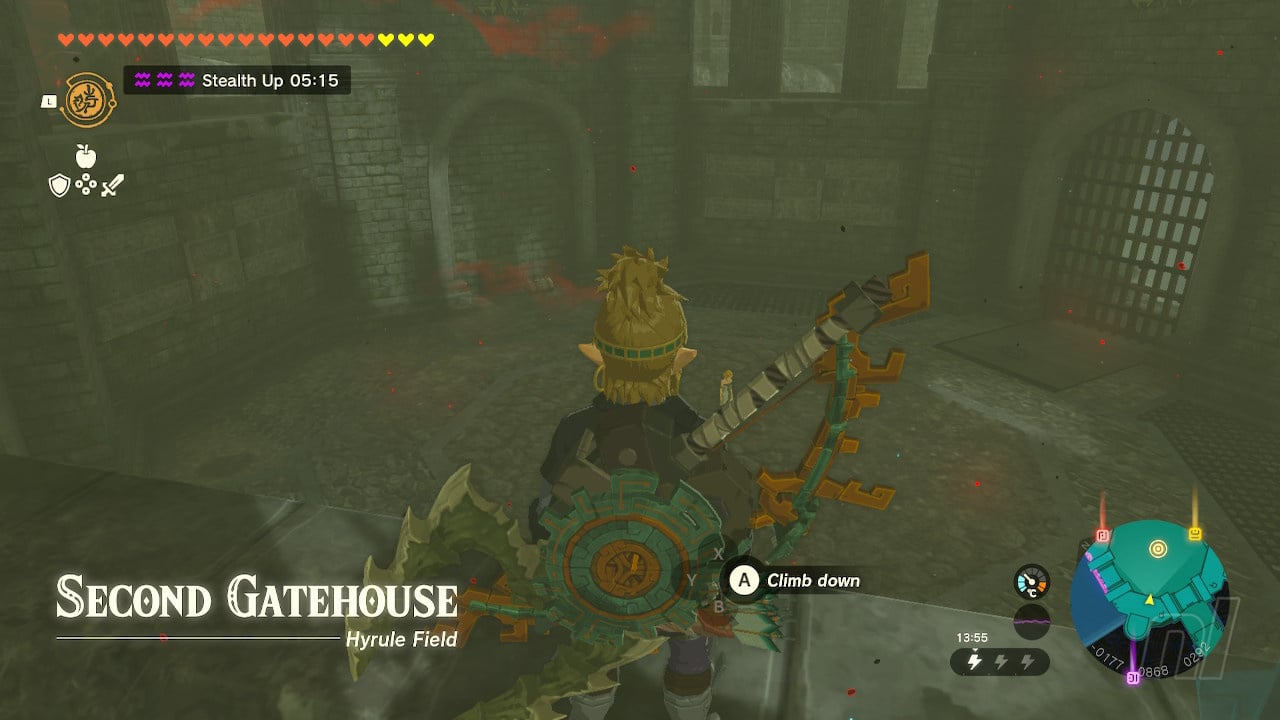
If you followed our instructions on gliding to the castle, then you should've landed here. It son the far right of the castle, and you can access it by dropping down from the roof.
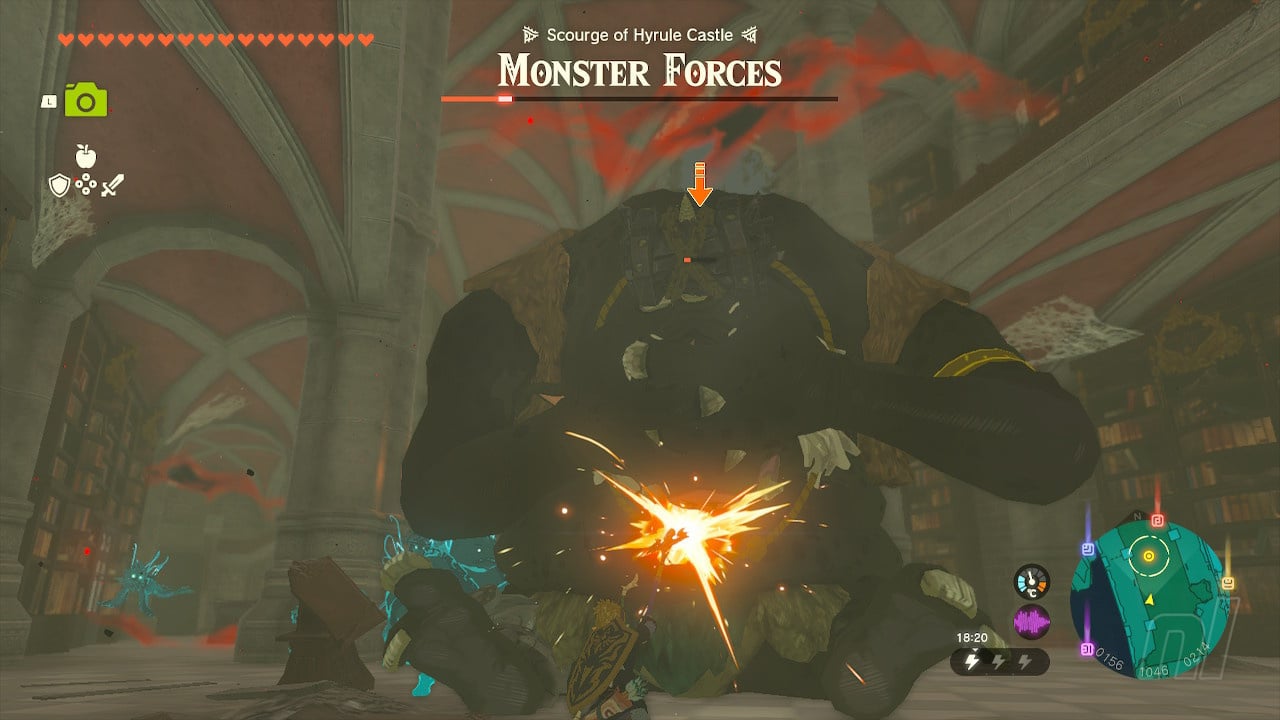
When you drop down, you'll be ambushed by Monster Forces — some Black Bokoblins led by a Black Boss Bokoblin. Defeat them, and open the chest containing a Royal Halberd. Ascend back up to the roof.
B3 - Library
From the roof, glide northeast to an open door and head inside to find a chest containing a Royal Shield, and grab the arrows and the bow on the floor. Ascend for a chest with a Royal Claymore, and make sure you grab the Korok on your right.. Glide to the north and then follow the path down and around to B2. Then climb up the rocks on your right to activate Serutabomac Shrine.
Underneath the shrine, there's a staircase that will take you down to B3. Follow it all the way down and then turn left when you reach the bottom to find the Library.
In this room, you'll be attacked by a Black Hinox and three different types of elemental Chuchu. You can use these to your advantage to attack the Hinox. Otherwise, it's the same as any other Hinox fight — shoot it in the eye, attack, rinse, repeat. It'll go down soon enough and drop some rather lovely look and monster parts.
B3 - Staircase
Your next Zelda sighting isn't very far from the Library at all. All you need to is go up the stairs on the east side of the room and you'll spot her in the doorway.
But before you can reach her, a swarm of Gibdos will appear. To deal with these, use your elemental weapons and materials to remove their protective layer, and then attack them normally. The corridor is quite tight, so be careful if you're throwing jelly or fruit, otherwise, you might get caught in the blast. Fight the Gibdos up the stairs the same way, and then once they're gone, continue up.
B1 - Zelda's Room
At the top of the stairs, you'll be back by the Shrine from earlier. Go left and make your way through the Horriblin-infested cave. You deal with these, knock them off the ceiling with a well-aimed arrow, and then attack them with your best weapons/materials.
Continue to follow the path around, dealing with an Ice Like, Black Lizalfos, and Black Moblin. Go right up the staircase and follow the path up until you reach a dead end. Use Ascend to get to the 1F, and then drop down into Zelda's bedroom and fight another wave of enemies.
The Fire Lizalfos are a bit easier than some of the bigger monsters you've been dealing with. Use Ice against them for a quick kill, and just be careful of the flames, as the room is quite small.
B3 - Storehouse
Before you leave, grab the Royal Bow from the wall. Then Ascend to the top room again. Drop down the west side of the building and glide all the way down until you see a small platform on B3. Enter to see Zelda again, and fight more enemies.
Ice Keese will come flying at you, but the Silver Moblin is the most dangerous foe you've encountered yet. Fight it from afar with some headshots and then run in to attack with your best weapons.
B3 - Corridor
Use Ascend to leave the storehouse, and you'll appear by where you fought the Ice Like. Follow the path around to a gloom-covered area and a Fire Like. Head down the stairs to the right and head into the corridor. Zelda is to your left.
Here you'll need to fight three Shock Likes. Avoid their electricity as best as you can, and wait for them to expose their 'tongue' before attacking them. You can also force them to reveal it with some ice or a bomb. Do this to all three of them.
1F - Sanctum
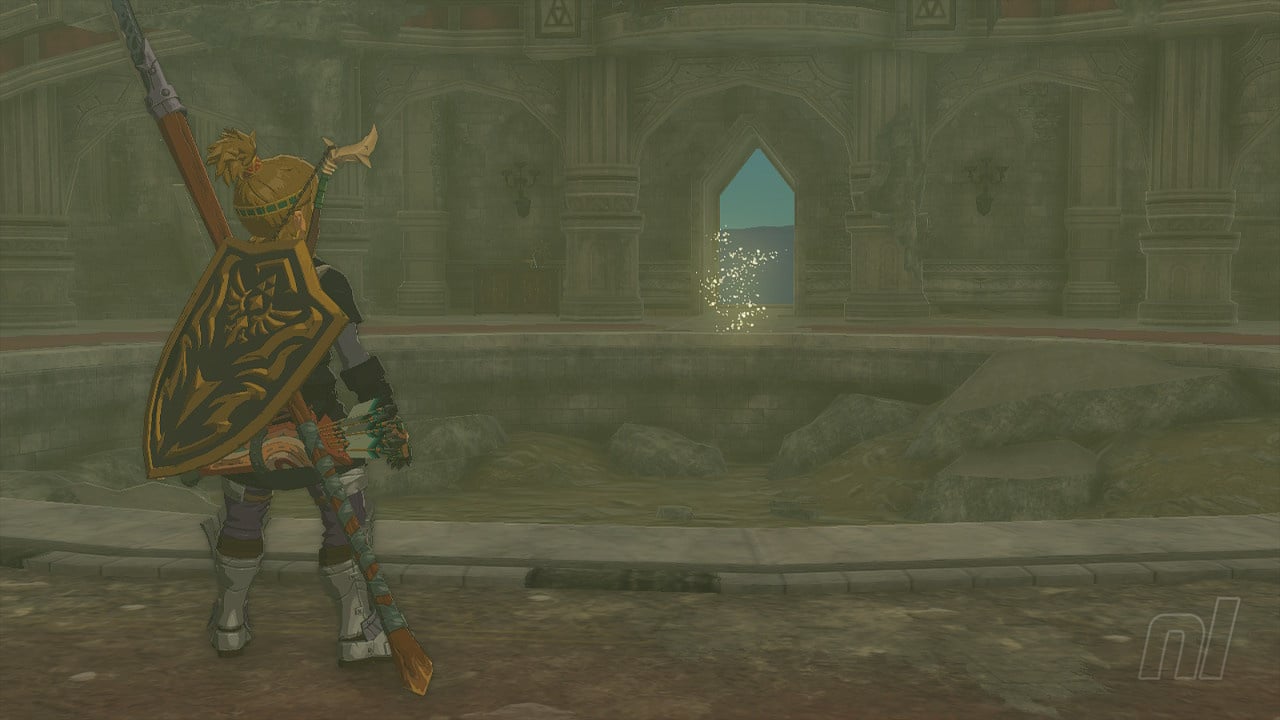
After defeating the Like Likes, Zelda will call out to you one more time. You need to head for the central chamber — where you fought Ganon in Breath of the Wild.
Go back out the way you came in and head all; the way back to Zelda's room — so from where you are head left, then go up the stairs and follow the path to the dead end. use Ascend to appear in a room above Zelda's room, and then use Ascend again to get on top of the roof.
Glide to the east over some of the red and black gloop, and then climb up to the path and walk to the central hall. You can also Ascend under the bridge on a small platform where a Korok Seed is hiding. In the Sanctum, you'll see Zelda standing on the opposite side of the room.
A rather disturbing cutscene will play, after which the truth will be revealed — this isn't the real Zelda, just a puppet for the true mastermind. And now you've got to take on the evil.
How to defeat the Hyrule Castle boss
It's a good idea to have all four of your Vows active for this fight, because you're not taking on one enemy — you're taking on three, initially.
We won't spoil the boss' identity here, but if you need a helping hand on how to deal with this boss, check out our Hyrule Castle boss guide for all the help you can get.
You might have wondered if Hyrule Castle and defeating the boss here marks the end of the game, but there's a whole new height — and depth — to this adventure ahead of you. To find out what to do after Hyrule Castle, check out our guide on the Secret of the Ring Ruins quest. But for more general tips, check out our Zelda: Tears of the Kingdom walkthrough.


Comments 1
Three phantom Ganons? I just did it last night and it was five both times. Best boss fight in the game so far.
Show Comments
Leave A Comment
Hold on there, you need to login to post a comment...