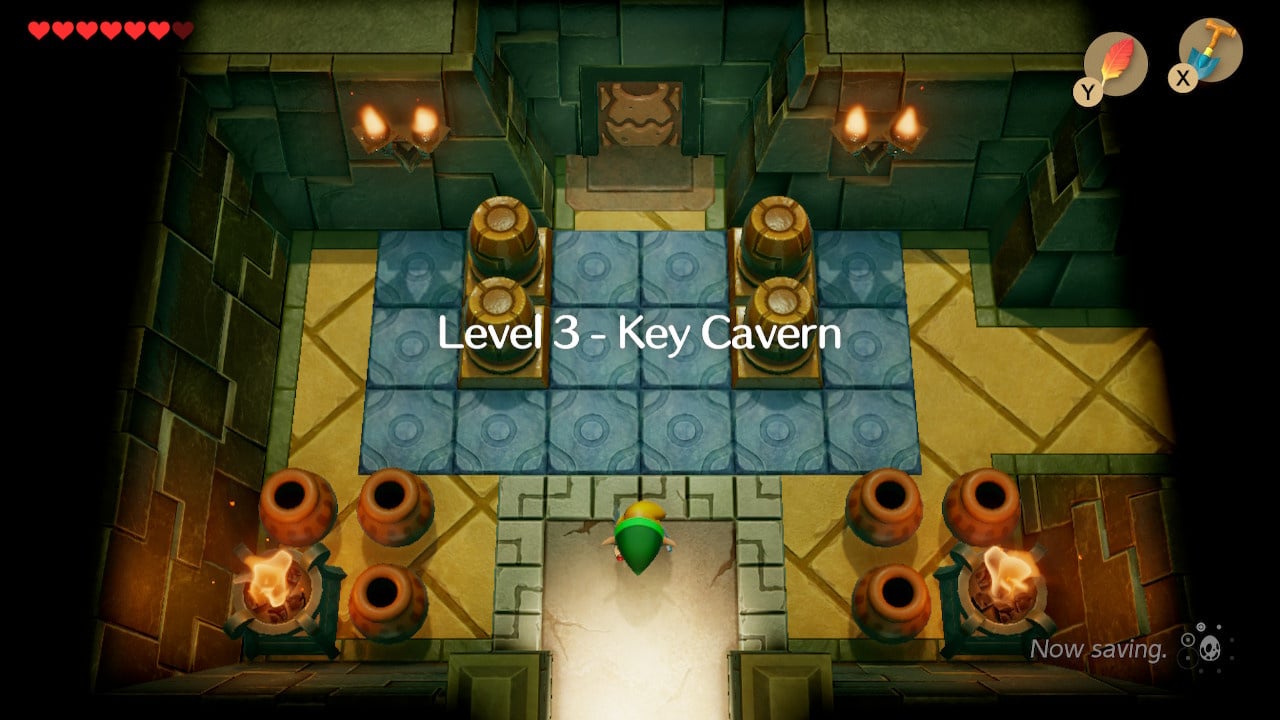
In part four of our Zelda: Link's Awakening walkthrough we’ll be venturing to Ukuku Prairie and then Kanalet Castle to collect five golden leaves, before acquiring the Slime Key necessary to access the game’s third dungeon: Key Cavern.
Subscribe to Nintendo Life on YouTube846k
Slime Key, Richard’s Golden Leaves and Kanalet Castle Walkthrough
Returning Bow-Wow to Mabe Village
With his lunging attacks and the ability to precisely detect Secret Seashells, BowWow is a precious ally you were probably hoping to keep around for some time. Unfortunately, some of the characters on Koholint island are justifiably scared of him.
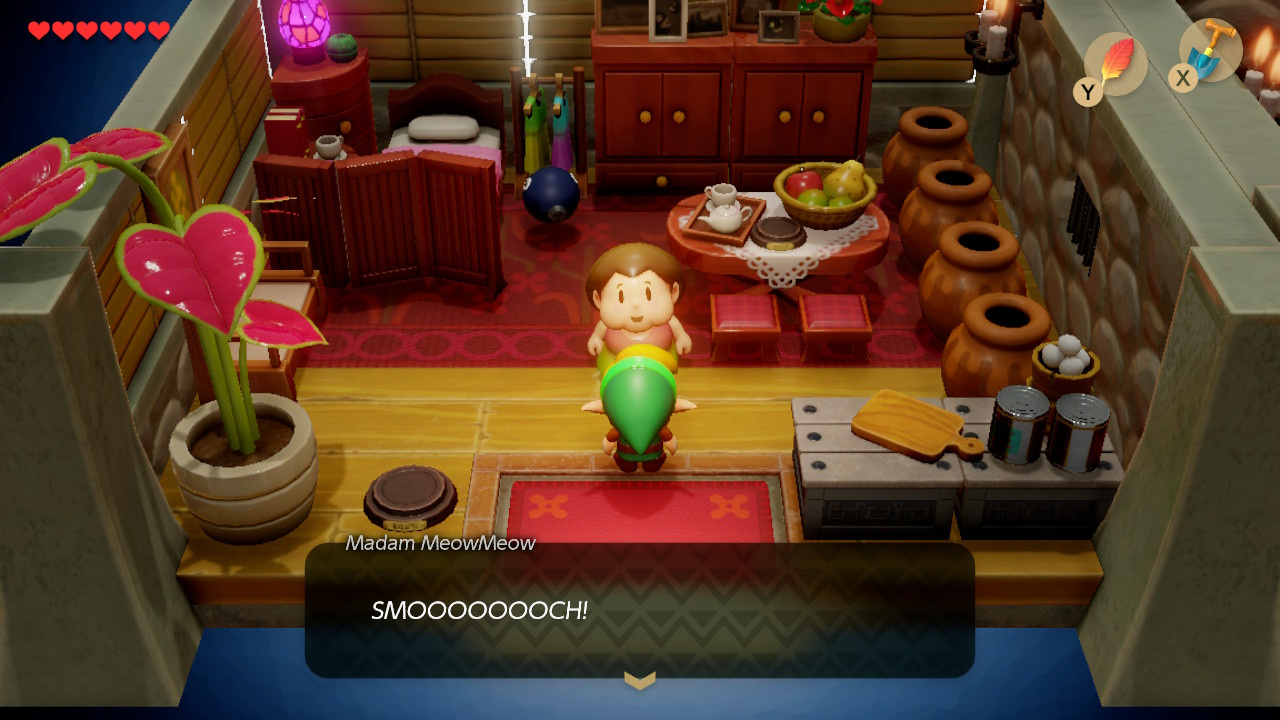
So, assuming that your business in the Bottle Cavern is completely concluded, and that you are happy to wait a little longer to track down more secret seashells (you will get an item to help track them down later), you should take BowWow to Madam MeowMeow’s house in Mabe Village for a steamy reward:
Ho ho ho! I really appreciate what you did for my poor, precious BowWow!
You are such a nice boy! How can I ever repay you? I know…
SMOOOOOOOCH!
(You got a reward from Madam MeowMeow!
L-l-lucky!)
While you’re in Mabe Village, you should ensure:
- You have followed part one of the trading quest and have the bananas in your possession
- You have purchased the shovel from the tool shop
- You have a good number of your bombs in your inventory (again, from the tool shop)
Heading to Ukuku Prairie

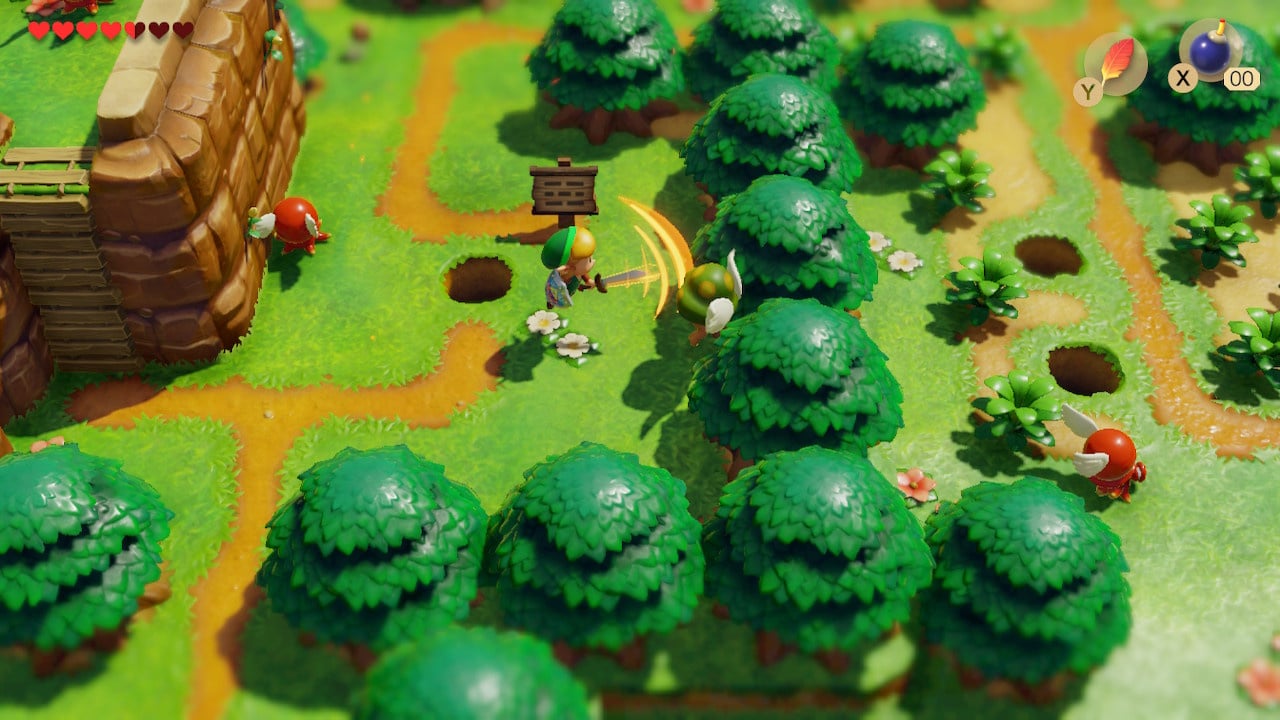
The mysterious voice that you heard after felling the Genie mentioned a prairie – with your newly acquired Power Bracelet, you will find that you have access to a new area meeting that description – Ukuku Prairie.
The entrance to Ukuku Prairie can be found behind some liftable rocks in the North East of Mabe Village – alternatively, you can approach the same area by jumping the pits outside of the Witch’s house on Koholint Prairie and heading south.
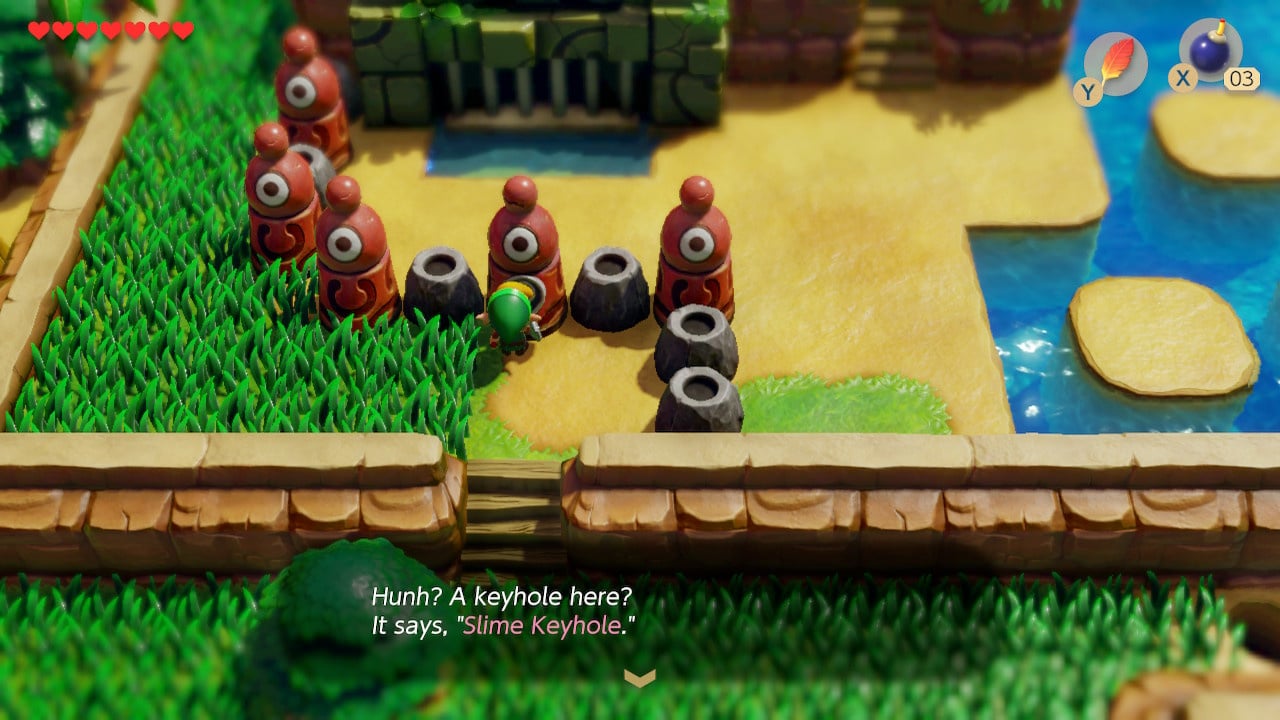
The large open area you first emerge into has plenty of enemies and a large pedestal containing a warp point (these are going to be useful as the accessible part of Koholint Island continues to expand). Head south for several screens and you will find the entrance to your next dungeon – in the centre of the lower set of totems, there is a keyhole for the Slime Key. Continue through the narrow paths to the south and you will come across a house. Head inside.
Richard and the Five Golden Leaves
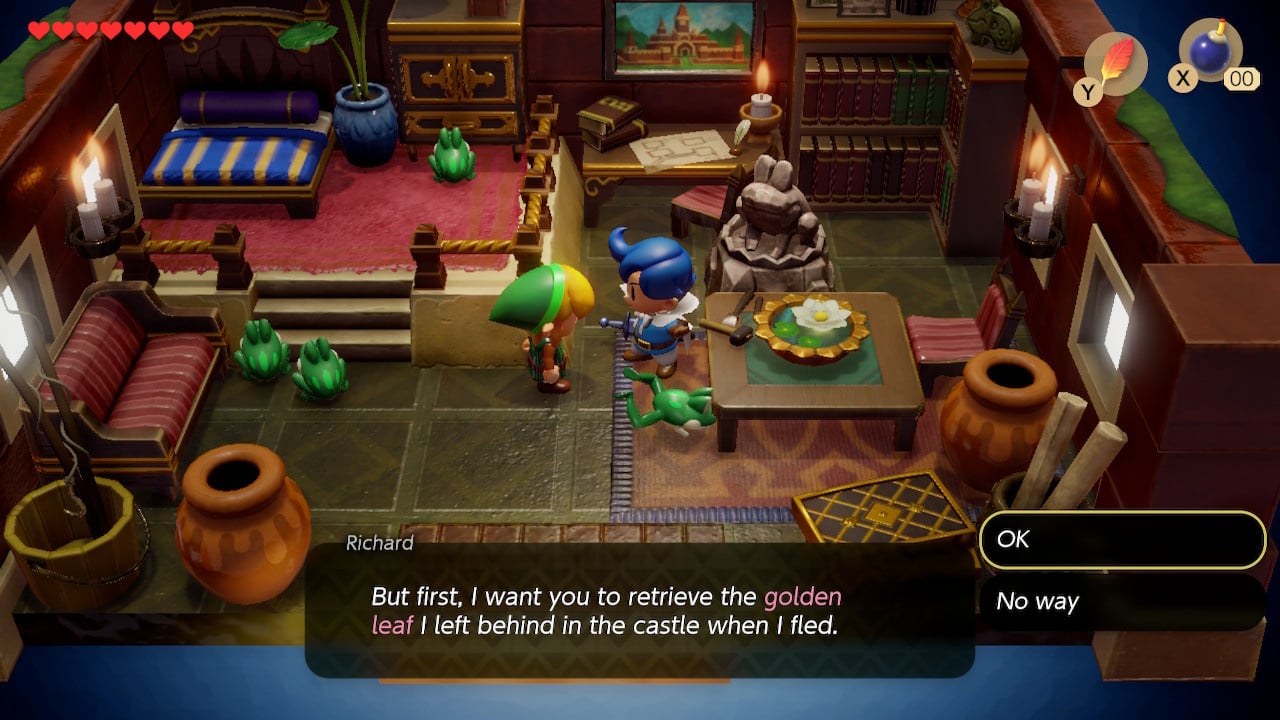
The house is the villa of Richard, a prince who claims to be a resident of nearby Kanalet Castle:
Salutations! You wouldn’t know by the look of me, but I used to live in the castle!
My servants went berserk and I was forced to flee to my villa…
So you’re looking for something, are you? I may have just what you’re after.
But first, I want you to retrieve the golden leaf I left behind in the castle when I fled.
Smashing! To tell you the truth, there are five leaves, and I want them all!
Ok you’ll need to do some digging, so buy a shovel! Are you off then? Good luck!
With your next quest clear, and heeding his warnings about needing a shovel, leave the villa and head east, then north.
(Trivia fans may know that Richard is actually the star of the Japanese exclusive Game Boy game ‘The Frog for Whom the Bell Tolls’ [1992]. He also turns up as an assist trophy in the Smash Bros Series. In both appearances, he wears red rather than blue. Knowing this will not make it easier to locate his leaves).
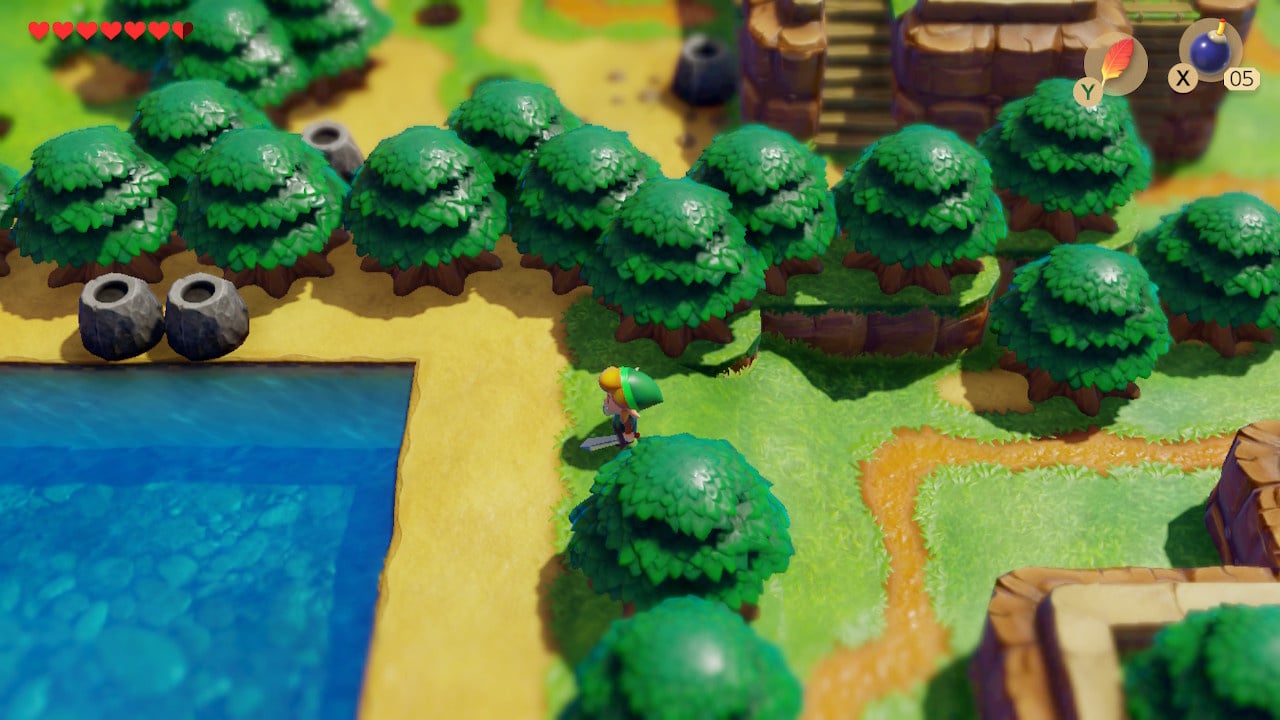
The trek north is relatively lengthy and will bring you into contact with a new formidable foe: a flying, bomb-throwing mushroom enemy called a Zirro. At this point, your best tactic will be to use Roc’s Feather to jump at Zirro in the air, while swinging your sword.
Continue to follow the path north and you will reach Kanalet Castle.
Kanalet Castle Bridge

Kanalet Castle’s main gates are unsurprisingly shut fast. Instead, you should head east alongside the moat to find an alternative route.
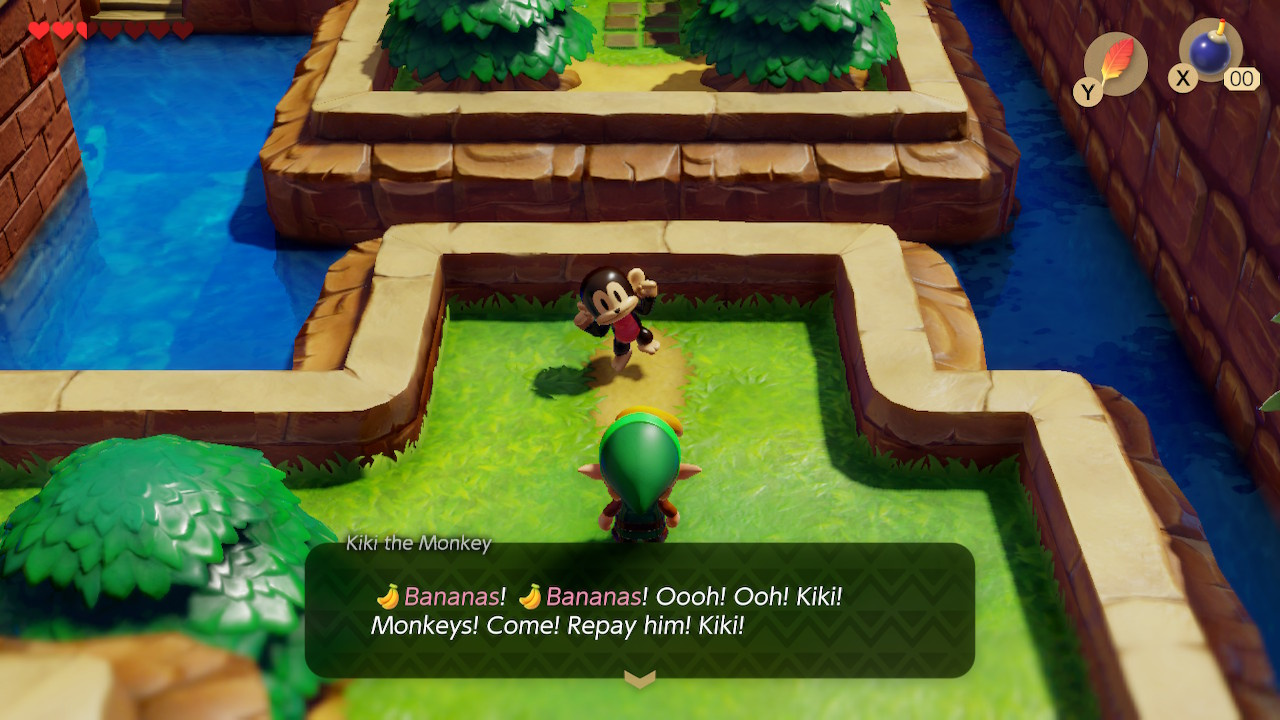
In the eastern corner you will find Kiki, a friendly monkey who isn’t afraid to uphold stereotypes: if you have followed the trading quest, you should have a bunch of Bananas which Kiki will request (if not, check the trading sequence guide and come back). Kiki and a troop of Monkeys will suddenly set to work building a bridge across the moat for you.
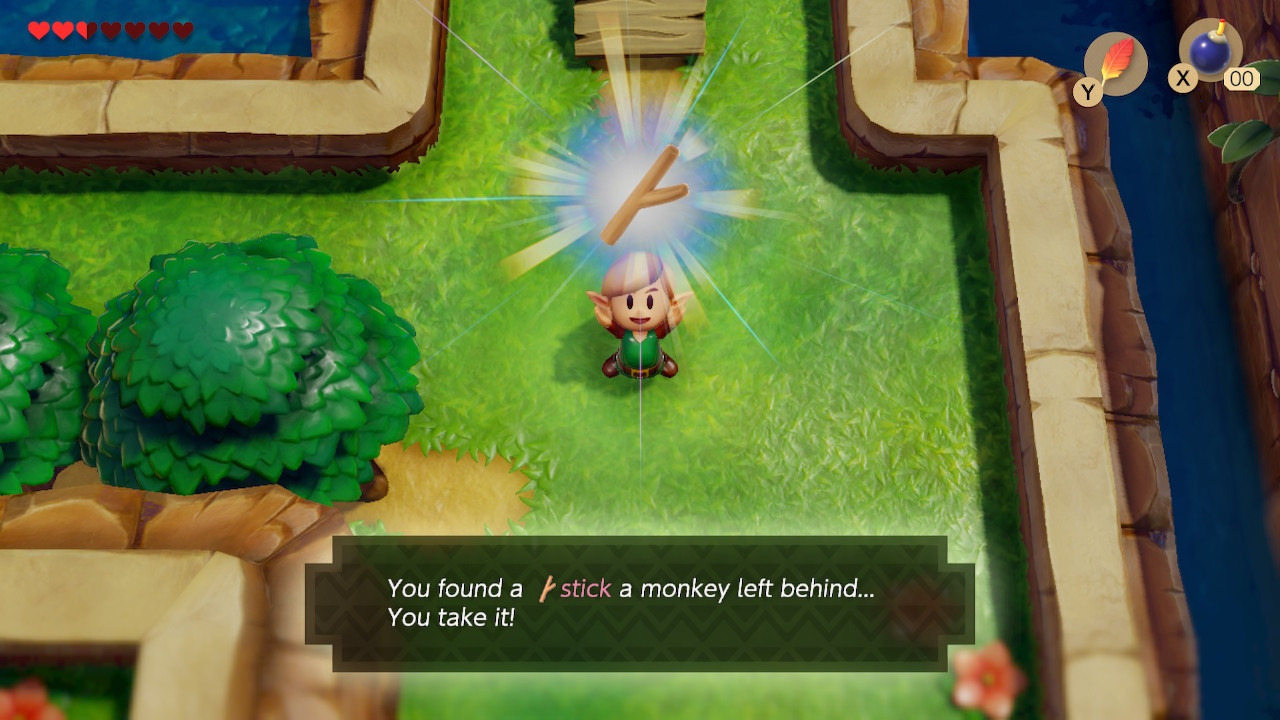
With the bridge completed, the monkeys leave, and Link acquires a stick for use in part three of the trading quest.
At this point you can head north to gain access to Kanalet Castle, but you may want to circle and climb the hill to the south – at the top is the shell mansion (deposit your secret shells here for a reward), as well as shining patch of dirt which transforms into another warp point.
Five Golden Leaves Inside Kanalet Castle’s Walls

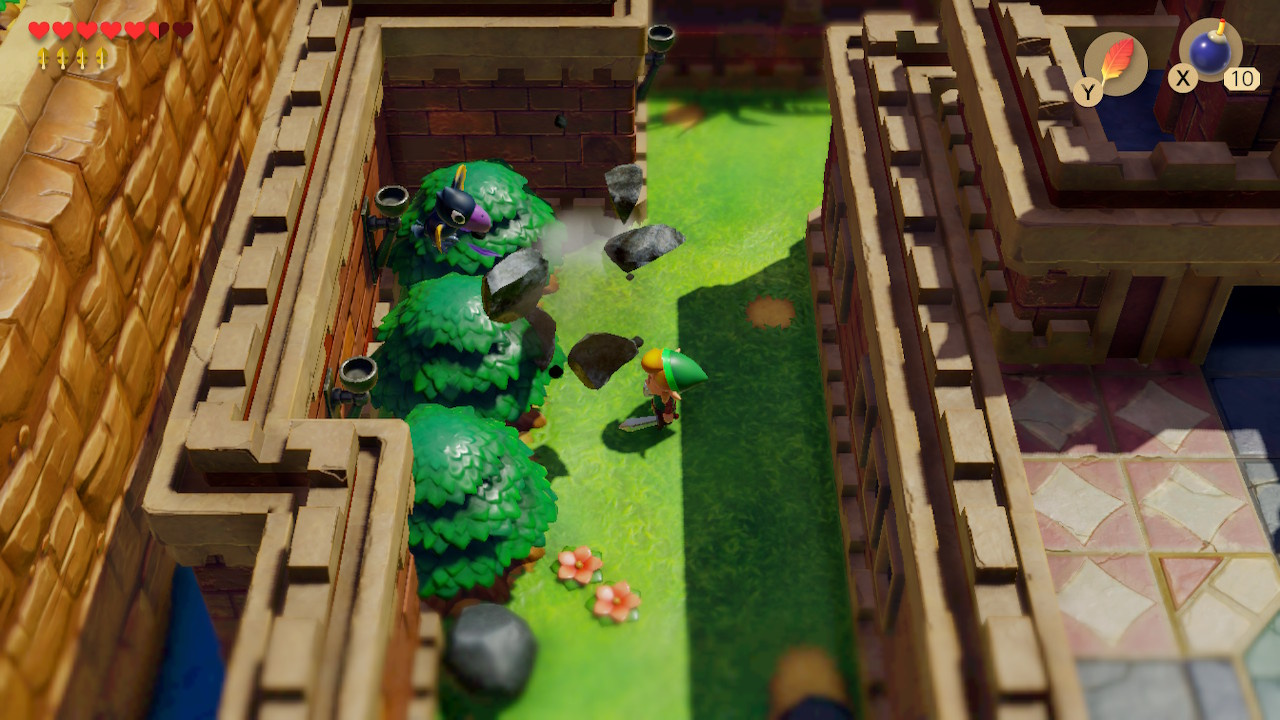
Head east and you will encounter a patch of lawn with six pits. As you approach, a Mad Bomber will poke his head out of one of the holes and throw a bomb – play a game of whack-a-mole with him by anticipating where he may emerge and dodging the bombs.
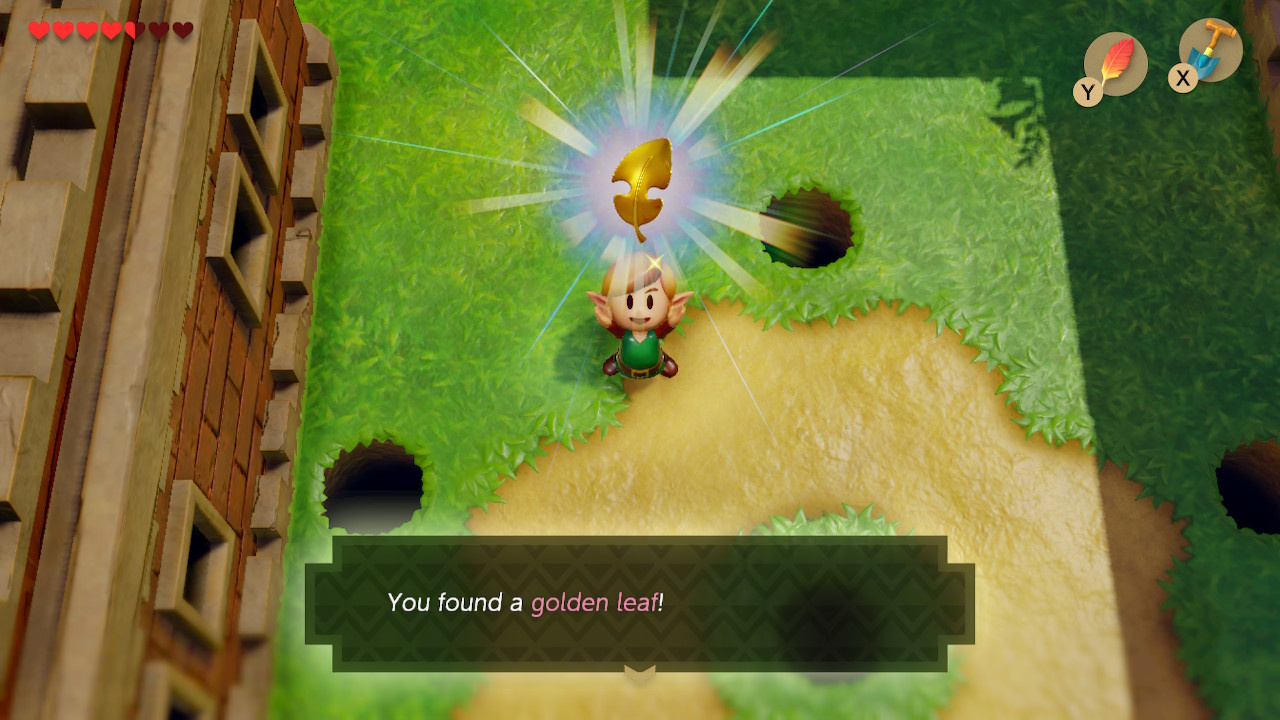
Get enough hits in, and you’ll get the first of the five golden leaves as your reward.
Continue exploring the castle grounds in a clockwise direction until you come to a Crow in a tree. Throw a nearby rock at the tree he’s in, and he will take flight and attack you. Dispatch him for your second Golden Leaf.
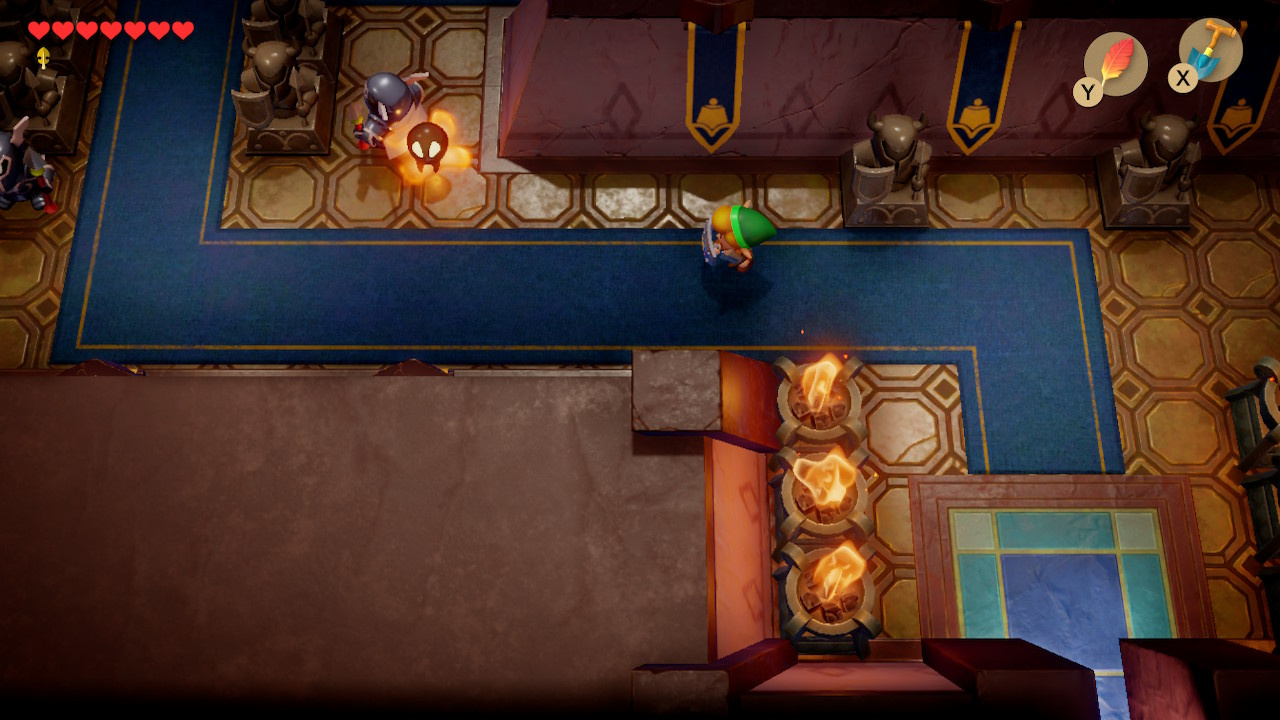
Return to the south of the castle grounds and enter the keep. In the first room you will encounter two Darknuts and a Bubble (the flaming black skull). Kill the Darknuts and avoid the Bubble (use your shield) and the third Golden Leaf will be your reward.
Head up and then right to find a conspicuous switch. This will play a short cutscene in which the main gates to the castle swing open, accompanied by the following text:
Hunh? It sounds like the castle gate opened! You can easily leave the castle now!
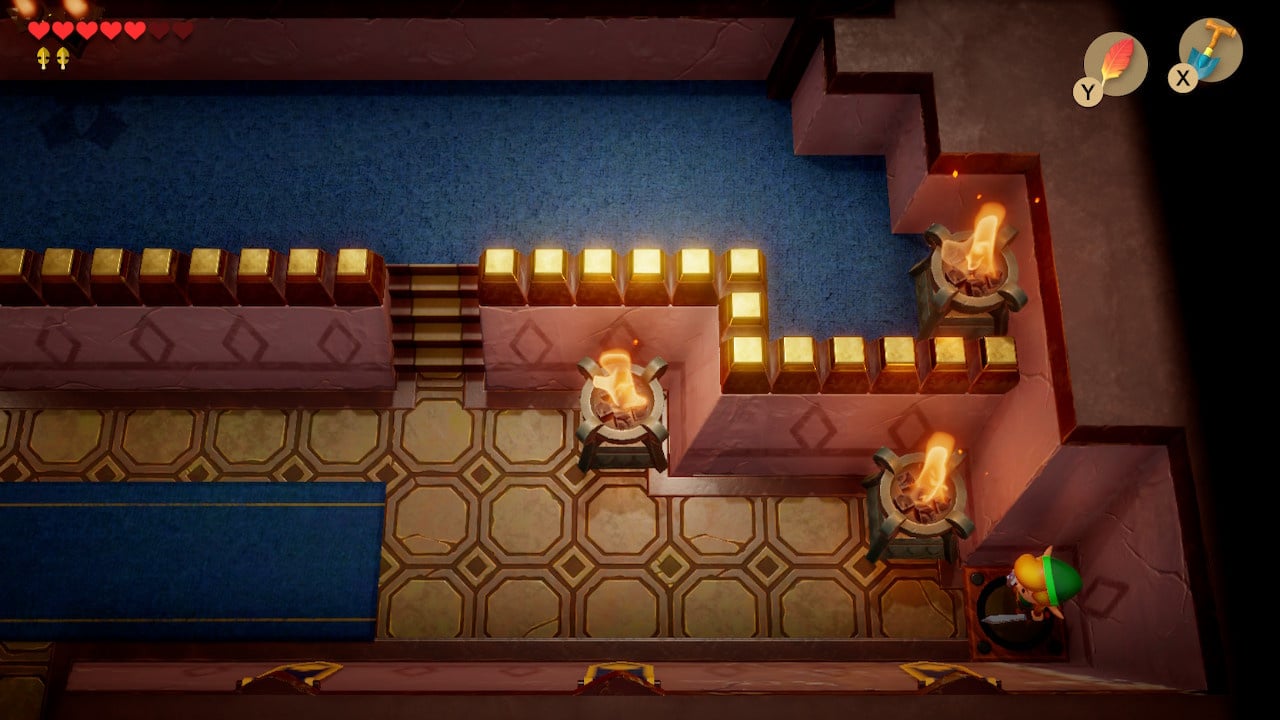
Head up the next two sets of stairs to the next area.
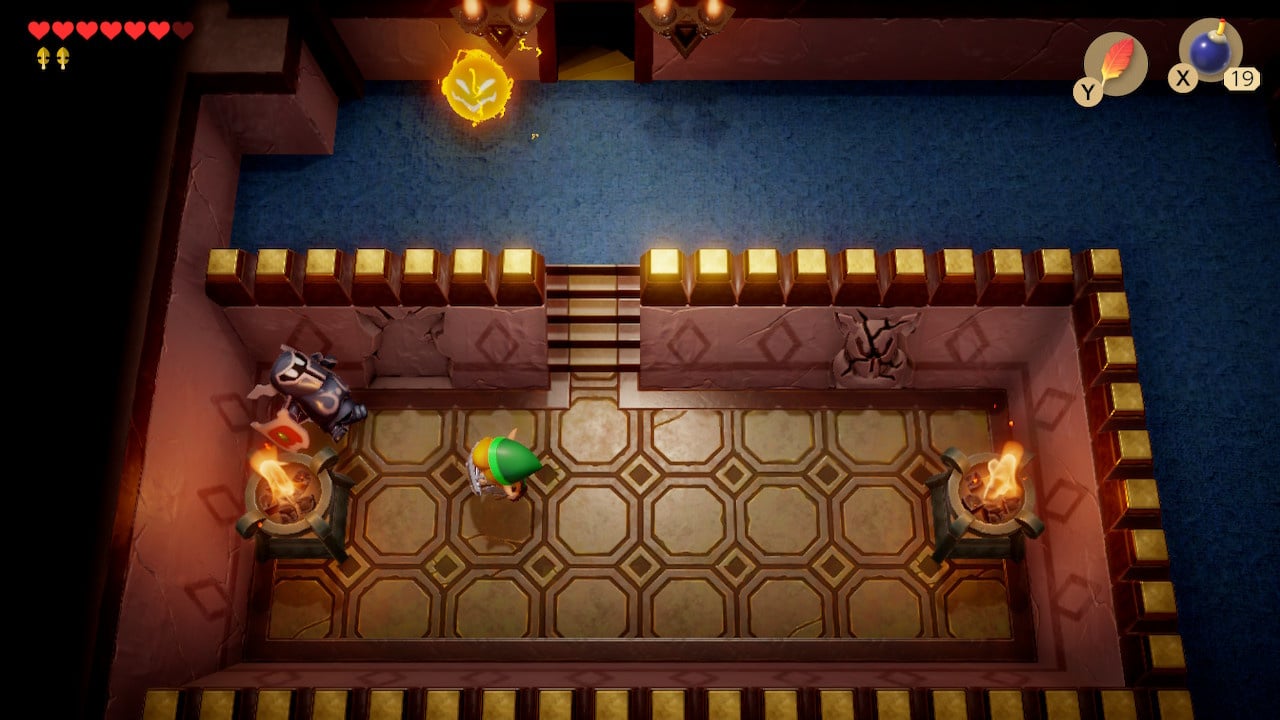
In the sunken area in the next room you will see a pair of cracked Darknut reliefs on the wall. Bomb either one and a Darknut enemy will jump out – dispatch the one on the left for the fourth Golden Leaf. Follow the upper walkway south until you’re out on the battlements of the keep.

Head inside the central door on the battlements and enter a room with a collection of pots and a door that quickly closes as you approach. The pot shape on the door is a clue on what to do next: lift one of the pots and throw it directly at the door. The door will shatter allowing you to step through.

In the final room you will have to fight a ball and chain soldier. Avoid/shield against the ball as he swings it and wait for an opening to get your sword swings in. Pick up the fifth and final Gold leaf.
At last! You got the final golden leaf!
Now go and see Richard about that reward…
Locate the Slime Key and Accessing the Key Cavern
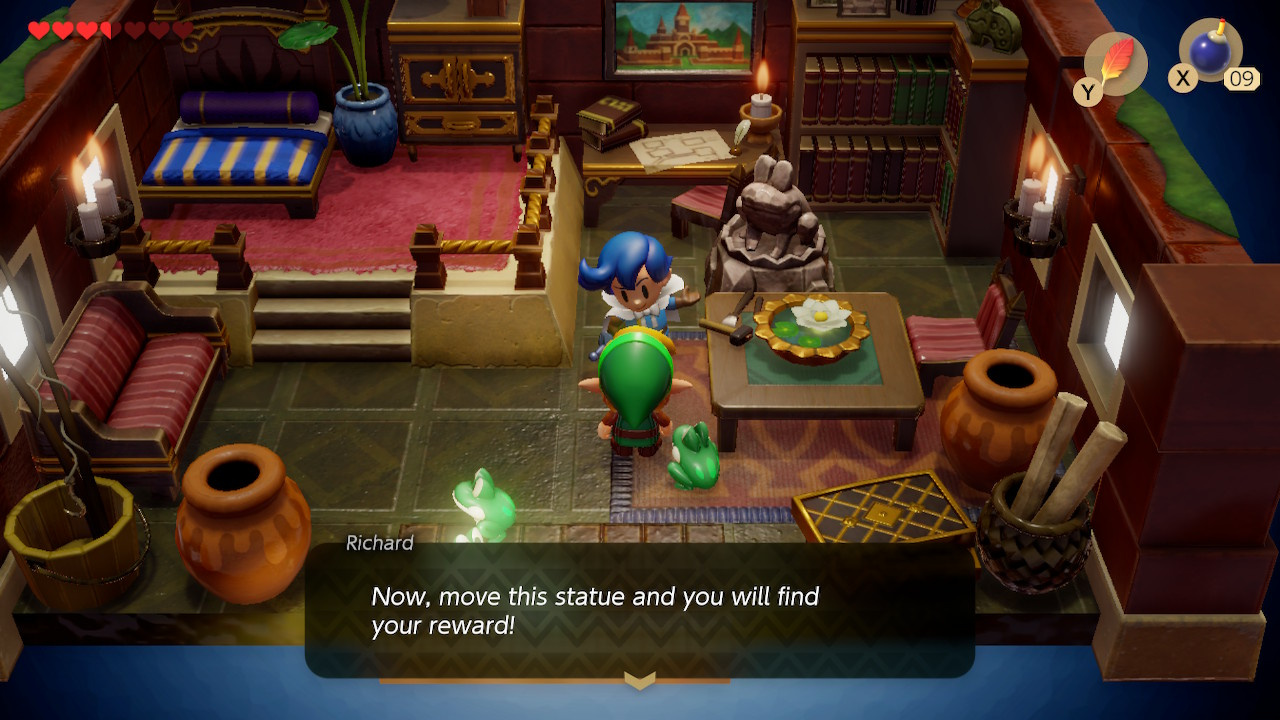
Return south to Richard’s Villa as prompted and he’ll be happy to see his precious leaves:
Ahh! Trés bien! I see you have recovered all of the leaves!
Now, move this statue and you will find your reward!
After speaking to him, he will move aside. Move the statue and climb down the stairs to a short cave area – the lefthand path leads to a Secret Seashell. Follow the right path up, climb the stairs, and head down and out of the cave.
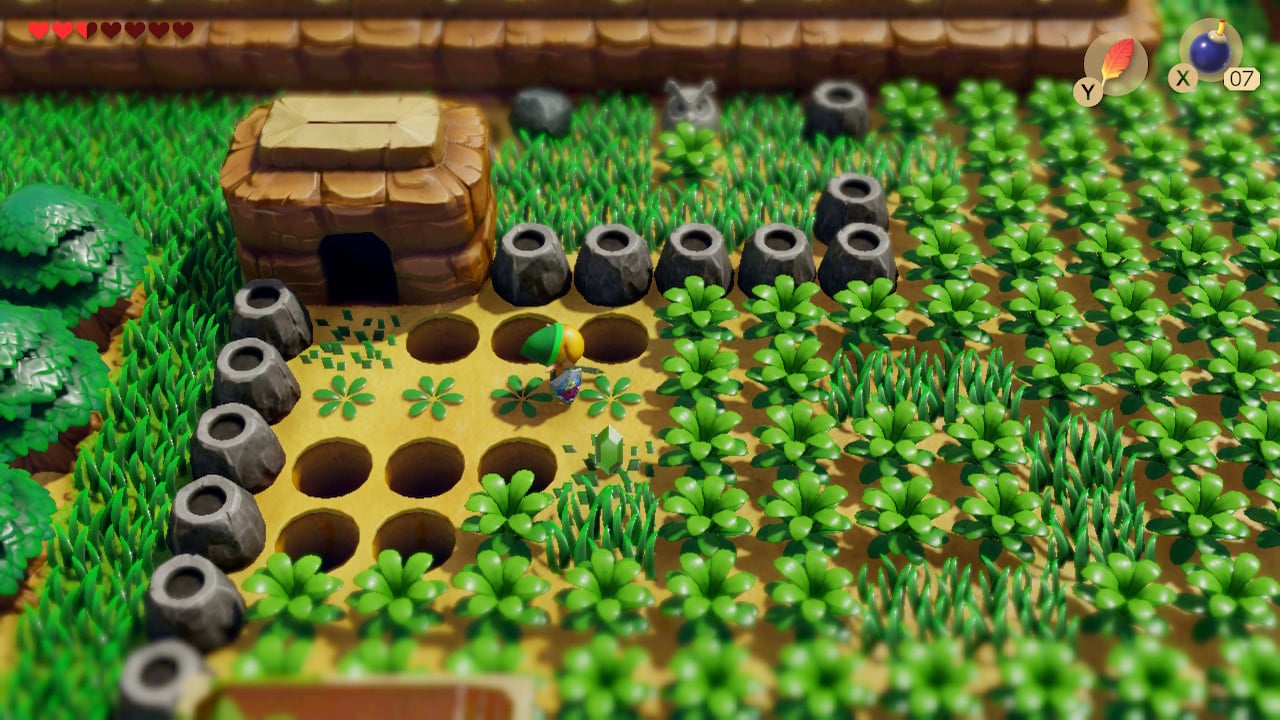
You emerge into the overgrown field behind Richard’s Villa. This place is full of pits – swing your sword to uncover the safe path forward while avoiding them. Head to the upper right of the area and you should be able to get a Heart Piece (if you can’t quite make it, mark the location on your map and return after the upcoming dungeon).

Eventually, the path in the field will lead you to the upper left corner with an Owl Statue. Clear the weeds in front of the statue and speak to it for a clue:
IN SOIL SLEEPS SECRETS, BENEATH YOUR SOLES…
Equip your shovel and dig directly in front of the Owl Statue to receive the Slime Key
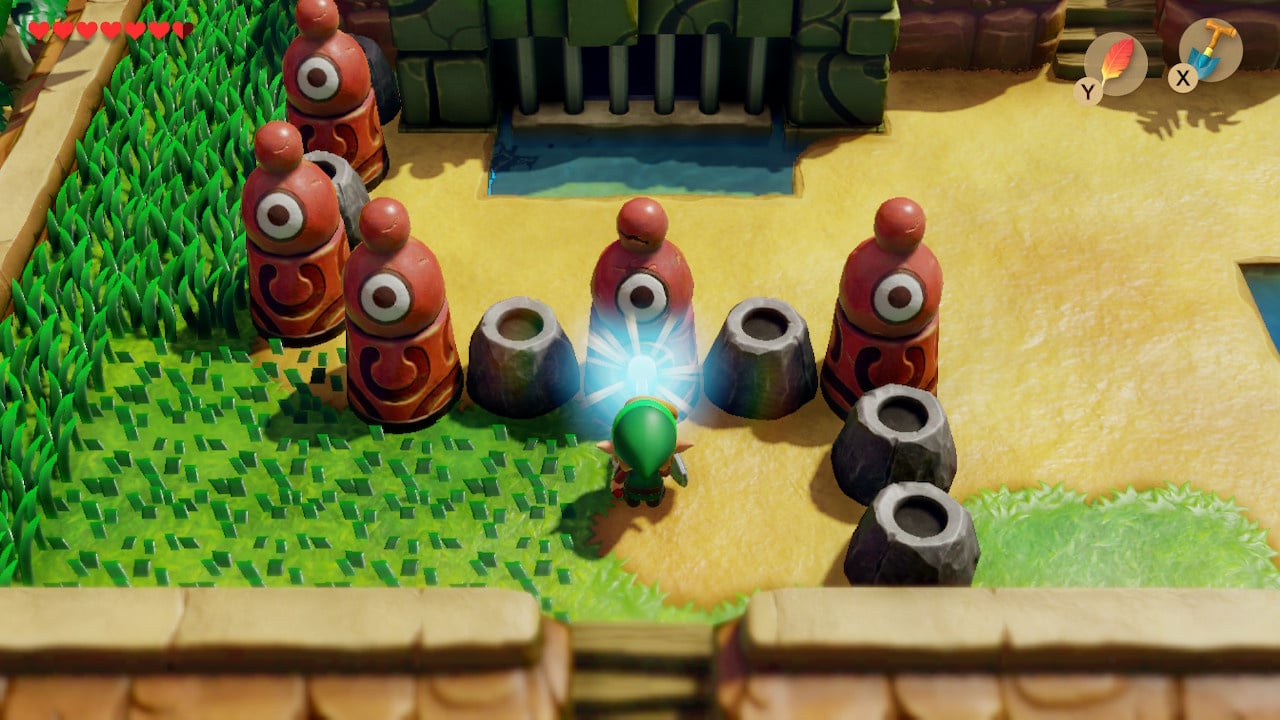
Head south and you can finally place the Slime Key in the keyhole and open the dungeon gate. You cannot actually access the gateway here though – head south and loop anti-clockwise around Richard’s Villa and field until you find a break in the trees.
Head south along the lake’s shore and you will find a succession of small islands to the west that you can hop across with Roc’s Feather.
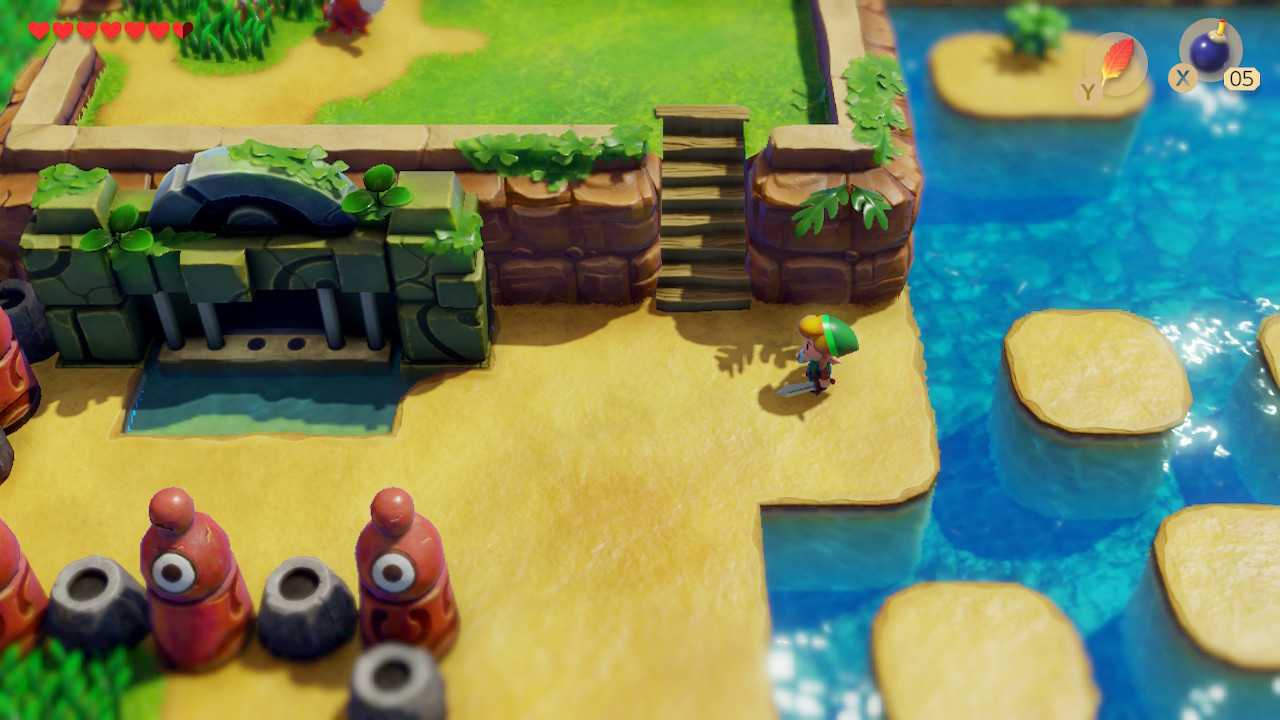
Consider heading up the steps to dig for a Secret Seashell, or head through the gate and into your third dungeon, the Key Cavern.
Great, with the Slime Key in our possession we can continue our Zelda: Link's Awakening walkthrough and head into the Key Cavern before learning How To Defeat Key Cavern Boss (Level 3).


Comments 3
Thank you for this guide. I hope I'll start to play this game after another nintedo game later this year.

how to fix the dungeon if you used the first key on the wrong door?
I used the first key on the door to the left instead of the door to the north in the first puzzle...
@linkover47 "those on the left and bottom of the room are essentially pointless (you must clear each one of enemies to be rewarded with a replacement key)"
So if you head back into the left door and kill all of the enemies there, you should get a new key.
Show Comments
Leave A Comment
Hold on there, you need to login to post a comment...