With the release of The Legend of Zelda: Link’s Awakening on Nintendo Switch, Zelda remake powerhouse Grezzo has returned to the series’ first portable outing, allowing a new generation to experience this charming adventure for the first time.
Whether you remember these most non-Hyrule of fields when they were all pea-soup green or this is your first Zelda game, there’s a chance you’ll get stuck at some point. Don’t worry – our comprehensive walkthrough is here to help you get unstuck so you can get back to enjoying the game.
Subscribe to Nintendo Life on YouTube848k
Mabe Village Walkthrough

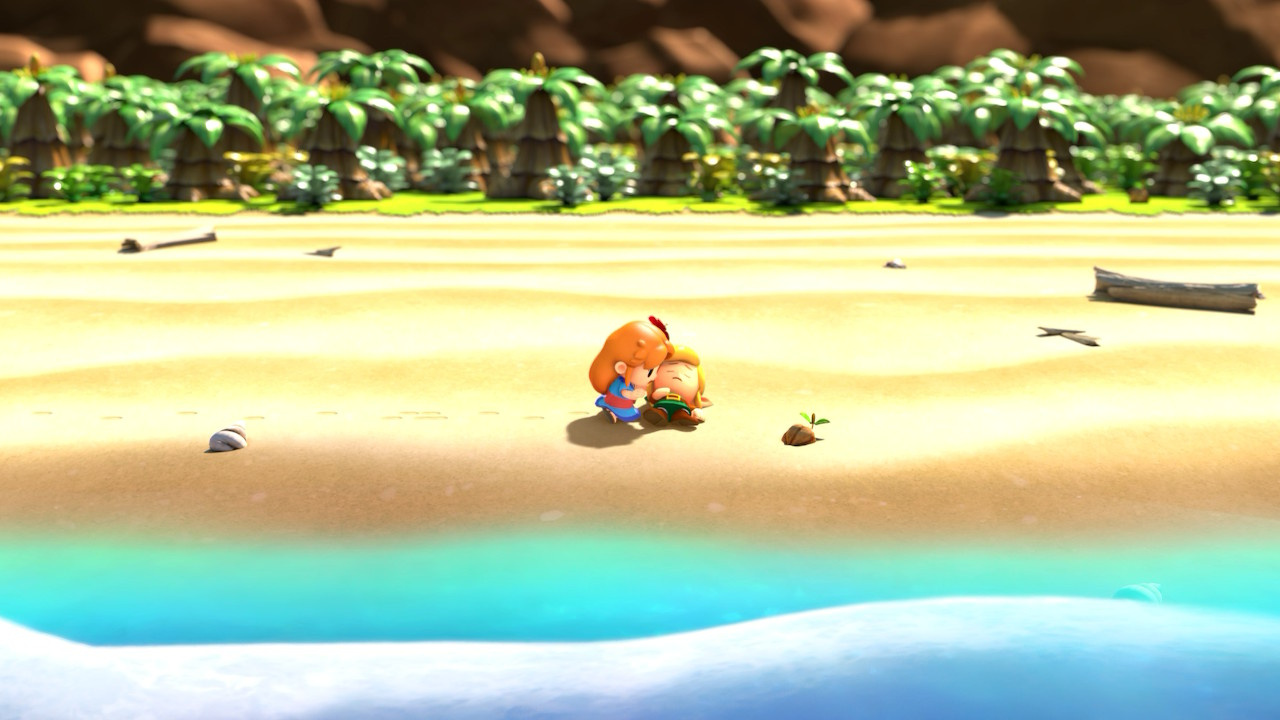
Link’s Awakening opens with Link awakening in unfamiliar surroundings: Marin and her father Tarin have given you shelter while you recover from the shipwreck in the game’s intro sequence. She suggests that you head to the beach and warns you about the increased monster activity that has accompanied your arrival – in this opening section you’re going to need to locate a sword and shield so you can safely make your way across the island.
Finding The Shield
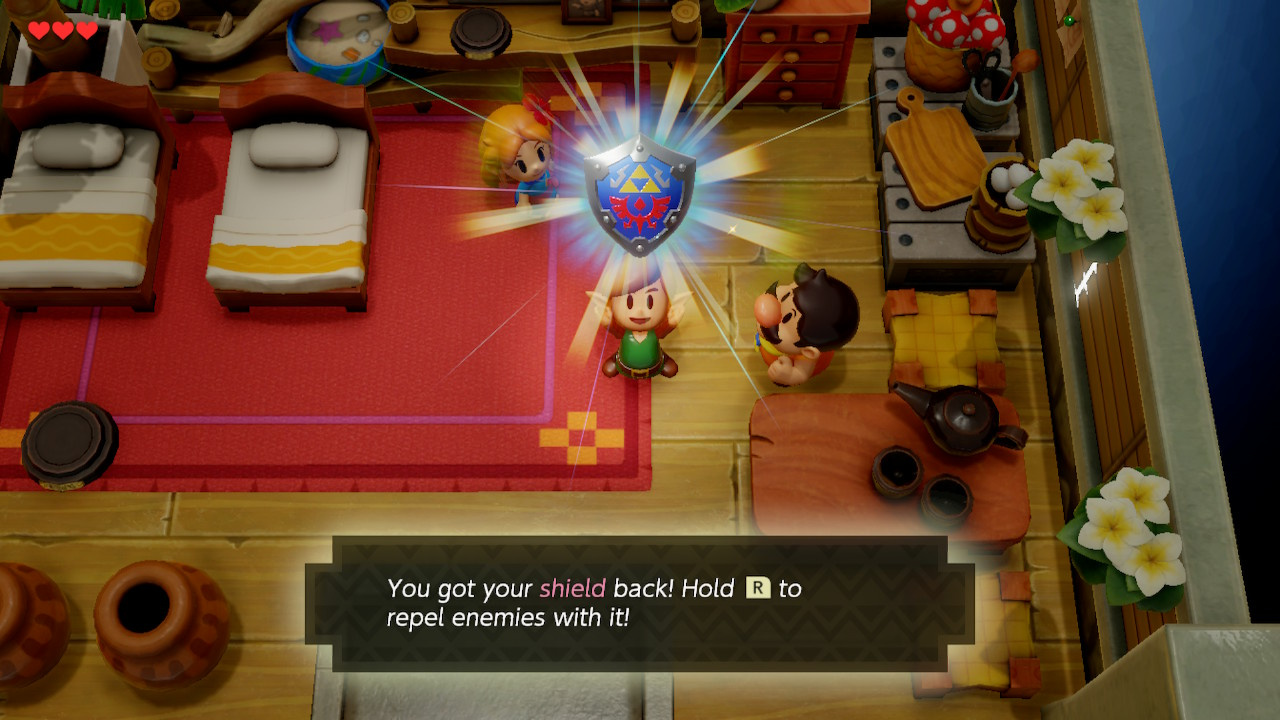
Your shield is thankfully very simple to find – simply talk to Tarin to get it back. In the Switch version it’ll always be equipped on the R button from now on, and it will keep you safe from various monsters on the way to the beach and beyond.
Finding The Sword
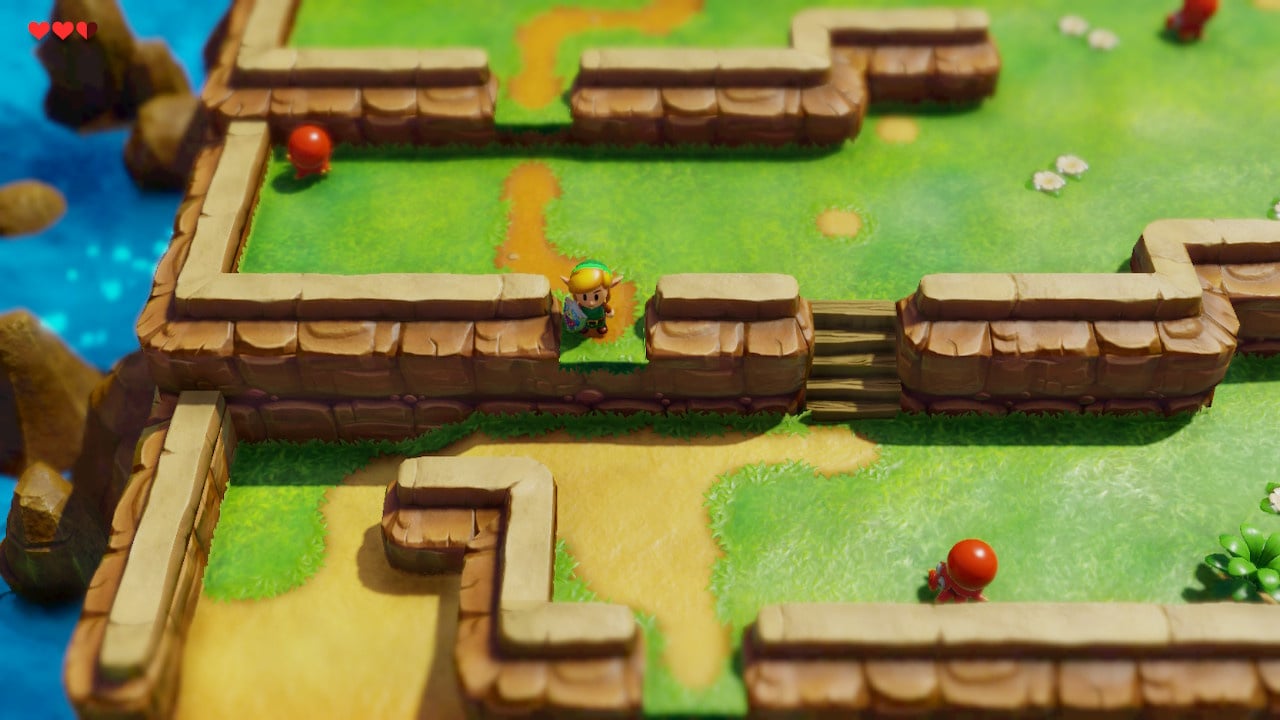
When you’re ready, head south out of the village as per Marin’s suggestion:
“Follow the lane south to reach the beach where I found you.”
Note that you can quickly drop off ledges on the way down. Keep heading south until you reach the area directly above the beach (yellow/orange floor in the Switch version).
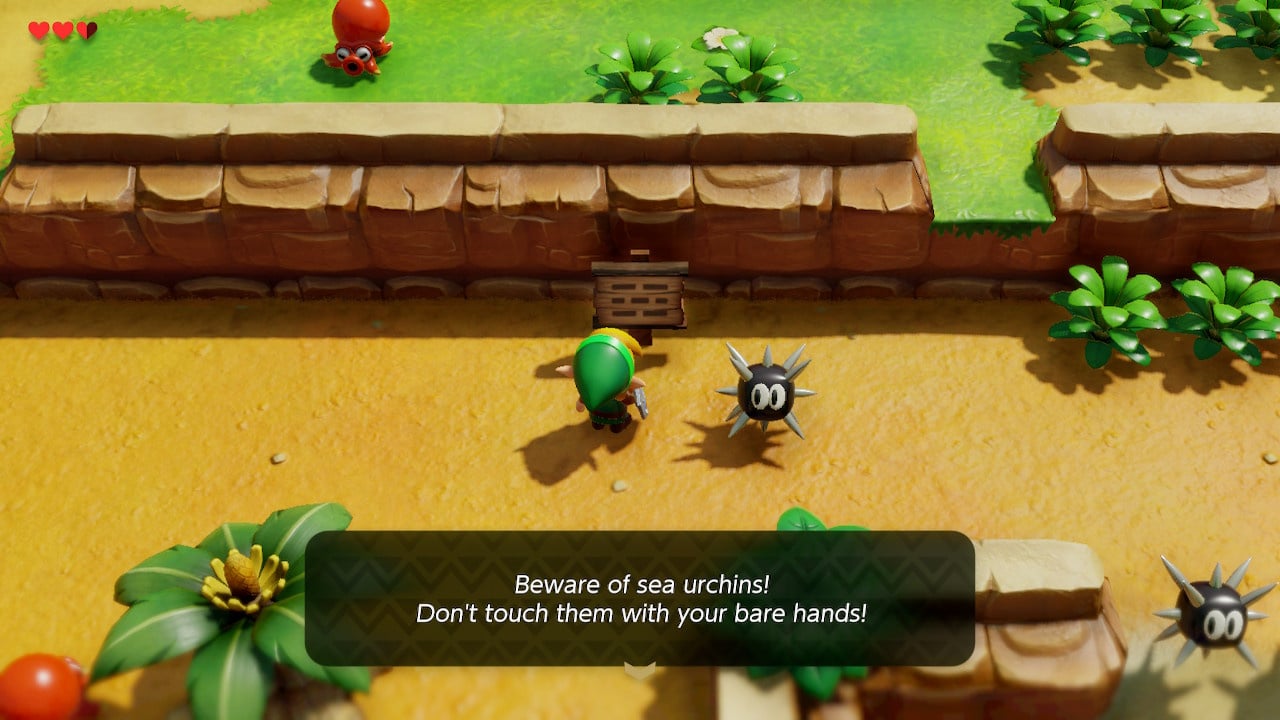
Heading east you’ll eventually find your way blocked by Sea Urchins. A nearby sign sympathises with your predicament:
“Beware of sea urchins! Don’t touch them with your bare hands!”
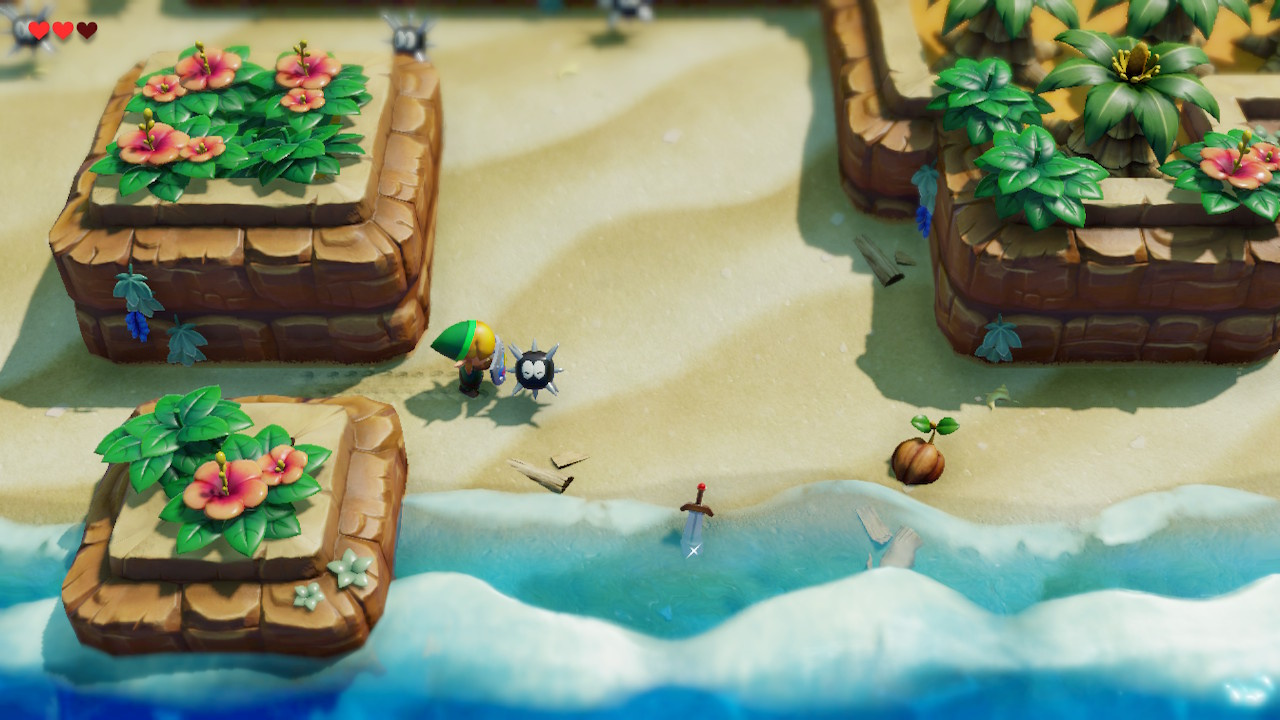
Follow the advice of this helpful sign - hold your shield with R and push the Urchins to clear a path to the beach – and your sword.
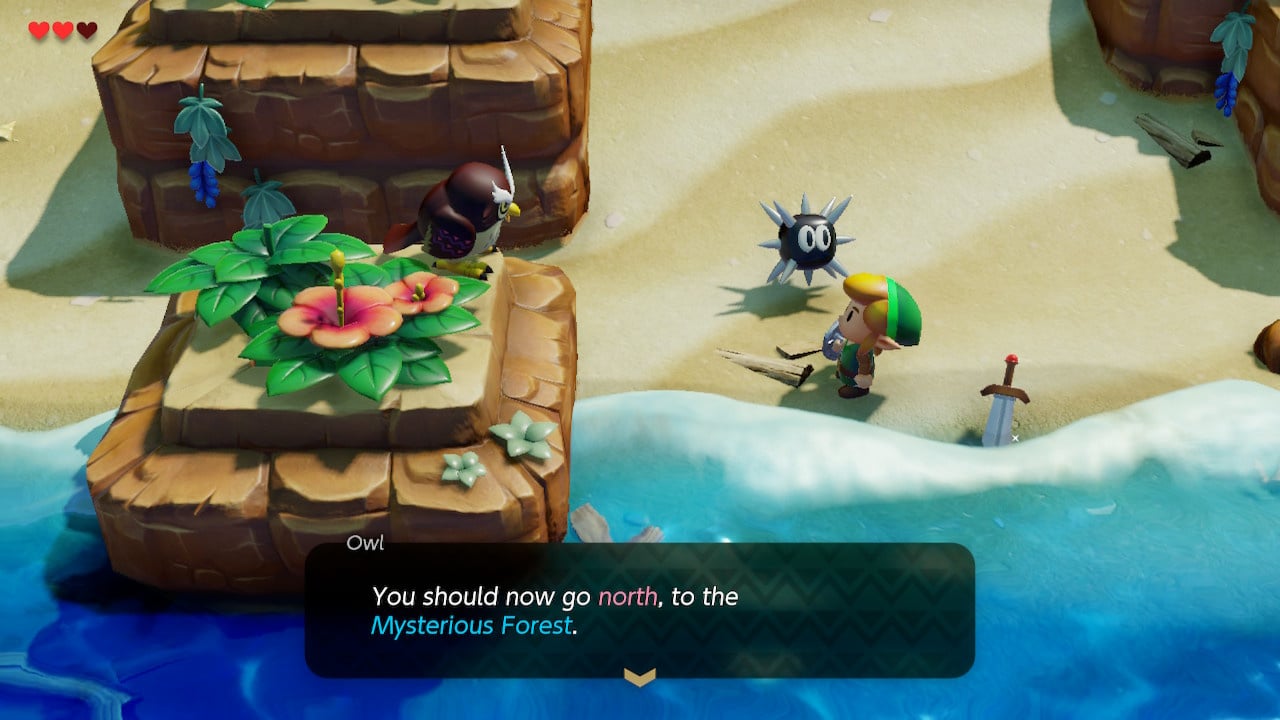
Before you can pick up your sword, an owl swoops in with some words of wisdom – he recommends going north and entering the Mysterious Forest. Pick up the sword (it must be yours, your name is engraved on it!) and head back to the village.
Mable Village Important Locations

Step outside the house – welcome to Mabe Village. Take this opportunity to explore and familiarise yourself with the layout and the residents, including (clockwise from north):
- Weather vane: directly north Marin’s house. A key location later in the game, Marin can often be found singing here
- Quadruplets house: a two-entranced house you’ll visit as part of the item quest, located on the cliffs at the northeastern edge of the town
- Cave and northeast exit: there’s nothing to see here for the time being
- Tool shop: a shop selling various items including a shovel (for secret seashells) and a heart piece. Located northeast of Marin’s house
- Telephone booth: directly south of Marin’s house. These booths are littered across the island and dispense hints about what you should be doing next
- Trendy Game: a shack in the south-east corner with a claw game - win various items including a Yoshi doll (a trading quest item) and a heart piece. 10 rupees per play.
- Old Man’s Ulrira’s House: the residence of the telephone booth operator, southwest of Marin’s house – doesn’t have much to say in person
- Path to beach: route in the southwest of the village – your next destination
- Library: contains books that explain basic controls, a map of the island and a hint about an essential item for the late game
- Well: a convenient hole in the west you can’t wait to throw yourself into
- Mysterious Forest: access via the north-west - where you’ll be heading after the beach
- Fishing hole: Area in the north where you can play a fishing minigame
- Madam MeowMeow’s House: house in the middle of the village with a Chain Chomp tied up outside
Now that we've got our hands on both a sword and a shield we can continue the Zelda: Link's Awakening walkthrough and head towards the first dungeon. We'll first need to get the Tail Key, then head to the Tail Cave and defeat the Tail Cave Boss.


Comments 8
why trade a Yoshi doll for a ribbon?? Link be mad!
@SoapMonkey So you can get that sweet, sweet boomerang later.
@HobbitGamer That does sound sweet ..then maybe I can catch a real Yoshi with that boomerang
I'm sad that the Yoshi doll just literally disappears and isn't even visible in the home unlike all the other ornaments you can get in the crane game. Such a weird design choice.
Oh well. Good game, just finished it today.
PSA — if you are following a guide (like this) instead of exploring and figuring things out on your own, then you are losing out on an incredible experience.
Also, if you use a guide to race through the game, and then complain about "how it is so short, it isn't worth xx" then shame on you!
I know some are still salty about how short it is for the price, but as an adult with a career, I love how it's paced. Those bite-sized chuncks of gameplay are perfectly suited to my schedule. Although I love the open world of modern Zeldas, these shorter dungeons are such a fulfilling experience.
Don't get me wrong, I really, really love this game and this version, specifically. It's just brilliant... but, man, what's up with the lousy frame rate? Hopeful Nintendo will iron things out.
Hopefully one of these guides will become useful if I get lost
Show Comments
Leave A Comment
Hold on there, you need to login to post a comment...