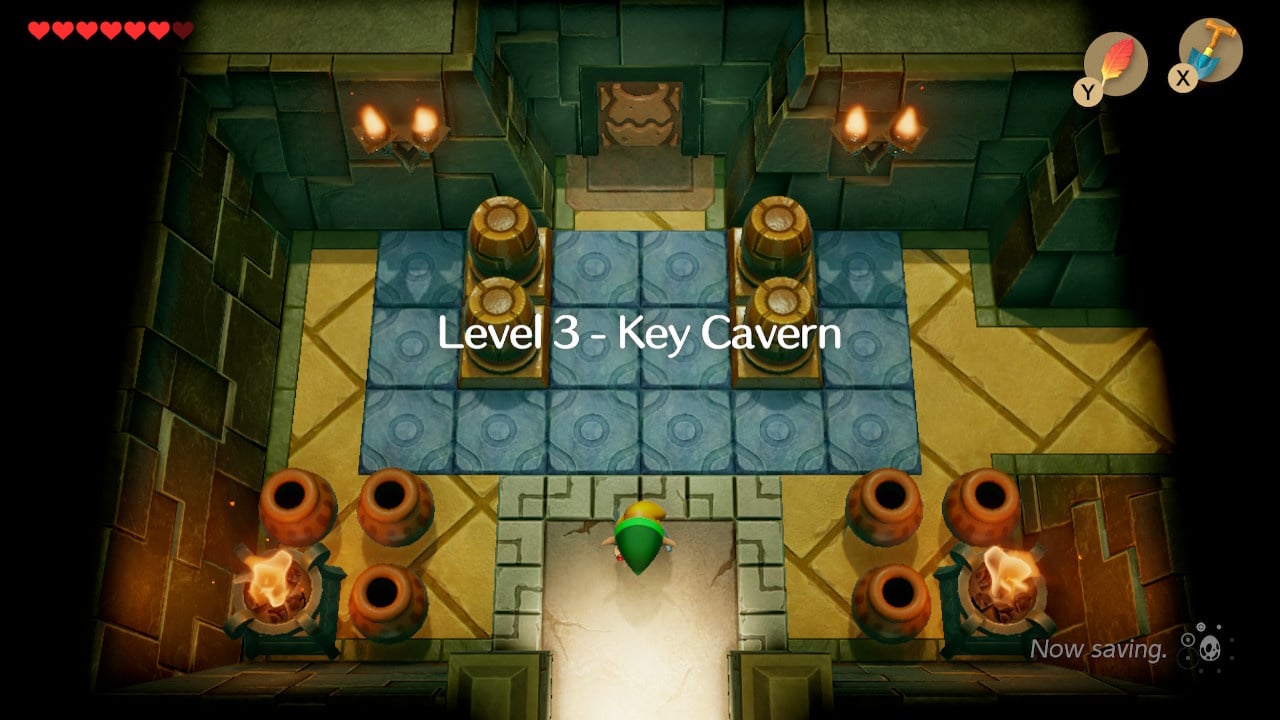
Continuing part four of our Zelda: Link's Awakening walkthrough we've found the Slime Key necessary to access the game’s third dungeon: Key Cavern.
Subscribe to Nintendo Life on YouTube848k
Key Cavern Walkthrough
Acquiring the Stone Beak and Key Cavern Map

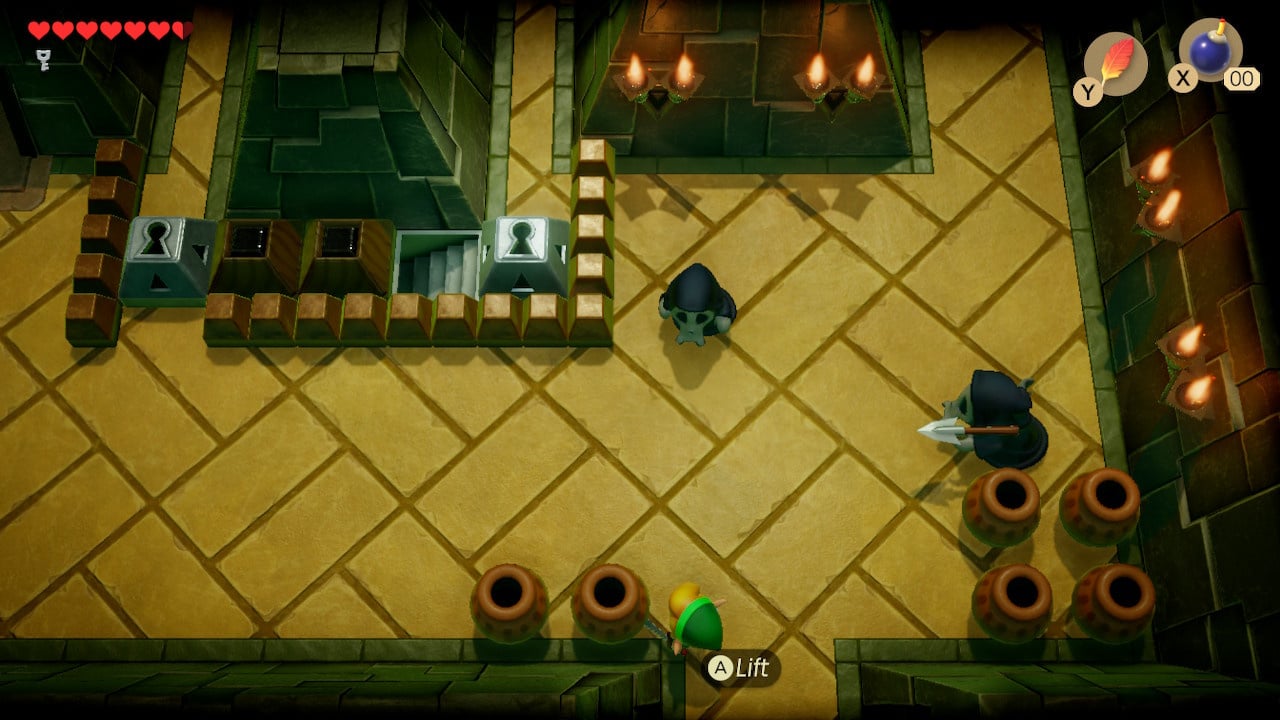
Step inside the Key Cavern and you’ll see two routes – one forward, one to the right. The righthand route includes an obstacle you won’t be able to do much about for now, so throw a pot at the door at the top of the screen and step through.
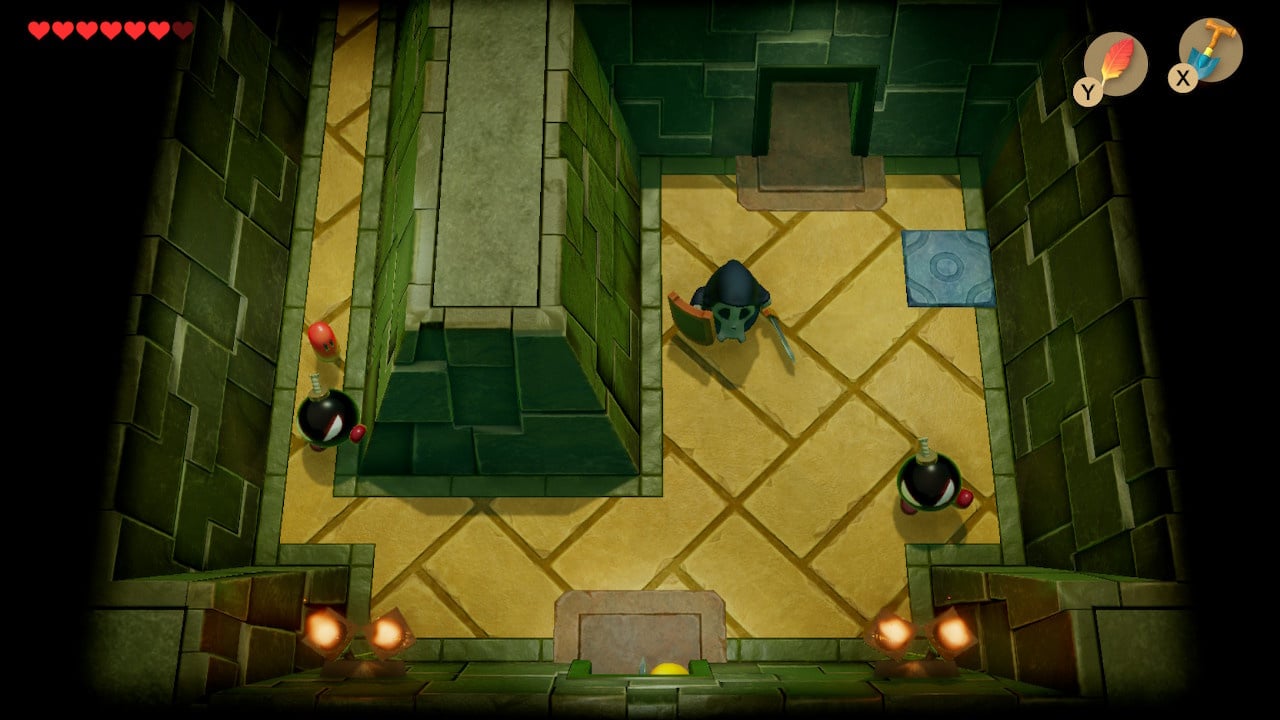
As tempting as the narrow pathway to the left is, this is another route you’ll have to come back for later – clear out the shrouded Stalfos and the Bombites for the first small key in the dungeon, and head through the doorway on the right.
The next few rooms continue to hold a lack of interest for you:
- Head north in the first room – the righthand doorway has a series of raised blue barriers you won’t be able to get past right now
- The second room also has nothing of interest for now, head north again
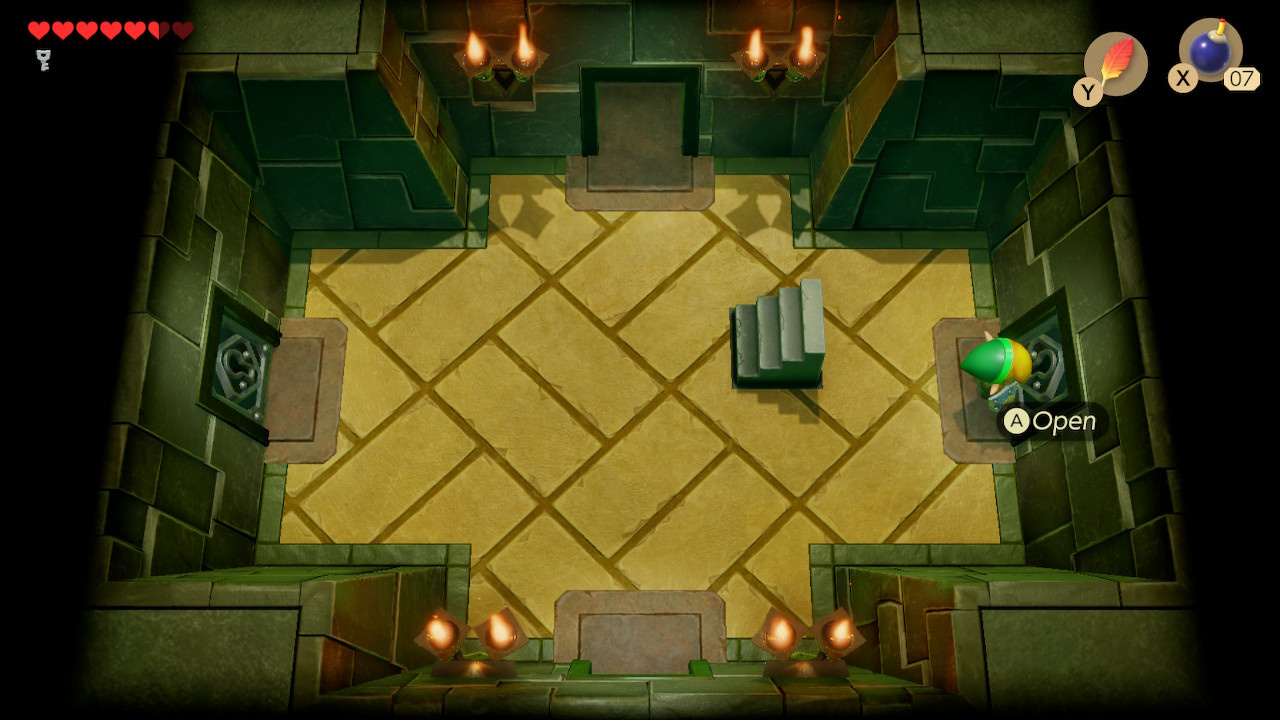
- The third room has a chest blocked by barriers and a set of stairs – head down the stairs
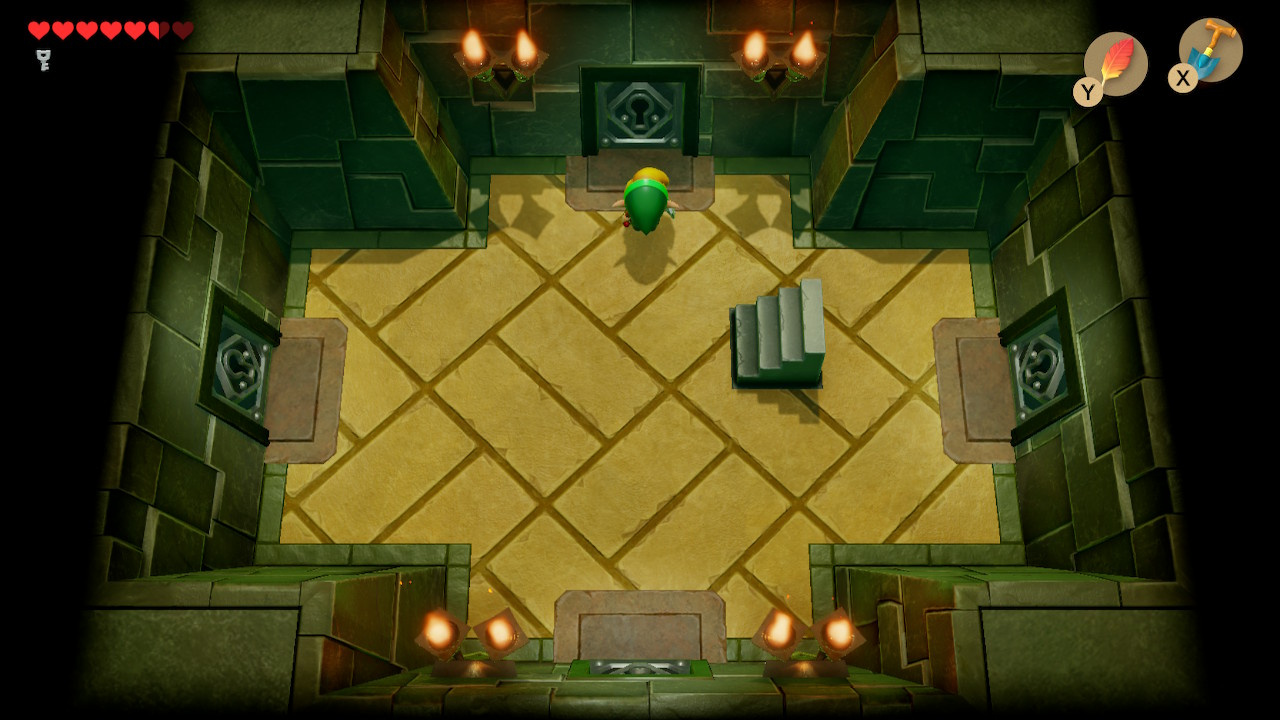
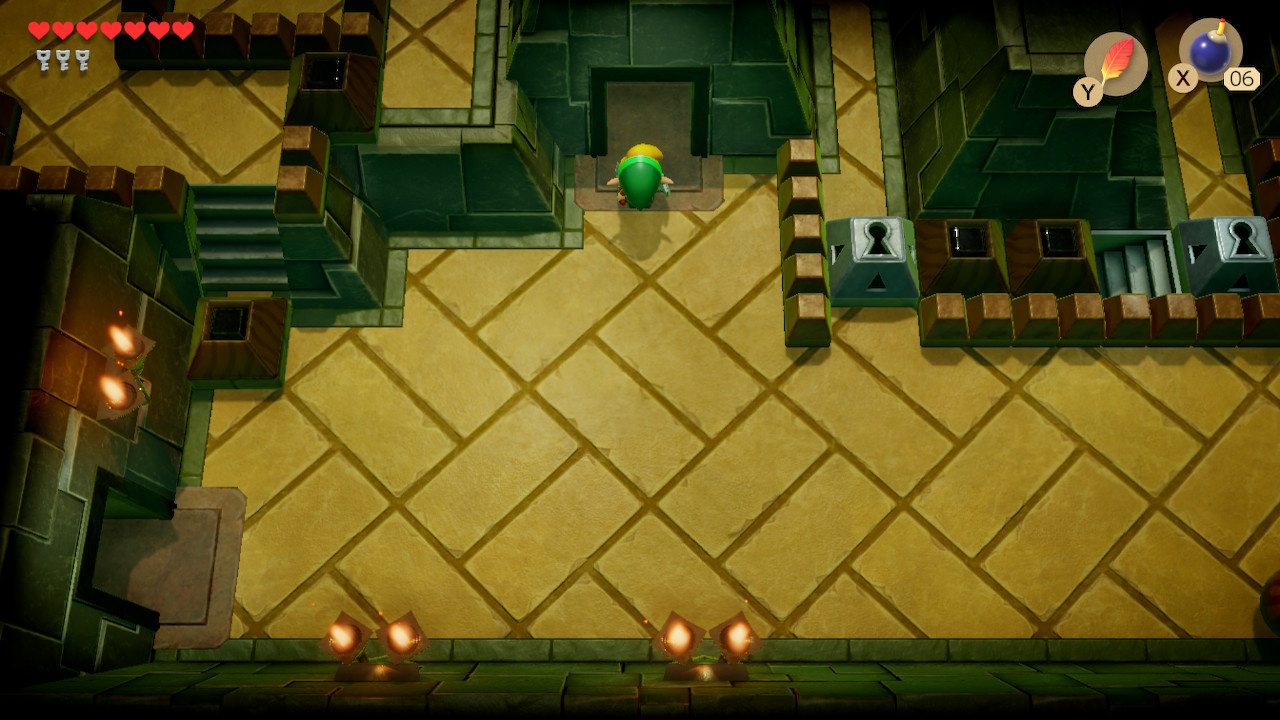
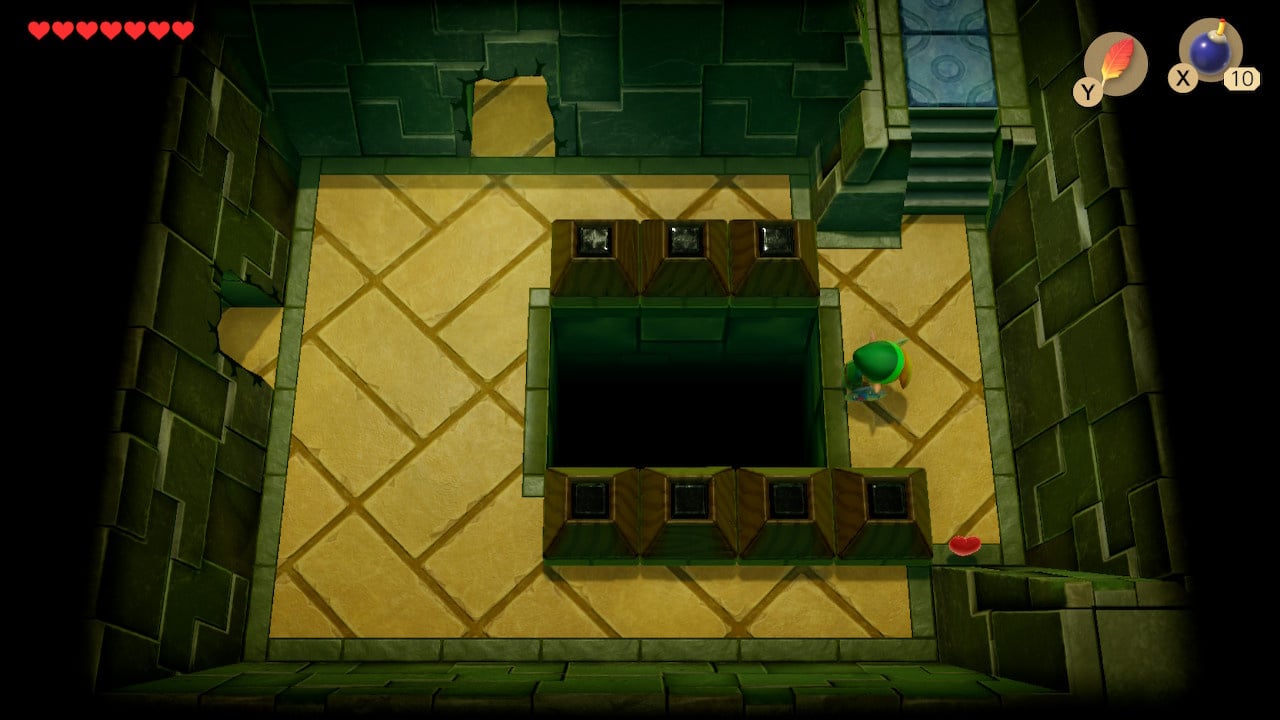
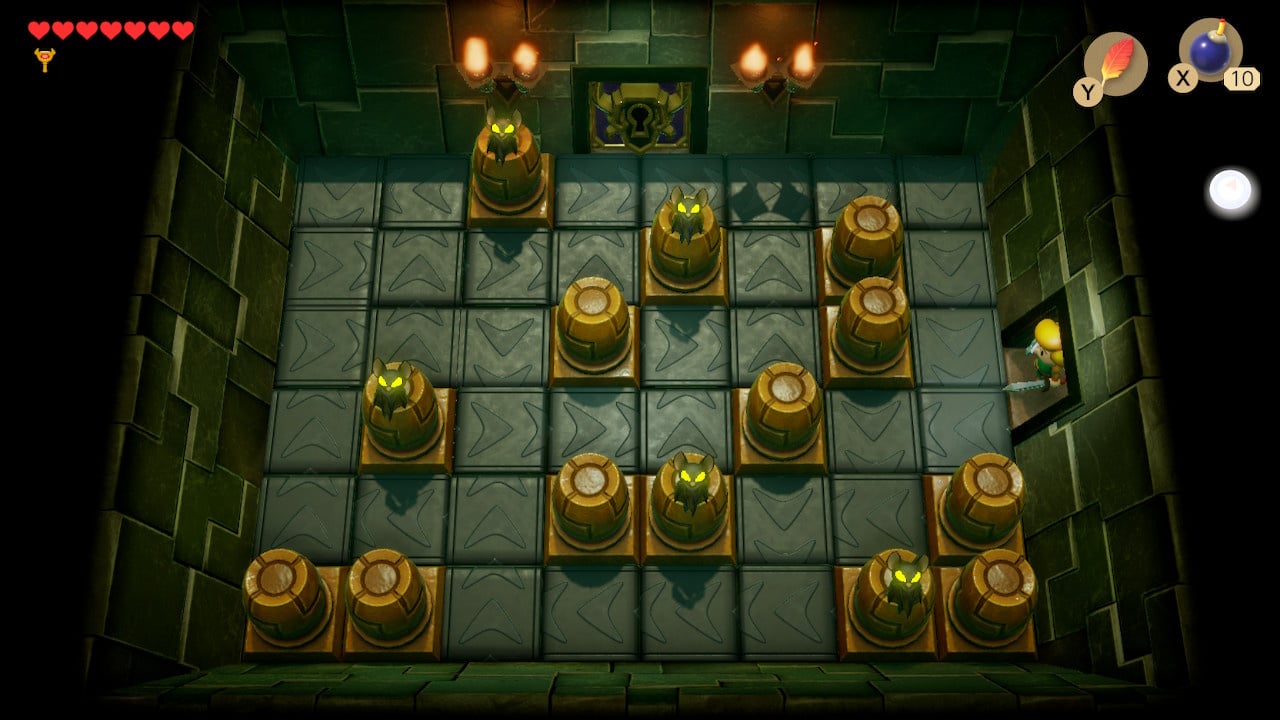
Down the stairs is a small hub with four doors for your one key. The correct choice at this point is the top door – those on the left and bottom of the room are essentially pointless (you must clear each one of enemies to be rewarded with a replacement key).
You may want to go in these rooms just for the sake of going into every room, of course. If you do, you will encounter the Pairodd enemy for the first time – these large-nosed oddities will teleport to the other side of the room when you approach – you will have to hurl a bomb at them to do damage.
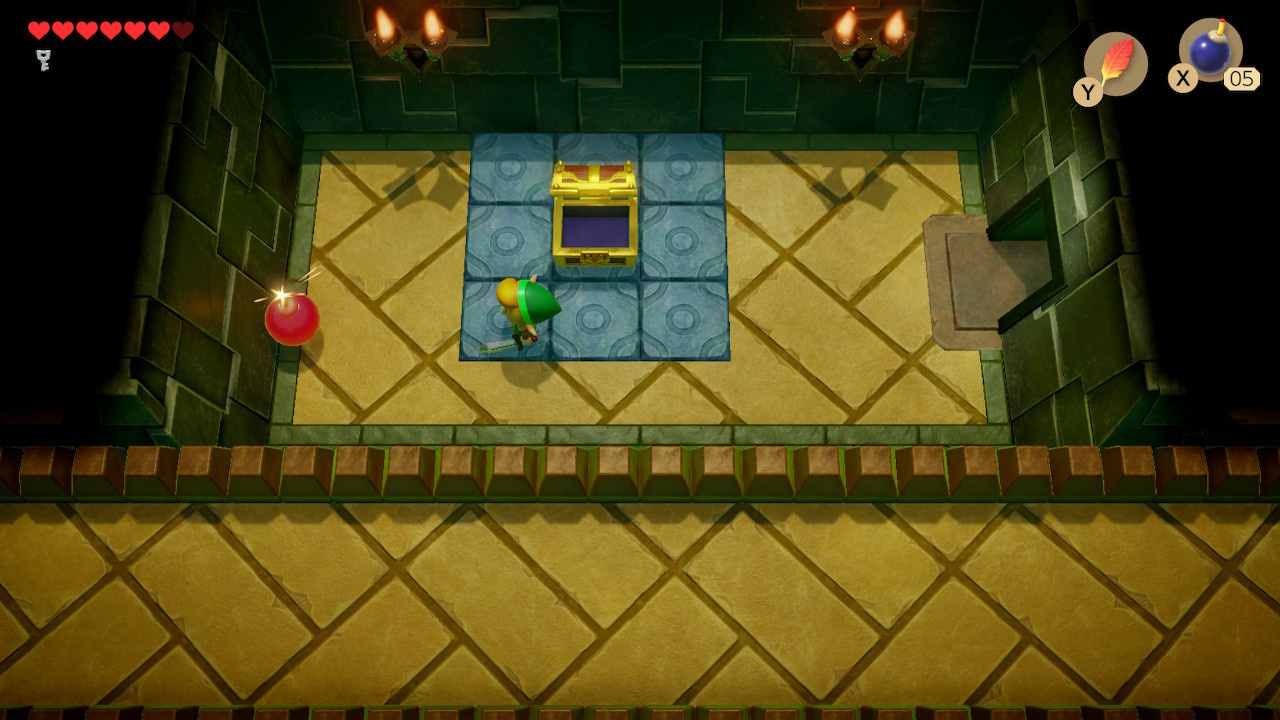
Step into the top room and defeat the enemies – a Small Key will drop to the left of the beakless Owl Statue. Strike the gem switch once – this will raise orange barriers and lower blue barriers in the earlier rooms. Return to the room with the four doors and climb back up the stairs
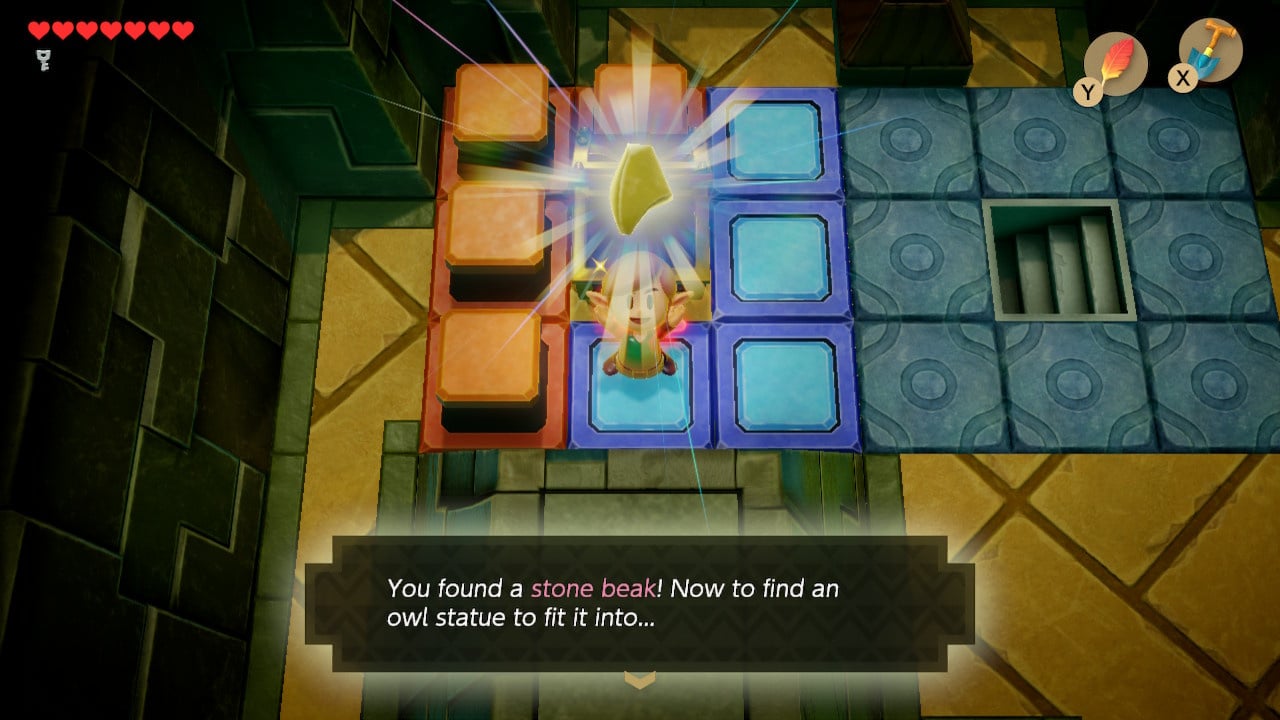
With the blue barriers down, you can open the chest, which contains this dungeon’s Stone Beak. Don’t return down the stairs just yet though, as the barriers are now in the right position for another room you passed. Head south two screens and enter the side-room on the right.
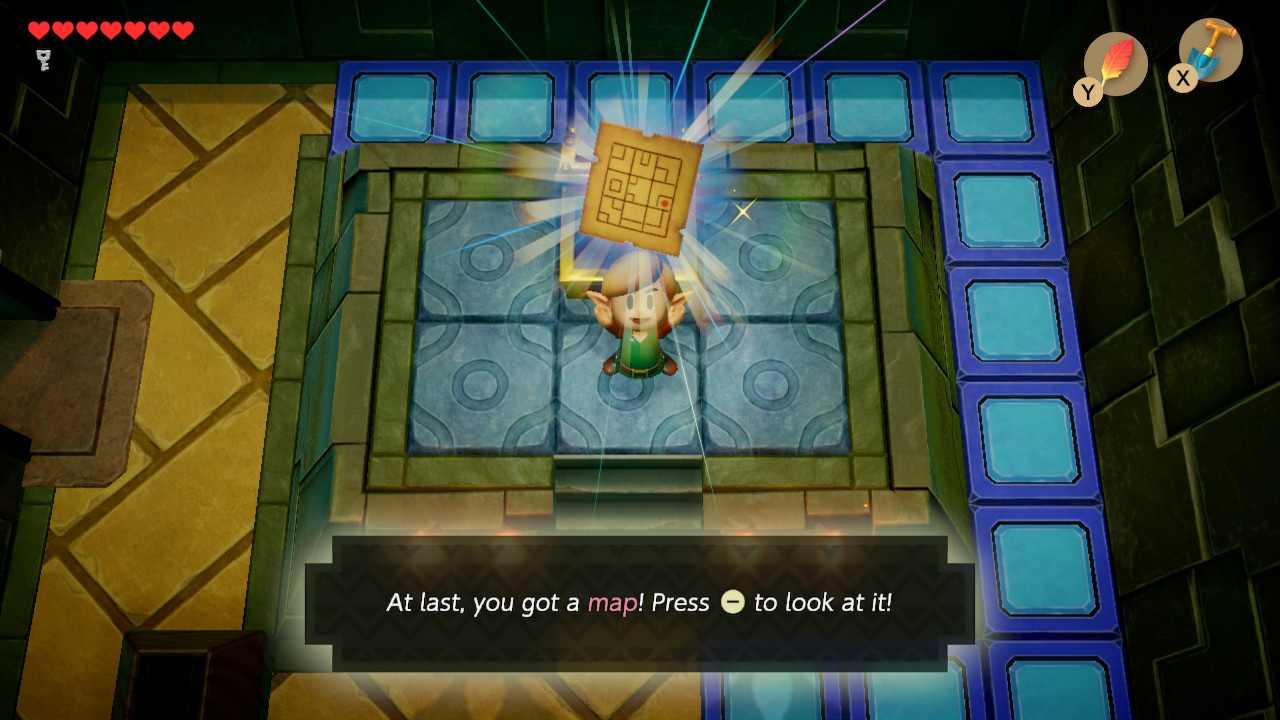
The blue barriers have now fallen in the side-room, giving you access to the chest in the raised area. The chest contains the dungeon’s Map – a good haul for having solved a single puzzle!
Locating the Key Cavern Compass
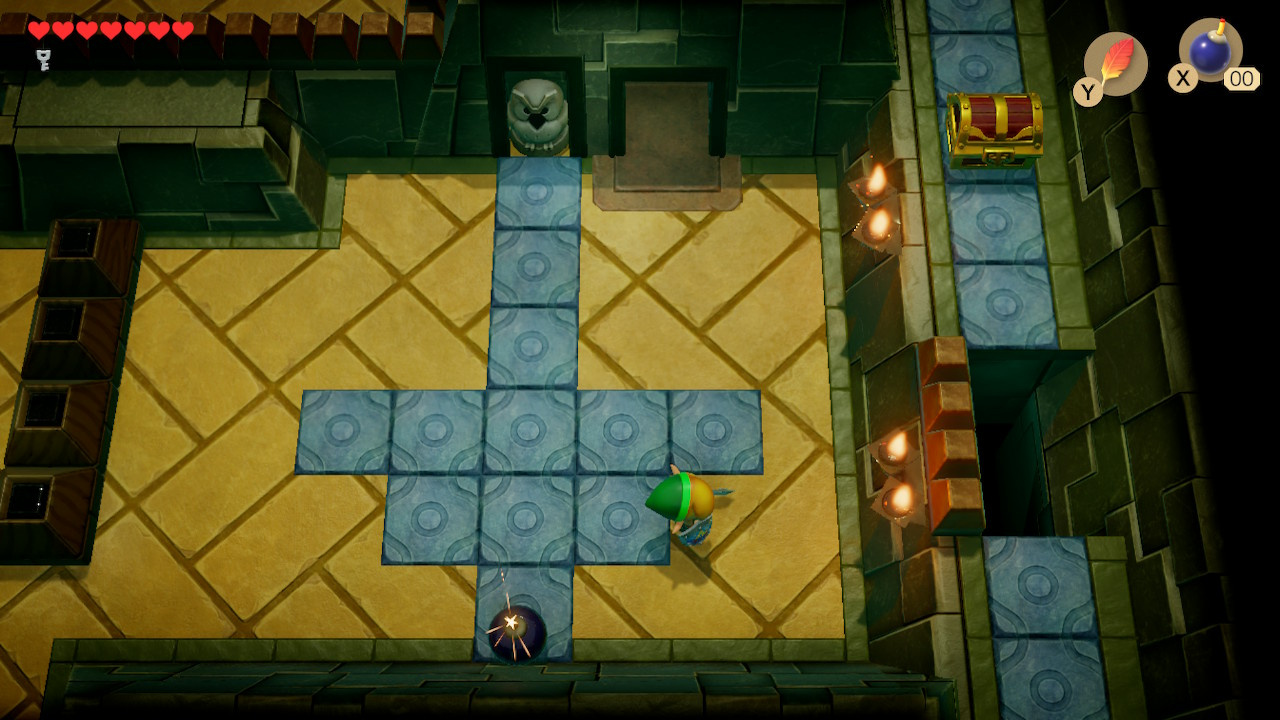
Return to the stairs at the north of the passage and head back down a floor to the four-door room. This time, you’ll want to go through the door on the right. The next room features a route with conveyors, a Kesse and a Pairodd (as mentioned above, throw bombs from a distance to do damage – get too close and it will teleport away). Climb the stairs at the end of the route.
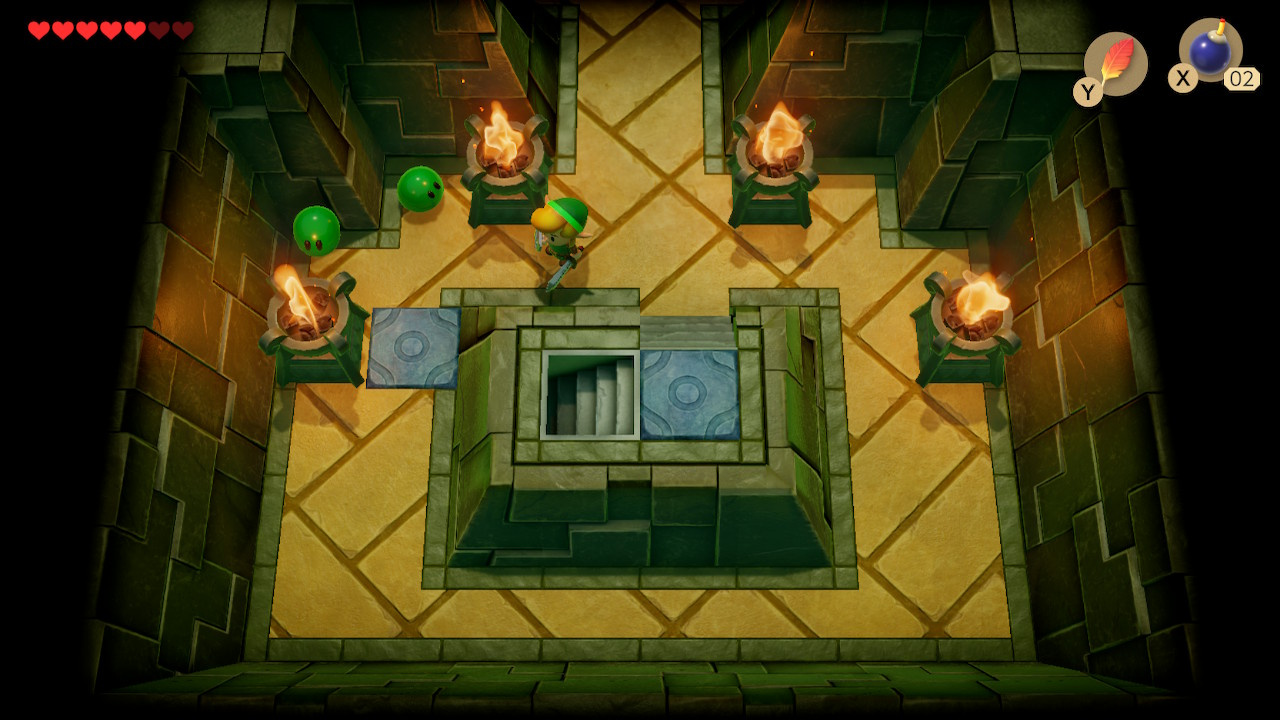
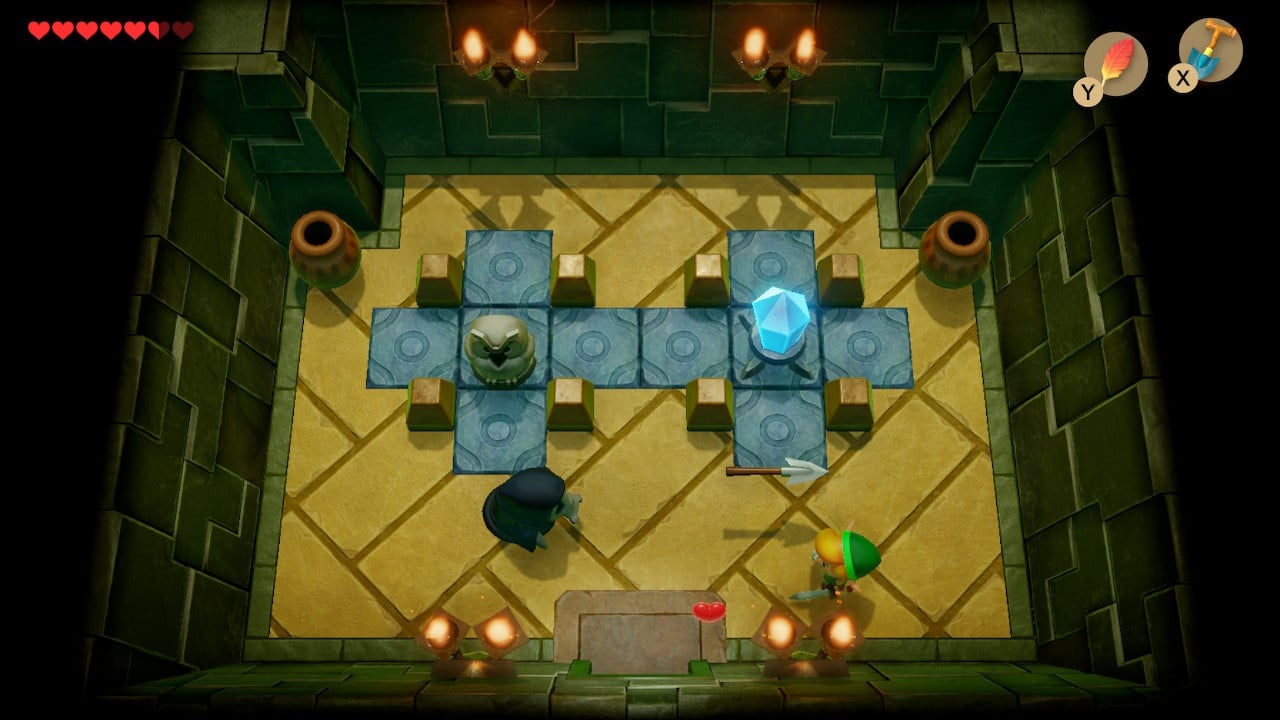
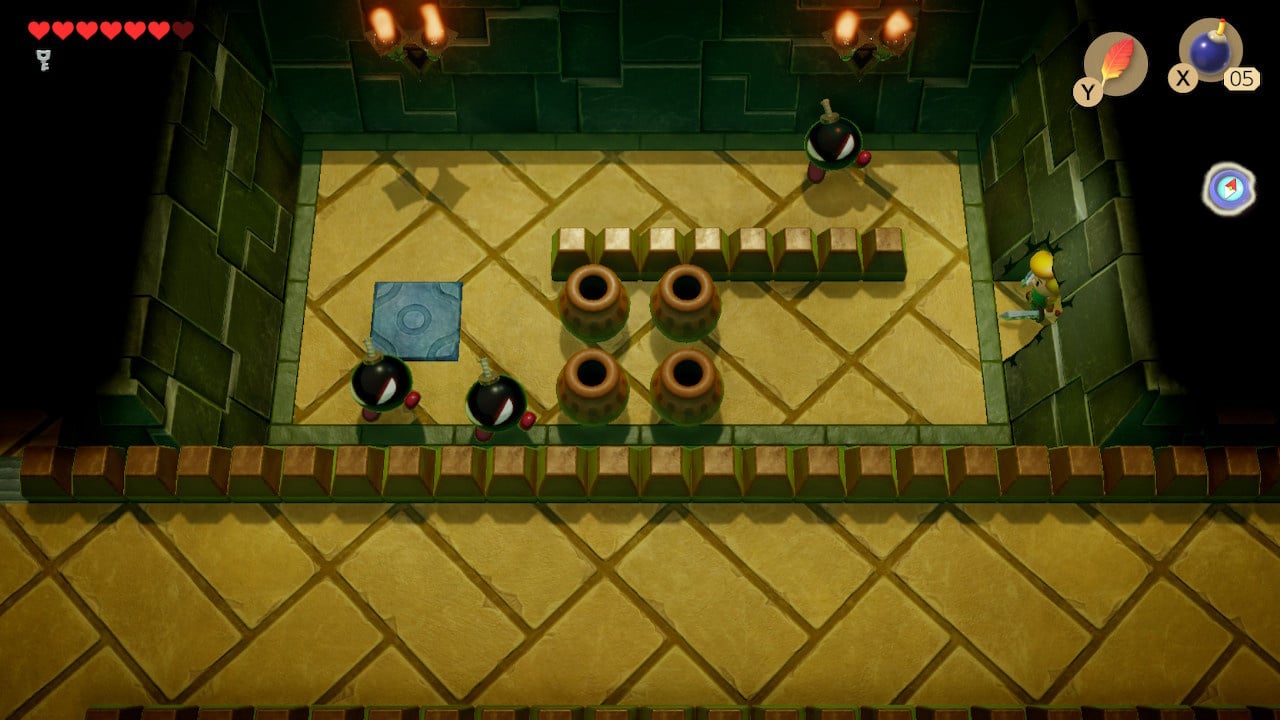
Circle the raised area in the next room and a number of Zol (green blobs) will appear. Kill them all for a Small Key and head north.
The next room is the major hub that you’ll be solving for the rest of the dungeon. A series of four lock blocks in the centre of the room lead to the dungeon’s nightmare, but at this point you will only have the one key. Let’s take the top-right route first.
The next area contains game design’s subtlest tile design and an Owl Statue with a related message:
Poke suspicious parts of the wall with your sword and listen to the sounds it makes.
Face the lower wall, hold your sword button and walk forwards. Note how there’s a different sound at the section of wall indicated by the gigantic arrow-shaped arrangement of tiles? This indicates a bombable wall. Stick a bomb by the wall and have a peek through.
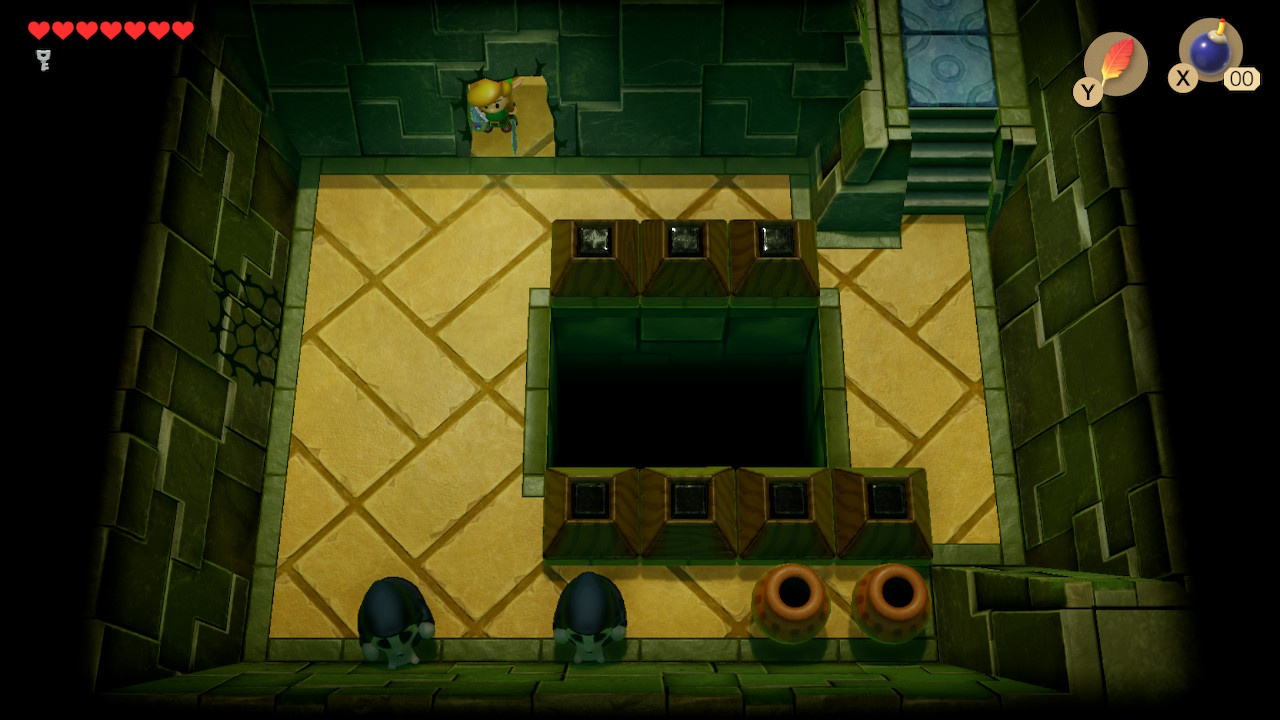
The next room features a currently unjumpable chasm and a crumbling wall – bomb the lefthand wall to give yourself another entrance to the major hub, and then turn back to the giant arrow room. Go through the doorway in the upper right.
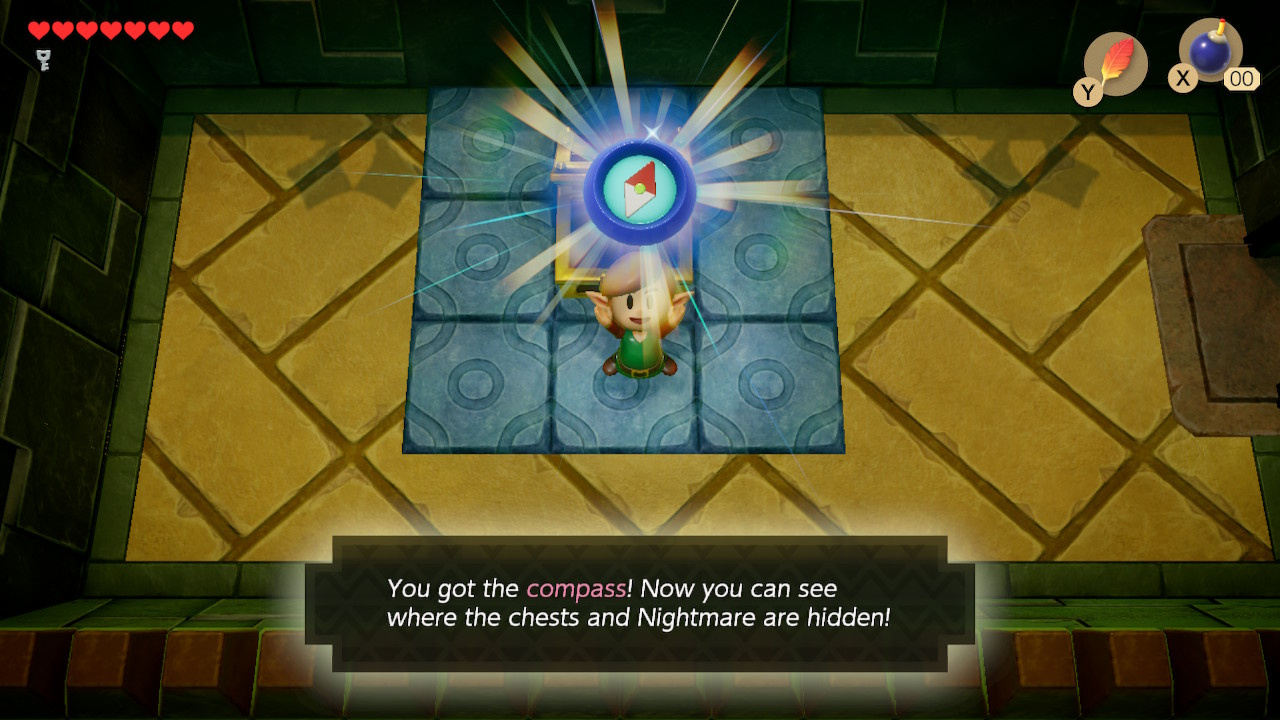
Follow the pathway around until the dead-end. Deal with the enemies and open the chest to receive this dungeon’s Compass.
You’re not done yet – if you tap the wall in the compass room with your sword you will find there is a secret weakness for you to bomb – do so, and head through the newly opened gap.
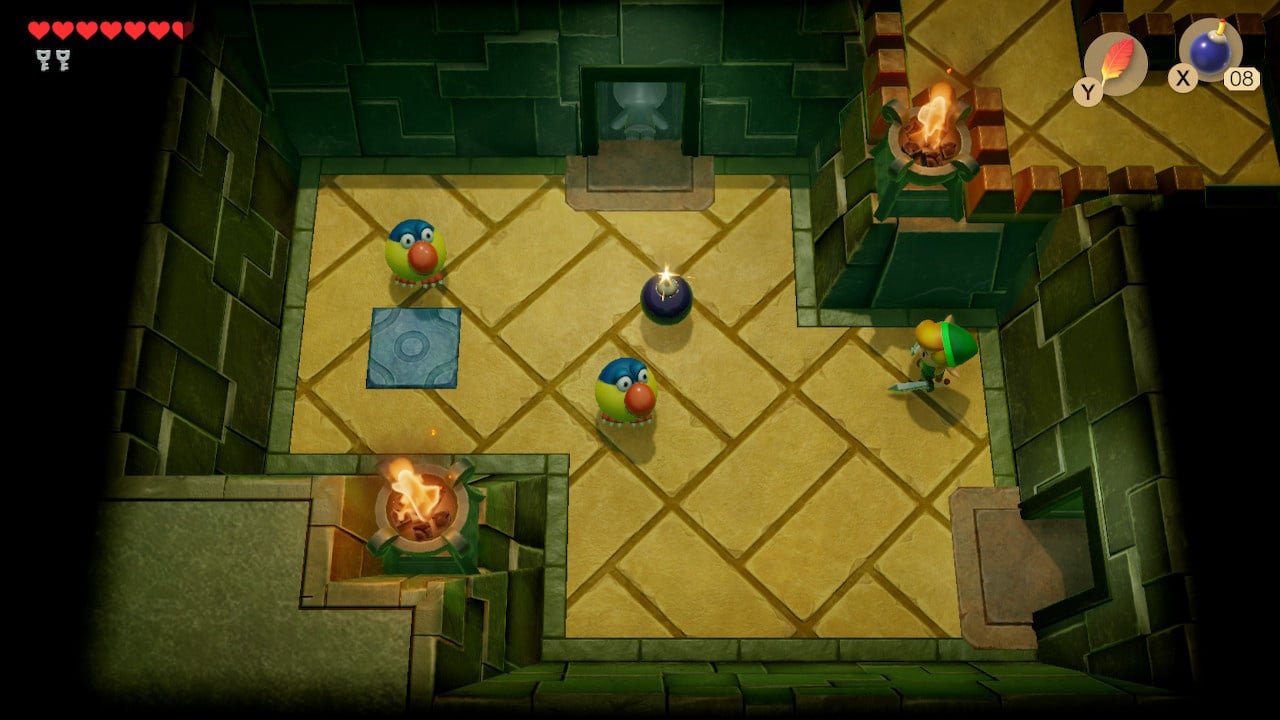
Deal with the Bombites in the hidden room and a small key will drop from the ceiling.
Fighting the Dodongo Snakes - Key Cavern Miniboss
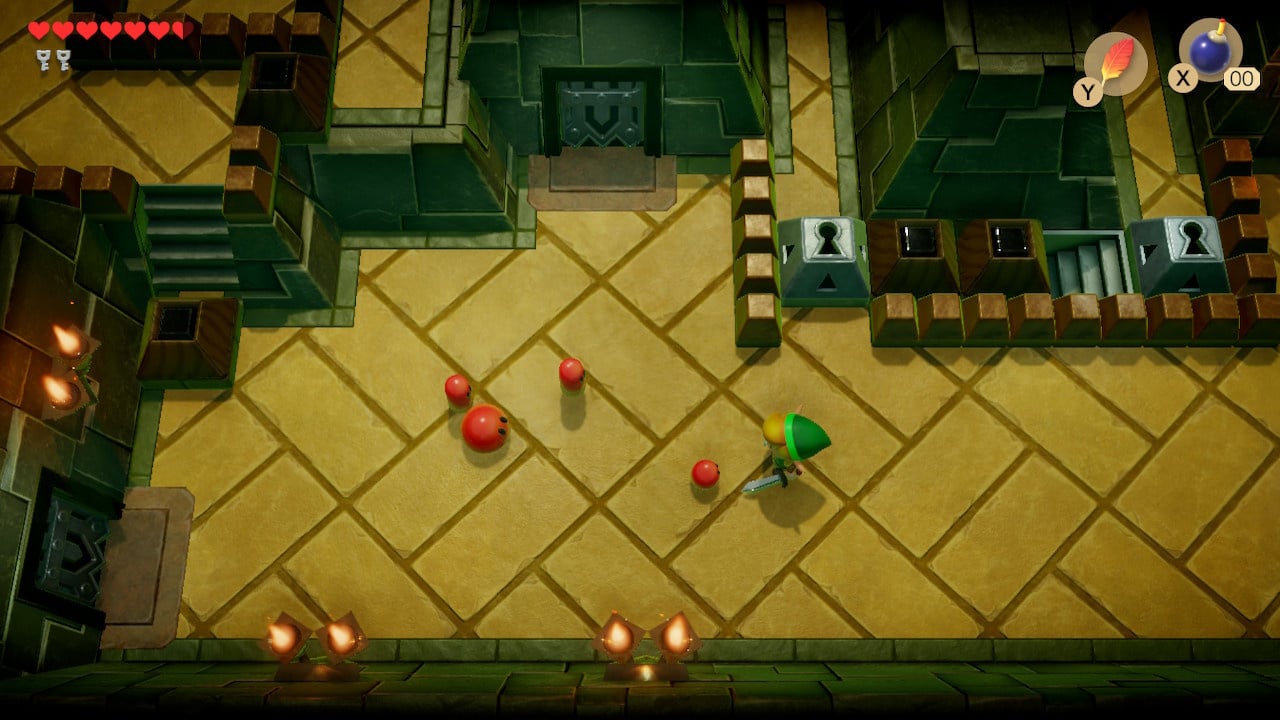
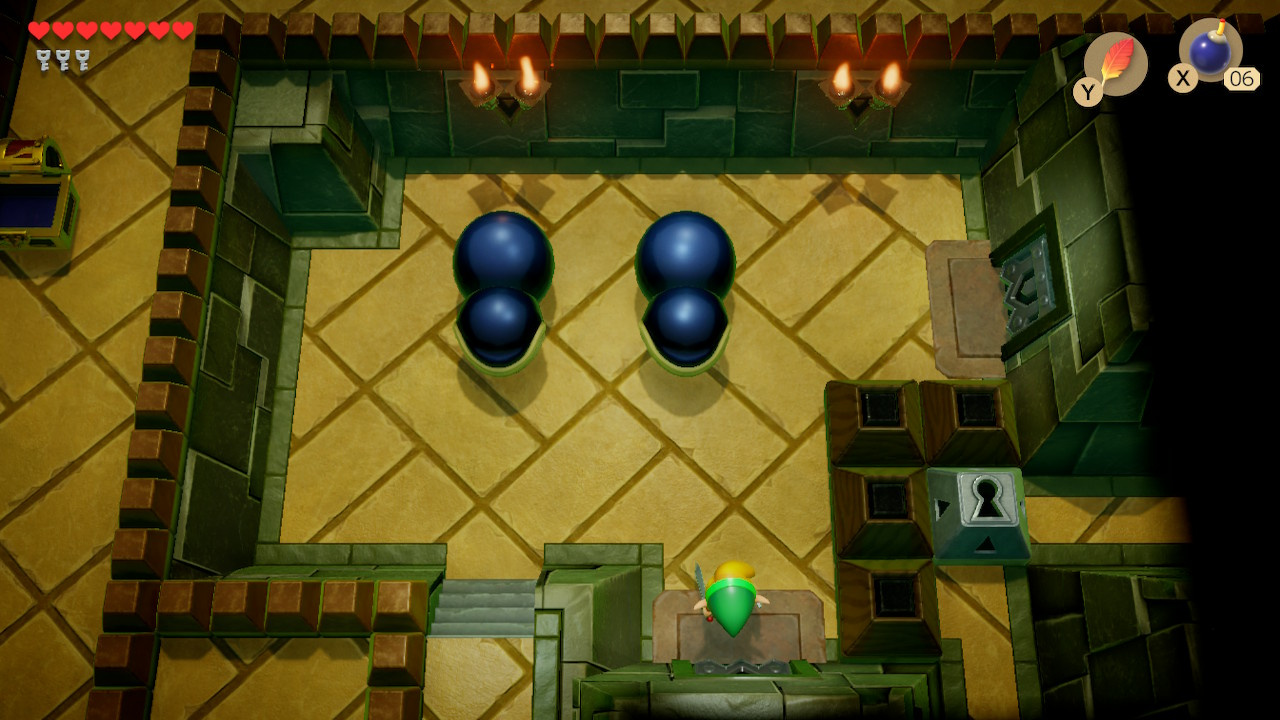
Return to the major hub and head left. You will need to kill the red gel enemies to open the doors here. Once you have done so, take the left exit.
The first room of this lefthand route has a pair of Pairodds – once again, take them out by keeping your distance and throwing your bombs. Once both are dead, a small key will drop from the ceiling (if you run out of bombs, there is a 10 bomb pick-up two screens north of here – loop back round and have another try)
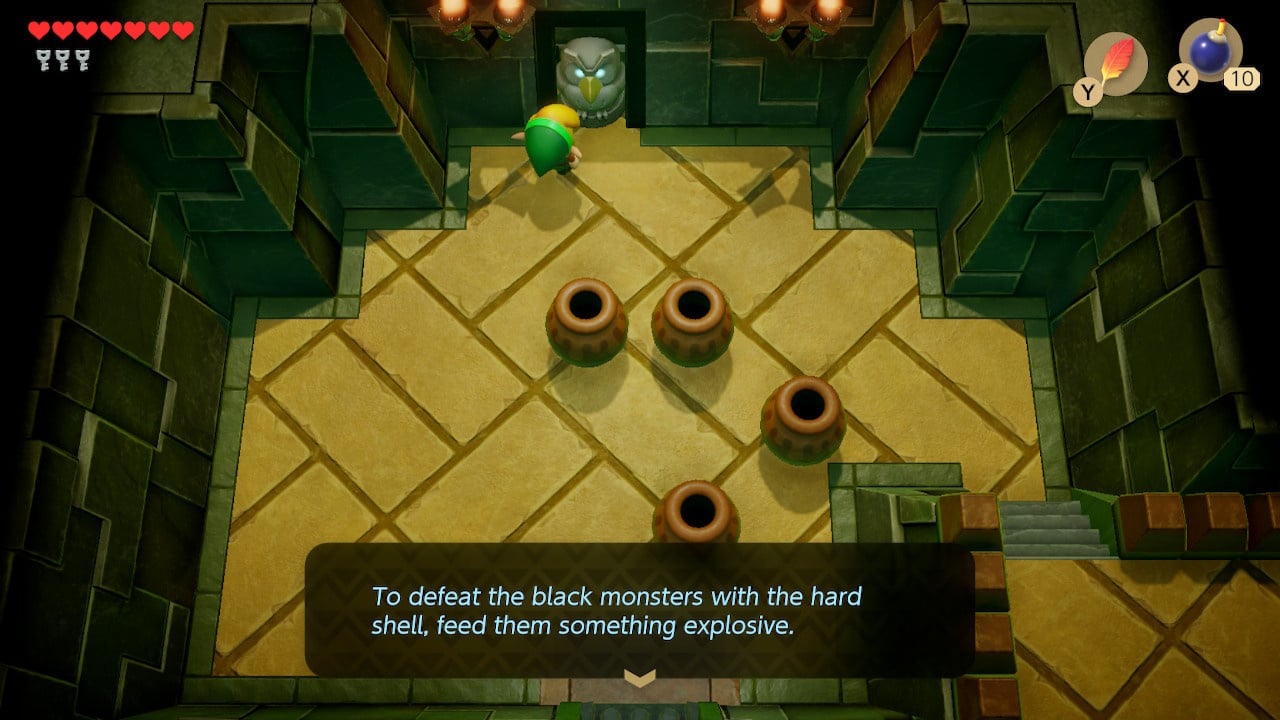
Defeat the enemies in the next room to spawn a box on the upper walkway (grab it in a moment for 50 rupees). Head north again, kill all enemies, grab the 10 bomb pickup and use the stone beak on the Owl Statue for some wise words about the upcoming miniboss:
To defeat the black monsters with the hard shell, feed them something explosive.
Climb the steps in the lower right and head south to return to the main hub.
Take the top door this time, and ready yourself for a miniboss
The Dodongo Snakes move with slow, synchronised lunges of their mouths. The Owl Statue’s words suggest feeding them ‘something explosive’ – and what’s more explosive than a bomb? Lay a bomb in front of each snake and they will eat it and take damage. Retreat and wait for them to move a couple of times (they will refuse to eat initially) and then lay another bomb. Rinse and repeat.
If you manage to run out of bombs, exit via the stairs in the lower left and return to the area with the owl statue for the 10 bomb pickup and try the boss again.
Once defeated you’ll be rewarded with a fairy and a blue portal back to the dungeon entrance. Exit via the door that has opened to the right.
Getting the Pegasus Boots (and the areas they unlock)
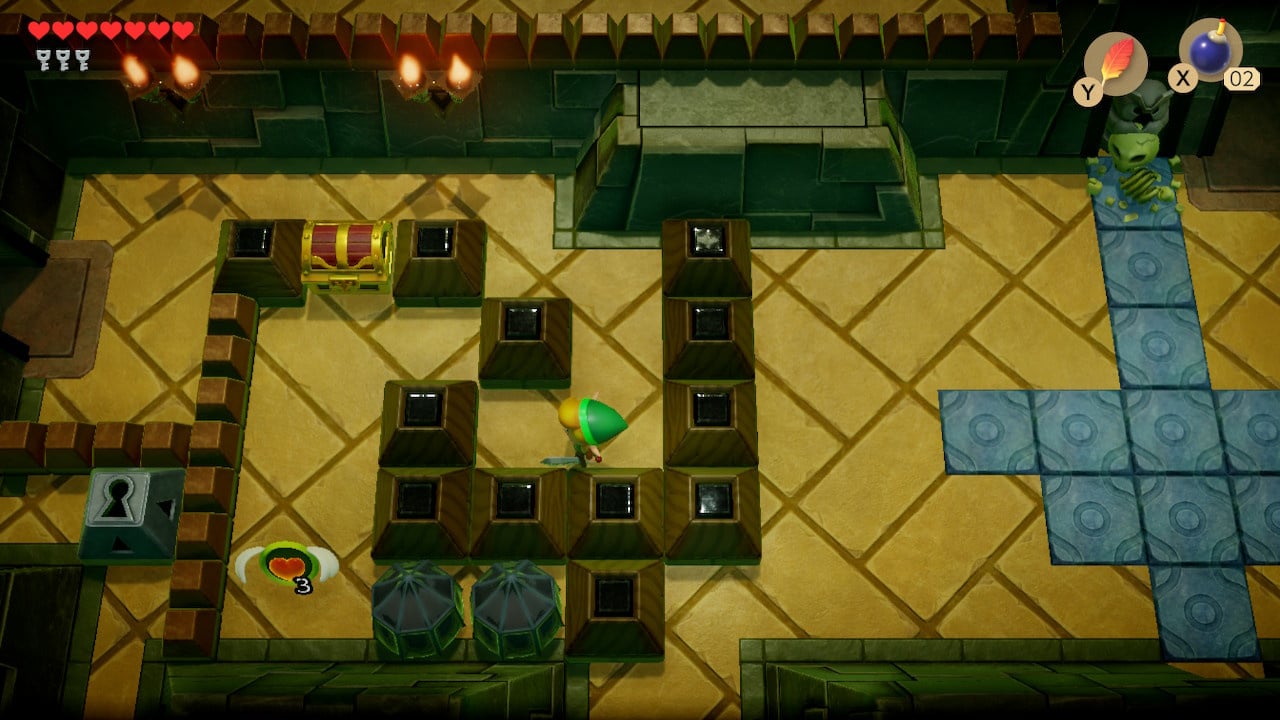
Follow the short path to the end in the next room. Push the lower block left, then push the upper block upwards, opening the path to the chest.
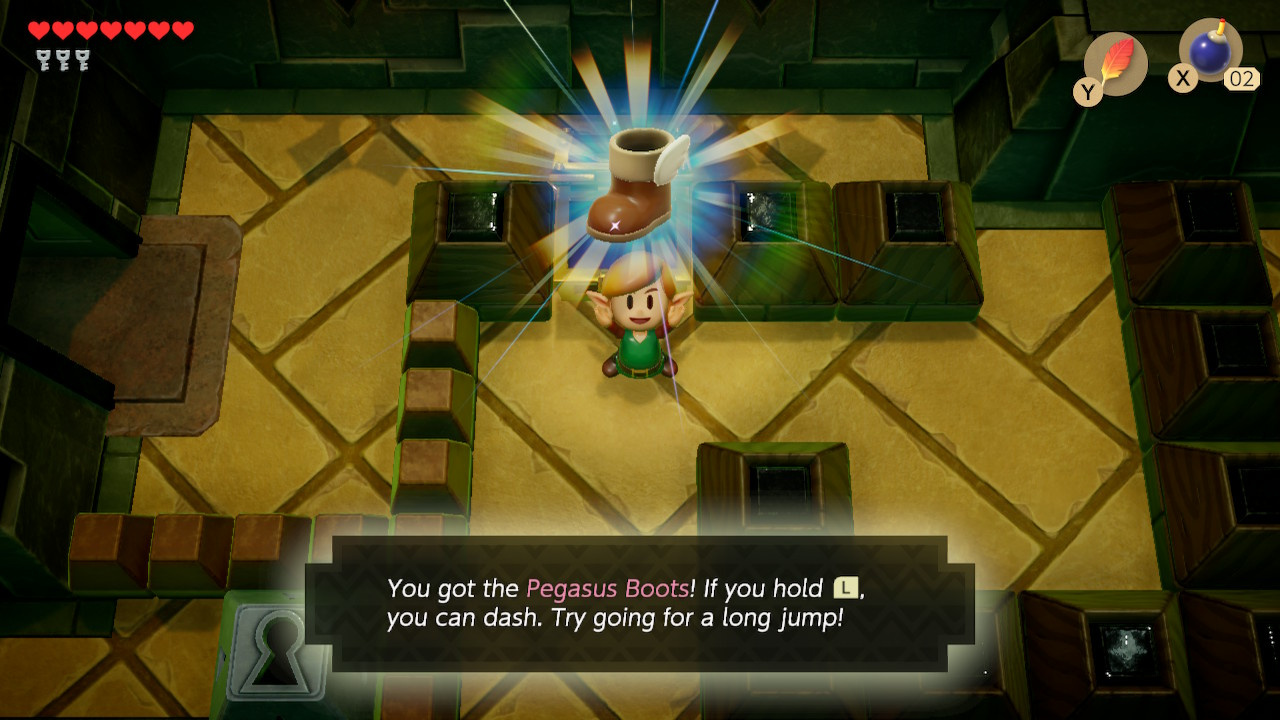
Inside the chest are the hugely useful Pegasus Boots. Hold L for a short while and you’ll run forward brandishing your sword, poking enemies and obstacles. You can also clear longer jumps while dashing (in the Game Boy versions you will need to equip the Pegasus Boots to A or B to use them).
Below the chest are a couple of inflatable barriers – unsurprisingly these can be dealt with a dash. Once they’re burst, push the block at the end of the path to the right to escape.
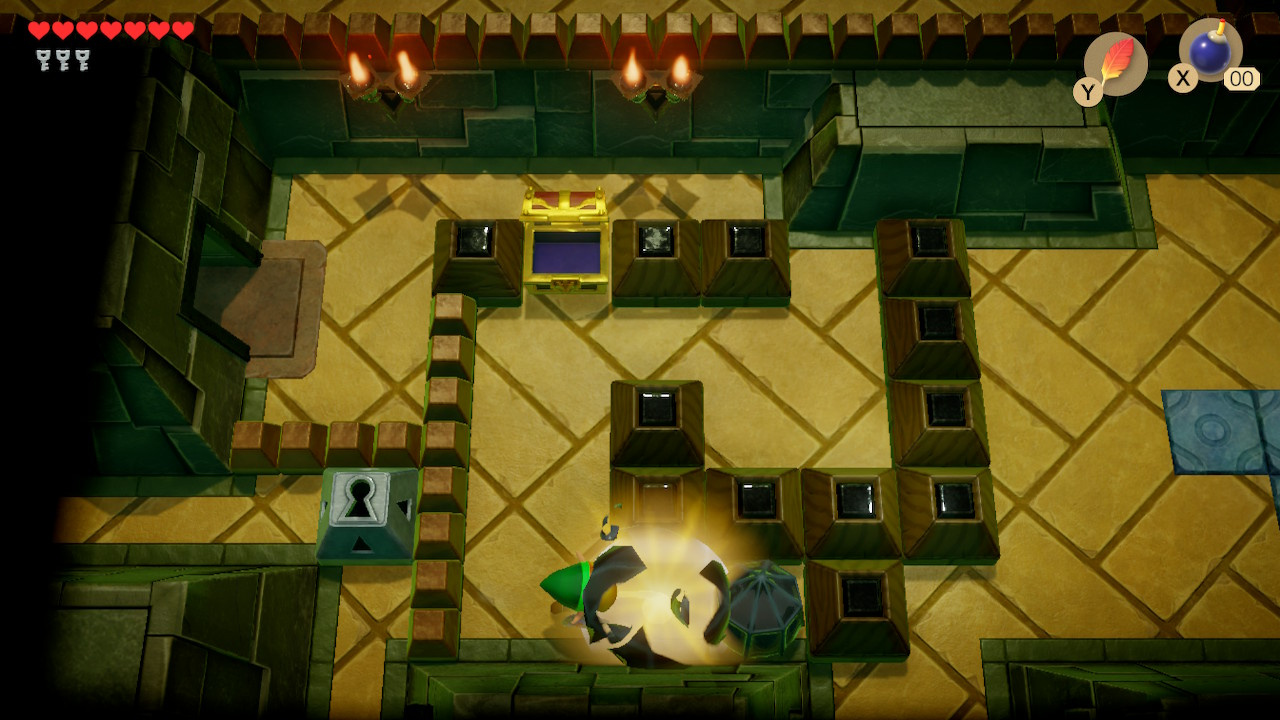
At this point you should have three small keys – still one short of the four needed for the room’s central area. You’ll need to backtrack to find new areas that the Pegasus Boots open up. Return to the miniboss room and take the blue portal to the start of the dungeon.
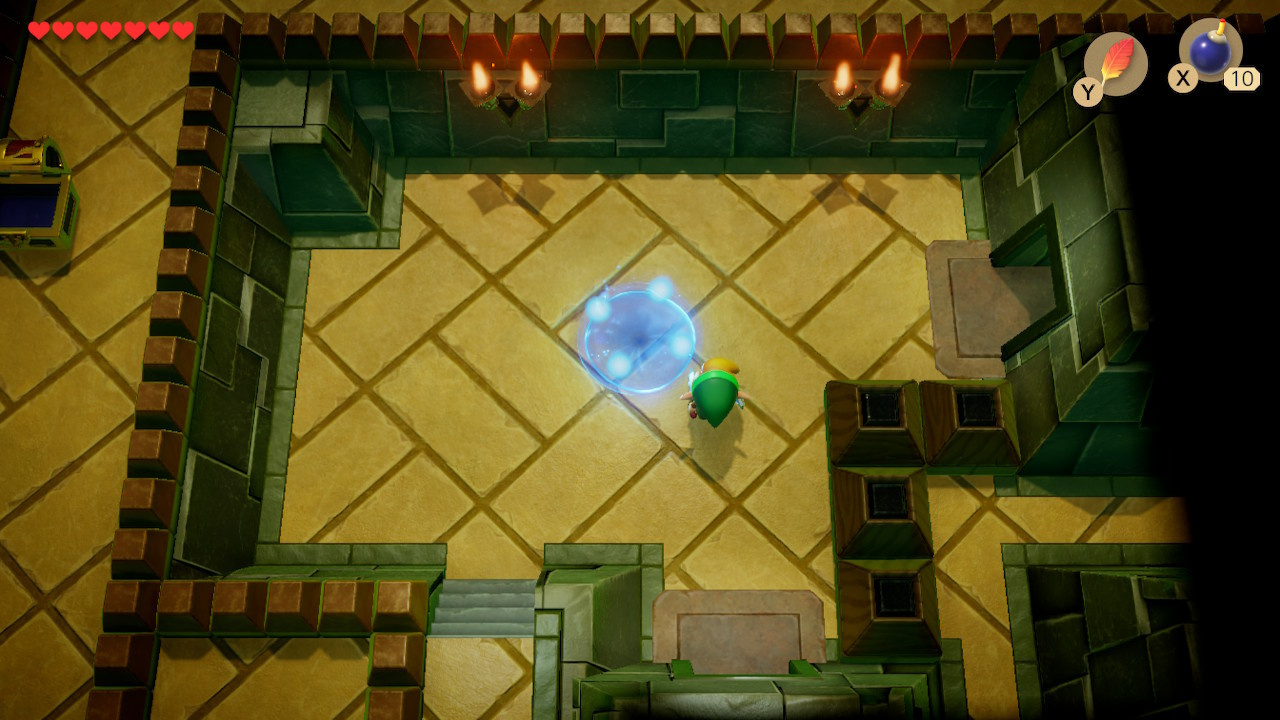
From the start of the dungeon, head right. On the other side of a narrow walkway you’ll find a Vacuum Mouth which immediately starts to repel you. Execute a dash and you’ll be able to make slow progress from one side of the room to the other – steer up and down to avoid falling off of the walkway and get close enough to stick the Vacuum Mouth with your sword. Open the chest and claim your fourth small key.

Before you head back to the major hub area and spend your four small keys, head north and take the narrow passageway on the left. You can now dash past the inflatable barriers and defeat the red gel one screen north. Loop back round to this screen from the other side to kill the Stalfos – a Chest will appear containing 300 Rupees.
Finding the Key Cavern Nightmare / Boss Key
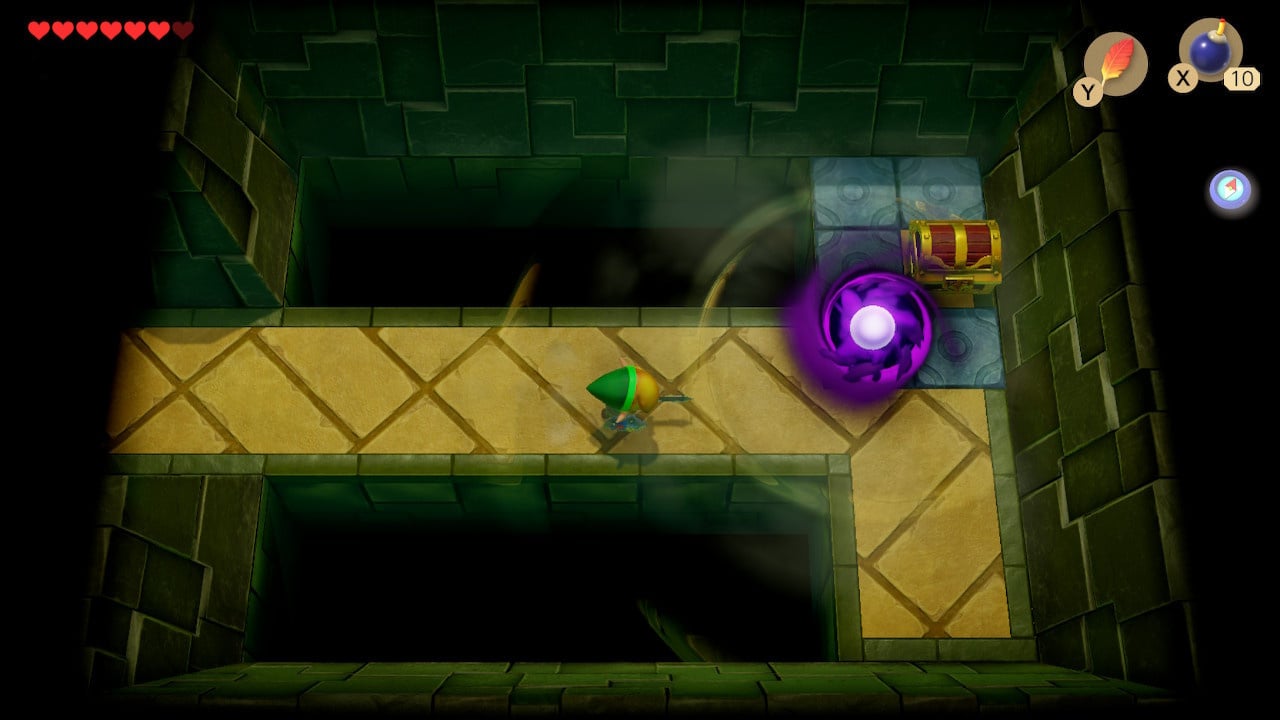
Return to the major hub (the easiest way is to return to the blue portal at the dungeon’s start). Head to the room indicated by the giant tile arrow from earlier and execute a dash and jump to take you clear over the chasm. Head north.
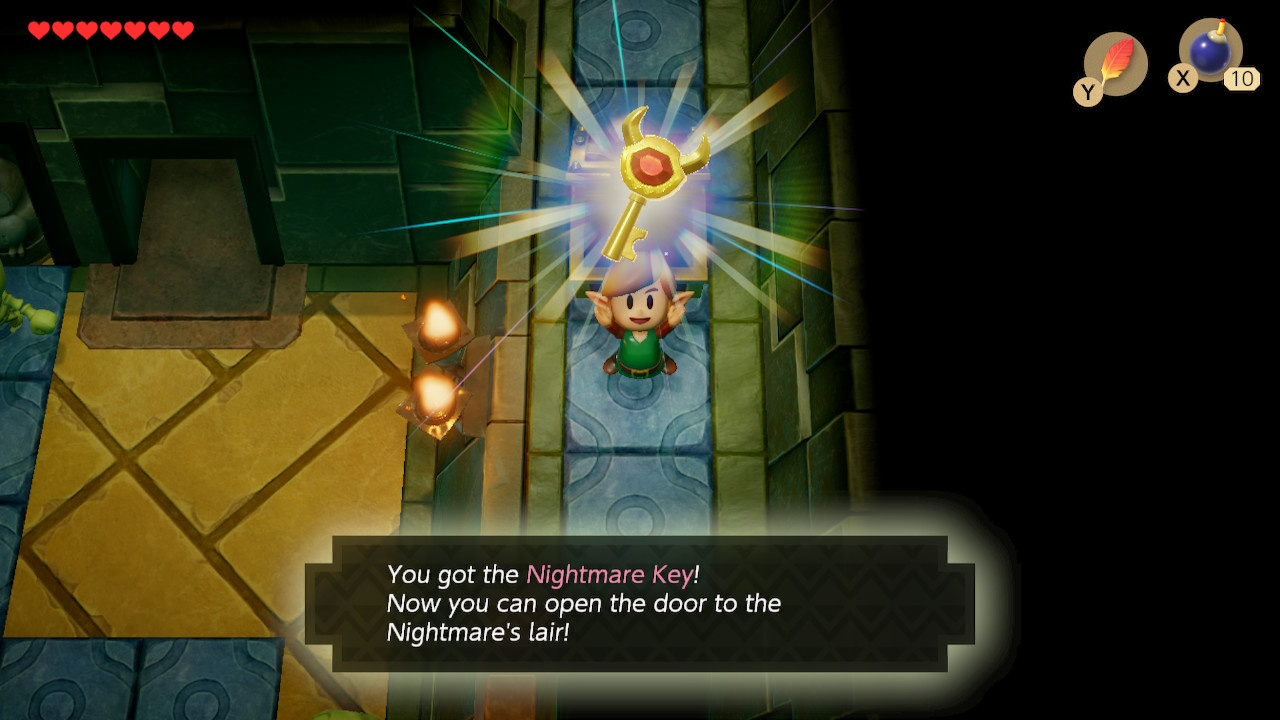
Jump another gap with your dash jump and open the chest on this upper walkway for the nightmare key. (You can step off of the ledge rather than following the route back round)
Defeating the Key Cavern Boss
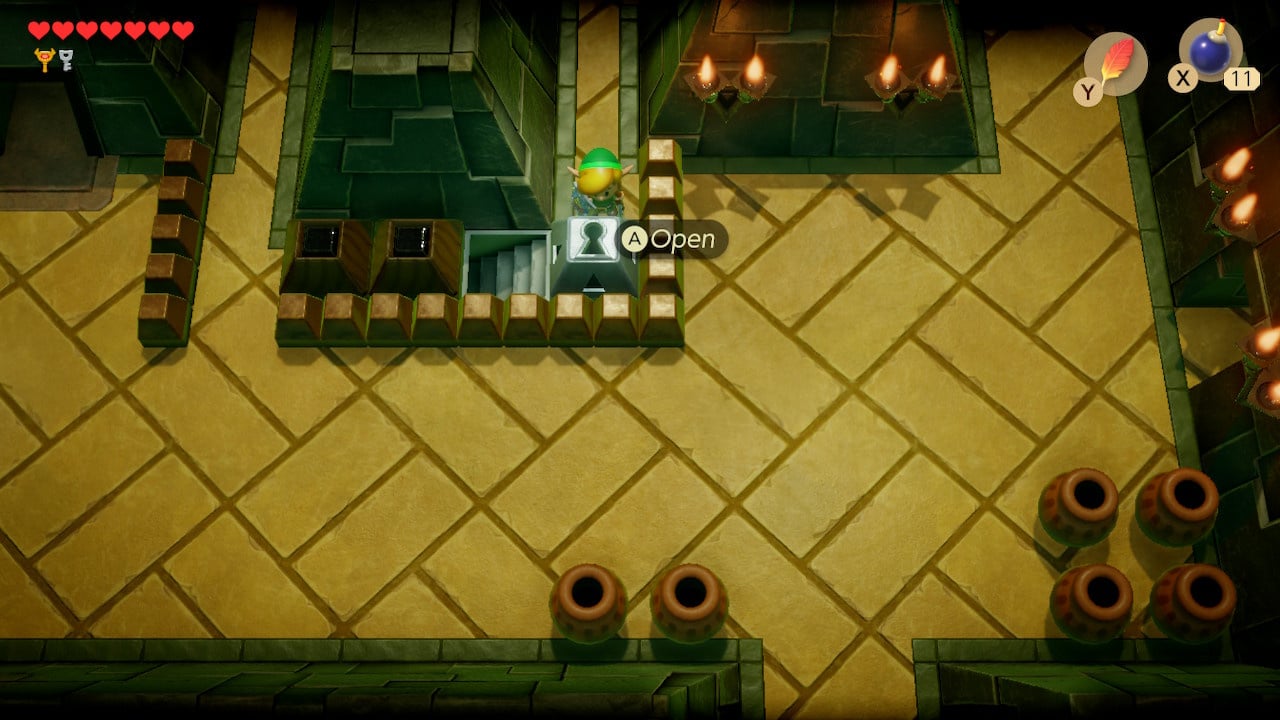
Head to the lock blocks in the central area and use your four small keys to access the stairs.
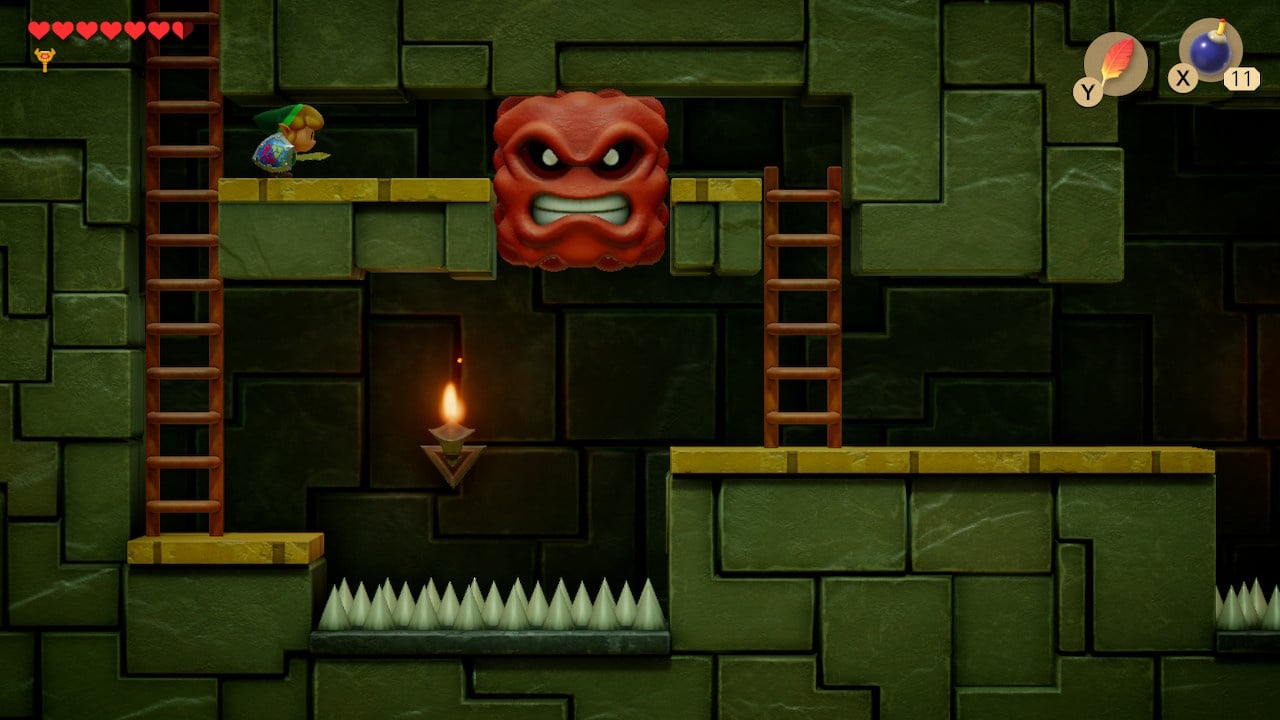
In the sidescrolling area below you’ll find a Mega Thwomp suspended over a spiked pit. Dash towards the Mega Thwomp and it will fall on the spikes, providing a platform to safely step on. Dash jump over the next set of spikes and leave the sidescrolling area. Use dash jumps to clear the next area of inflatable barriers and enemies and leave the room.
You’ve reached the final room before the Nightmare, with a quick maze of conveyors and Keese to kill. You will get a small key for dispatching all the Keese. Head through the Nightmare’s door to face the dungeon’s final boss.
Phew! We can now continue our Zelda: Link's Awakening walkthrough by learning How To Defeat The Key Cavern Boss before leaving to look for the Angler Key Location.


Comments 0
Wow, no comments yet... why not be the first?
Leave A Comment
Hold on there, you need to login to post a comment...