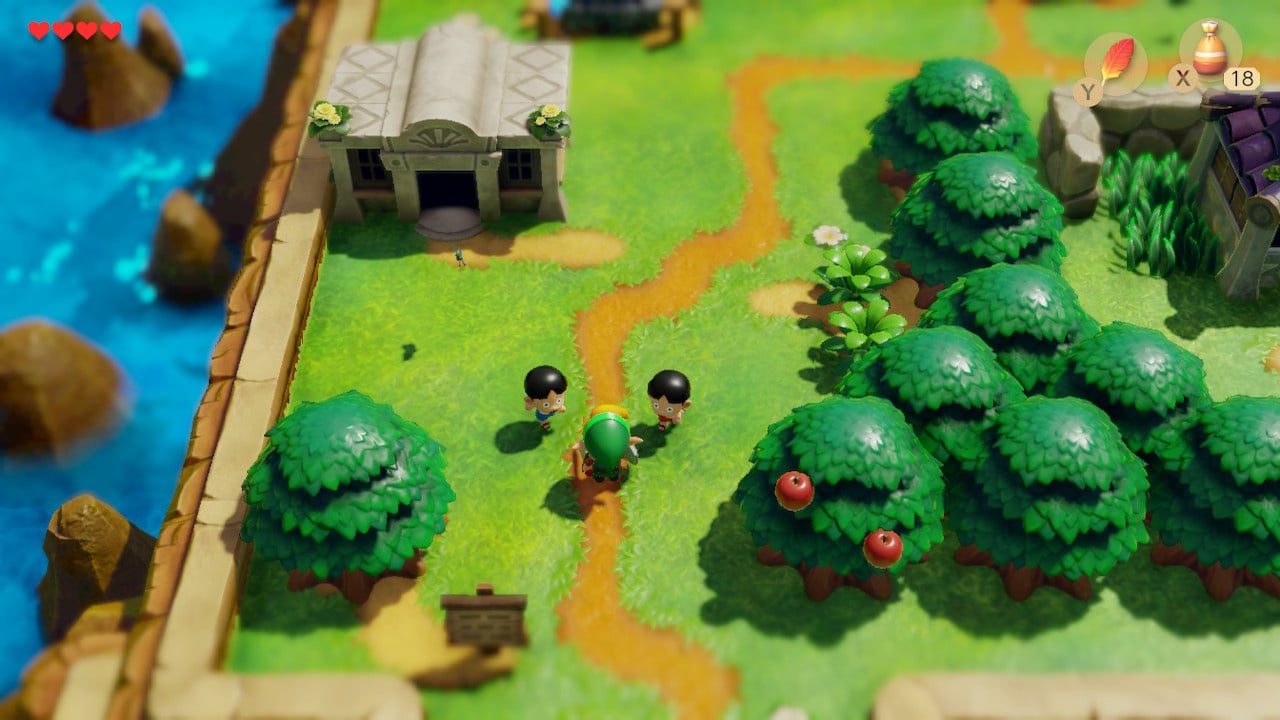
Continuing part three of our Zelda: Link's Awakening walkthrough we head inside the second dungeon: the Bottle Grotto as we locate the Map, Compass and new item: Power Bracelet.
Subscribe to Nintendo Life on YouTube844k
Bottle Grotto Walkthrough
Locate the Bottle Grotto Compass
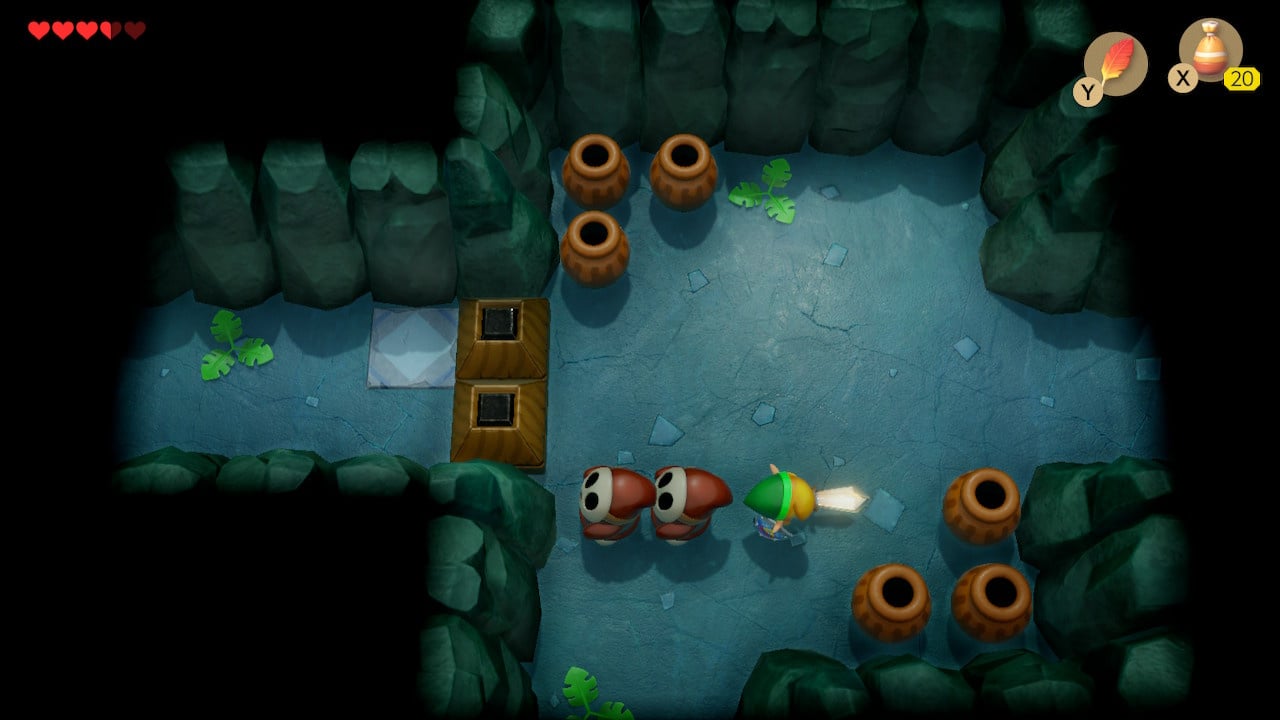
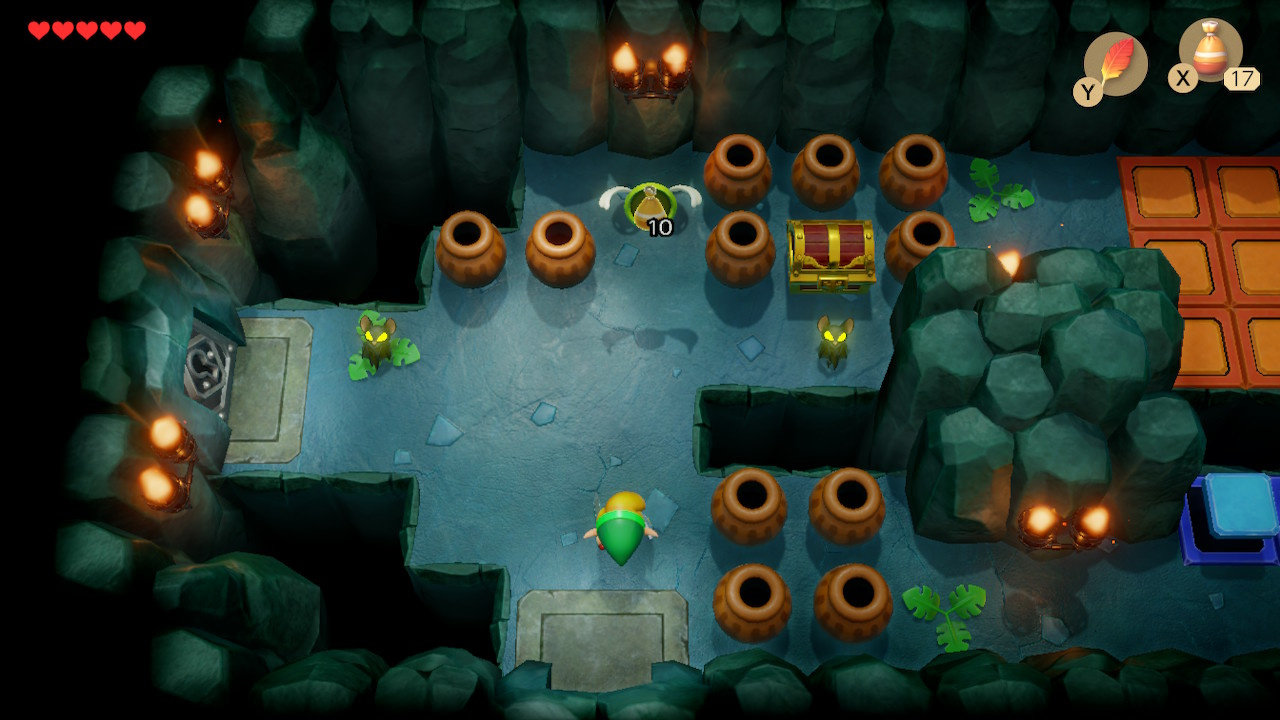
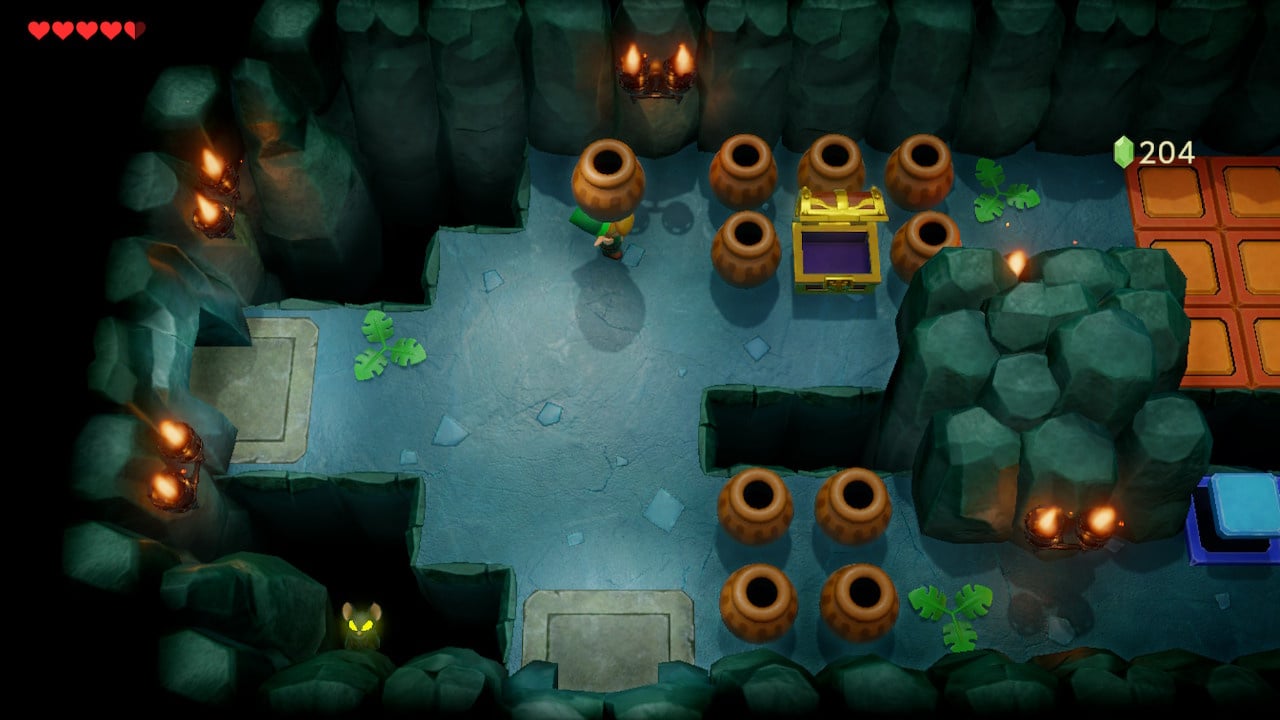
Welcome to the Bottle Grotto – a dungeon which, as the name suggests, features plenty of the as-yet unliftable clay pots, a fact that that the first room is keen to impress on you. The treasure chest in this entrance will be unreachable until you get the dungeon’s key item – the Power Bracelet, so for now just head forward.
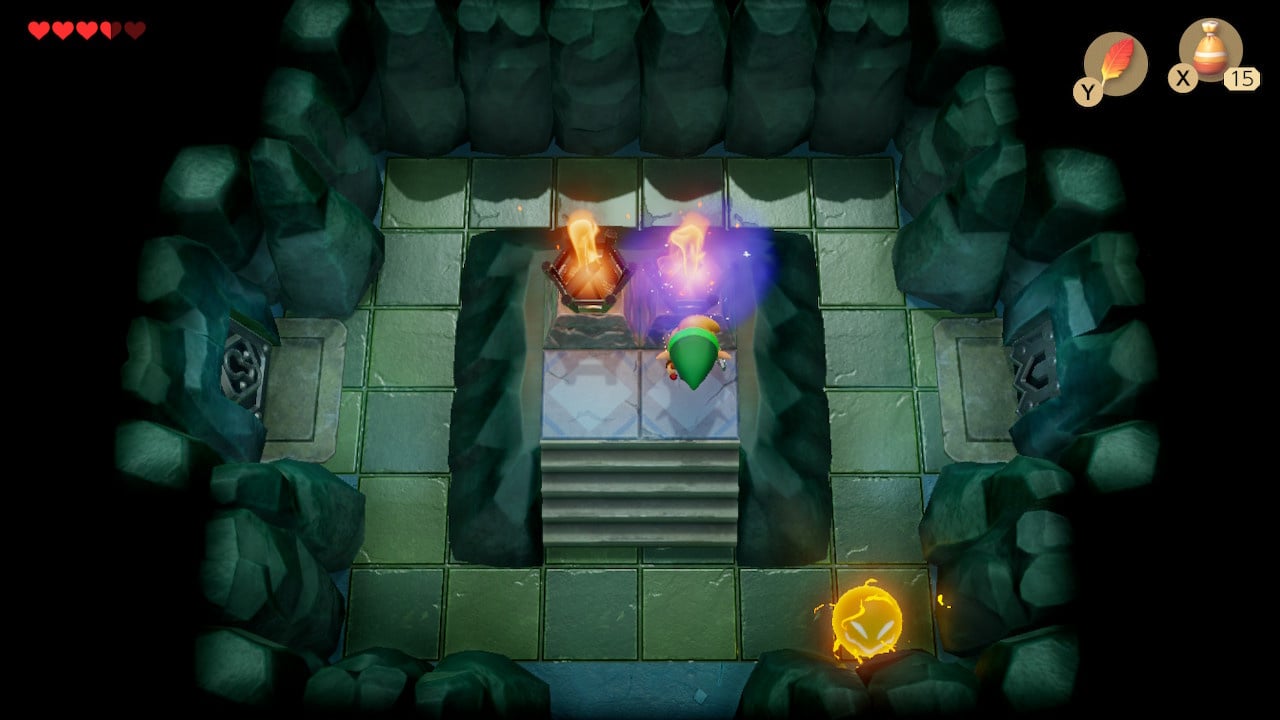
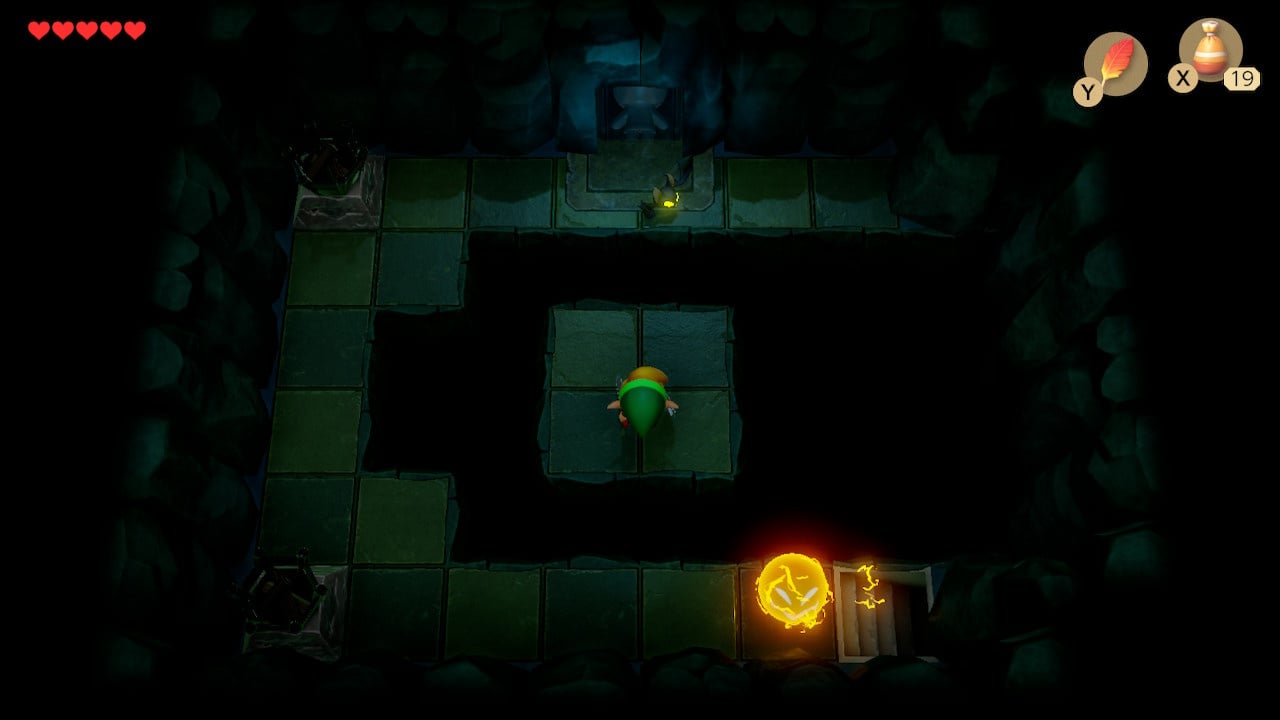
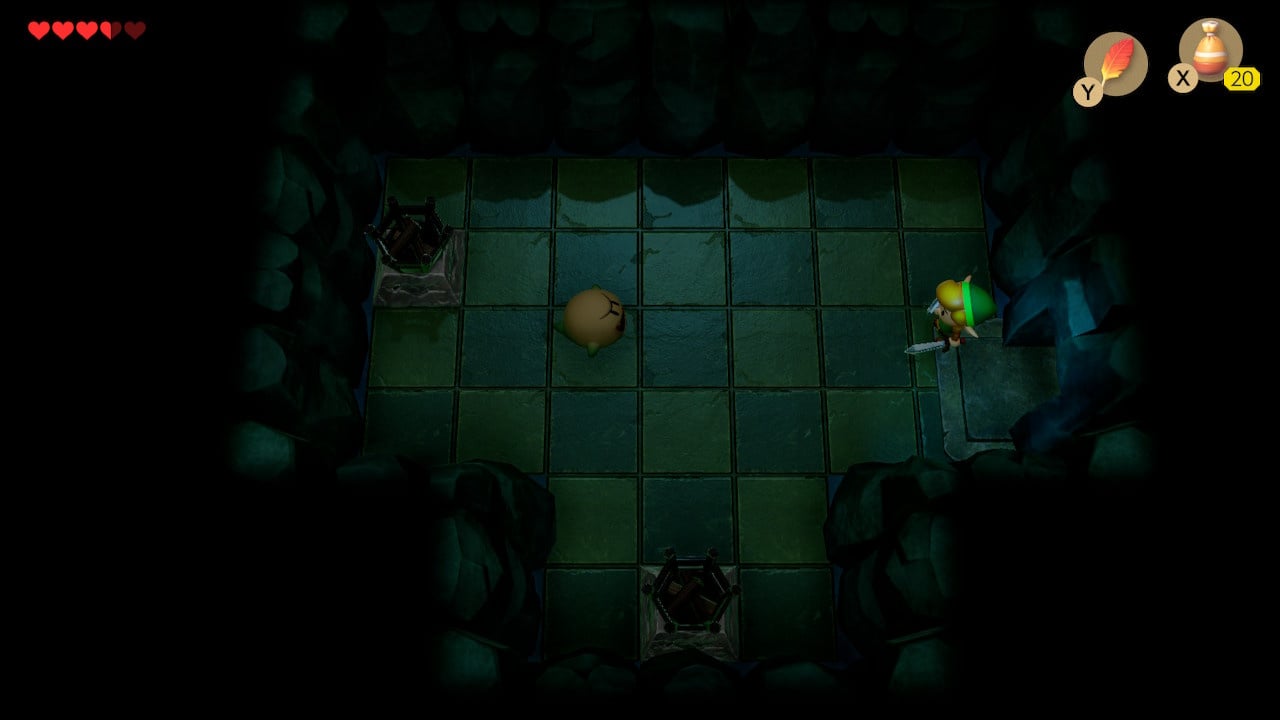
The next room is darkened – a lone spark patrolling the outer edge, a raised platform with two unlit-torches in the middle. At this stage in the game there a few tools in your inventory, so use the best candidate – equip your magic powder and throw it at both torches. When they’re both alight, the door on the right of the room will open – head through it.
In the next room you’ll encounter a couple of Stalfos (skeletons) including your first lime-green Stalfos (these guys jump and try to stomp on you – dodge them and hit them when they land). Killing both enemies rewards you with a Small Key. Use it on the locked door at the bottom of the room.
In the next room, you’ll encounter your first Mask-Mimic. These shyest of guys have a couple of interesting properties: firstly, they are invulnerable to direct attacks (those masks must be strong). Secondly, they mirror your every move – move up, they move down; move left, they move right, and so on. They are vulnerable to bombs, however the cheapest way to kill them is to use the walls and obstacles in the room to get close, then face away from them and charge a spin attack on their exposed back.
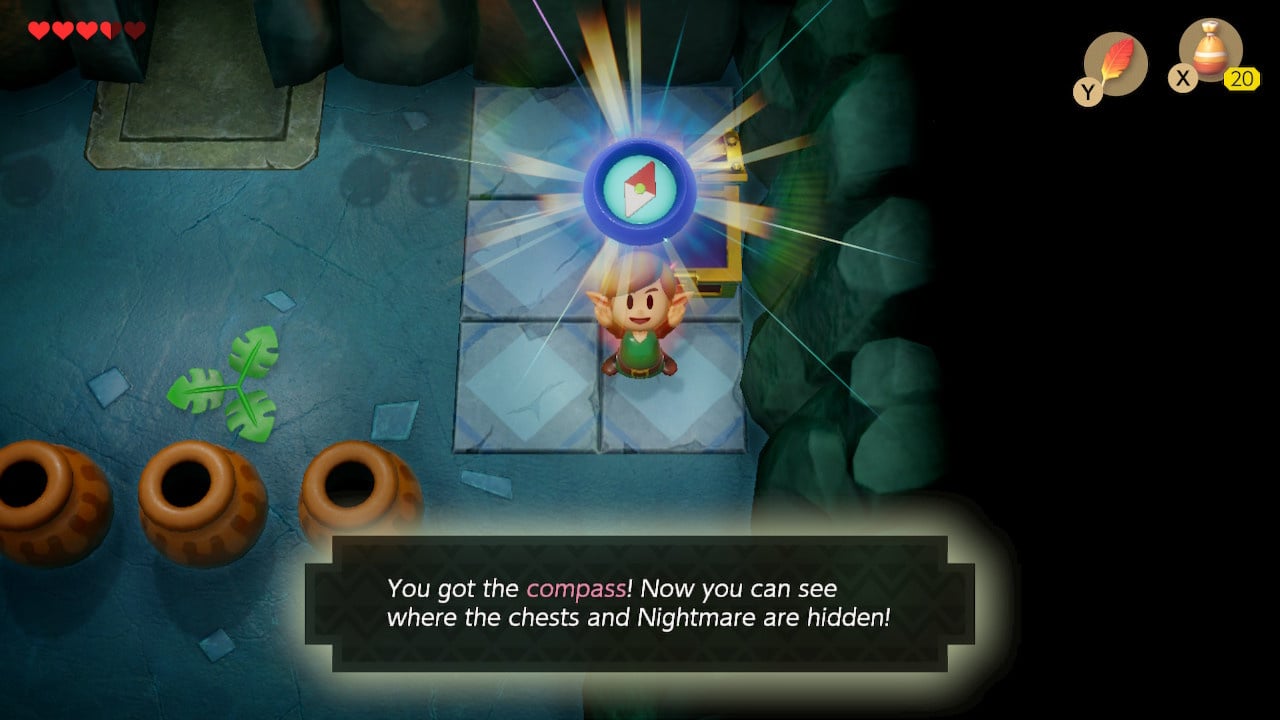
With the Mask-Mimic felled, a chest will spawn on the paved area in the upper right, containing a compass – cluing you into the presence of keys, chests and the main boss.
Acquiring the Stone Beak
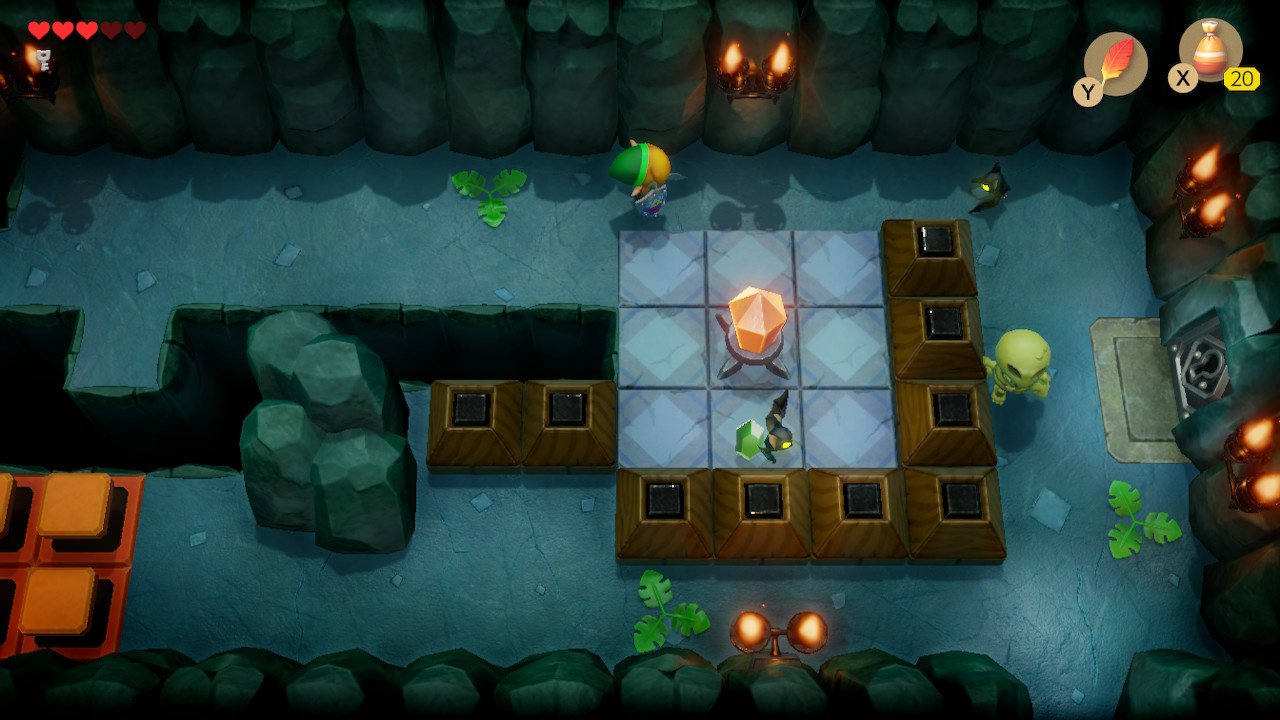
Once you have the compass, exit the room and head right. On the next screen you will want to hit the gem in the center of the room, this will cause all blue barriers in the dungeon to fall (and orange barriers to rise). Head south and attack the gem behind the orange barrier (you can reach). Deal with the Shrouded Stalfos (use your shield to create an opening to strike) and open the chest for a Small Key.
At this point, rather than heading right you should return to the room with the two torches and use the key in the door on the left side of the room.
Having spent your Small Key on the lefthand door, carefully trigger the blade traps by standing near their path, waiting for them to move, and crossing past them while they return into place. Deal with the bats and light the torches with your Magic Powder if you’re having trouble seeing. Exit via the top exit.

The next room includes a couple more torches to light, a trench to jump and a Hardhat Beetle that deserves to fall into the trench. Open the chest here to pick up a stone beak you can use for hints in various parts of the dungeon.
The beak retrieved, return to the tall room with the red/blue barriers and exit via the lower right (the owl in the top of this room will tell you how the barriers work, which you will already know at this point).
Fighting the Hinox Miniboss
Jump the trenches in the next room and head to the lower right. Step on the button and a chest will spawn on the ledge above, containing another Small Key. Head to the top exit.
In the next room you’ll find another pair of Mask-Mimics. Dispatch them the same way as before – use walls and obstacles to get close to them, face away and kill them with a spin attack.
Another Small Key will drop from the ceiling on the other side of the barrier. Loop back around via the exit at the top right of the long room with the orange/blue barriers and pick up the key. Head back to the room you were just in and exit via the right.
Spend a key on the door in the upper right of the next room, once you have used your shield to flip the Spiked Beetle.
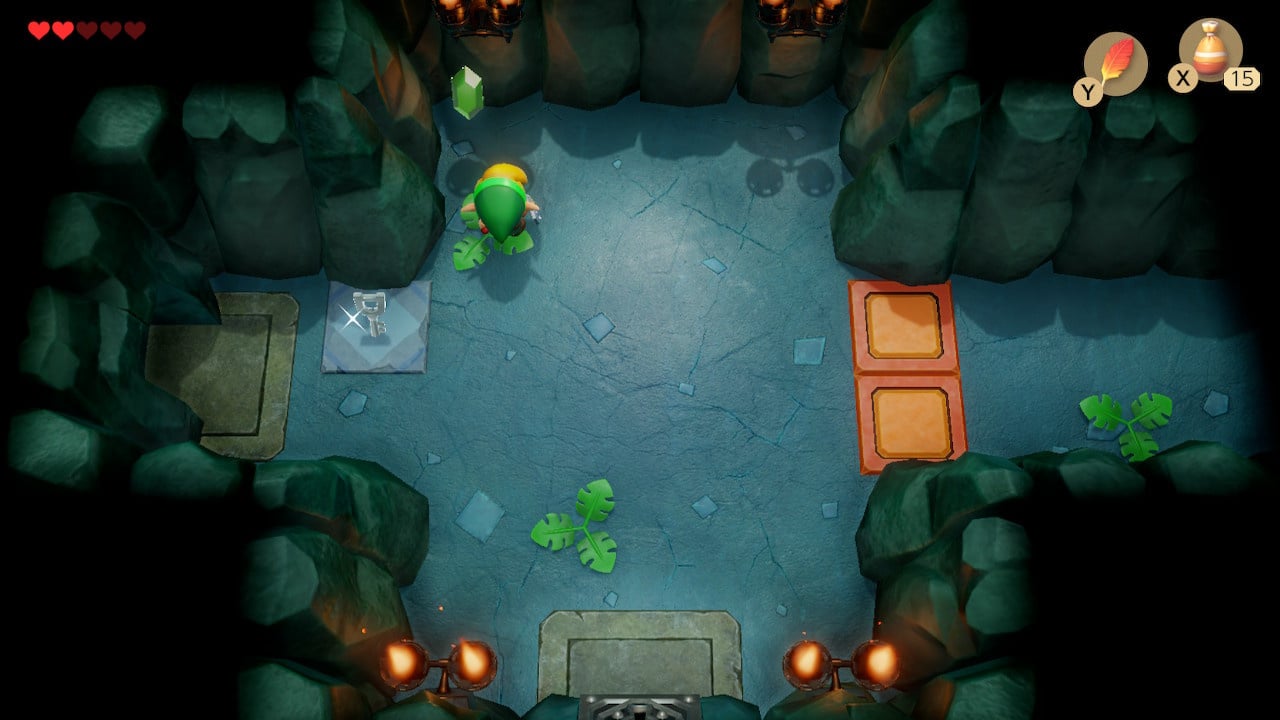
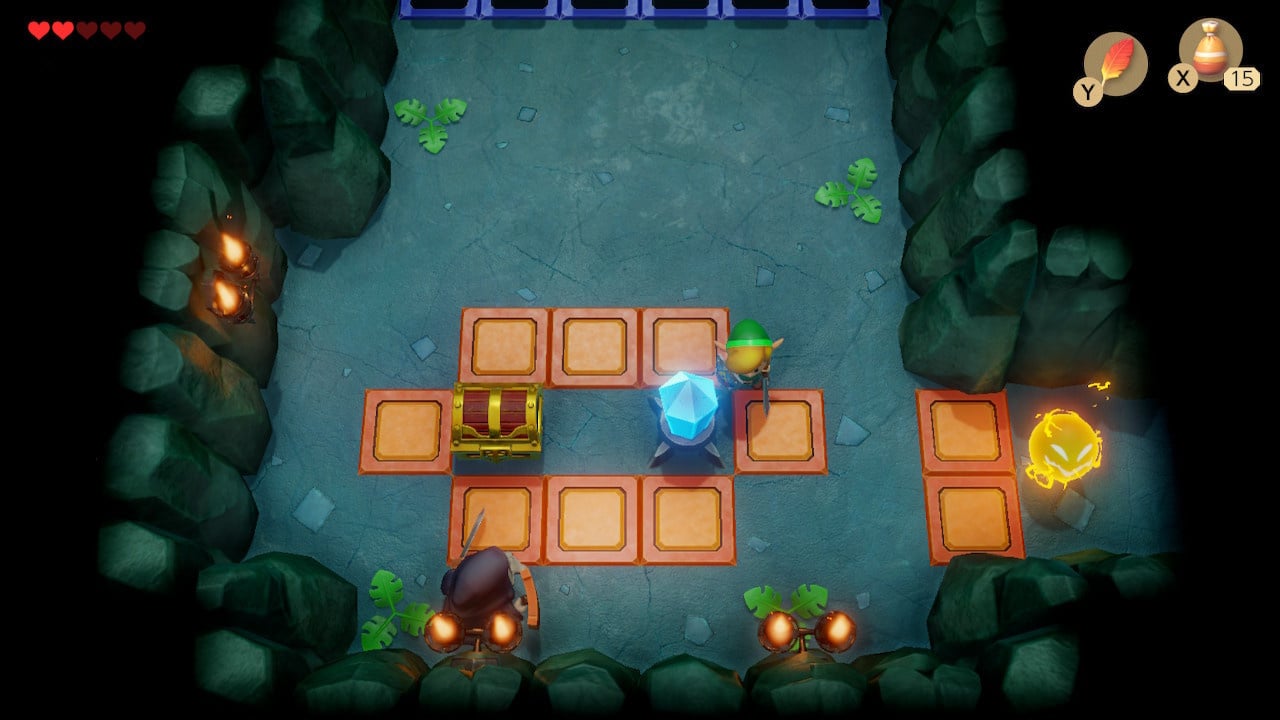
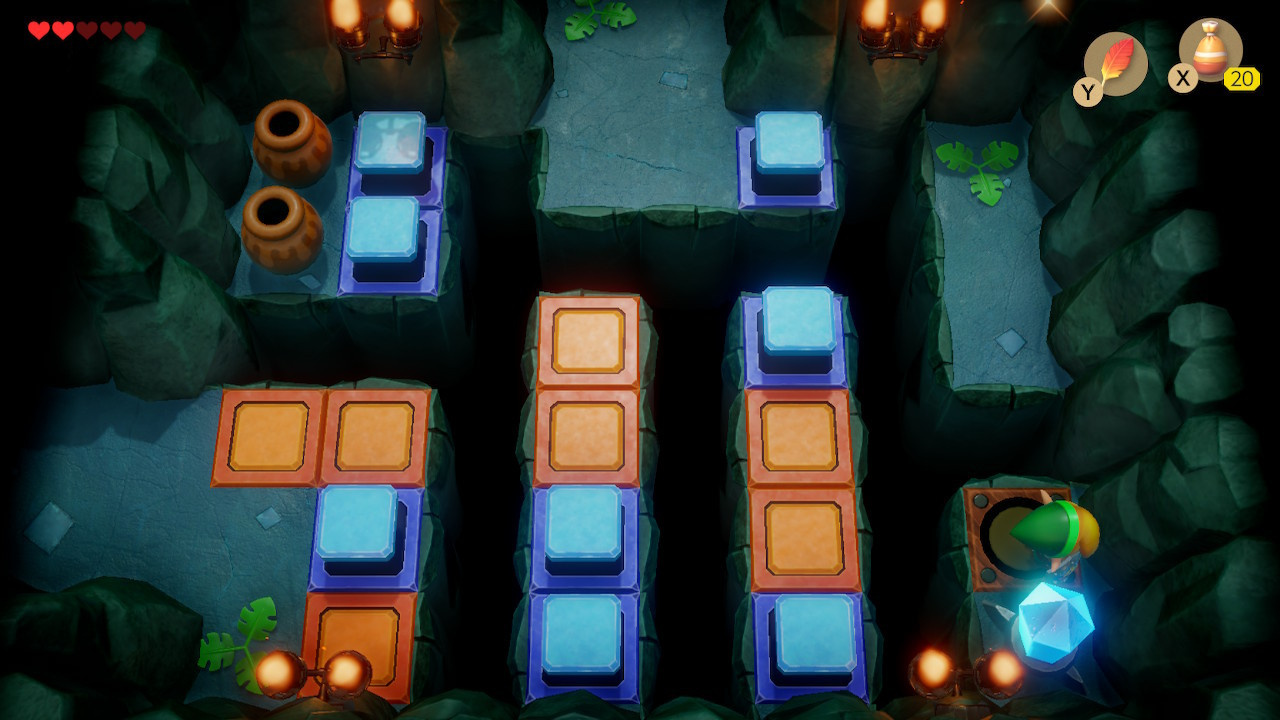
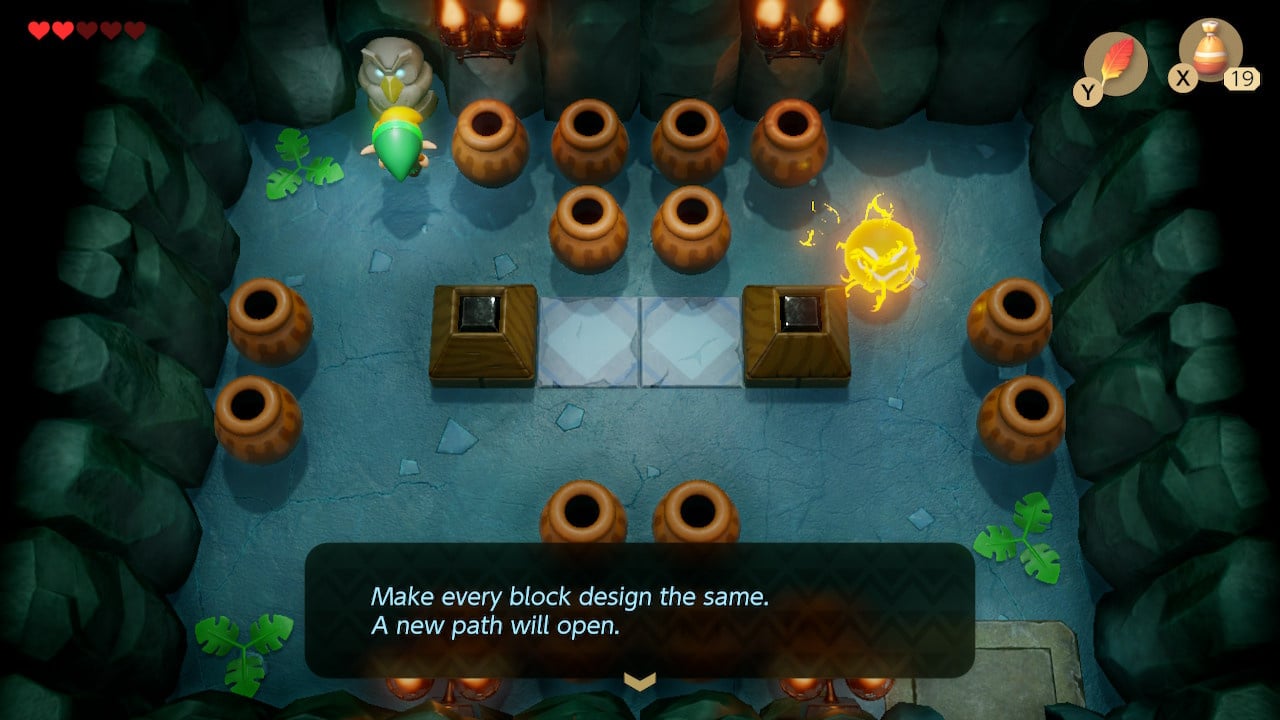
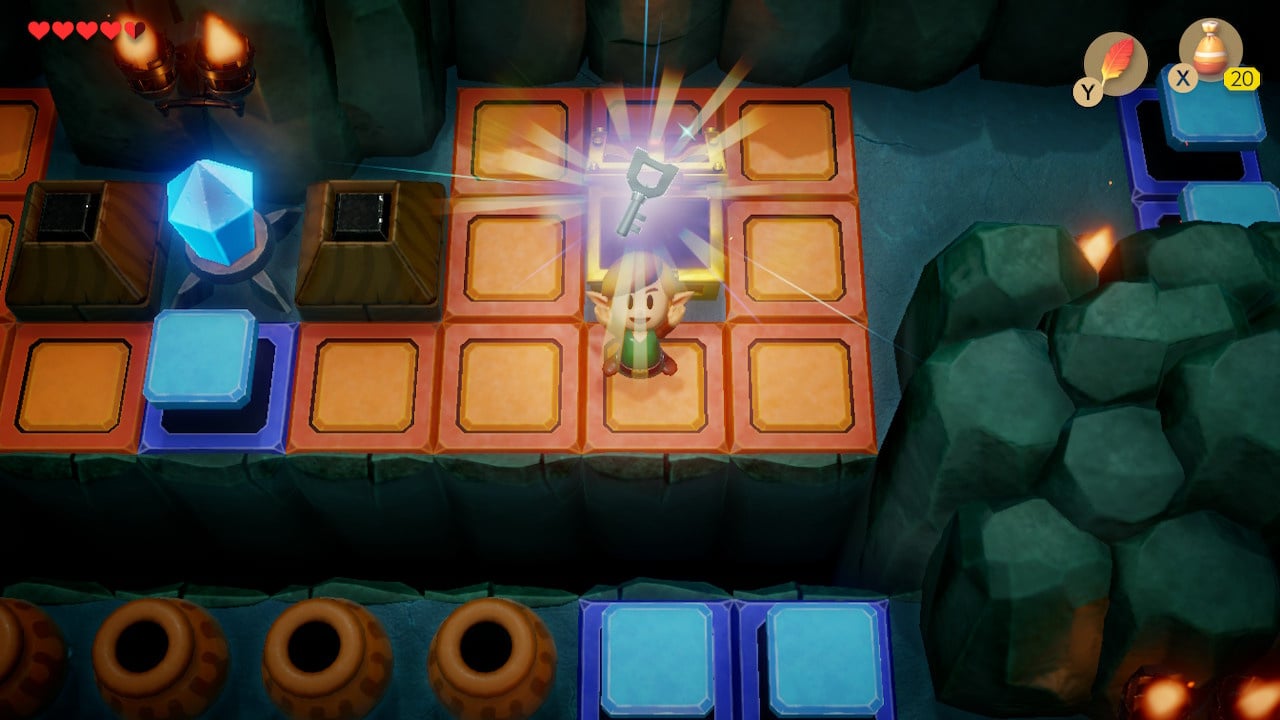
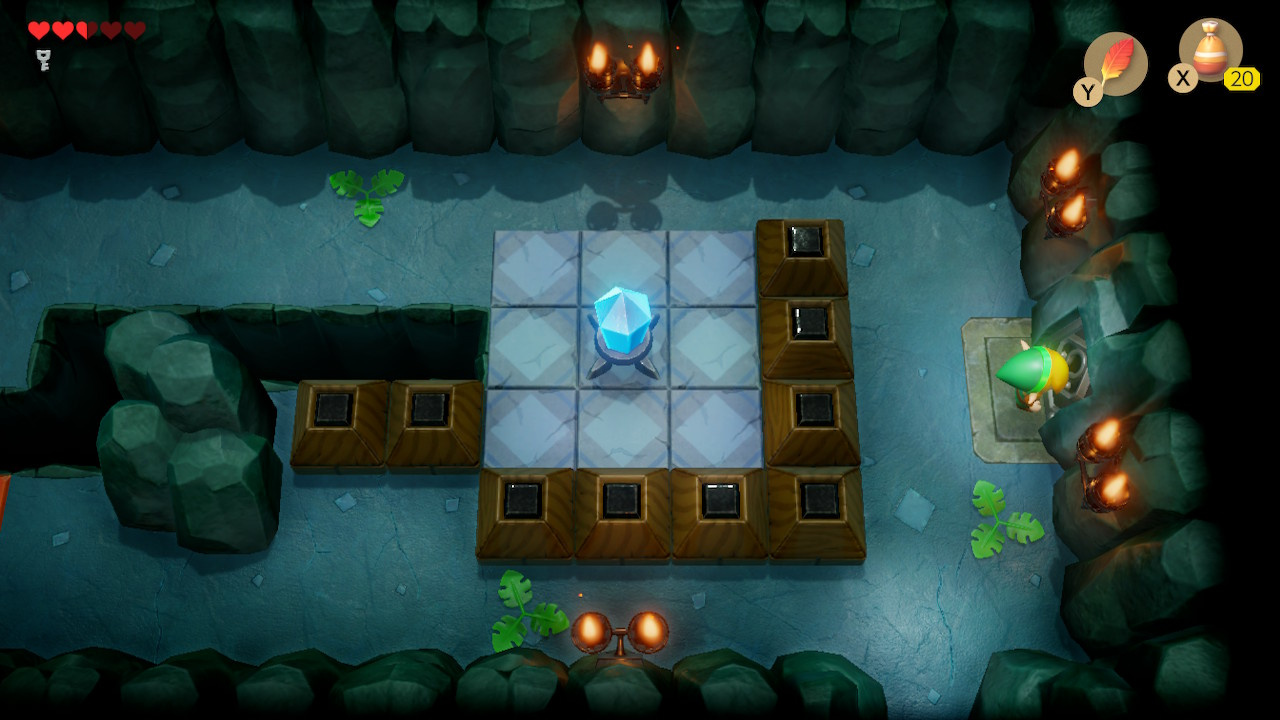
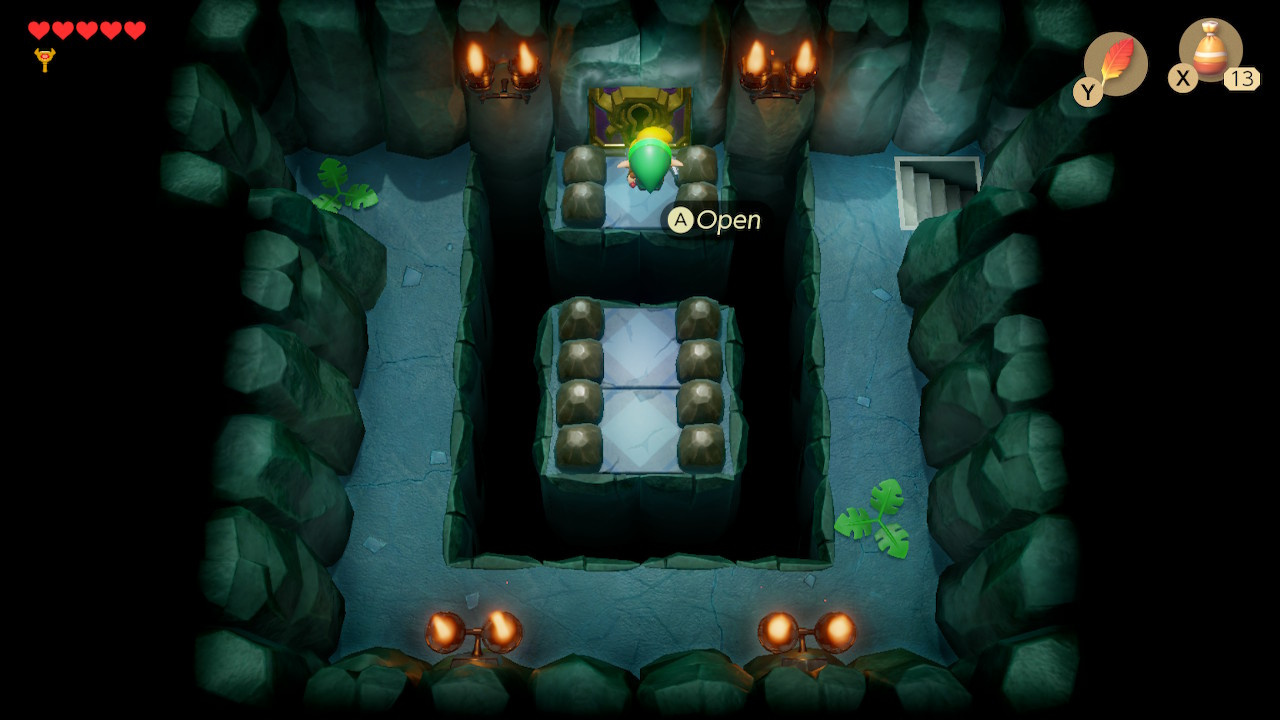
The next room appears to be a dead-end, putting you in close confines with a Spark to avoid. The Owl Statue provides a hint about what to do here:
Make every block design the same. A new path will open.
The Switch’s updated graphics and slightly tilted perspective actually makes the solution here a little less obvious than in the Gameboy original, since what were once two differently patterned sets of boxes are now more explicitly a pair of blocks either side of a pair of floor tiles. Nonetheless, the solution here is straightforward: push the blocks inwards so they cover the floor tiles and a set of stairs will appear in the upper right of the room.
Traverse the next sidescrolling area with some easy jumps and climb the ladder to exit.
Head to the one-way door at the top of the next room – light the torches if you need them, kill the Keese (bats) and avoid the Spark.
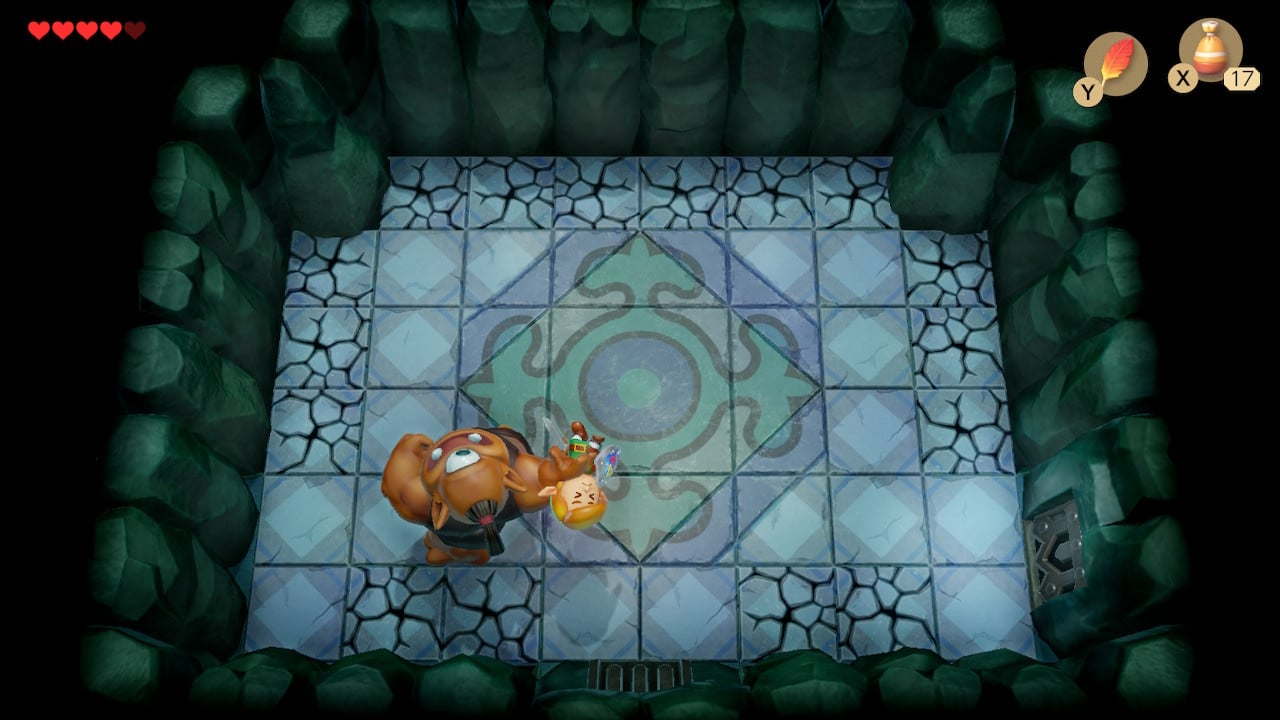
Congratulations, you’ve reached the Bottle Grotto’s miniboss – the Hinox. This cycloptic giant has two main attacks. It will charge at and try to grab you (throwing you at the wall if it is successful). It will also occasionally throw bombs at you. The key here is to keep your distance, keep moving (perhaps by running over the crumbling tiles, which it will not step on) and wait for it to charge you – when it misses there will be an opening to get your sword swipes in.
Once the Hinox is defeated, a blue portal will open, a fairy will appear and the door in the bottom right will open. Head through it to continue your adventure.
Retrieving the Bottle Grotto Map
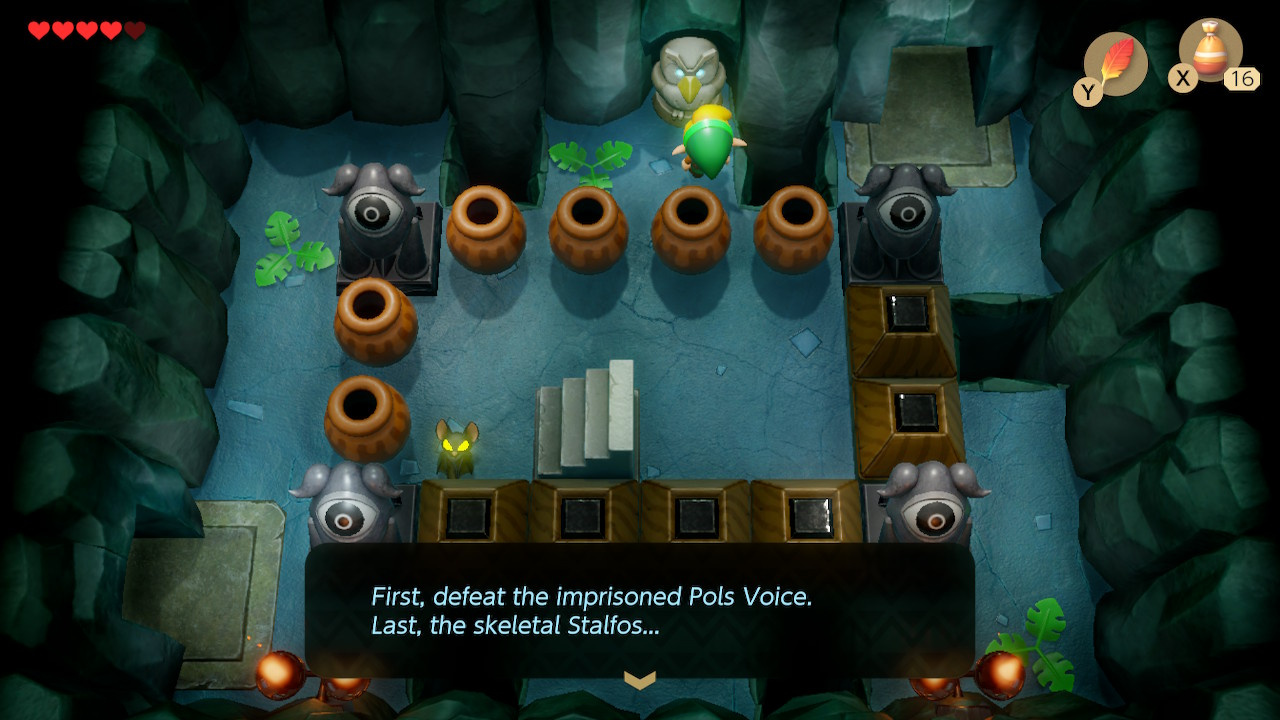
Skirt the outside edge of the next room and place the Stone Beak into the Owl Statue for a hint relevant to a later room:
First, defeat the imprisoned Pols Voice. Last, the skeletal Stalfos…
Exit via the doorway in the upper right.
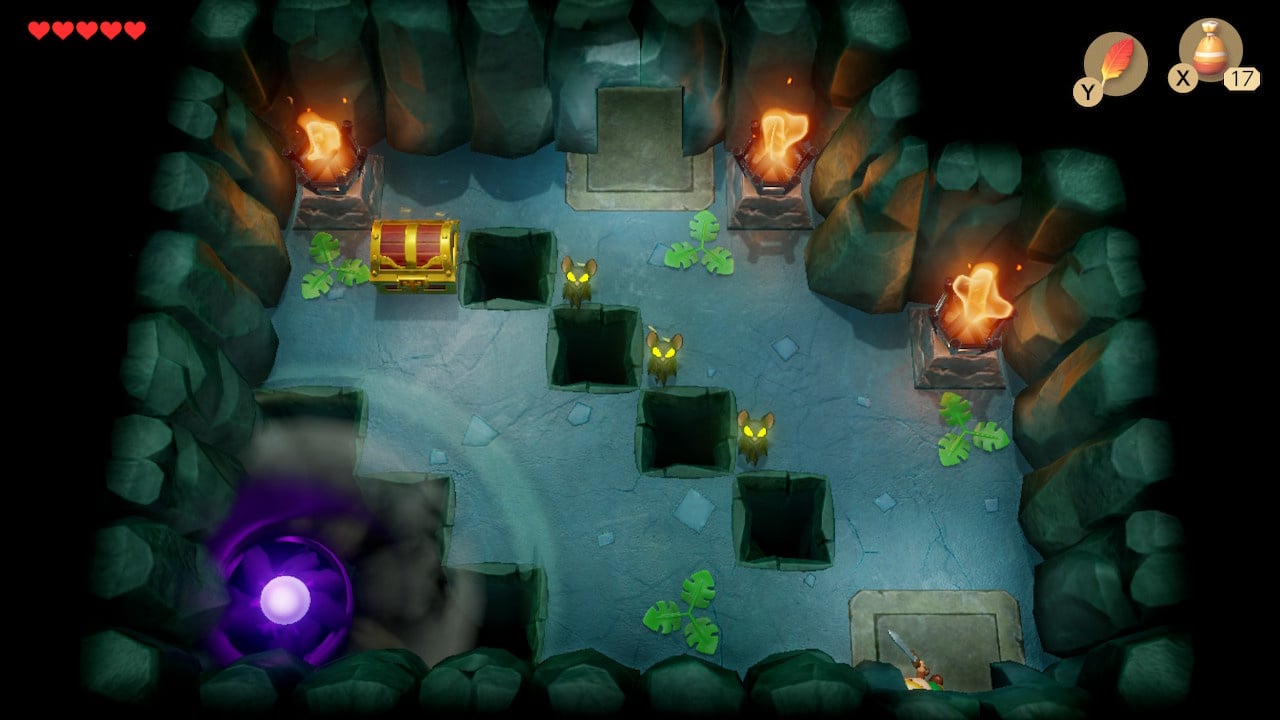
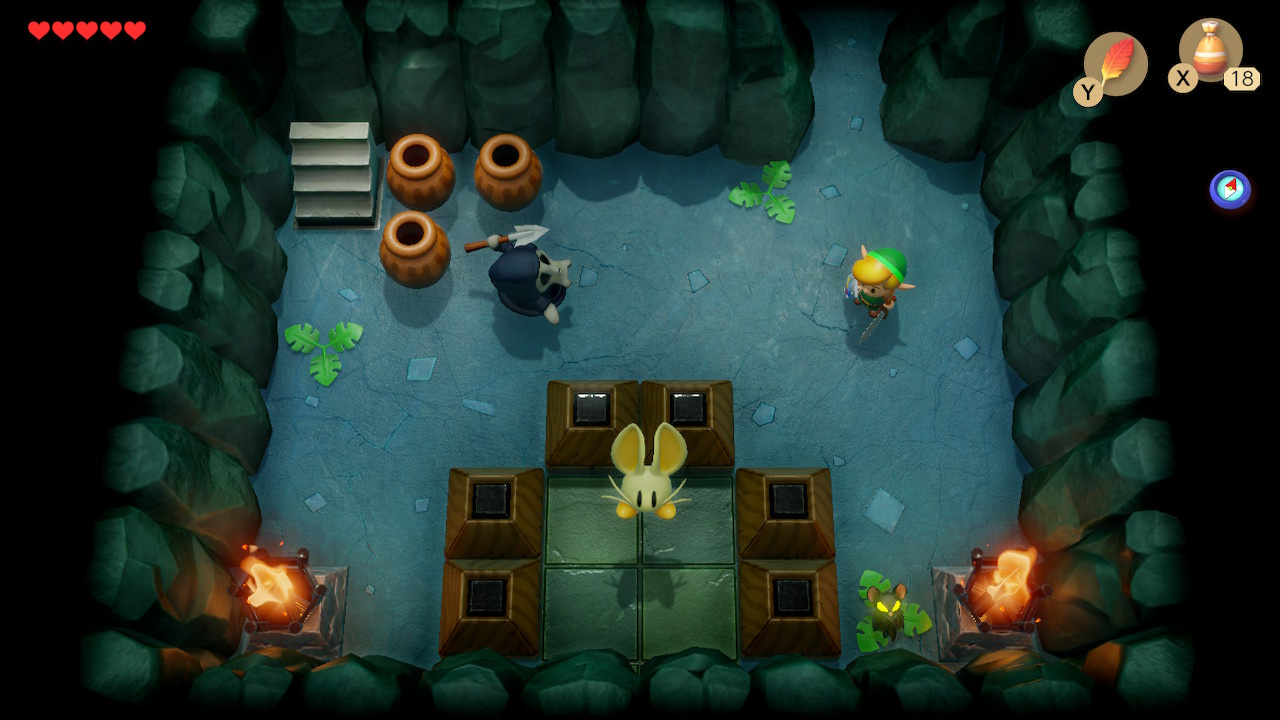
The next room introduces the Vacuum Mouth – a black-hole like entity that draws Link and enemies inwards. If you’re feeling brave you can actually reach the Vacuum Mouth’s platform with a well-timed Roc’s Feather jump and a whack of your sword (if it grabs you, be prepared to trek back from the beginning of the dungeon). Alternatively, walk away from its gravitational pull and move around the room freely when it momentarily stops.
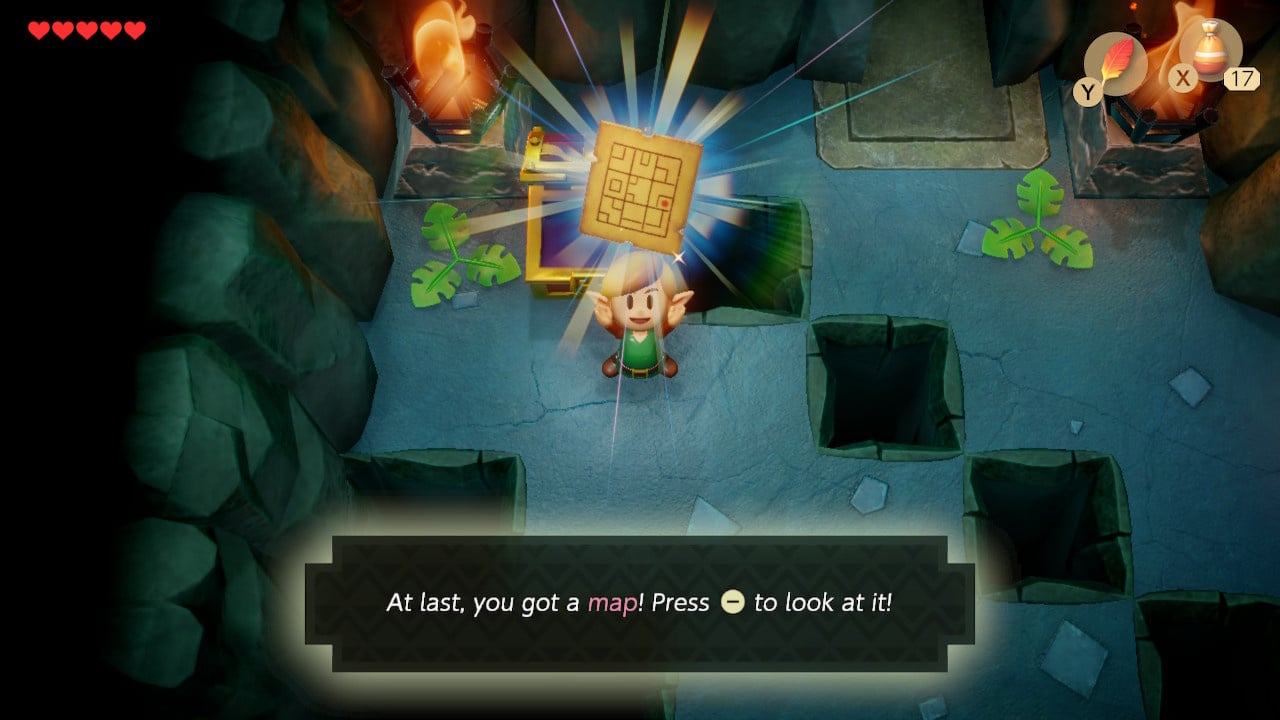
Open the chest to receive the Dungeon Map and head to the exit at the top of the room.
Purloining the Power Bracelet
You emerge into a long, horizontal hallway. Your progress to the right is blocked by those unliftable pots – dispatch the Keese, check the chest for some Rupees and pick up the Magic Powder refill.
You should still have a Small Key at this point (check over the rest of the guide above if you’re missing one). Use it on the locked door on the left wall.
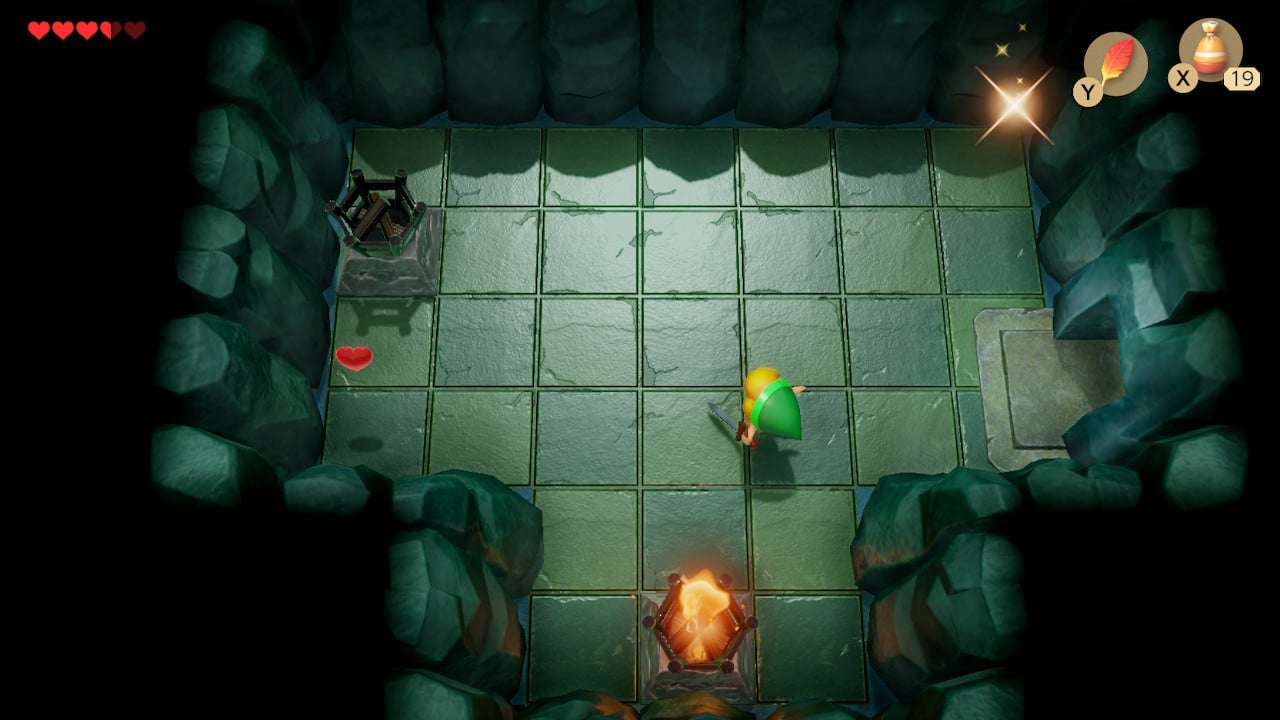
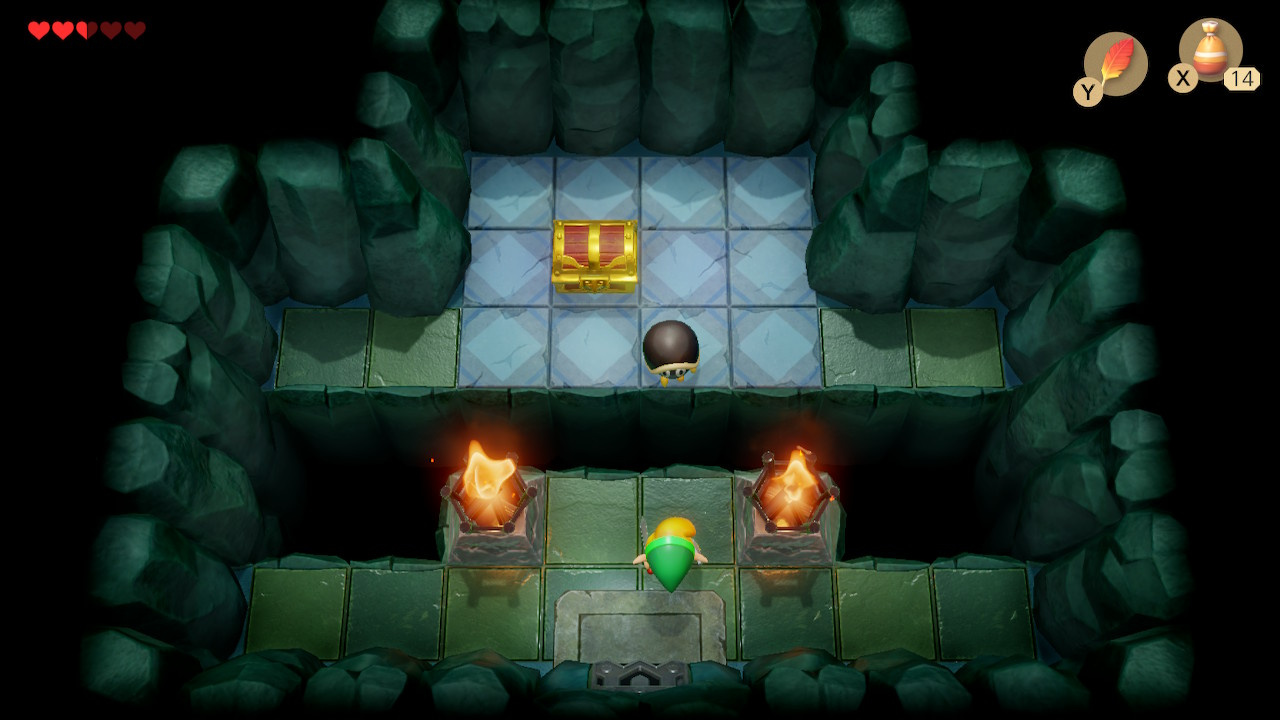
The ghost in the next room will resist your sword attacks – at least, until you light both torches, making the Ghost vulnerable.
In the light, the ghost is easily dispatched – a chest spawns in the upper right of the room.
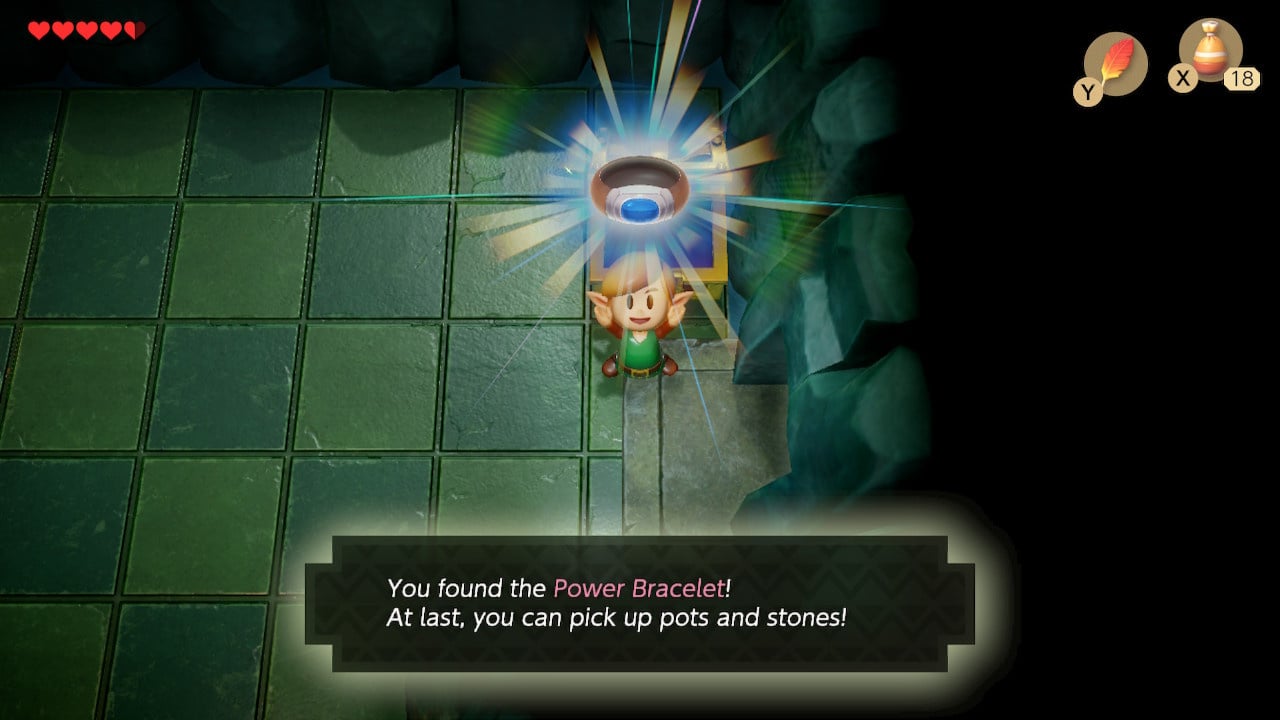
Open the chest to receive the Power Bracelet, finally allowing you to pick up and throw pots. The Game Boy versions require the Power Bracelet to be equipped to a button (same as all other items), however in the Switch remake you can always pick up pots by facing them and pressing ‘A’. Press the button a second time to throw.
Finding the Bottle Grotto Nightmare Boss Key
With the Power Bracelet secured, Link can become the pot chucking menace that other Legend of Zelda games allow him to be from the word go. Use your pottery-phobic powers to clear the top route in the next room of obstructions and walk over the retracted Orange barriers (if you hit an earlier switch the blue barriers may be down instead – in which case, you will need to take the bottom route and jump the gap).
In the middle of the room there is a gem to cycle between orange and blue barriers – use this to lower the single blue barrier, stand on it and raise it again.
Step off the raised blue barrier and open the chest for a Small Key. Stand on the leftmost orange barrier and hit the gem to raise the orange barriers again. Head right off of the raised orange barriers and over the lowered blue ones.
At this point you could spend your Small Key, however the path to the right leads to the Dungeon’s Nightmare and you do not yet have the Nightmare Key. Instead, head through the exit in the lower right of this room.

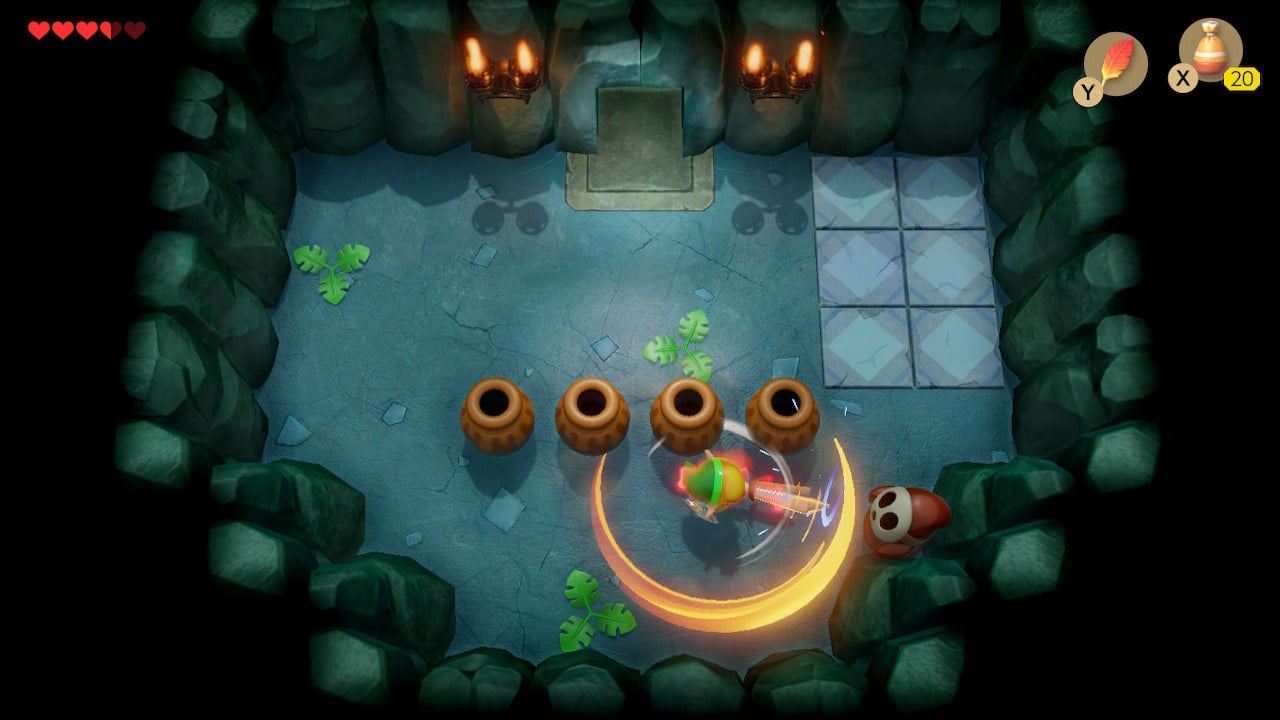
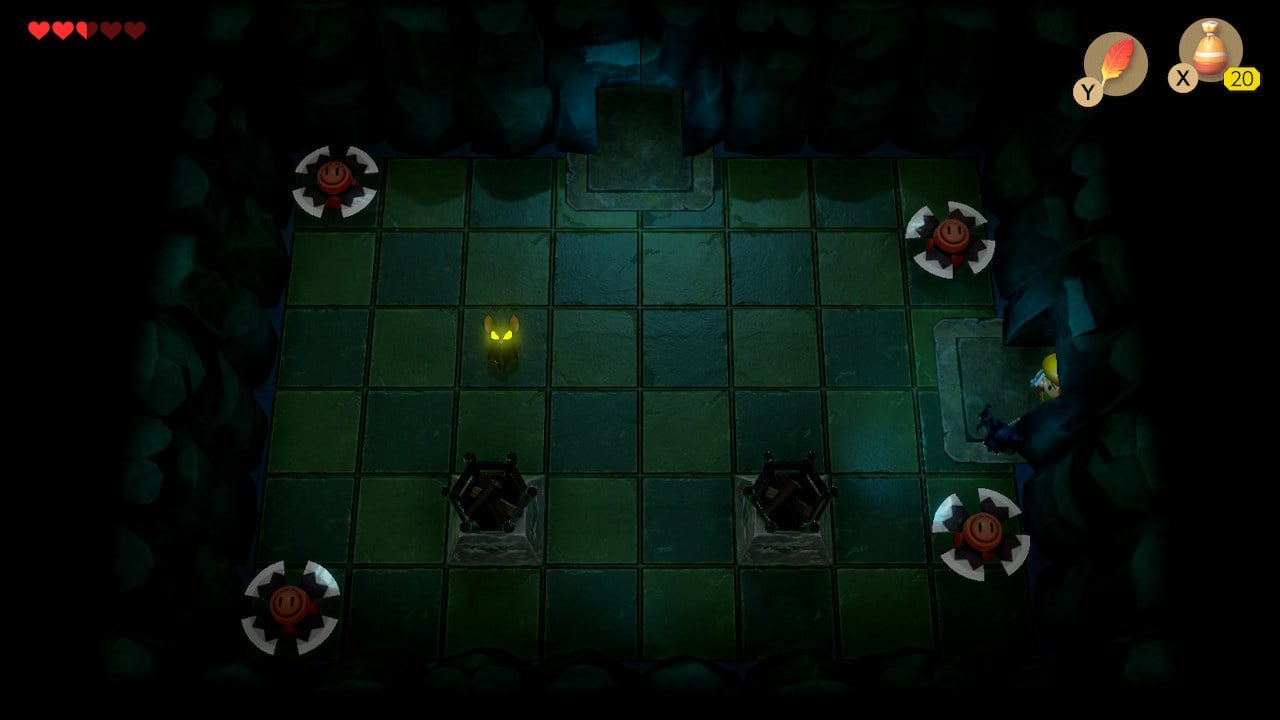
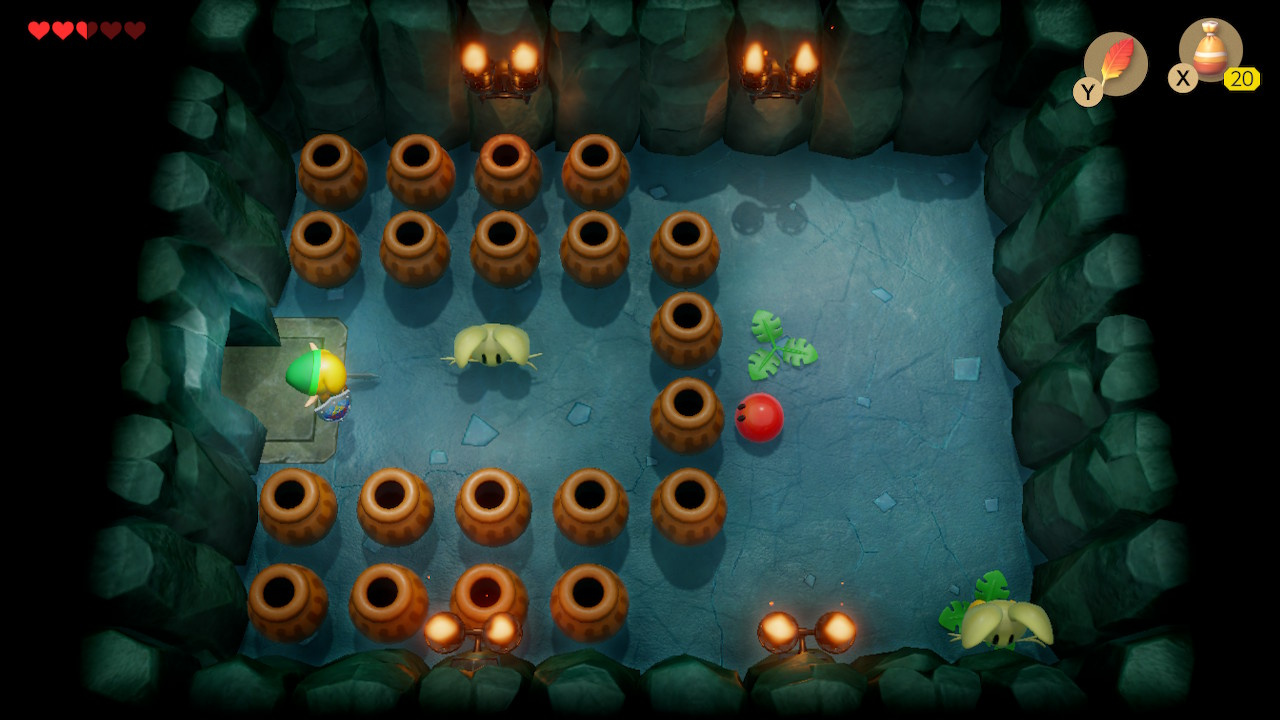
There are three enemies in the next room – a bat, a rabbit-like creature trapped behind some blocks and a spear-throwing Stalfos. The rabbit-like creature is called a Pols Voice – a fact that may make you recall a message from earlier in the dungeon. Indeed, if you take the stairs and navigate through a side-scrolling area (complete with green pipes and Mario-series Piranha Plants) you will arrive back in the room with that very message:
First, defeat the imprisoned Pols Voice. Last, the skeletal Stalfos…
The message clues you in to the order in which you must kill the enemies in this room – rabbit-like Poe’s Voice first, the (unmentioned, bat-like) Keese second and the skeletal Stalfos last.
To get close to the Poe’s Voice you must push the top-right block downwards and the top-left block to the left. Grab a pot and throw it at the Poe’s voice, then kill the bat and finally the Stalfos.
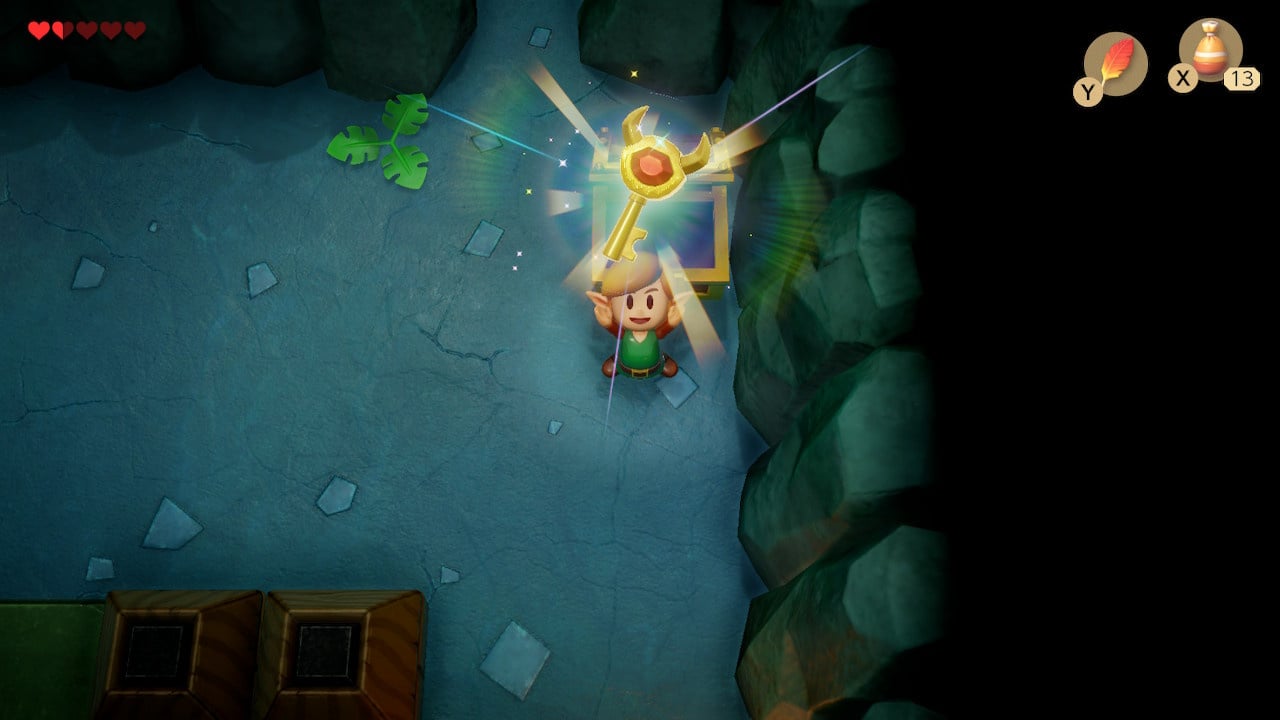
Clear the room and a chest will appear in the upper right, containing the Nightmare Key
Bottle Grotto Dungeon Boss
Return to the locked door and use your last small key to head through.
Dispatch the enemies in the next room to reveal a set of stairs to the next area. Helpfully, you should be able to find a fairy and/or some hearts in the many pots here.
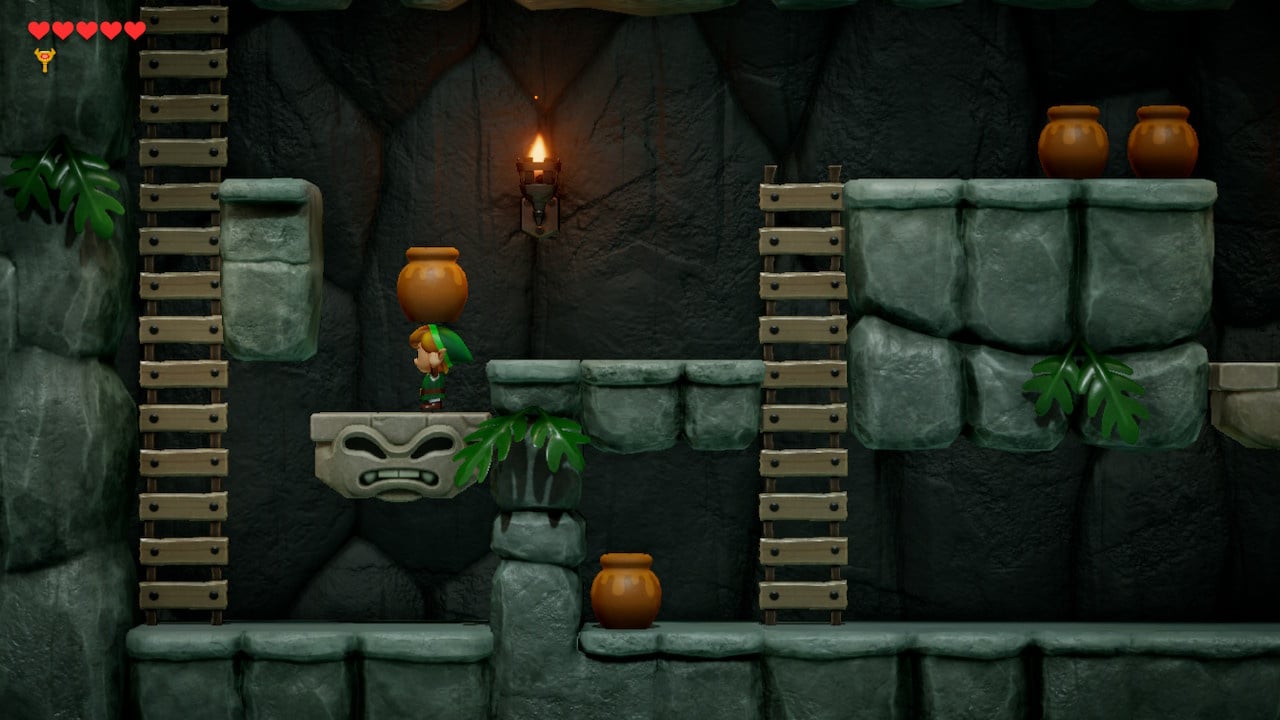
The next sidescrolling area is the first to feature a puzzle – the first lift you encounter will drop when you stand on it, however the one on the far left won’t budge – you need to be heavier, so grab a nearby pot and step on the lift to make it fall.
You’ve finally arrived at the Nightmare’s antechamber – jump the gap, insert the key, and ready yourself for battle.
Now we've got the Power Bracelet we're ready to continue the Zelda: Link's Awakening walkthrough and Defeat The Bottle Grotto Boss before Finding The Slime Key to enter the Key Cavern.


Comments 0
Wow, no comments yet... why not be the first?
Leave A Comment
Hold on there, you need to login to post a comment...