
We were promised selfies in Pokémon Scarlet & Violet's trailers, and now that the game is out, we've got selfies! But how do you activate the ability? What are the filters? And what are the poses?
We've got all the info you need right here, including some new poses and a brand new photography item that has been added in The Teal Mask DLC.
Note: We'll be updating this guide with all of the new emotes from The Indigo Disk DLC as soon as possible.
Subscribe to Nintendo Life on YouTube844k
How to take a selfie
Once you've reached Los Platos, you'll get the ability to use the Rotom Phone as a camera. Simply press the down button on the left Joy-Con or the left of your controller to open up the camera menu. This will let you take normal pictures, but if you press Y, you'll flip the camera into selfie mode.
You can then press down again to have your character look at the camera.
You can then take photos like you normally do on the Switch — by pressing the capture button below the directional buttons on the Joy-Con, or in the middle of the Pro Controller.
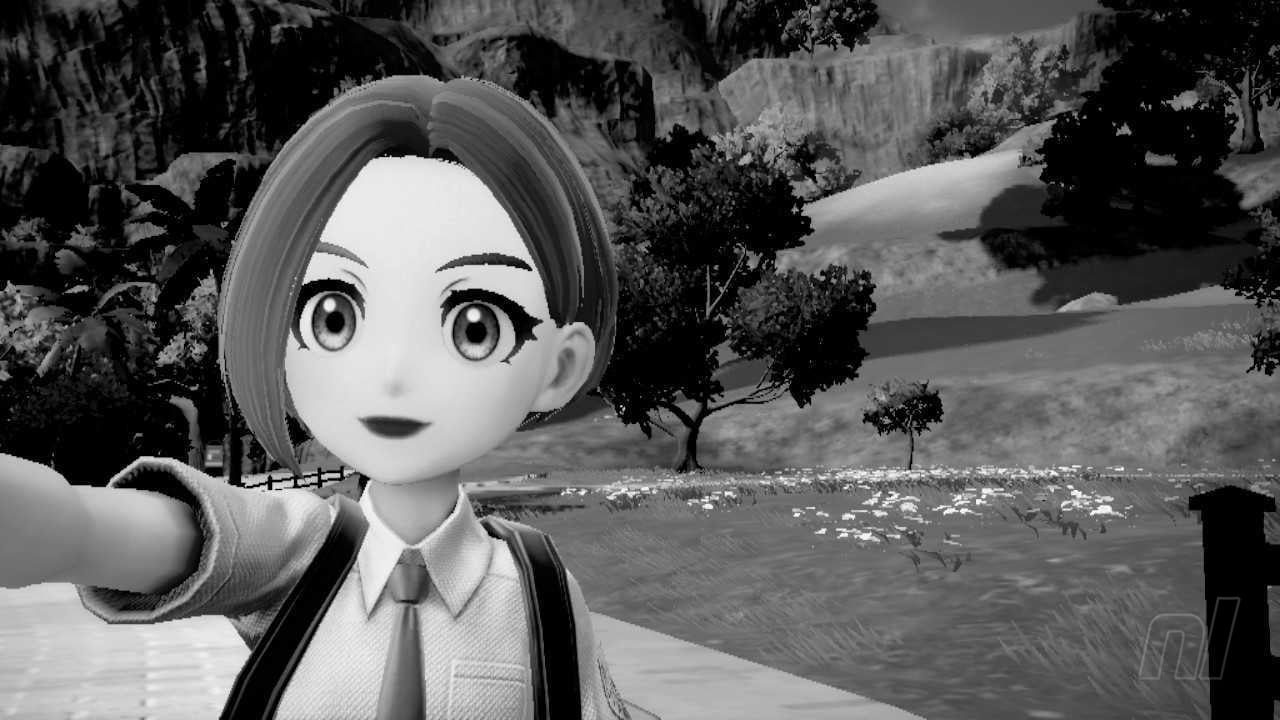
Filters
Here are all the filters:
| Filter name | Appearance |
|---|---|
| No Filter |
|
| Fish-Eye Lens |
 |
| Blur |
 |
| Starburst |
 |
| Film Reel |
 |
| Toy Camera |
 |
| Monochrome |
 |
| Sepia |
 |
| Cool |
 |
| Retro |
 |
| Vivid |  |
| Dreamy |
 |
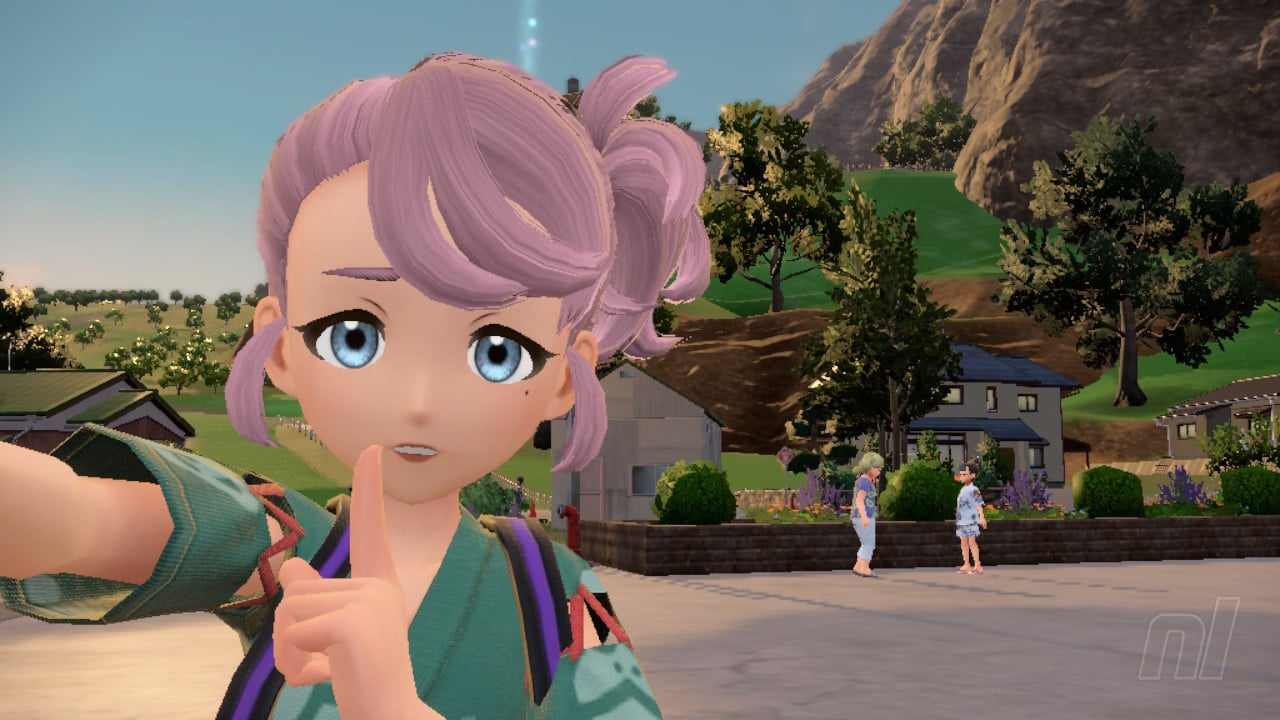
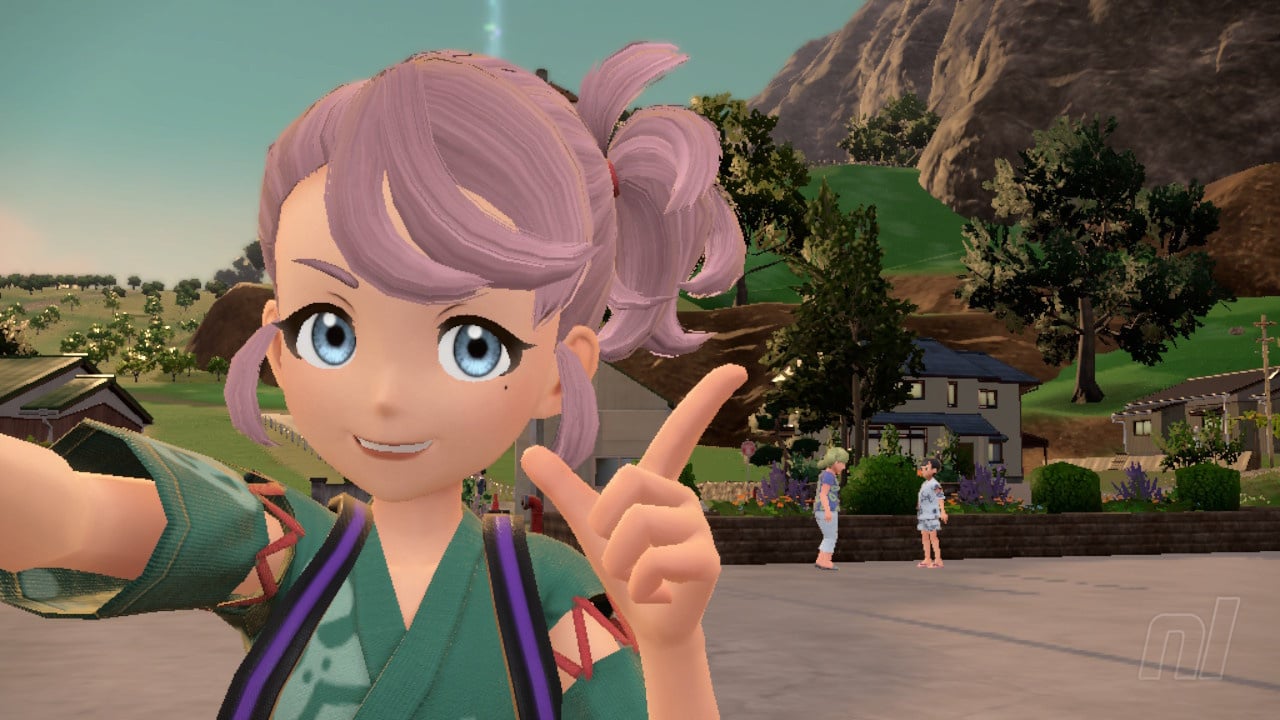
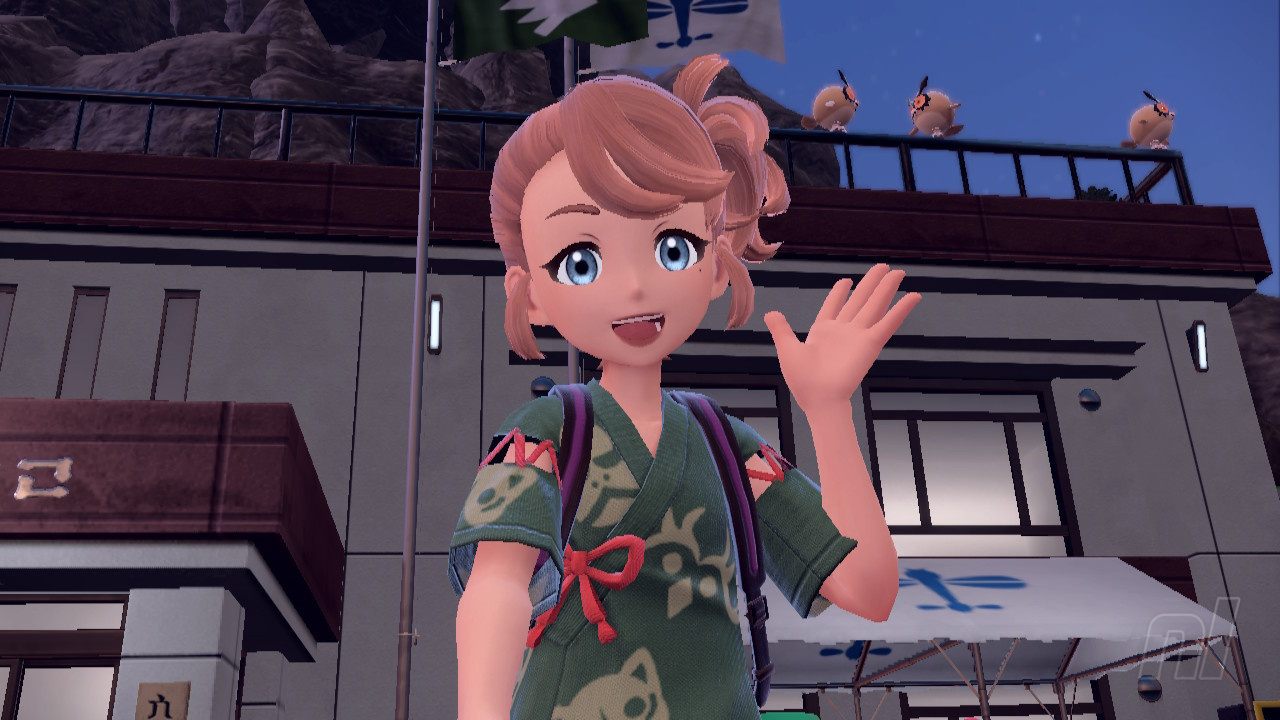
Poses
Press up to bring up the Poses menu, and choose from these six:
| Pose name | Appearance |
|---|---|
| Peace! |
 |
| Roar! |
 |
| What's This? |
 |
| Hello! |
 |
| Oh Dear! |
 |
| Act Cool |
 |
| Shhh! |
 |
| Eureka |
 |
How to use the Roto-Stick
The Roto-Stick is a new addition to your camera that's only available in The Teal Mask DLC. This makes it much easier for you and others — including Pokémon — to get in on your selfies, as you can take much wider shots.
You'll get the Roto-Stick very early on in The Teal Mask's story — right after you've stayed in the Community Center for the first night, head outside and talk to the Caretaker to find out what you'll be doing in Kitakami. You'll be given the Roto-Stick then.
To use the Roto-Stick, after you've pressed Y to flip your camera around so it's facing you, press X to give your selfies a much-needed boost (and wide shot).
Let us know if this guide was helpful below, and be sure to check out our Pokémon Scarlet & Violet walkthrough guides for more details.


Comments 1
I wish you could zoom in/out...
Show Comments
Leave A Comment
Hold on there, you need to login to post a comment...