Welcome to Chapter 10 of our full Bayonetta 3 walkthrough guide. We're deep into the game now and the battles and collectibles keep coming thick and fast. Let's dig in and nab them all.
Bayonetta 3: Chapter 9 - Learning To Fly Walkthrough - All Collectibles
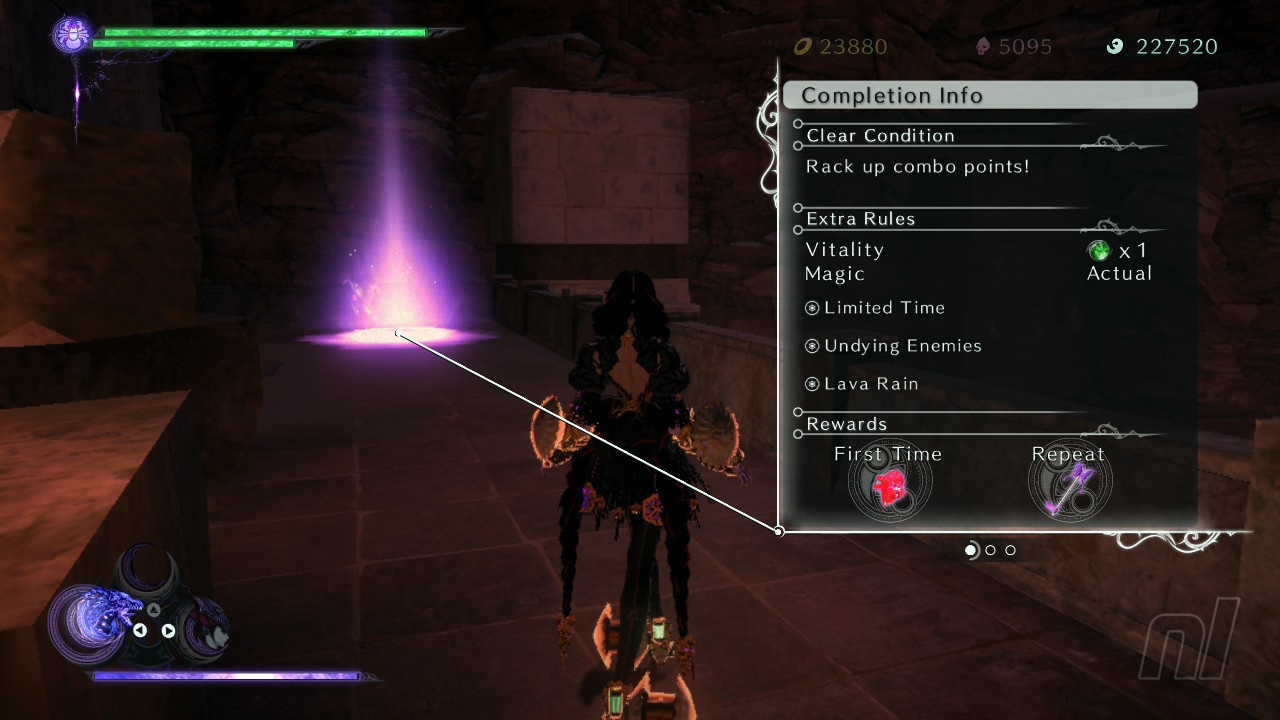
Bewitchments
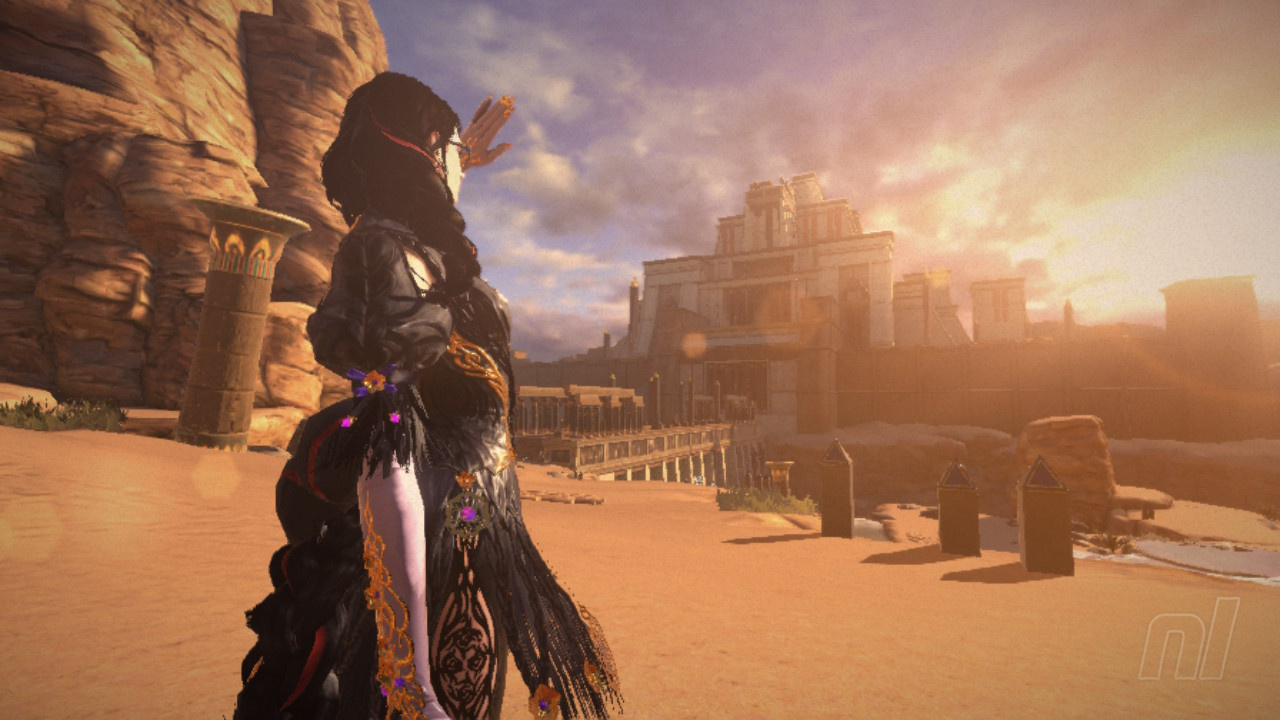
Scare off 20 resting wild Malphas demons - As soon as you arrive at the temple in this chapter, you'll pass through a valley full of large crow-like Malphas. Attack them all to earn this one.
Escape from the clouds of erasure without touching them - During the sequence where you run towards the camera with clouds giving chase behind you, make sure to avoid contact until you reach safety.
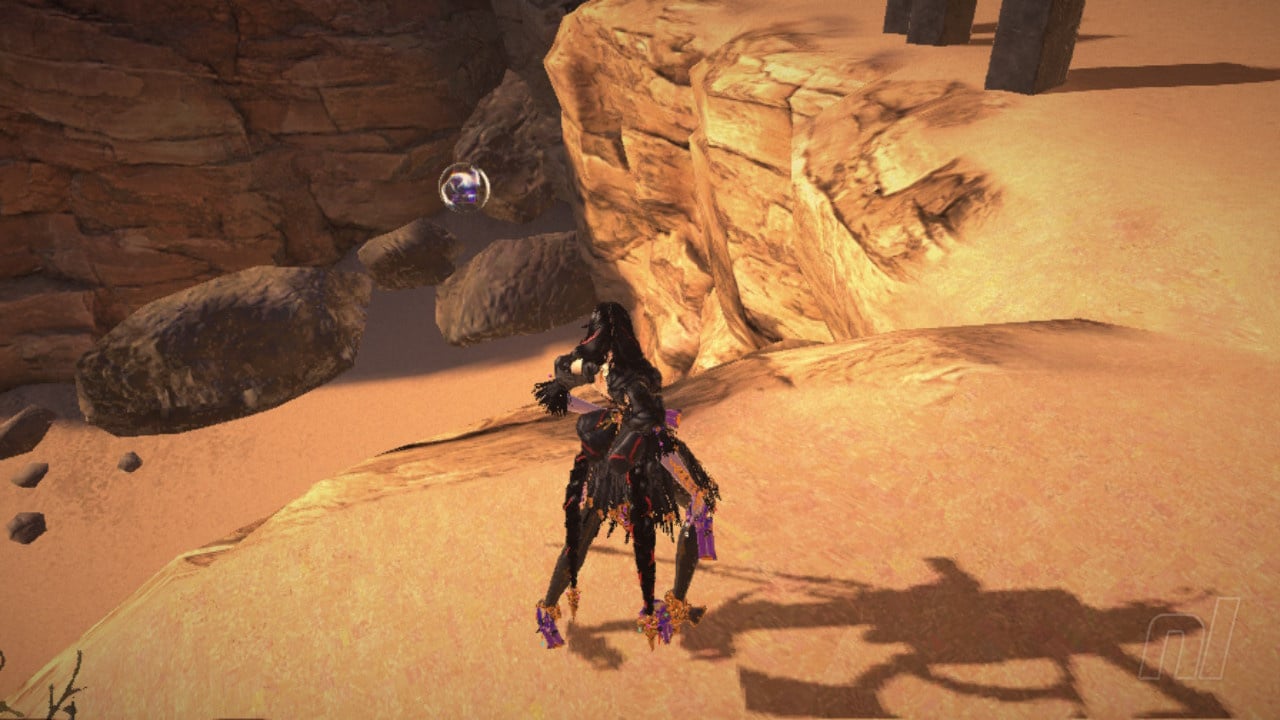
Complete the sand sliding portion without hitting any obstacles - As detailed further down in this chapter guide, simply avoid all incoming obstacles during the sand slide sequence to earn this Bewitchment.
Avoid touching clouds of erasure during the battle on the scales - Keep the scales balanced enough so that you don't have clouds encroaching on them during this big fight. We recommend spartan use of heavy infernal demons and making sure larger enemies get dealt with as a priority.
Perform 5 torture attacks during the battle atop the Tower of Pacts - During the fight on top of the temple where you gain Malphas demon powers, pull of 5 torture attacks on enemies. This is pretty easy if you use Malphas to attack everyone.
Figure Box #1
From your starting point head forward slightly and turn to your right to see this first collectible hovering just down below you.
Now, before we head off on the critical path to the temple on the left, let's stick to the right here for some collectibles and other bits and pieces.
Card Pack #1
This one's easy to spot on the top of a high rock just head of you to the right, as shown below.
Umbran Toad
Head to the right from the level's starting point and you'll come to lots of pools of water that are full of toads. The one we want is hiding in a bush overlooking the water, as shown in our pics below.
Echoes of Memory #1
Follow the water pools where we found our Umbran Toad up and around the corner to a small waterfall where you'll find this next Echoes of Memory.
Verse #1
From here we've got a short walk over to the glowing light that indicates Verse #1.
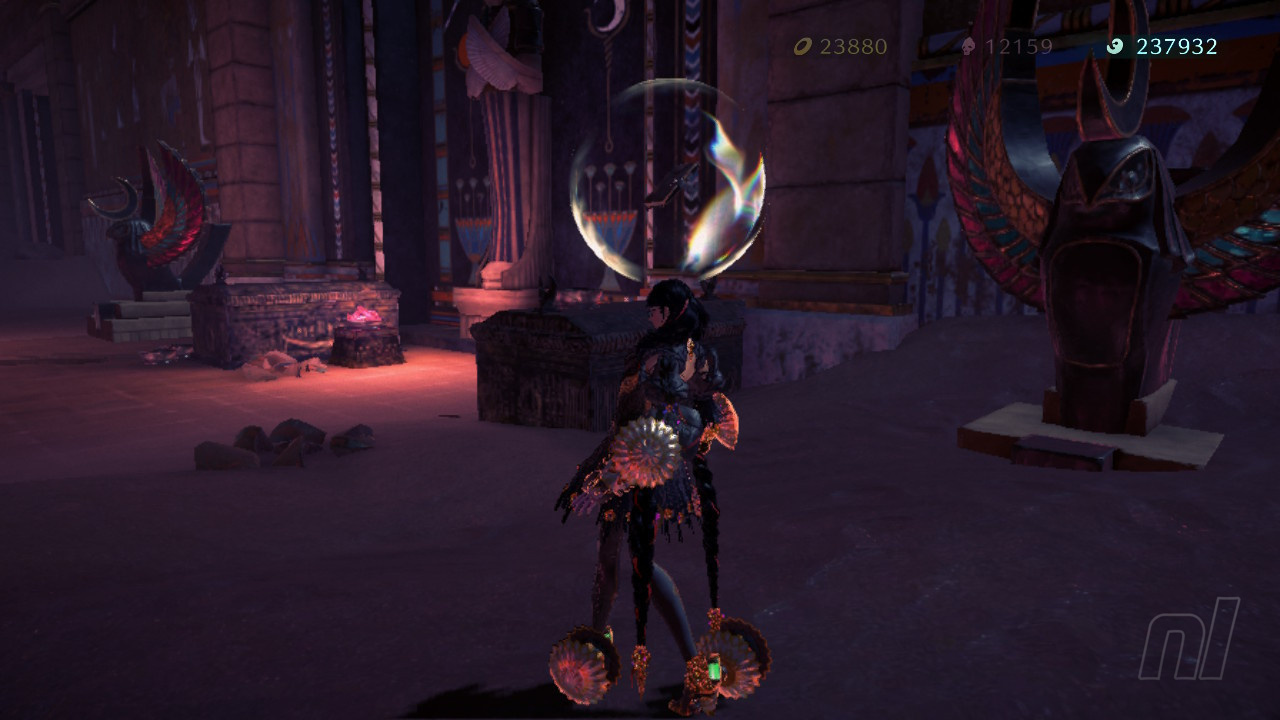
Treasure Chest #1
Now let's head to the nearby tower from here and jump up to its second level at the rear for a chest containing a Broken Moon Pearl.
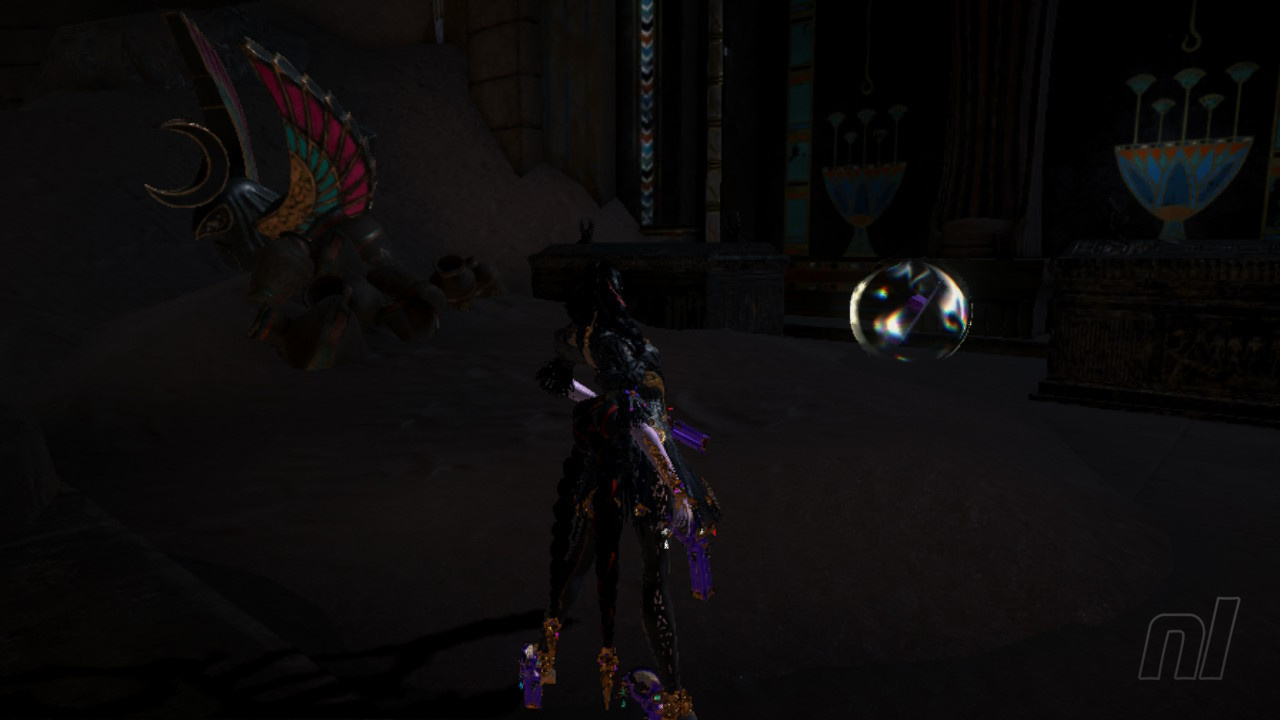
Now let's head off to the left, following our objective marker, to hit a cutscene and get on with the rest of the level. Once you've passed over the broken bridge and gone through the tunnel ahead, you'll come to a valley full of Malphas demons, the crow-looking fellas. These are who you need to scare off in order to earn your first Bewitchment and you can do this by swinging right into them or releasing your infernal demon near their perches.
Card Pack #2
Once you've scared off a bunch of Malphas you'll find this card pack up to the extreme left hand side of this little area before you enter the central temple.
Verse #3
This one is easy to see on top of the temple to the right where all the Malphas are hanging out and you'll earn a Broken Witch Heart for completing its combat challenge.
Verse #2
Now before heading up around the top of the temple any further - you'll be whisked off to a new area if you proceed this way - let's enter into the bottom area and interact with the red glow that kicks off Verse #2.
Treasure Chest #2
Head up the stairs now and you'll find another chest before making your way out and up to the right side of the structure.
Figure Box #2
This one is further up the steps to the left of the outside of the temple. Just head up as shown in the pic below and look over edge of the corner to find it.
Verse #4
Keep on heading up and around these steps now to reach the very top of this temple and enter a cutscene and nab yourself a new Infernal Demon in the form of Malphas. With this cutscene and short battle done, we're off to another area of the chapter.
Now we're going to enter a temple filled with windmill devices.
Record #1
There's a record in the second room here and it's sat in mid-air between some windmills. Just head to the right of the room and let the wind blow you up into it as you direct yourself in flight form.
Treasure Chest #3
There's also a chest in the right back corner, so move around to the left and climb over to the back to avoid the wind pushing you to interact with it. You'll nab a Broken Moon Pearl for your troubles.
Treasure Chest #4
The next room has a wind tunnel going straight up with a door ahead and one to the right. Off to the right you'll find a chest that reveals a time trial puzzle.
Verse #5
Now head on through the door ahead for a big battle in Verse #5.
Once you're done fighting, head on down into the next large room where we've got a puzzle to solve. Hit the treasure chest here to reveal a magic source, now use Malphas to blow all of the windmills ahead of you and light all the red glowing spots on the wall ahead.
Umbran Crow
Once you've got the door open in this large room, head over to it and then use your spider form to climb up to the windmill on the left of the doorway. You'll find the crow sat right in front of you, as shown below.
Echoes of Memory #2
Once you've done this make sure to head over along the right of the room to find this Echoes of Memory hidden down a little bit of cracked floor.
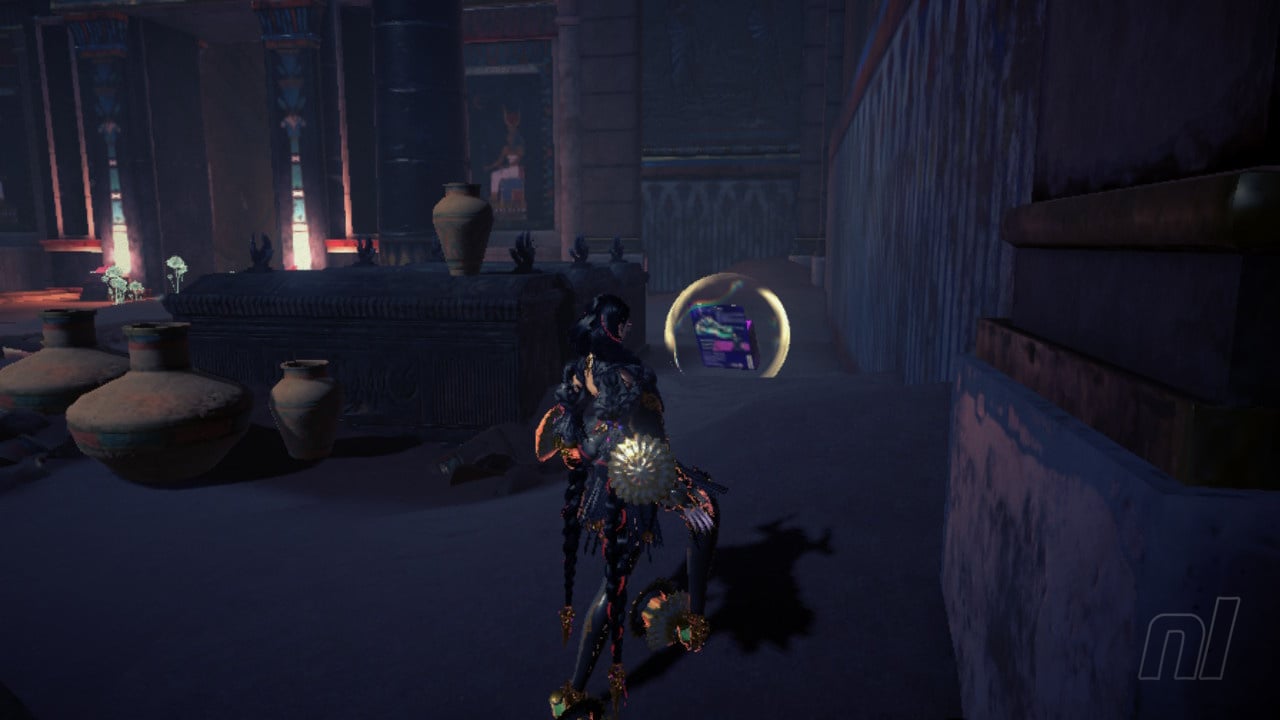
Figure Box #3
In the next room, you'll find another figure box off to the right behind a sarcophagus.
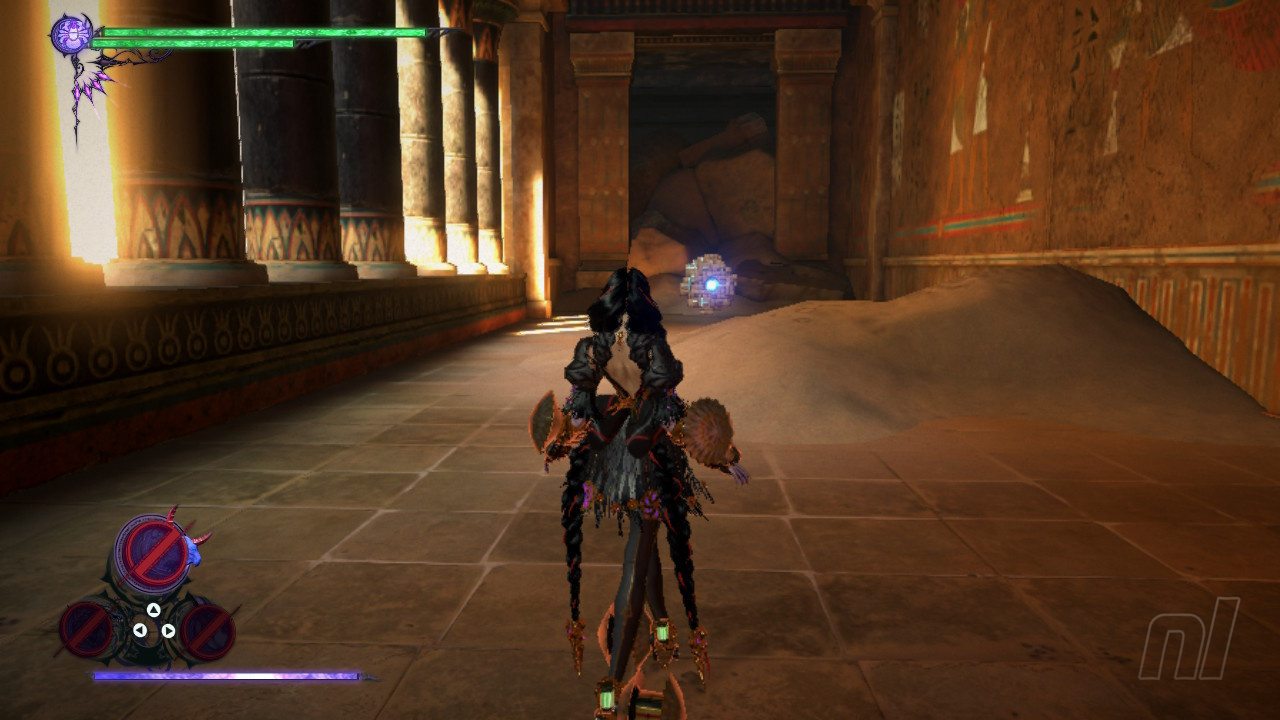
Now we're going to fall down through the floor into some caves after a brief cutscene, so prepare to slide! Then we want to use Malphas to clear the way ahead of giant pink crystals.
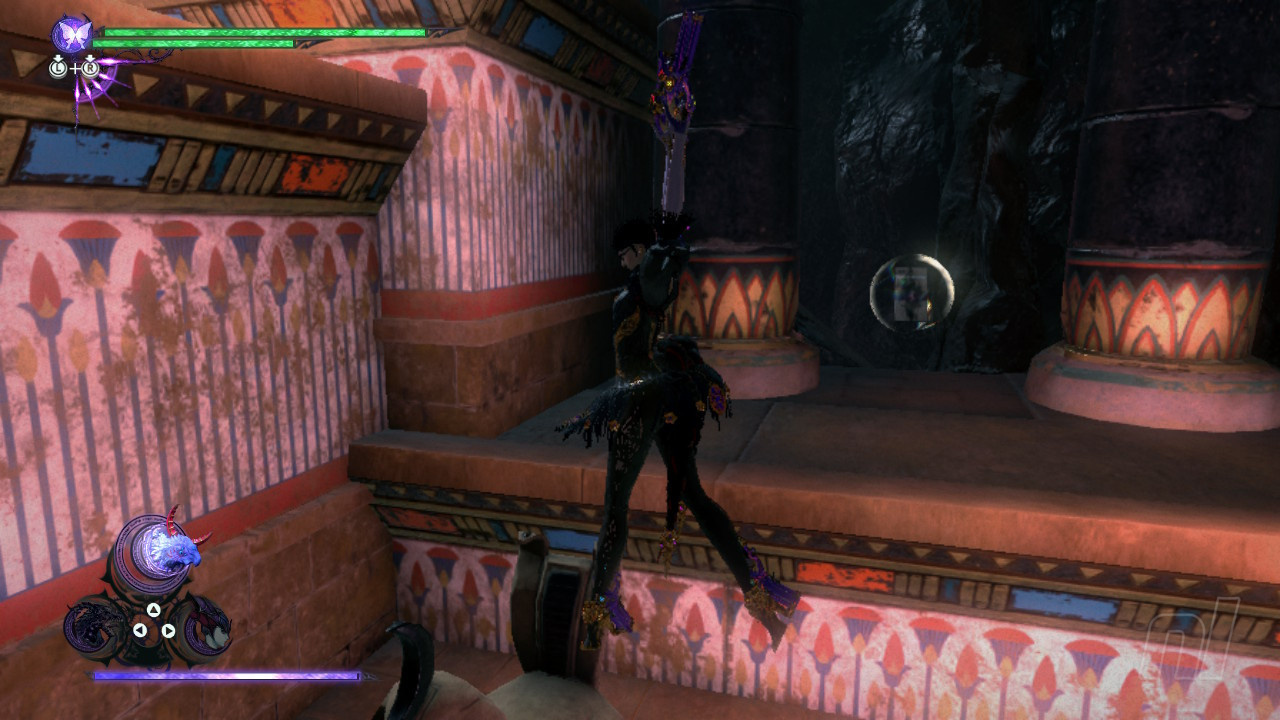
Treasure Chest #5
Once you get through these crystals enter the next building and you'll find a Gates of Hell portal. Enter the space in the ceiling above this and you'll find a chest that reveals another time trial puzzle.
Verse #6
Once you done this head on out and left to continue on down the corridor where you'll activate Verse #6.
Treasure Chest #6
Yep. Another chest. And this is out to the left of the junction you reach down this corridor. Grab its goodies and then turn around and follow your objective marker down to the right.
Verse #7
Now we're in another huge room and a battle commences. Use the orb here to reveal a magic source and get Malphas out to attack and kill the enemies. Now we need to do complete a simple puzzle to continue. There are two round scales ahead and a bunch of red glowing weights of different sizes. We need to place the weights on the scales to balance them equally. Simples. Once you've done this, the door ahead will open.
Echoes of Memory #3
Before leaving this room, head to the right to nab an easy Echoes of Memory.
Umbran Cat
You'll also find the cat in here on the right side near to the exit, you can easily catch it with one of your faster animal incarnations.
Verse #8
In the next room you'll find the Verse #8 combat challenge and you'll grab a Broken Witch Heart for your troubles here.
Card Pack #3
There's also a sneaky Card Pack hidden in here, behind the busted door and rubble to the right of the room.
Figure Box #4
Into the next room and there's a Figure box to the right.
Verse #9
This battle also takes place in this small area, so let's get that dealt with then move on.
Treasure Chest #7
You'll pass down through another corridor full of pink crystals now and then into the next temple area where you'll find this chest to your left in the first room.
Card Pack #4
Around the next corner and brace yourself! We've got a little chase sequence here where clouds of erasure are on your tail, take off in the fastest form of your liking and round the corner, making sure to jump as you reach the steps to snag this Card Pack.
Now we're in another large room where we'll use Malphas to blow some windmills to turn them on.
Card Pack #5
Once you've got the bridge across this big room, look to your right on the way out to see yet another card pack to add to your collection.
Verse #10
Now head into the next large area fill with gold to start up Verse #10
Card Pack #6
There's a card pack to nab right to the left side of the altar here, so grab it before you head up there as you'll miss it when the cutscene starts if you don't!
Verse #11
Now we've got a cutscene and then a flying/shooting/sand sliding section where you can nab another Bewitchment for avoiding all obstacles as you pass along the sand.
Verse #12
Another chance for a Bewitchment here as you do battle on massive scales to finish the level! Just avoid touching the surrounding clouds of erasure to earn this one. Easier said than done!
Verse #13
Lots of cutscenes now, you think the chapter is over, but it's got one more surprise up its sleeve!
Switch between land and air with tow different beasts here. Watch for the green focal point on the ground first and fire off to damage your enemy. When it's covered up take to the skies to damage a second green focal point up top. Once you've done some damage to both focal points, you'll need to go to the ground and ride up one of the creature's tentacles to get around to a weak spot on its back, attack this to restart the first phase of air and land attacks.
Keep switching it up like this to see the battle through its conclusion.
Let us know if this guide was helpful below, and be sure to check out our Bayonetta 3 guides for more information.


Comments 1
@PJOReilly I found two figure boxes that are not listed in the guide.
The first one: After the tunnel of red crystals, but before entering the building to go towards Treasure Chest #5 and Verse #6, players can use the rocks on the left side of the room to navigate up to a walkway above the door. The figure box is up here at the far end of the walkway.
The second one: In the room with Verse #7, it's behind the pillar that's in front of the scale on the left side of the room.
Show Comments
Leave A Comment
Hold on there, you need to login to post a comment...