Welcome to chapter 8 of our Bayonetta 3 walkthrough guide. We've got another big action-packed chapter full of secrets and surprises to get through here so let's not waste any time.
Bayonetta 3: Chapter 8 - A Croaking Chorus Walkthrough - All Collectibles
Bewitchments
Stand on top of the windmill tower - In the opening area of this chapter, head straight to the large tower in front of you across the far side of where Verse #1 takes place. Climb to the top in spider form.
Destroy 5 Baal statues inside the temple - Once inside the main temple area, look out for froggy statues, we've detailed them further down this chapter guide - and smash 5 of them.
Enter the hidden room inside the temple - In the large room where you encounter Verse #5, make sure to investigate the left staircase once you've uncovered it by having Baal jump on the platforms. As the staircase begins to disappear back into the wall it will carry you into a secret area.
Hit a Castellanus core while at least one segment is intact - ???
Hit Murus with Baal's poison rain - During the battle with Murus, get some space - maybe wait until he freezes and armours up - then hit "R2 4 times to get Baal's full song out and start the poison rain party.
Verse #1
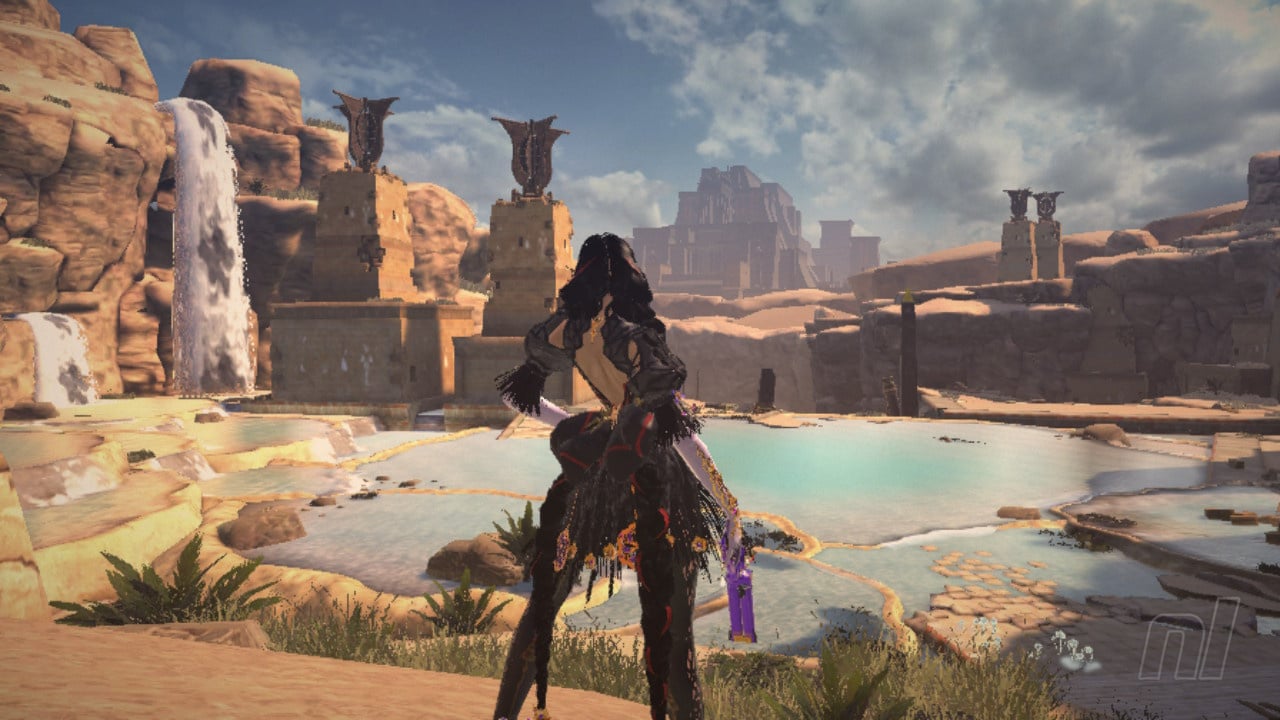
Straight away we launch into Verse #1 here as soon as we arrive into the first large area.
Verse #2
As soon as you're done with Verse #1 turn around to face the back of the arena and you'll see the glow of Verse #2 combat challenge portal in a tower. This challenge rewards you with a Broken Moon Pearl. There's tricky terrain here so use a combo of Infernal Demon attacks and Witch Time to do damage.
Verse #3
Now head around the side of the tower where you found Verse #2 to kick off Verse #3, lots of action to get things started in chapter 8!
Umbran Toad
Now, staying in the same area, you'll hear croaking but there are a ton of frogs around this waterfall and rockface. The one we need is right up the top behind the actual waterfall itself.
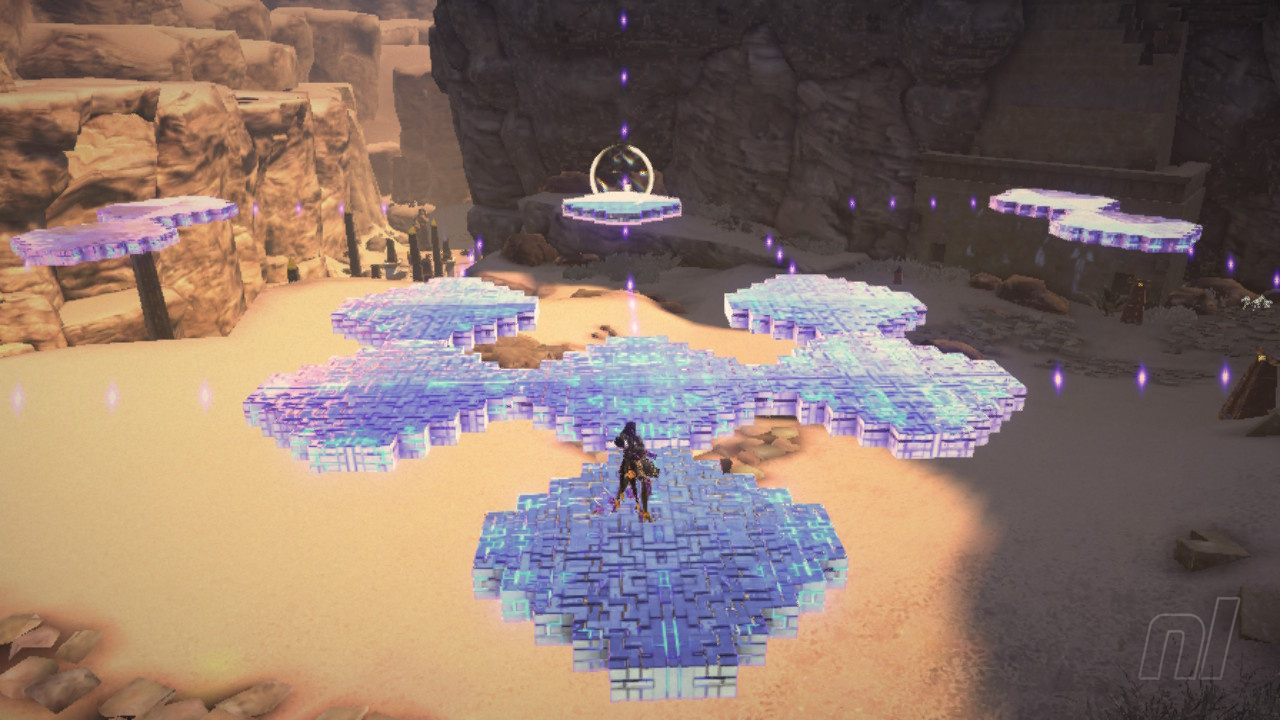
Treasure Chest #1
Now head over to your right a little and you'll find an orb that reveals some moving platforms.
Echoes of Memory #1
Jump up onto the platforms revealed by the chest to nab this first Echoes of Memory.
Treasure Chest #2
On the same moving platforms you'll also find this second chest. This one reveals a time trial puzzle for us.
Treasure Chest #3
Take a look up to your right, behind the nearby tower whilst on these platforms to find yet another chest, this one full of goodies.
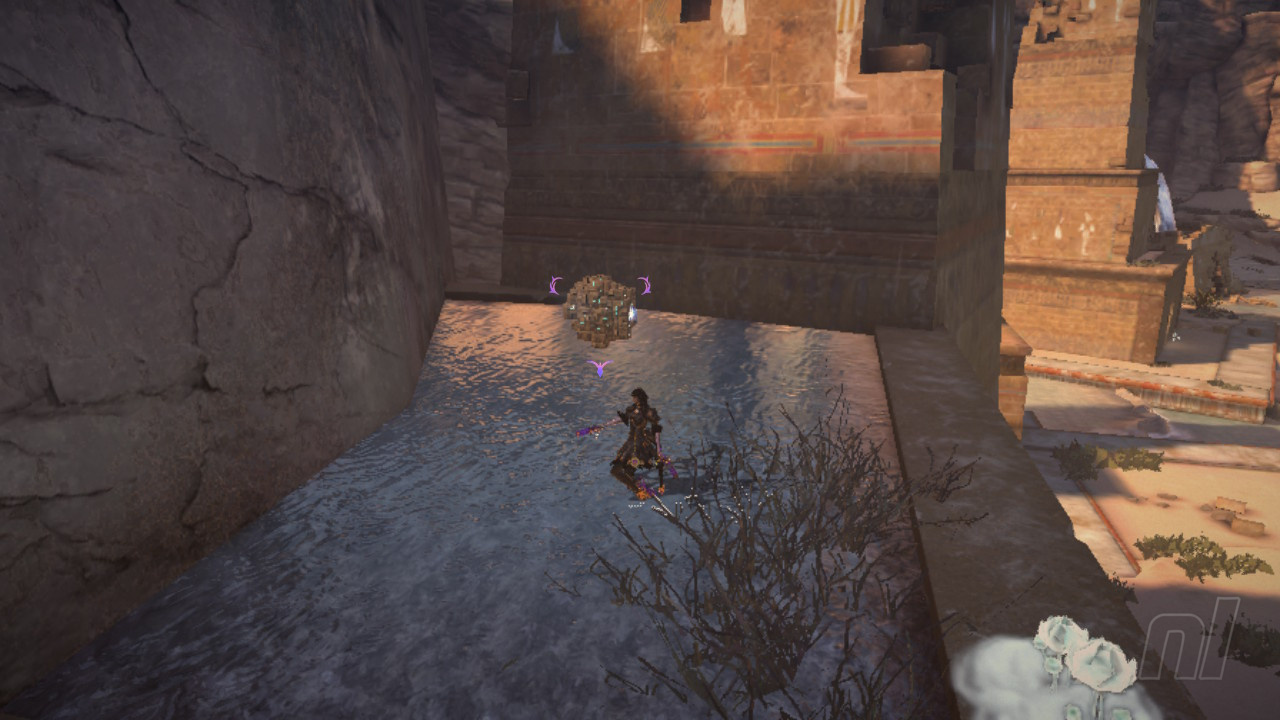
Time Manipulation Puzzle
Now, once we're all done on the platforms, take a look straight ahead to where you can see a gap in the cliffs, head in here to find a time puzzle. Wind the puzzle forward enough to make some platforms for yourself so you can make it halfway across the sand river.
Record #1
Once you're halfway across the sand river the time on the puzzle is going to run out but you should be able to make it now to the Record you can see on the ledge in front of you. Just keep bashing the buttons to keep afloat until you reach the platform.
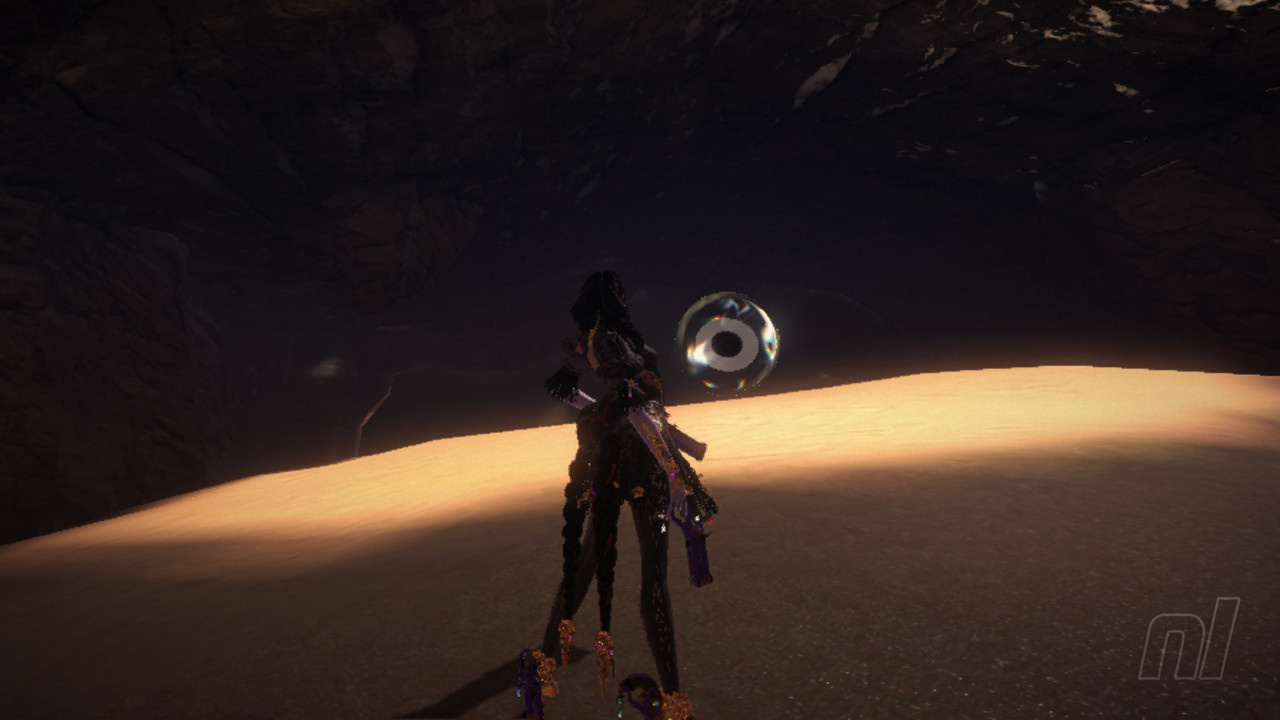
Figure Box #1
From this platform you should now be able to see another collectible off in the distance and we'll need to use our Ignis Araneae Yo-Yo form to grapple and swing our way over to it successfully. If you can't reach it on your first swing, let yourself get carried outside then jump up on the rocks out here. Climb along the rocks and get higher up in your spider form and then jump or swing out to it. A tricky one, but you'll get there.
Treasure Chest #4
Outside in this area beyond Figure Box #1 you'll also find another chest full of goodies.
Now that we've grabbed these collectibles, let's briefly head back up to the area where Verse #1 took place to find a few other things before we move on.
Treasure Chest #5
On our way to the top level, we'll come across another chest that gives us a magic source that we can use to top up our demon in order to attack another chest that's hovering above the sand here. This will net you a Broken Witch Heart.
Umbran Crow
You'll also spy this crow down here at the base of the bridge, as show in the picture below.
Card Pack #1
Now that we're back up in the opening area we can head over to the far side from where we used the platforms earlier. Have a look behind a waterfall here to grab Card Pack #1.
Treasure Chest #6
There's also a chest hidden at the back of one of the towers over here that kicks off another time trial.
Treasure Chest #7
And yet another chest in this area, this time hidden inside a doorway at the back of the towers.
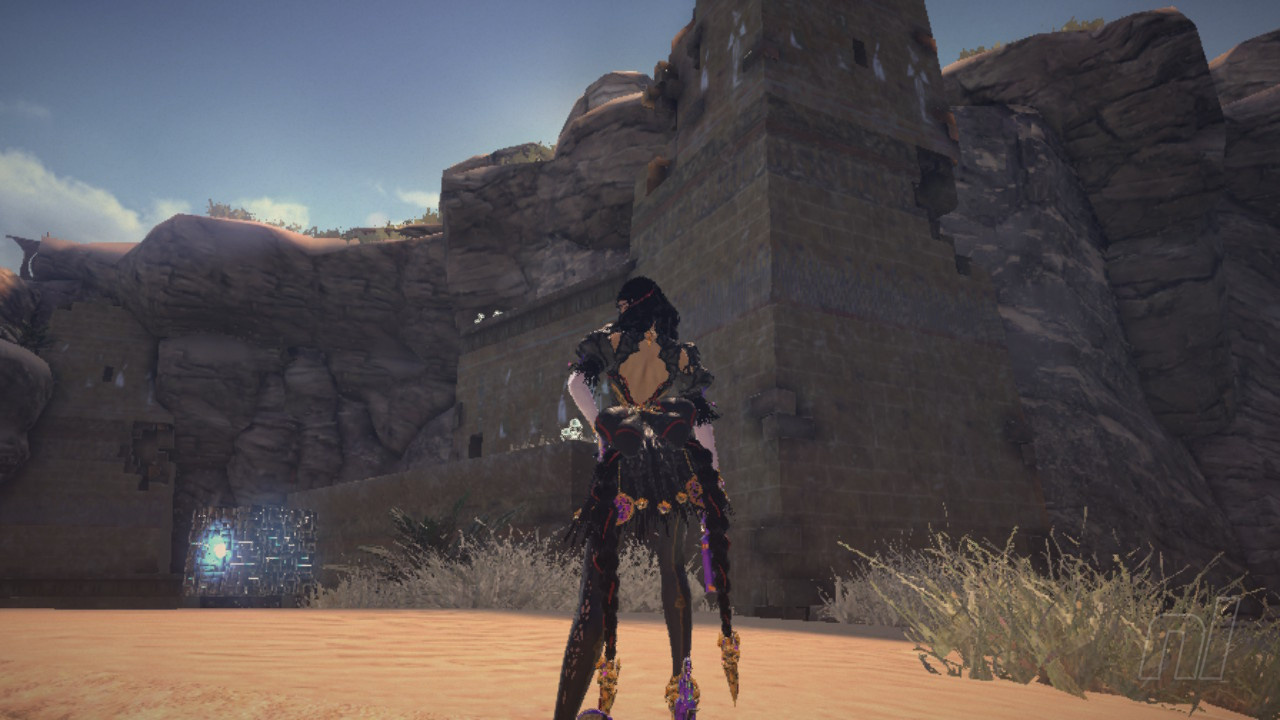
Now we can use our spider form to climb one of the windmill towers here to earn our windmill tower Bewitchment.
Figure Box #2
From this vantage point you'll be able to make out Figure Box #2 on the next tower over. So let's swing/glide over there and grab it.
Now we've collected everything in this top area we can make our way back down to the lower bridge where we were before.
Treasure Chest #8
There's another chest hidden away as you make your way down here, you'll need to turn around to see it and it's worth hunting for as it gives you a Broken Moon Pearl.
Treasure Chest #9
With the bridge on your right, head into the first area underneath it to find yet another chest stuffed full of goodies.
Figure Box #3
Now head out of where you found the last chest and head up the sandbank here a little, keeping an eye out under the bridge to your right, and you'll find this next well-hidden Figure Box.
Card Pack #2
There's another Card Pack at the last little underneath part of the bridge here too.
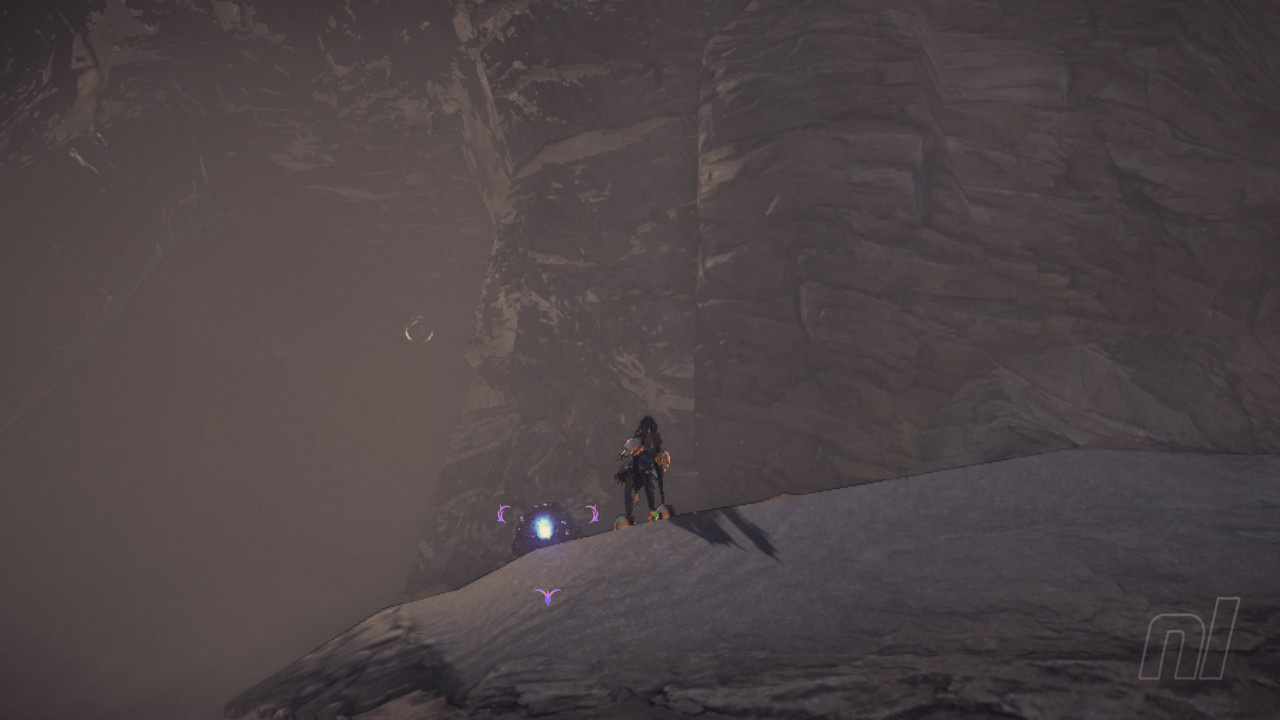
We're ready to move on from this collectible-laden area now. Before you do, make sure to jump up onto the central bridge itself to find a Gates Of Hell portal, then head for the glowing purple beacon ahead to continue onwards.
Verse #4
Once down in the tunnels beneath the quicksand, make your way along and you'll come to a large arena where Verse #4 kicks off. This scrap sees you face-off against another alternate version of a main character and grab yourself a new Infernal Demon, Baal.
We can now go ahead and make our way into the Temple of Baal.
Echoes of Memory #2
Turn left and into the doorway as soon as you enter the temple to find an Echoes of Memory on the broken staircase here.
Keep in mind in this temple sequence that you want to destroy five statues of Baal in order to earn another Bewitchment.
Now lets head to the right of this opening area and head upstairs.
Treasure Chest #10
This one's halfway up the stairs leading to the upper area of the temple.
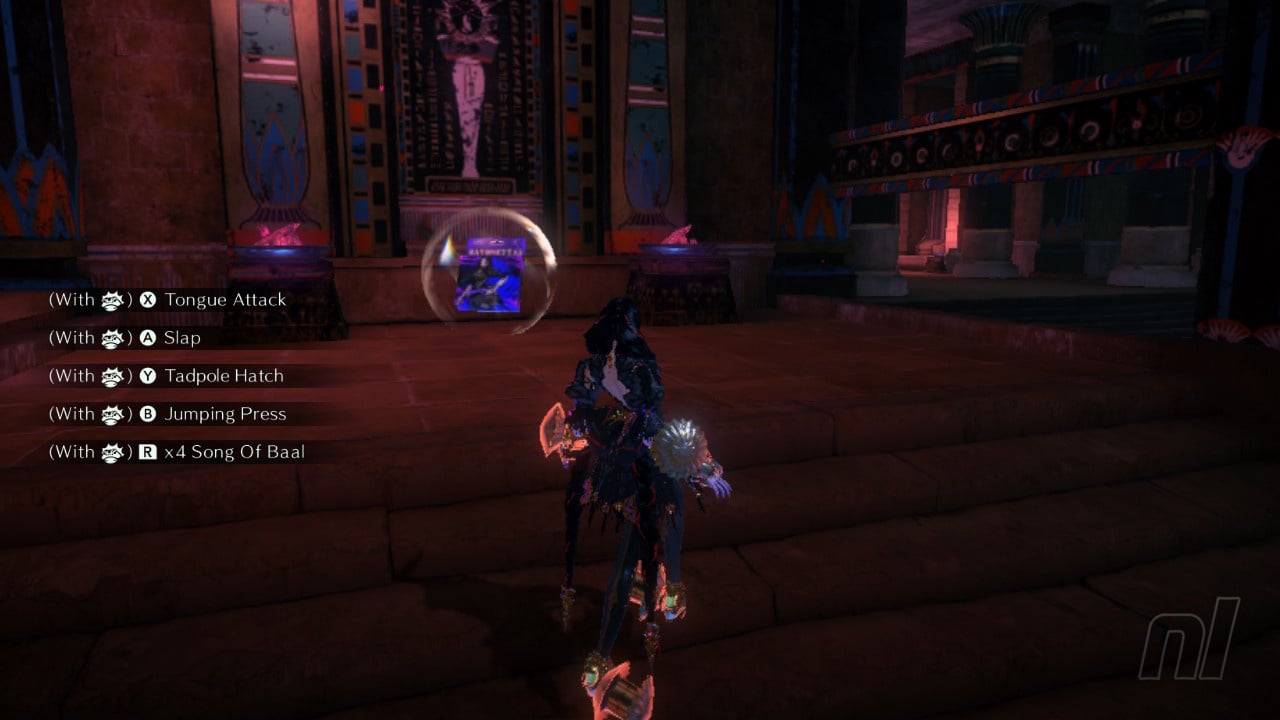
Now we're up in the top level of the temple, we've got a sealed door to open. In order to achieve this we need to kill all of the enemies here at once by using Baal's song (press "R" 4 times). Get to the central chest here so you don't run our of magic, then unleash Baal and sing the entire song to make it rain on the surrounding foes to open the door.
Umbran Cat
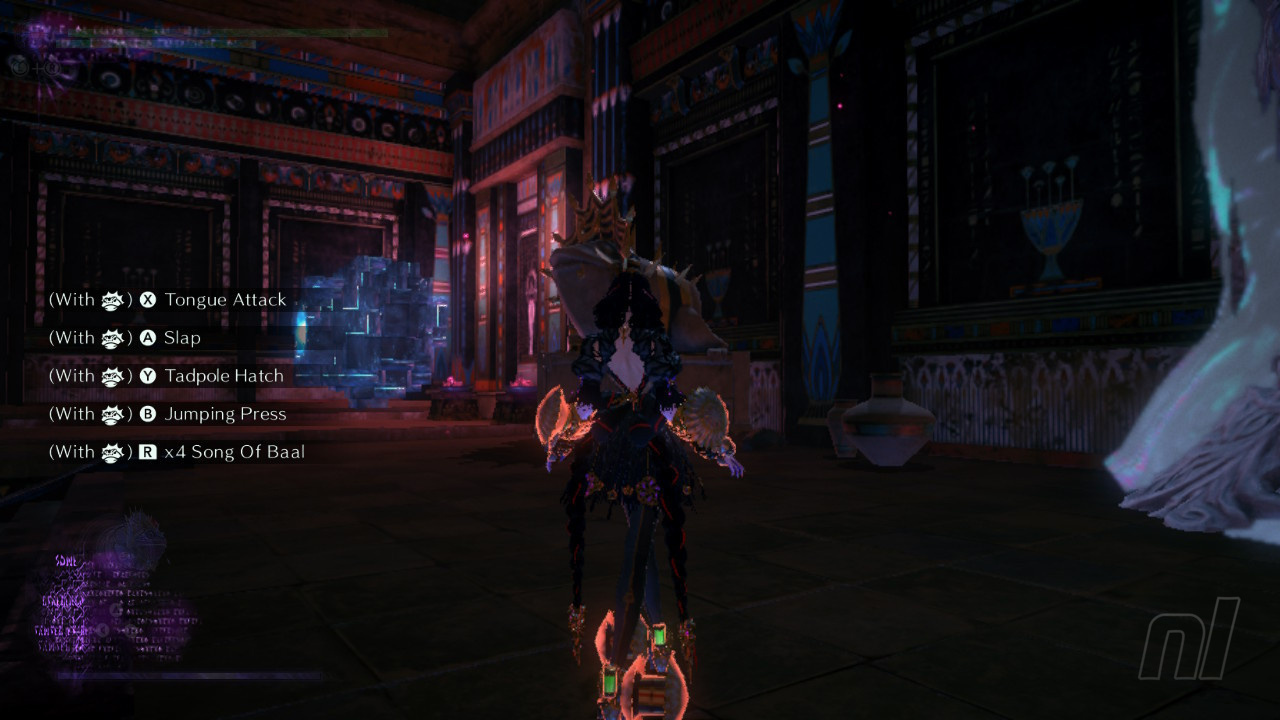
Once you've opened the sealed door with Baal's poison rain, as described above, in the same room, make your way up onto the pillars then look to the right of the open exit. You'll see the cat sat on the pillar here, as shown below.
Figure Box #4
Once the door is open, check the right side of this room for the next Figure Box.
Treasure Chest #11
There's also a chestin this room and you'll need to use an Infernal Demon attack to open it. Smash it to grab a Broken Witch Heart.
You'll also find 3 of the Baal statues you need to smash in this room. Get them broke and then we'll move on through the unsealed exit.
Verse #5
This fight will kick off as soon as you head up the stairs into the next chamber and there's enough Baal statues in this room that you'll be able to smash enough to complete another Bewitchment.
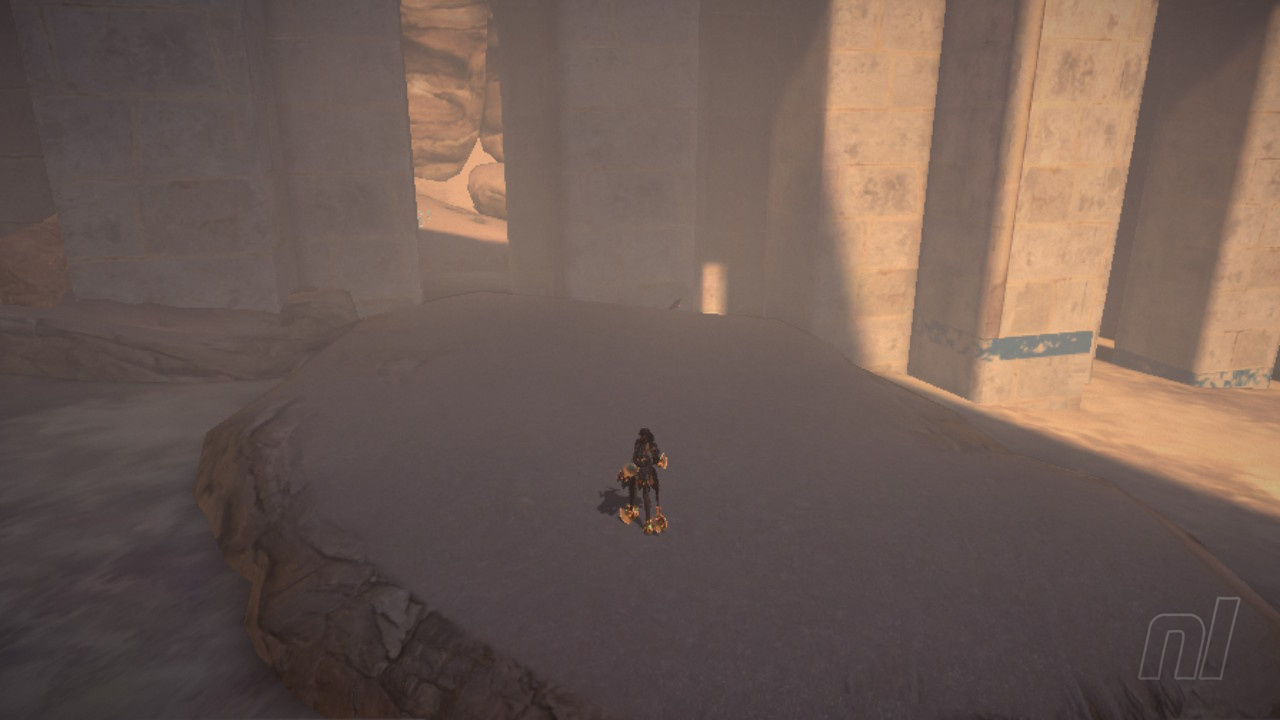
Now we're going to reach a room with a treasure chest to smash at the entrance in order to reveal a magic source. Now use Baal to sit on all the pillars ahead of you, this will make stairways on either side of the room appear that you can use to get up to the other side and exit.
Before you exit, make sure to head up by the west stairs and wait for them to close again, as doing so will see you enter a secret area and complete another Bewitchment.
Verse #6
In this secret area, you'll find the Verse #6 combat challenge, which will net you a Broken Heart Piece. Just use Baal's rain song here for an easy victory.
Treasure Chest #12
Still in the secret area and there's a chest at the far side of the corridor, smash it for some goodies, then smash the wall right beside it for a quick exit from this sneaky room.
Now you'll need to re-open the stairs in the room to traverse across and reach the exit!
Verse #7
There's a big battle as soon as you get back outside here and remember to use Baal's song to earn another Bewitchment during this fight.
Let us know if this guide was helpful below, and be sure to check out our Bayonetta 3 guides for more information.


Comments 4
I got the Castellanus bewitchment during Verse 1 accidentally. I suppose it's what it sounds like? I somehow managed to hit the core while trying to break down the segments.
The hidden room bewitchment is completely false as soon as you enter the room with the platforms you have to get baal to jump on to bring out the stairs it's to the right of you use a infernal demon to break a hidden wall on the large statue on the right and jump in and you'll also find a figure box inside that secret room
Enter the hidden room inside the temple:
Both sides have 2 statues inside of the room, the first on both sides have secret rooms.
The right statue will give you a figure box
The left side the challenge(verse6)
It is inside of the room where you normally have to use baal to get the staircases out.
You will get the bewitchment no matter which side you enter but you should enter both.
Hit a Castellanus core while at least one segment is intact:
Well its easy hit the head before you destroy all segments, just use a jump attack from one of your demons. Phantasmaraneae has a good jump attack for that.
Show Comments
Leave A Comment
Hold on there, you need to login to post a comment...