Welcome to chapter 7 of our full Bayonetta 3. It's time for some hot desert hijinks with plenty of big battles, puzzles and collectibles for us to get our hands on.
Bayonetta 3: Chapter 7 - Burning Sands Walkthrough - All Collectibles
Bewitchments
Touch a Cheshire mirage 3 times while wandering the desert - In the opening phases of your stroll through the desert, simply touch any of the Cheshire mirages a total of three times.
Dig up all of the buried treasure while riding Cheshire - Whilst riding around looking for treasure on Cheshire, make sure to dig up all the treasure in the small area you're investigating - we've detailed it a little further down this chapter's guide.
Stare at the mural of Enzo for 3 seconds - This mural is located on the interior wall right inside the doorway that you open up by balancing the scales beside Treasure Chest #7 and Verse #7.
Cross the quicksand river without falling in - During the sequence where you're in the area with quicksand river, make sure not to fall in at any point. Tough but doable!
Defeat 3 Uncinus that appear from quicksand - You'll see these enemies pop up from the quicksand from time to time. Make sure to kill 3 of them.
Echoes of Memory #1
From the starting point of this level, head over to your right and up the cliffs to find an Echoes of Memory collectible.
Treasure Chest #1
Now head straight on along the main path and then over to your right to find a moving platform that leads you up this chest. This chest will give you a Broken Witch Heart.
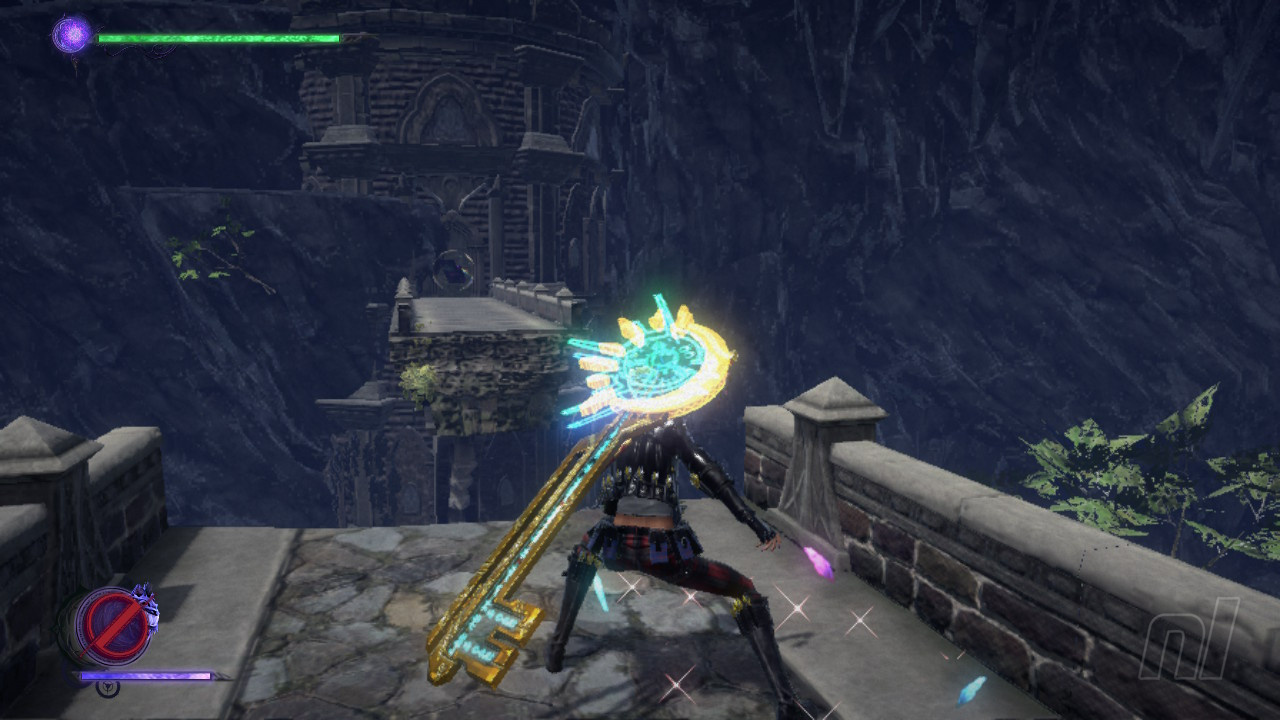
Summon Barrier Key
Right next to this you'll also see a round building at the end of the bridge ahead. The temporal door at the front here is deactivated, so head around to the side and smash the cracked section of wall to find the Summon Barrier Key for this area.
Card Pack #1
Now climb up the tree right beside the small building here to nab Card Pack #1
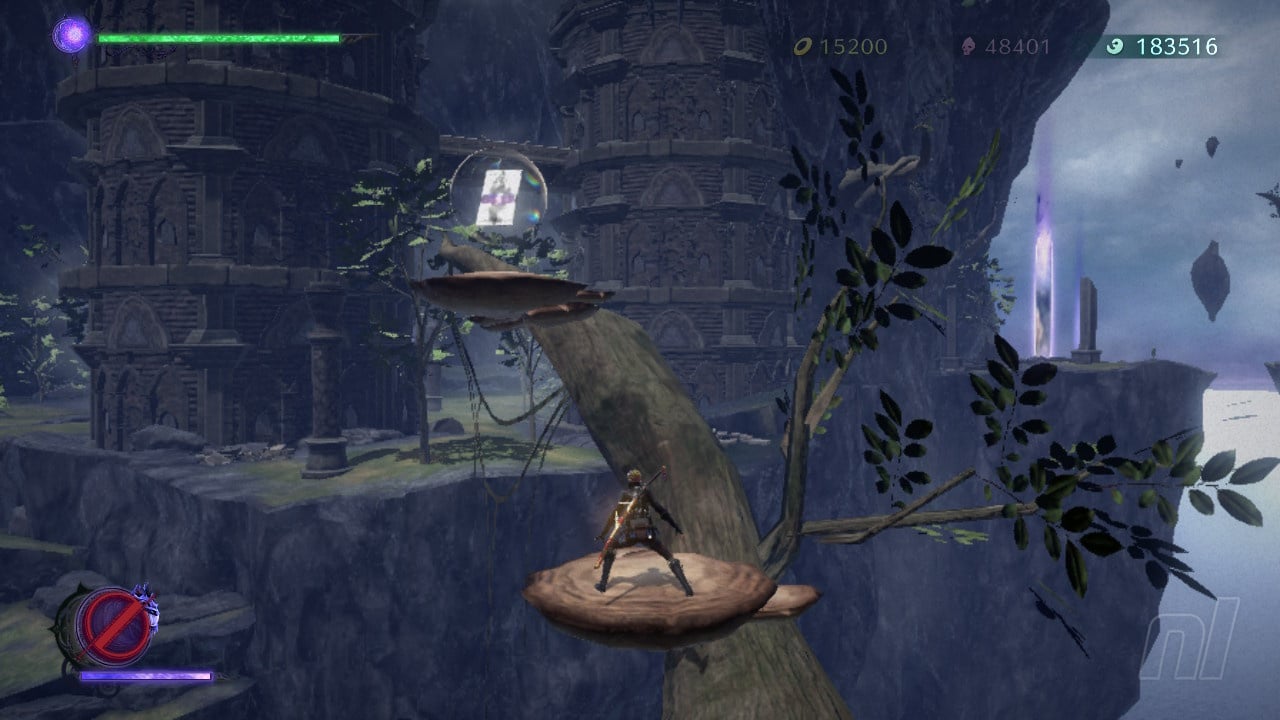
Verse #1
Once we've nabbed this key we can head on over to the main area across form where we're currently at. Here we've got two large towers on the right, but before we investigate those, move into the central patch of ground to kick off Verse #1.
Card Pack #2
Now we can turn our attention to the two towers here and the one on the right has Card Pack #2 hidden on its base floor.
Treasure Chest #2
Now let's head over to the tower on the left and smash our way though, there's no collectible on the bottom floor but we can climb up the inside of this tower now to reach cracks in the wall a few levels up. Smash your way out to reach the bridge outside that connects this and the last tower. This chest is floating around up here so time your attack well to open it for some goodies.
Figure Box #1
Swing your way over to the far side of the long broken bridge up here now to grab the first Figure Box in this area.
Verse #2
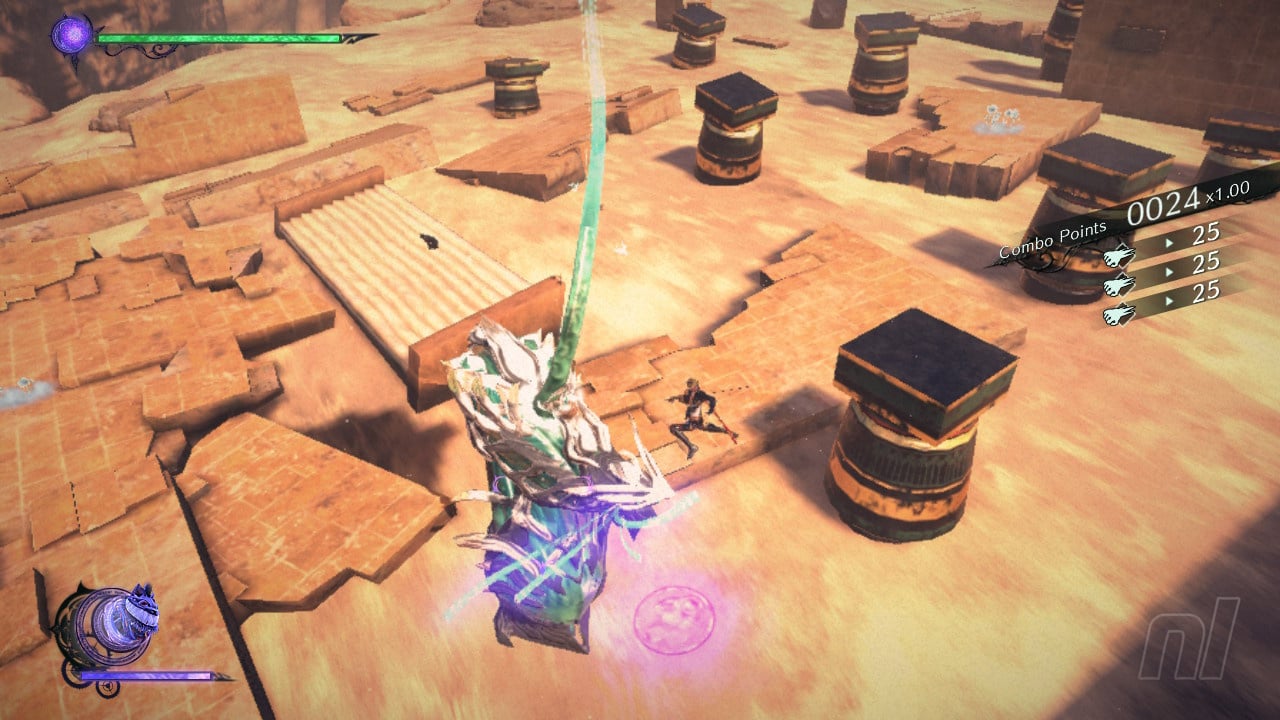
Now head back down to the main area again and you'll easily spot the pinkish glow of the Verse #2 combat challenge. This challenge requires you to rack up combo points in a limited time in order to grab your prize.
Treasure Chest #3
Behind Verse #2 you'll see the Sealed Door for this area, open it using the key you found earlier and smash the chest in here for a Broken Moon Pearl.
Head on along the main level level path again now and we'll come to an inactive door, so head around to its left side to proceed.
Treasure Chest #4
Once up into this area you'll find another orb, this one gives you a time trial to complete over the chasm nearby.
Card Pack #3
Moving on now and before you head down into the next main area you'll find Card Pack #3 on a ledge to your left side.
Medallion Shard
Once you've jumped down into the area below you now, head to the back wall and you'll find an inactive doorway. Smash the pillars and items around it to find this Medallion Shard.
Verse #3
As soon as you arrive in the Chaotic Rift here you'll kick off Verse #3.
After a very short trip to the Chaotic Rift you'll now find yourself in freefall to a hot desert region. The first thing you need to do now is find Cheshire and your sword. Run forward into the dunes here and you'll meet a few enemies to take care of. You'll now begin to tire and the camera will switch to a side on view for a sequence where mirages of Cheshire appear. Touch any of these three times to earn a Bewitchment.
Verse #4
Soon after this Verse #4 will kick off, you'll be reunited with Cheshire during this short scrap against a pair of tunnelling desert enemies.
Verse #5
The next section of this level involves you mounting Cheshire in order to go find water. Ride Cheshire through the tight valley here, taking out any enemies that pop up and you'll soon arrive into a large open space.
Treasure Chest #5
The first dig point is as soon as you enter here and it'll uncover a chest with a Broken Witch Heart.
Now head to the left from this dig spot to the next bunch of enemies and a few pillars that you'll see ahead. Here you'll find your next dig spot, which is the water you so desperately need. You'll should also have just earned another Bewitchment here for digging up all the hidden items in this little area.
Treasure Chest #6
Now that you're back in control of Viola, have a run around this area before you continue on with the level in order to find the steps down that we've pictured below. You'll find a chest down here with some goodies.
Figure Box #2
You'll also find another Figure Box here if you search around the perimeter of the enclosed arena.
Verse #6
One final errand before we leave this enclosed area is to find the little path through the cliffs that we've pictured below. This will take you into a hidden area where Verse #6 awaits.
Umbran Crow
Once you've defeated Verse #6, instead of heading back, keep moving forward through the path shown below to come out onto a ledge where you'll find Umbran Crow.
Verse #7
Once you've snapped up our bird pal, you can keep on heading this direction to find Verse #7
Treasure Chest #7
And there's also another chest out here right beside where you fought Verse #7. Lucky we found that secret route!
Now you've got two large pillars holding red objects in front of a door here. In order to open the door we need to balance the two pillars in terms of weight. So, simply clear the debris off the left side pillar and the door ahead will open up for us.
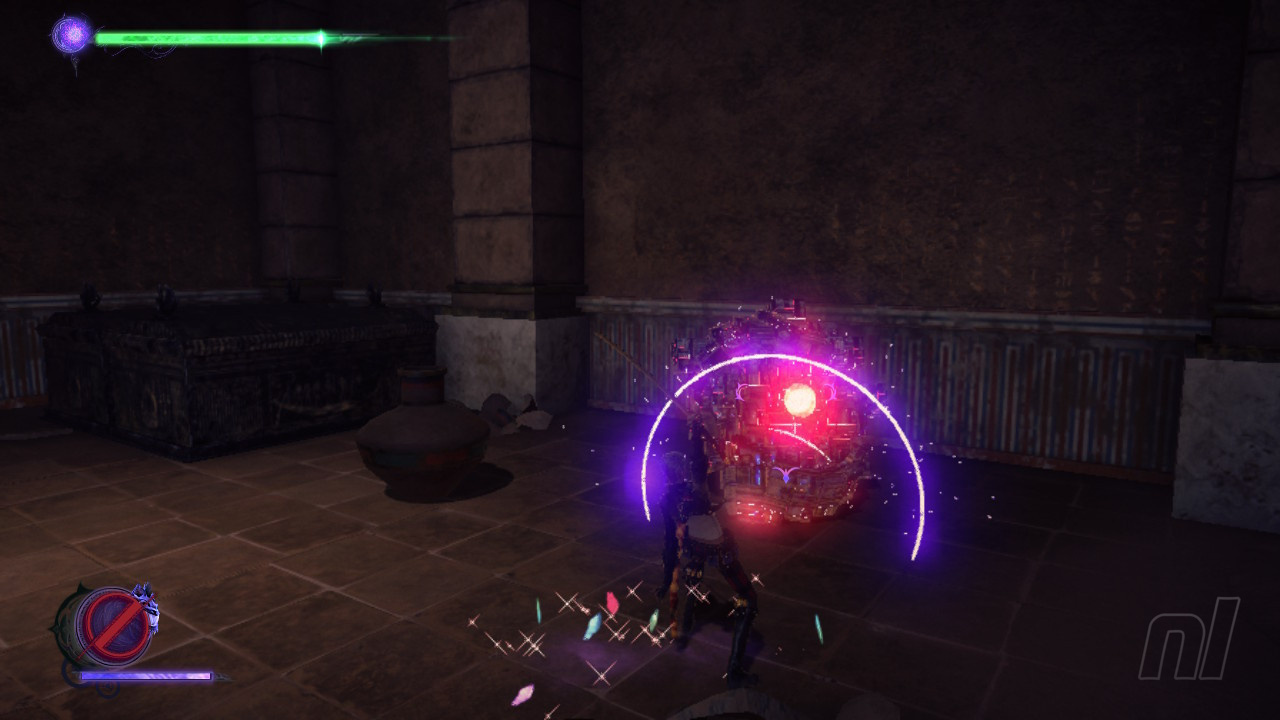
Scurrier
The first thing you'll see in here is a Scurrier. Take it out for a prize.

Figure Box #3
Head up the stairs now to find a room with your next Figure Box.

Treasure Chest #8
Also up here you'll find another chest, and this one rewards you with a Broken Witch Heart.
Once you've got these collectibles, keep heading forward through the doorway and you'll find yourself on a ledge above the area where Verse #6 took place. We can now head back the way we came to where we found water with Cheshire. Once here use your objective marker to get back on the critical path where you'll find a Gates of Hell portal.
Treasure Chest #9
Now we move on to a large open area with a river of quicksand running through it. Head over to the right and behind the sand waterfall pictured below to find this next chest full of goodies.
Umbran Toad
Now head along on this narrow path a little bit and you'll hear the croaks of our Umbran Toad pal, he's nestled in behind some rocks to your right.
Treasure Chest #10
Now keep following this path along and head up to find an area with an enemy poking out of some quicksand and an orb. Smash the chest to reveal some moving platforms
Echoes of Memory #2
Use the platforms revealed by the Orb to grab this next collectible.
Verse #8
Now keep on the platforms to get over to the other side of the sand here and enter the Verse #8 combat challenge. Beat all the enemies within the time limit here to earn a full Witch Heart.
Treasure Chest #11
Now nab this chest right outside the portal for Verse #8. It'll reveal more platforms, this time taking you back over to the central sand river area.
Treasure Chest #12
Climb the tower in the middle of this area to find this chest. Smash it open to get a Broken Moon Pearl.

Umbran Cat
This kitty is sat on some light coloured steps right in the middle of the central area.

Make sure to beat any enemies that pop out of the sand in this area in order to get the Bewitchment for killing three of them!
Treasure Chest #13
You'll find this chest floating in and around the sand to the right of where you found the Umbran Cat. You'll receive a Broken Witch Heart for smashing it.
Record #1
Now swing your way out to the far west side of this area in order to grab this record.
Treasure Chest #14
Before we head on from this area, on your way out, there's a tower to your left, climb up around its rear to find this next chest and another Broken Moon Pearl!
Verse #9
This next verse kicks off just as you're heading up and away from the river of sand area.

Treasure Chest #15
Yes, another one! Just after you finish Verse #9, head to the small tower over to your right and scale it to find this one.
Verse #10
Now enter through the main door to kick off a cutscene with Luca and Verse #10.
Verse #11
Now Luca is gonna shift to his evil form and we've got a big fight on our hands against him. The key here is to activate Witch Time in order to get Cheshire involved in the action without him getting hurt. You'll then enter Viola's faerie form for the final part of this battle.
Let us know if this guide was helpful below, and be sure to check out our Bayonetta 3 guides for more information.


Comments 4
@PJOReilly Hi! I’ve just found the bewitchment « look at the enzo mural ». It is after the verse #7. There are some scales with glowing red weights on them, and a broken pillar in the one on the left. Break this pillar so the scales are balanced. The doors in the temple open, and the mural is on the wall on the left inside. You’ll see a fat egyptian drawn with sunglasses, just look at him a few seconds.
EDIT: well, I see you already got the temple opened and the treasures inside, so it’s just missing the bewitchment
@corpuscule Beautiful! I've been absolutely scratching my head looking for that mural. Hahaha. Will be added to the guide ASAP. Much appreciated.
@PJOReilly
This was a great guide. Thank you for your research and putting the time into this.
I was stuck in the desert on Cheshire and didn't know I could dig.
@JaxonH You're welcome, pal, glad you found it useful. 🙂
Show Comments
Leave A Comment
Hold on there, you need to login to post a comment...