
Welcome to Chapter 5 of our Bayonetta 3 walkthrough guide and Viola takes control here as we continue to blast across China, busting bad guys and bagging all of those sweet collectibles. Let's get into it!
Bayonetta 3: Chapter 5 - Hot Pursuit Walkthrough - All Collectibles
Bewitchments
Put out the fire without running into obstacles - As we've detailed below, during the sequence where Viola sets her butt on fire, dodge all obstacles on the way to the water.
Climb to the top of a structure with 3 or more floors - This structure is detailed below and it's right where you'll find Treasure Chest #6. Climb all three floors to the top to earn this accolade.
Perform a full bare-handed combo on an enemy
Pass the ladder-holding soldier before Luca - During the sequence where you chase after Luca, make sure to reach the NPC who is carrying a ladder across your path before Luca does. This one is tough so experiment with your fastest means of swinging or flying over to beat him.
Break Volutus once - During the Volutus battle make good use of Witch Time and your demon powers to break your opponent.
We kick off chapter 5 of Bayonetta 3 with a cutscene featuring Bayo, Viola and Luca before getting back to action, this time as Viola.
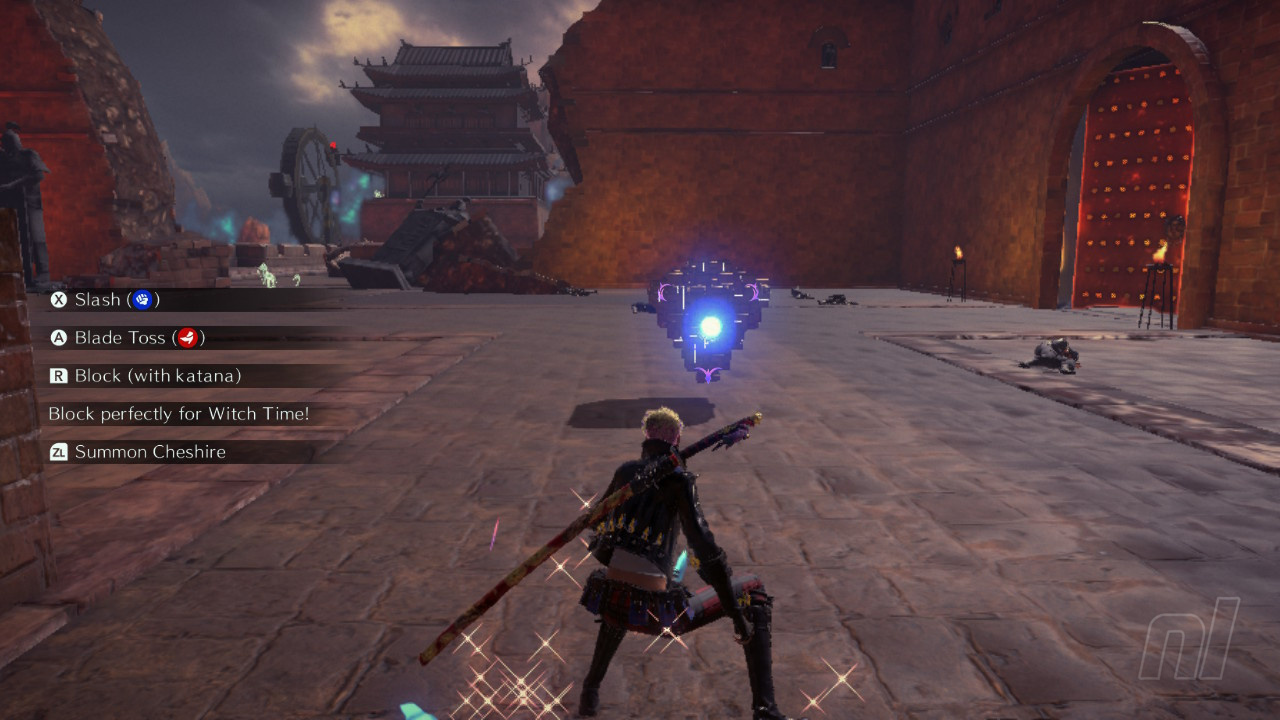
Viola has some quirks to her combat that make for a little bit of a learning curve here. You can mash "X" to perform quick slashes of her Mab Dachi or hold A to pull off more powerful blade strikes. Pressing "Y" fires off darts, which you can charge up by holding in the button before releasing. Viola can grapple around by holding in the jump button, and holding in "ZL" throws your sword whilst also summoning Cheshire the cat.
Cheshire will fight of his own accord, making him slightly different from Bayo's Infernal Demons. You can move and fight independently of him for bigger combos, just make sure to keep ZL pressed in as you do so. The biggest change with Viola, however, is using R to block and instigate Witch Time, rather than the usual method of dodging with Bayo. This take a bit of getting used to!
Treasure Chest #1
Walk straight ahead from your starting location to find a chest.
Verse #1
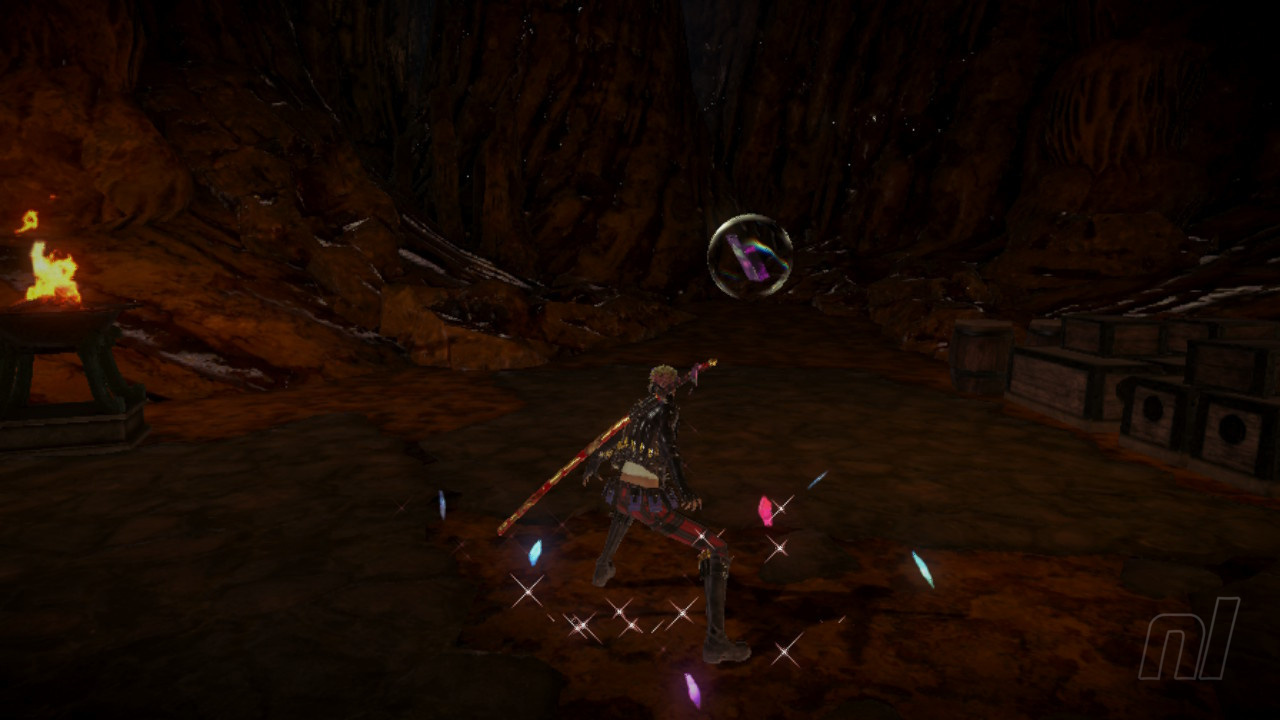
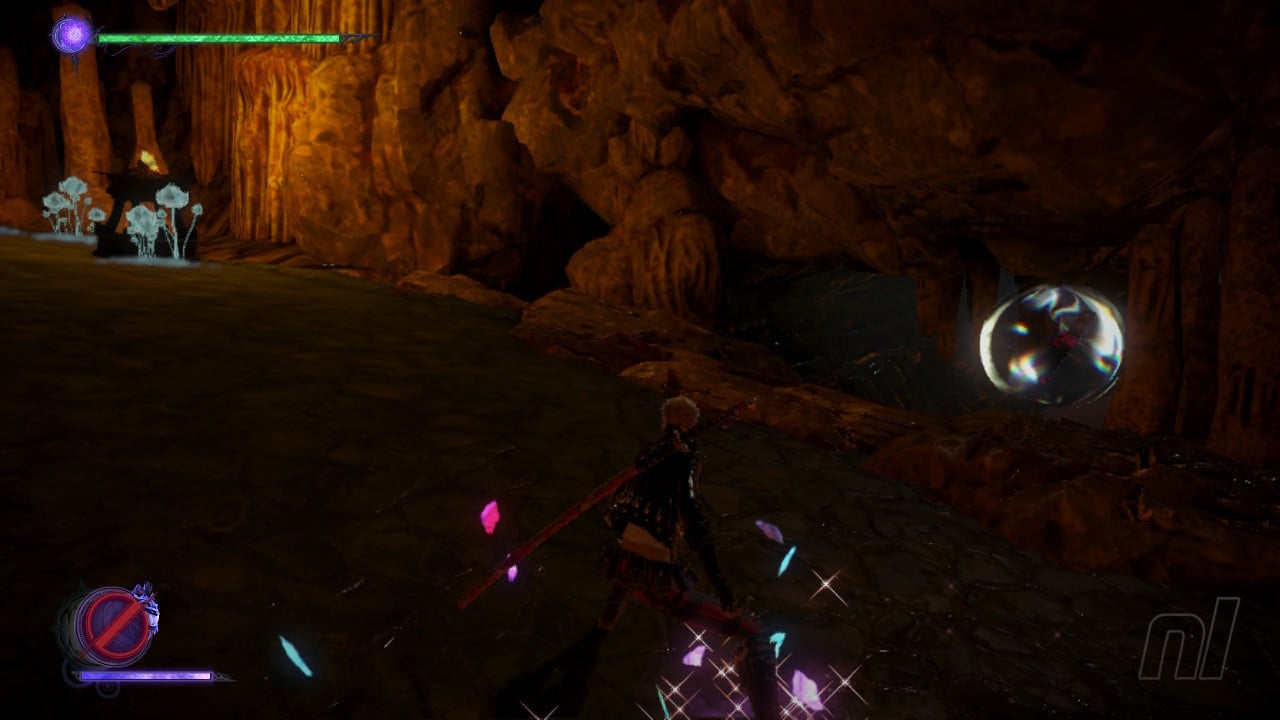
Smash this very first orb at the beginning of the level to release a magic source and kick off Verse #1
Verse #2
Off to your immediate right and throw the partially open door you'll find the Verse #2 combat challenge. This challenge gets you practicing with Viola's witch time mechanic by only allowing enemy damage whilst witch time is activated. A toughie that'll earn you a Broken Moon Pearl.
Card Pack #1
Also in this area you'll find a Card Pack off to the right side before you enter Verse #2
Verse #3
Now head back to where you started the level and take the door off to the the far left to find Verse #3
Umbran Cat
Now we can head back out from this small courtyard and go straight ahead. In this area the first thing we want to do is keep to the upper level and the left, as shown below, as we've got our Umbran Cat sat at the top of some stairs here as we approach the tower at the end of this slim walkway.
Figure Box #1
As you chase the cat down and around these steps, you'll also nab yourself Figure Box at the bottom area.
Card Pack #2
Now head back up the steps here and continue along to the tower here. Climb up and head around to its back side to find another Card Pack.
Figure Box #2
The final thing to do here before heading to the main courtyard below is to drop down off the wall in the area shown below to land just above another Figure Box.
Treasure Chest #2
Once down in the main courtyard, smash the chest here for a bunch of coins.
Umbran Toad
Now head up to the roof of the tower we've pictured below in order to find our Umbran Toad for this area.
Whilst your up on this roof, take a look over to the wall behind you, as shown below, to find a Scurrier with some goodies for you.
Card Pack #3
Then down behind this area, head over to the westernmost tower that we've pictured below and round the back you'll find another Card Pack!
Figure Box #3
Now head back to the main courtyard, head through the smashed wall and turn immediately to your right to spot your next Figure Box.
Figure Box #4
From this position you should be able to make out yet another Figure Box directly across from you. Swing on over there to nab it.
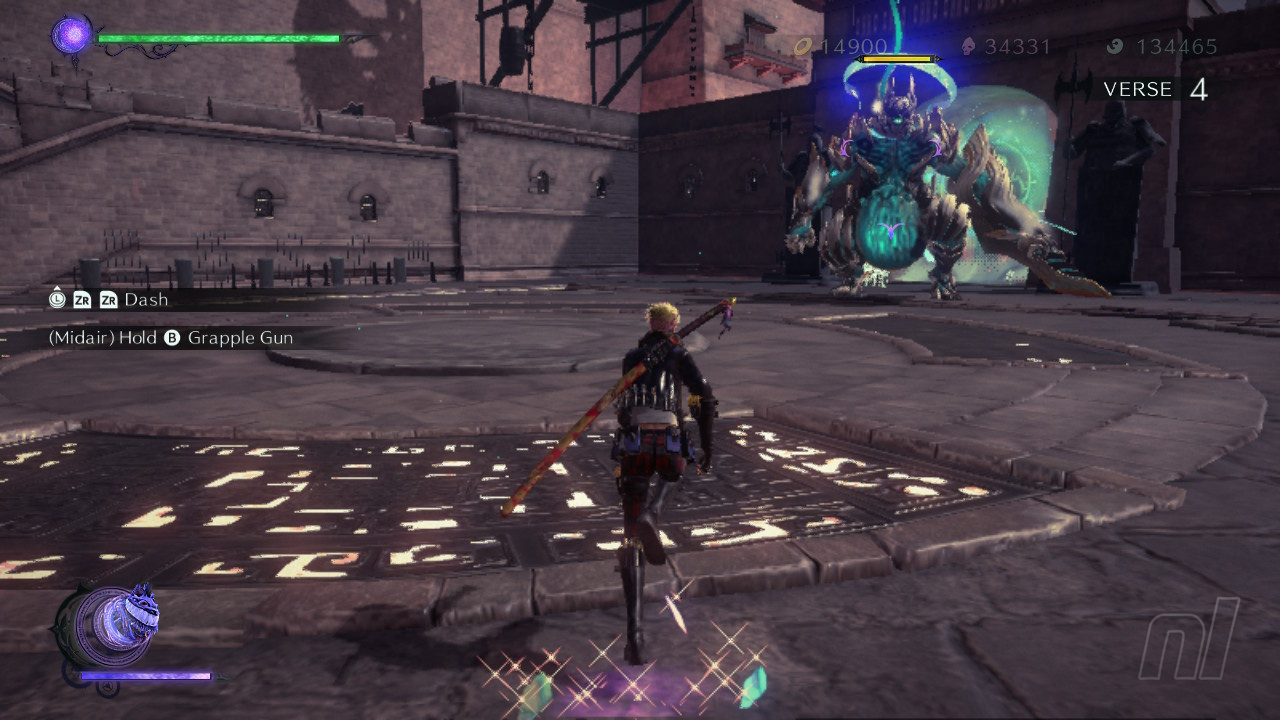
Verse #4
Now drop down to the main courtyard here to kick off Verse #4.
Card Pack #4
There's a Card Pack to nab in this courtyard once you're done with the fighting, as shown below.
Once you leave this area you'll enter into a cutscene featuring Luca, who we now need to chase down. Follow Luca's lead during this sequence, and you can try to reach the ladder-carrying guard here before Luca does for a Bewitchment.
Verse #5
You'll come to a building during this sequence where Verse #5 kicks off.
Record #1
Once Verse #5 is complete you'll find a Record in the back of the lower level area you've crashed through during the last battle.
Card Pack #5
Now head out through the door in this room and hook to your right to find another Card Pack.
Verse #6
We continue our Luca chase here and you'll quickly come to a cutscene where Viola lights her trousers on fire. Dodge all the obstacles on the way to the water here to nab another Bewitchment before Verse #6 kicks off.
Figure Box #5
The area where the Verse #6 battle takes place also has a Figure Box tucked into one corner.
Treasure Chest #3
You can now head out to the back of this area where you'll find a chest.
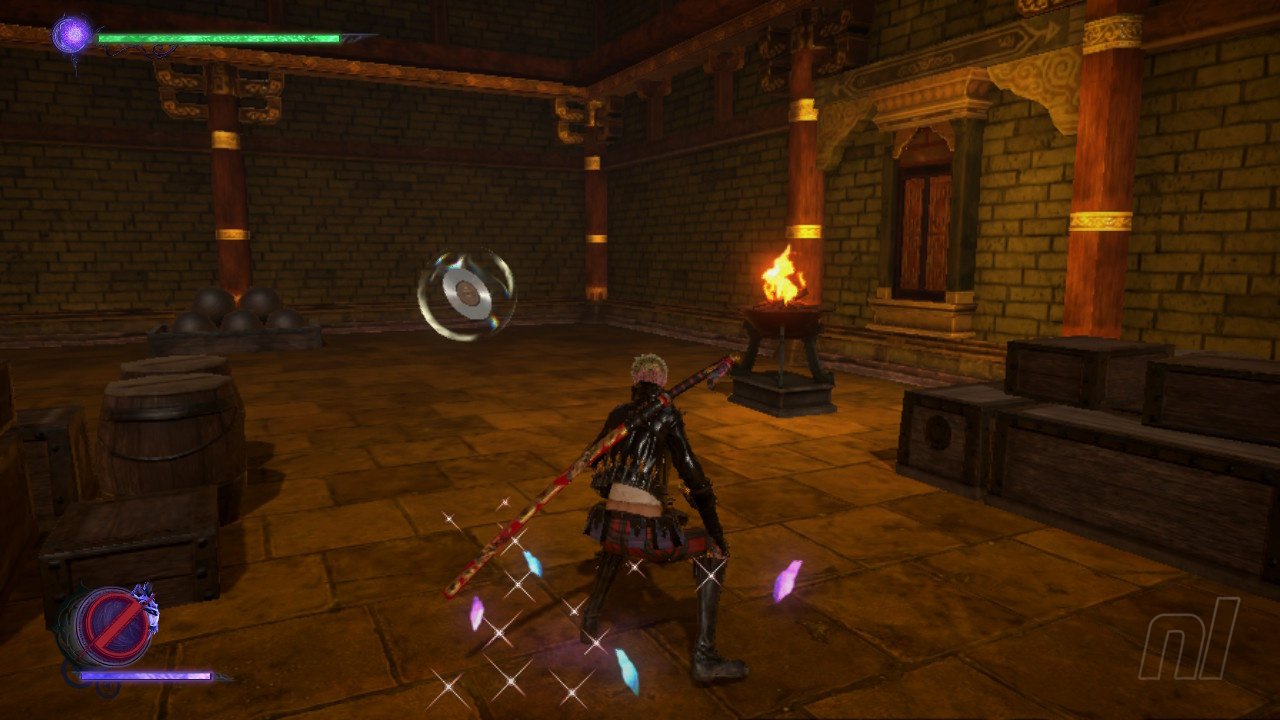
Verse #7
Now head down the steps here to find the Verse #7 combat challenge. This challenge gives you limited time and regenerating enemies to deal with. Beat this one to nab a Witch Heart.
Treasure Chest #4
Now let's head back through past where Verse #6 took place and under the second little bridge you come to, you'll find a chest containing a broken Moon Pearl.
Figure Box #6
Just past this point you'll also spy a Figure Box off to the right of the main path.
Card Pack #6
Once you emerge into the open from this tunnel, make your way onto the roof of the wooden walkway you're on to find a sneaky Card Pack.
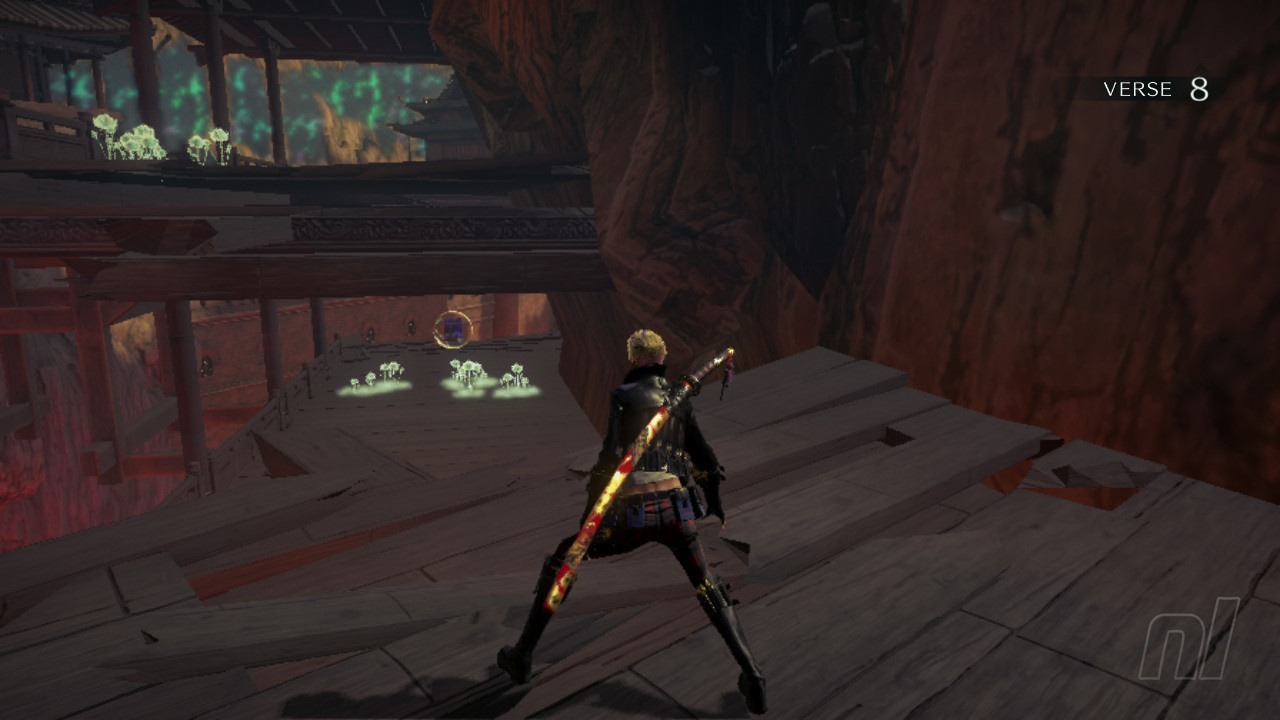
Verse #8
Now head on along the walkway to the right and Verse #8 will start up.
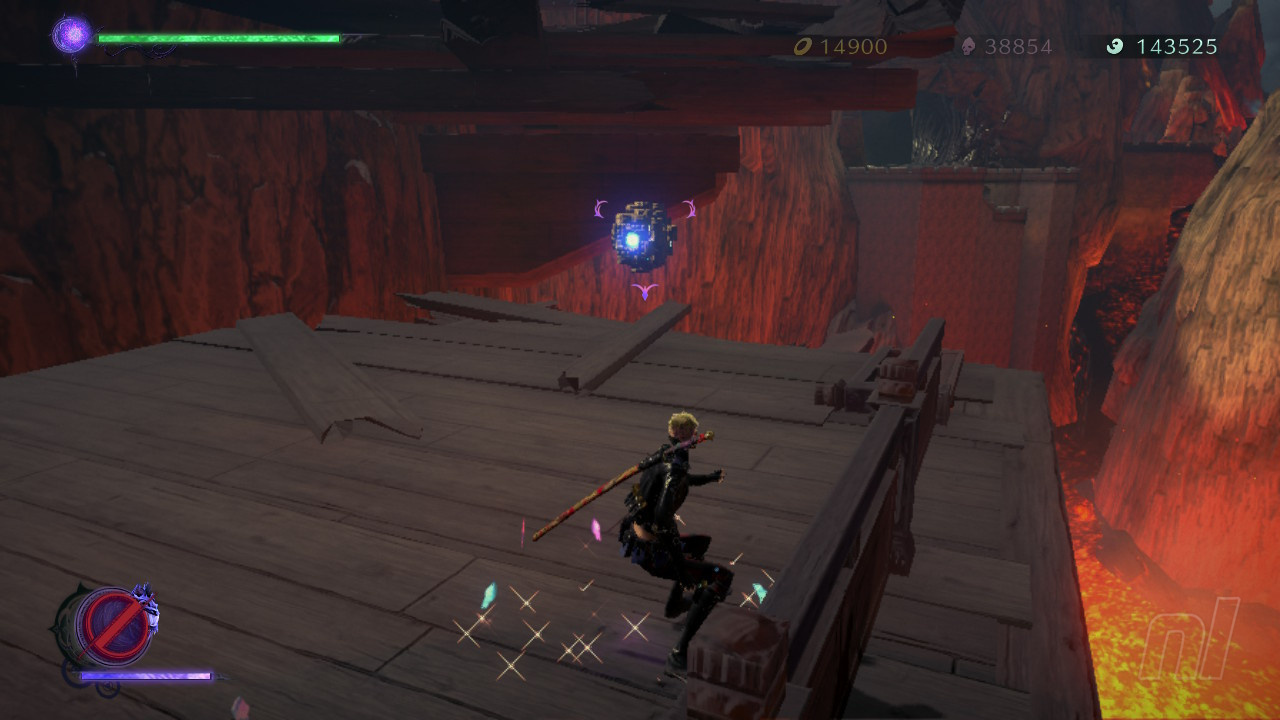
Figure Box #7
You'll spot an easy to reach tor each Figure Box as soon as Verse #8 is done and dusted.
Treasure Chest #5
Once you've nabbed this turn around and you'll see a chest moving up and down, smash it to grab a Broken Witch Heart.
Umbran Crow
Now we can carry on through the level here and you'll see an Umbran Crow on the railings of the steps just ahead before you come to a Gates of Hell pitstop.
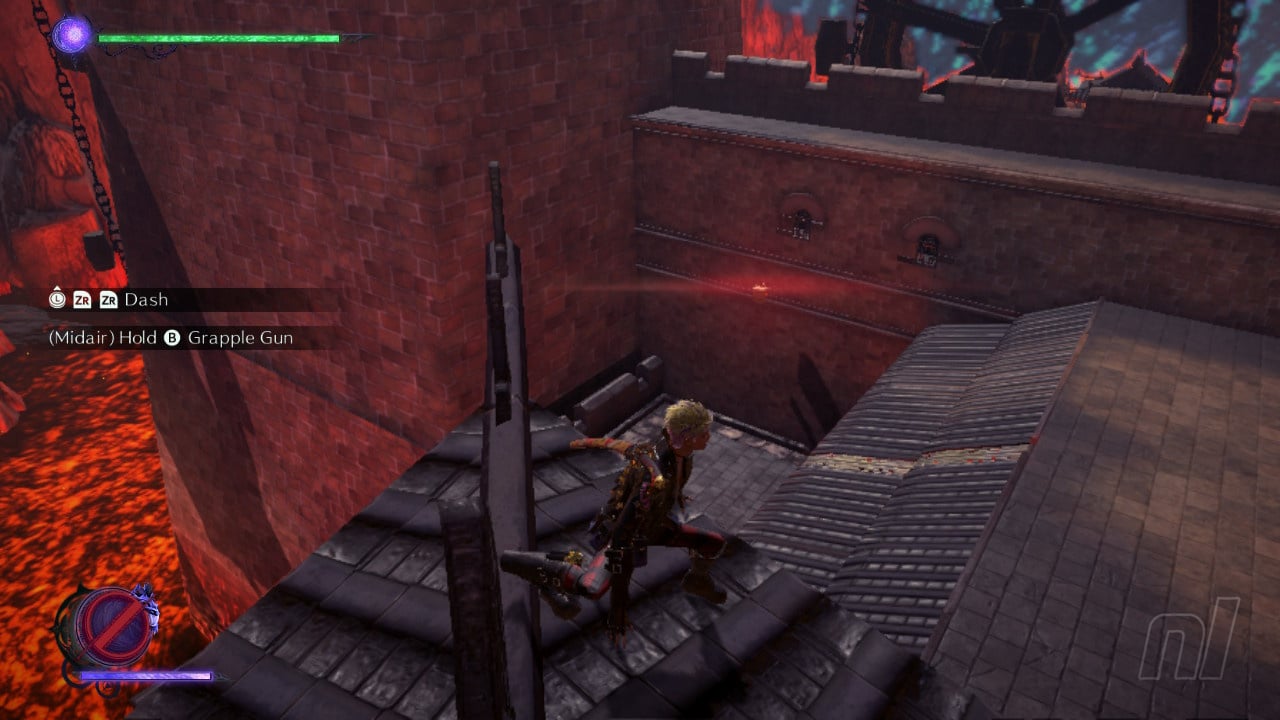
Treasure Chest #6
There's another chest to your immediate left from the Gates of Hell portal here too. This one presents you with another time trial. Grab all the chest parts for a Broken Moon Pearl.
Climbing to the top of the structure where this time trial takes place also earns you this level's Bewitchment for reaching the top of a three story building!

Verse #9
Now head on down the steps to the next area and another cutscene featuring a Luca transformed after which Verse #9 gets underway. It's during this scrap that you can earn a Bewitchment for Breaking Volutus.
Let us know if this guide was helpful below, and be sure to check out our Bayonetta 3 guides for more information.


Comments 1
First comment lol
Show Comments
Leave A Comment
Hold on there, you need to login to post a comment...