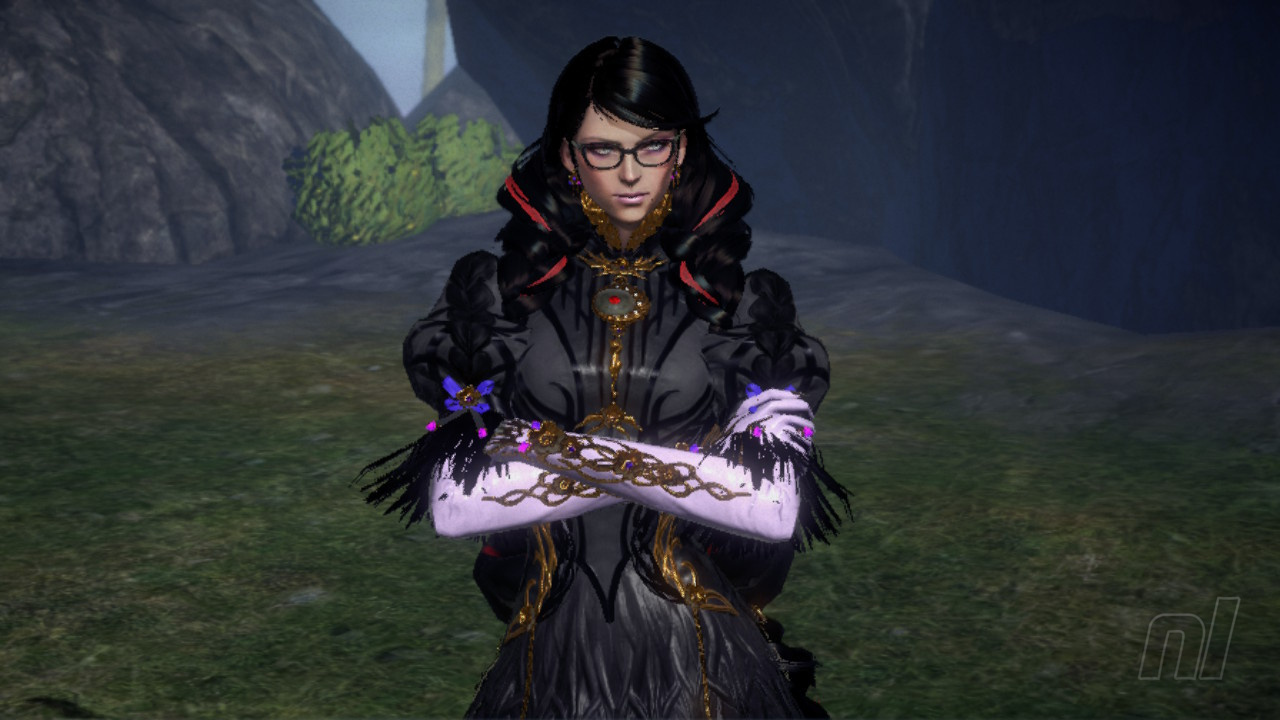
Welcome to chapter 4 of our Bayonetta 3 walkthrough guide. Let's waste no time in jumping right into the mix here as Bayo heads to China for a feast of fighting and a ton of collectible goodies.
Bayonetta 3: Chapter 4 - World's Apart Walkthrough - All Collectibles
Bewitchments
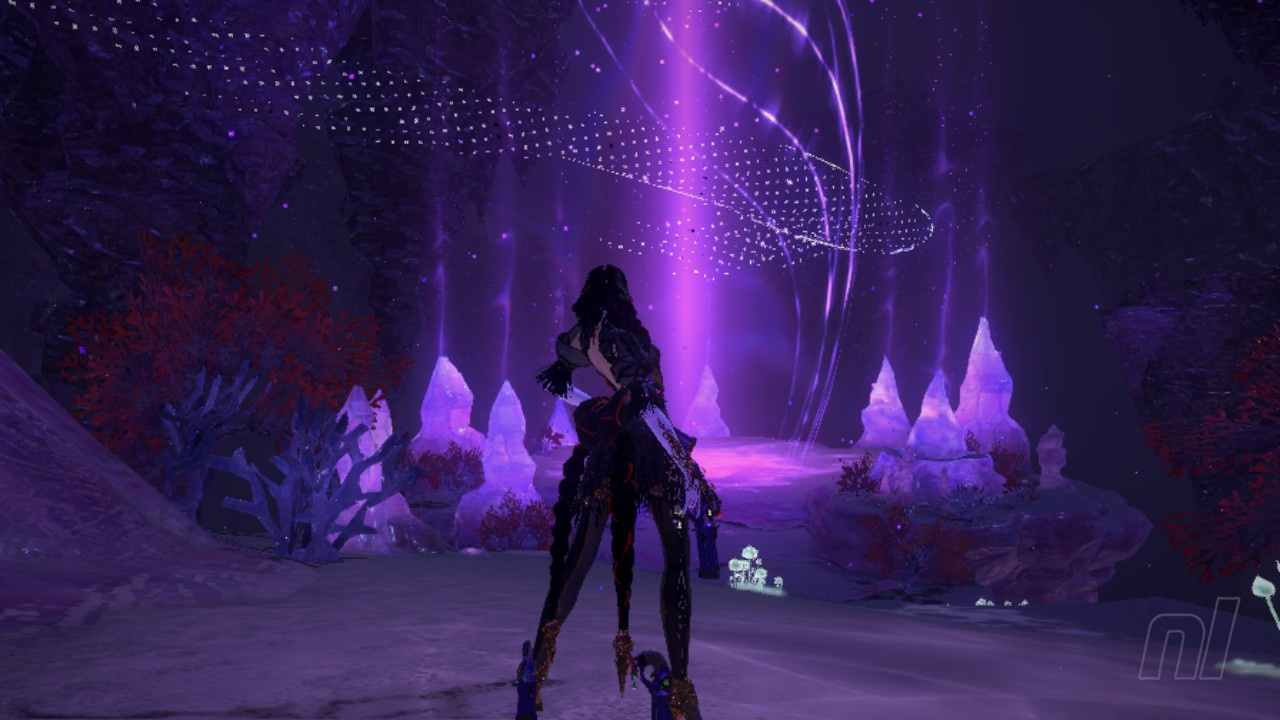
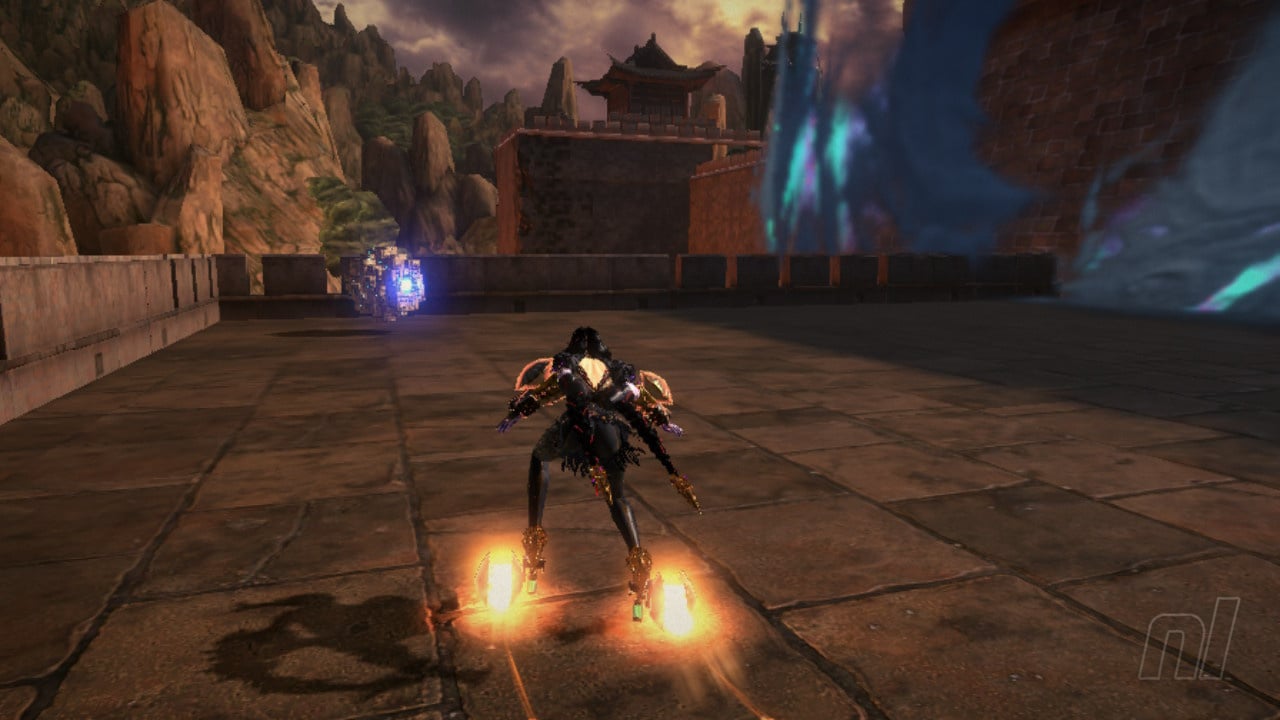
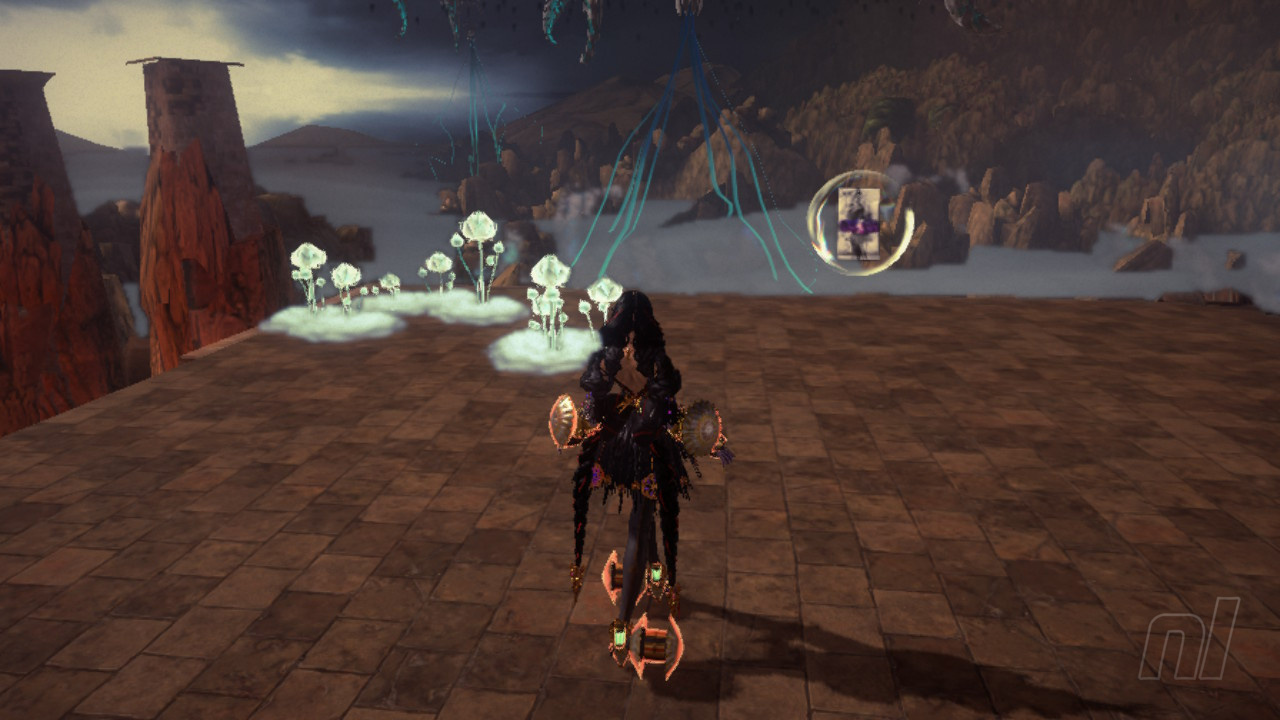
Enter the lotus field in Ginnungagap - During this Chaos Rift section of the chapter, find the Lotus field area, which is situated on a high plateau right in the centre of the level. Get to the part of the stage shown in our pics below, where you can see the glow of the exit portal. Now turn right around and look up to see a ledge. Use the nearby structures to hop up and onto this higher level - we used G-Pillar form's jump boost to get us here.
Walk over lava while using Phantasmaraneae Masquerade - Whilst retrieving Treasure Chest #8, as detailed below, you can use your spider form to scuttle across large patches of lava and earn this one.
Proceed without using Congestus' time control - Once you reach this level's Time Puzzle, knock over the Homunculus with little Bayo, but don't activate it, instead continue on your way by using your spider form in order to earn this Bewitchment.
Break Virga Once - As detailed below, simply use your new Charger of the Crimson Rim ability to steamroll Virga and cause him to break.
Hit Mediocris with Infernal Demon attacks 3 times - Fairly straightforward this one, just remember to use your demon three times during this battle.
Card Pack #1
From the starting point of this level head forward then take a right up the stepped cliffs pictured below to find Card Pack #1
Verse #1
Head back down onto the main route forward now to kick start Verse #1

Treasure Chest #1
Once through this first battle, head over to your left by the cliff edge to find a chest. This chest kickstarts a time trial on some moving platforms that'll earn you a Broken Witch Heart.
Card Pack #2
Now jump across the broken bridge gap and before you head up to the main door, first take a left down through the gap we've pictured below to nab yourself another Card Pack.
Treasure Chest #2
Now continue down this way to find a chest below you, as shown in our screenshots. You'll get another heart piece from this one.
Heading on round to the right through the cave after this chest will see you come across the area's Summon Barrier. You'll need the key for this so jump on the lift that's right beside you and head back up to the level's main area. Once up here and from facing the main door, turn right and head around as shown below to find the key.
Echoes of Memory #1
Before heading back down to open up the Summon Barrier, find the tree we've pictured below to grab the Echoes of Memory.
Treasure Chest #3
Now let's head back down and open up the Summon Barrier to grab a Broken Moon Pearl from a chest. From here we can now open up the level's main sealed door and blast on to the next area. Bayonetta will suggest you'll need something with a little more bite to get through here, so use Gomorrah to attack the door.
Scurrier
To the right of the main steps up in this second area.
Figure Box #1
Head on forward through the main archways and over to the right you'll see a Figure Box hovering below a ledge.
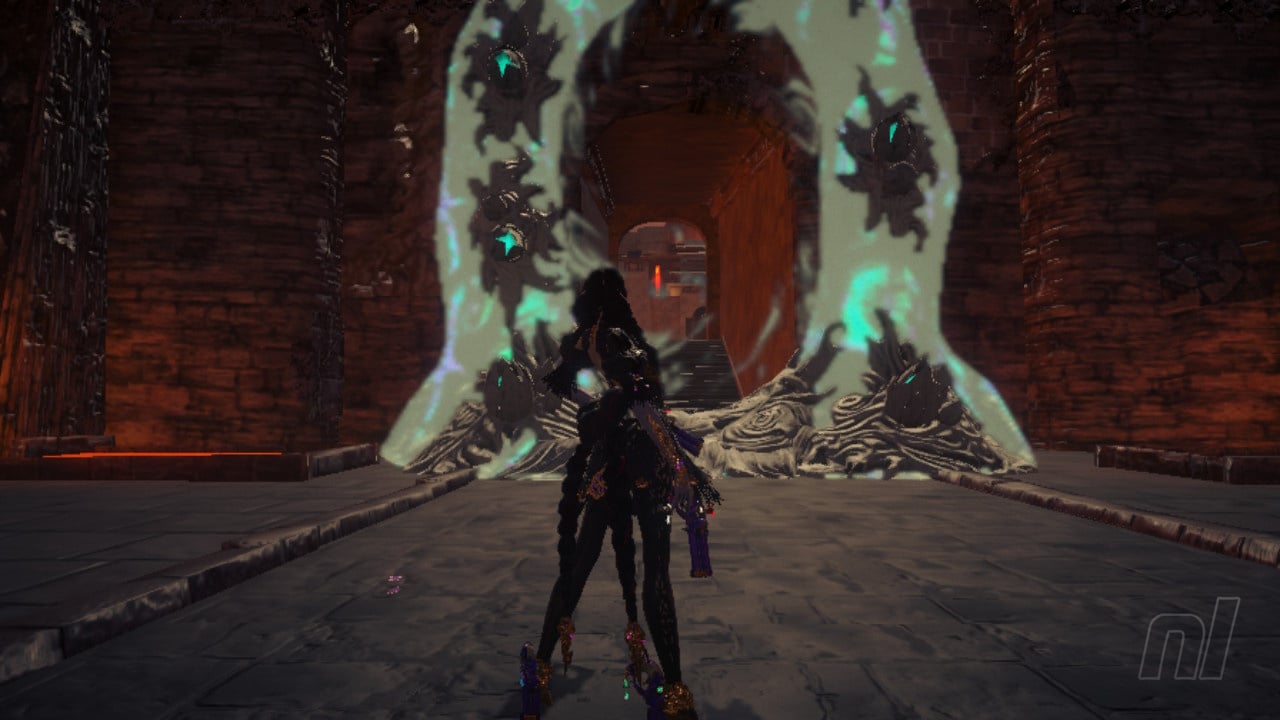
We can now head on through the portal to the next area.
Verse #2
Make your right right along this Great Wall area and straight to the end where you'll kick off Verse #2. You can earn a Bewitchment here by using Witch Time to slow these enemies down then use your Infernal Demon to attack three times.
Treasure Chest #4
Once this scrap is over with jump up on top of the small building to the left of this courtyard to find this chest.
Echoes of Memory #2
You can also find another Echoes of Memory here by heading up onto the walkway above the entrance to the next area.
Card Pack #3
Straight through the main gate here now and, as shown below, there's a Card Pack at the top of the small tower just as you come through here.
Treasure Chest #5
Now jump down from the tower and, before making your way across the long damaged bridge ahead, turn around and go down the steps behind you to find another chest.
Umbran Crow
Now head on across the large expanse of crumbling bridge and you'll find the Umbran Crow on the top left corner of walled area above the main doors. It's sat right beside a little flag up here.
Treasure Chest #6
Over to the right of this area you'll also find another chest. This will split up into parts and there's a little time trial here to nab a Broken Moon Pearl.
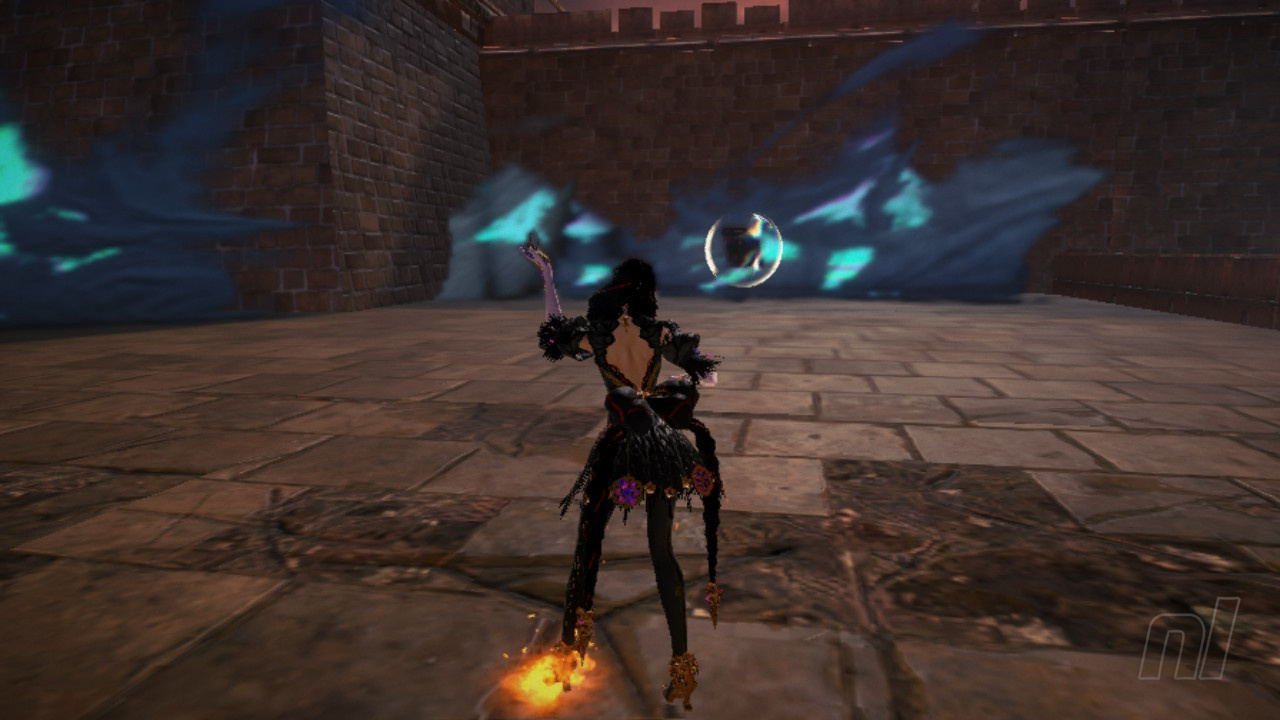
Figure Box #2
Sticking with this area and you can nab a Figure Box from the small room at the top of the central tower.
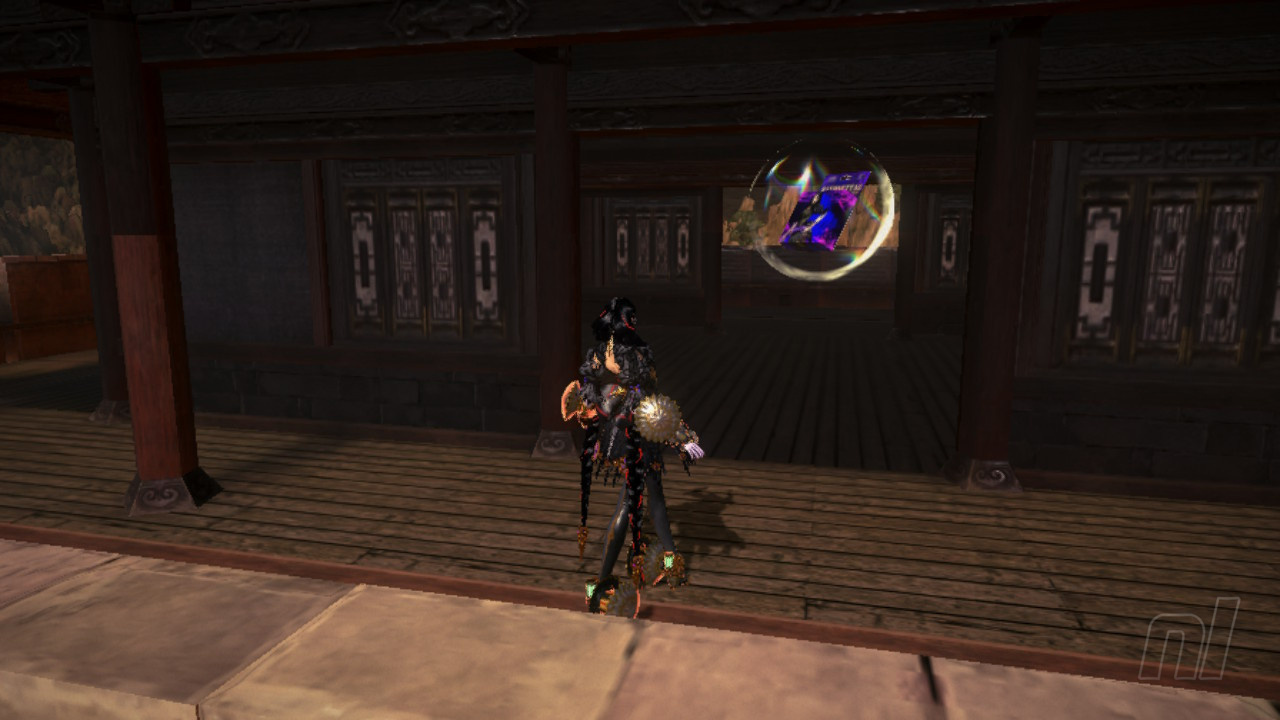
Figure Box #3
Then we have yet another Figure Box sat out in the open on the right hand side of this courtyard.
Treasure Chest #7
Turn left from here and you'll also find another chest.
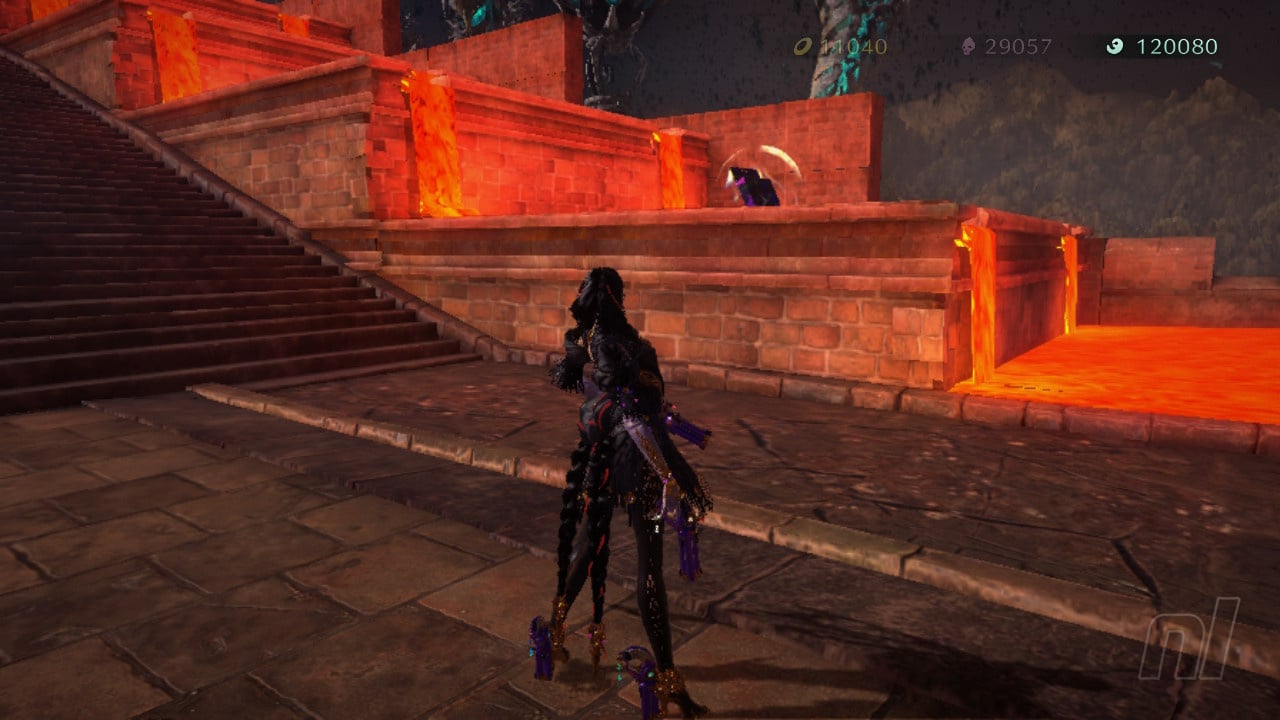
Treasure Chest #8
You can now head back a little and down to the main door and through here you'll see a chest off to your right across some lava as soon as you enter. Use Phantasmaraneae here to cross the lava and earn a Bewitchment as you head for the chest.
Verse #3
Now head onto the lava again and look for the cracked wall here to find your next combat challenge and Verse #3. This one's a pretty simple time based challenge that rewards you with a Broken Moon Pearl inside
Once we head on round and up the steps now we're going enter the next area where a cutscene will play out before a new demon power, Charger of the Crimson Rim, is served up to Bayo.
Use the orb in this area to give yourself unlimited magic and practice with the charger demon. Here you want to open the large sealed gate ahead by destroying all of the enemies in the area at once.
Verse #4
Make a track through all of their locations and use you cannon signals and blast signals to do this. Now Verse #4 kicks off. Use your new ability here to break Virga and earn a Bewitchment.
Now head on through the large opened entrance to the next area.
Treasure Chest #9
Straight into this new area and turn right to jump or fly across the broken sections of ground to reach a chest hidden away in a corner.
Umbran Cat
Once you've nabbed this, head up on to the roof of the small building right beside you to find our Umbran Cat waiting to be chased down.
Card Pack #4
Once you've got kitty, head up the the highest point here to nab a Card Pack.
Treasure Chest #10
Now head back to the central bridge and head off to the left this time, as shown below, in order to blast a chest and do a little time challenge.
Umbran Toad
Return to the central promenade here and move forward. You'll quickly hear the sound of an Umbran Toad, who's sat in behind a doorway on the left.
Figure Box #4
Just off to the right from where you nabbed your frog, you'll see a Figure Box twirling around in some lava.
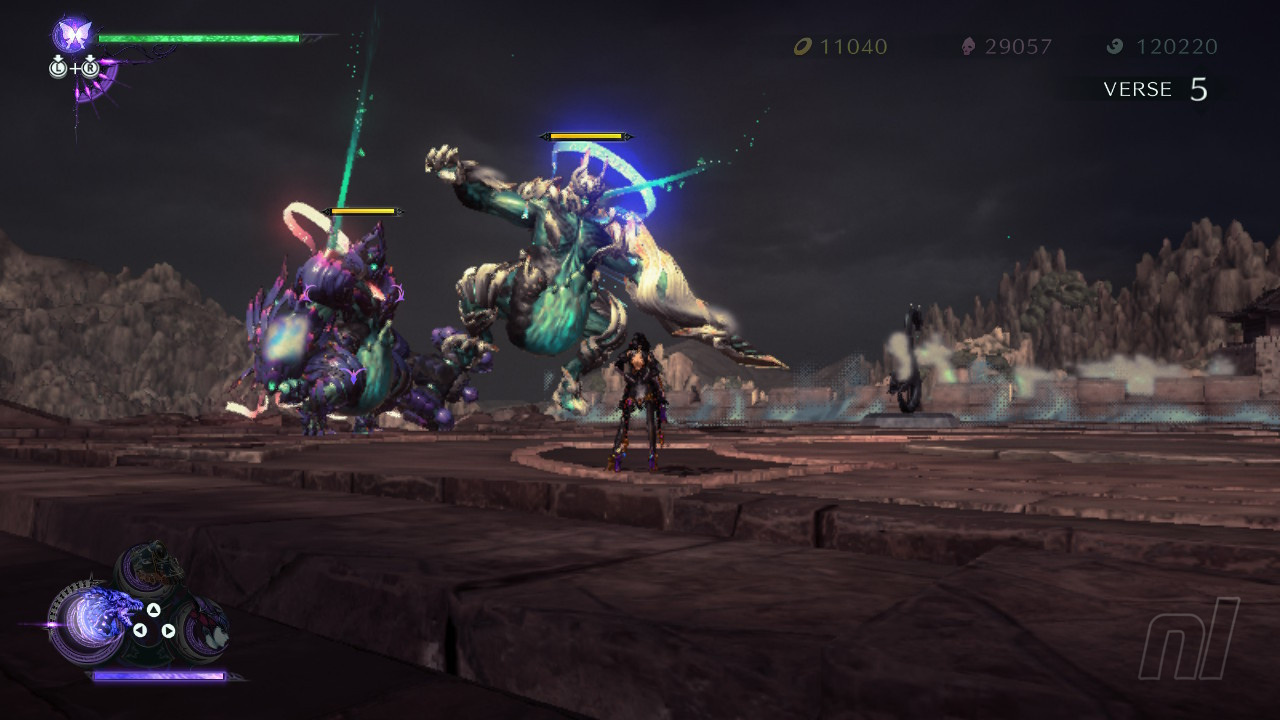
Verse #5
Now let's head on forward here and we'll quickly come to the level's Verse #5 battle.
Echoes of Memory #3
Once you've completed Verse #5 head up onto the roof of the small building as shown below, to smash an Automaton Orb that reveals some moving platforms over to another Echoes of Memory.
Verse #6
Now head straight across to where you can see the orange glow of Verse #6 ahead, as pictured below.
Once you've done this, turn round and head back over to the other side of the broken expanse of bridges behind you, here you'll find a Gates of Hell portal. Head up the steps here and you'll come to a large sealed door. Use Charger of the Crimson Rim to destroy all the enemies at once here and open the door.
Echoes of Memory #4
You'll also see another Echoes of Memory in this courtyard one of the towers at the rear, as shown below.
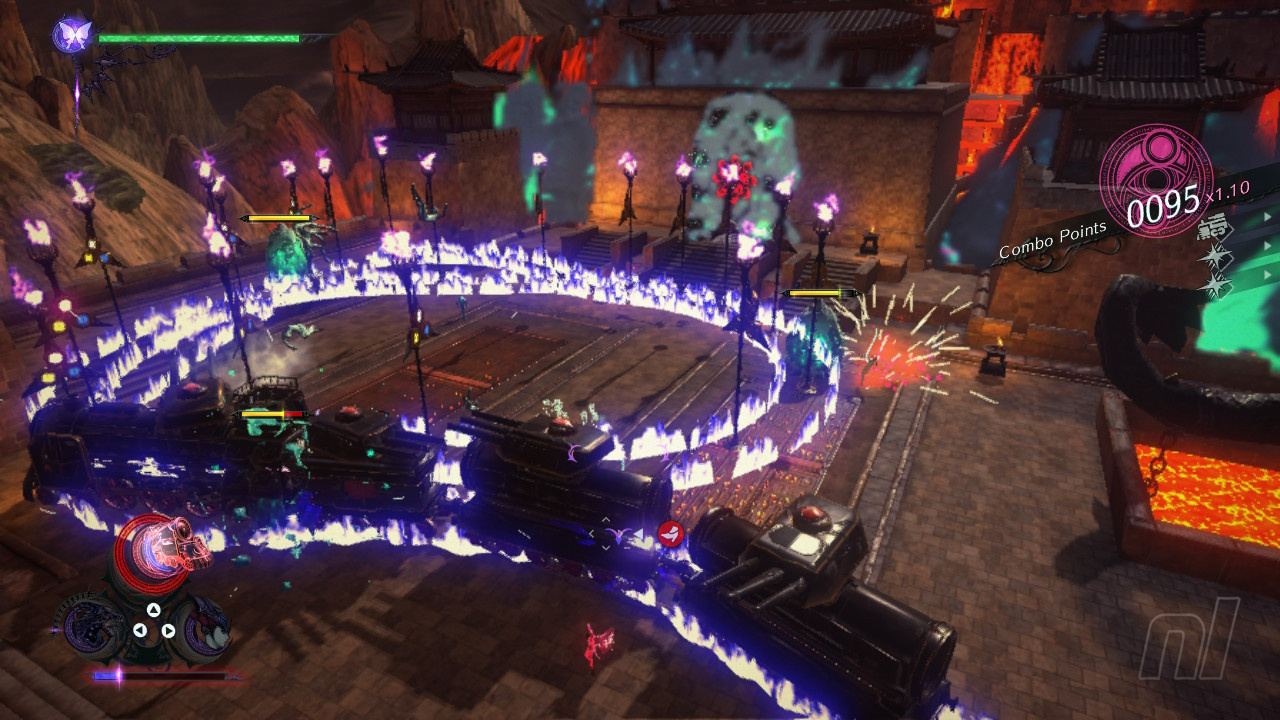
Verse #7
You'll also find another combat challenge and Verse #7 hiding behind a huge metal weapon off to the right off the unsealed door, so jump in and beat that before proceeding here. Use Charger of the Crimson Rim to beat this challenge.

Time Manipulation Puzzle
Now head through the doors you unsealed and we've got a Time Rewind puzzle to take part in here. Forward time just enough to raise some rubble for you to get up the first wall, as we've done in our pictures below, and you should be able to use the rubble on your left up the top here to enter a building before the timer runs out.
Treasure Chest #11
Once in this building you'll find a chest with a Broken Witch Heart inside.
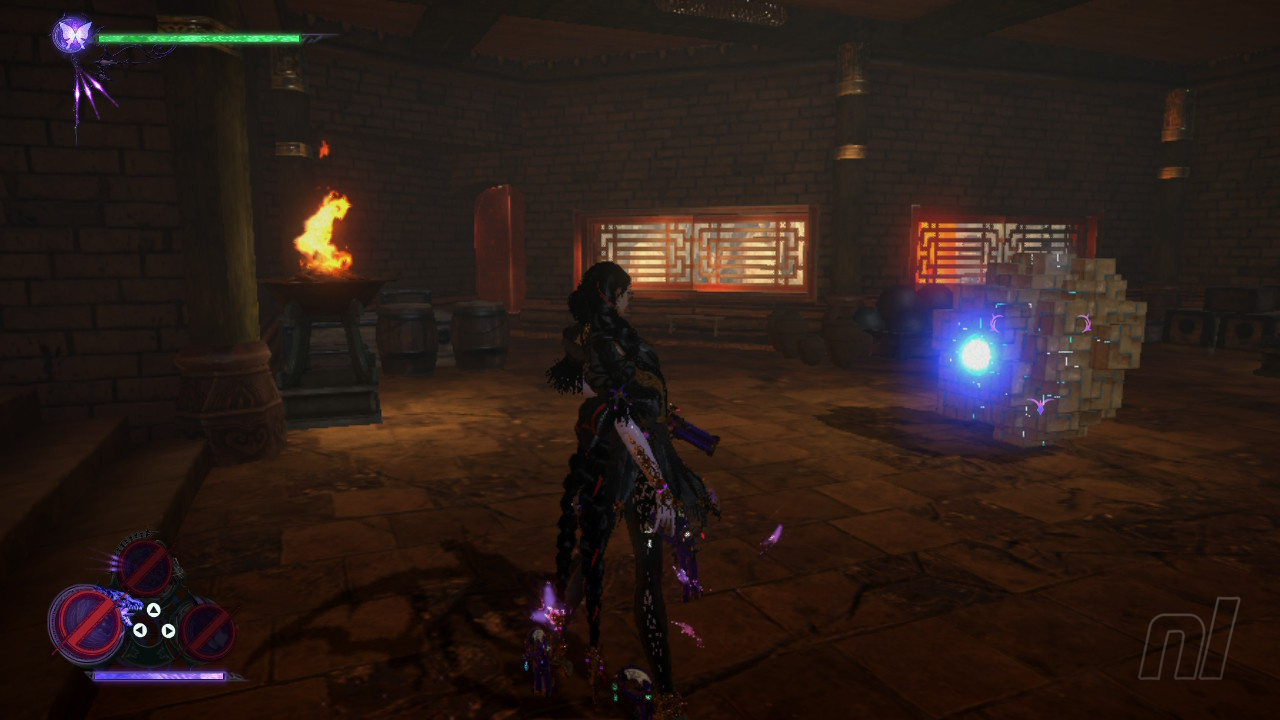
Figure Box #5
Drop down the hole in the floor in this room and head out to grab the lift up to the next area. Make sure not to miss the Figure Box halfway up here.
Once you're right up the top and off the lift you'll find a Scurrier in the bottom area of this courtyard. Grab this little guy and head on through the hole in the wall ahead to continue. We're nearly done with this chapter now. Phew!
Verse #8
Straight through the hole in the wall here and we're treated to a cutscene featuring Viola before Verse #8 kicks off.
Let us know if this guide was helpful below, and be sure to check out our Bayonetta 3 guides for more information.


Comments 1
First comment lol
Show Comments
Leave A Comment
Hold on there, you need to login to post a comment...