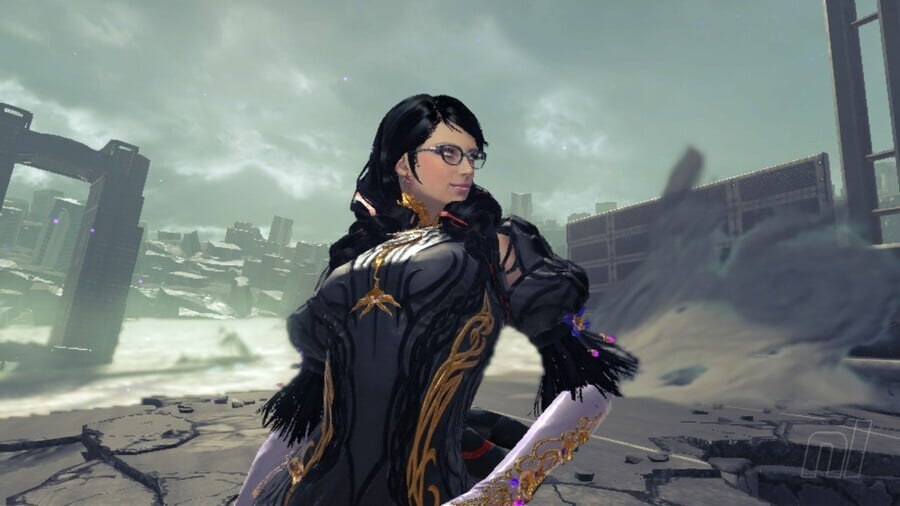
Welcome to chapter 3 of our Bayonetta 3 walkthrough guide. Let's get straight into the action here and find every verse and collectible in this bombastic third level.
On this page: Bayonetta 3: Chapter 3 - A Sinking Feeling Walkthrough - All Collectibles
Bayonetta 3: Chapter 3 - A Sinking Feeling Walkthrough - All Collectibles
Bewitchments
Collect The Halos Hidden In The Giant Lantern- In the area where Verse #3 takes place - as detailed below - smash the giant red lantern in the entry to the arena to nab some coins.
Dodge All Of The Incoming Train Cars - During the sequence in the tunnel, you'll need to avoid all incoming train wrecks.
Break Iridescent Core Once (boss fight) - During this boss battle, break your huge enemy by punishing him with an Infernal Demon.
Hit Arch-Iridescent With Sin Gomorrah's Flame 3 Times - Easy to grab this one, just remember to use Gomorrah's flame three times on your opponent.
Defeat 3 Homunculi While Chasing Iridescent - During the chase sequence where you swing from building to building on the tail of Iridescent, make sure to kill 3 enemies as you go to earn this one.
Umbran Crow
As soon as we kick off with this chapter you'll see the Umbran Crow straight ahead of you perched atop a ruined building. You can get to this by jumping up onto the platform we've pictured below and then up onto the top of the building behind the crow. You'll need to be quick and sneaky to grab this one!
Figure Box #1
Now head down to the left and you'll nab your first Figure Box hidden in the little nook we've detailed below.
Treasure Chest #1
Out to the right you can see a chest that unlocks a set of moving steps to take you up to a train carriage.
Verse #1
Take the moving platforms unlocked by Treasure Chest #1 above to reach this first verse battle in this chapter.
Umbran Toad
If you go ahead this way you'll pop out the side of a cliff and grab the Umbran Toad. You're now just off and below the main area where the next part of this chapter guide take place so hop out and make your way up here.
Treasure Chest #2
If you head out to the left in the beginning area you'll also see another chest floating around. Bust this open using your pistols and Infernal Beast to get a broken moon pearl.
Echoes of Memory #1
Head on up from where you found the Umbran Crow and you'll come to the area we've pictured below. Head out to the left here to find an Echoes Of Memory collectible.
Verse #2
Now look to the roof of the building shown below to find your Verse #2 awaiting you. You'll need to rack up 4000 combo points to pass this one!
If you didn't take the train route where Verse #1 took place, you can jump down the side where we've pictured below, to get the Umbran Frog and head into the hole in the cliff face to now do the Verse #1 battle. Choices!
Verse #3
A cutscene with an old pal will now play out before Verse #3 kicks off.
Card Pack #1
Once the battle is done you can grab the next Card Pack from the far right side of the battle arena.
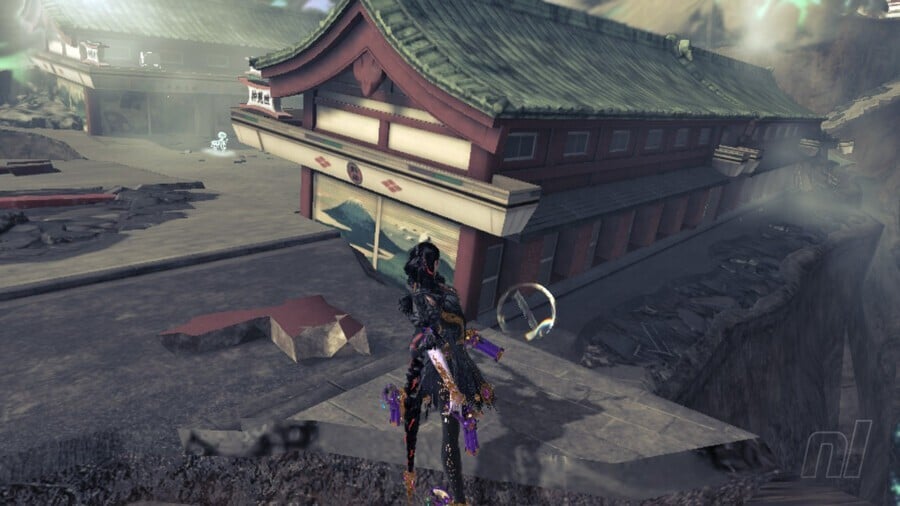
Record #1
There's also a Record to collect from between two buildings in this area.
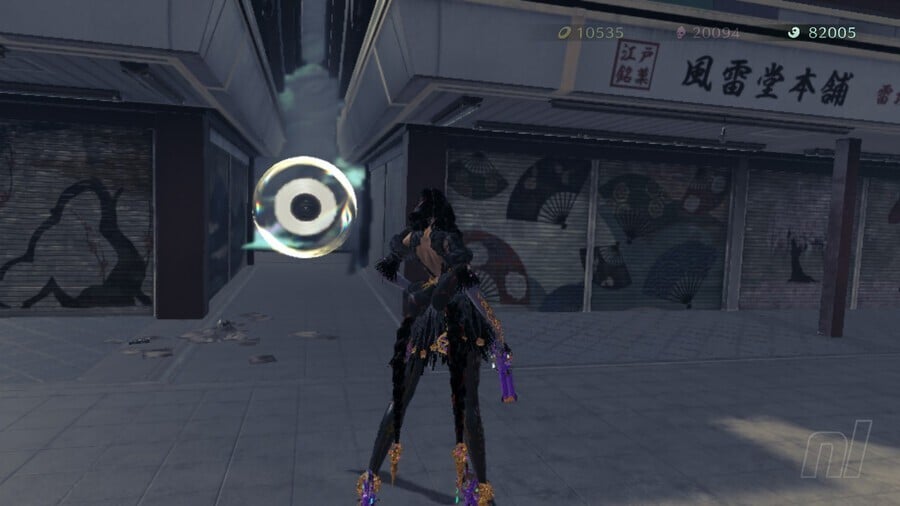
Umbran Cat
Now head up and around the path to the next part of the level where you'll find a cheeky Umbran Cat waiting to be caught over to your left side.
Scurrier
Chase the cat through to the opposite side of the building and you'll find a Scurrier up on the roof with a Broken Witch Heart.
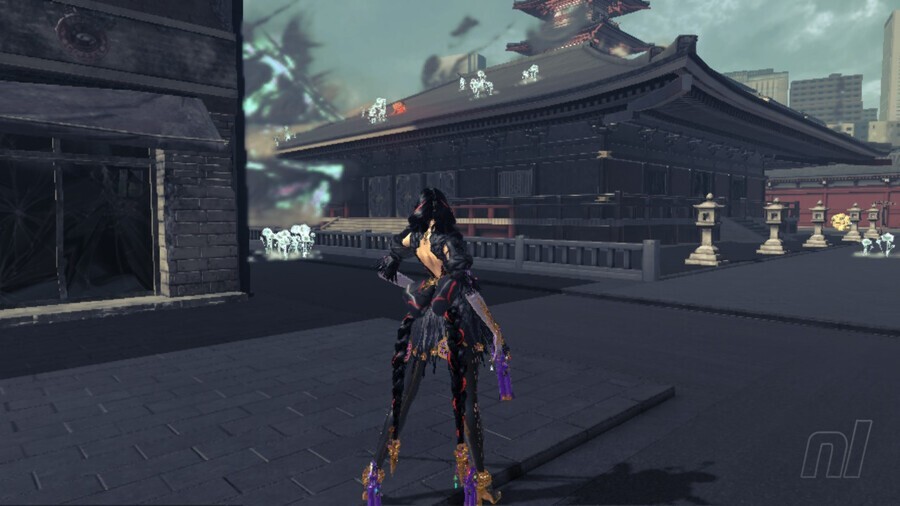
Treasure Chest #3
You'll also find a chest over here and this is the first one who will transform into a robot and fight back! Kick its ass to nab another Broken Witch Heart.
Verse #4
You'll also find another Combat Challenge and Verse #4. This time tricky terrain makes it difficult to fight, use witch time to gain some control.
Verse #5
Now head on through the main gates in this area, as shown below, where a cutscene will kick in and we're onto Verse #5 against a huge enemy.
Time Manipulation Puzzle
Once you've done this battle, if you head back up where you entered the arena for Verse #5 and go left and around the path overlooking the battle, you'll find another Time Manipulation Puzzle.
This time you need to raise the shattered pieces of a bridge just enough that little Bayo can use them as platforms to jump up and grab the item at the top. Don't wind the bridge forward until it's fully built here or you won't have time to get around to your prize.
Echoes of Memory #2
This time puzzle sees you wind time to rebuild a bridge with the next Echoes of Memory collectible on top. The trick here is to only build the bridge a little of the way, as shown below so young Bayo can run directly across the ground and platform up to the collectible.
Figure Box #2
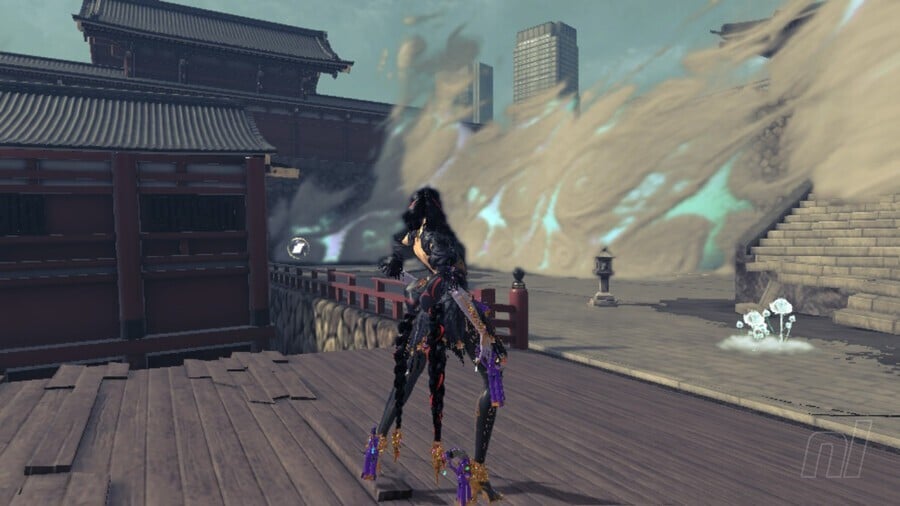
Before we head on from this area, there's another Figure Box over to the far side above where Verse #5 took place, as shown in the pics below.
Treasure Chest #4
We've also got yet another chest sat on the steps overlooking the Verse #5 Arena.
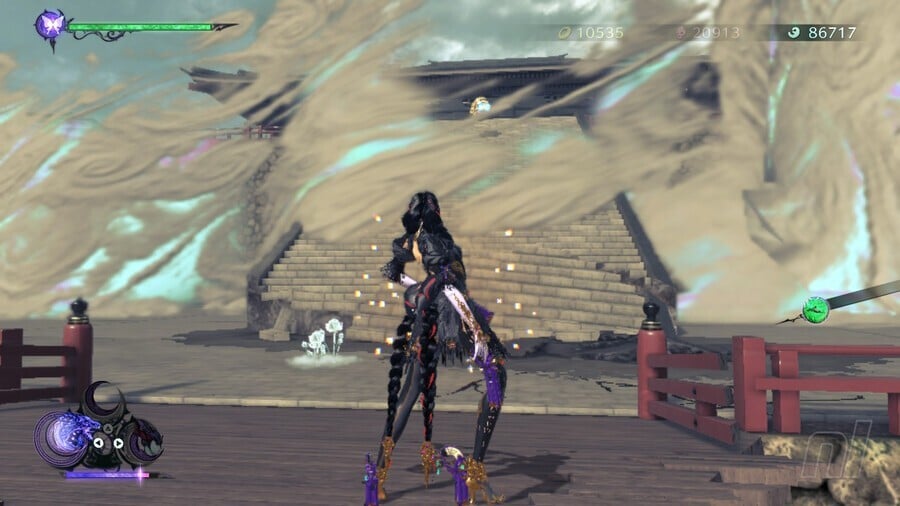
When you're done here head on off to the east and through the next torii gate to continue the level.
Treasure Chest #5
Straight away we're going to come to another chest here, which nets you another Broken Witch Heart.
Card Pack #2
Continue on the only route forward to find a rest stop for the Gates of Hell and another Card Pack.
Verse #6
Now, we come to a cutscene with an alternative Bayo and Phantasmaraneae, so you're gonna swap to a new you for a bit here for an action-packed Verse #6 that sees an extended bit of swinging between buildings.
Card Pack #3
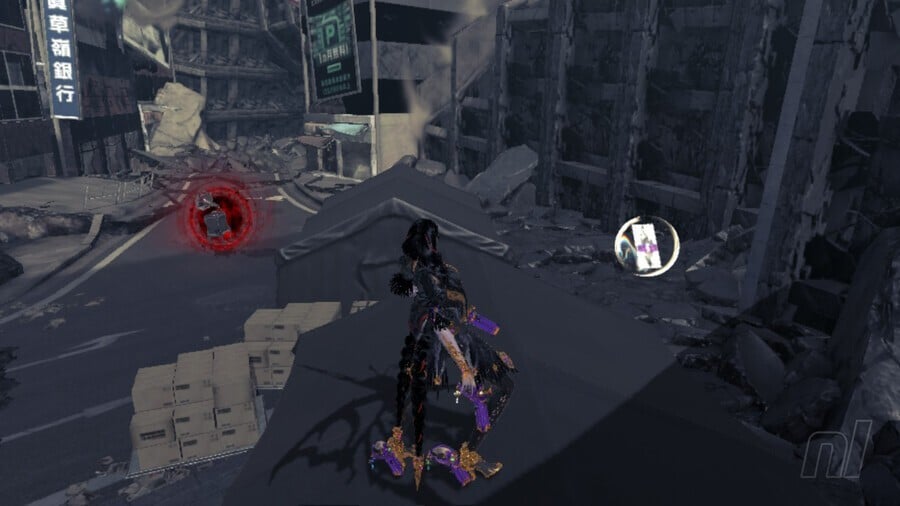
If you're very quick as this section starts you can nab another Card Pack before the clouds of erasure envelop you. It's just at the first set of buildings that you swing to from the starting point. Yes, our picture isn't too clear but it really is a split second to grab this before it's too late.
Figure Box #3
There's also a Figure Box to pick up a bit later on in this section, after you emerge from dodging the trains in the tunnel. You'll find it on a roof to your right as pictured below.
Card Pack #4
And there's yet another Card Pack, sneakily hiding in to your left side, it's pretty tricky to get to, just before the end cutscene of Verse #6 kicks in.
Verse #7
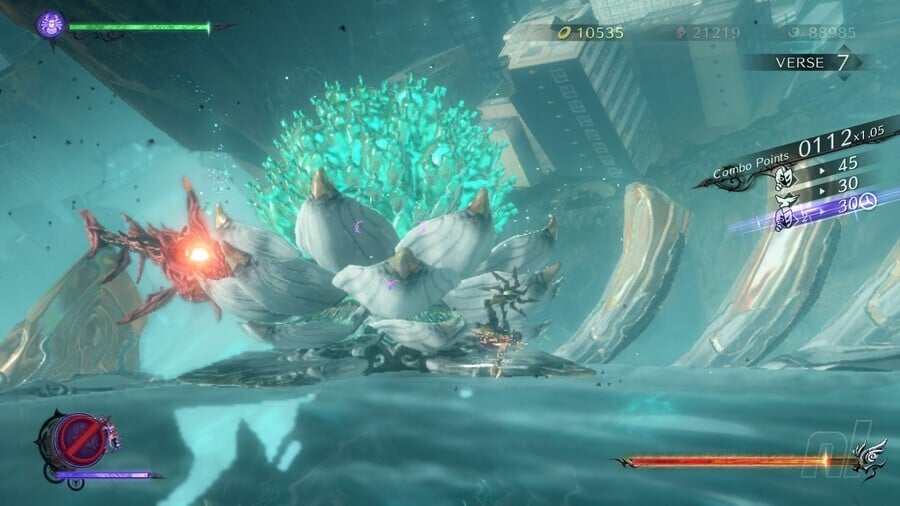
With that spider gauntlet out of the way, we kick straight into Verse #7! This is a multi-part verse that starts off with a battle, switches to some swinging action and then back to a battle again. It's also where you'll learn to use your Synchronised Soul technique!
Verse #8
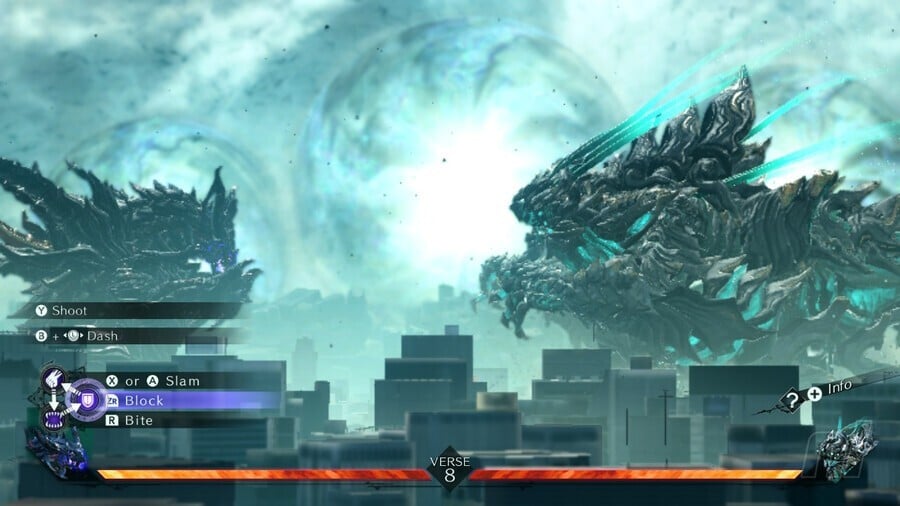
Straight out of the last verse we hit another cutscene before Verse #8 gets going with a full-on Godzilla monster battle. This game is nothing if not completely and utterly nuts. Top tip here, remember to block, pick your attacks and time your laser and punches!
Let us know if this guide was helpful below, and be sure to check out our Bayonetta 3 guides for more information.


Comments 2
First comment lol
Hi, I played 1.1 version and found that there is no card pack #3 (even #4) as your article stated in verse 6. But there is a figure box (1 on the China rooftop same as your picture for card pack #3). I tried so many times and cannot figure it out where should card pack can be.
Show Comments
Leave A Comment
Hold on there, you need to login to post a comment...