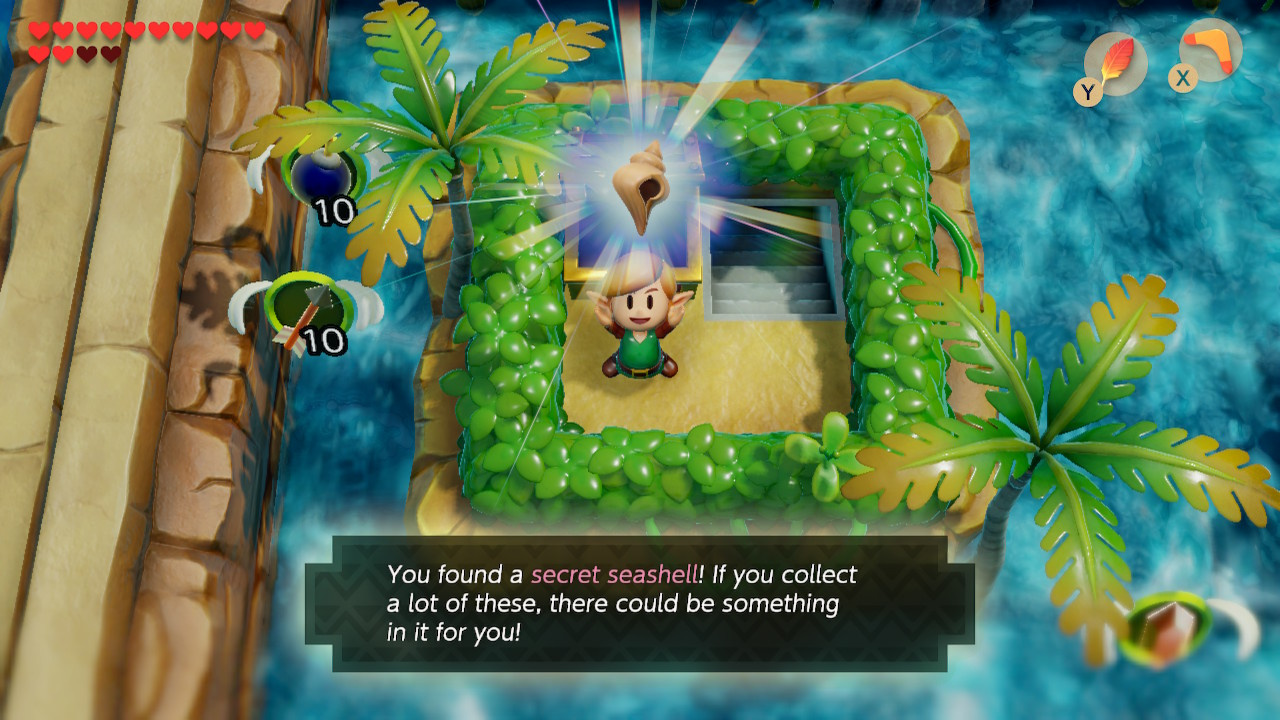
Use our guide to find all 50 secret seashells hidden on Koholint Island in the Nintendo Switch remake of The Legend of Zelda: Link’s Awakening. We’ve produced a map and detailed instructions for each seashell, and we’ve also attempted to number them in the order that it’s possible to uncover them. With a powerful Sword upgrade and chambers for the remake’s dungeon creator minigame available as rewards, don’t let a single shell escape you!
Secret Seashell Map
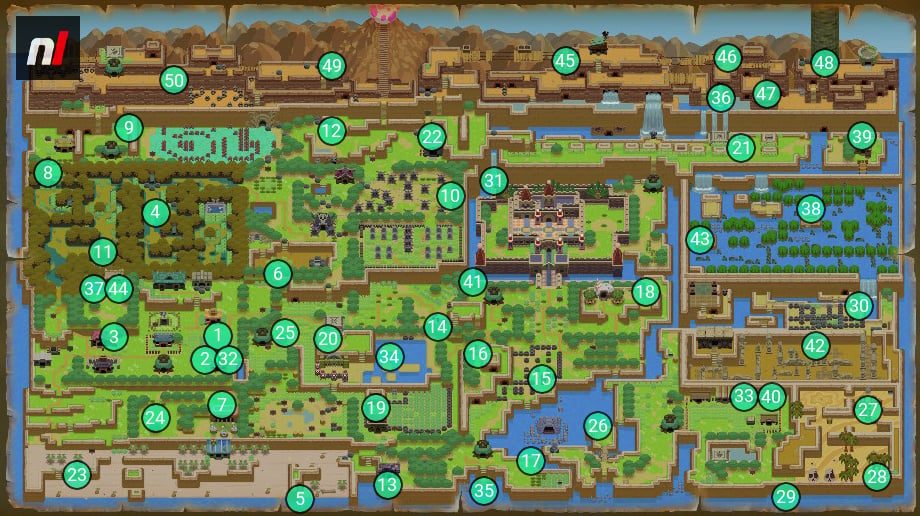
The map above depicts the location of all 50 secret seashells in the Switch version of Link’s Awakening. The numbers on the map correspond with those used below – look up the number of any shell you’re having trouble locating.
*Shells with an asterisk were available in the original Link’s Awakening remake for the Game Boy Colour. Locations are identical but methods may differ slightly.
Subscribe to Nintendo Life on YouTube844k
We've given all 32 Heart Pieces the same treatment in our Link's Awakening Heart Piece Map and Guide.
Secret Seashells Available Immediately
The following secret seashells are available in the areas accessible once you have the sword and shield, (see part one of our guide) and the items necessary to access Level One – Tail Cave (see part two).
Shell 1: Eastern Mabe Village*
Prerequisites: Sword and shield
Slash a path through the big patch of grass and bushes and find a secret seashell near the centre.
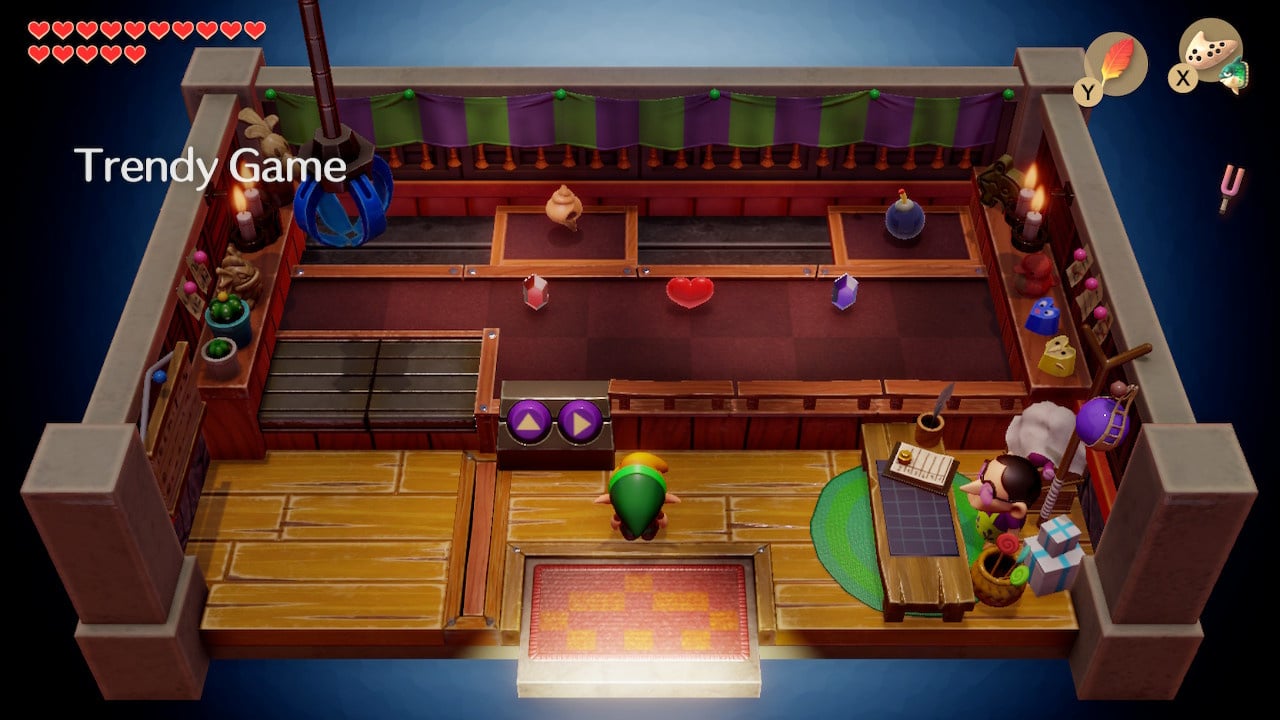
Shell 2: Trendy Game (#1), Mabe Village
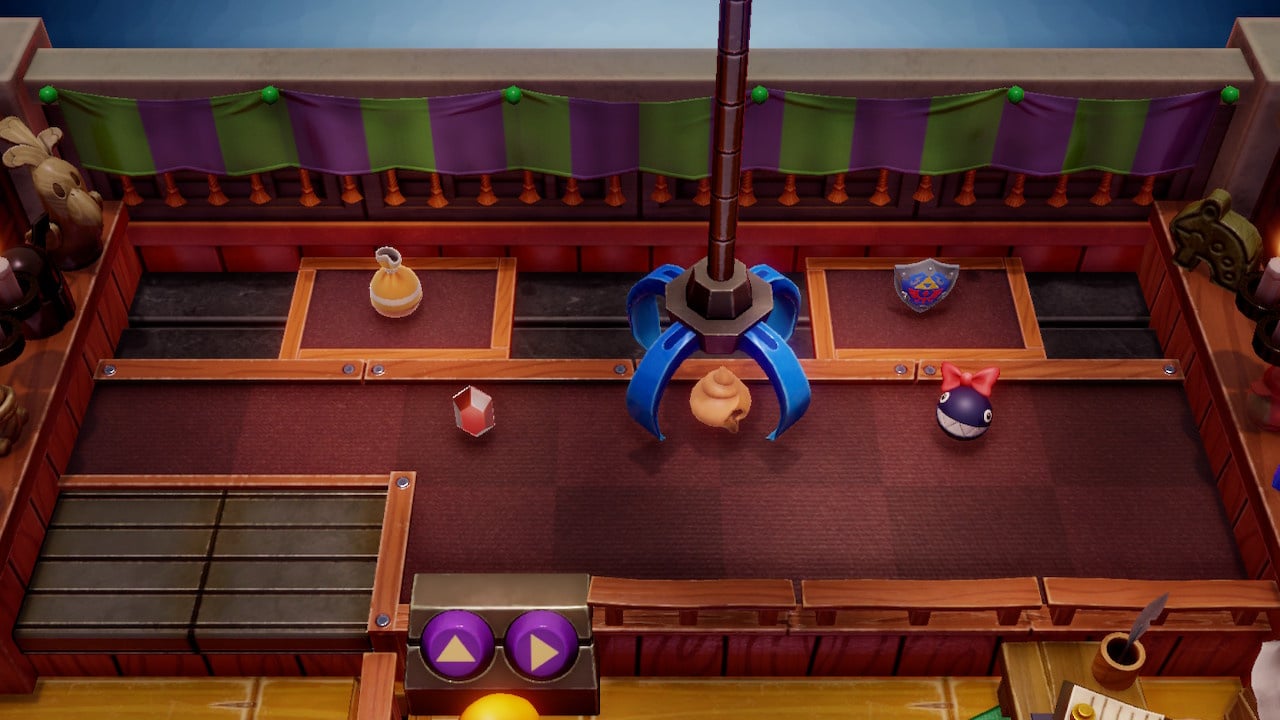
Prerequisites: Rupees, patience
Once you’ve fished out both the Yoshi Doll and a Heart Piece, the Trendy Game will feature a secret seashell. Its size and shape are particularly prone to falling out of the claw, so be prepared to pay for multiple trips.
Shell 3: Dig in the Kennel on Mrs Meow-Meow’s House, Central Mabe Village*

Prerequisites: Shovel
Once you have purchased a shovel, dig in the lower right corner of the kennel where you find CiaoCiao the chain chomp (Note that the Seashell Sensor won’t sound on the left side of the house. Yes, this was somehow the last seashell I found).
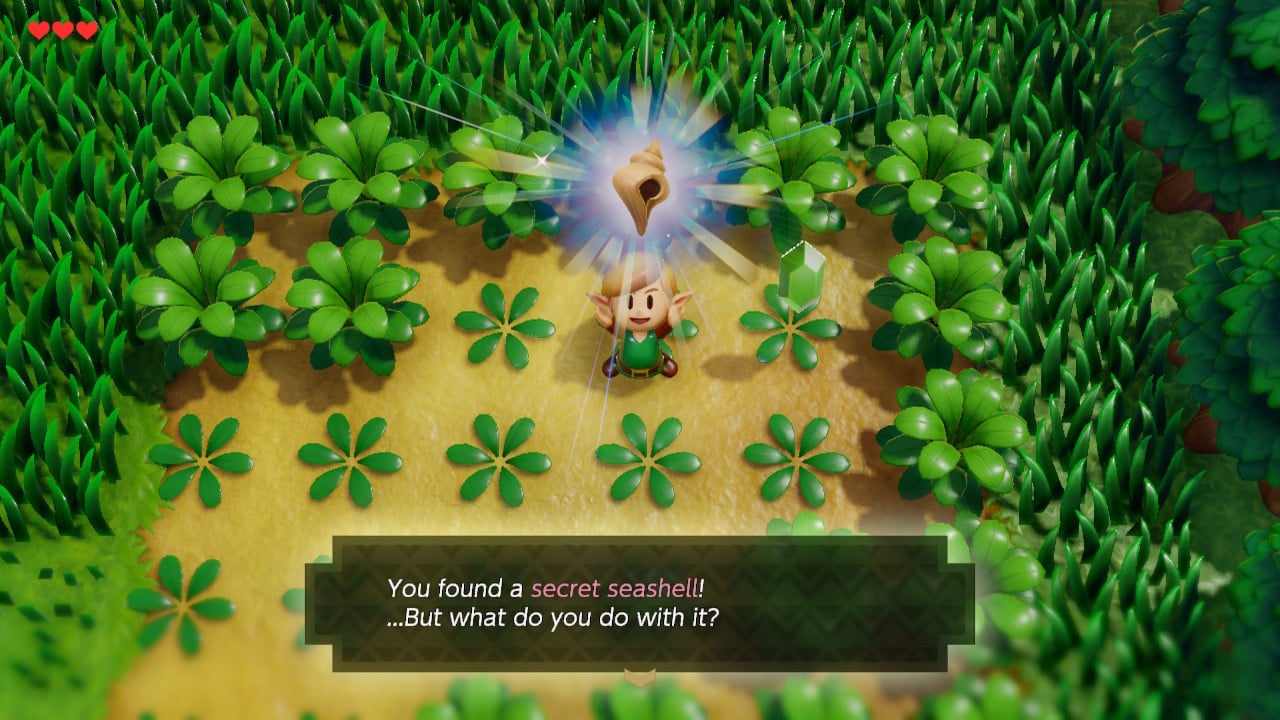
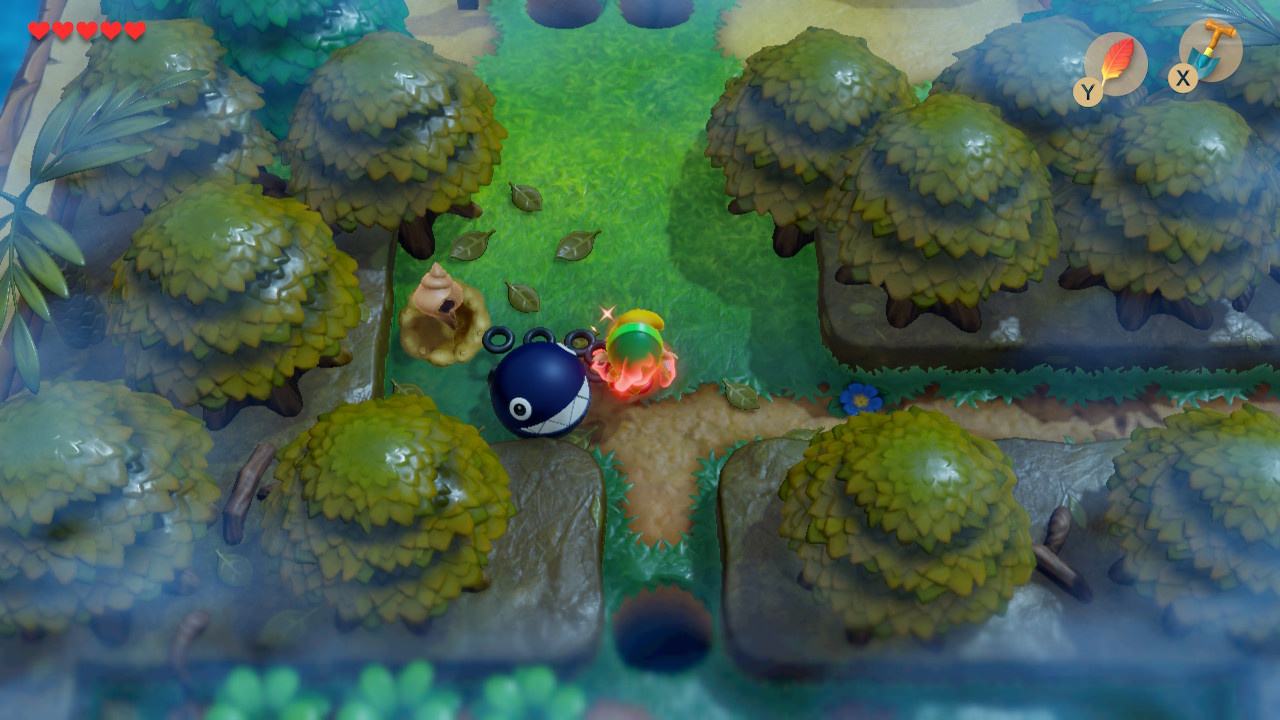
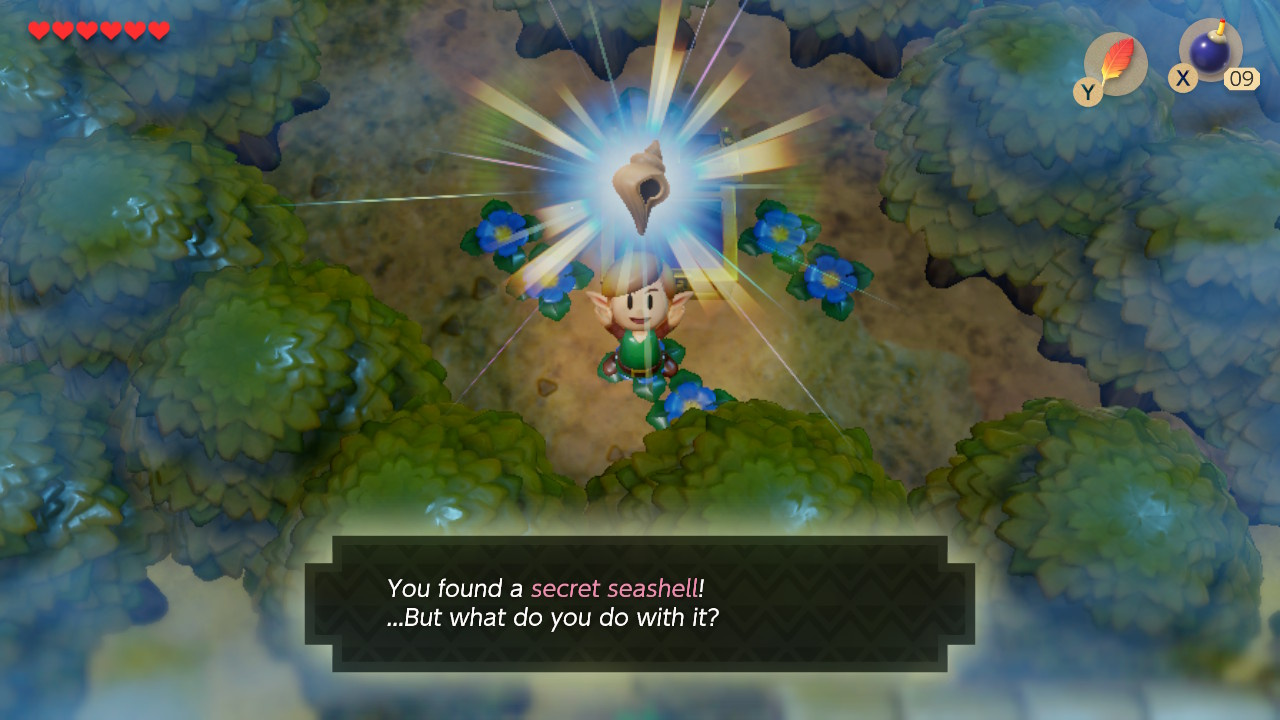
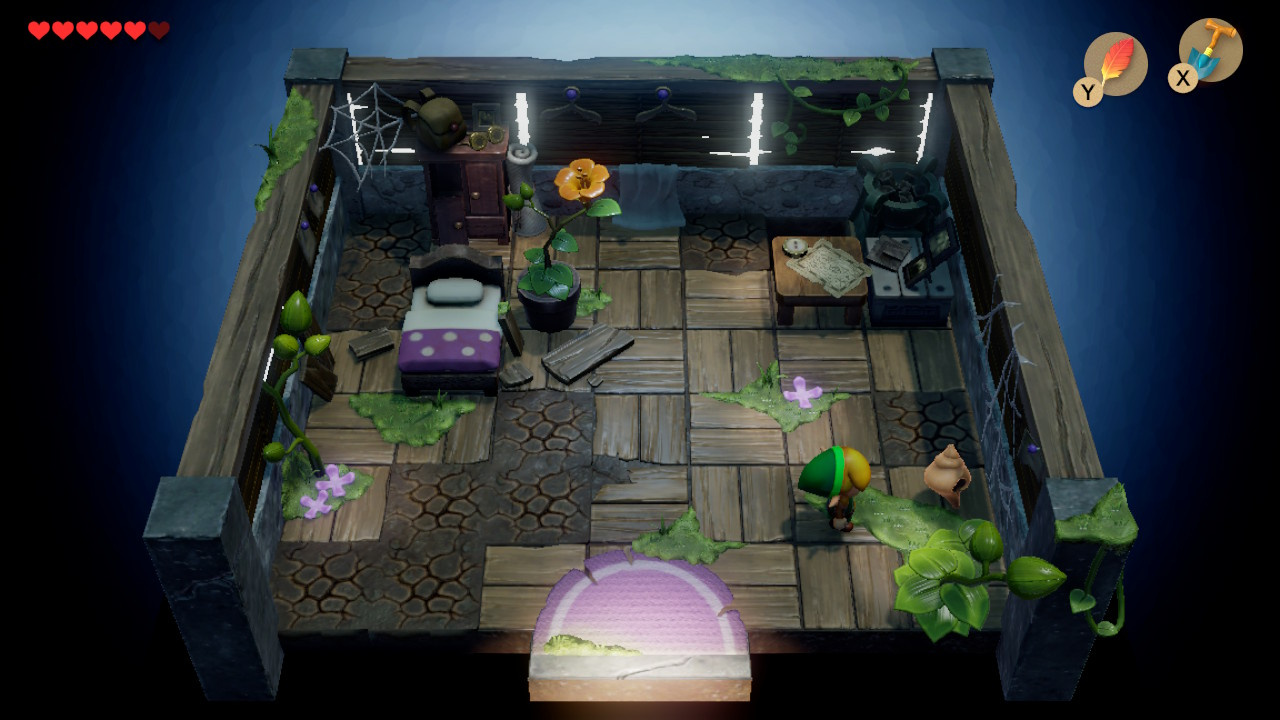
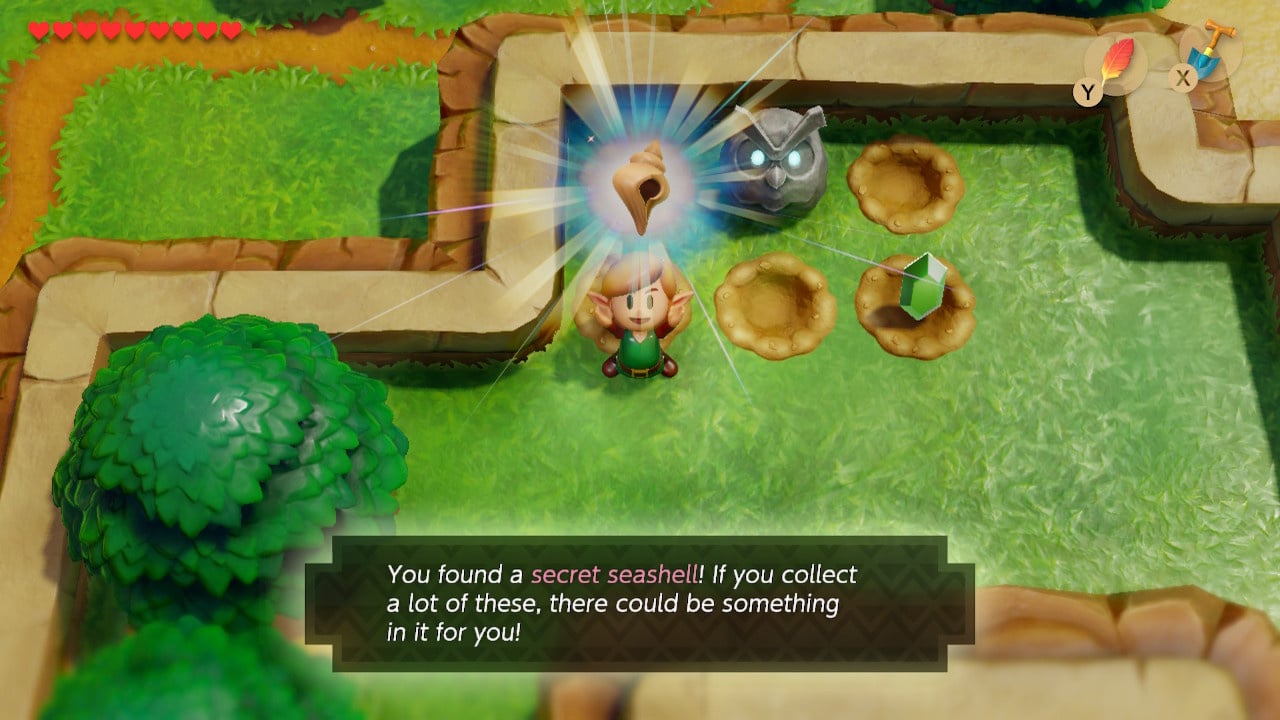
Shell 4: Dig in the flower circle, Central Mysterious Forest
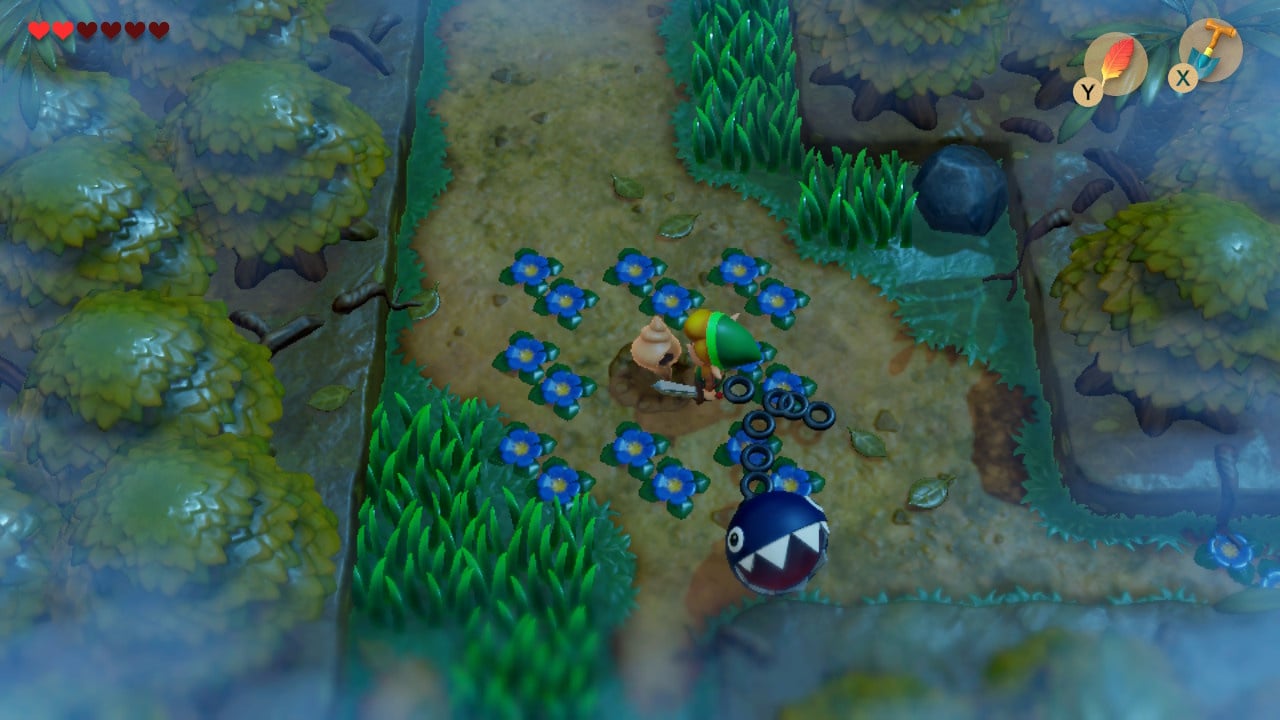
Prerequisites: Shovel
Dig in the middle of the ring of eight blue flowers (bow-wow not required. Return later in the game to pick up the rock on the right for an inventory upgrade).
Shell 5: Dig in the corner of the secluded beach, Eastern Tornobo Shores
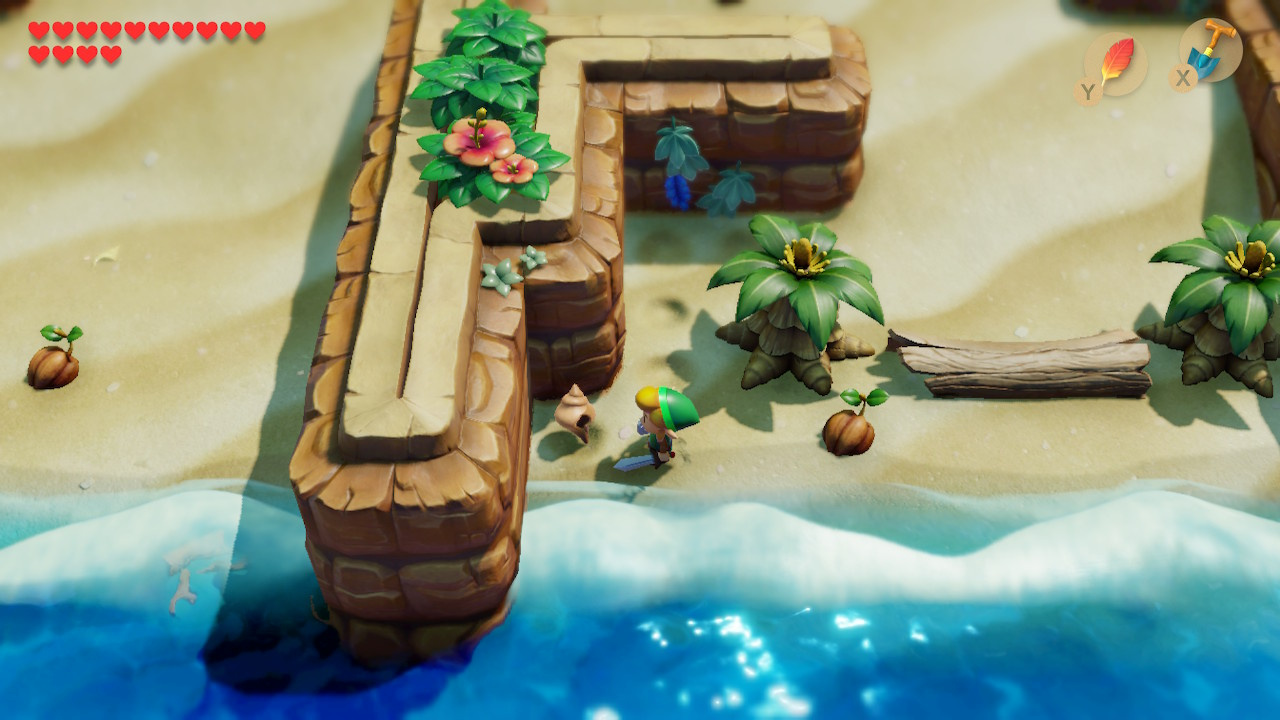
Prerequisites: Shovel
Dig in the lower left corner of this enclosed area at the eastern end of the beach.
Shell 6: Dig in the ring of lilypads, Koholint Prairie*
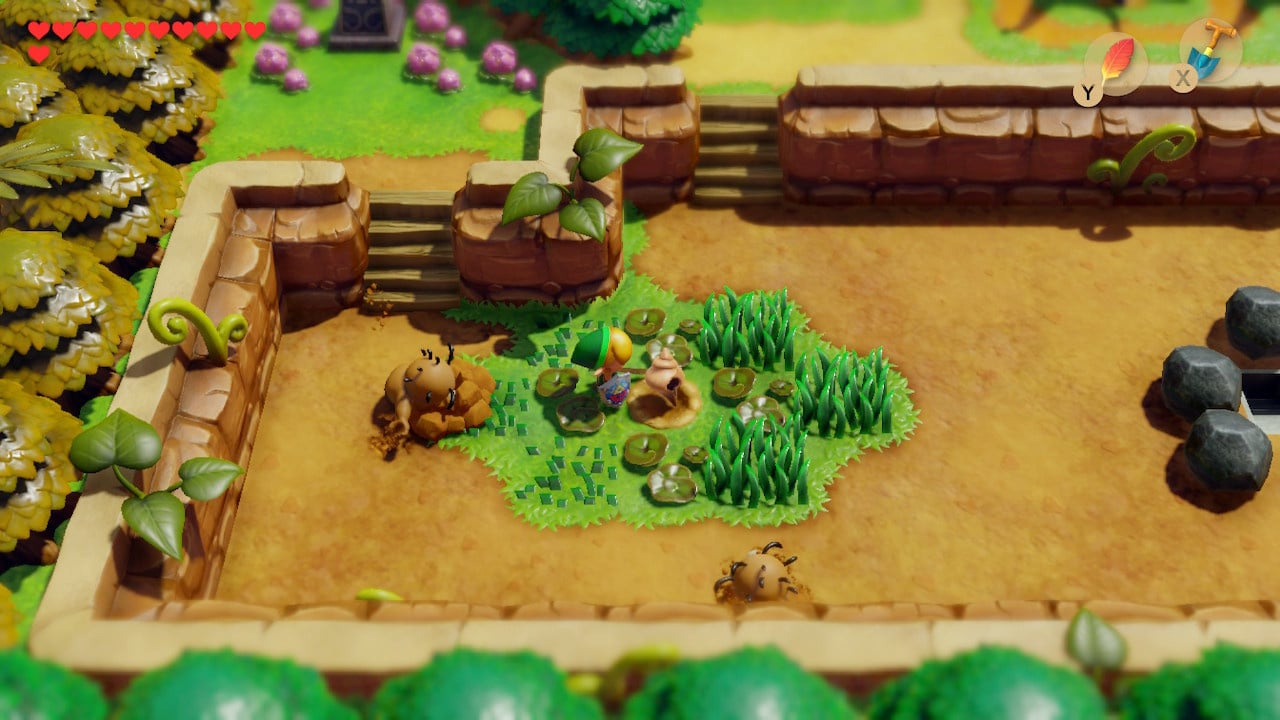
Prerequisites: Shovel, Power Bracelet
Head down the steps to this little area south of the Witch’s house and use your shovel.
(Update: As commenter Lime2K points out, this area is actually hidden behind a boulder and will therefore require a trip to the Tail Cave).
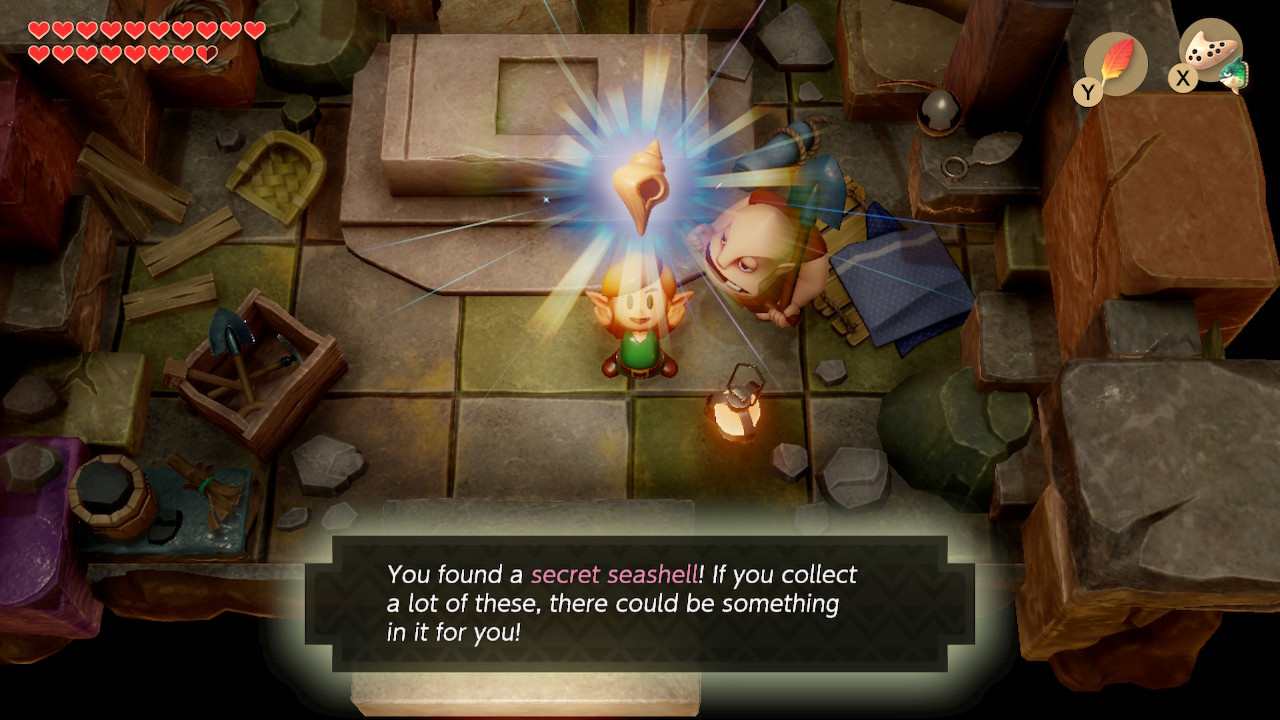
Shell 7: Bomb a wall in the Tail Cave*
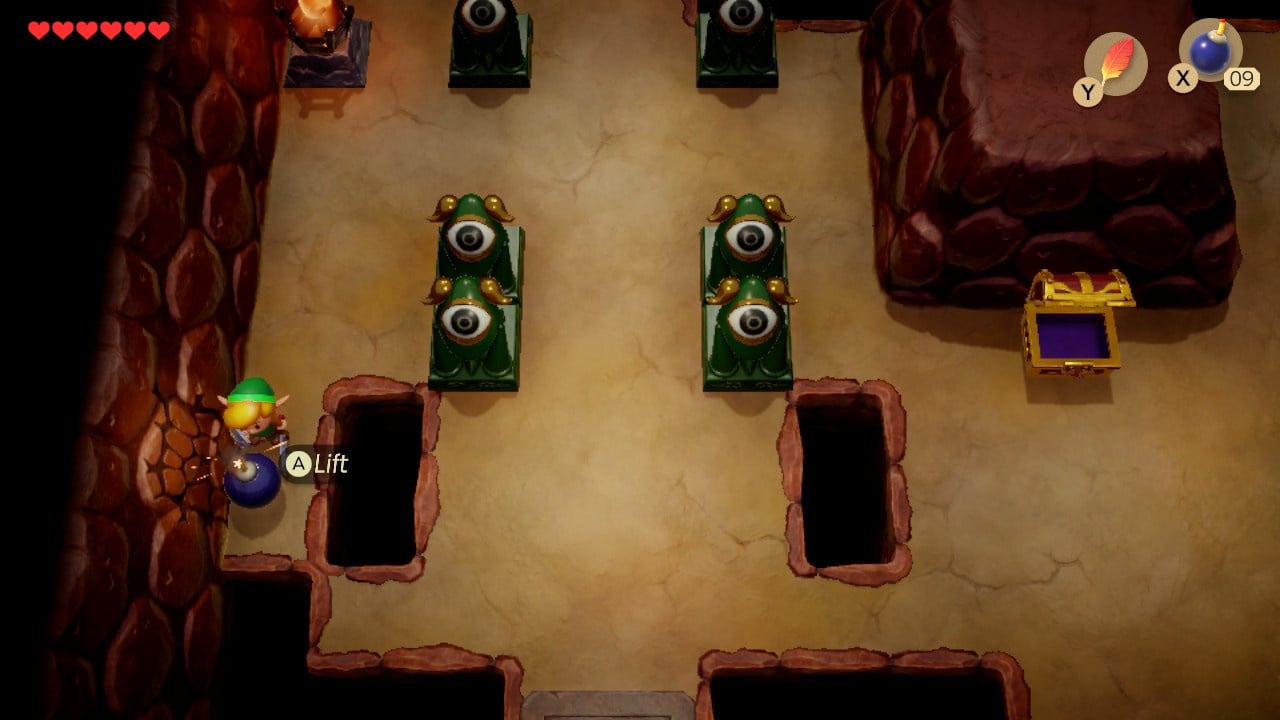
Prerequisites: Bomb, Tail Cave key
There is a cracked wall in the large central hub room of the Tail Cave (near the smashable purple crystals). Bomb it and open the chest inside for your seashell.
Secret Seashells Available After Tail Cave
The following secret seashells become available once you have completed the Tail Cave and require the Roc’s Feather item either directly or indirectly (see part two).
Shell 8: Dig Near a Tree at Northern Exit, Mysterious Forest
Prerequisites: Roc’s Feather, Shovel
Once you are able to leave the Mysterious Forest via its northern exit – heading west from the Tail Key Chest or north from where you can claim the mushroom for the magic powder, dig next to a tree on the left of the path (Bow-wow is not a requirement).
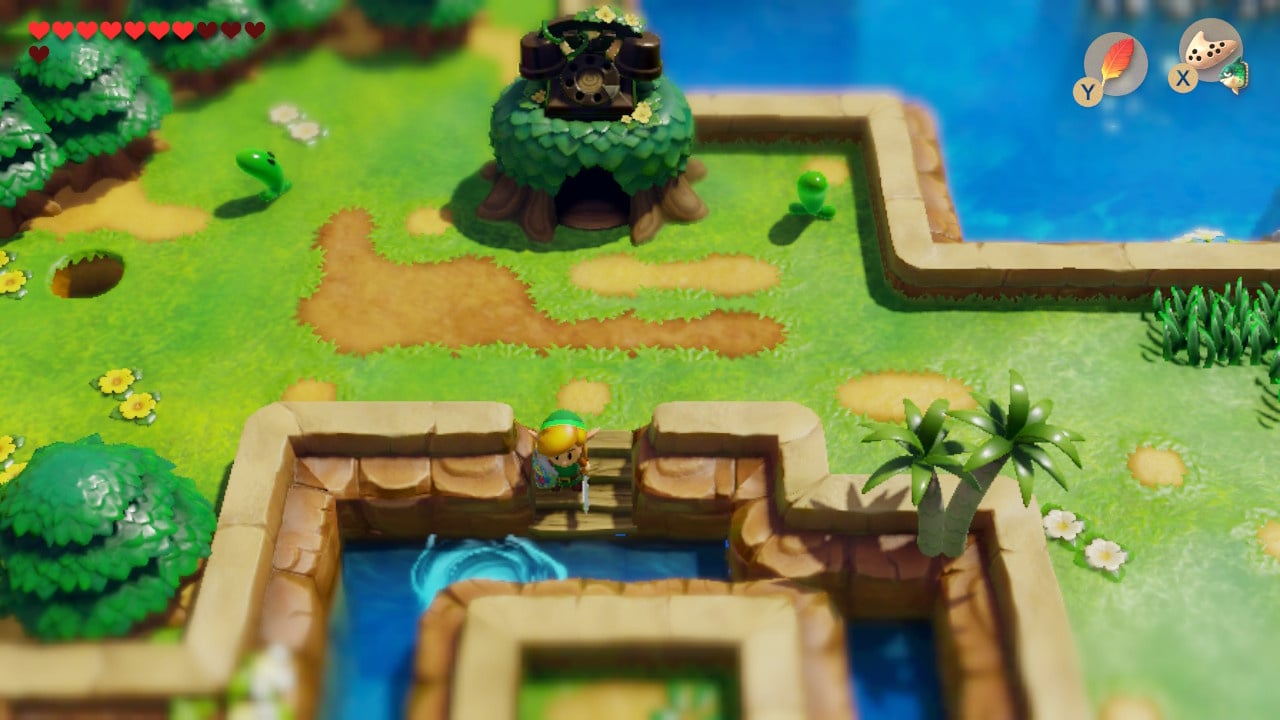
Shell 9: Dig near the cliffs, West of Goponga Swamp
Prerequisites: Roc’s Feather, Shovel
North of the Mysterious Forest there is partitioned area near some pits. This is also near Mr. Write’s house and a phonebooth. Head to the northeast corner and dig four spaces down from the cliff.
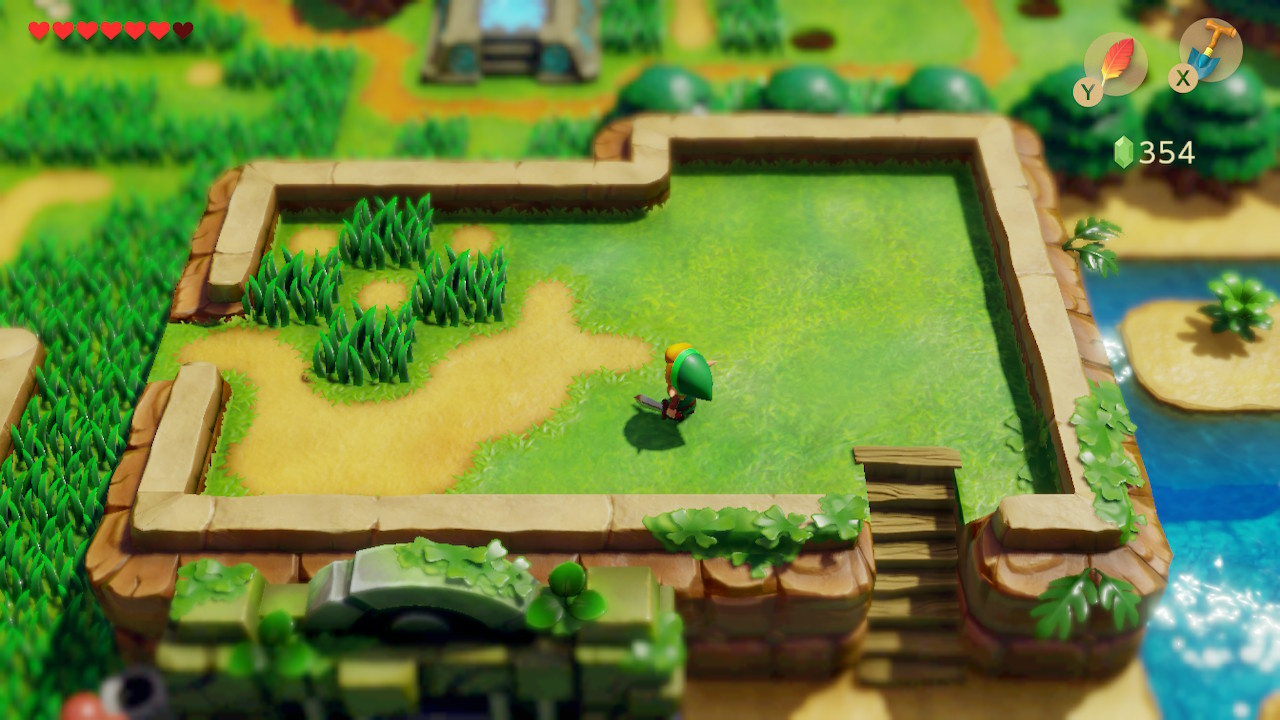
Shell 10: Digging in a Patch of Grass, Tabahl Wasteland

Prerequisites: Roc’s Feather, Shovel
Accessible by jumping over the pits outside of the Witch’s House and heading through the graveyard, the dead-tree-lined Tabahal Wasteland contains a secret seashell in the northeast.
Secret Seashells Available After The Bottle Grotto
The following secret seashells can be found post Bottle Grotto – accessing them or the area they can be found in requires lifting up heavy rocks with the Power Bracelet (see part three)
Shell 11: Lift a Rock to Access a Chest, Mysterious Forest*
Prerequisites: Power Bracelet
In the south-western corner of the Mysterious Forest you will find a chest behind a single liftable rock.
Shell 12: Lift up a Rock, Gopongo Swamp
Prerequisites: Power Bracelet
Head north from the Moblin Base where you saved Bow-Wow, and find a secret seashell under a rock
Shell 13: Smash Pots in the Abandoned House, Tornobo Shores*
Prerequisites: Power Bracelet
Head east from the beach where you found the sword and you will find some boulders to lift up. To the south stands an abandoned house – you can find a secret seashell in a pot in the lower right.
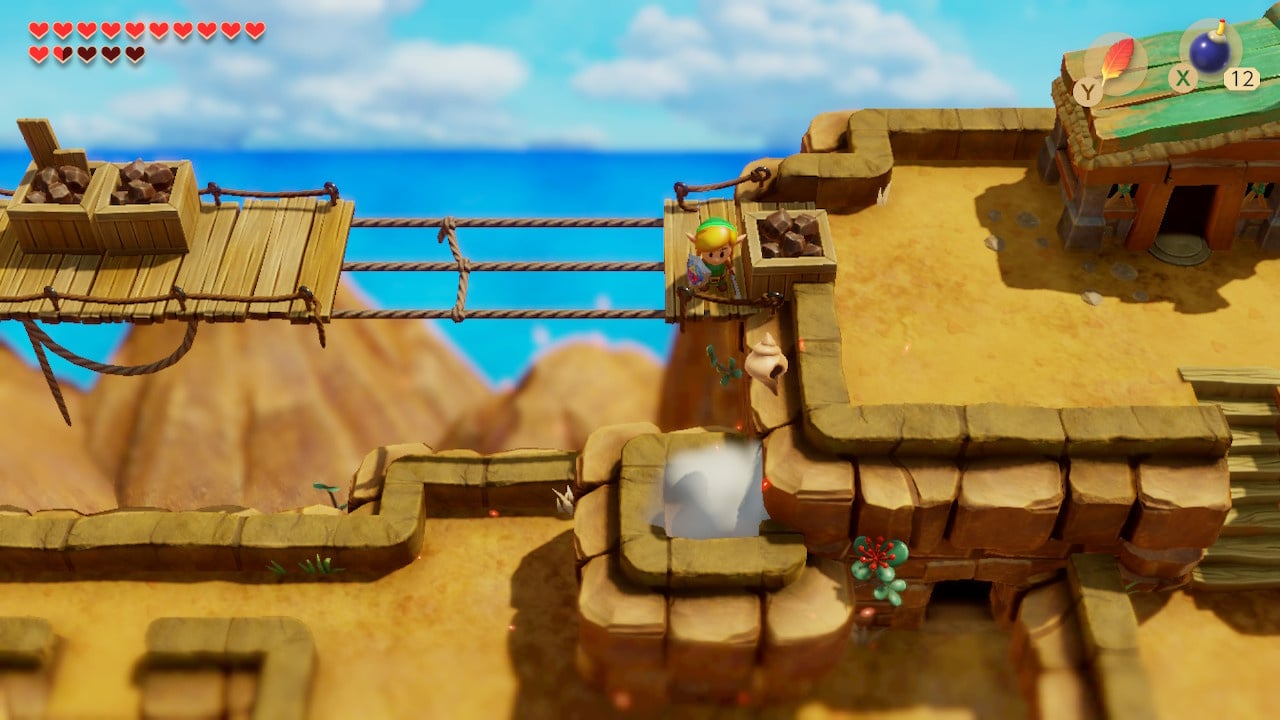
Shell 14: Digging by a hill in Ukuku Prairie
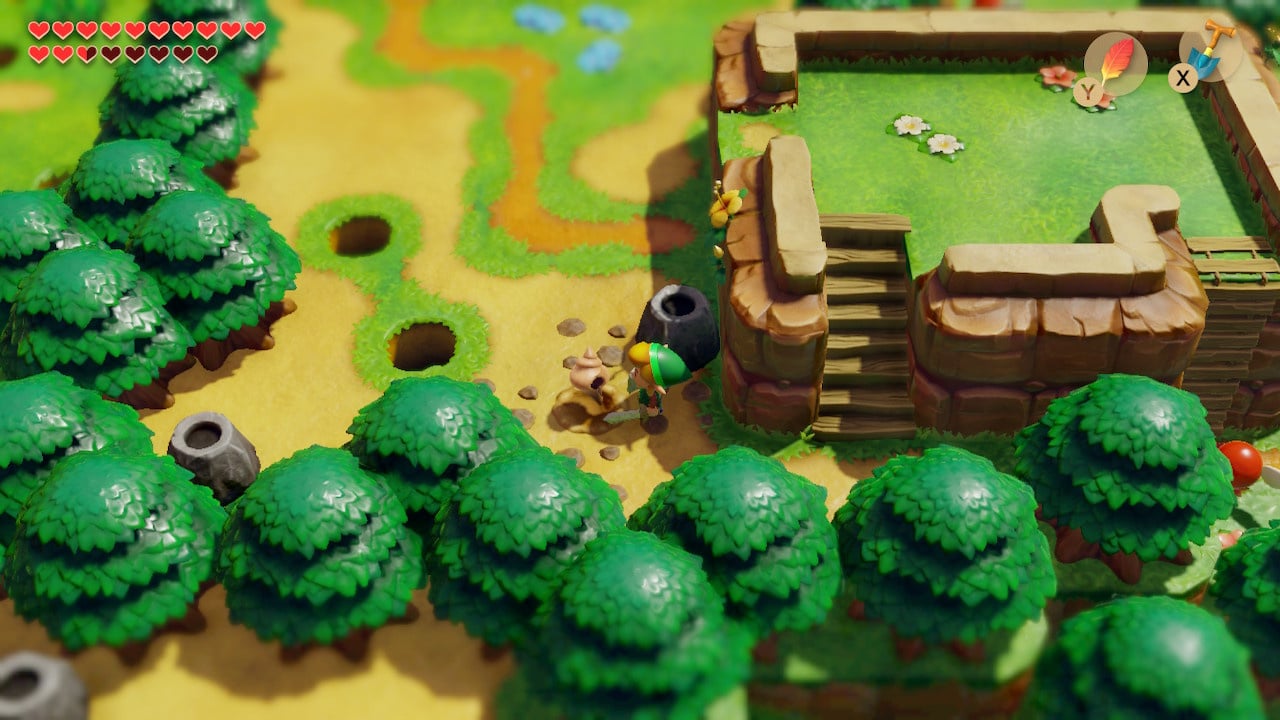
Prerequisites: Shovel, Bombs
South of the tree with a bee’s nest in Ukuku Prairie is a small hill leading to the grounds of Kanalet castle. Initially, this will be blocked by a large skull which you can be disposed of with a bomb. Dig diagonally down and left of the conical block here for a shell.
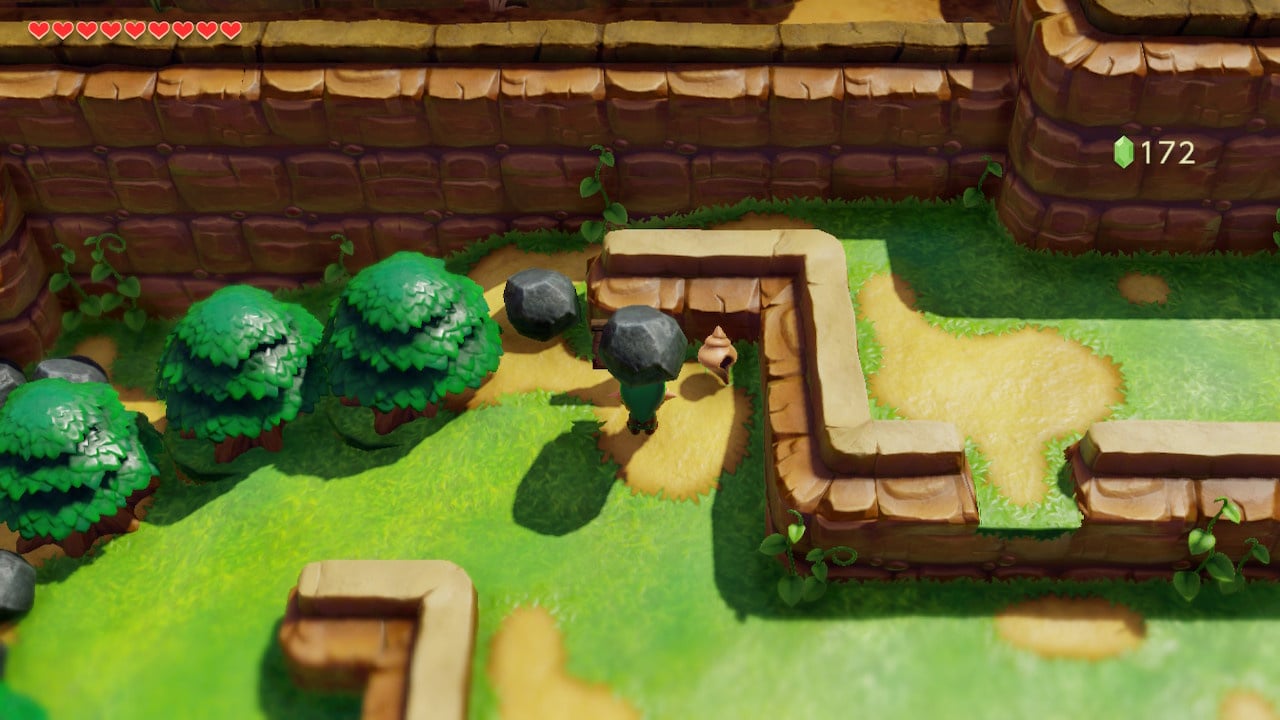
Shell 15: Under a Rock, South-Central Ukuku Prairie*
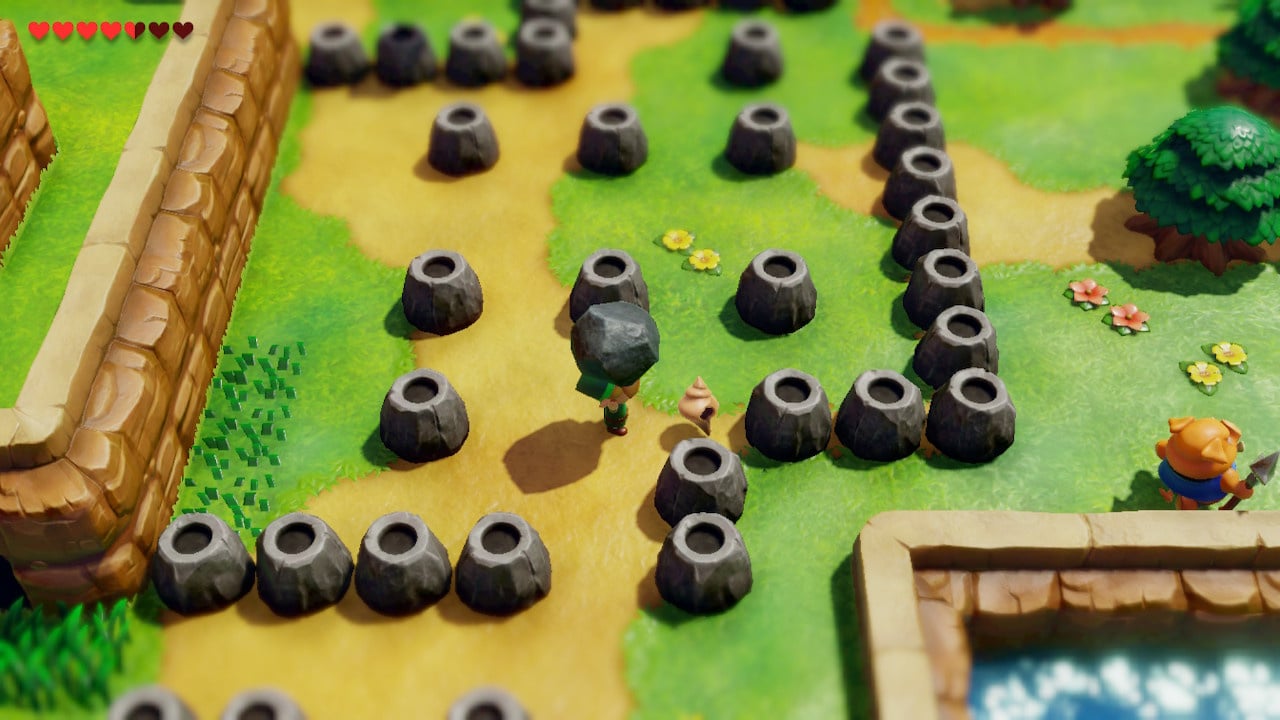
Prerequisites: Power Bracelet
Head south of Kanalet Castle and pick up the lone boulder among the large formation of unmovable conical stones for a secret seashell.
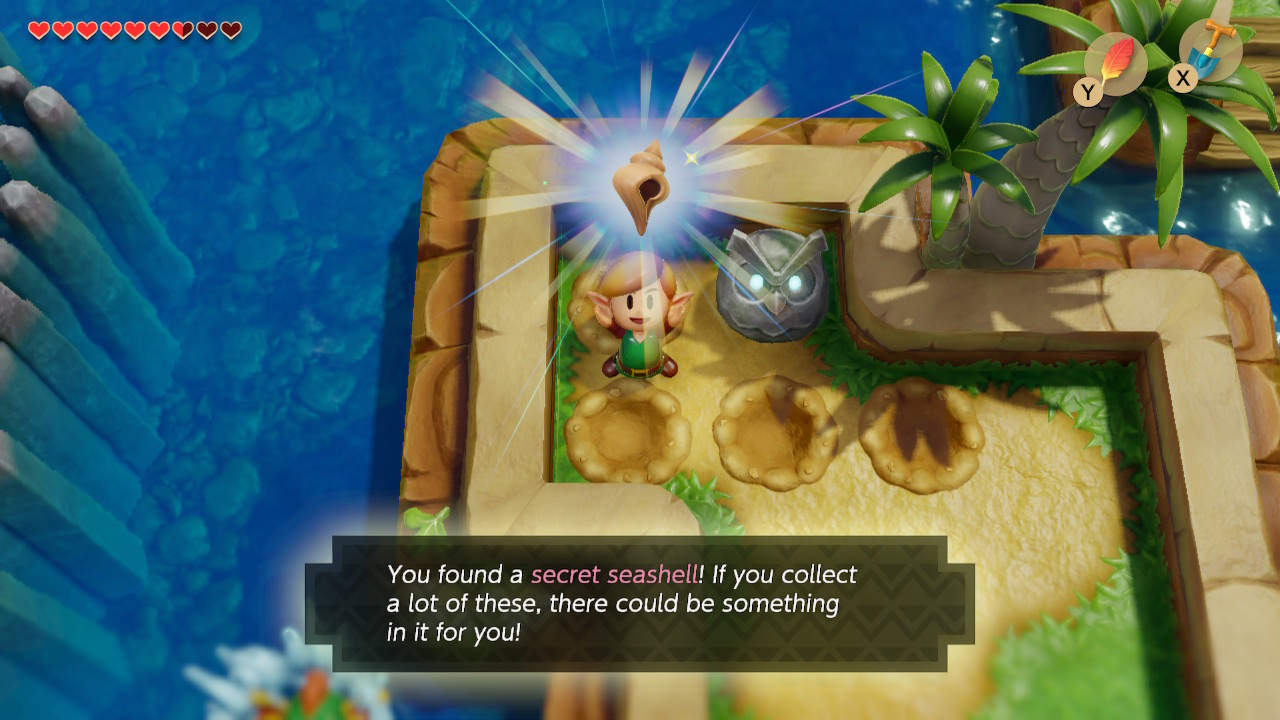
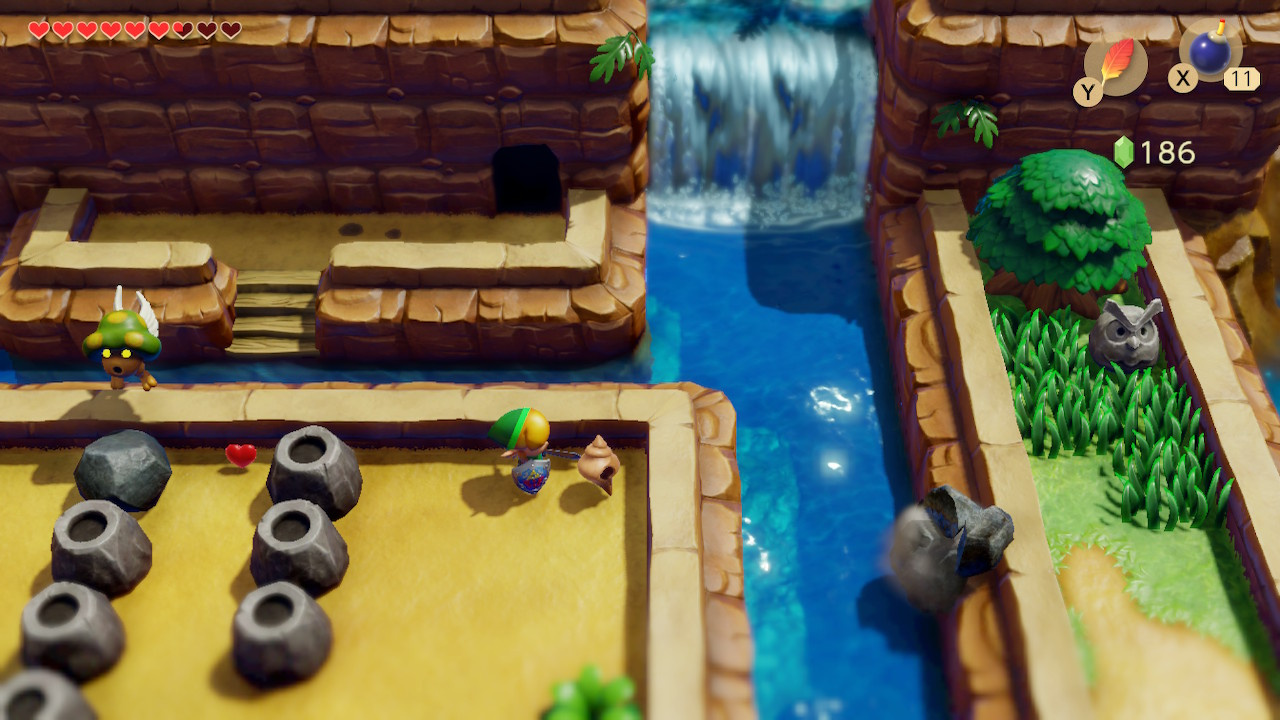
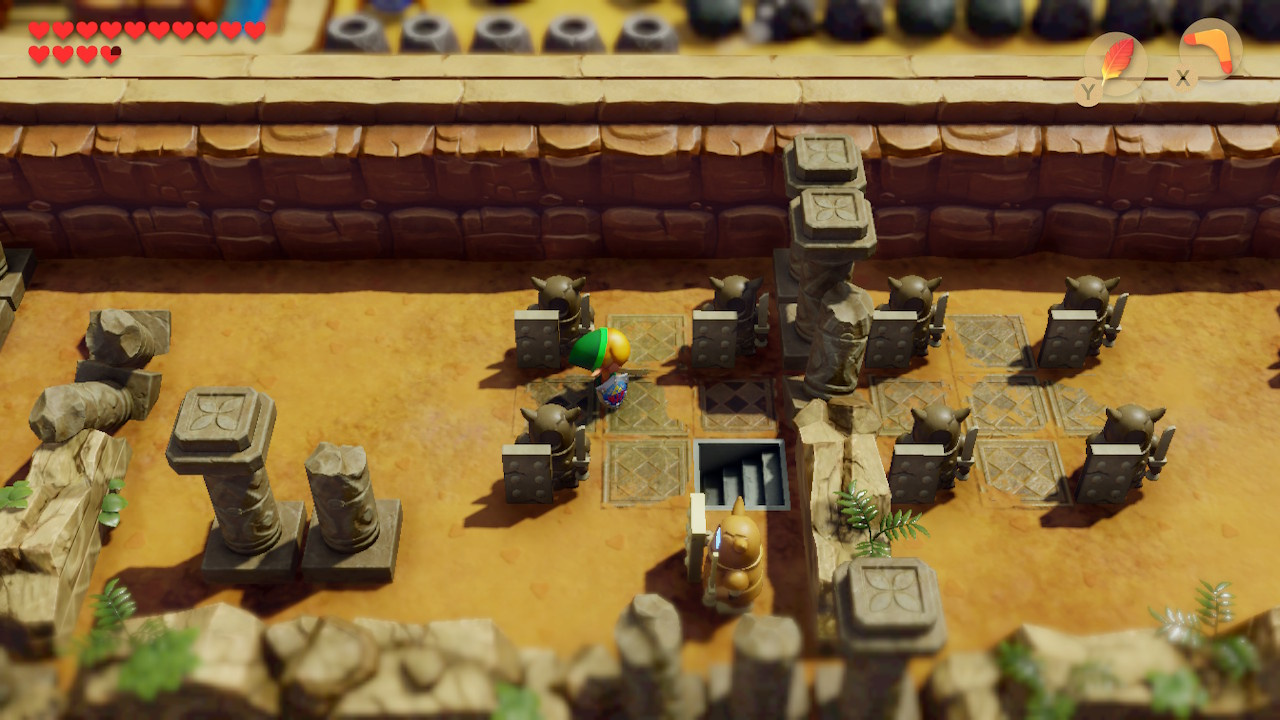
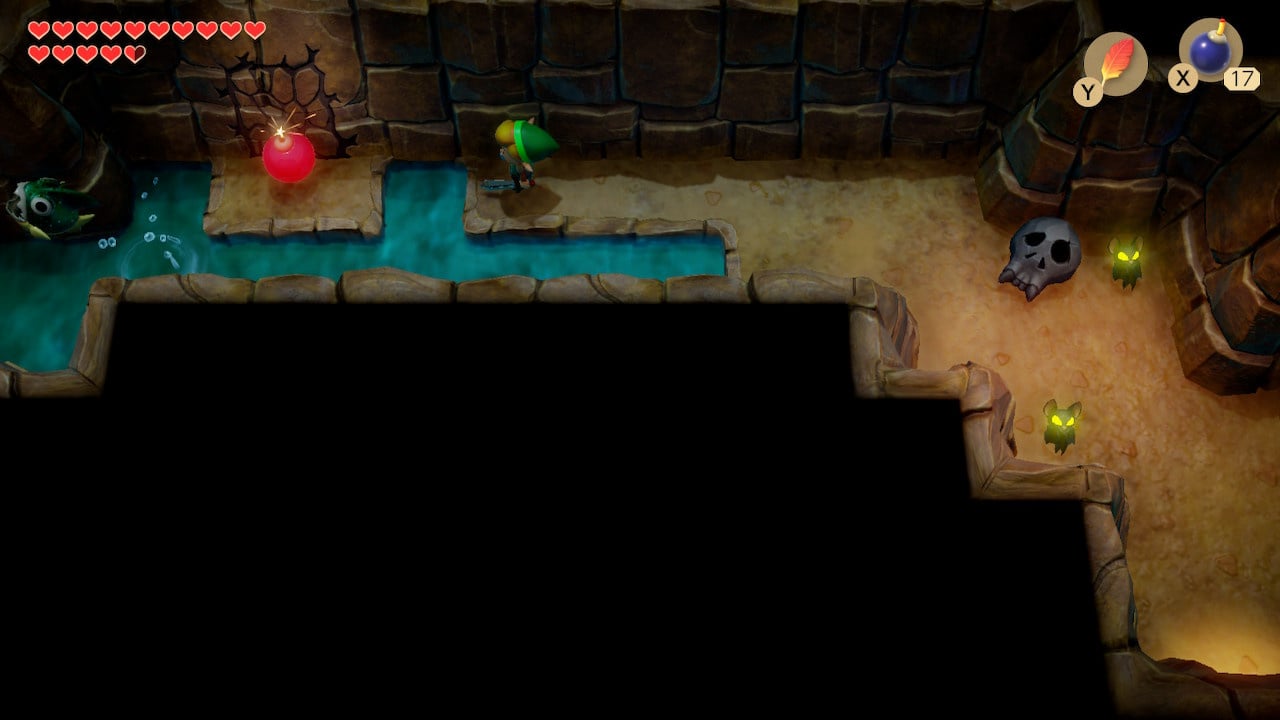
Shell 16: Bomb, Push and Dig in the Cave Network, Ukuku Prairie*

Prerequisites: Bomb, Power Bracelet, Shovel
Enter the cave west of the unmovable rock formation (see shell 15)
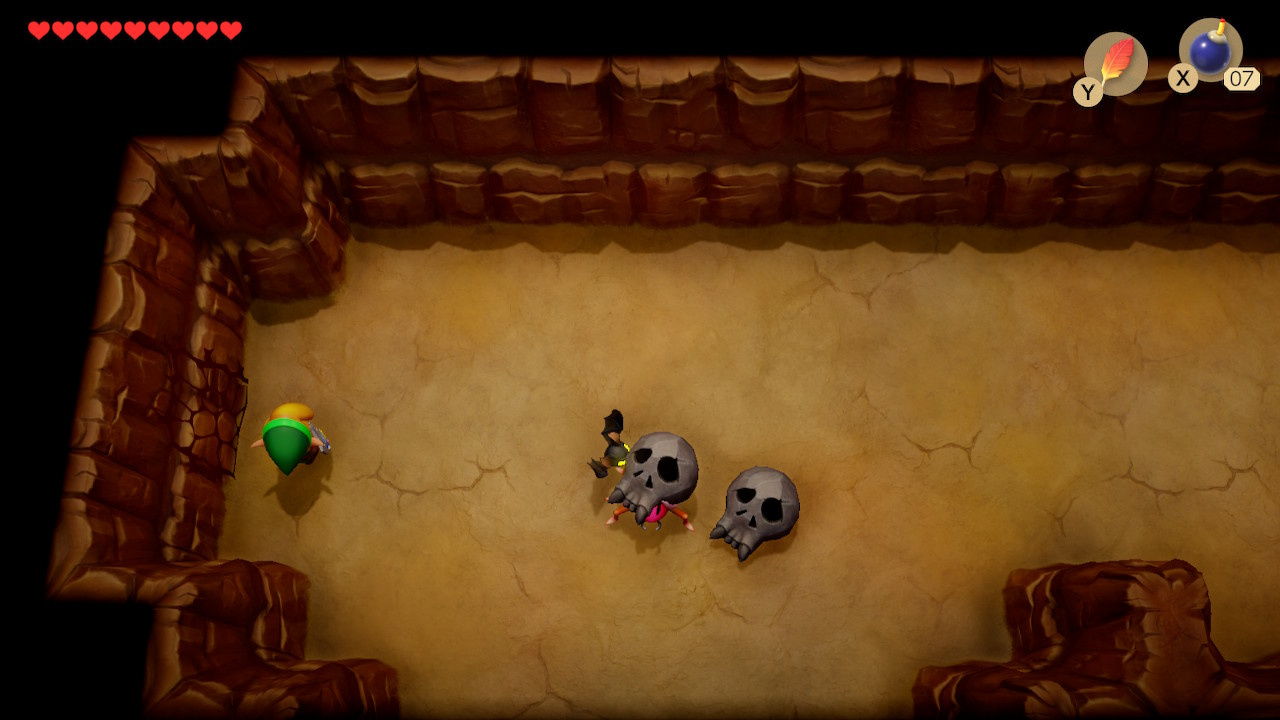
Find the cracked wall in the left of the cave and bomb it. Jump the gap and climb the stairs in the next room.

Push the stone into the pit and head round to the south. Push the third stone from the bottom to the right, then push the fourth stone from the bottom upwards and walk through the gap.
Once outside, head north and speak to the Owl Statue:
AROUND HERE, SECRETS ARE NIGH.
Dig around the left of the statue to find a secret seashell.
Shell 17: Look Under a Bush near the Bay, Martha’s Bay*
Prerequisites: Power Bracelet
Though there won’t be a lot to achieve here early in the game, if you head south in the cave network mentioned above you can reach the Martha’s Bay area long before it becomes relevant. East of the Telephone Booth you will find a bush to chuck/hit, with a shell beneath it.
Shell 18: Look Under a Bush, Ukuku Prairie/Shell Mansion*
Prerequisites: Power Bracelet
On the hill containing the Shell Mansion (south of Kanalet Castle), chuck the bushes in the northeast corner to uncover a shell.
Shell 19: Tunnel Under Richard’s House, Ukuku Prairie*

Prerequisites: Take 5 Golden Leaves to Richard
Returning the golden leaves from Kanalet Castle to Richard, he will open up an underground passage. The left path leads to a chest with a shell.
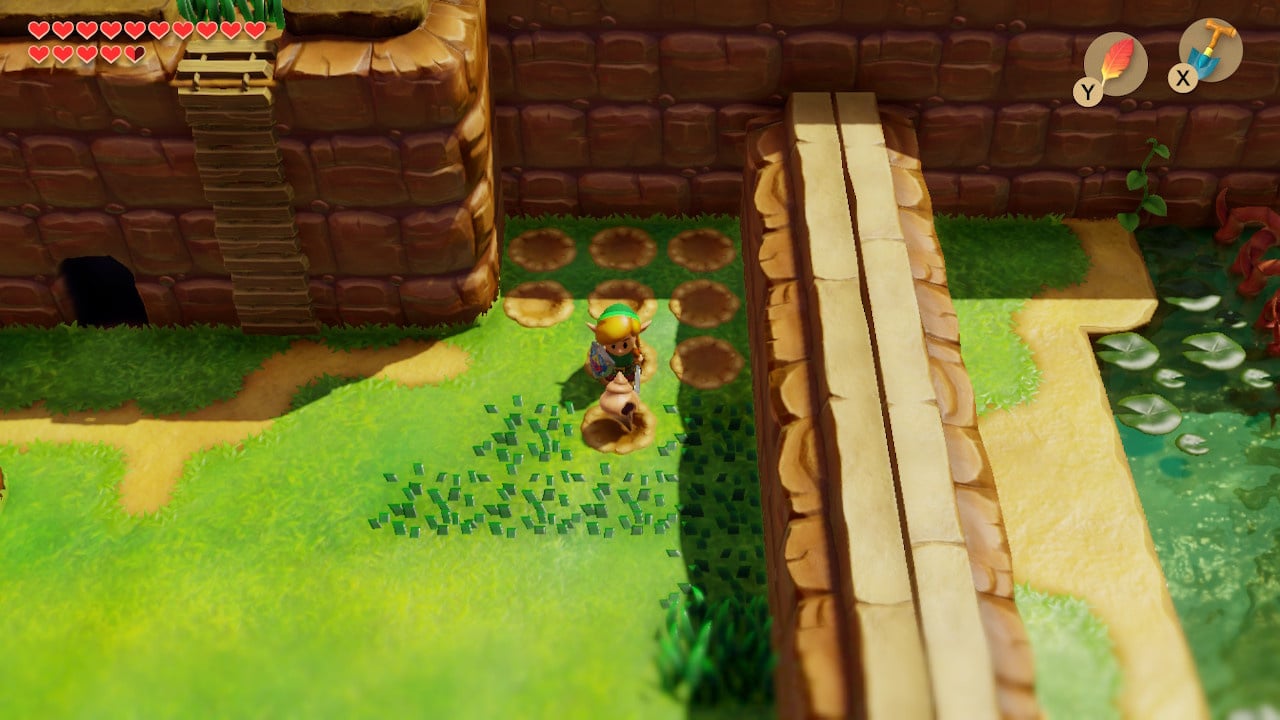
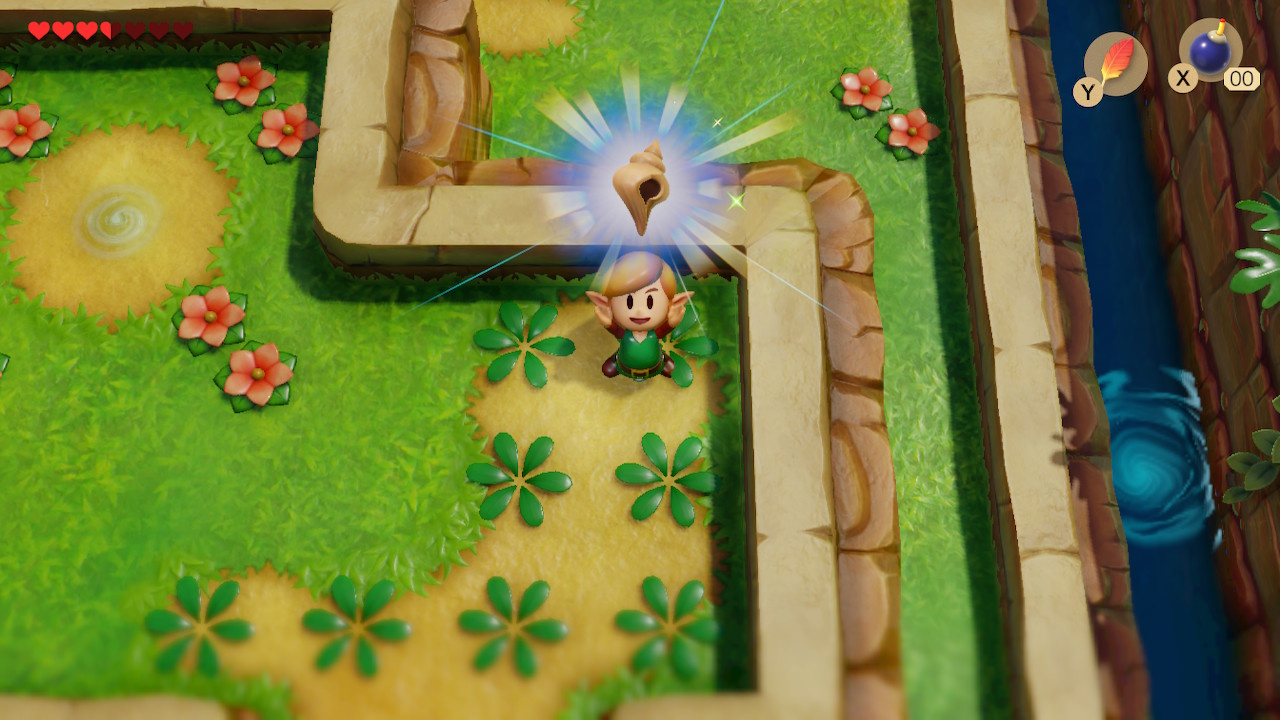
Shell 20: Dig On the Roof of the Key Cavern, Ukuku Prairie*
Prerequisites: Shovel, Roc’s Feather, Take 5 Golden Leaves to Richard
Once you’ve made it to the entrance of the Key Cavern, climb on the roof and dig in the centre of the ring of four grass patches for a shell.
Shell 21: Throw a Bomb into a Hole, Tal Tal Heights

Prerequisites: Power Bracelet, Bomb
This shell is available surprisingly early considering the area won’t be relevant to the player until after the third dungeon. However, there is technically nothing stopping the player from heading north from Dampé’s Shack and then taking a trek out east to throw a bomb in the hole next to the Tal Tal Height’s warp point. Potentially wait until you have the Angler’s Key if you mind the backtracking.
Secret Seashells Available After Key Cavern
Completing the Key Cavern rewards you with the Pegasus Boots, opening up yet more of the map with longer jumps and black-barrier busting sword dashes (see part four of our guide for more information).
Don’t miss Shell 21 above, which is in the area where you take the key to access the Angler’s Tunnel.
Shell 22: Complete Four Arrangements, Dampé’s Shack
Prerequisites: Finish Key Cavern
Dampé only opens his dungeon-designing shack for business once you have completed the Key Cavern. Arrange any four dungeons from his available challenges and he will give you a secret seashell.
Shell 23: Run into a Banana Tree, Tornobo Shores
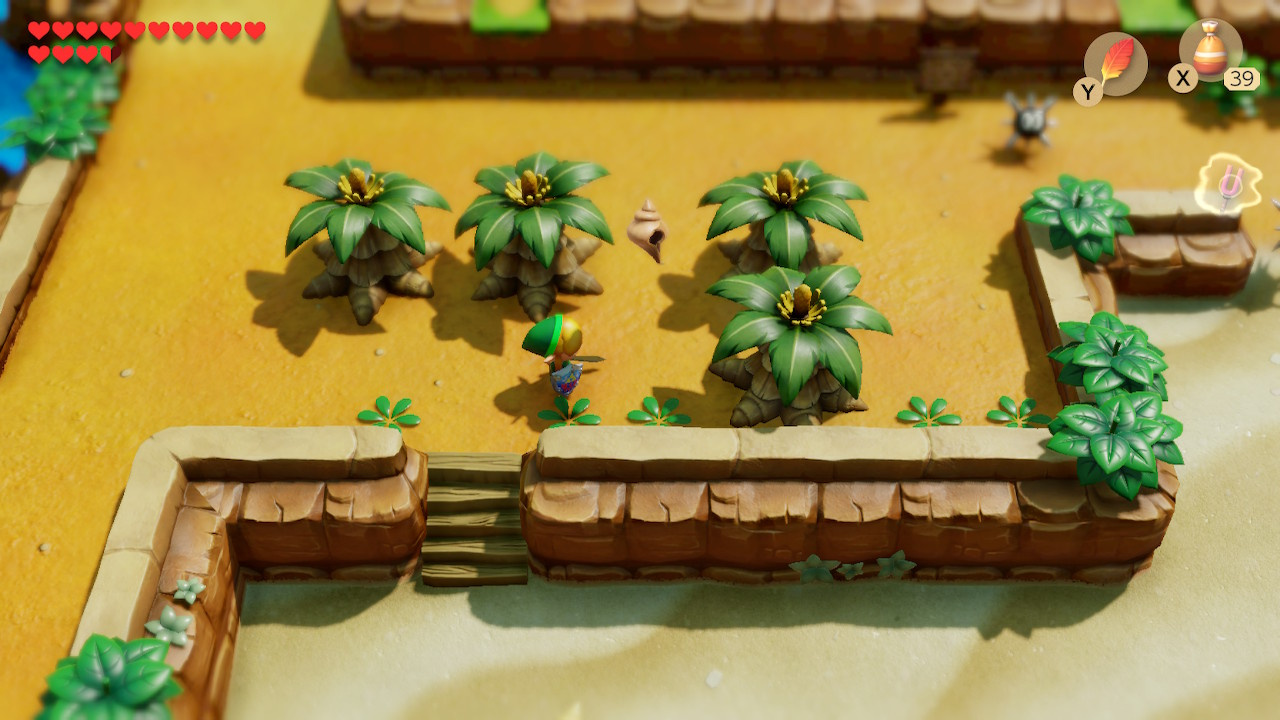
Prerequisites: Pegasus Boots
A shell is hidden in the lower banana tree on the land above the westernmost entry to the beach. Run headlong into the tree using your dash attack and a shell will come flying out.
Shell 24: Run into a Tree, Near Tail Cave*
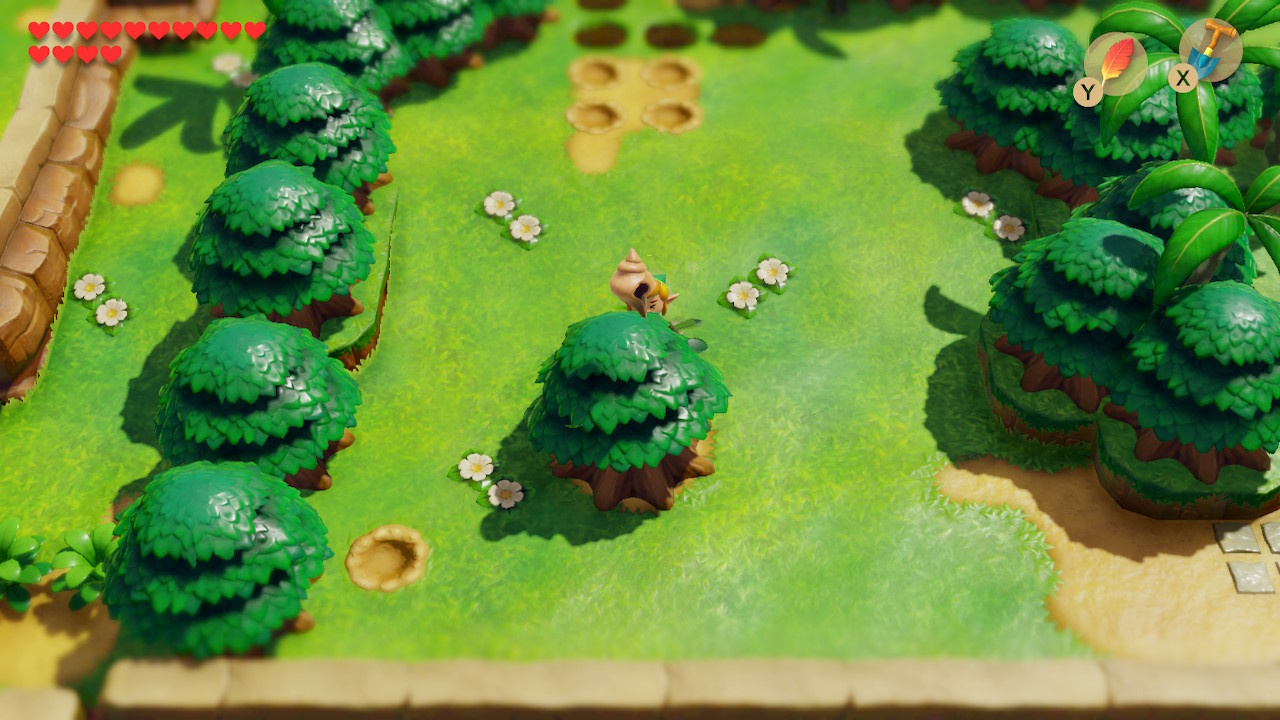
Prerequisites: Pegasus Boots
Take the route back to the Tail Cave (the first dungeon). In the clearing outside the entrance to the dungeon, there is a lone tree. Run into it (again, with your dash attack) and a shell will pop out.
Shell 25: Run into a Tree, Western Ukuku Prairie*

Prerequisites: Pegasus Boots
Just below the western entry to Ukuku Prairie you will find a lone tree next to the telephone booth. Dash into the tree to free another shell caught in there (And no, you don’t need to dig a single hole for this one).
Shell 26: Dig Across A Bridge, Martha’s Bay*
Prerequisites: Shovel
When west of Animal Village, head south and then west to find a bridge. Cross the bridge. The Owl Statue has a cryptic message that should clue you in that something is up:
SECRETS ARE LIKE WATER WHEN IT COMES TO BRIDGES.
Dig to the left of the statue and you’ll find your shell.
Shell 27: Dig Amongst the Cacti, Yarna Desert

Prerequisites: Shovel
A shell can be found by digging in the cacti patch below the Owl Statue in the north east of Yarna Desert (the Owl Statue doesn’t have anything particularly useful to say about it).
Shell 28: Pick Up a Rock on the Cliffs, Yarna Desert*

Prerequisites: Power Bracelet
You can climb on a path to the cliffs in the eastern part of Yarna Desert. Follow them all the way to the south and you can find a shell under a rock.
Shell 29: An Encore Performance for the Walrus, Animal Village
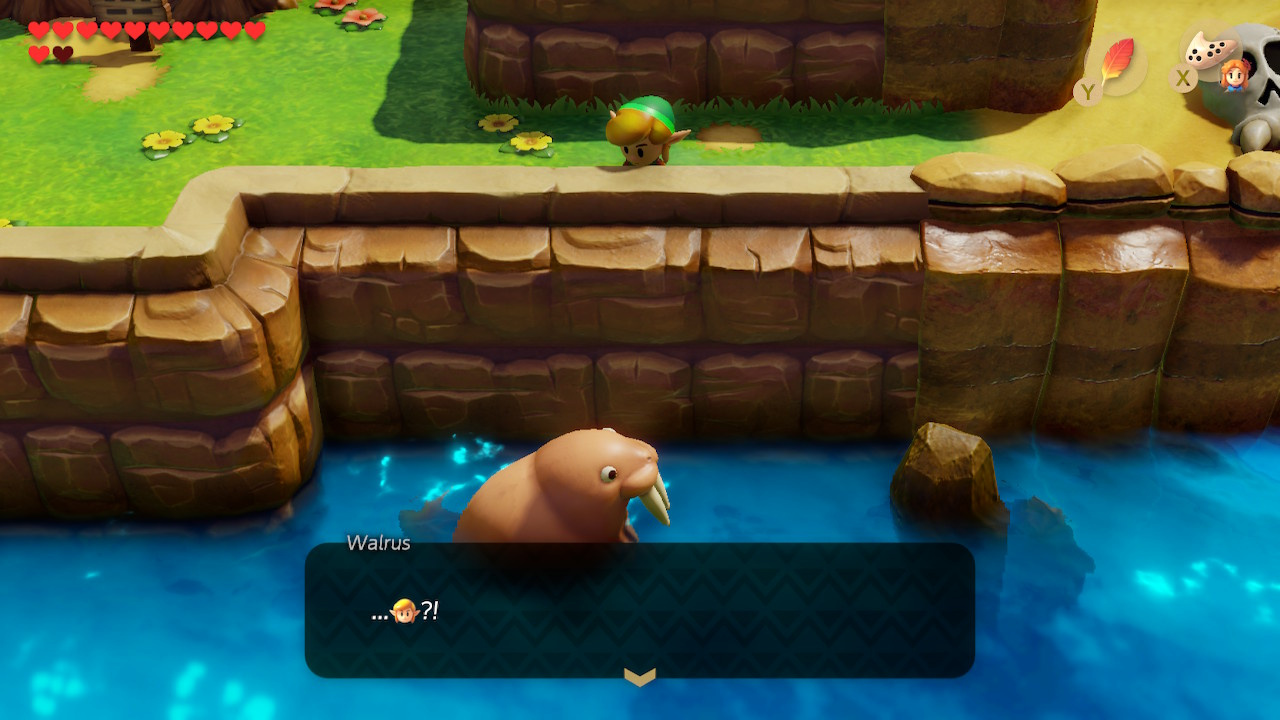
Prerequisites: Ocarina, Ballad of the Wind Fish
Once you’ve brought Marin to sing to the Walrus and made it flop into the ocean, you can play your own encore on the Ocarina for a shell. If you haven’t got the Ocarina yet, head to the Dream Shrine. Find Marin to learn the song.
Shell 30: Under a Rock in the Corner, Eastern Face Shrine
Prerequisites: Power Bracelet
Arguably a consolation prize for having headed the wrong way – i.e. heading north to the area with the Ancient Ruins and Face Shrine after crossing the river east of Kanalet castle. In the northeast corner, you can find a shell under a rock (more likely, you’ll find this one much later, when visiting the Face Shrine)
Secret Seashells Available After Angler’s Tunnel
The Flippers that you find in the Angler’s Tunnel provide access to treasures across (and beneath) deep bodies of water (check out part five of our walkthrough for more information).
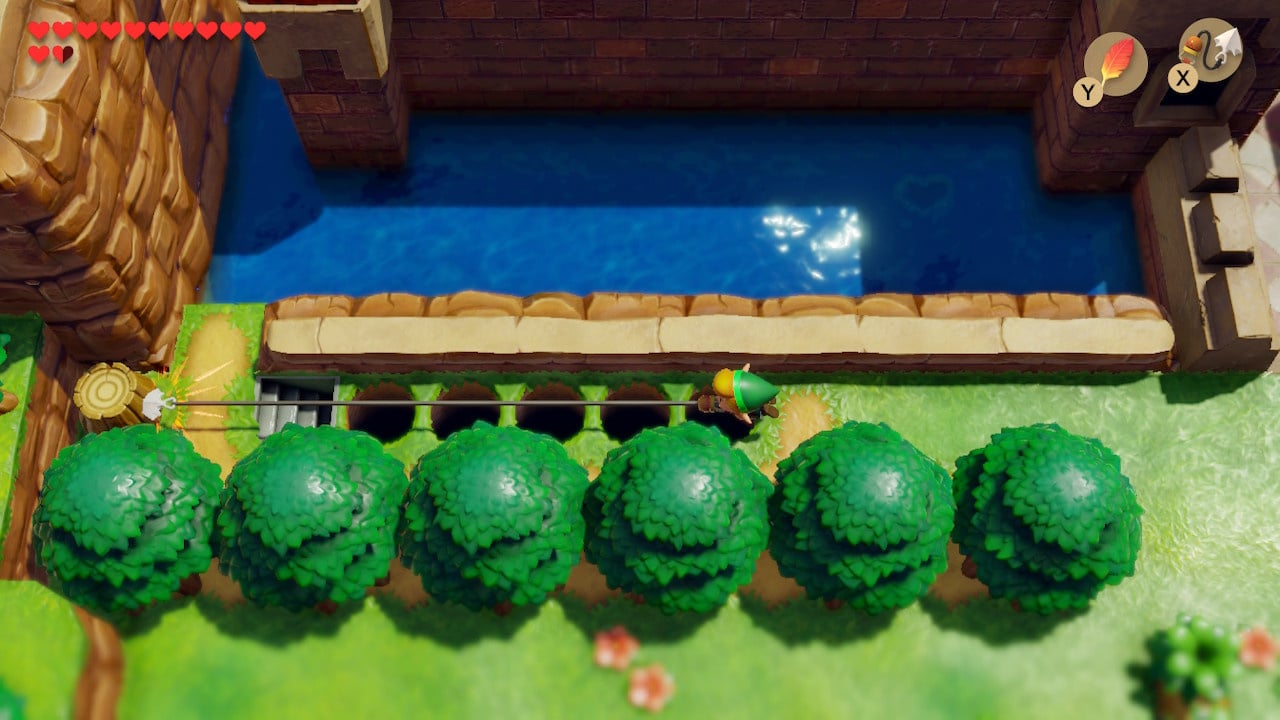
Shell 31: Dive Below a Waterfall, Kanalet Castle

Prerequisites: Flippers
The secret seashell can be found below the surface of the water near the waterfall in the northeast corner of Kanalet Castle’s moat. Dive and grab it. This waterfall is easy to access if you head west from Angler’s Tunnel.
Shell 32: Trendy Game (#2), Mabe Village
Prerequisites: Complete Angler’s Tunnel
A second secret shell eventually appears on the upper level moving platform of the Trendy Game. You will need to grab the Yoshi Doll, first heart piece, chamber block and a second heart piece first. The key is to anticipate where the shell will be – move the claw forward and when the shell makes it to the right, nudge the button to start the claw’s descent. This will take some trial and error.
Shell 33: Return to Christine for a Reward, Animal Village
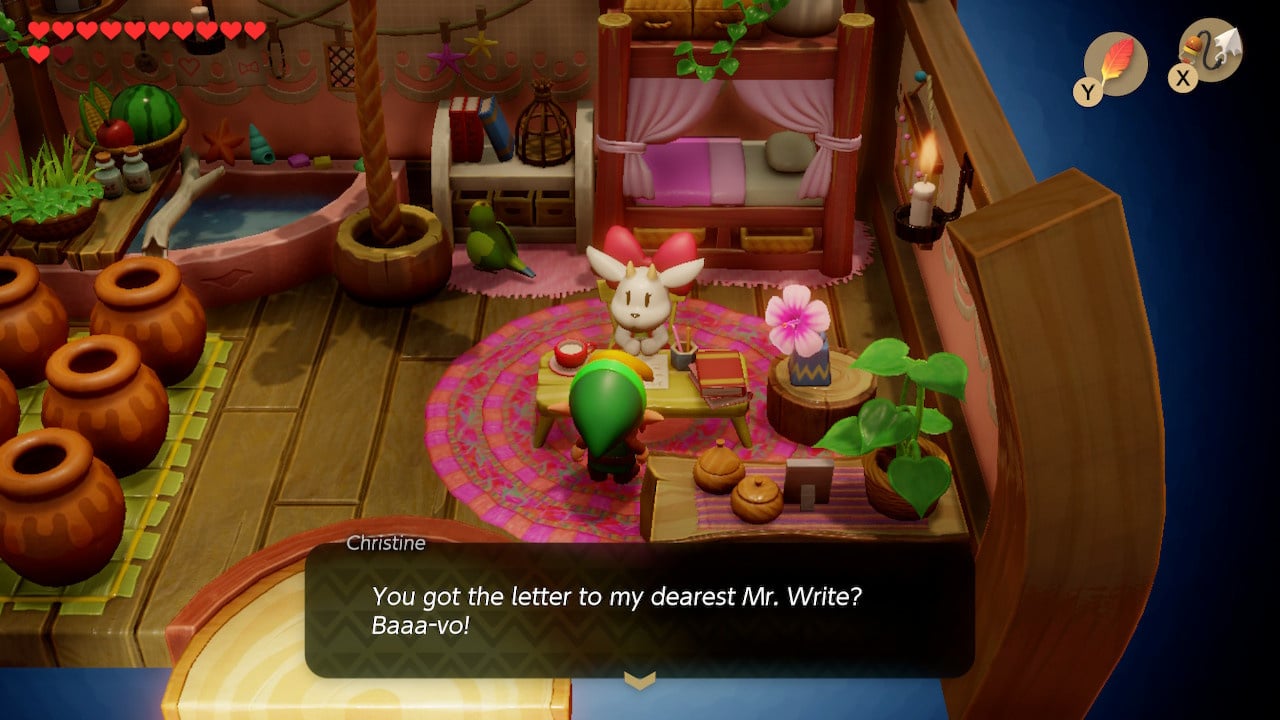
Prerequisites: Deliver the Goat’s Letter to Mr. Write
As part of the item trading quest, you will hand the Hibiscus to a goat called Christine in Animal Village, and she will have you deliver the Goat’s Letter to Mr. Write (see our walkthrough here). If you return to Christine after making the delivery, she will hand you a secret seashell.
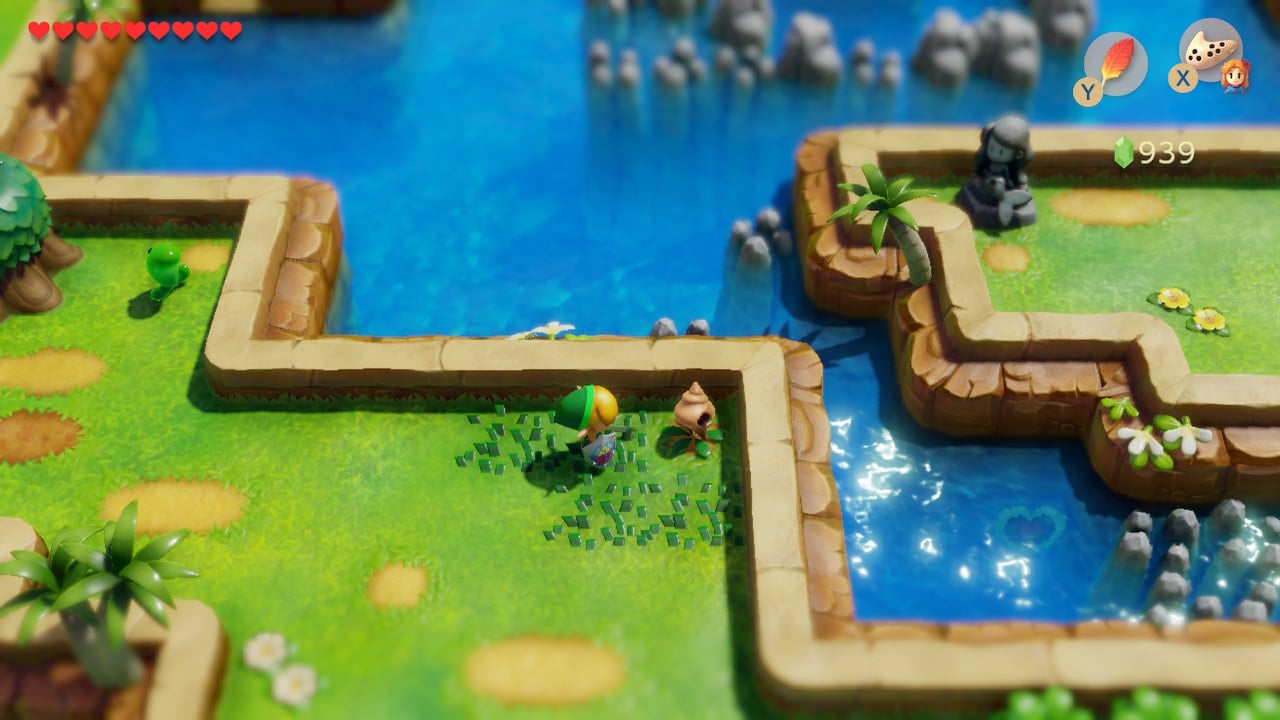
Shell 34: Check under a Bush on an Islet, Near the Key Cavern*
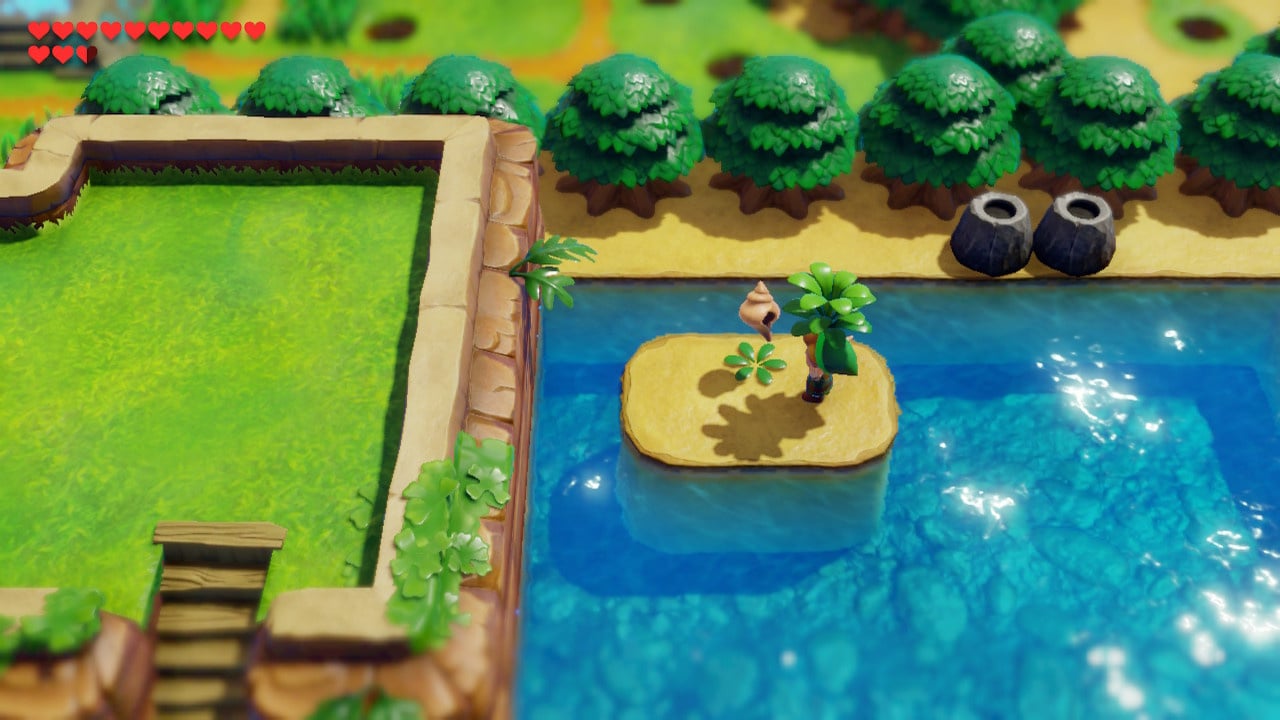
Prerequisites: Flippers
The flippers will allow you to swim across the clear lake near the Key Cavern to the islet in the northwest. Check the bush for a shell.
Shell 35: Visit an Islet on the South Coast, Southeast Martha’s Bay*
Prerequisites: Flippers
At the shore by the southeast bank of Martha’s Bay, there is a small islet. This is hard to miss if you’ve found the nearby Martha’s Bay warp point, it’s south of the telephone booth here and very near shell 17 mentioned above. Jump in the water, dodge the Zora (fishman) and head south. Climb the step and throw the bush to find a shell.
Shell 36: Dive in a Waterfall, Western Tal Tal Mountain Range

Prerequisites: Flippers
Another case of a shell you can find before it’s strictly relevant to the critical path, if you head west past where the waterfall used to be above Angler’s Tunnel, you can dive into the deep water for a shell.
Secret Seashells Available After Catfish’s Maw
Completing the Catfish’s Maw dungeon in Martha’s Bay will give you the hookshot, leaving very few areas of the map out of reach (read part six of our walkthrough to find out how to beat it).
(Note that the already available Shell 30, located near the Face Shrine, is relevant to the critical path in this part of the game).
Shell 37: Fishing Hole (#1) Catch a Cheep Cheep, Mabe Village
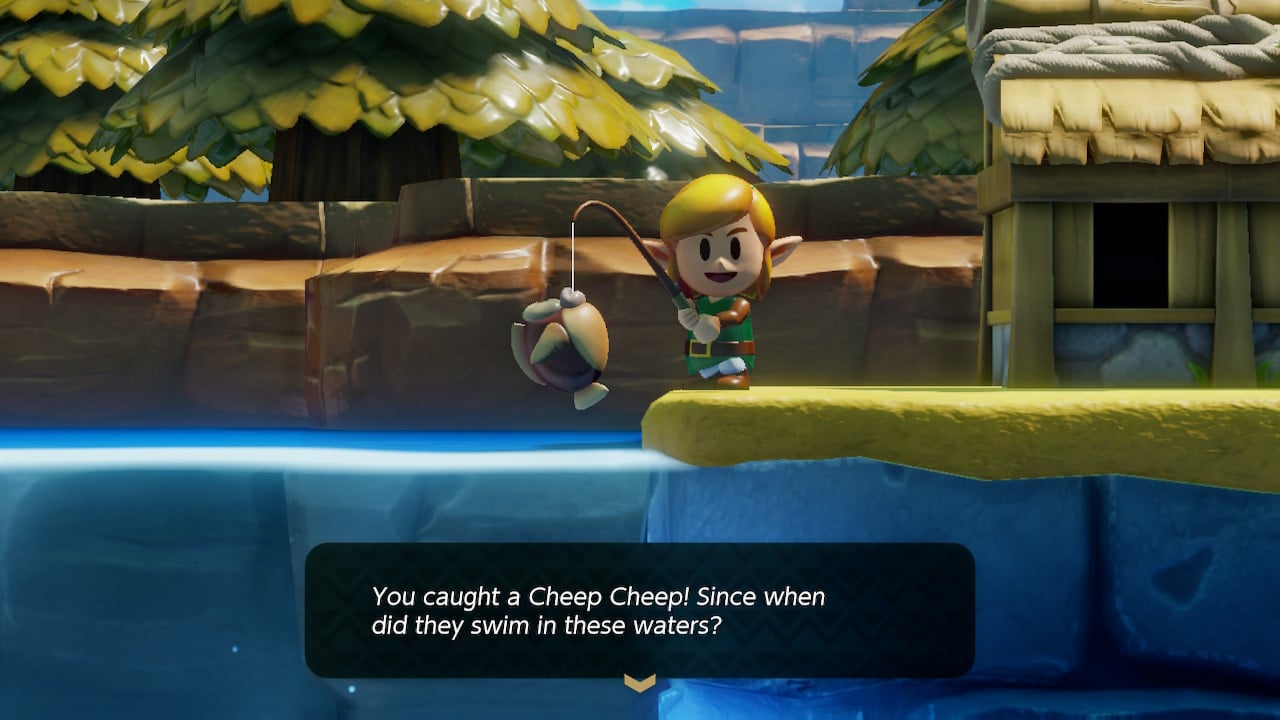
Prerequisites: Finish Catfish’s Maw. A middleweight hook may also be useful (catch any large fish).
At the Mabe Village fishing hole you can catch a variety of fish, including two special guest aquatic enemies from the Mario Bros. games, both of which will hook you a secret shell. The first and more frequent visitor is the Cheep Cheep, with its mohawk-like dorsal fin and big pouty lips. The Cheep Cheep is usually found in the upper and middle left of the pond.
One thing to look for – you can tell whether there’s a rare fish in the pond by looking for a blue glow before you talk to the fisherman. If there isn’t, consider flinging yourself into the Mabe Village well a few times (i.e. cross a loading zone) until the glow appears.
Shell 38: Explore On the Rapids Ride, Raft Shop

Prerequisites: Hookshot, Shovel
You can hookshot over to the Raft Shop from Tal Tal Heights, east of the Angler’s Tunnel entrance. Choose the Rapids Ride option to explore the rapids at your leisure. Use the hookshot to head as far west as possible, and then head immediately south. As you journey back east, you will come to various island stop-offs. The last of these appears to have nothing on it – use the hookshot to land and dig in the upper right corner for a shell.
Shell 39: Get Under 35 Seconds on the Rapids Race, Raft Shop

Prerequisites: Hookshot
If you hand over your 100 rupees and select the Rapids Race, you will be timed on your journey downstream. Complete the course in 35 seconds or less to receive a shell. The key here is to use your hookshot to pull yourself faster than the water flows, and to manoeuvre to the most optimal route (e.g. taking the first waterfall, and avoiding the circular motions in the east of the rapids).
Shell 40: Finding the Friendly Zora, Animal Village

Prerequisites: Magnifying Lens
Follow the Link’s Awakening trading quest to its conclusion and you’ll receive the Magnifying Lens (see the guide here). Head to the north-eastern house in Animal Village, and your new powers of perception will allow you to see a friendly Zora in the pool here. He’ll give you a secret seashell.
Shell 41: Hookshot Across the Potholes, Kanalet Castle*
Prerequisites: Hookshot
South of the Kanalet Castle moat is a long line of potholes. Fire the hookshot at the distant tree-stump to sail over, and then take the stairs to find a chest containing a shell.
Shell 42: Move an Armos, Ancient Ruins*
Prerequisites: Bow/Boomerang
As you journey through the Ancient Ruins, you bump up against the Armos statues to activate them, subsequently dispatching them with your bow or boomerang. In the north, near the centre of the area, you will find that one Armos activates revealing a staircase. Head down and open a chest for a shell.
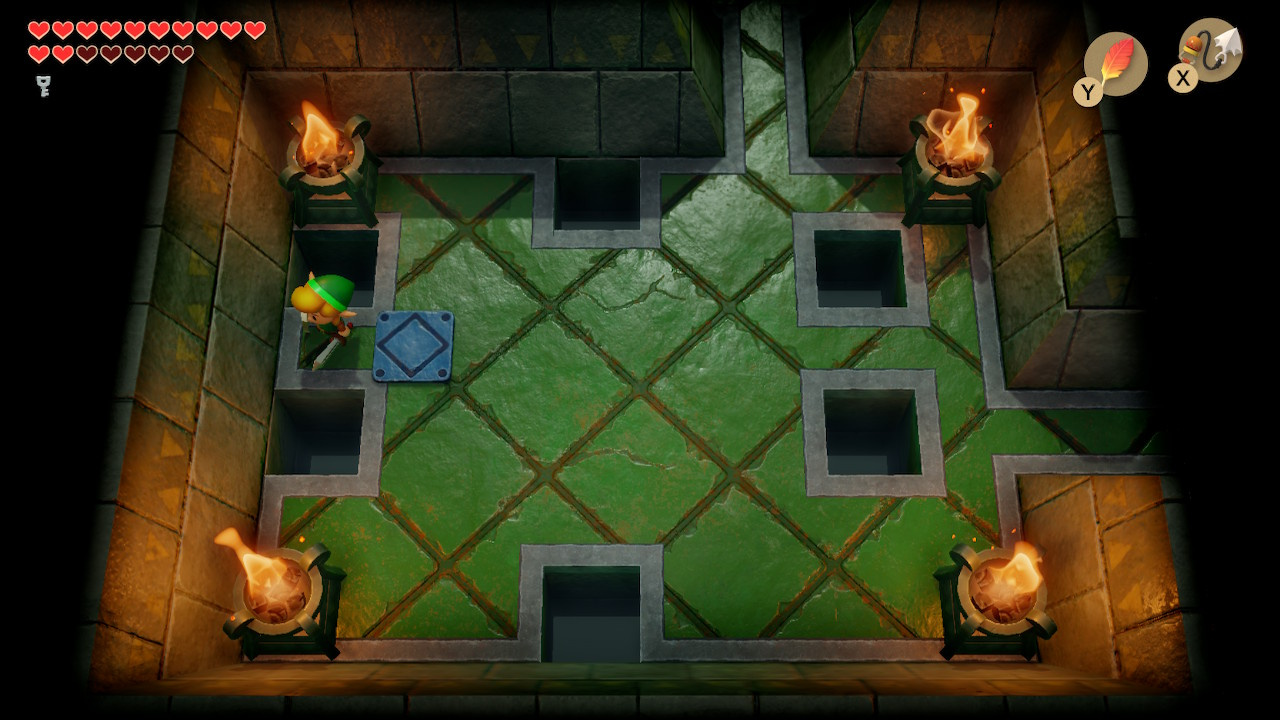
Shell 43: Ducking Out For Some Fresh Air, Inside Face Shrine*
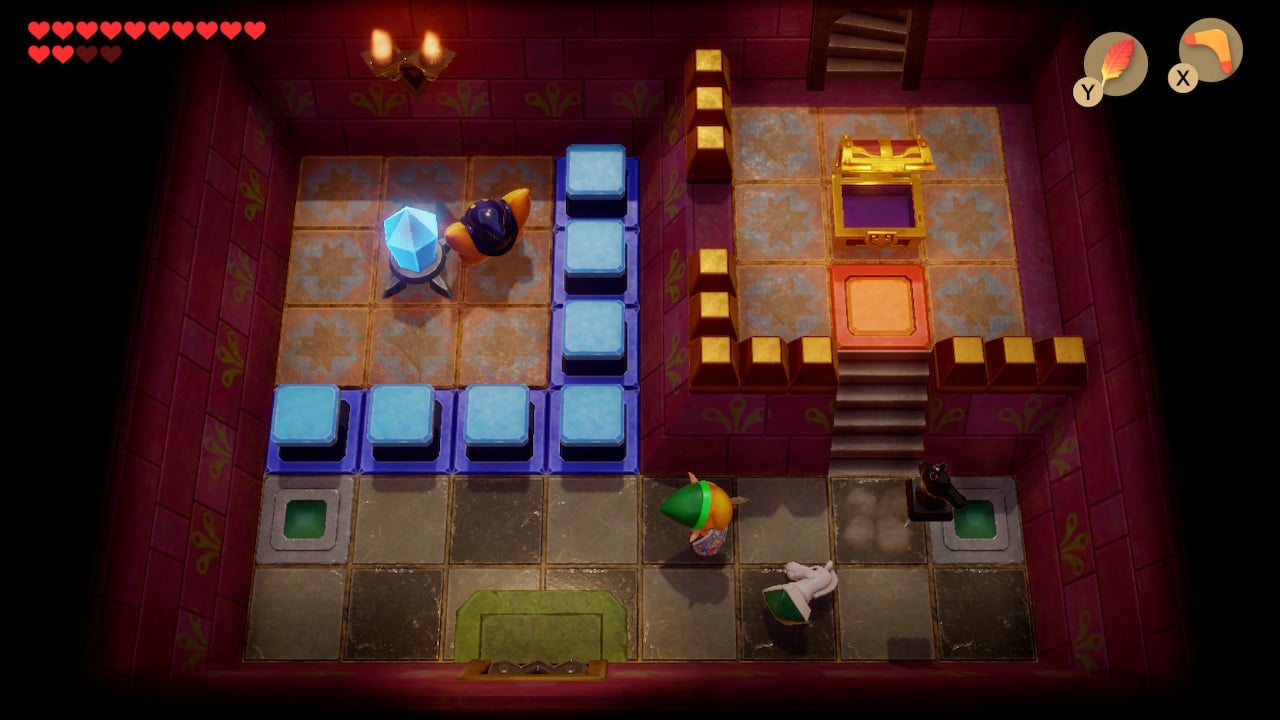
Prerequisites: Face Key, Progress in Face Shrine
In a northwestern room of the Face Shrine, while on the way to fight the Smasher Miniboss (see part seven of our guide) you will come across a chess puzzle in a room with a gem switch and a chest. There are also some steps, which unexpectedly lead outside.
You will find yourself in the south west corner of the rapids, on an otherwise inaccessible island. Open the chest for a shell before heading back inside.
Secret Seashells Available After Face Shrine
The Face Shrine upgrades Link’s Power Bracelet, allowing him to lift heavier objects, and the critical path heads to the mountains in the north of the island. Many of the following shells are technically available after the Catfish’s Maw, however we have sectioned them off here as there is no real reason to visit the Mountains until after the Face Shrine has been completed.
Shell 44: Fishing Hole (#2) Catch a Blooper, Mabe Village
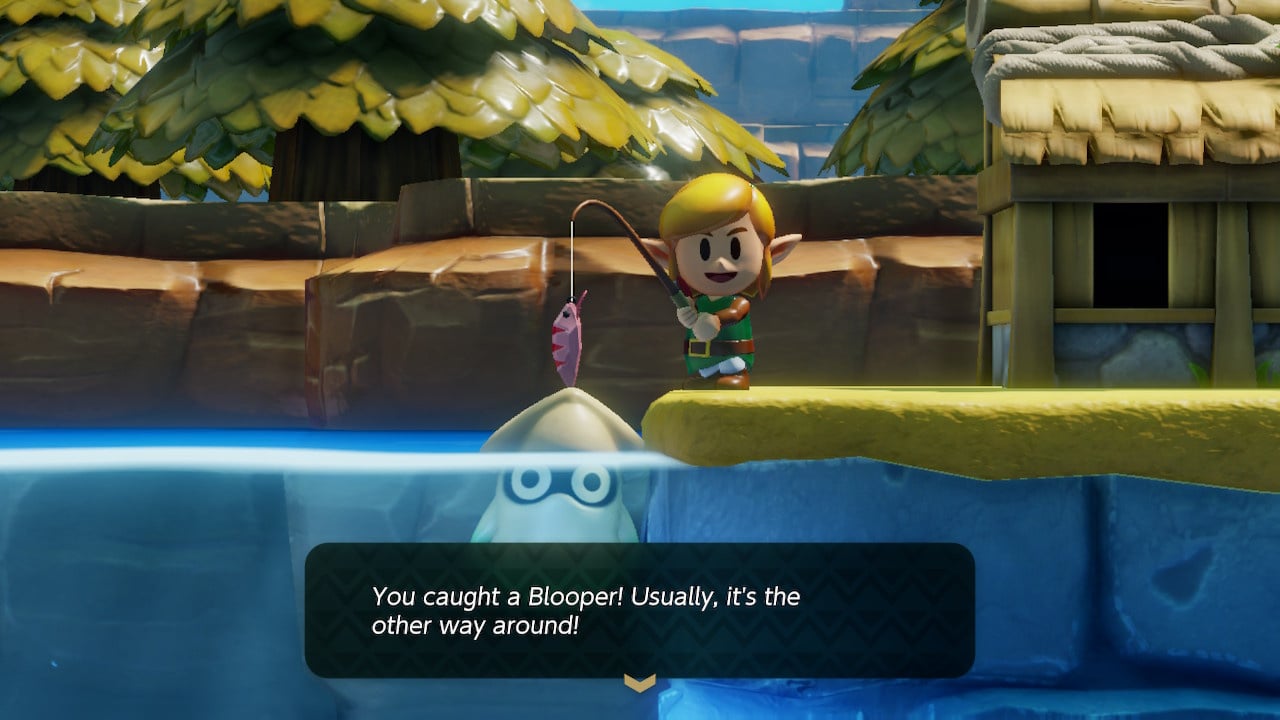
Prerequisites: Complete Face Shrine
The distinctive Mario squid enemy, the Blooper, makes an appearance in the Mabe Village Fishing Hole and can be caught with a lot of perseverance.
The key with all fish is to hammer the reel button (A) when the fish/squid is pulling, but to tap less frequently when it’s jumping or trying to shake free. You can also simply luck into having the Blooper spawn on the right of the pond for a quick catch (though this is a rarity among the Blooper’s already rare appearances)
As before, look out for a blue glow on the water before you talk to the Fisherman to guarantee there will be a rare catch of some kind in the pond. Jump in the well a few times to cycle the pond.
Shell 45: Throw a Bomb In A Hole, Western Tal Tal Mountain Range
Prerequisites: Bombs
On the level above the cave where you find the Bird Key, near the Cuckoo Keeper’s hut, you can see a hole in a small stack of rocks directly below the bridge. Throw a bomb from the bridge into this hole and a shell will fly out.
Shell 46: Lift a Rock, Western Tal Tal Mountain Range*

Prerequisites: Power Bracelet
Head east from the area mentioned in Shell 46, cross the bridge and you will find a secret seashell under a rock.
Shell 47: Bomb a Wall and Explore a Cave, Eastern Tal Tal Mountain Range*
Prerequisites: Bombs, Power Bracelet
While following the route to the Eagle’s Tower in the cave system east of where the Angler’s Tunnel waterfall used to flow, you will spot a cracked wall in a flooded section. Bomb it and head through and up the stairs.
Clear a path through the sliding stones on the next screen (push the topmost stone left, and the stone on the right side of the leftmost chest down). Note you can get 100 rupees if you open all chests – this is easier from the bottom entrance.

Once outside, you will see a chest on a ledge – open it up for a shell.
Shell 48: Jump Down a Hole in the Hinox Boss Room, Eagle’s Tower*
Prerequisites: Reach the West of the Second Floor of Eagle’s Tower
Once you make it to up the stairs in the east of the dungeon (read Part Eight of our guide if you’re having trouble), head down a screen to fight a Hinox for a Small Key. You can also jump in either of the holes on the left and you will end up on the raised walkway on the lower floor.
Follow the raised walkway north and open the chest for a shell.
Shell 49: Lift Up A Rock, Western Tal Tal Mountain Range

Prerequisites: Power Bracelet
You can venture quite far into the Western Tal Tal Mountain Range before you have the Mirror Shield necessary to access the Turtle Rock dungeon (so it may be most optimal to leave this one until after the Eagle’s Tower).
This secret seashell is found under a rock on the plateau after you’ve dodged a series of boulders falling down the cliff-face.
Secret Seashells Available After Eagle’s Tower
Though certainly useful, the key item in the Eagle’s Tower (The Mirror Shield) is only necessary to access one shell, which can be found on the critical path you must follow to the eighth dungeon anyway.
Shell 50: Dig Between the Stones, Western Tal Tal Mountains
Prerequisites: Shovel
Once you’ve made it past the fire plume with the mirror shield, head back outside and note the cross shape of stones in the lower right corner. Dig in the centre to claim the last shell.
Seashell Mansion: Full list of Rewards
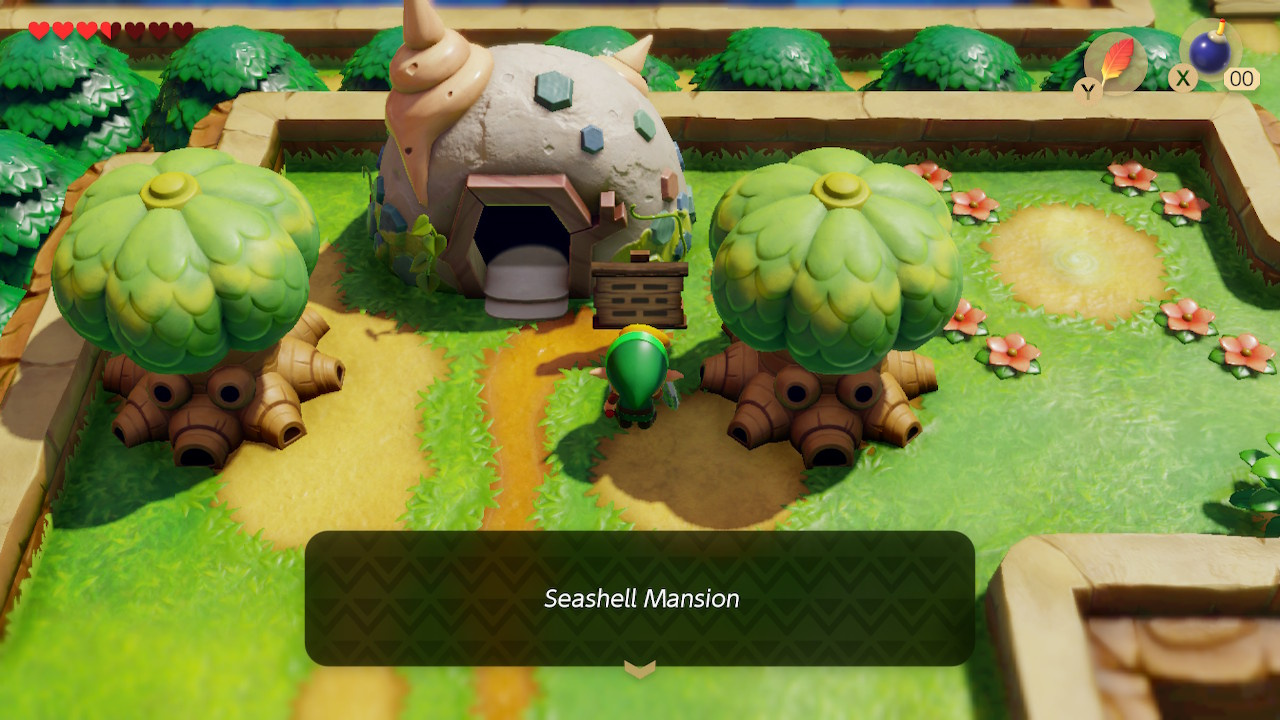
Located south of Kanalet Castle, atop a hill guarded by Moblins, you will find the Seashell Mansion. Inside, you can step on a large button to fill a meter that records your Secret Seashell count. At each milestone, you will receive a reward:
- 5 Seashells
- Heart Piece
- 15 Seashells
- Seashell Sensor (sounds when within five or six tiles of a seashell)
- 30 Seashells
- Chamber Stone (for Dampé’s dungeon making minigame)
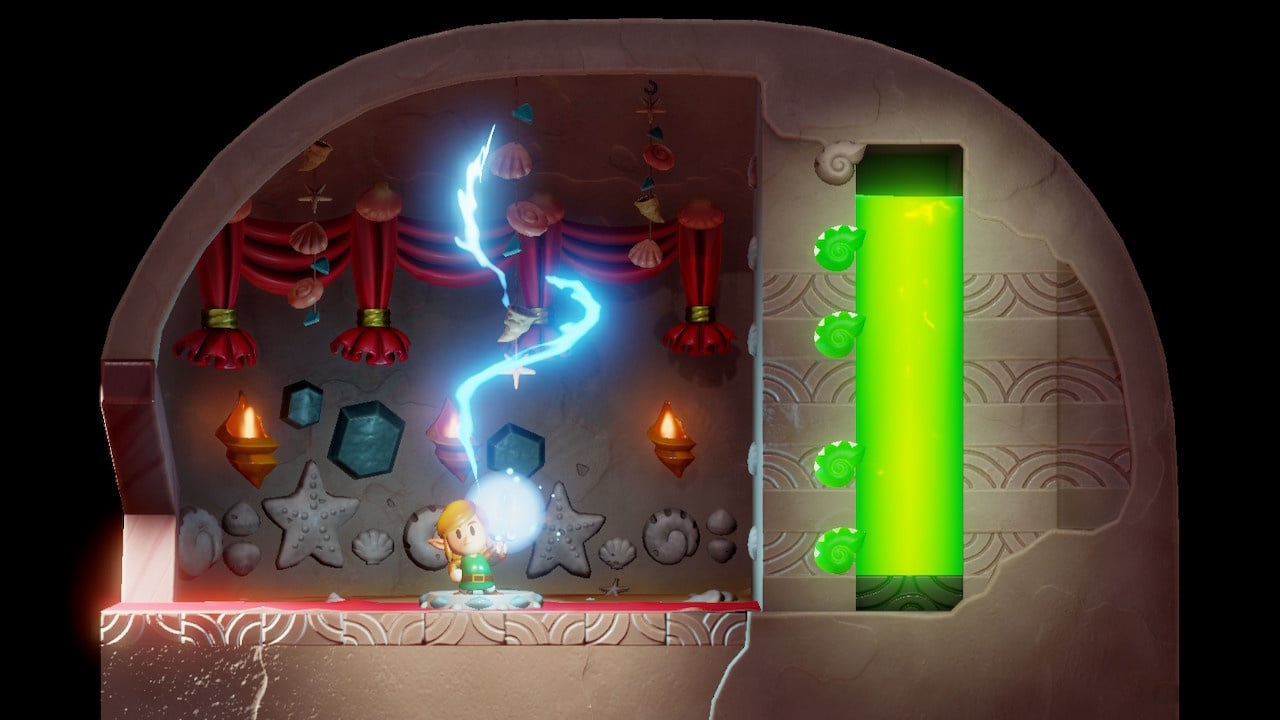
- 40 Seashells
- Koholint Sword (replaces your standard sword and grants increased damage. Also shoots a beam of light when you are at full health)
- 50 Seashells
- Chamber Stone
Once you have all 50 Seashells, the screen will turn white and you will hear a voice:
…You have discovered every secret. The proof is in the seashells you hold. I acknowledge the perseverance it took.
May fortune bless you wherever you roam.
My task here is finished.


Comments 8
Ah, I was waiting for this one! Great work @kupocake .
I think I'll just try and 'figure it out'...like when I was 10! This is the kind of game I like to do it that way.
Weren't there 1 or 2 more than 50 in DX?
Oh great now when I find 15 shells I can find more shells with the seashells I found...
This is handy. Thanks Nintendolife.
On a point of order, the requirements for shell #6 is incorrect. You need the Power Bracelet to move a rock to get to the area where the seashell is located!
EDIT:
Also, bombs are required for #14, as the spot the shell is hidden is underneath a big skull-shaped rock that needs to be blown up to access.
@Lime2K Thanks for the feedback - I've added a note next to shell #6 and tweaked the wording on #14 (I think I must have blown the skull up much earlier than I thought to dig under it!)
I think I'm actually getting this game in a few days, FINALLY
Show Comments
Leave A Comment
Hold on there, you need to login to post a comment...