Puzzle pieces and KONG letters are the big collectibles in Donkey Kong Country: Tropical Freeze, provided you're not a total masochist and feel the need to run time trials or aim for 200% completion via hard mode. We really can't help you with that.
But we can help you collect all of the lovely puzzle pieces and KONG letters. While they're not easy to collect by any means, they are achievable. You also unlock some excellent extra content for putting in the effort, so we do recommend it.
Here, we'll cover how to find every single puzzle piece and KONG letter in Autumn Heights, the second island in Donkey Kong Country: Tropical Freeze. You can also follow the links below for walkthroughs of the other islands. Enjoy!
Lost Mangroves | Autumn Heights | Bright Savannah | Sea Breeze Cove | Juicy Jungle | Donkey Kong Island | Secret Seclusion
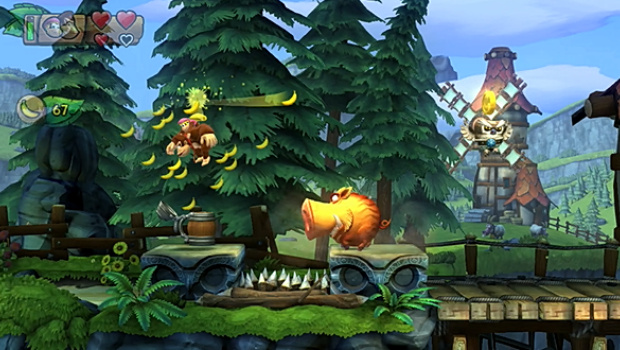
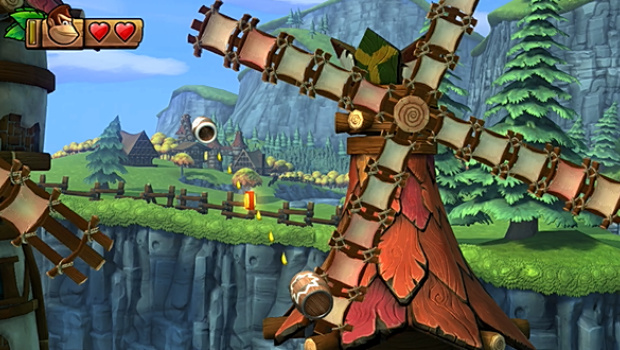
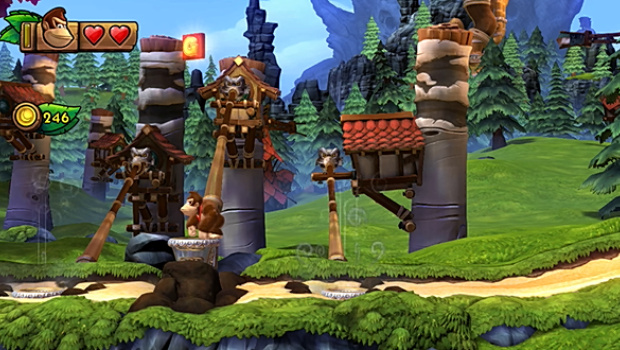
Windmill Hills Walkthrough - Puzzle Pieces And Kong Letters
Windmill Hills First Puzzle Piece
Stomp the logs at the beginning of the level to reveal a root. Pull that up to get a barrel, then turn left and throw it at the wall to reveal a hidden area. Collect all of the bananas here to grab the first puzzle piece.

Windmill Hills Kong Letter K
Jump on the owl's head just to the right of the windmill where you got the second puzzle piece to grab this KONG letter.
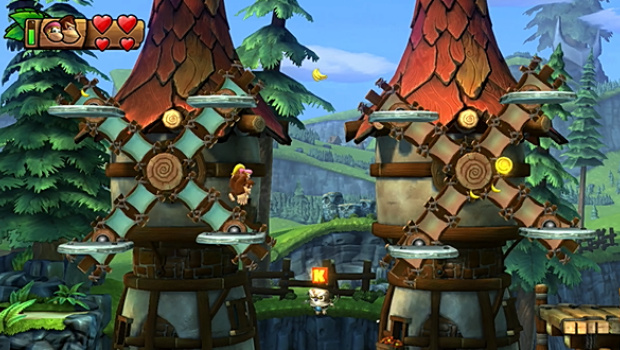
Windmill Hills Second Puzzle Piece
Collect all of the bananas on the first windmill to grab the second puzzle piece.
Windmill Hills Third Puzzle Piece
Defeat all of the penguins on the windmill just to the left of the first checkpoint to grab this puzzle piece.
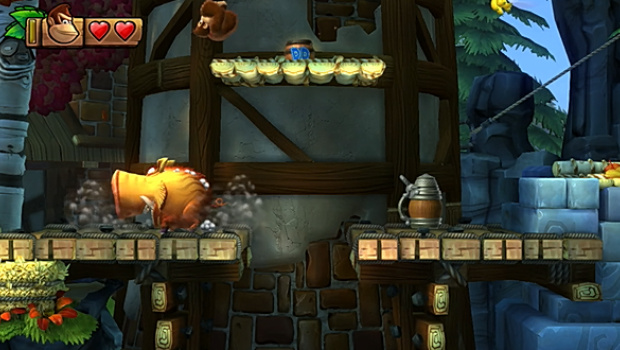
Windmill Hills Fourth Puzzle Piece
Right after the first checkpoint, stomp the jug to unleash a bunch of bananas and collect all of them before they disappear to grab this puzzle piece. You might want to defeat the fire-throwing pig to your right first to make this easier
Windmill Hills Fifth Puzzle Piece
When you grab the Diddy Kong barrel, don't throw it. Instead, backtrack left and throw it at a sack to break it and collect this puzzle piece.
Windmill Hills Sixth Puzzle Piece
The sixth puzzle piece is just to the right of this one. Grab the root on the ground underneath the barrel and you'll see the 6th puzzle piece below.

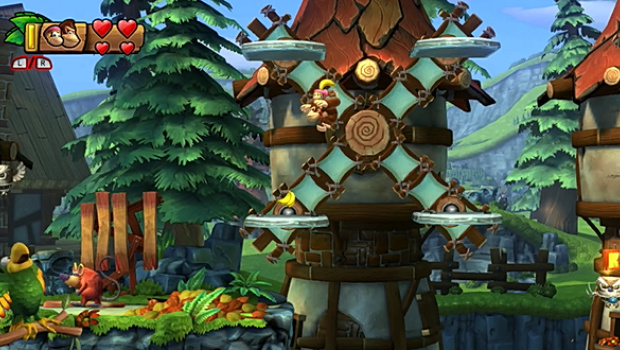
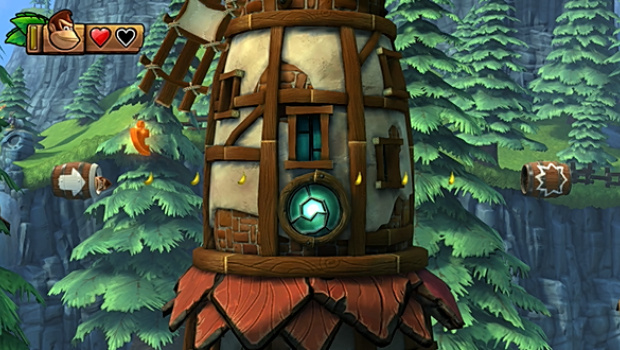
Windmill Hills Kong Letter O
Right after grabbing the sixth puzzle piece, head inside the building full of windmills and you'll find the O on the rightmost one.
Windmill Hills Seventh Puzzle Piece
Just after grabbing the O, head left up the windmills to find a secret area near the top. Collect all of the bananas inside to grab this puzzle piece.

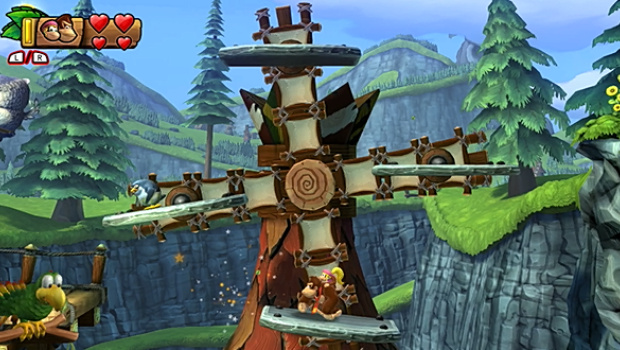
Windmill Hills Eighth Puzzle Piece
Right after the second checkpoint, head right until you find a windmill surrounded by bells. Stomp on each one to break the centrepiece, inside of which is a puzzle piece.
Windmill Hills Kong Letter N
You'll find the N right after the eighth puzzle piece, on a tiny wooden platform to the right.
Windmill Hills Kong Letter G
During the barrel section right at the end of the level, the G will pop up between barrel throws. Stay vigilant to grab it.
Windmill Hills Ninth Puzzle Piece
Right after grabbing the G and bouncing off a bunch of windmills, stay patient in the barrel you land in until you see the final puzzle piece. Time your exit from the barrel correctly to grab it.
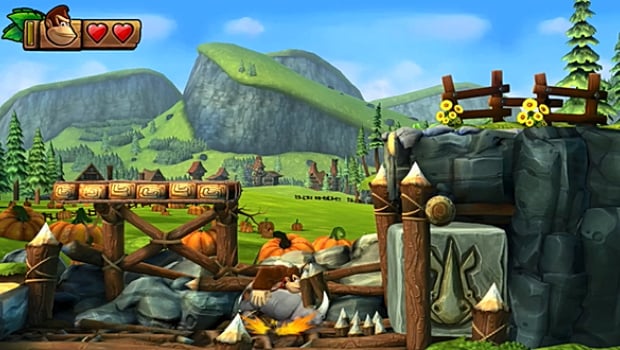
Mountain Mania Walkthrough - Puzzle Pieces And Kong Letters
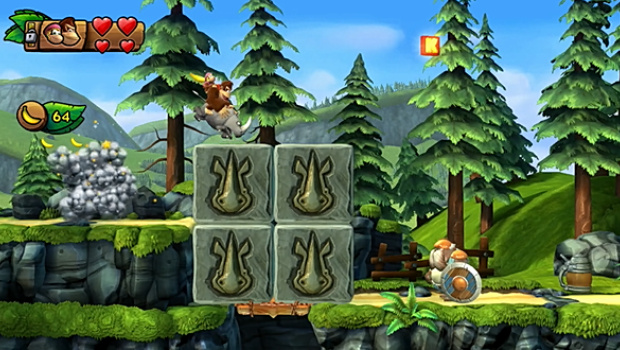
Mountain Mania First Puzzle Piece
Grab the rhino then backtrack and drop down onto the spikes. Head right and break the stone block to reveal the first puzzle piece.
Mountain Mania Kong Letter K
Right after grabbing the rhino, head right until you see a collection of stone blocks. Jump on top of them without breaking and leap to the right to grab this KONG letter.
Mountain Mania Second Puzzle Piece
Drop down right after grabbing the K letter and stomp on the thin platform to your left to enter a secret area. Collect all of the bananas in 30 seconds to grab this puzzle piece.

Mountain Mania Third Puzzle Piece
Just after grabbing the second puzzle piece, head right and jump onto the wooden platform to trigger a bunch of bananas to appear. Grab them all before they disappear to get this puzzle piece.

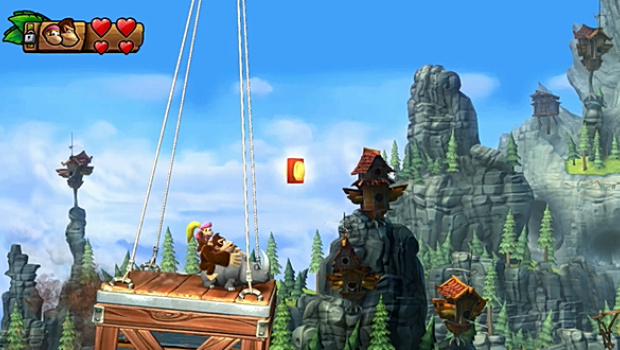
Mountain Mania Kong Letter O
You'll find the O right after the first checkpoint. Head right until you find a swinging box. Time your jump correctly while on it to grab this KONG letter.
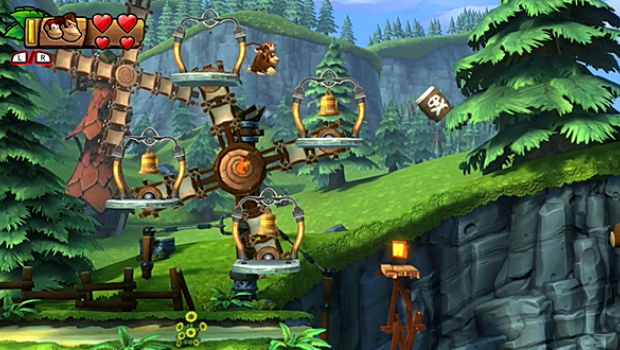
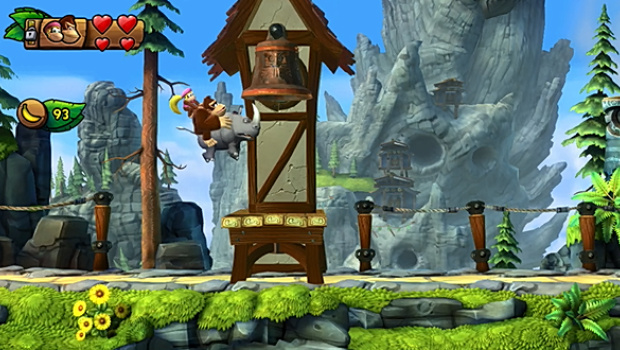
Mountain Mania Fourth Puzzle Piece
Break all of the bells to your right after grabbing the O to get this puzzle piece.
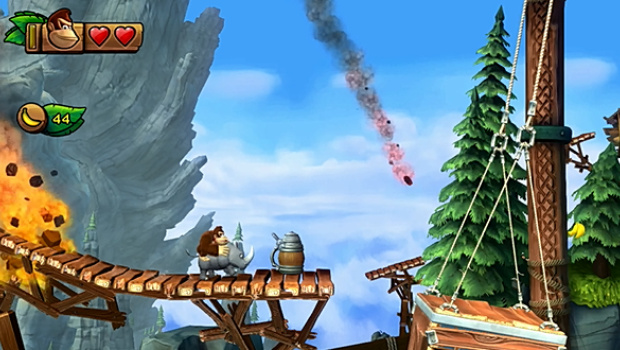
Mountain Mania Fifth Puzzle Piece
Stomp by the jug during the rhino running section to grab this puzzle piece.
Mountain Mania Kong Letter N
Right after grabbing the fifth puzzle piece, bounce off the second enemy's head to grab this N.
Mountain Mania Sixth Puzzle Piece
Shortly after grabbing the N, collect all of the coins while swinging on the boxes to grab this puzzle piece.
Mountain Mania Seventh Puzzle Piece
Right after grabbing the sixth puzzle piece, stomp by the jug and collect all of the bananas before they disappear to grab the seventh.

Mountain Mania Kong Letter G
Just after the final checkpoint, head right through the crumbling platforms and you'll see the G above and to your right. Bounce off the mouse to grab it.

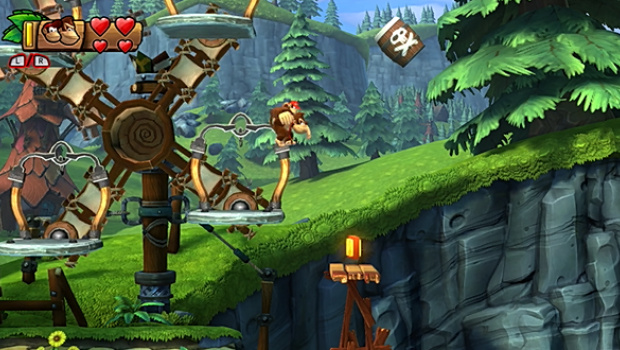
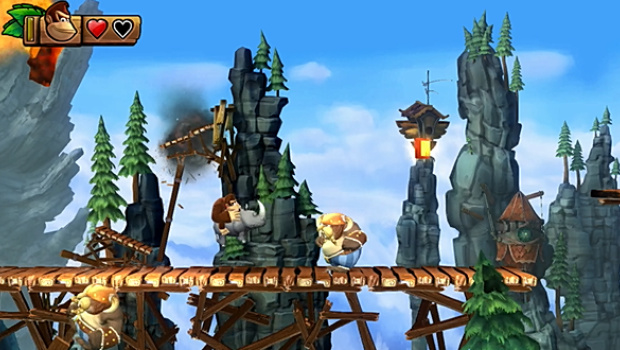
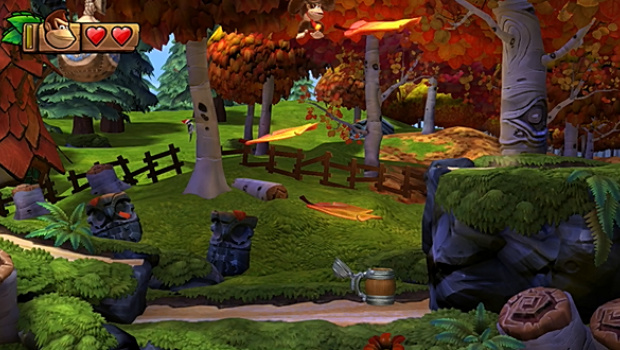
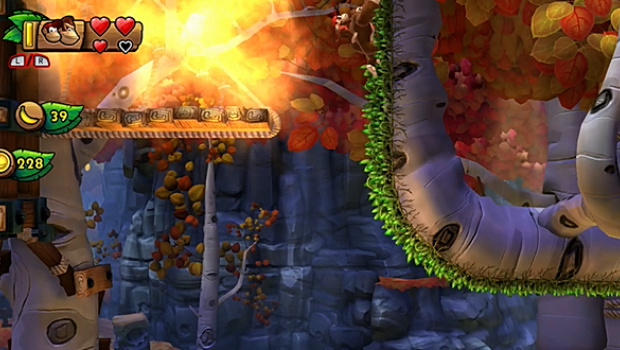
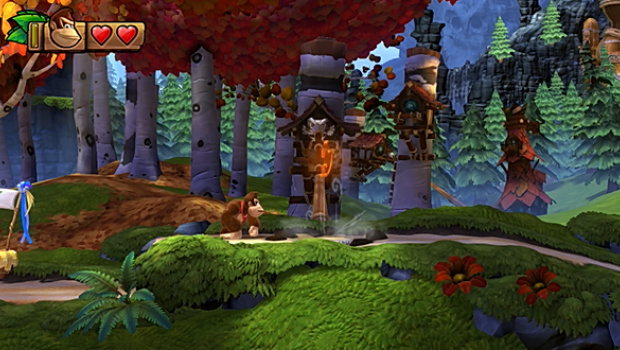
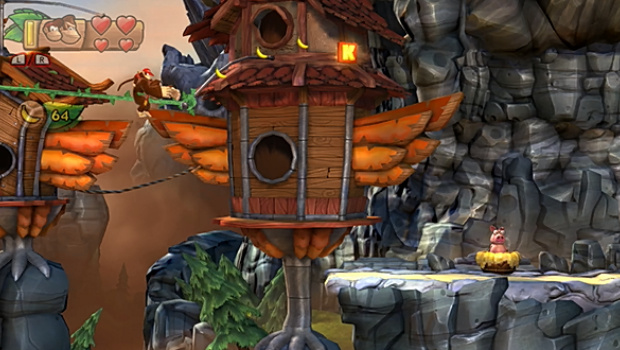
Horn Top Hop Walkthrough - Puzzle Pieces And Kong Letters
Horn Top Hop First Puzzle Piece
Jump on the helmet penguin's head and pick it up then jump on top of the three floating leaves. At the top, throw it left to break the sack and grab the first puzzle piece.
Horn Top Hop Kong Letter K
Right after the partner barrel, head left and you should see the K firing intermittently out of a horn. Time your jump to grab it.
Horn Top Hop Second Puzzle Piece
When you come across a flame-shooting pig, jump up and grab onto the grass above you, then head left to a secret area. The secret puzzle piece is there.
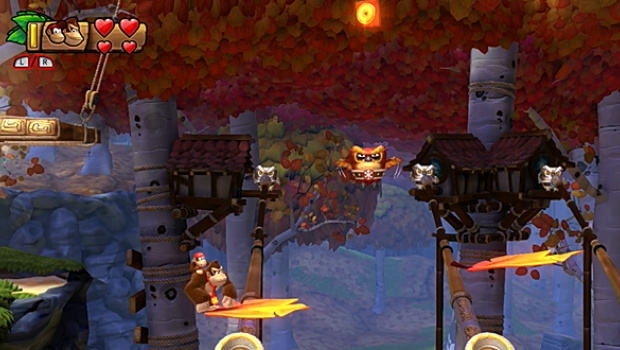
Horn Top Hop Kong Letter O
Shortly after the first checkpoint, you'll reach a section of falling leaves. Bop on top of the owl in the middle of these when it's not on fire to grab this KONG letter.
Horn Top Hop Third Puzzle Piece
Right after grabbing the O, jump through the next section of leaves and on the last one you should see a hidden area just beneath the adjacent platform. Head inside and grab all bananas before the timer hits zero to get this puzzle piece.

Horn Top Hop Kong Letter N
You'll come across the N right after the second checkpoint. It's easy to grab – just bounce on the helmet owl's head.

Horn Top Hop Fourth Puzzle Piece
Reach the third checkpoint, then roll over the leaves just to the right. Stand near them and wait until the puzzle piece appears then grab it.
Horn Top Hop Kong Letter G
The G is just to the right of the fourth puzzle piece. You have to bounce on the penguin's head to get it.
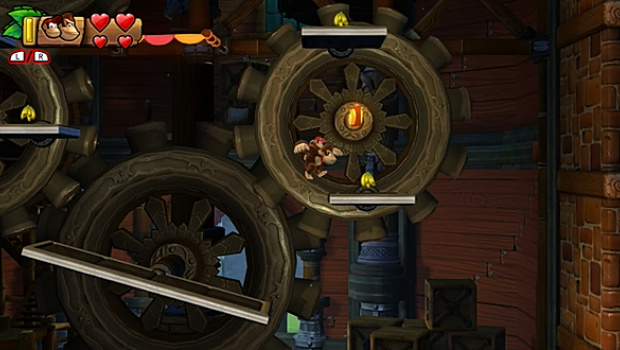
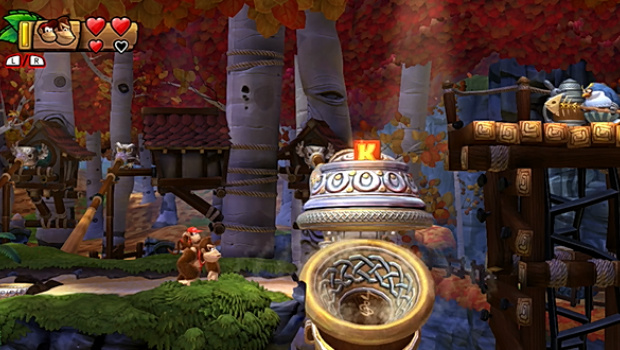
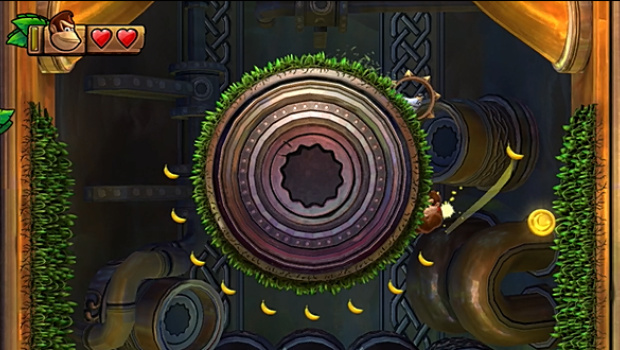
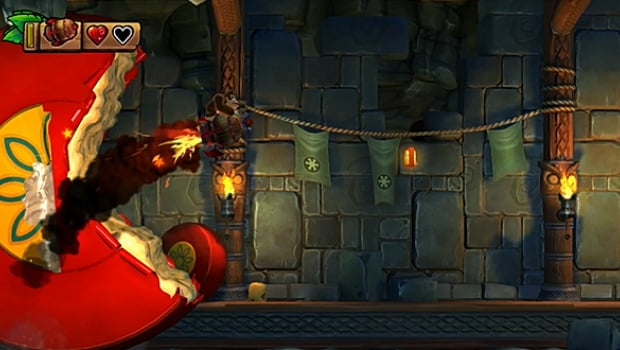
Horn Top Hop Fifth Puzzle Piece
At the end of the level, wait until the exit barrel falls into the horn and fire yourself into it. You'll find the final puzzle piece easily enough. It's on the top of the grassy wheel in the centre.
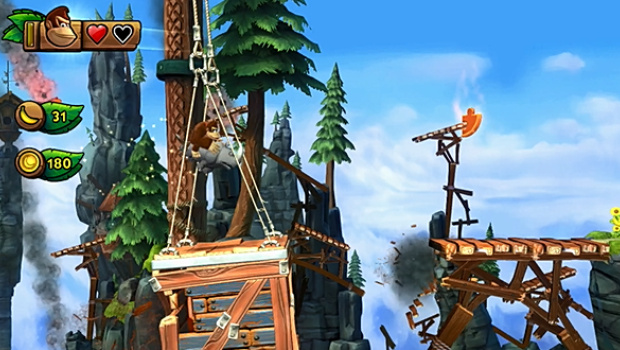
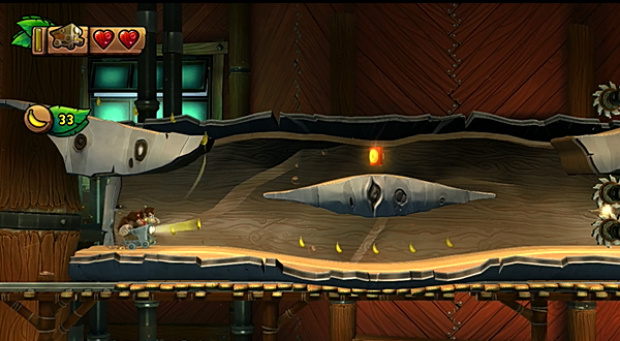
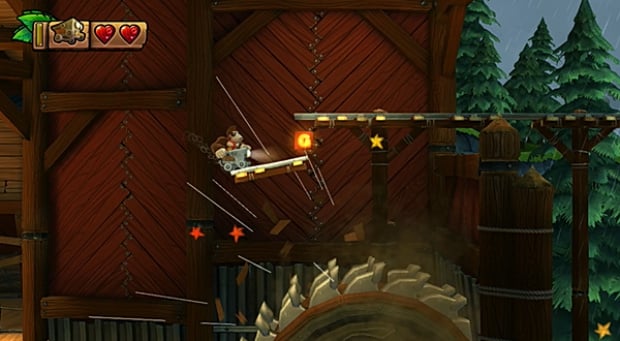
Sawmill Thrill Walkthrough - Puzzle Pieces And Kong Letters
Sawmill Thrill First Puzzle Piece
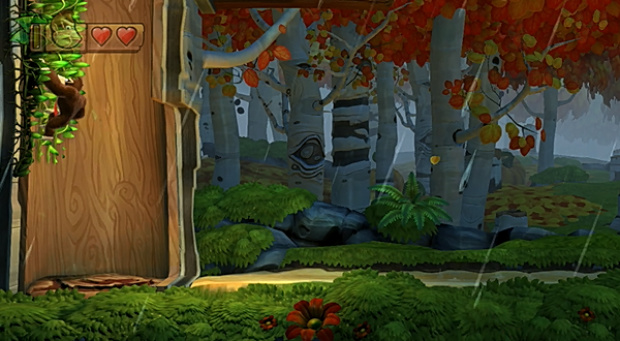
As ever, take a left at the beginning of Sawmill Thrill and head inside the tree trunk. Here, climb up the grass on the left to reach the top, where a puzzle piece is waiting.
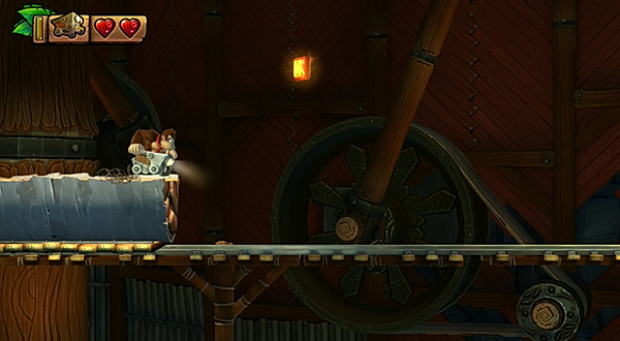
Sawmill Thrill Kong Letter K
During the cart section, you'll fire through a glass window. Just to the right is the K letter. Jump onto the log and then off it at the end to grab it.
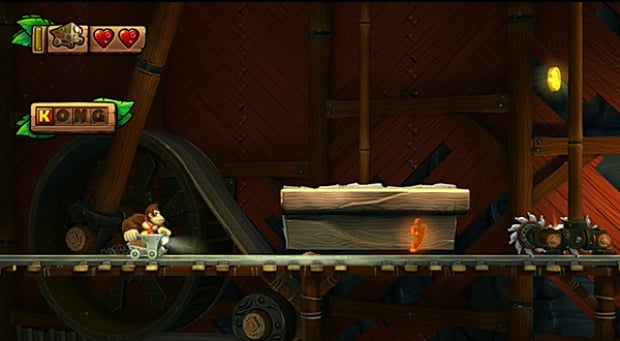
Sawmill Thrill Second Puzzle Piece
Right after grabbing the K, duck under the log to grab this puzzle piece.
Sawmill Thrill Kong Letter O
After grabbing the second puzzle piece, take the topmost path that the saw creates out of the log to get the O at the end.
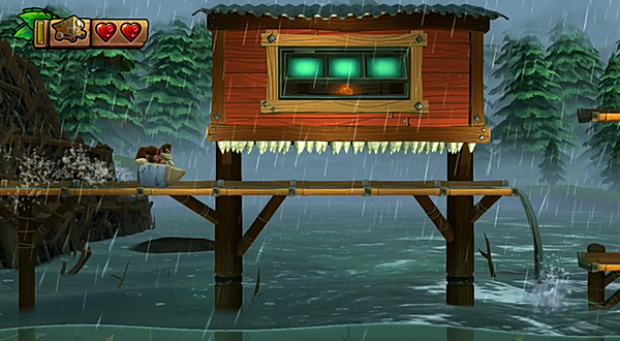
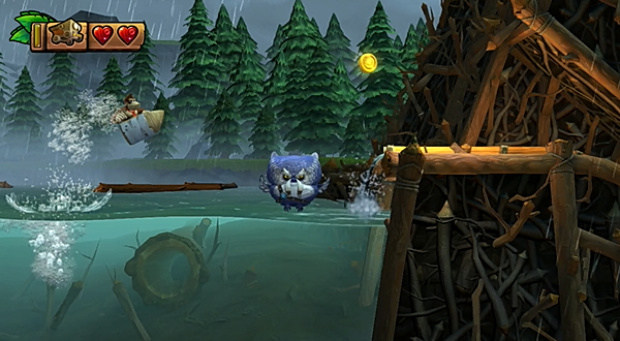
Sawmill Thrill Kong Letter N
The N is quite tricky to get. Just after the first checkpoint you'll come to a water section. When you see the large owl, dive under the water so you go under it to grab the N.

Sawmill Thrill Third Puzzle Piece
Right after grabbing the N, instead of ducking under the spikes, jump over them to enter the building and grab this puzzle piece.
Sawmill Thrill Fourth Puzzle Piece
The fourth puzzle piece can be found right at the end of the water section. Jump over the last owl and you'll find a secret room. Grab all of the bananas within 30 seconds to grab the puzzle piece.
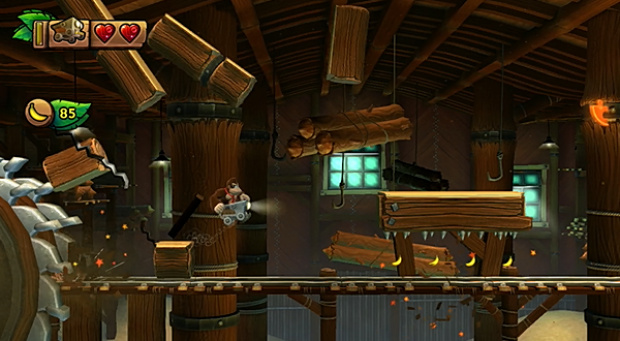
Sawmill Thrill Fifth Puzzle Piece
Right after your log gets turned into a cart, remain vigilant during this section. You need to time your jump expertly to land on a tiny crate, then jump off it and onto another log to grab this puzzle piece.
Sawmill Thrill Kong Letter G
After grabbing the fourth puzzle piece, jump at the last possible second during this next section to get the G.
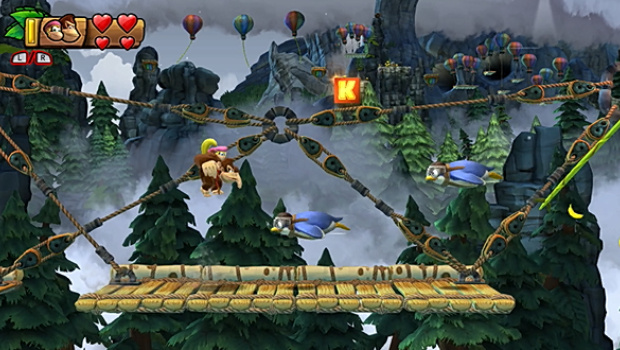
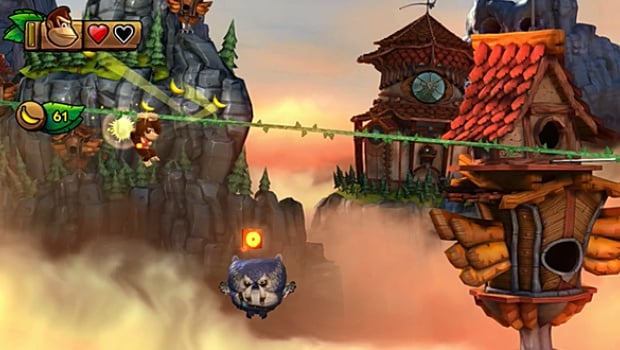
Alpine Incline Walkthrough - Puzzle Pieces And Kong Letters
Alpine Incline Kong Letter K
You'll find the K right at the beginning of the level, while crossing the ropebridge. Two penguins will fly at you from just underneath the K. Bounce off both of them to get it.
Alpine Incline First Puzzle Piece
Right after the first checkpoint, head left and you'll find a bunch of floating platforms. Grab all of the bananas that appear to grab the first puzzle piece.

Alpine Incline Second Puzzle Piece
Shortly after grabbing the first puzzle piece, grab all of the coins on the owls's heads during the swinging section to get the second puzzle piece.
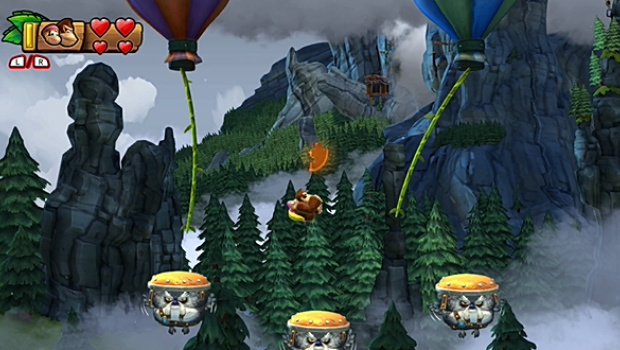
Alpine Incline Kong Letter O
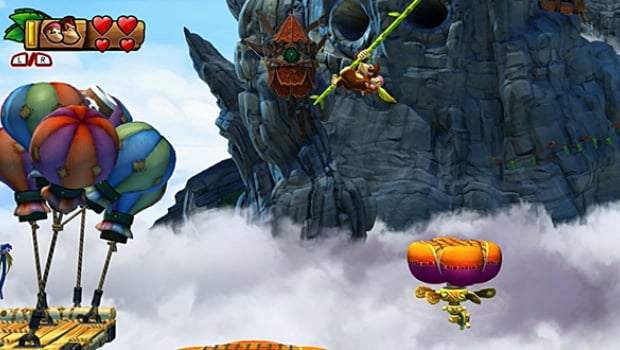
The second KONG letter is located during the section where you fly through the clouds on a balloon. Grab it just before leaping into the cannon.
Alpine Incline Third Puzzle Piece
At the second checkpoint, bounce up to the vine and let it carry you left. Jump off it and you'll land in a cannon that fires you to a secret area. Grab all of the bananas before the timer runs out to grab the third puzzle piece.
Alpine Incline Fourth Puzzle Piece
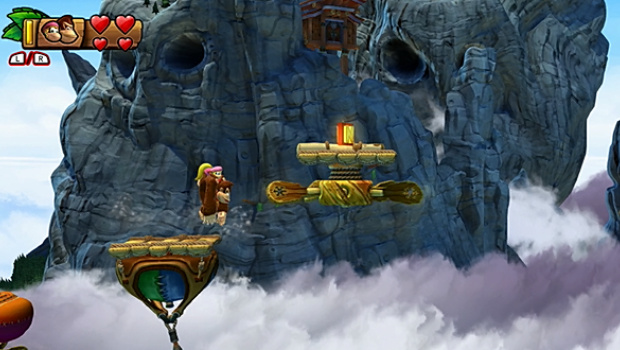
You'll find the fourth puzzle piece shortly after the second checkpoint. To grab it, jump on the moving platform to the right and let it carry you backwards into the puzzle piece.
Alpine Incline Kong Letter N
The N is right after the third puzzle piece. Just jump on top of the platform to grab it.
Alpine Incline Kong Letter G
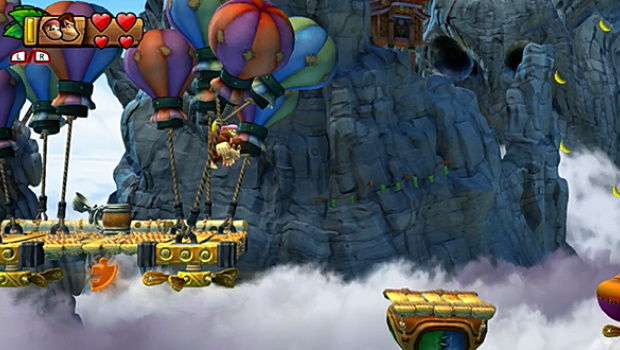
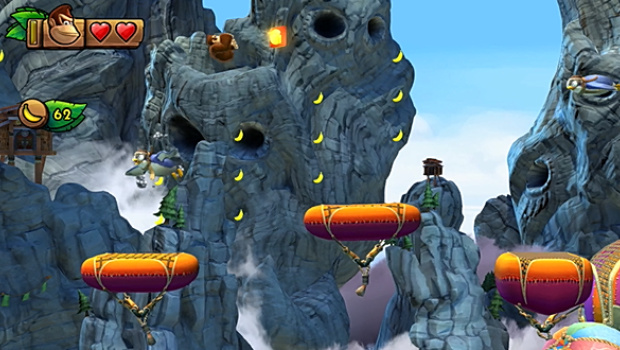
During the section with the flying penguins, you'll find the G quite high above the bouncing balloons.
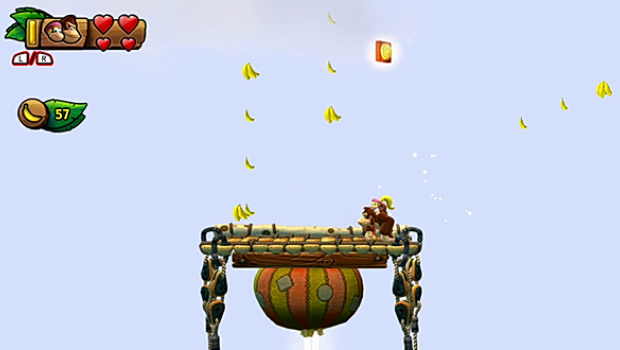
Alpine Incline Fifth Puzzle Piece
You'll find the fifth puzzle piece at the end of the level. Instead of leaving by dropping onto the barrel, instead head right over the balloons until you find the secret room. Grab all of the bananas before the timer runs to get this puzzle piece.

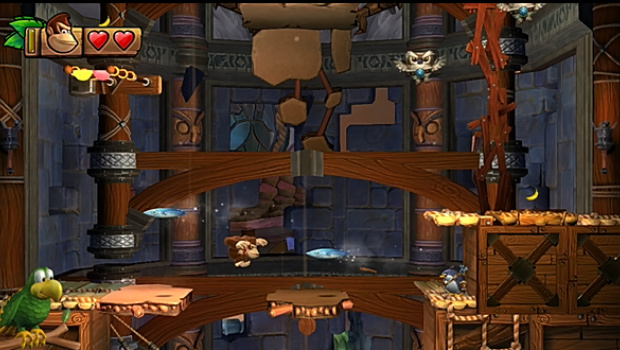
Wing Ding Walkthrough - Puzzle Pieces And Kong Letters
Wing Ding First Puzzle Piece
After grabbing the first partner barrel, roll to the right to smash through a barrier into a secret area, then smash on the ground to fall to the platform below you. Head to the left to find the first puzzle piece.

Wing Ding Kong Letter K
You'll find the K at the end of the vine section just before the first checkpoint.
Wing Ding Second Puzzle Piece
Shortly after the first checkpoint, you'll find a platforming section with a bunch of wooden platforms that break. At the end, you should see a platform above and to your left. Bounce off the fish the archer is firing to reach it and a cannon will appear. Jump inside and you'll find a secret room. Grab all of the bananas before the timer runs out to get the second puzzle piece.

Wing Ding Kong Letter O
The O is right at the end of the second vine section. Drop off at the right time to land on the owl's head.
Wing Ding Third Puzzle Piece
After the second checkpoint, just before jumping onto the next vine section, drop down a couple of platforms and head left to find a secret room. Grab all of the bananas before the timer runs out to get the puzzle piece.

Wing Ding Kong Letter N
You'll find the N during the third vine section. Drop off the vine at the right moment to grab it.

Wing Ding Fourth Puzzle Piece
After the third platform, jump to the right then back left to find a cannon. Fire yourself downwards to find the fourth puzzle piece. Careful grabbing it though, because the ground beneath your feet will vanish after you touch it. You'll need to roll jump to get back safely.

Wing Ding Fifth Puzzle Piece
During the final section, when you have to climb up a building, keep an eye out on the right. You should see a section of flooring that you can stomp on. Do so and you'll find the fifth puzzle piece.
Wing Ding Kong Letter G
The G is found during the final section. Keep an eye right to find it just above a platform. It breaks when you step on it though so be careful – and quick.
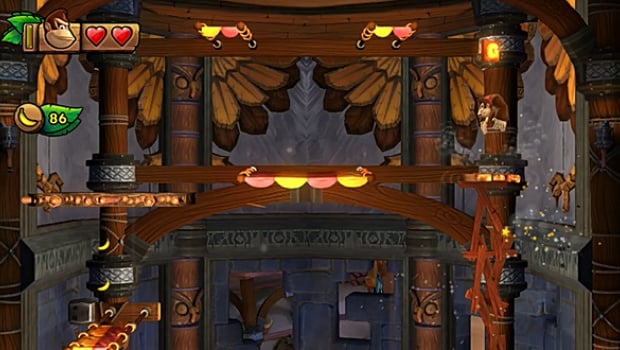
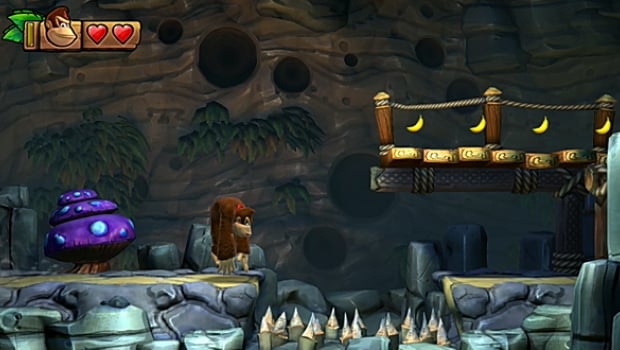
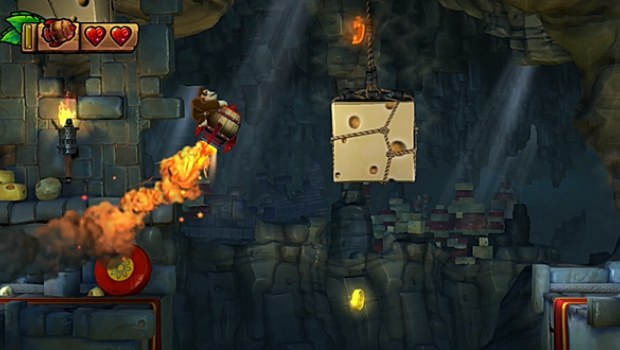
A Crumble Cavern Walkthrough - Puzzle Pieces And Kong Letters
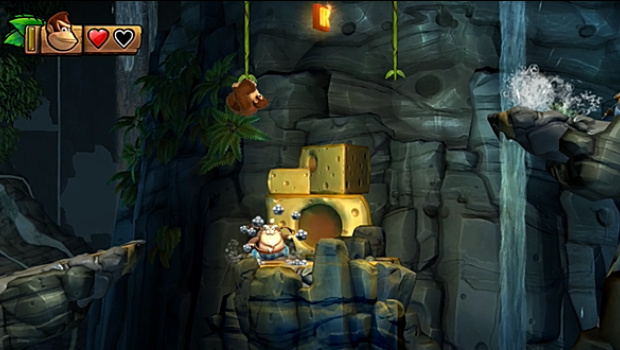
A Crumble Cavern First Puzzle Piece
Just after you slide down the long vine, you'll reach a section with a seesawing rock. Instead of carrying on right, jump instead left and across the vines to grab the first puzzle piece.

Crumble Cavern Kong Letter K
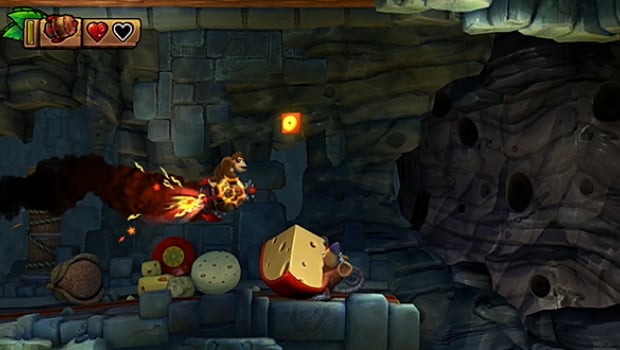
Just after grabbing the first puzzle piece, head right until you see a massive block of cheese. The K is just above it, and you can jump off the jumping enemy's head to grab it.
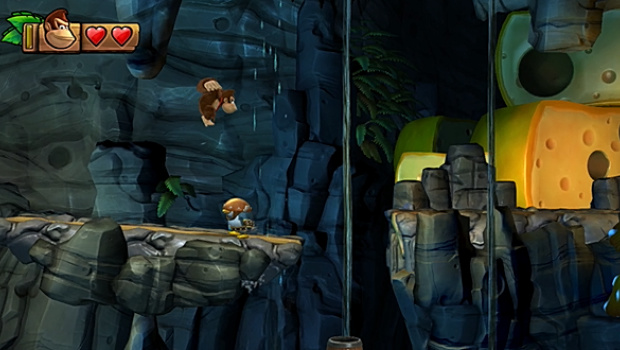
Crumble Cavern Second Puzzle Piece
Right after the K piece, jump over to the next seesawing rock and look to the bottom right. You should see a barrel. Jump into it to fire into a secret area where you have to grab all of the bananas before the timer runs out to get the second puzzle piece.
Crumble Cavern Third Puzzle Piece
After you grab the second puzzle piece, go back and grab the helmet penguin by jumping on his head to stun him then pick him up. Head right until you find a bunch of cheese. In the middle of this section you'll see a sack. Throw the penguin at it to grab the third puzzle piece.

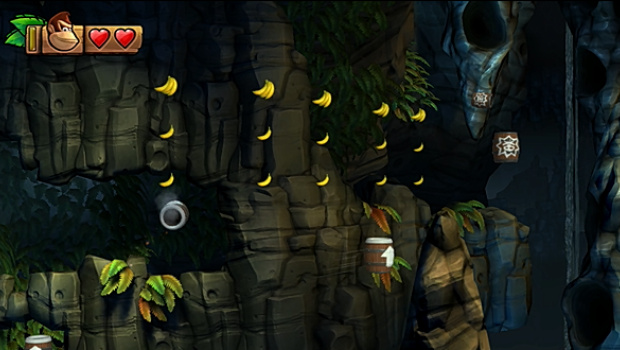
Crumble Cavern Fourth Puzzle Piece
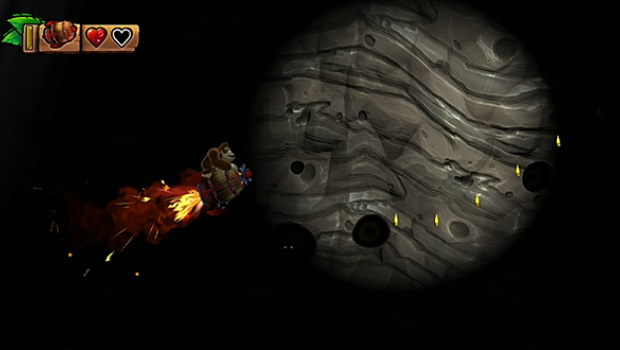
The fourth puzzle piece is located in the barrel section. You'll see a bunch of bananas above you. Grab them all to get the fourth piece.
Crumble Cavern Kong Letter O
Just after you get the first buddy barrel you'll see the O while crossing a bunch of vines. Be careful during this section, because some of the vines will permanently break.
Crumble Cavern Fifth Puzzle Piece
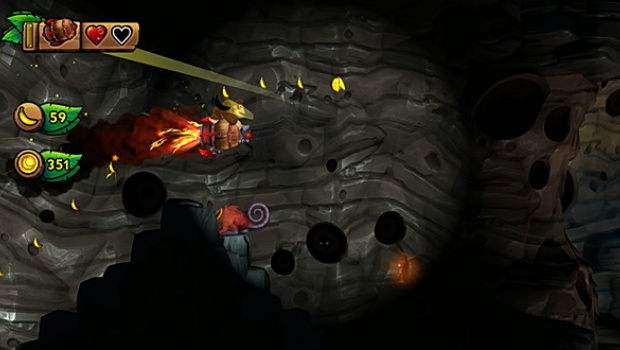
Just after grabbing the O, you'll reach another barrel section. Keep an eye out for a slightly hidden barrel at the top centre of the screen, and aim for that one to reach a secret area. Grab all bananas in 30 seconds for the fifth puzzle piece.

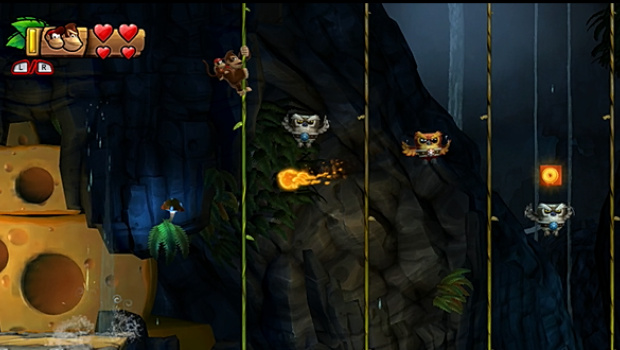
Crumble Cavern Sixth Puzzle Piece
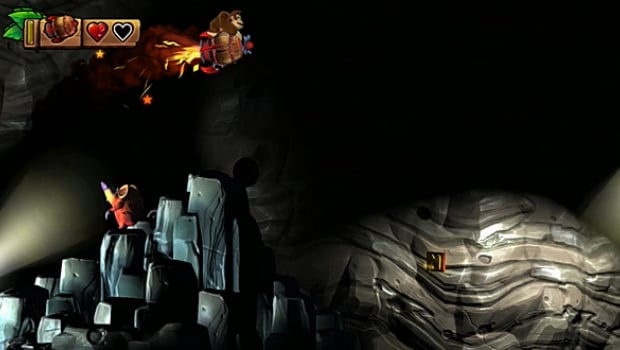
You'll find the sixth right after the fifth. Head right past the checkpoint and across a seesaw rock to find a bunch of vines. Leap across to the first, then climb up it and jump left rather than right. You'll see the sixth puzzle piece above a firey owl.

Crumble Cavern Seventh Puzzle Piece
The seventh is located just after the sixth. Jump back across the vines and into a barrel, then grab all of the bananas during this section to grab the final puzzle piece.

Crumble Cavern Kong Letter N
During the stressful end segment where you have to avoid a bunch of falling rocks, you'll see the N while firing through a bunch of barrels. Timing is key here.

Crumble Cavern Kong Letter G
Right after the N, you'll find the G while climbing the spire in a barrel.
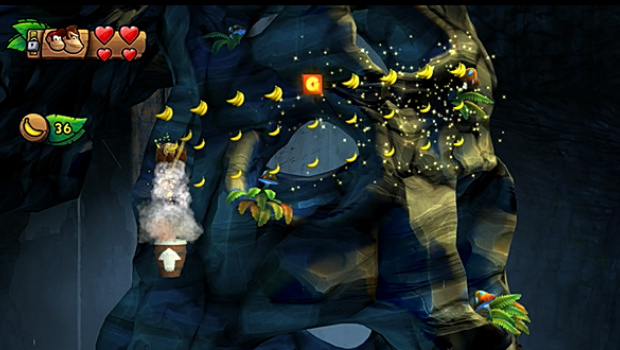
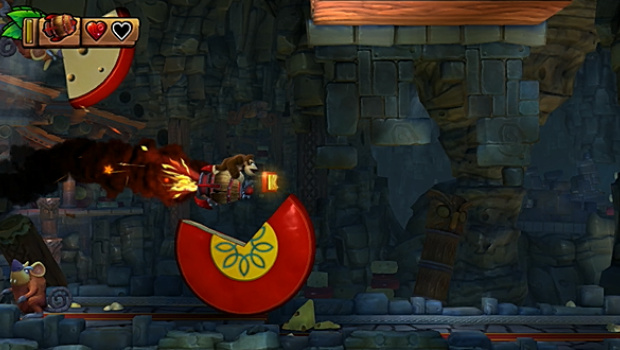
Rodent Ruckus Walkthrough - Puzzle Pieces And Kong Letters
Rodent Ruckus First Puzzle Piece
The first puzzle piece is right at the beginning of the level. Head right and instead of jumping onto the platform to kill the rodent, jump across the spikes and keep going right to find a secret area. Grab all of the bananas to get this puzzle piece.
Rodent Ruckus Kong Letter K
You'll find the K right at the beginning of the rocket section. Follow the path of bananas and remain quite central to grab it.
Rodent Ruckus Second Puzzle Piece
You'll find the second puzzle piece at the beginning of the rocket section. Don't be tempted by the coin below a block of cheese, for the puzzle piece is above it.
Rodent Ruckus Kong Letter O
The O appears shortly after you grab the K. Again, just keep quite central while avoiding obstacles to
Rodent Ruckus Third Puzzle Piece
Right after the first checkpoint, grab all of the bananas to get the third puzzle piece.
Rodent Ruckus Kong Letter N
You'll find the N right after the first checkpoint. Keep an eye on the bottom right of the screen and you should see it. Allow the rocket to take you down at the right moment to grab it but be careful, because the light will vanish and you'll have to climb upwards as soon as you hear the collection sound.
Rodent Ruckus Fourth Puzzle Piece
The fourth puzzle piece is right after you grab the N. You'll have to do another fall of faith but this time right near a rodent to grab it.
Rodent Ruckus Kong Letter G
Stay inside the rolling cheese and you should be able to safely get the G.
Rodent Ruckus Fifth Puzzle Piece
The final puzzle piece is found right at the end. Rather than smash the barrel to end the level, run to the right and roll jump off the platform onto another. The puzzle piece is right there.


Comments 0
Wow, no comments yet... why not be the first?
Leave A Comment
Hold on there, you need to login to post a comment...