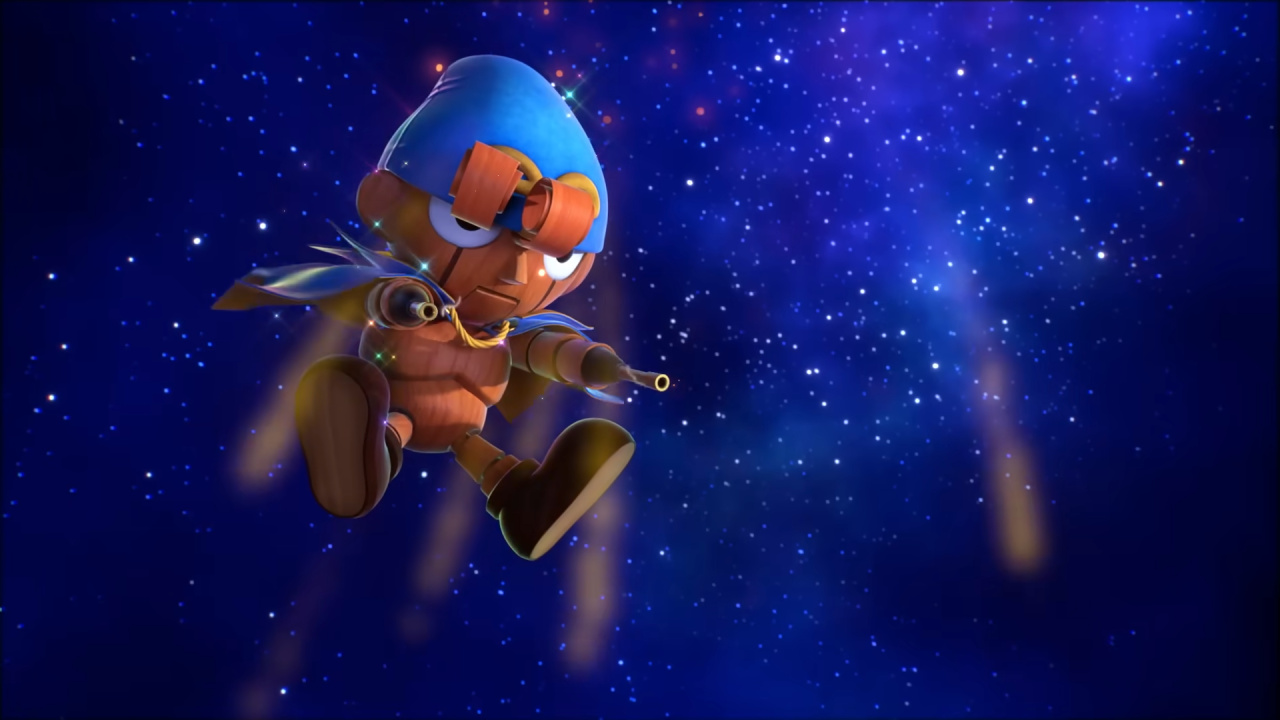
Welcome to our complete story walkthrough of Super Mario RPG on Nintendo Switch and SNES.
This is it! Mario and his friends have made it through the Six-Door Challenge and been absorbed by Exor and they’re ready to recover the seventh Star Piece and save the Mushroom Kingdom from Smithy’s forces. It’s all been leading up to this — the final dungeon of Super Mario RPG. Bring your best RPG skills to the table, because this dungeon is a gauntlet of mini-bosses and tough enemies.
Here’s our guide on Weapon World and Smithy's Factory, the enemies and secrets, and the last Hidden Treasure chest. Here-we-go!
Subscribe to Nintendo Life on YouTube841k
Weapon World Enemies
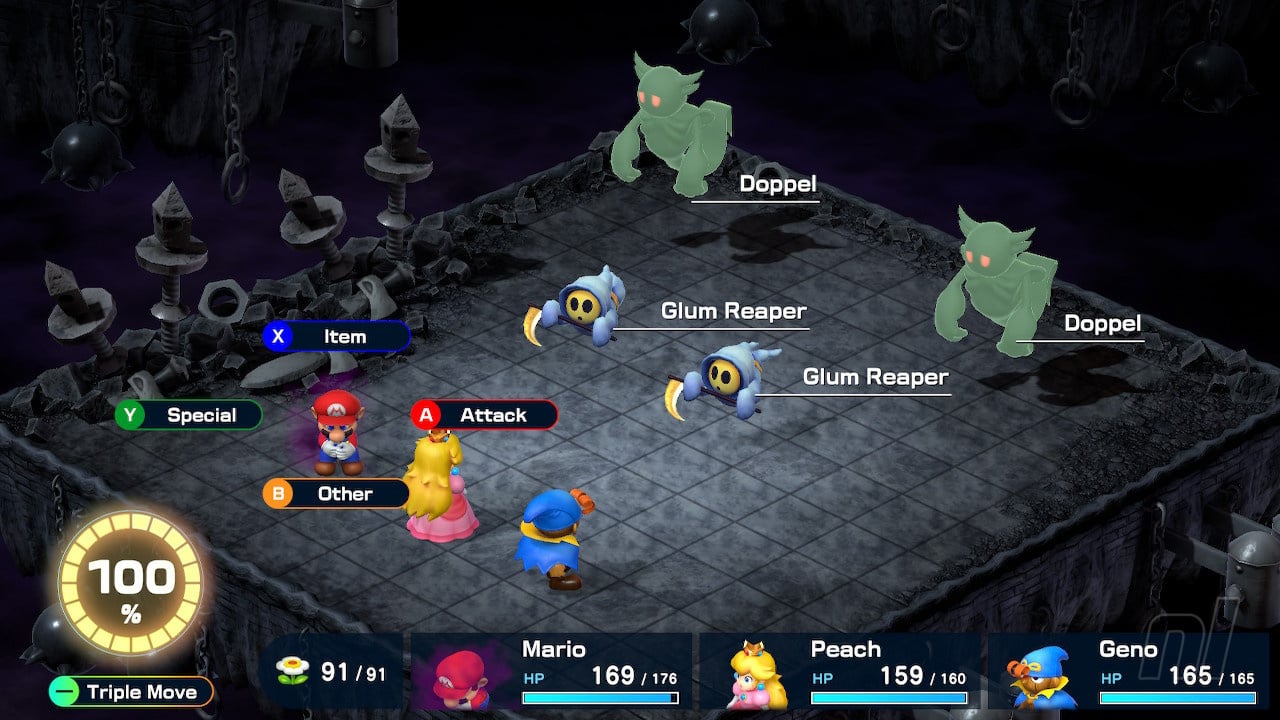
Glum Reaper
They don’t have any weaknesses, but they do have rather low health and should be easy to take care of at this point.
Ameboid
These guys are quite troublesome, as they split up into several targets. Try your best to KO it in a single hit, keeping in mind its fire weakness.
Hippopo
They’ve got an electricity weakness plus access to several damaging and status-ailment-inflicting spells. Otherwise, they shouldn’t be much trouble.
High Boo / Li’l Boo
An upgraded version of the standard Boo enemies you fought earlier. They don’t have any weaknesses but they do have very few health points.
Puppox
An upgraded Remo Con with a fire weakness. Physical attacks won’t do much good, so use a spell that doesn’t involve electricity and you’ll be good to go here.
Springer
These pogo Shy Guys will come partnered with Puppox, and while they can put you to sleep, they also go down quite quickly.
Doppel
Buffed-up versions of Shadows from earlier in the game. They have a good amount of health, so just hit them with physical attacks until they go down.
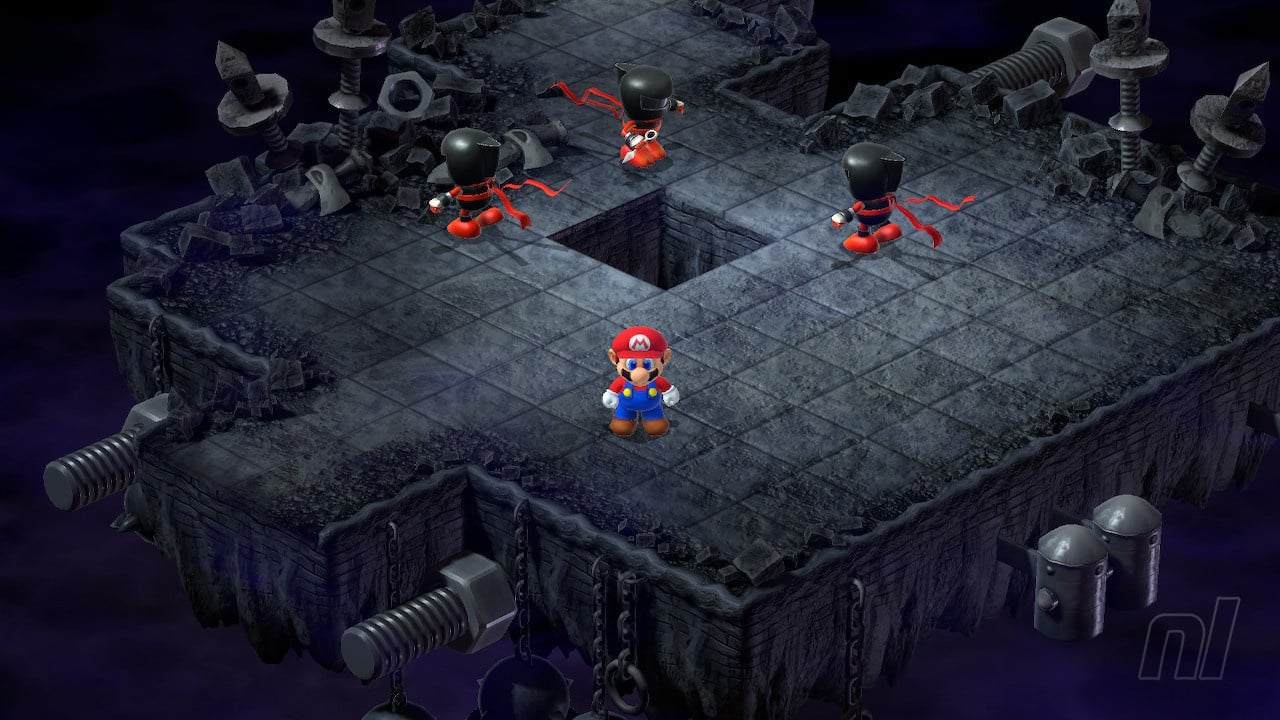
Ninja
Weaker enemies with elemental resistances. Fortunately, they don’t resist physical attacks!
Machine Made
Mass-produced versions of bosses you’ve fought before. Thankfully, you can just run from them if you want, though if you're in the mid-20s by this point, they serve as an easy way to get experience points.
Jabit
Small, weak drillbits that are easily taken down by a normal attack or two. They're also weak to thunder spells, though.
Mad Mallet, Pounder, and Poundette
Three different hammer enemies, but they all look and feel very similar. They can easily be taken down with group attacks.
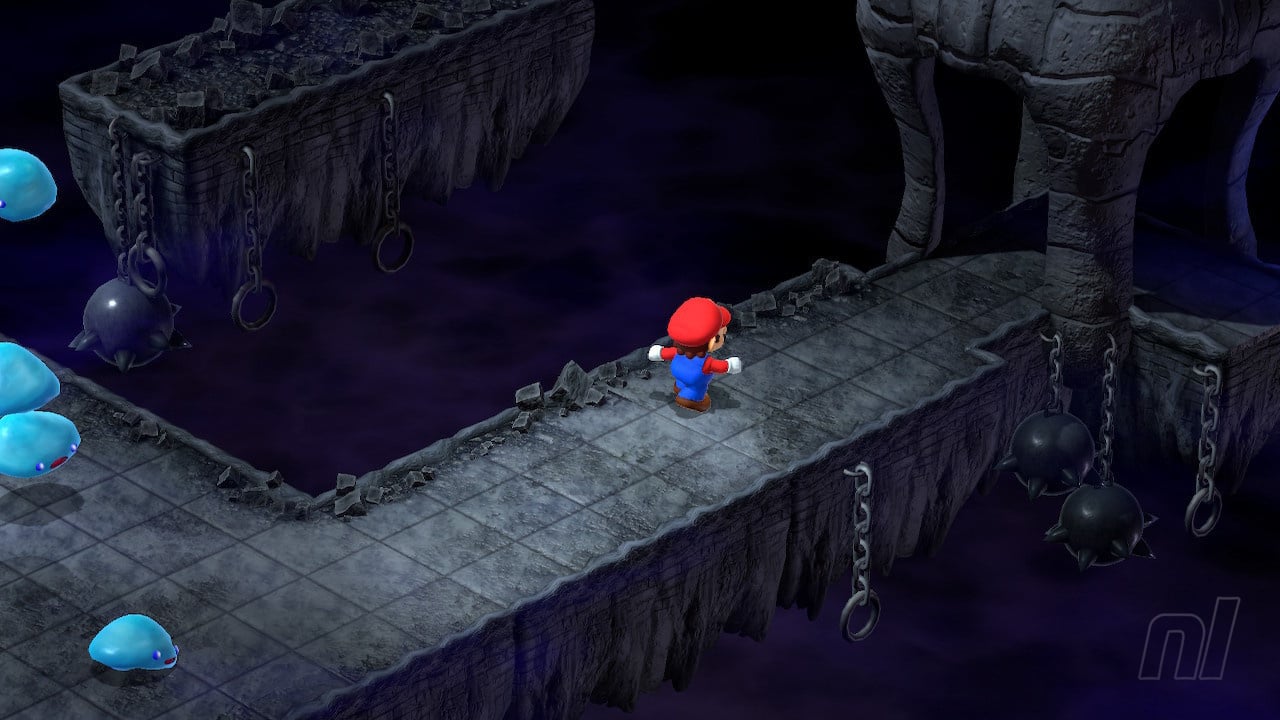
Weapon World walkthrough
You're not locked into the final dungeon, and you can leave here at any point by using the trampoline on your left (or by fast travelling in the menu). So if you want to go and get the best weapons or stock up on items, then do so!
After the scene plays out, hop onto the bolt and keep jumping to roll it to the other side. You’ll have to repeat this several times in a row until you reach a green switch. Press it and continue forward to the next room.
You’ll find a save block here, which you should use now.
Hidden Treasure 39 - West of save block
If you stand in the west-most corner of this room and jump up, you’ll find what should be the last Hidden Treasure. It contains a Mushroom.

Head to the next room to find an Ultra Hammer for Mario, but you should only equip it if you didn’t get the Lazy Shell. Jump on the trampoline and hop across the screws and it’s boss time already!
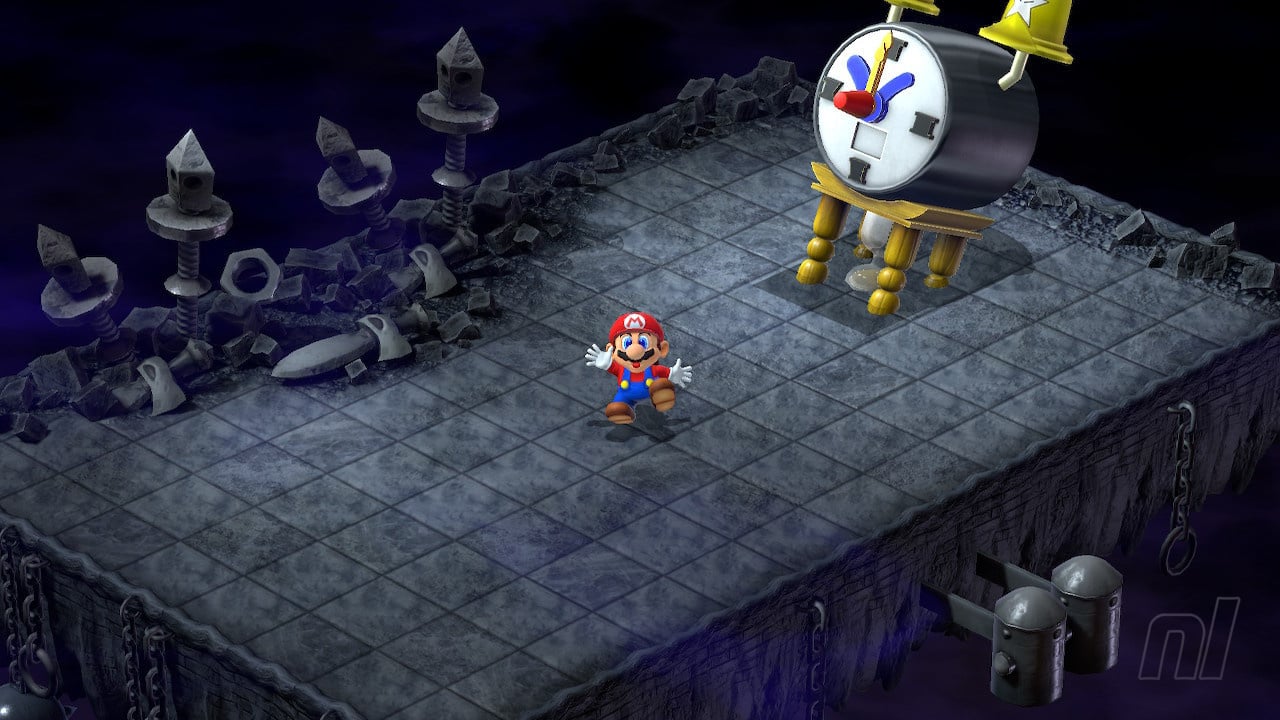
Boss - Count Down
Count Down is the first of many bosses and sub-bosses in this dungeon, but it can pose a bit of a challenge right out of the gate. Want to know How To Defeat Count Down? Then we've got you covered.
After you take the boss down, it will drop another save block for you to use. Hop onto the trampoline to progress.
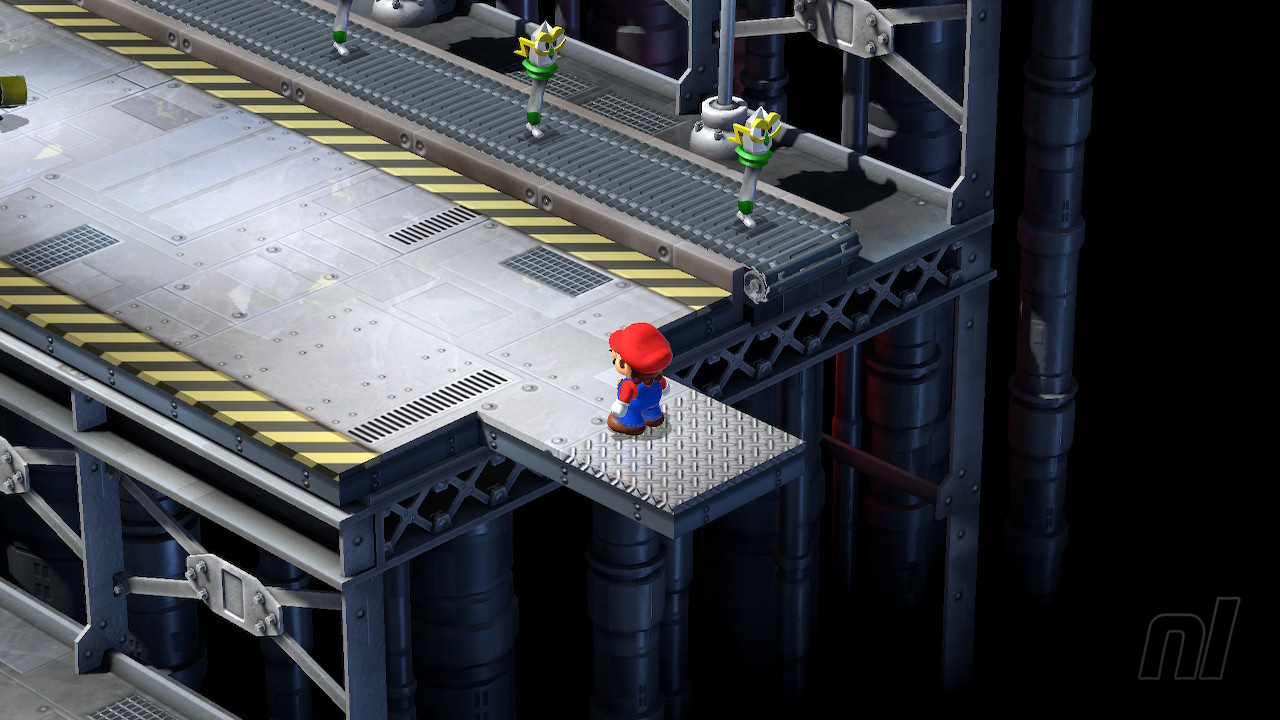
Weapon World - Conveyer belts
This area is dangerous because mechanical versions of bosses you’ve fought before are being produced! Avoid touching them at all costs, because it indeed initiates a second boss fight with that character.
Jump over the conveyor belt, duck under the next one, and then hop onto the platform to cross the big gap. In this area, more bosses are being produced, and you’ll have to slip between them to avoid another fight. Arrows are raining from the sky too, and if one hits you while you’re trying to cross, you’ll lose the ability to move for a moment. Be careful!
In the next area, you’ll need to cross the conveyor belts. Jump around a lot so that you don’t fall and open the Treasure Box down the right-hand path for some Royal Syrup. Continue crossing conveyor belts and platforms and then open the next box for a Max Mushroom.
In the next area, you’ll see mechanized versions of Bowyer being produced. When one drops off the belt, quickly run and jump over them to make it past them.
In the third room, mechanized Axem Rangers are moving from side to side. Weave through this narrow path and jump over each one. There’s another conveyor belt with mechanized Bowyer units here, so employ the same strategy as earlier. Remember that it’s still possible to run away even if you do accidentally engage with one of these bosses.
In the next room is a save block, so use it if you like. You’ll see mechanized Yaridovich units falling down and landing on a block in the next area. Unfortunately, you need to get past that block, which means you need to beat one of the Yaridovich units while it’s standing on the block. Fortunately, it has much less health than last time, so beat it down with a few physical attacks and you should get through with no problem.
Hop down the hole where the block was, and you'll be thrown into another boss fight.
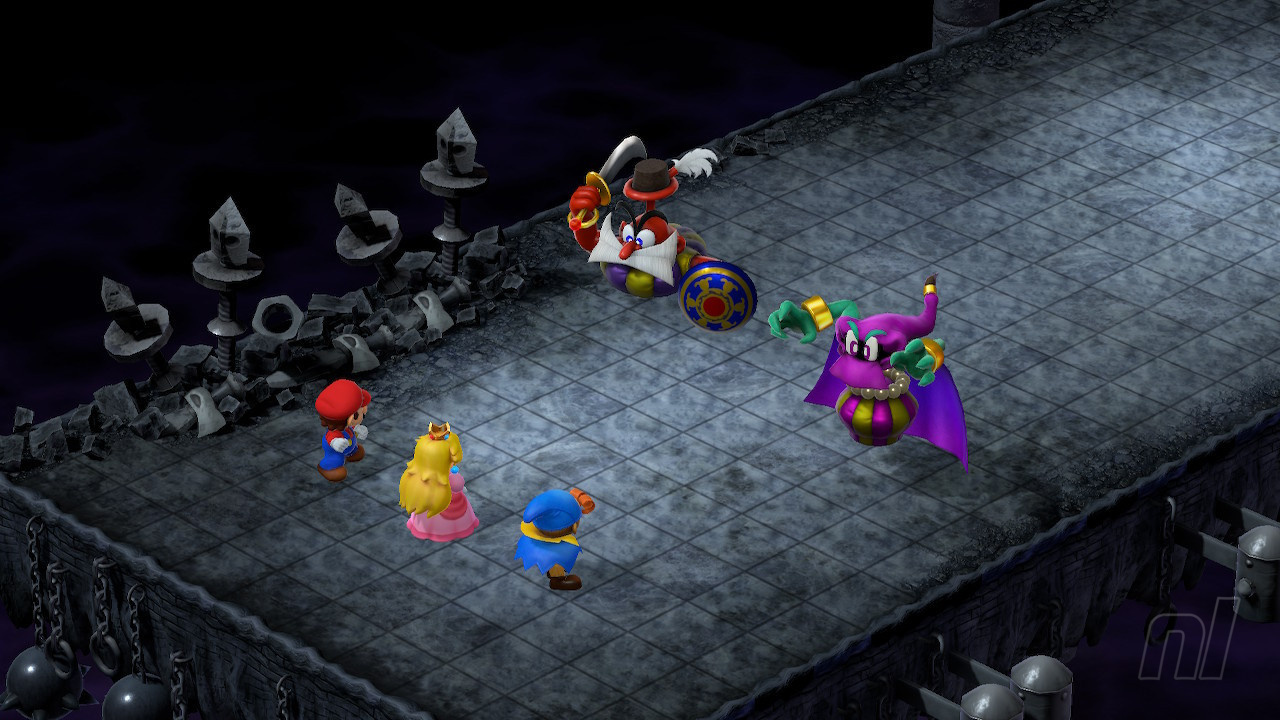
Boss - Cloaker & Domino
This is the last fight before you reach Smithy's Factory proper, and it's got a few variations depending on who you take out first. For the best strategy, head over to our How To Defeat Cloaker & Domino guide.
After beating the pair, you'll be immediately taken into a new room, which marks your first steps in Smithy's Factory.
Factory Walkthrough
You’ve now made it to the factory, where all of these mechanized creations are manufactured. Head forward and defeat some Mad Mallets, which shouldn’t be any problem at all. When they’ve been cleared, you’ll need to fight the Clerk alongside two more Mad Mallets. This is still pretty easy, so beat them down with physical attacks.
When you go to leave this area, Toad, who can somehow cross dimensions, appears to set up a last-minute shop. Buy all the healing items you need and take an additional Rock Candy from Toad.
From here on out, we’d recommend Mario, Geno, and Peach in your party for the extra healing — and if Peach has the Lazy Shell armor, she'll be able to tank a lot of hits.
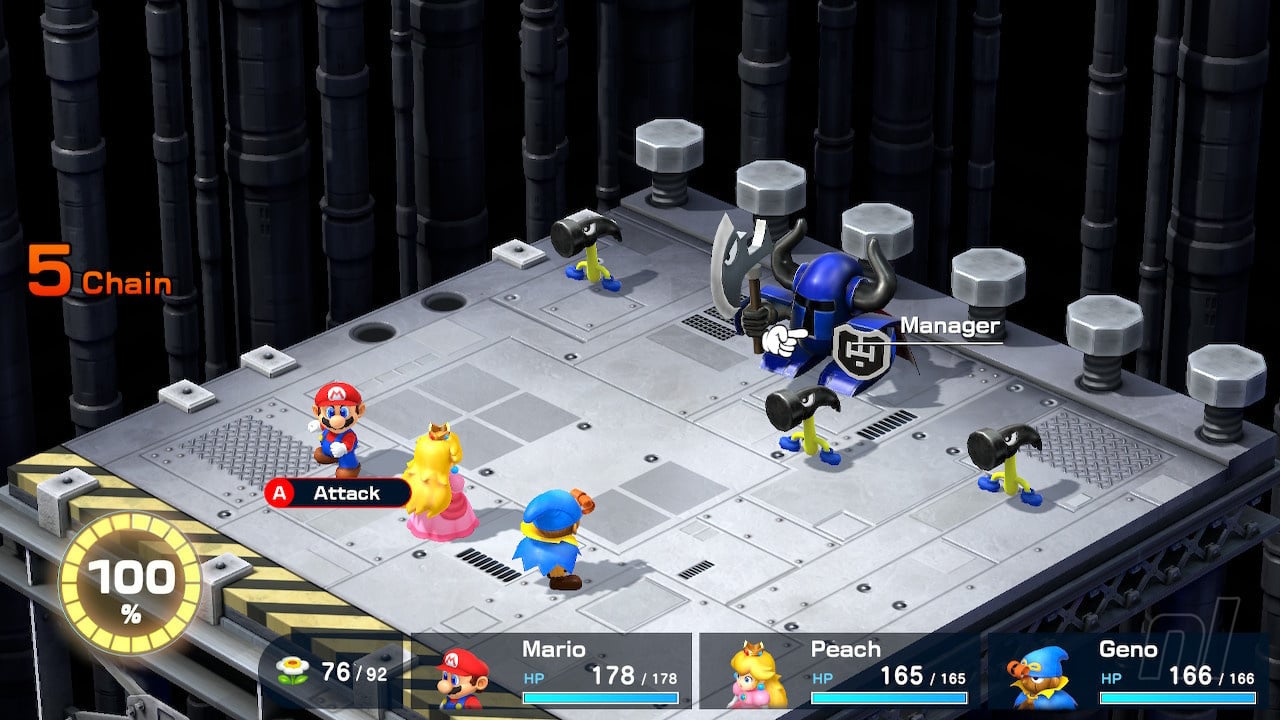
Head northwest into the next room, and you’ll meet the Manager. He’s got more health than the Clerk, but should still go down easy even just to physical moves. Geno’s Geno Blast comes in handy here to remove the Pounders.
When you’ve cleared the enemies, continue forward to meet the Director. He has even more health and summons more minions to protect him, so use either Geno Blast or Geno Flash to get rid of them. We’ve previously recommended giving Peach the Lazy Shell and the Booster's Charm / Amulet, so she should be taking almost no damage here whatsoever.

The next save block here is the last one in the game, so make sure you use it and then keep heading northwest.
Boss - Gunyolk
Gunyolk is your last challenge before Super Mario RPG's final boss, so you can throw everything you have at him. It's a relatively simple battle for this late in the game, but we've got all the tips you need on How To Defeat Gunyolk in our guide.
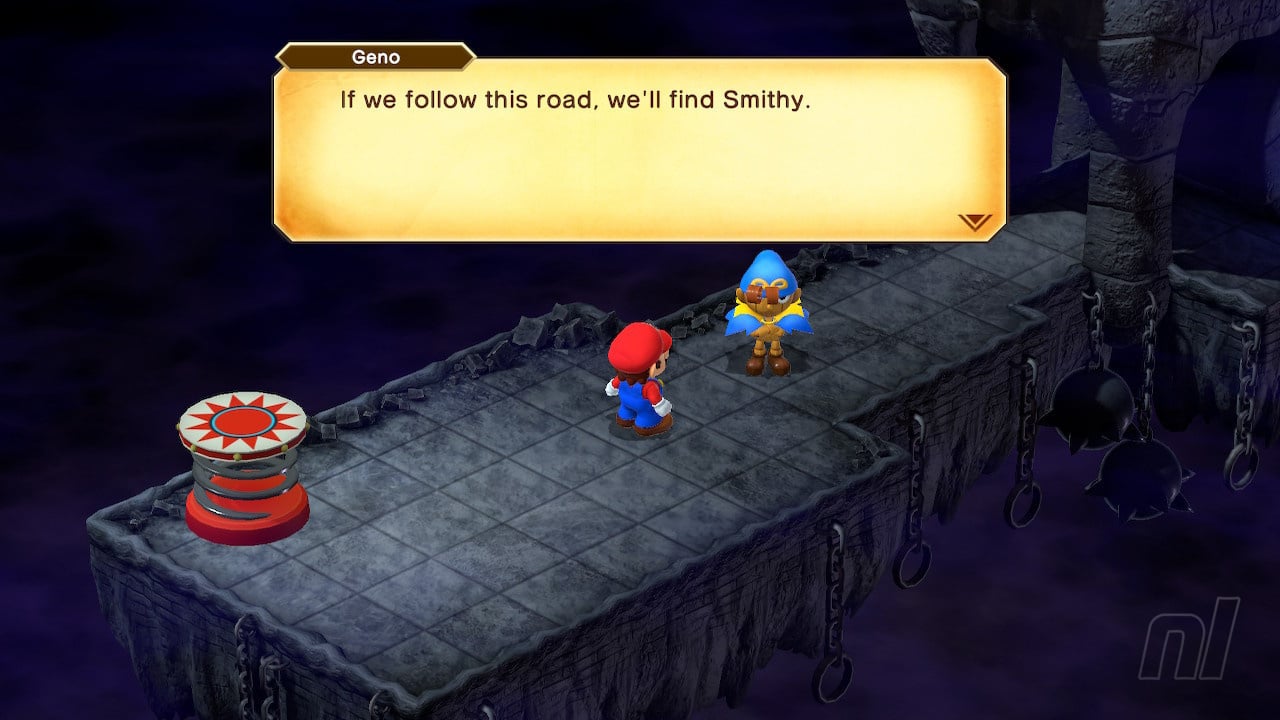
Geno will tell you that your quest is almost over. Indeed, from this point onward, there’s no going back. Once everything is in order, hop onto the button and a crane will come to pick you up. You’ll be dropped into a pipe, which leads you directly to the Smithy Gang’s head honcho: Smithy himself. It’s time to finish this once and for all.

The Final Boss
Smithy has embedded the seventh Star Piece within himself, so you need to take him out in order to finish the game for good. If you need help, head over to our guide on How To Defeat The Final Boss.
With that, Geno repairs the Star Road and restores the ability for wishes to come true in the Mushroom Kingdom. That means you’ve done it! There’s nothing left to do now but watch the ending. Congratulations on beating Super Mario RPG!

For more help on getting through Super Mario RPG, check out our full Super Mario RPG guide for everything you need.


Comments 1
On the first section of treadmills I fell off the moving platform and landed on a spot with a trampoline. I walked to the right and found two treasure chests one with a flower and the other a mushroom.
Show Comments
Leave A Comment
Hold on there, you need to login to post a comment...