
Here, you'll find some of the most elusive Pokémon in the game, such as Houndoom, Noivern and Sigilyph.
Be sure to check out our Photodex hub page: New Pokémon Snap Photodex / Pokédex - Pokémon List For All Monsters
- Florio Pokémon List / Pokédex - 001 – 040
- Belusylva Pokémon List / Pokédex - 041 - 079
- Maricopia Pokémon List / Pokédex - 080 - 122
- Voluca Pokémon List / Pokédex - 123 - 154
- Durice Pokémon List / Pokédex - 155 - 200
- Aurus Pokémon List / Pokédex - 201 - 214 < YOU ARE HERE
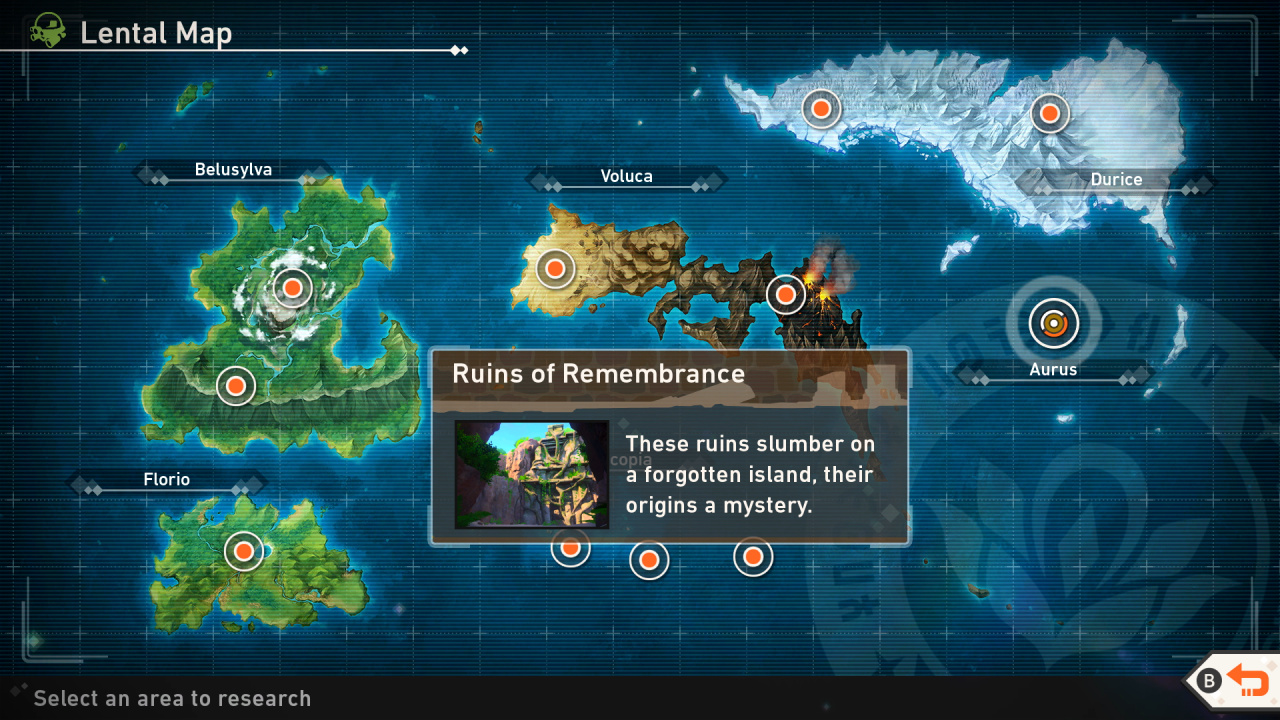
New Pokémon Snap Aurus Pokémon Location Map
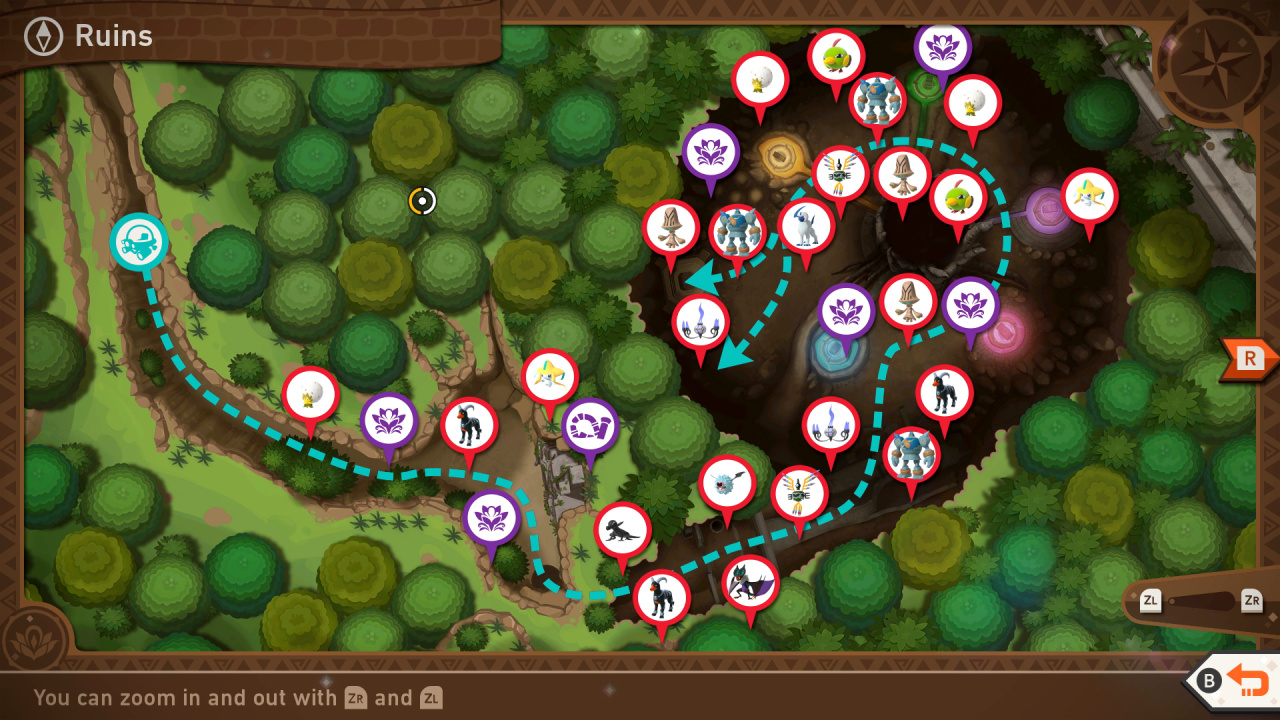
New Pokémon Snap Ruins of Remembrance Map
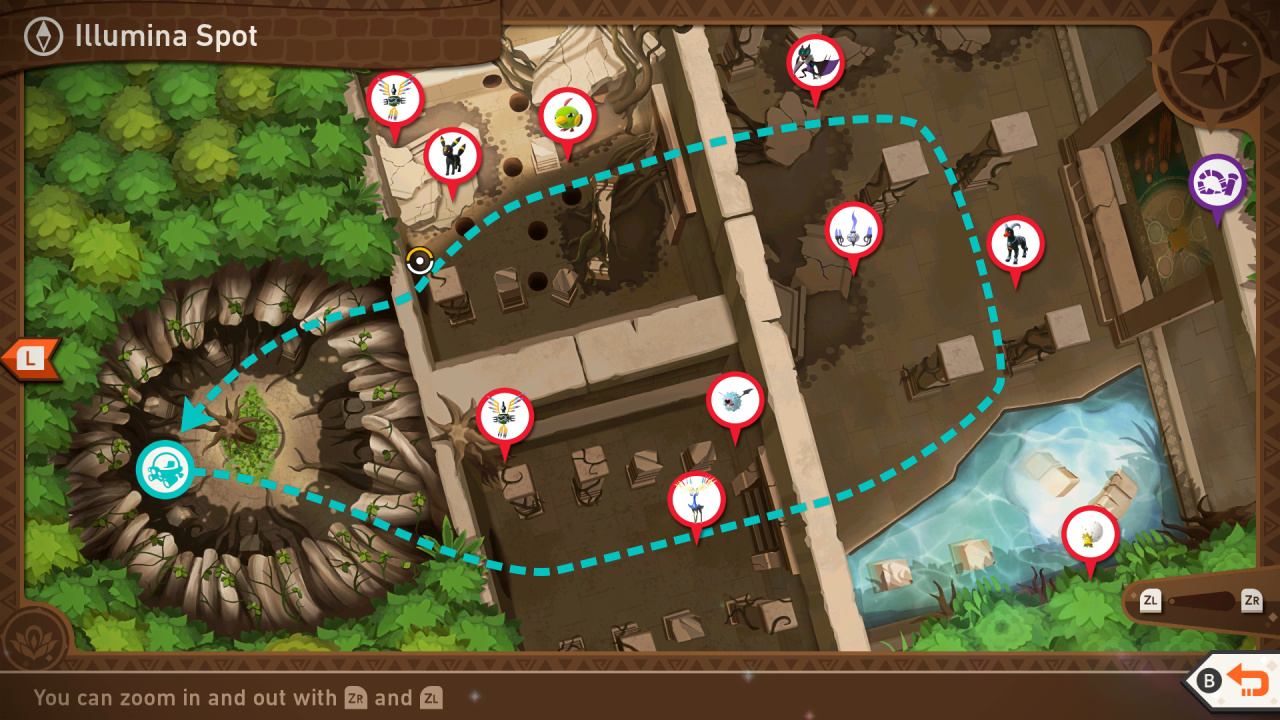
New Pokémon Snap Ruins of Remembrance Illumnia Spot Map
New Pokémon Snap Aurus Photodex
201: Houndoom
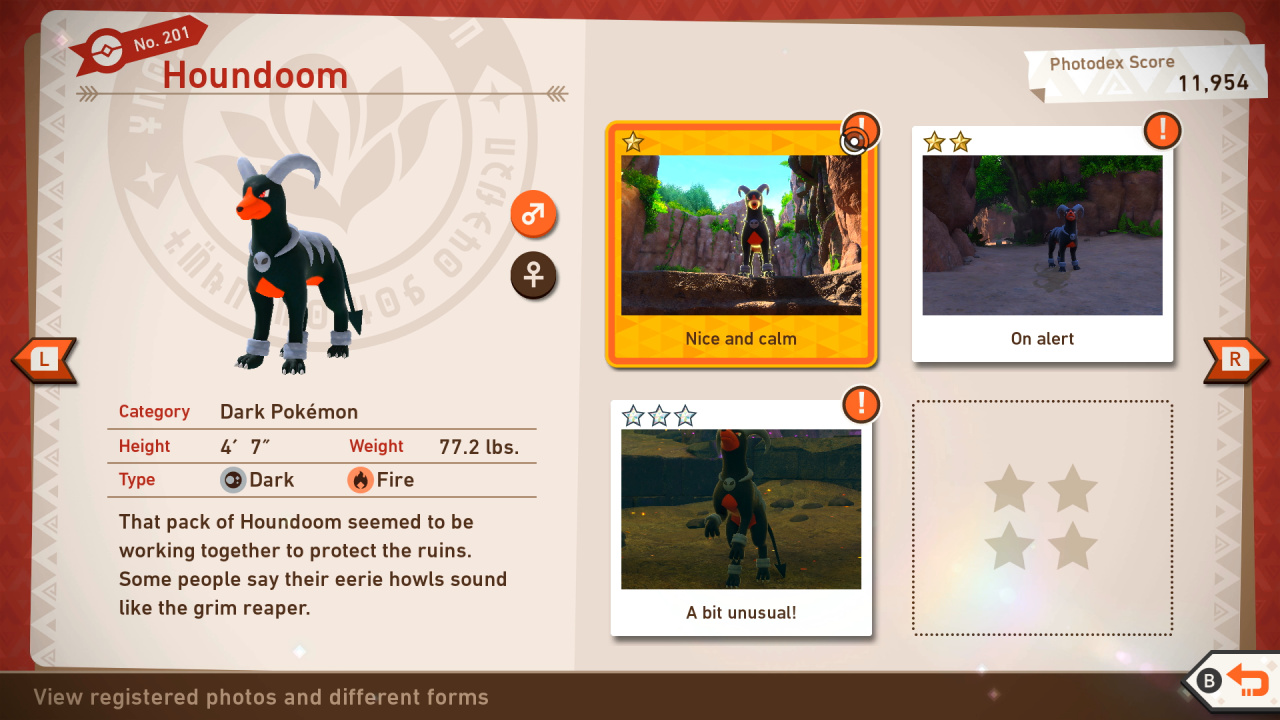
Houndoom Star Guide / Conditions:
1 Star: Most basic photo of this Pokémon possible
2 Star: In general, throwing a Fluffruit at or scanning a Pokémon will cause it to behave in a way that will get you a 2-star photo.
3 Star: Obtained by taking a picture of Houndoom roaring. You will see this right away from the Houndoom that runs up to you in the start of the level and the Houndoom that jumps towards you while circling the final area.
4 Star: From the start head into the first room with the orbed Xerneas and break it free. Throw an illumina orb at it once it is out to make it rush ahead to the next room. Once in the next room it will be floating in an orb around a pool on the right. Break it out again here and it will jump over the pool from a rock in the middle and hit it with an illumina orb before it goes behind the pillar. This will make it bring an Absol into the next portion. You will see two Houndoom sleeping on the floor. Throw a fluffruit at each of the Houndoom to wake them and lure them towards Xerneas. Once they are close enough run a scan until both Houndoom howl. Once they howl they will run in front of Xerneas and howl at it while it uses the move Power of Life, it howling during Xerneas’ move is the 4 star pose.
202: Eldegoss
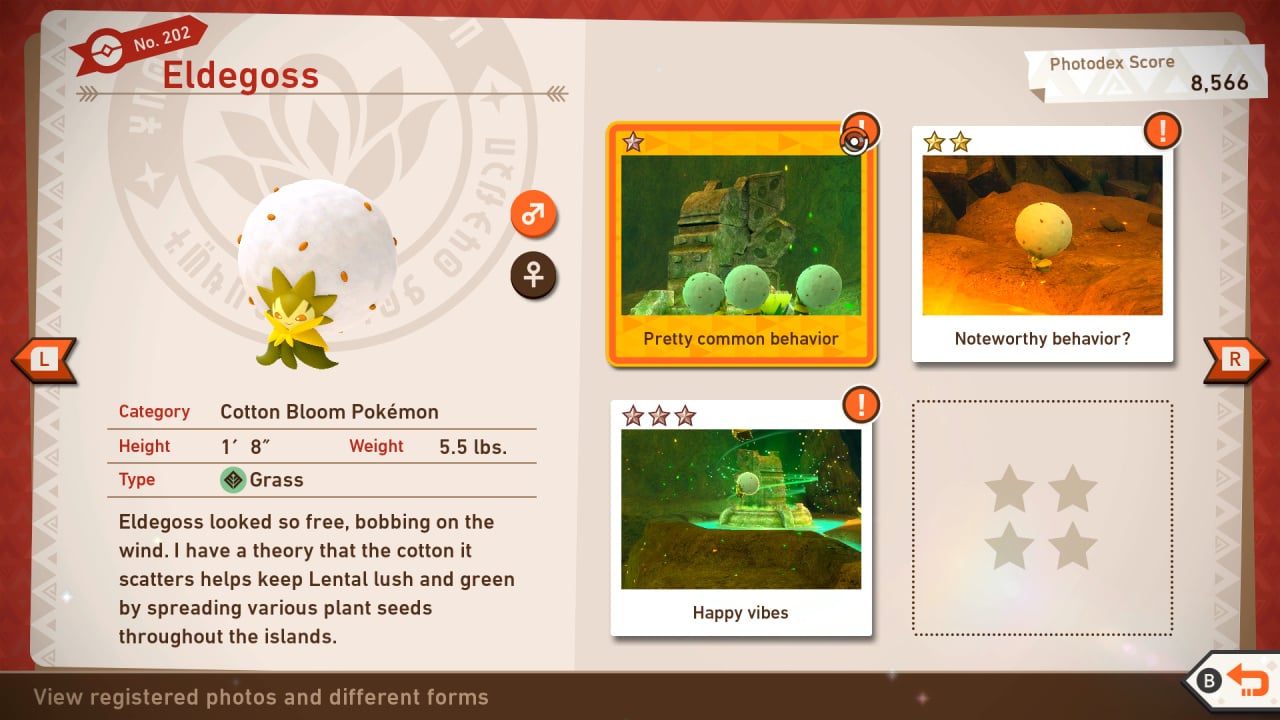
Eldegoss Star Guide / Conditions:
1 Star: Most basic photo of this Pokémon possible
2 Star: In general, throwing a Fluffruit at or scanning a Pokémon will cause it to behave in a way that will get you a 2-star photo.
3 Star: Obtained by taking a picture of Eldegoss eating a fluffruit.
4 Star: From the start head down the main path and throw fluffruit at the ruins ahead and a Natu will pop out and likely start eating the fluffruit. Wait for the Eldegoss flying around the back of the Houndoom to land and hit the Natu with a fluffruit. It will get mad and start running back down the path you came from and it will pass right by the Eldegoss that is on the ground now. The Eldegoss will shoot a pin missile attack at the Natu when it passes. This is the 4 star pose.
203: Natu
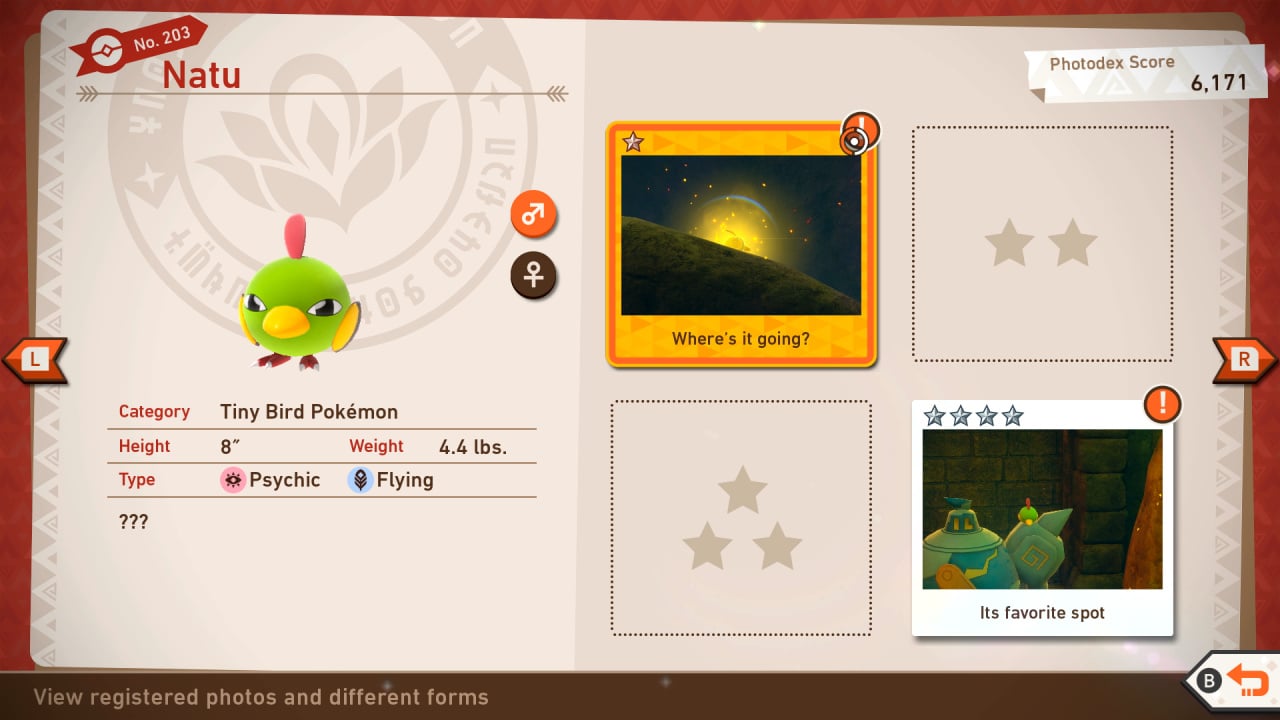
Natu Star Guide / Conditions:
1 Star: Most basic photo of this Pokémon possible
2 Star: In general, throwing a Fluffruit at or scanning a Pokémon will cause it to behave in a way that will get you a 2-star photo.
3 Star: Obtained by taking a picture of the Natu resting on the shoulder of the Golurk near the end of the level after hitting it with an illumina orb and while it is jumping down.
4 Star: Obtained by taking a picture of the Natu resting on the shoulder of the Golurk near the end of the level while it is asleep.
204: Absol
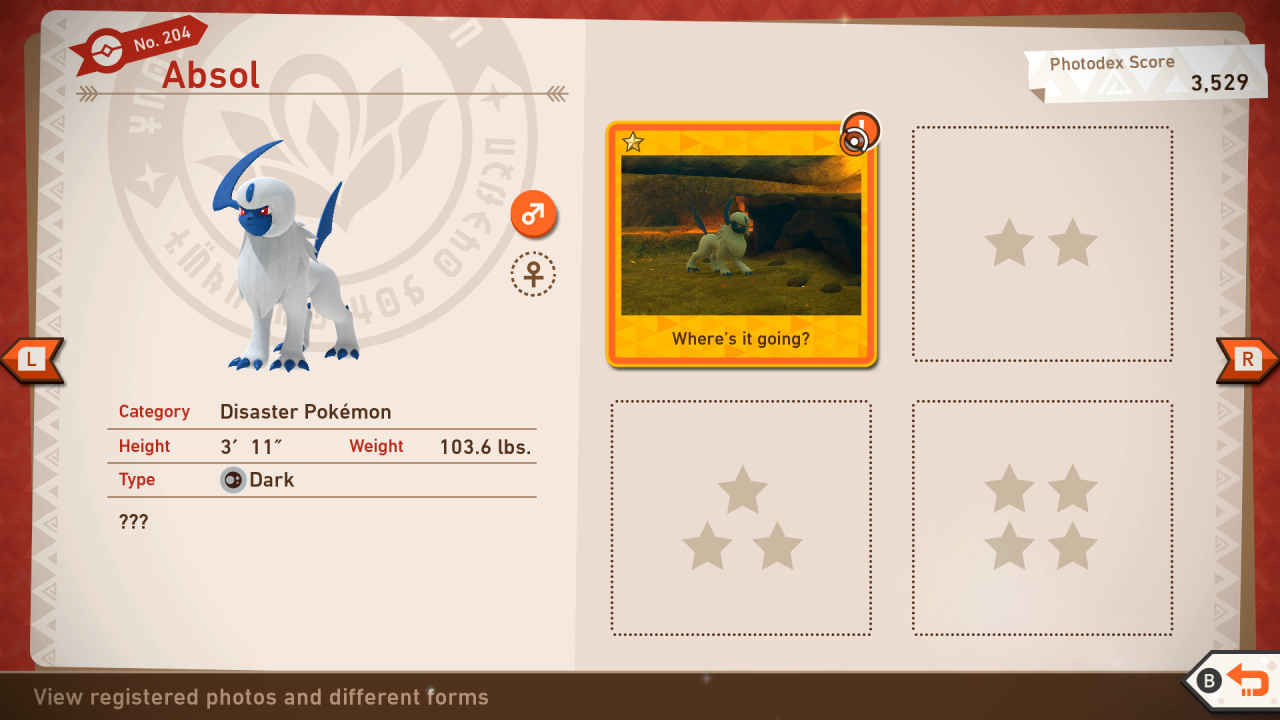
Absol Star Guide / Conditions:
1 Star: Most basic photo of this Pokémon possible
2 Star: In general, throwing a Fluffruit at or scanning a Pokémon will cause it to behave in a way that will get you a 2-star photo.
3 Star: Take a photo of Absol either eating a Fluffruit or rejoicing after eating it.
4 Star: Have Absol meet up with Umbreon near the end of the Ruins course at Research Level 3 by making Umbreon come out of hiding; then it will run off further into the ruins; you'll see it sleeping near the last Illumina Statue; throw Illumina Orbs at it to wake it up; once it doesn, you'll see Umbreon and Absol greeting each other near the exit of the course; take a photo of this
205: Salandit
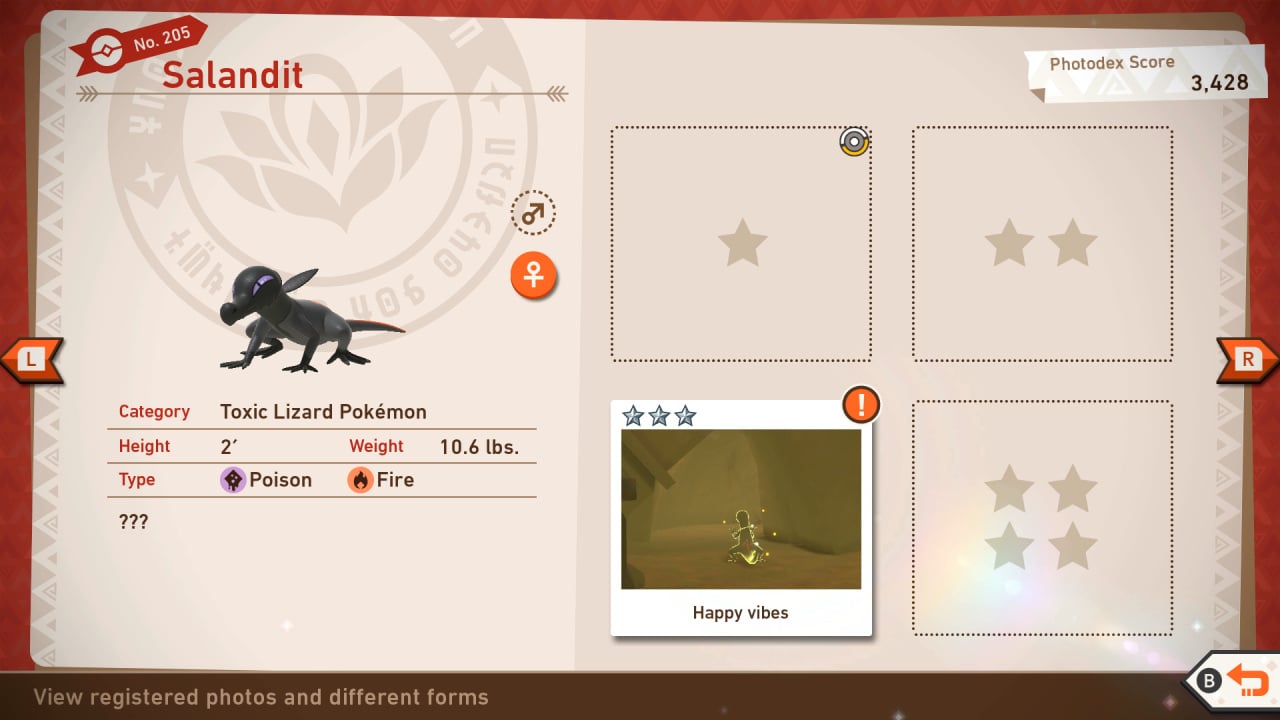
Salandit Star Guide / Conditions:
1 Star: Most basic photo of this Pokémon possible
2 Star: In general, throwing a Fluffruit at or scanning a Pokémon will cause it to behave in a way that will get you a 2-star photo.
3 Star: Obtained by taking a picture of Salandit after throwing an illumina orb at it and it rearing on its hind legs in happiness.
4 Star: In the final area while making your way around the center shrine you will see a bunch of scratch marks in the ground on the right. Throw a fluffruit into this area and a Salandit will come out and it will attract a Noivern. Once the Noivern is close the Salandit will attack the Noivern with poison, this is its 4 star pose.
206: Noivern
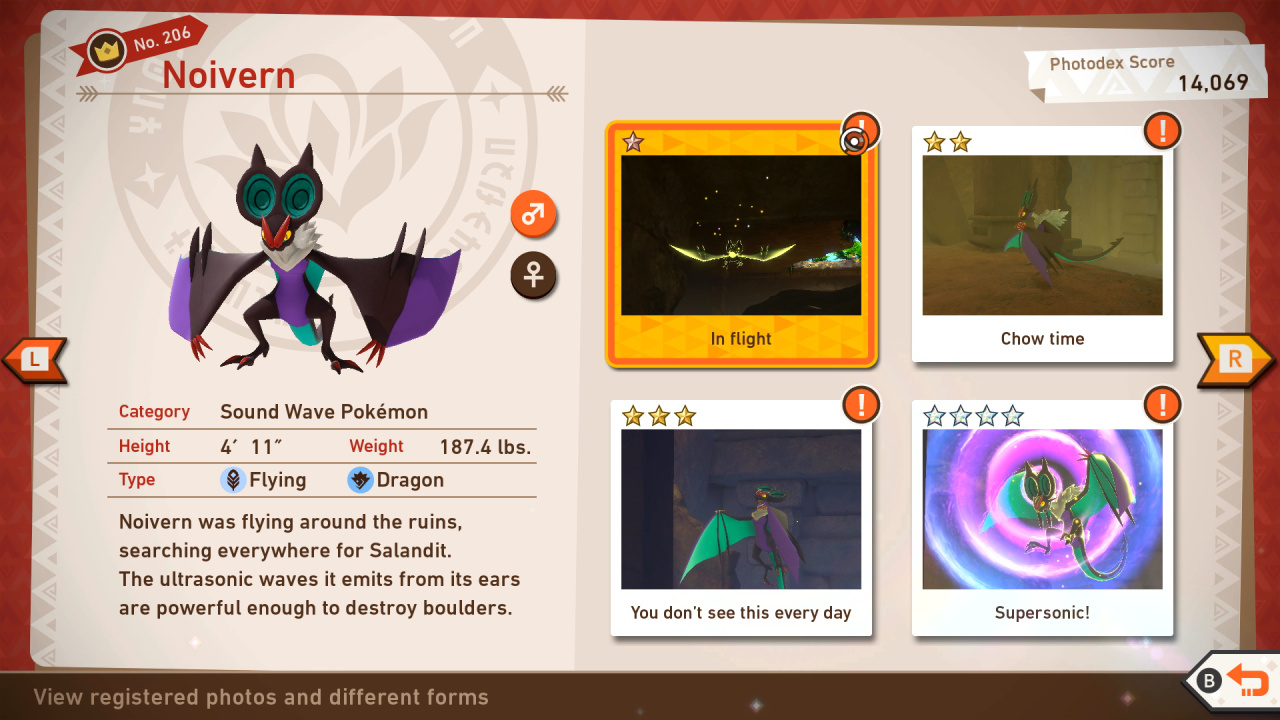
Noivern Star Guide / Conditions:
1 Star: Most basic photo of this Pokémon possible
2 Star: In general, throwing a Fluffruit at or scanning a Pokémon will cause it to behave in a way that will get you a 2-star photo.
3 Star: After descending into the floor near the start of the level you will see a Noivern trying to get the Salandit in a small hole in the wall to the left. Throw a fluffruit at it and it will become angry and walk back towards you and scream at you. This is its 3 star pose.
4 Star: After descending into the floor near the start of the level you will see a Noivern fly in trying to attack a Salandit. Throw an illumina orb at the Noivern before it flies off and it will use its Supersonic attack, this is its 4 star pose.
207: Woobat
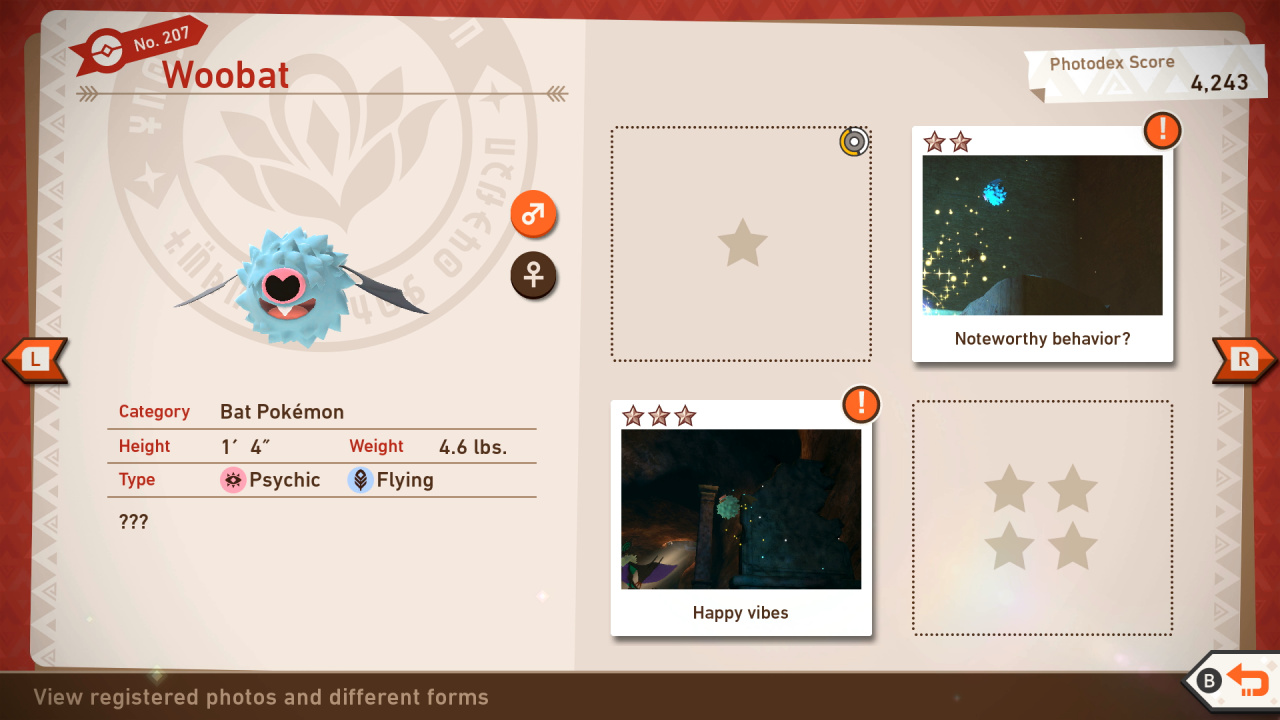
Woobat Star Guide / Conditions:
1 Star: Most basic photo of this Pokémon possible
2 Star: In general, throwing a Fluffruit at or scanning a Pokémon will cause it to behave in a way that will get you a 2-star photo.
3 Star: At the end of the level while circling around the ruins look at the glowing pillar in the center and you will see a Woobat sleeping against the pillar halfway up. This is its 3 star pose.
4 Star: At the end of the level while circling around the ruins look at the glowing pillar in the center and you will see a Woobat sleeping against the pillar halfway up. Throw a fluffruit at it to make it angry and when it settles on the tower again use the scan feature and it will turn around and use Supersonic towards you, this is its 4 star pose.
208: Sigilyph
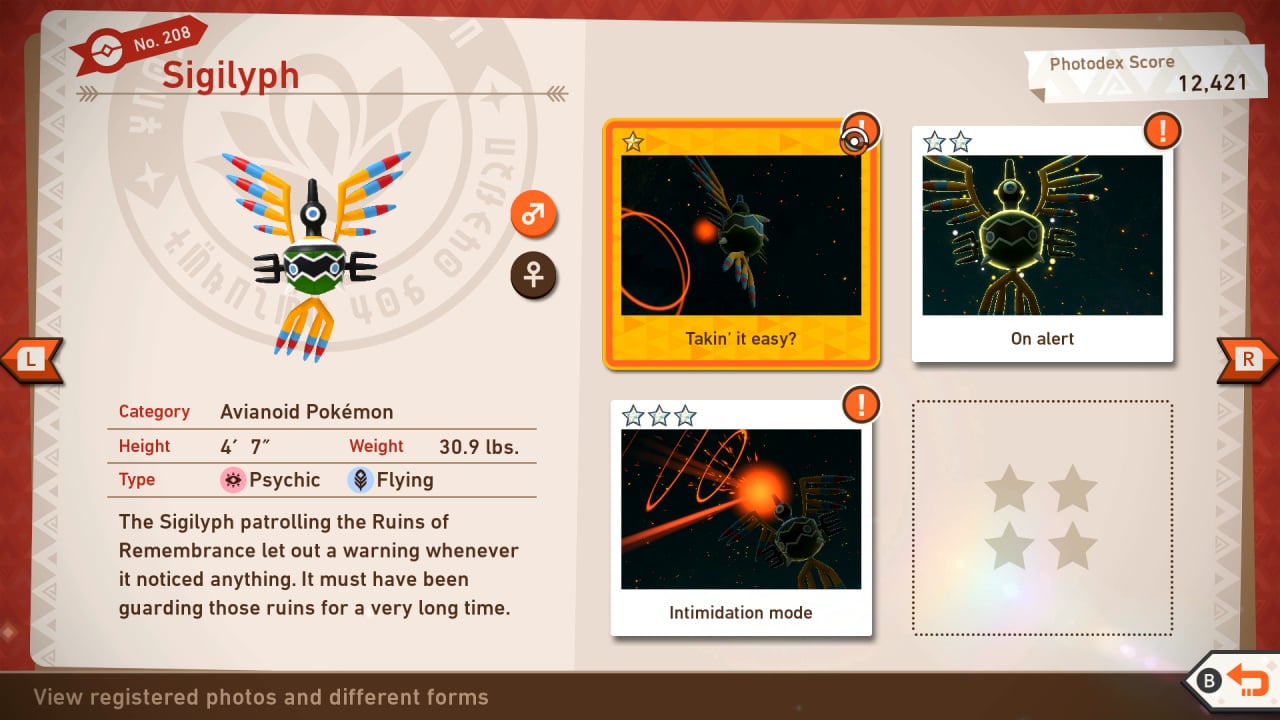
Sigilyph Star Guide / Conditions:
1 Star: Most basic photo of this Pokémon possible
2 Star: In general, throwing a Fluffruit at or scanning a Pokémon will cause it to behave in a way that will get you a 2-star photo.
3 Star: Once making your way into the open area of the cave and making your descent towards the floor you will pass a Sigilyph (The first one you see) and when you get close it will start attacking all around you to try intimidating you. This is its 3 star pose.
4 Star: Once you head deeper into the ruins, once you come out into the big open area before descending look to the left of the doorway you just came through and you will see a Sigilyph sleeping. Wake it up by throwing a fluffruit at it and throw another on the ground without alerting it to your presence and it should eat the fluffruit. If it eats the fluffruit it will get happy and do a little dance after, this is its 4 star pose.
209: Beheeyem
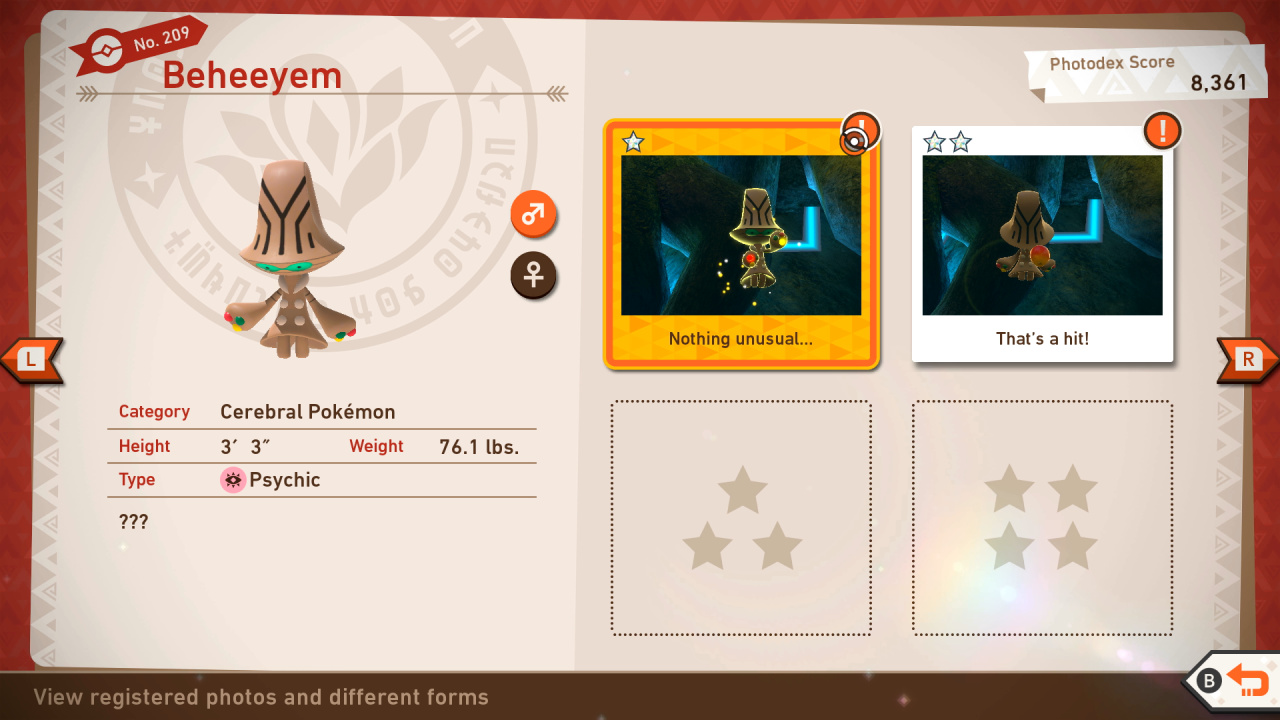
Beheeyem Star Guide / Conditions:
1 Star: Most basic photo of this Pokémon possible
2 Star: In general, throwing a Fluffruit at or scanning a Pokémon will cause it to behave in a way that will get you a 2-star photo.
3 Star: In the final area when working your way around the shrine look to the left when the Houndoom jumps off the ledge ahead to the right and crosses in front of you. You will see a Beheeyem floating by, hit it with a fluffruit and it will strike a pose lighting up the lights on its hands. This is the three star pose.
4 Star: Obtained by taking a picture of the Beheeyem floating around on its back just lounging near the end of the level.
210: Golurk
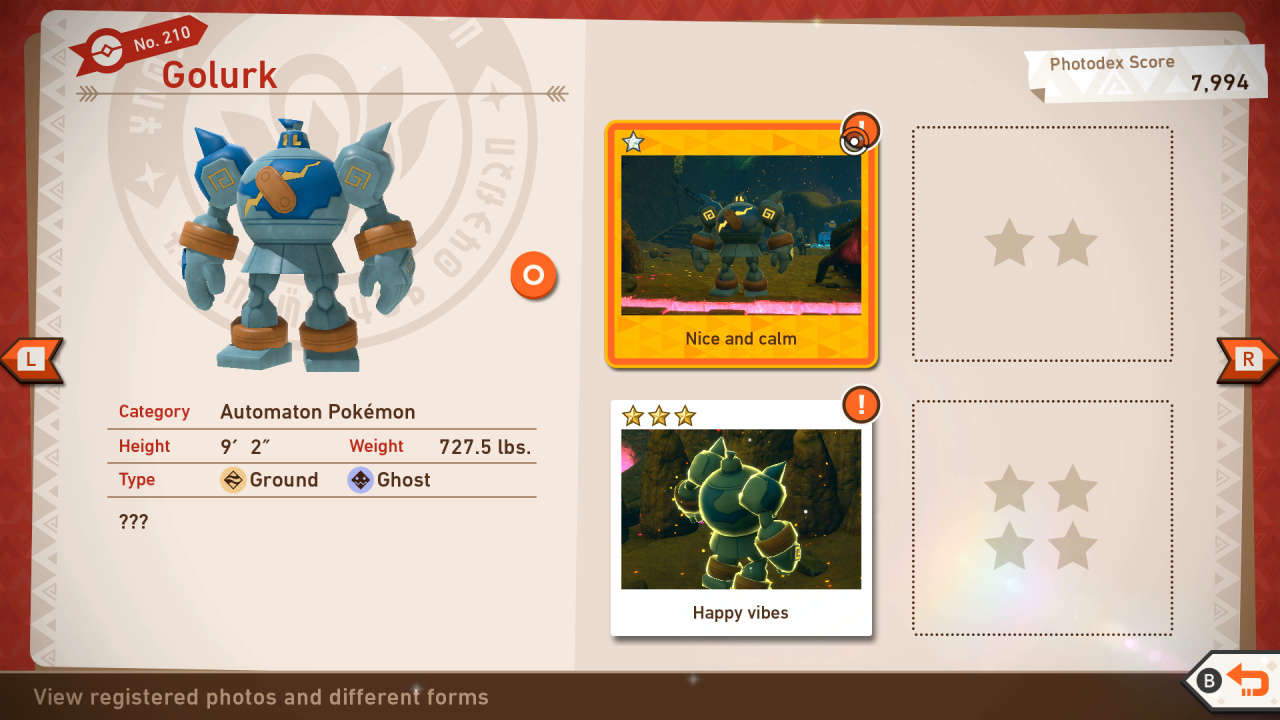
Golurk Star Guide / Conditions:
1 Star: Most basic photo of this Pokémon possible
2 Star: In general, throwing a Fluffruit at or scanning a Pokémon will cause it to behave in a way that will get you a 2-star photo.
3 Star: Obtained by taking a picture of Golurk shortly after throwing an illumina orb at it.
4 Star: Before heading under ground into the ruins look into the sky above and you will see 2 Golurk flying above, this is their 4 star pose.
211: Chandelure

Chandelure Star Guide / Conditions:
1 Star: Most basic photo of this Pokémon possible
2 Star: In general, throwing a Fluffruit at or scanning a Pokémon will cause it to behave in a way that will get you a 2-star photo.
3 Star: Once you get into the big open area of the ruins before starting to circle the shrine look toward the ground but in the direction you came from and you will see a Chandelure on a cliff. Throw an illumina orb at the Chandelure to get it to move toward the end of the level. Once you continue your way toward the end throw a bunch of fluffruit on the ground near the Chandelure to get its attention and then to eat. Once it starts eating snap a picture for this pose.
4 Star: Once you get into the big open area of the ruins before starting to circle the shrine look toward the ground but in the direction you came from and you will see a Chandelure on a cliff. Throw an illumina orb at the Chandelure to get it to move toward the end of the level. Once you continue your way toward the end throw a bunch of fluffruit on the ground near the Chandelure to get its attention and then to eat. Once it is finished eating throw an illumina orb at it and it will strike a pose with its arms extended on one side, this is its 4 star pose.
212: Umbreon
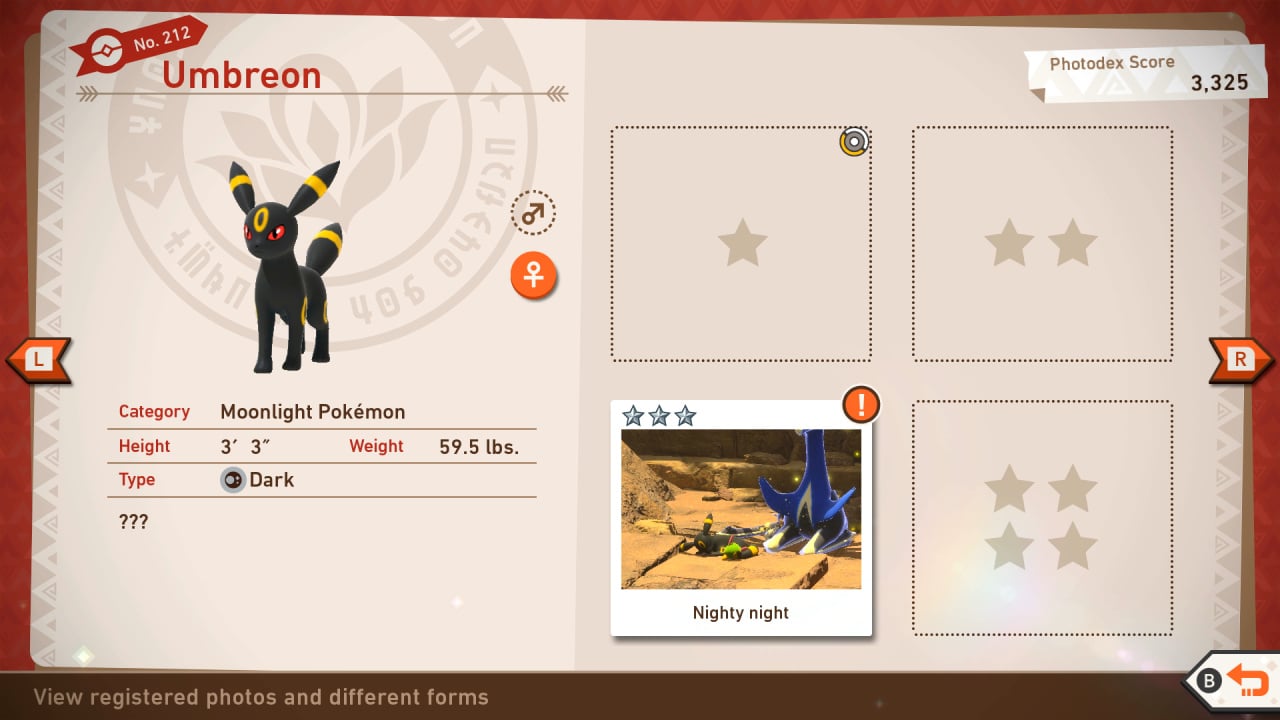
Umbreon Star Guide / Conditions:
1 Star: Most basic photo of this Pokémon possible
2 Star: In general, throwing a Fluffruit at or scanning a Pokémon will cause it to behave in a way that will get you a 2-star photo.
3 Star: First you need to get Umbreon to appear. To do this once you head into the cave from the outside start looking to the left and you will see a Noivern. Throw a fluffruit at it to get it to leave and throw a few fluffruit at the hole in the wall where Salandit comes out of. This will lure Umbreon out. It will run off ahead and fall asleep on the main path. Obtained by taking a picture of the Umbreon while it is asleep by the shrine.
4 Star: First you need to get Umbreon to appear. To do this once you head into the cave from the outside start looking to the left and you will see a Noivern. Throw a fluffruit at it to get it to leave and throw a few fluffruit at the hole in the wall where Salandit comes out of. This will lure Umbreon out. Next there will be an Absol on a tree trunk you go under before the scratching on the floor to the right and an Absol will be on top of it. Throw a fluffruit at it to get it to move. Next start looking to the right and you will see an Umbreon asleep near a shrine. Throw an illumina orb at it and it will yawn. Throw another once it is asleep again and it will wake up and await Absol. Once they are together throw an illumina orb at either and they will start playing, this is their 4 star pose.
213: Jirachi
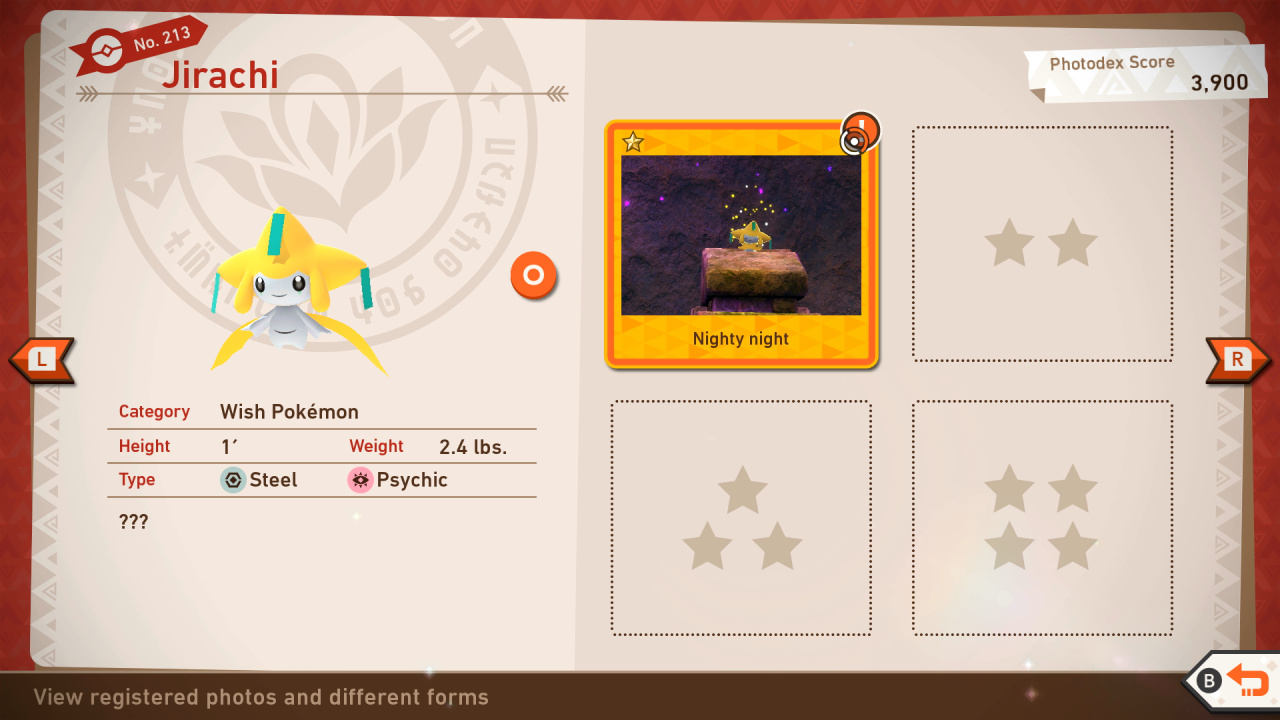
Jirachi Star Guide / Conditions:
1 Star: In Level 2, where the group of Eldegoss fly in front of you, look for Jirachi outside of the Ruins here and take a simple photo
2 Star: In general, throwing a Fluffruit at or scanning a Pokémon will cause it to behave in a way that will get you a 2-star photo.
3 Star: Go to the Ruins at Research Level 3; proceed through the course and look up at the ruins to spot Jirachi; throw an Illumina Orb at it and wait for the Pokemon to spin around, then take your photo
4 Star: Hit Jirachi with an Illumina Orb so that it flies to the Ruins; look for it sitting on the first totem; hit it with some Illumina Orbs until it flies off; continue activating the totems - then, when you reach the final Crystalbloom, you'll see Jirachi flying towards the light pillar; activate the Melody, until Jirachi approaches and uses Wish, when you can take your photo
214: Xerneas

Xerneas Star Guide / Conditions:
1 Star: Most basic photo of this Pokémon possible
2 Star: At the Aurus Island Illumina Spot in Research Level 2, go to the second room that Xerneas appears in; hit the flying orb with an Illumina Obr to make it actually appear; go left to see two sleeping Houndoom, and hit them with Fluffruit to wake them up; meanwhile, Xerneas can be seen in the background, where you can hit it with an Illumina Orb and take a photo
3 Star: At the Aurus Island Illumina Spot in Research Level 2, go to the second room that Xerneas appears in; hit the flying orb with an Illumina Obr to make it actually appear; go left to see two sleeping Houndoom, and hit them with Fluffruit to wake them up; meanwhile, Xerneas can be seen in the background, where you can hit it with an Illumina Orb and take a photo
4 Star: Once the Houndoom are awake, use Fluffruit to guide them towards each other. Once they’re together, scan a few times until they proceed to approach Xerneas. At this point, Xerneas should then use Geomancy, which is your cue to take photos. I recommend using Burst Mode here to capture multiple frames of this animation. The first time I did this, I submitted a photo I swear was a 4-star, but it turned out to be a 2-star. So if you’re submitting one toward the beginning or end of the animation, double-check the star count to be sure. As long as you get one during this animation though, you should have the 4-star Xerneas photo on lockdown.


Comments 0
Wow, no comments yet... why not be the first?
Leave A Comment
Hold on there, you need to login to post a comment...