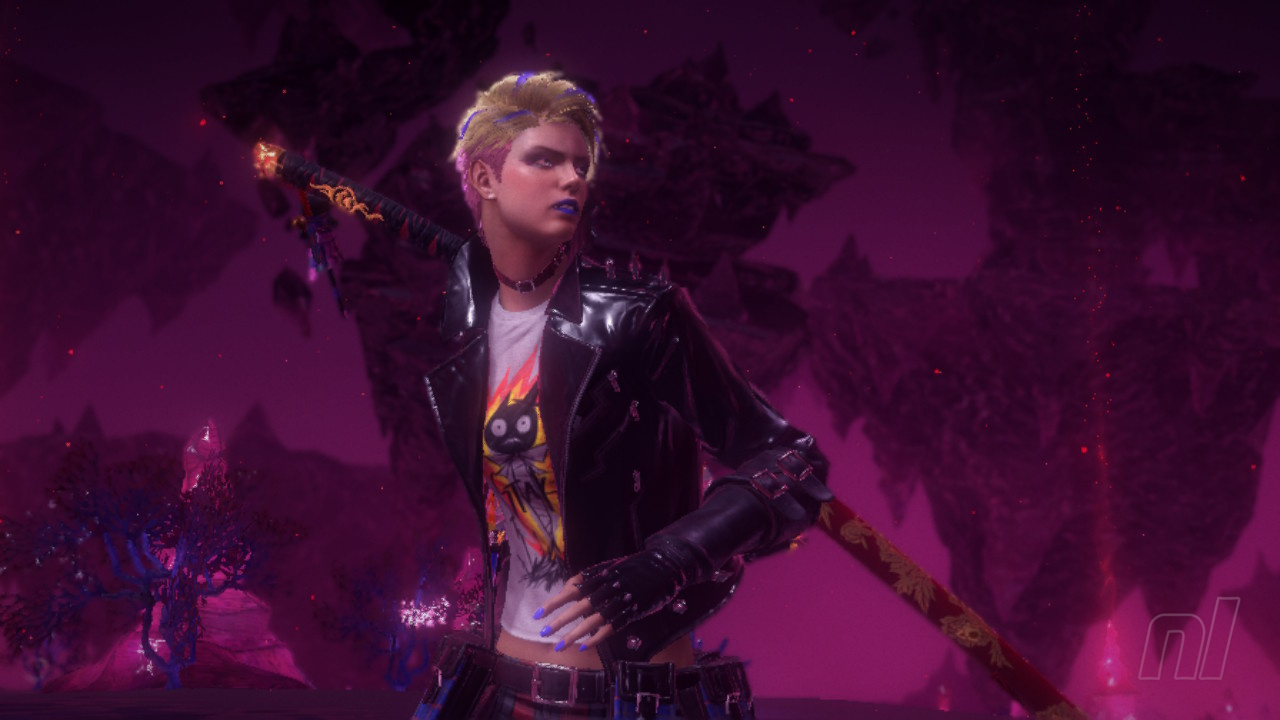
Welcome to chapter 10 of our Bayonetta 3 walkthrough guide and we're off to Paris this time, where lots of collectibles, puzzles and big battles await us. So, grab a croissant and let's get into it.
Bayonetta 3: Chapter 10 - Cover Of Night Walkthrough - All Collectibles
Bewitchments
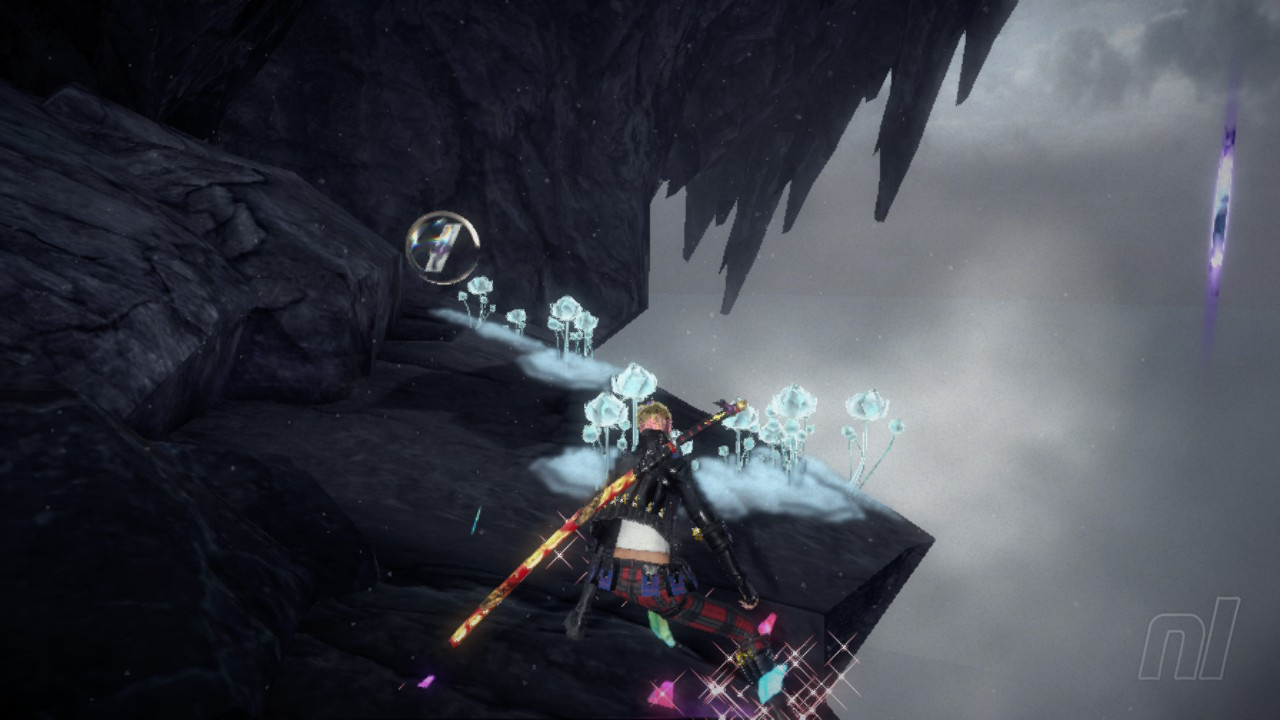
Step on 10 of the fallen glass shards on Thule - Stand on any ten pieces of the coloured glass scattered around the floor at the start of the chapter.
Climb to the top of the stone tower on Thule - Make your way to the highest point of the tower in the first area of the chapter.
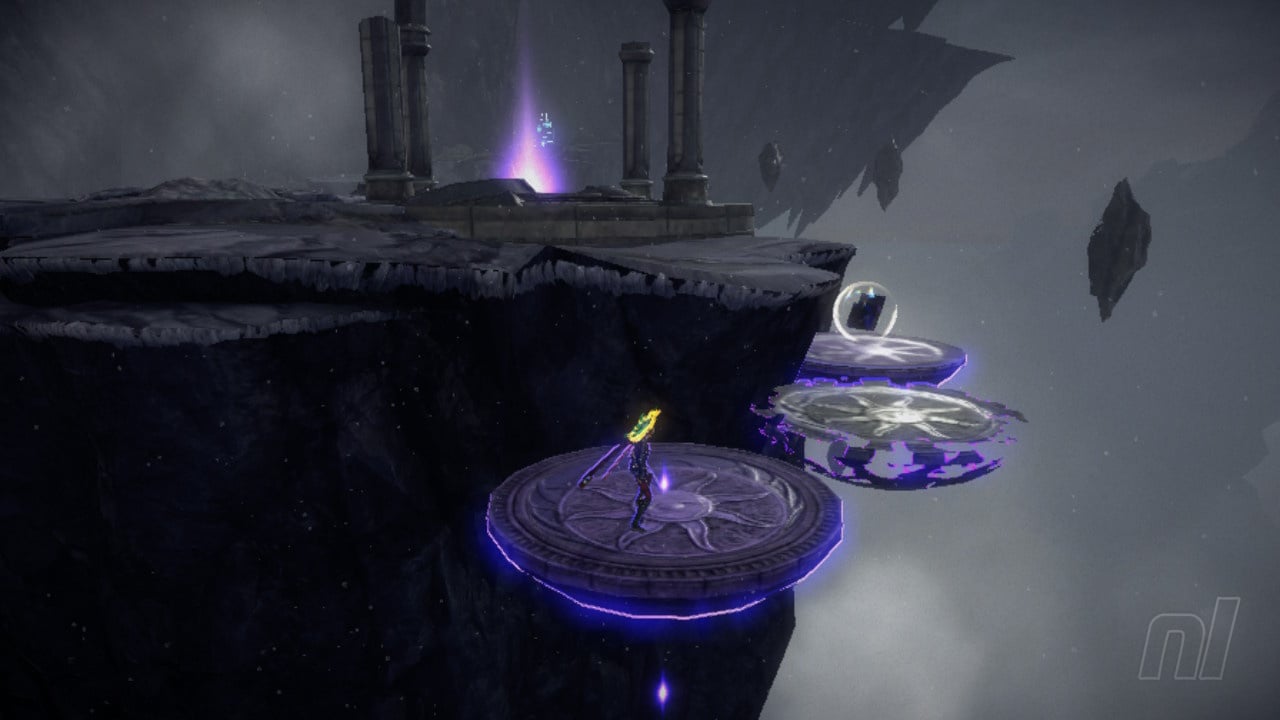
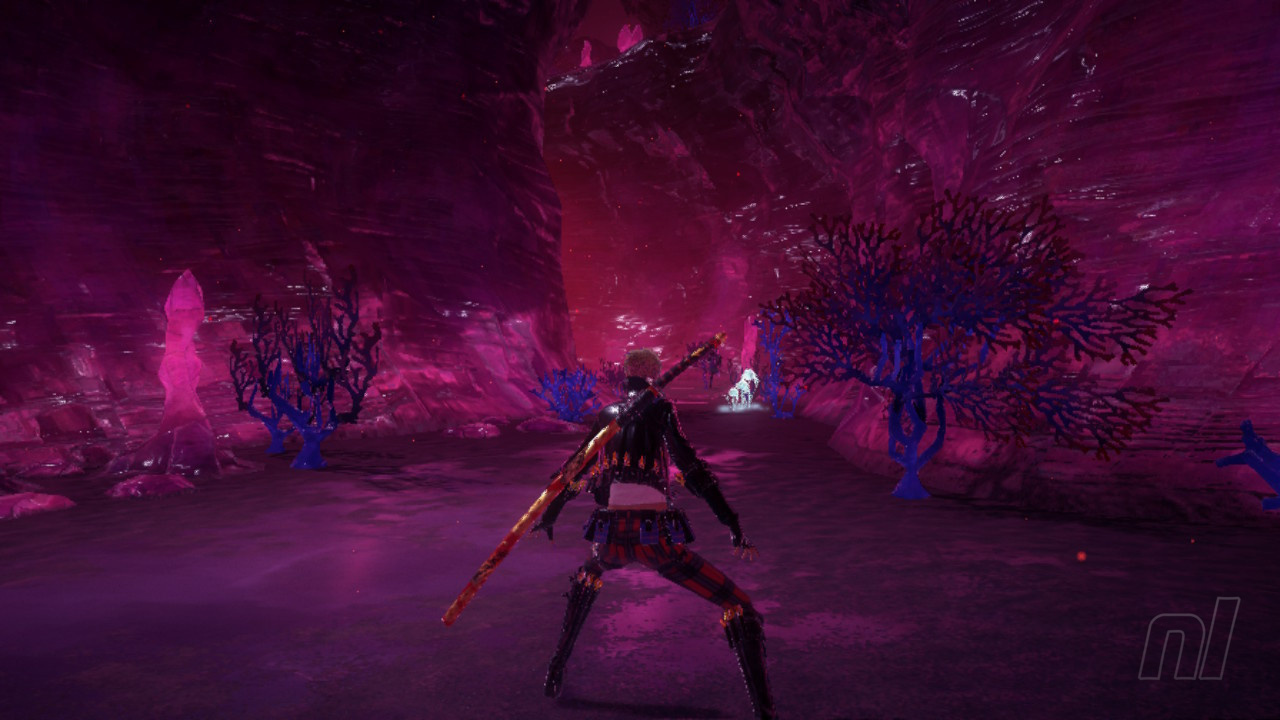
Travel through Ginnungagap without falling - The Chaotic Rift section of this chapter has got some very shaky ground, make sure you don't fall as you head for the exit.
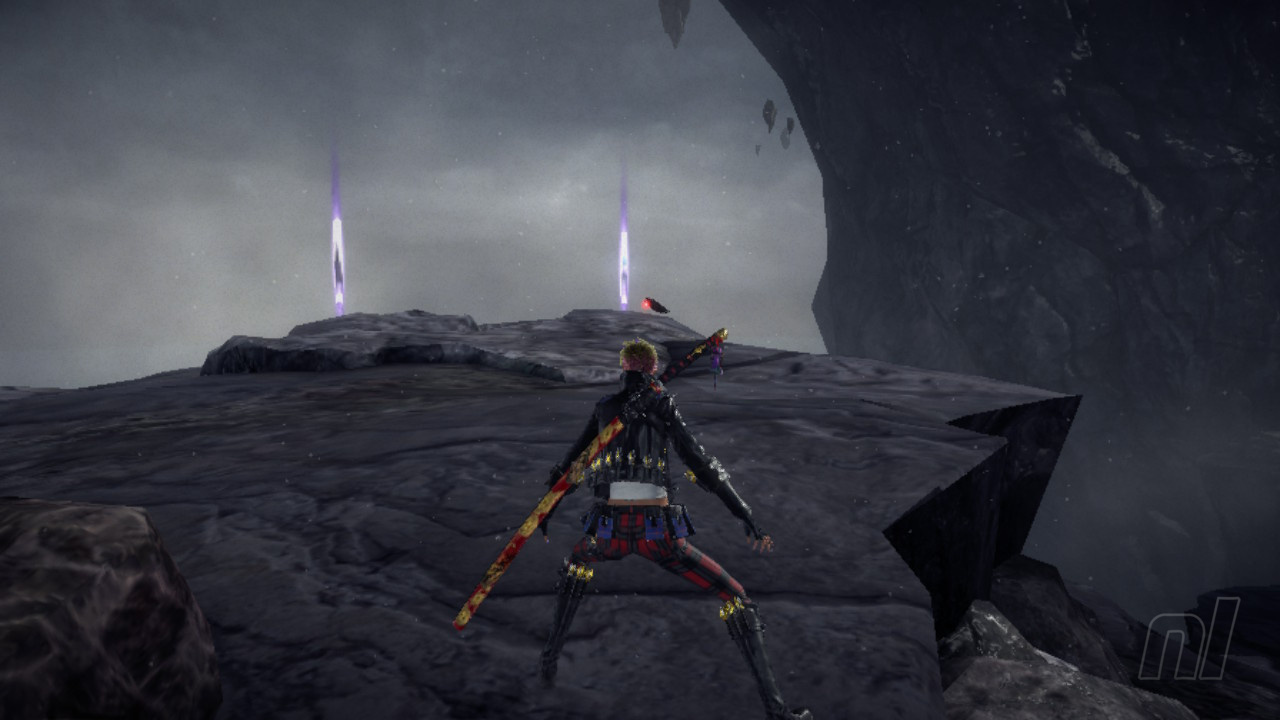
Avoid getting hit by Strider inside his special field - Avoid taking damage from Strider during the battle against him when he switches the fight to anther realm for shirt bursts. When this happens just dodge away and wait for your surroundings to return to normal.
Defeat 3 small Golems - These golems can be found in Treasure Chest #3, as detailed below.
We kick off chapter 10 with a huge tower looming in the distance and, as we make our way forward here, keep an eye out for the coloured shards of glass on the ground, as stepping on ten will earn you a Bewitchment.
Before heading for the tower, let's first veer off to the right where you'll find a moving platform that reveals a bunch more as it heads off and up. There's a key for a Summon Barrier here, so grab it and keep heading up.
Figure Box #1
As you reach the top of the moving platforms you'll spot this box waiting right near the top.
Verse #1
Up on top here you'll reach Verse #1 and it's a combat challenge that will net you a Broken Moon Pearl.
Treasure Chest #1
Directly across from the Verse #1 portal, you'll find this chest full of goodies.
Echoes of Memory #1
Right beside the treasure chest, there's a tower we can bash our way into. Take the hidden platform to the top in here to find an Echoes of Memory.
Treasure Chest #2
Now take the bridge along at the top of the tower here and go behind the small turret building in front of you to find a Summon Barrier. Use the key we found to unlock it and you'll find a chest with a Broken Heart Piece inside.
Treasure Chest #3
Turn around now and head back out on to the bridge and look out to your right to see another chest. This one will reveal a timed trial where you'll need to grab all the pieces.
Verse #2
This one is just below the bridge you crossed to get to the Summon Barrier.
Umbran Crow
Our crow for this chapter is just to the left and down from Treasure Chest #3 on a small outcrop of rock.
Echoes of Memory #2
And, as you're chasing the crow, you'll find this next collectible on its flight path.
Card Pack #1
Keep heading straight on from where you picked up the Echoes of Memory and you'll find this Card Pack sat up on a ledge.
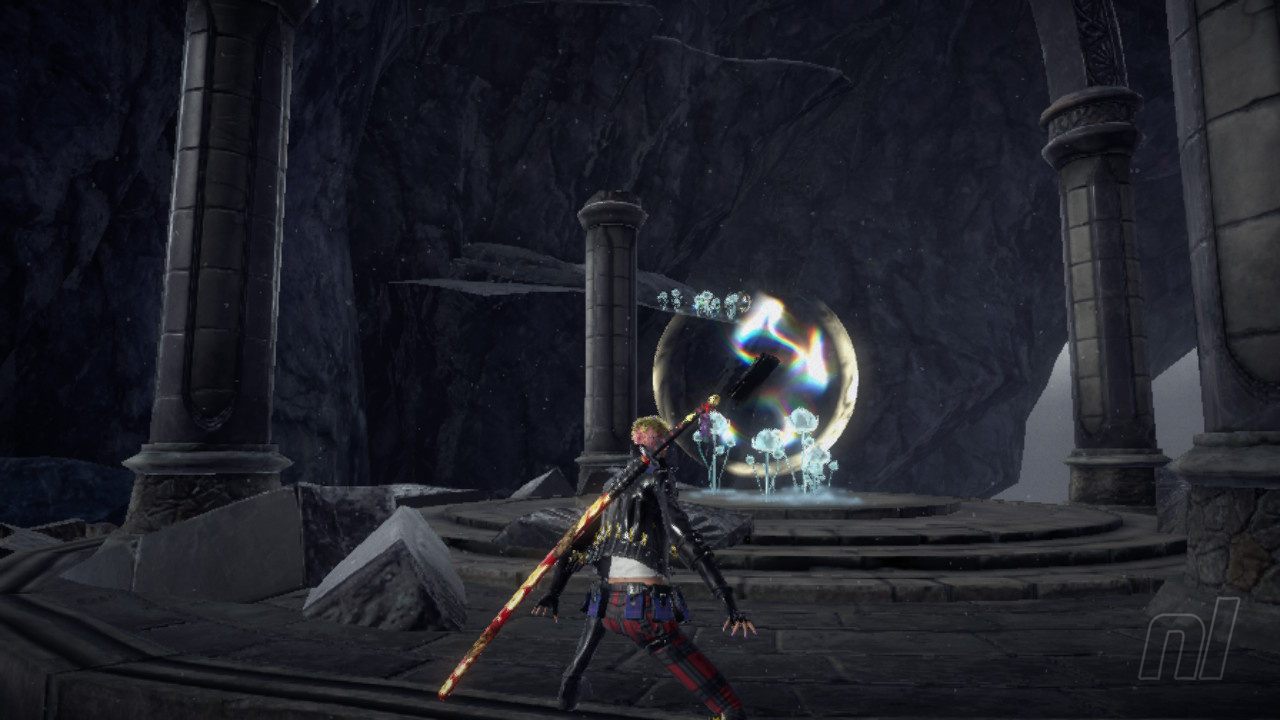
Now that we've mopped up this first area, we can follow the light that's calling to you to move up and around some steps to the next section of this level. Bash on the temporal magic door up here to proceed.
Verse #3
As soon as we enter this new area, we'll kick off Verse 3 and there's a treasure chest here to give you a helpful magic source for the short battle.
Once the battle is done we're off through a portal to the Chaotic Rift.
Verse #4
Head along into the rift and you'll soon come to Verse #4.
Verse #5
And without so much as a break we're right into Verse #5 against a huge, but rather easy, foe.
Now we've got a section where you'll want to avoid falling if you'd like to earn the 3rd Bewitchment for this chapter. We found sticking to the middle and running was the most effective method as the ground falls away beneath you.
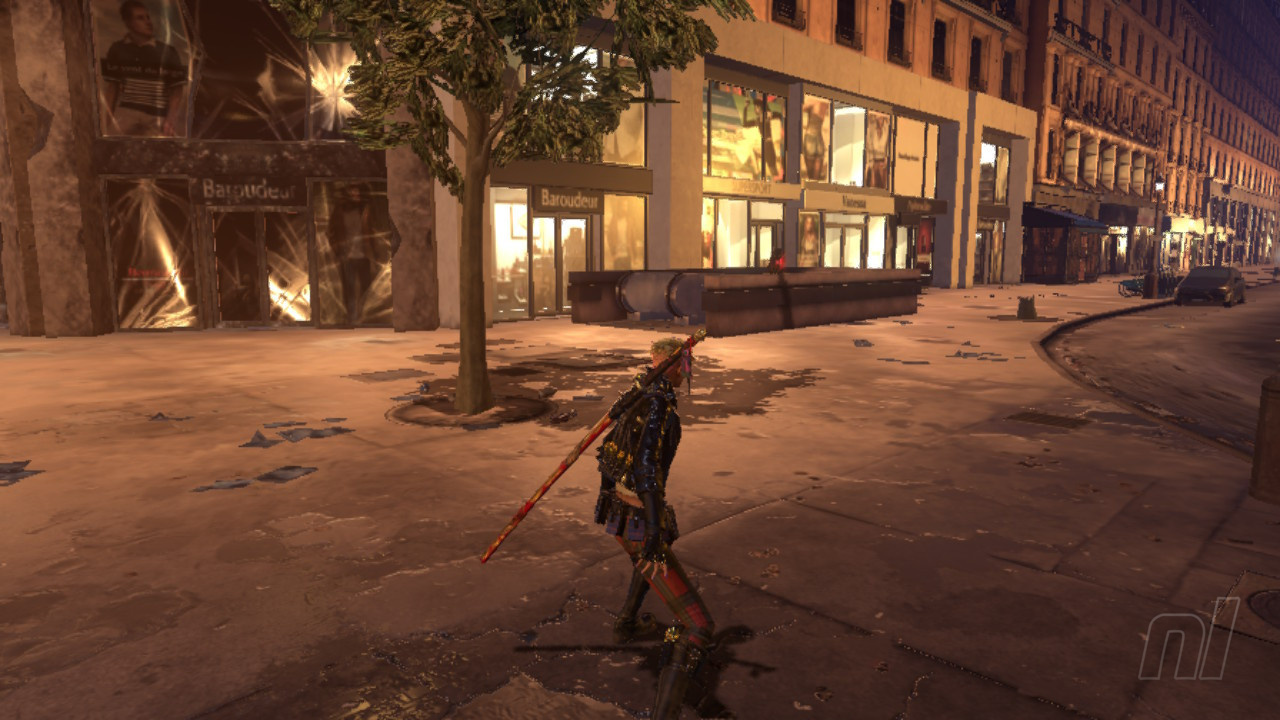
Once this section is done we'll head off for a cutscene and then it's a trip to Paris for Viola. Let's hope we get to stop for some delicious pastries.
Verse #6
This one is just to the right side of the main strip as things get underway in Paris.
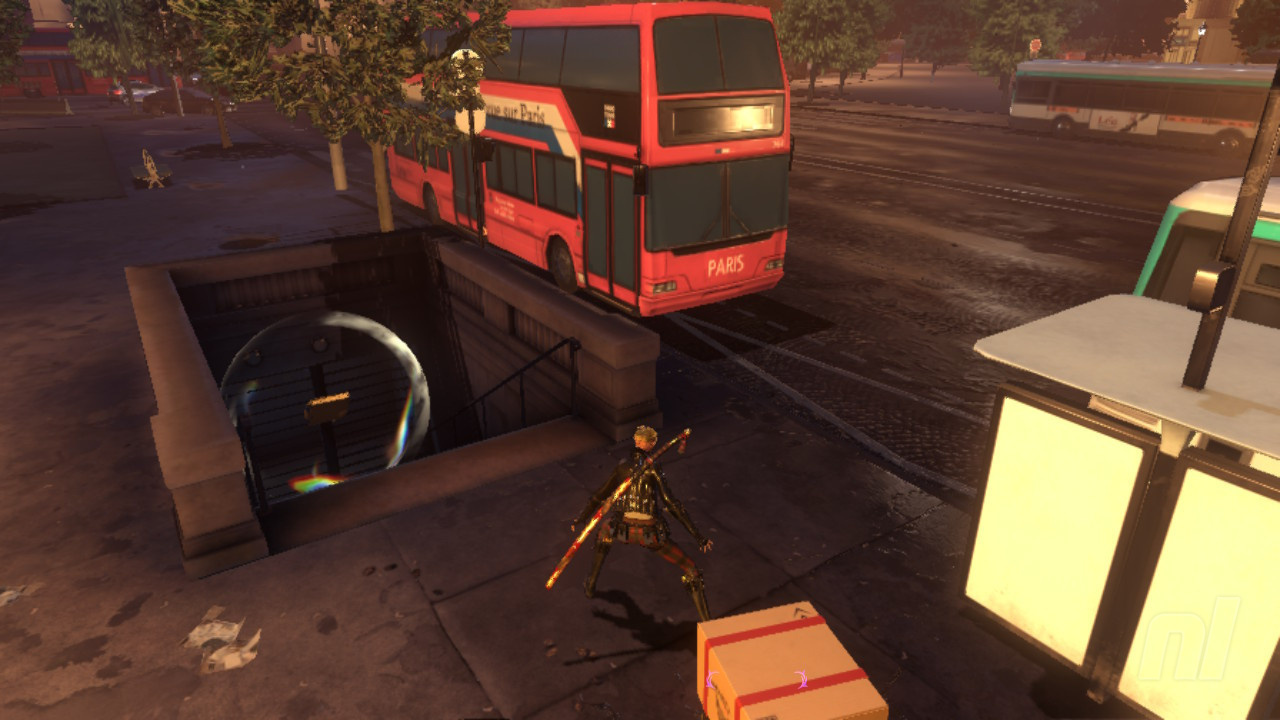
Umbran Cat
Just after Verse #6, you'll see this kitty sat on top of a subway entrance to your right side, just in front of Treasure Chest #2.
Treasure Chest #4
This one will reveal moving platforms above the street. Use them to reach a second chest that then kicks off a time trial puzzle for a Broken Heart Piece.
Echoes of Memory #3
A little further up on the left side of the main Parisian strip, you'll find this collectible down a subway stairwell.
Verse #7
Now take the side street off the main strip to the left and you'll come to the portal for the Verse #7 combat challenge. This one nets you a Broken Heart Piece.
Umbran Toad
Once you're done with Verse #7, head into the little courtyard right beside you and you'll hear the tell-tale croak of an Umbran Toad. He's hiding behind a cracked garage shutter in the right hand corner as you come into this area.
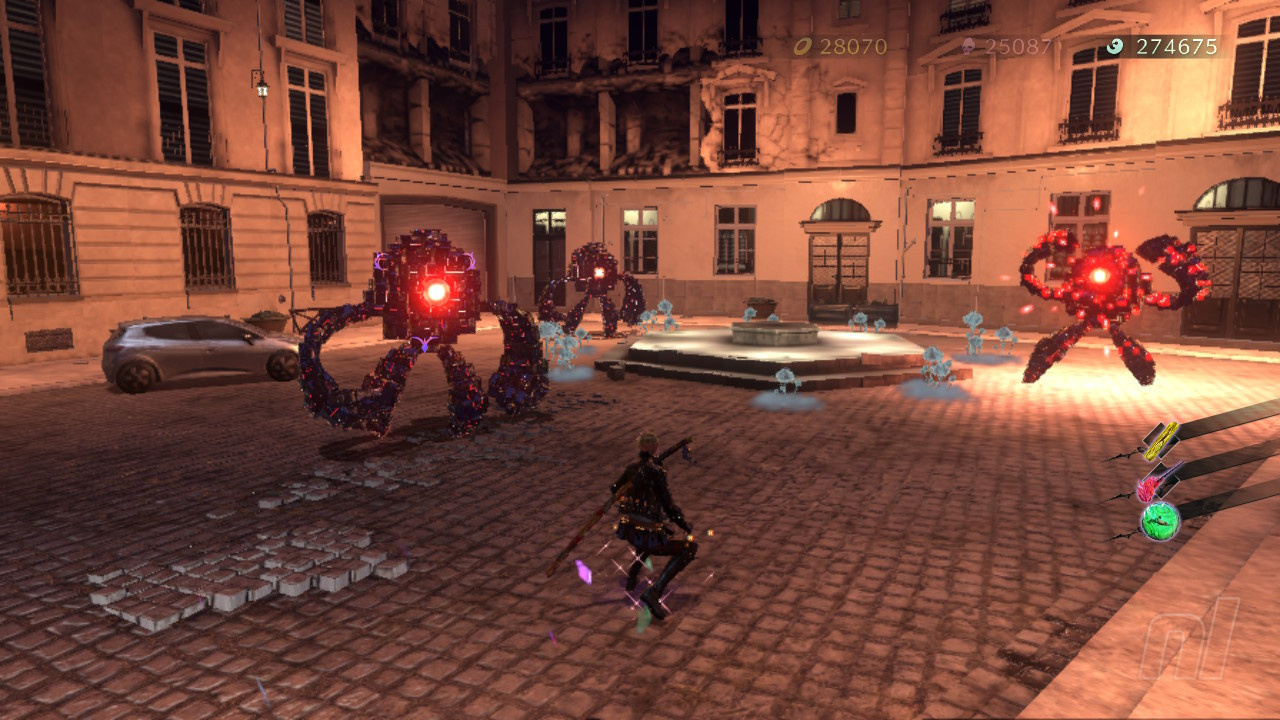
Treasure Chest #5
In the same courtyard as the frog, smash this chest to do battle with the three small golems required to earn the fifth Bewitchment for this chapter.
Verse #8
Now we can make our way back out to the main strip and towards the main arch here, where we'll get a cutscene before a battle with Strider. Remember to avoid getting hit when he switches realms here to earn another Bewitchment.
Let us know if this guide was helpful below, and be sure to check out our Bayonetta 3 guides for more information.


Comments 0
Wow, no comments yet... why not be the first?
Leave A Comment
Hold on there, you need to login to post a comment...