
Dungeons don't get more "classic" than a temple emerging from the sand, and that's exactly what Tears of the Kingdom's Lightning Temple is. You'll come to this dungeon during the Riju of Gerudo Town Main Quest.
Built around mirror and light puzzles and not much electricity, this is still a shockingly good time to get through. If you're following our recommended order, this is probably your last of the regional dungeons. If not, then, welcome! Tears of the Kingdom has dungeons!
Here's your reminder, too — as we did this last, expect some light character spoilers in some of the below screenshots. Though if you've done any of the regional quests, you probably won't be too surprised.
Subscribe to Nintendo Life on YouTube841k
Here's how to blast through the Lightning Temple and power up all of the batteries.
Zelda: Tears Of The Kingdom: Lightning Temple Walkthrough
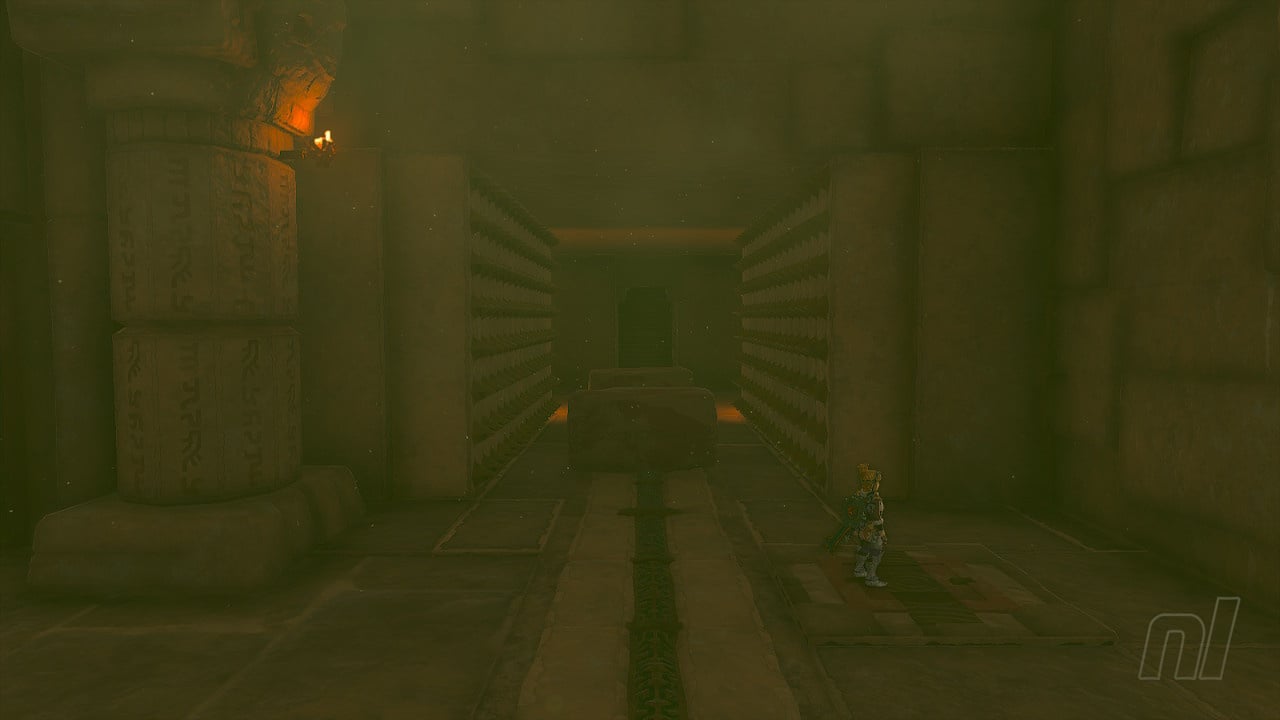
So, the Lightning Temple is pretty big. But its size is a little deceptive. While it towers over the desert, this dungeon is very chamber-based, meaning it's more about getting around and using the central room than actually walking for miles.
You've got to get in first, though. To do that, aim for the cocoon above the doors with Riju's lightning, and then fire an arrow at it. From there, a huge creature will emerge and attack you. Yep, The Mural's Myth is kicking things off with a shocker — a miniboss.
How to beat the miniboss
Remember this boss well, because this won't be the first time you see them. In fact, you won't even get to finish it off until a bit later.
Queen Gibdo is fast and it can fly, and it'll attack you with sandstorms or by stomping on the ground. She's just like any other Gibdo, however, and you can remove her outer layer by shocking her with Riju's lightning.
You need to be on the move constantly while tracking Queen Gidbo's movements. If she stands on her back legs, get away from her, and if she flaps her wings, run to either her left or right to avoid the tornadoes. When you can, interact with Riju to power up that lighting and shoot the Queen with an arrow to melt the outer layer off. When she's exposed, you can attack her with melee weapons.
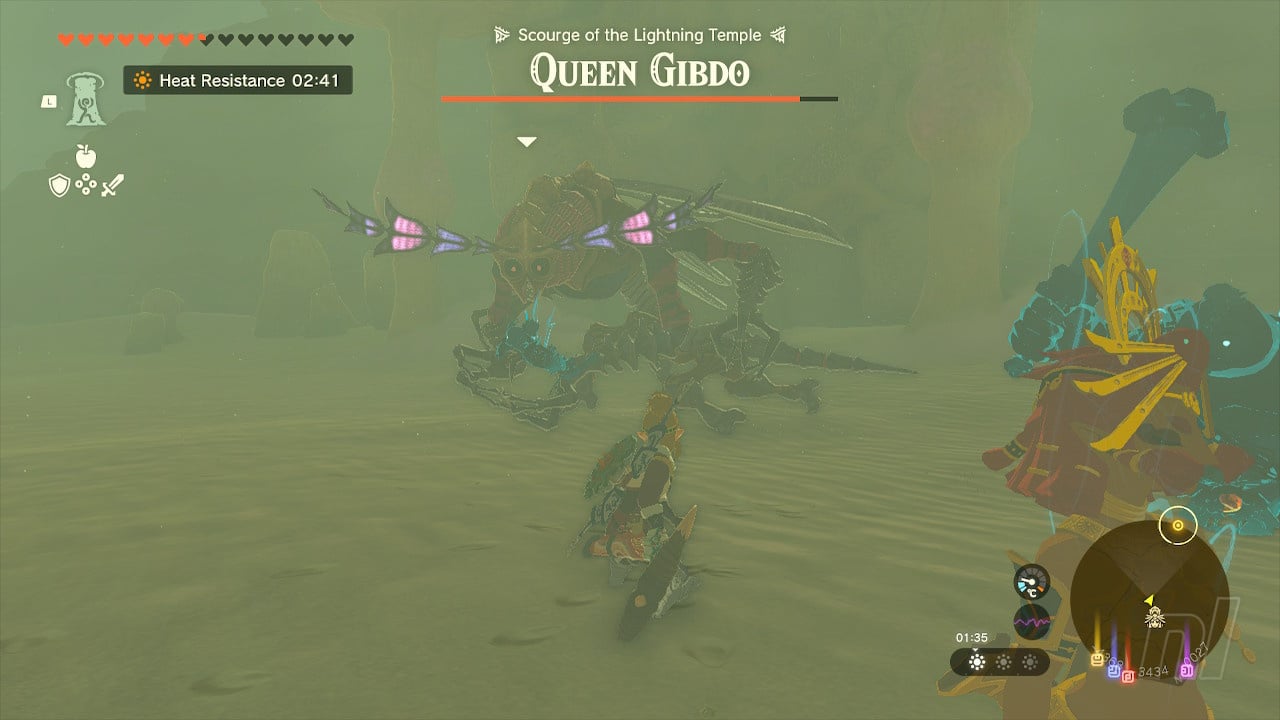
Carry on until you get the boss down to around 75% health. After that, a cutscene will play and she'll fly off.
Enter the Lightning Temple
After the fight, break into the temple by using Riju's lightning to destroy the hive on the door. Inside, grab the Korok Frond weapon and use it to blow away the sand (you can also use Tulin's wind ability if you've already done the Wind Temple).
Follow the path down to B1, drop down the side of the bridge and open the chest for a Large Zonai Charge. Ascend back up, then move the sandstone out of your way with Ultrahand for a Topaz.
If you want, you can go right out of the room and follow the flame path for some Indiana Jones-style treasure and puzzles, or from the Topaz room, you can use Ascend and you'll be in the central chamber. You can re-explore the dungeon once you've solved it, so nothing is missable.
Inspect the Zonai terminal in the Room of Ascension, after which you'll need to find and activate four batteries.
Dungeon Map
Eight floors. Eight floors. They're not very big floors, mind you — many of them are just a single chamber, all connecting to one central room. Plus, the BF is the entrance and 7F is where you fight the boss. Six floors are much more manageable, right?
We've only marked the batteries in this dungeon for now, and given that there are so many floors, we've put two maps per header below. This may change at a later date. There are only really four floors you need to worry about in this temple, however.
B1 / 1F
2F / 3F
4F / 5F
6F / 7F
Power up the four batteries
Battery 1
This one is extremely easy. Behind the Zonai terminal on the 1F, you'll spot two sandstone blocks on the right. Move them out of the way with Ultrahand. Walk in. See the battery switch. Hit it with Riju's lightning.
See, we told you it was easy. Don't worry, they're not all like this. Return to the Room of Ascension.
Battery 2
Now the real puzzles begin — unless you took the long way in, that is.
In the back corner of the room, you'll spot a breeze coming out of some sandstone bricks. Lift them out of the floor to create an updraft which you should ride up to 5F. At the back, you'll spot a gap in the wall with a huge beam of light — the Room of Natural Light.
Climb into the room and pick up the stone to your left with Ultrahand. Stand it upright. In a hole in the wall, you'll see a mirror, which you should grab and stick on top of the stone. Make sure the light reflects through the hole and into the main chamber.
Climb out of the room and move the mirror pillar in front of the hole so it's reflecting the light northeast. Then move the pillar on the right hand side down so it hits the beam of light. This will open a door on 3F.
Glide down to the door, stand on the switch, and walk into the Room of Offered Light. In here, you'll be ambushed by Gibdos and Construct enemies. Use Riju to destroy the hive, and then take out the Gibdos with elemental attacks, while also taking out the Constructs one by one. If you need to, you can deactivate the Hover Stones to get the archery Constructs back on your level.
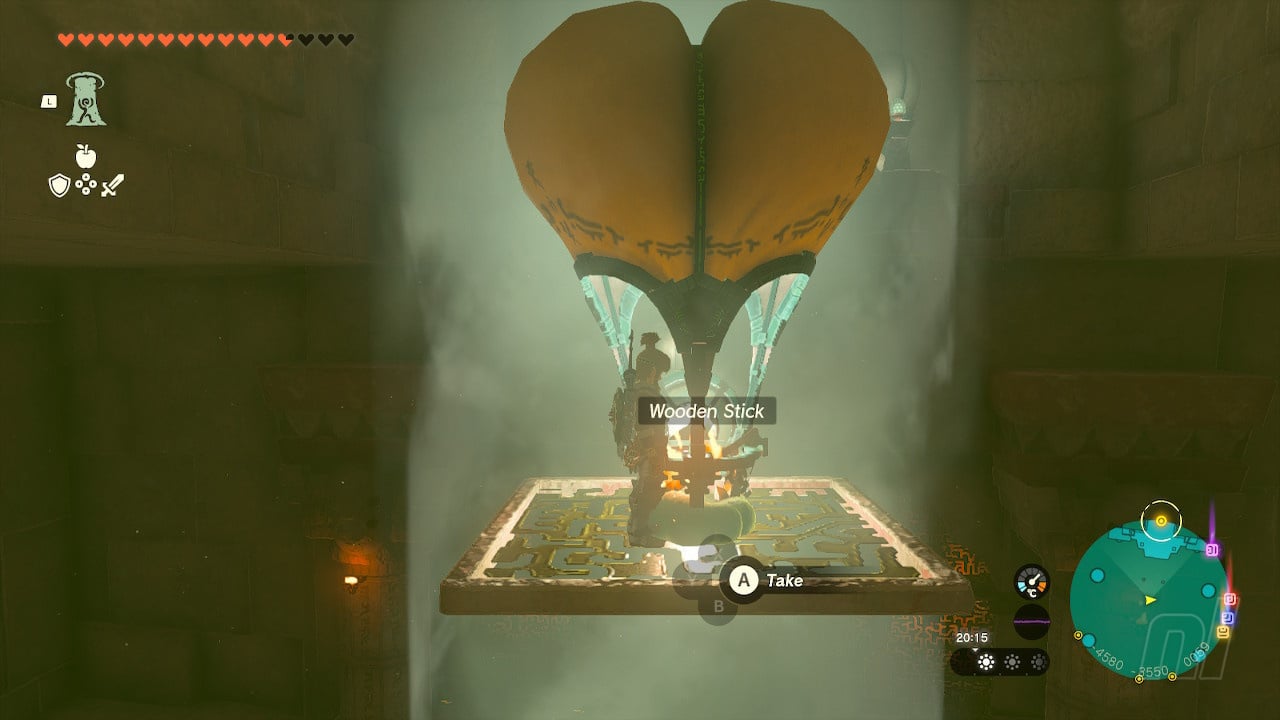
After defeating all of the enemies, you'll need to utilise the light source in the centre of the room. On the right, there are parts to make a balloon along with a mirror. Stick a hot air balloon to a grate, and then stick the mirror on the front of the platform. Then move the whole thing over the beam of light.
Next, grab a torch (or a wooden weapon) and light it using one of the candles in the room. Then stand under the balloon and it'll float up. The light will then hit the lamp, and the door on the floor below will open. Hop down and charge up the battery with Riju's lighting.
Battery #3
Return to 5F and move the pillar in front of the light source out of the way. Then, head to the opposite side, blow away the sand, and move that pillar all the way to the end of its rails.
Follow the path round to the right, and pull the pillar on this side into the light source, which will activate the highest room. Using the updraft (and maybe a bit of climbing), go up to the newly activated switch on 6F and open the door by standing on it.
Walk in, and peek over the edge to see a long chamber full of fire. You'll need to carefully glide your way down without getting hit. Riju won't be able to follow you here.
When you get to the bottom, you'll be on 2F in a closed-off chamber. Open the door by standing on the switch, and take on the two Constructs in the room. Once they're out of the way, shock that battery and you only have one more to go.
Battery #4
Return to 1F and then ride the wind up to 4F, where you'll want to glide over to a small gap in the north corner of the room. Rough coordinates are -4513, -3585, 0063. Follow the path round to two rotating discs with gaps in them. Walk through them and then at the end of the corridor remove the bricks to open up a light source.
Turn around and use Recall on the rotating discs until the gaps line up perfectly. Cancel, and let the light pour into the central chamber. Walk out of the newly open door, and then glide over to 3F. Walk up the stairs and wait for the next door to open, revealing a room full of traps.
Riju won't be able to follow you through the traps. Stopping them with your skills isn't enough, which means you'll need to deactivate them.
Grab the sandstone block at the side of the room and stick it between the crushers. Run through and stand on the switch, and Riju will follow you.
The switch you need is on the right, but you can't get to it yet. For now, grab the sandstone from the walk opposite you and shove it under the spiked ceiling crusher to stop it from squishing you. Walk under it to the Room of Light and Shade, and fight the Construct. Again, Riju won't follow you.
In the centre of the room is a light source coming from below. Behind it, there's a hole in the ground you can drop down into. In this spinning chamber, you'll have two Stakes and a mirror, the latter of which you can lift out of the sand with Ultrahand.
Put the mirror on the light source, and then pick up one of the Stakes with Ultrahand and wait until a green light is revealed. Pin the stake in the wall to stop the room from spinning, exposing the light to the source and opening the door to the Switch.
Ascend out of the room and return to the previous room to power up the final battery. Then return to the Room of Ascension and touch the Zonai terminal to activate the lift up to 7F and the boss fight.
How to beat the Lightning Temple Boss
On 7F, the Room of Glorious Light, hit the hive with Riju's lightning and — you guessed it — the miniboss from earlier is back, but it's also much stronger.
With less room to work with, this will be tougher than your earlier scrap with the boss. As such, we've got a dedicated guide on how to defeat this big bug boss.
If you've defeated the boss of the dungeon and completed all four Regional Phenomena quests, it's time to head back to Lookout Landing to find out what to do next. We'll have details on that soon. For now, head on over to our Zelda: Tears of the Kingdom walkthrough for all of your Hyrulean needs.


Comments 1
WARNING:
At the beginning of the temple do not use ascend to get into the central room as a shortcut.
You will not be able to leave the temple until you beat it (so can't stock up on arrows and such before the boss) unless I'm mossing something, I'd be very glad to be corrected.
Show Comments
Leave A Comment
Hold on there, you need to login to post a comment...