After making it through five Bananza Rehearsals with the other elders, it's time to take on Donkey Kong Bananza's final challenge: The Great Harmoneel's Windpipe.
This gauntlet-running mission is arguably the toughest you'll face in the game, so we've assembled the following guide to help you survive all six of its phases and pick up every Balloon on the way.
Subscribe to Nintendo Life on YouTube846k
Donkey Kong Bananza: How To Beat The Great Harmoneel Rehearsal
Before diving into the mouth of the Great Harmoneel at the Planet Core, it's a smart idea to load up on as many Apple Juices and Balloons as you can carry. This is a challenge that boots you right back the last checkpoint if you fail (and there's only one checkpoint en route), so you'll want to keep slip-ups to a minimum.
Here are the best techniques we found for surviving the Great Harmoneel.
Phase One: Thorn Corridor
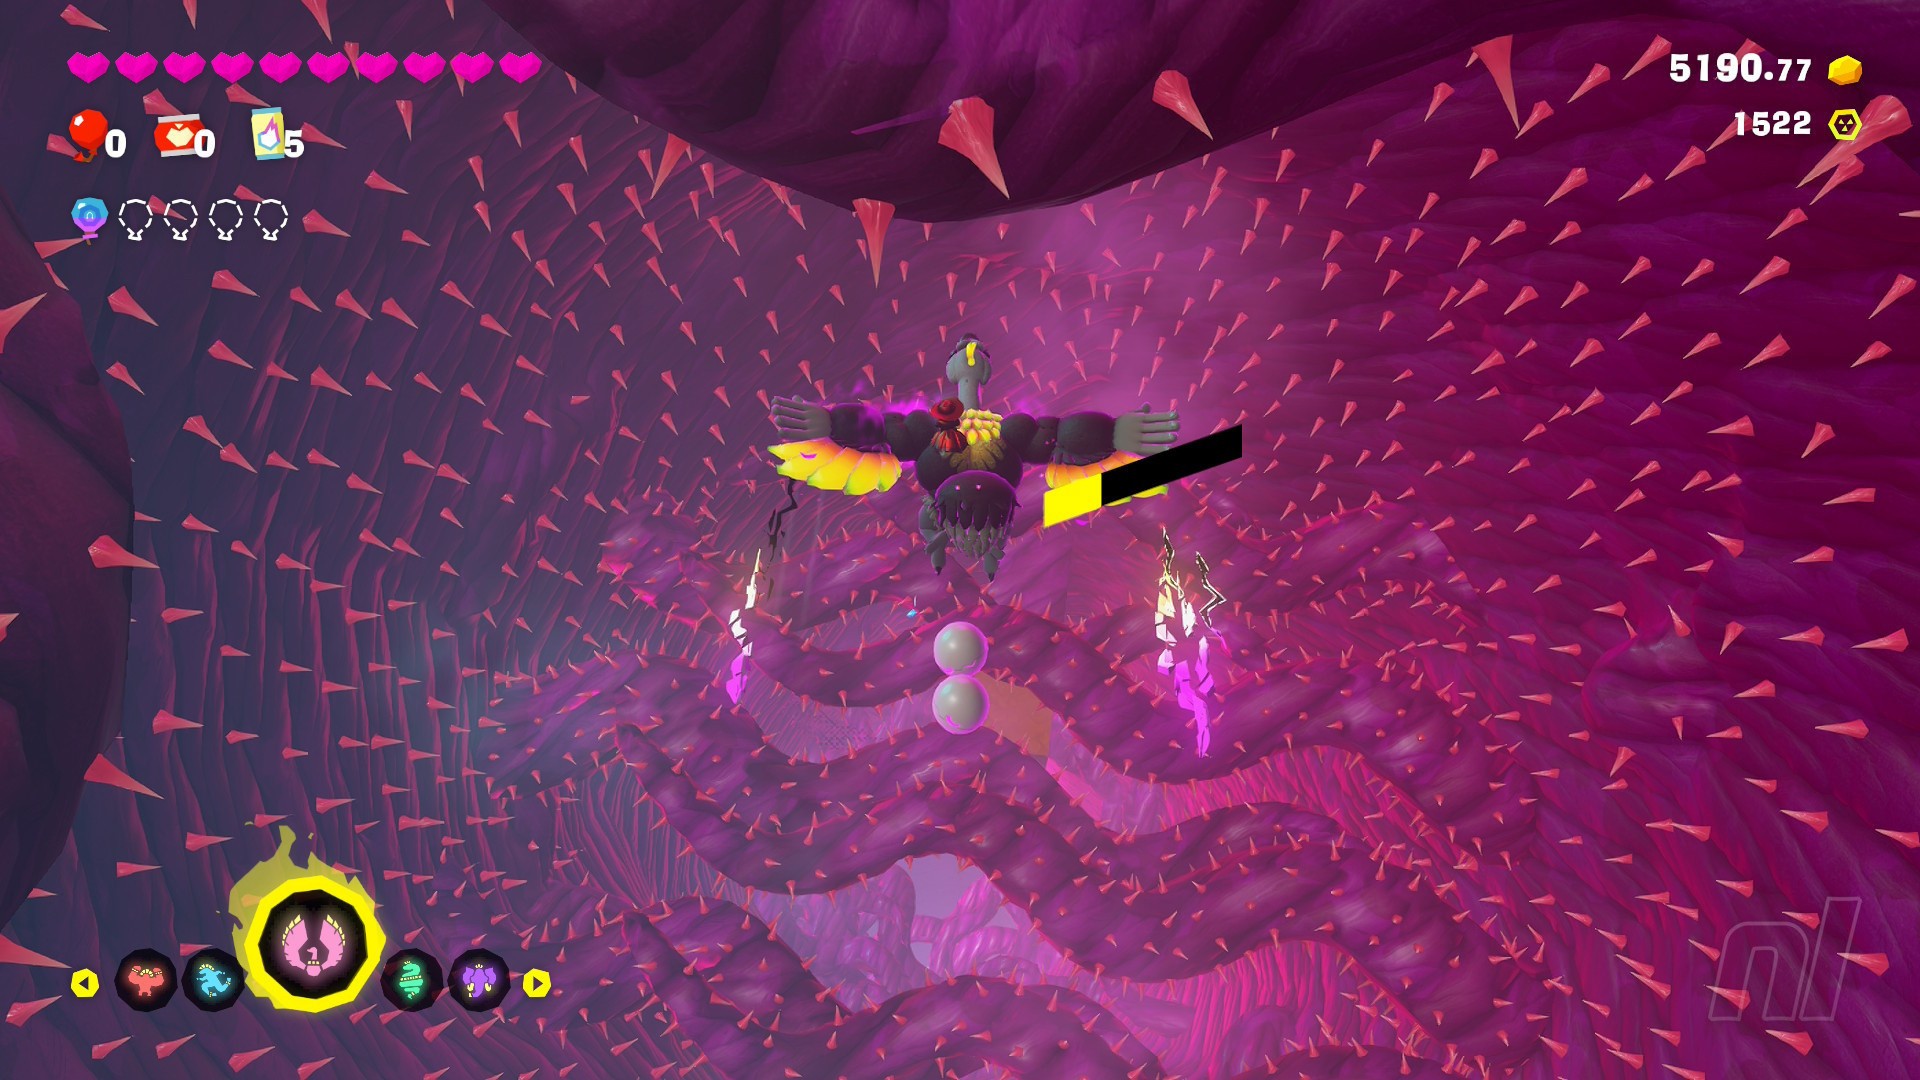
This first phase is pretty straightforward, but it can be a real pain to line up your descent.
Use Ostrich Bananza to glide down the pit. Gliding for too long in one direction will send you into the thorny wall, so keep holding 'ZL' for a period, releasing, changing your direction, then holding it again.
Use Egg Bombs to break through the thorns that grow beneath you, then use the same technique with 'ZL' to slot yourself through the gaps in the barriers. You'll have to just rely on your dodging skills to make it through the horizontal section of the corridor, but there is a gold block on the floor after the first set of thorns in this section, which you can bomb to claw back some Bananergy.
Keep an eye on the second wall of thorns in this horizontal section, as they'll come down with your First Balloon.
Repeat the Fluttering/Egg Bombing process for the final drop to complete the section.
Phase Two: Spike Ball Hills
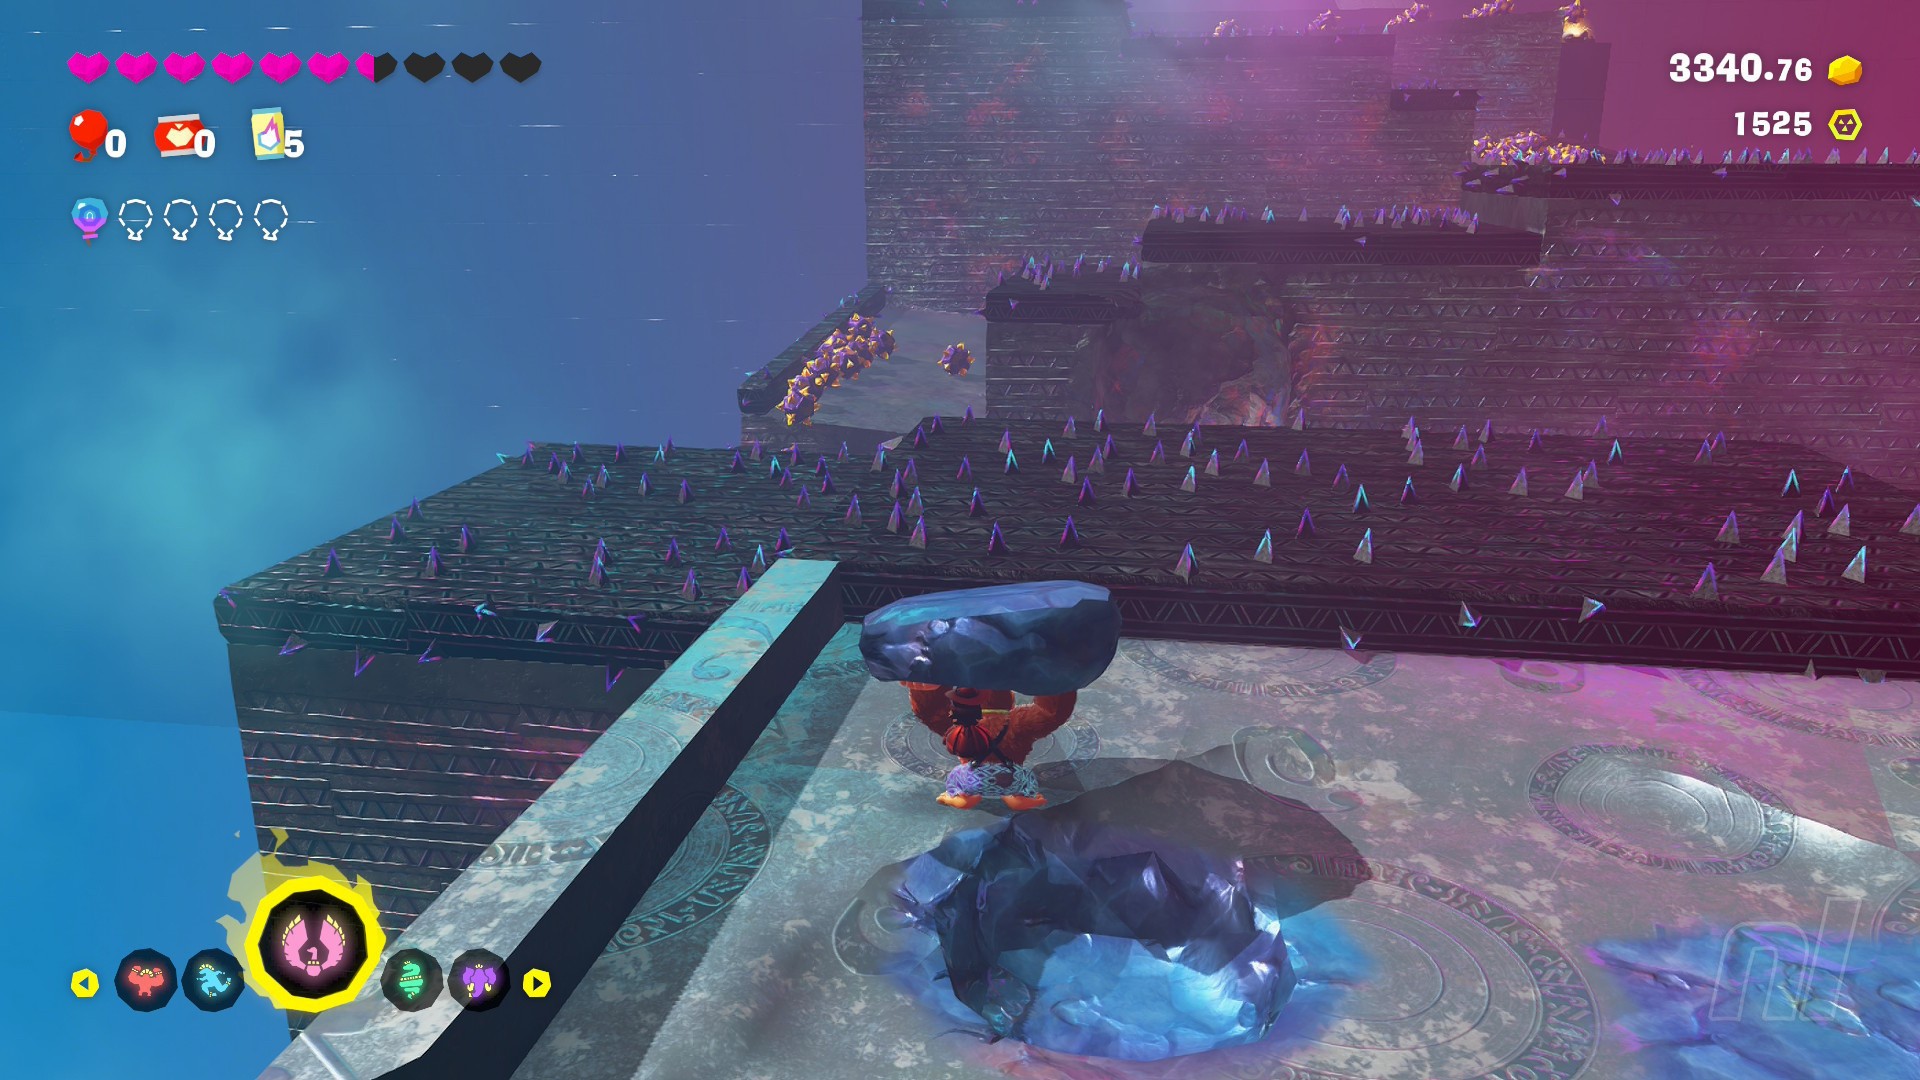
Before you start on this challenge, break down into the ground where you found the Crockoids and hoover up as many Apples as you can to regenerate some health.
Grab a chunk of the starting platform and use it to Turf Surf through the first wave of spike balls. Grab onto the wall at the first corner and punch into it to find the Second Balloon. Follow this wall around the outside of the ramp to avoid having to navigate the second slope.
At the final incline, use Snake Bananza's Glare to slow the rolling balls, then Charge Jump through them and over the spikes to the end of the section.
If all of that sounds like too much effort, we've also worked out that you can dig down through the starting platform, then use Kong Bananza to dig a tunnel under the entire course and up to the finish line. It feels a bit like cheating, but it's another solution, we guess!
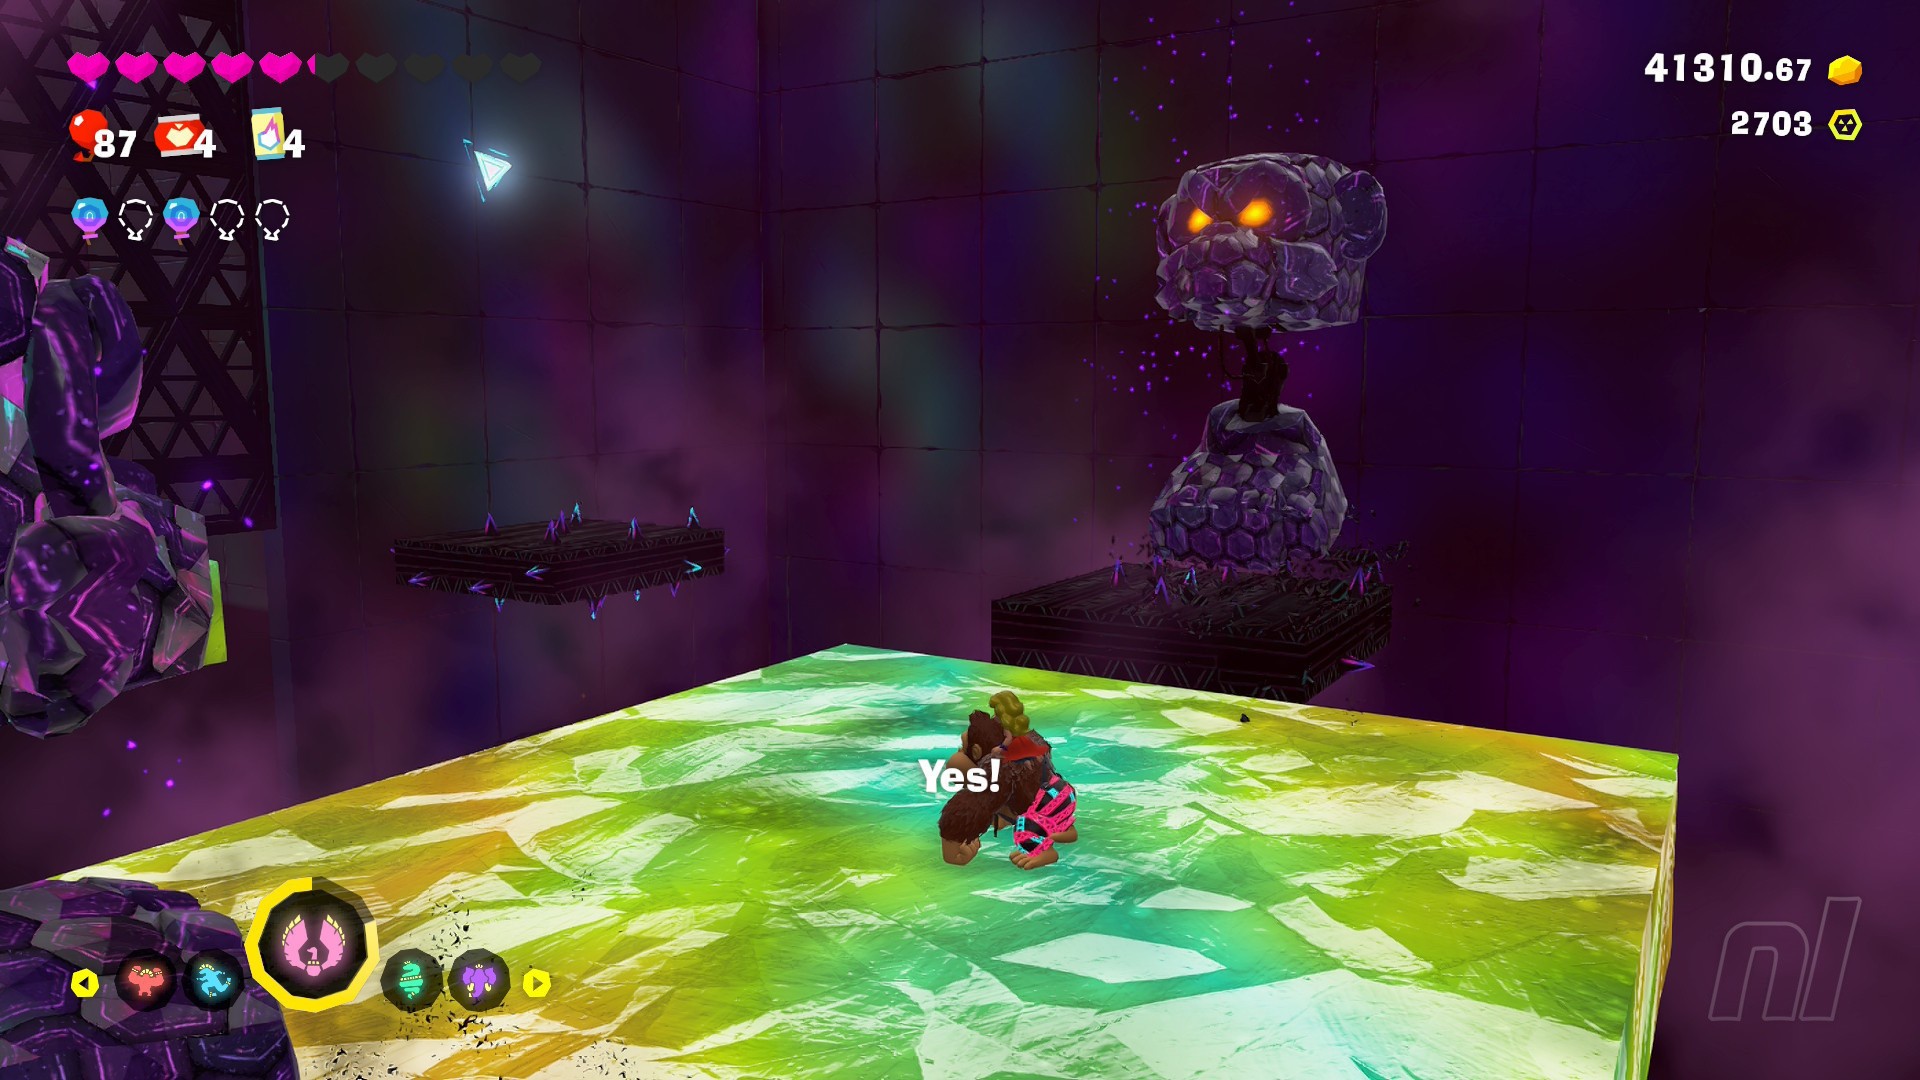
Phase Three: Enemy Elevator
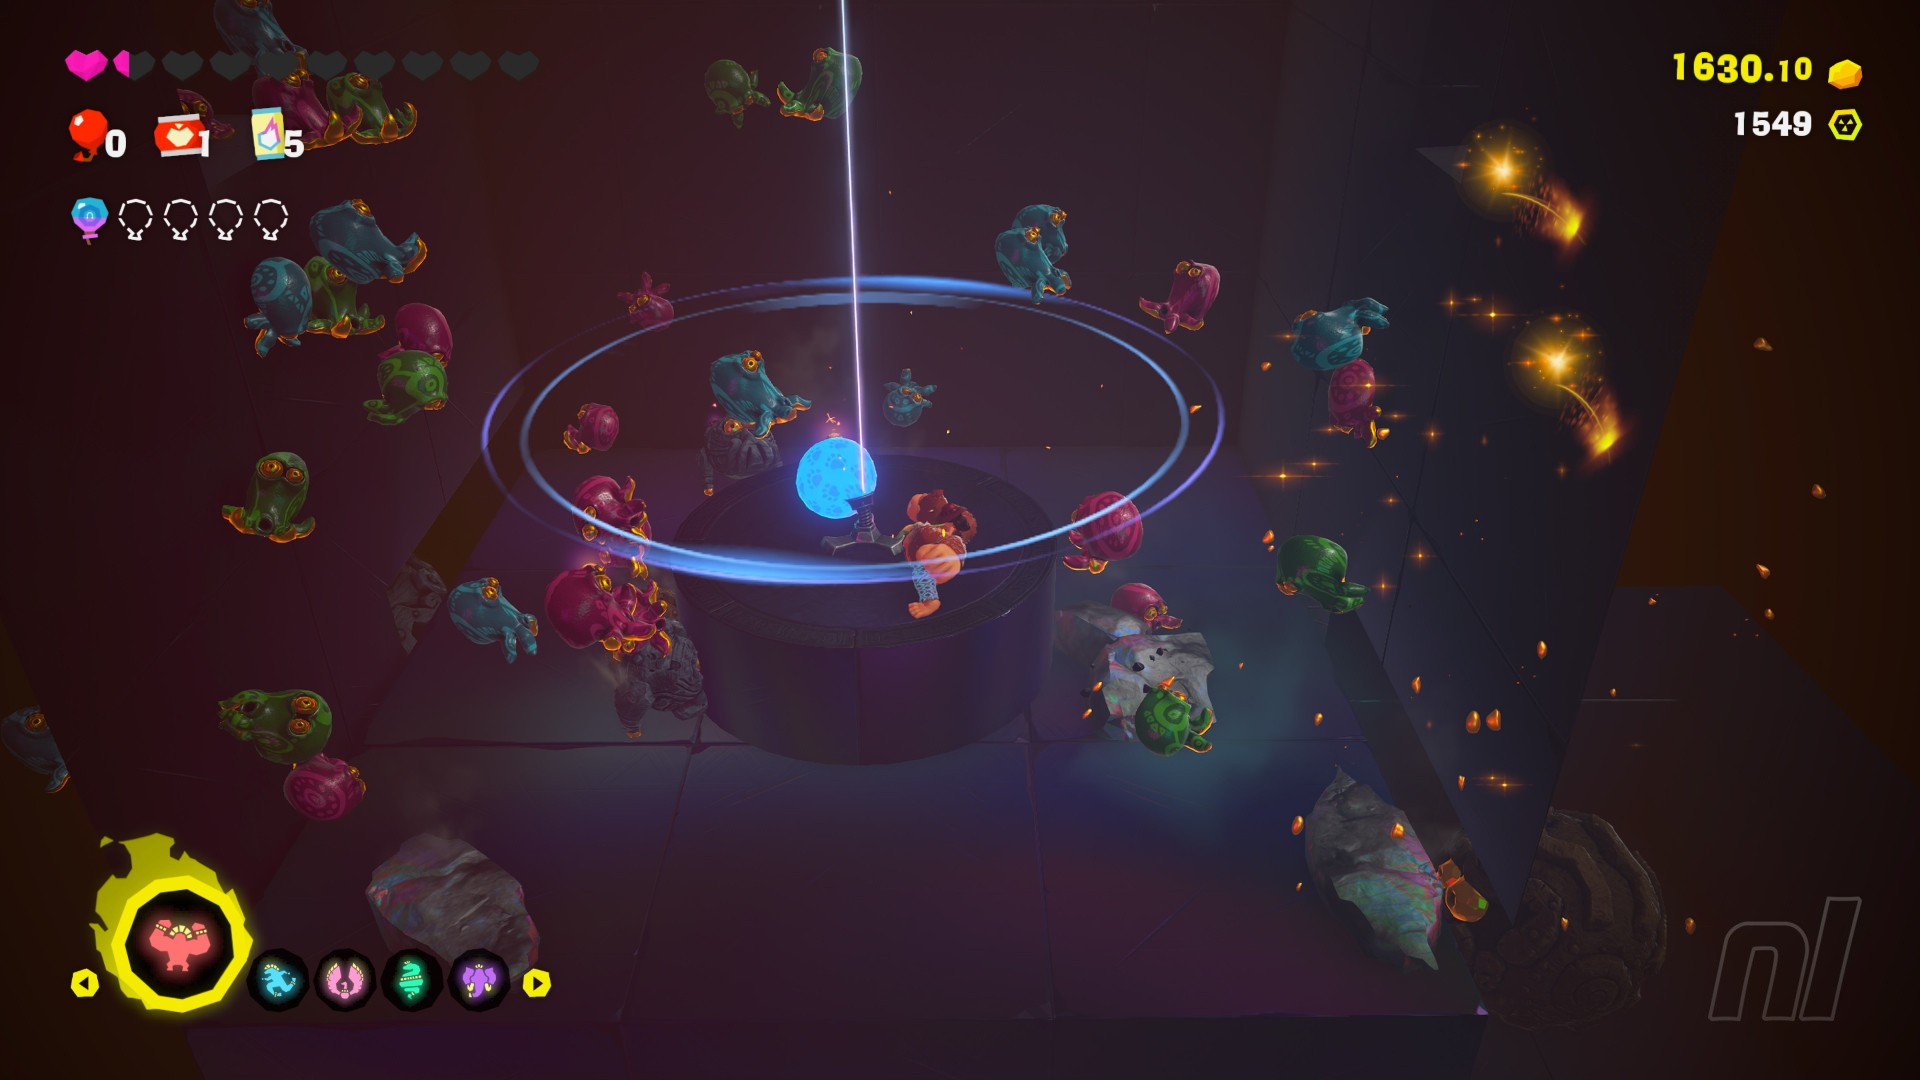
This one is all about timing. Use Kong Bananza to break the concrete around the punching bag, creating a ditch around the central platform. Once that's done, begin punching the switch to take the elevator downwards, slowing your hits when you see the charging bomb enemies. Time your hits so that this first set of enemies falls into the ditch around the central platform.
You can pretty much spam punch for the next section, enemies won't be able to hit you on your platform, and you'll need to keep those pesky Peekaboopoids off you.
Be careful to slow your punches again when you hit the larger rolling enemies on the lower levels, forcing them into the gutter around your platform.
Roll out the door at the bottom to pick up your first Banandium Gem and load up on some health.
Phase Four: Glow Stone Platforms
Hop onto the moving Glow Stone platforms and use a chunk to deal with the nearby Stompoid. Grab another chunk to change the wall into clouds and keep riding the platform through.
This next section is easiest if you ignore the Stompoids as much as possible. Let them hop onto the platform, but guide their heavy jumps to a weak spot, making them drop through the holes they make.
Keep an eye on the sky in this zone. Use Snake Bananza to Charge Jump upwards and pop your Third Balloon.
Transform the rock wall into clouds with a chunk of Glow Stone again, then launch the chunk at the nearby light to open the gate.
Phase Five: Grind Rails
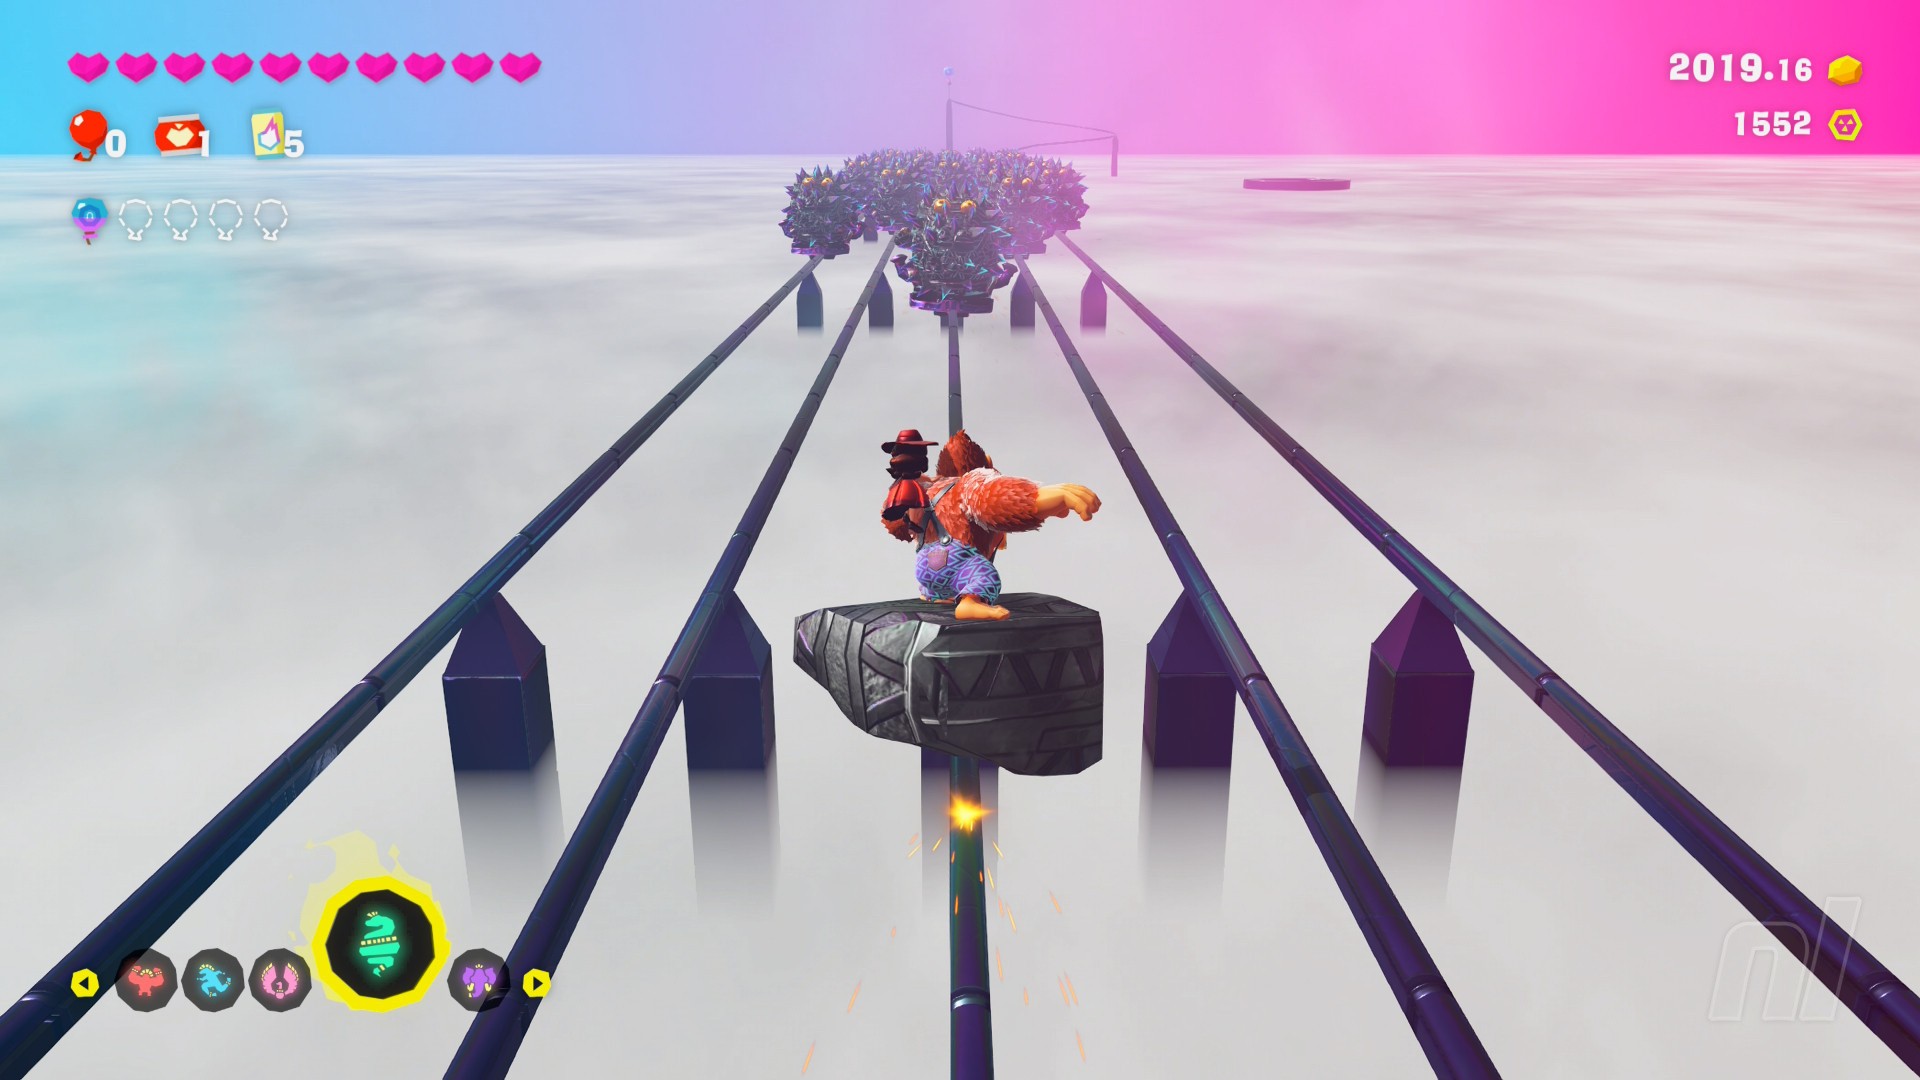
Once again, destroy the starting platform to grab as many Apples as you can. Use Kong Bananza to rip a chunk of concrete from the nearby Fractone and Turf Surf on the rail to access the course.
Take things slow and hop between rails to avoid the oncoming enemies. Remember to keep the Left Stick pointing forward as you switch lanes to avoid accidentally landing on a rail and riding it in the wrong direction. Hurdle the last group of enemies and stay on the middle rail.
Jump over the Barrel Cannon at the end and keep riding the rail upwards to nab the Fourth Balloon.
Phase Six: 2D Sprint

This final section is a 2D sprint to the finish line. Slot yourself between a pair of rolling barrels and use Kong Bananza to break through the concrete barriers blocking your path. Switch to Zebra Bananza to make it through the muddy section unscathed, then grab onto the wall on the next drop to time your barrel run again.
Use Snake Bananza's Glare to slow time and sneak under the barrels and pop the Fifth Balloon.
Keep following the path of the barrels, then break the gold wall and gobble up the Melon because it's time for the big finish. Use Zebra Bananza to sprint across the water, and hit 'ZL' to Charge Dash if you're unfortunate enough to get hit by a barrel en route.
Hop into the mine cart and ride the straight rail to the finish line, soaking in the final message as you go.
Great Harmoneel's Windpipe FAQs
Here are some questions you might still have about the Great Harmoneel challenge:
What's the best outfit for beating the Great Harmoneel Rehearsal?
The two staples we'd recommend for this one are the Bananergy Tie (to ensure Gold pick ups give your more Bananergy) and the Lady's Dress (to make your Bananzas last longer).
The Britches choice is really up to you, depending on which section you're having the most trouble with. You might want to try out the Girded Britches if the initial thorn section is too much, or the Defence Britches if the elevator keeps getting the better of you. Try out some different looks and see what works best.
What's the reward for collecting all the Balloons in the Great Harmoneel?
If you followed our guide and picked up all five Balloons inside the Great Harmoneel, you are rewarded with the final Disc in the collection: Breaking Through (Heart of Gold): Karaoke. Go on, sing your heart out!
We hope this was helpful in getting you through the final challenge. If you still have some collectibles to mop up or if you're just after more hints and tips, be sure to swing over to our Donkey Kong Bananza Walkthrough guide hub.


Comments 1
WE'RE BREAKING THROUGHHH
RIGHT TO THE CORE!
WE CANT BE STOPPED
NOT ANYMORE
Show Comments
Leave A Comment
Hold on there, you need to login to post a comment...