 by
by 
We are one week closer to the 5th November launch of Ocarina of Time on Switch 2, so that means it's time for my second replay catch-up.
For those who missed my adventures Inside the Great Deku Tree last week, I'm replaying the original OoT, one dungeon each week, in the run-up to launch. This time, it's Death Mountain's turn.
Once again, I'm going into dungeon specifics here, so if you've never played OoT before and you are saving yourself for the remake, just know that there are spoilers ahead!
OoT Dungeon Crawl #2 - Dodongo's Cavern
Dodongo's Cavern has always felt like a step down from the brilliance of the Deku Tree, to me.
Maybe it's the brown rock aesthetic, maybe it's the pesky Bomb Flower aiming, maybe it's the abundance of Fire Keese (it's definitely the abundance of Fire Keese), but the trip into the mountain always feels like a bit of a sophomore slump.
My opinion hadn't completely changed this time around, but I'm increasingly certain that even my less-preferred Zelda dungeons are still a damn good time.
From its opening room, the dungeon immediately presents just two directions — left or right — and introduces two major dungeon features while it's at it: the lava and Beamos. This is a dungeon full of slippery little enemies, and these laser-firing sentinels are no exception. They scared the pants off me when I was younger, but now I can slip around them with ease. No laser burns for Link this playthrough.
What struck me this time around is how cyclical the layout is. Zelda dungeons often show you an area, then lead you through a series of puzzles to access said area from a different angle, and Dodongo's Cavern does that constantly.
The opening room is the game's introduction to a dungeon 'hub', with side routes doubling back on themselves to open up new paths into the main area. I love that raised switch in an alcove on the right as you first walk in. It's low enough that it's basically asking you to try and climb up to reach it, though just high enough to be impossible.
It's not until you make it past the ensuing statue-dragging switch puzzle, your first Lizalfos face-off, and the torch room that you're eventually fed back around to the other side of the ledge. Even after all of these playthroughs, it still makes me go, "Oh, I'm here!" when I loop back.
It manages to incorporate some verticality into its looping structure. I'm not the biggest fan of the bomb puzzles in this one (more on that later), but creating a set of stairs by bombing the one rock column with a simultaneous explosion from left to right is always a beauty. It's on this second floor that you encounter the Lizalfos for a second time (their tag-team swapping still rules), and you can peer through the smoke on the floor to see the room that you first fought them in.
Follow it around and you're back in the hub room, but higher this time! There's even a new moving platform! Come on, that's still a treat.
But I'm being a little too positive here, because the second floor also contains my least-favourite room in the whole dungeon. It's the maze-like room with a bunch of Blade Traps. It's not the paranoia of being stabbed on every corner that catches me out, but the end puzzle where I'm required to pluck a Bomb Flower from the top of a pillar and chuck it onto a nearby ledge to blow up the cracked wall.
I've played this dungeon well over a dozen times, and this throw takes me far too many attempts every. single. time. I know that I don't have to land the bomb on the ledge and an in-air explosion is just as effective, but there's something about the timing and aiming that I can never wrap my head around. I'll hold my hands up when I accidentally throw a bomb instead of dropping it (or vice versa), but this particular exercise drives me up the wall.
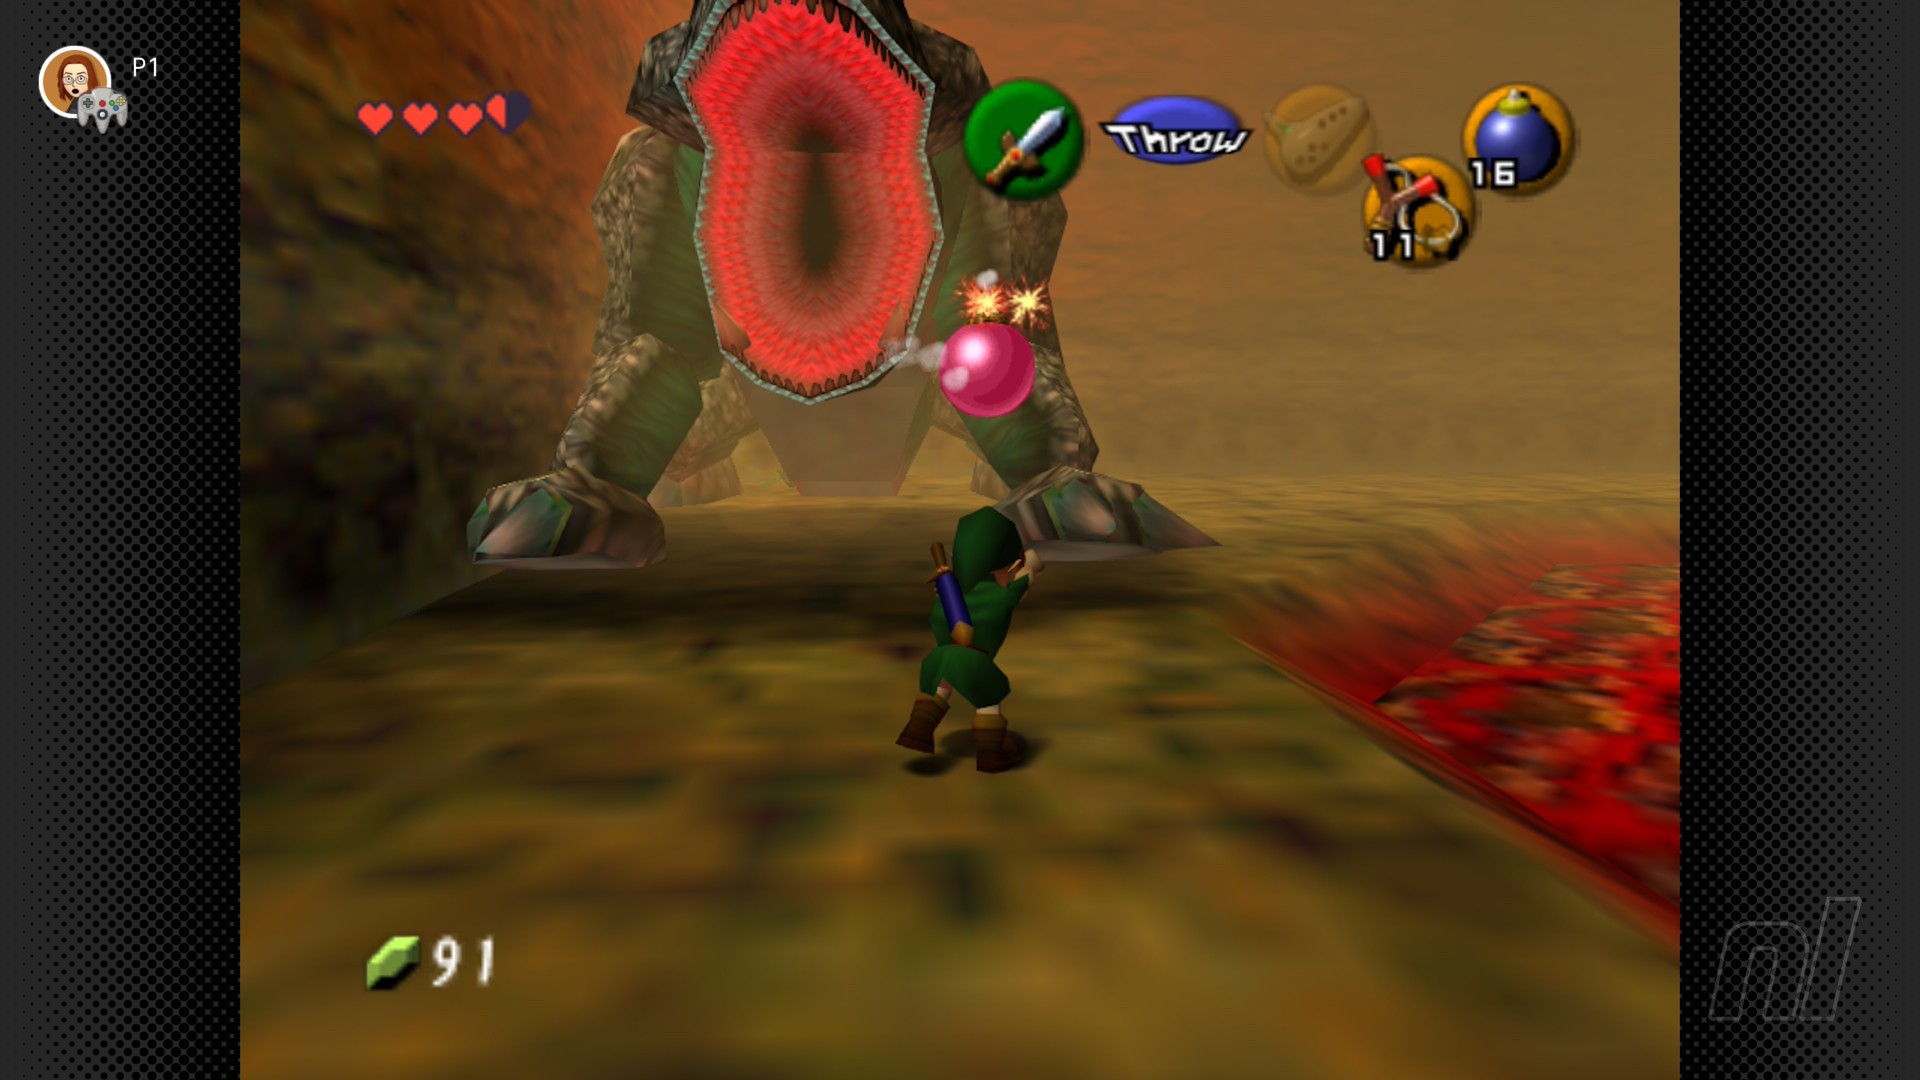
Clearing the top floor and opening the hub room's central skull (which, yes, is still super cool), I dropped down into the dungeon's belly to face the Infernal Dinosaur himself, King Dodongo.
I have always loved Zelda's 'chuck a bomb into the big guy's mouth' boss fights, and this is the go-to example of the format, but no matter how great it feels to launch an explosive into Dodongo's gob, I couldn't help but notice this time around that the whole thing feels a bit... samey.
The roll / inhale / stunned attack pattern is great for a first phase, but a little more to The King's big battle would be welcome. What if he changed direction mid-roll? Increased speed? Came with an added little jump? The inhale was sometimes a fakeout, so you've got to stay on your toes to know when to prep a bomb?
It's a satisfying early encounter, but maybe the repetition could do with some tinkering. If only they were remaking this thing, eh?
Remake Reflections
With a few tweaks, I think I could be fully on board with this one. The aesthetic will definitely get a boost thanks to all of that 4K goodness (I'm already drooling at the thought of the lava lighting), and right-stick camera controls should help put a lot of my bomb-aiming qualms to rest. Beef up King Dodongo a little, and we could be onto a winner.
That's two out of the three Child Link dungeons ticked off the list. The third is typically my least favourite of the bunch (hardly a hot take, I know), so I'm excited to see how much it bugs me this time around. Until we meet again, my fellow dungeon crawlers.