While Super Mario 3D World is most definitely a good time, those of you who have already experienced the game on Wii U will be most interested in the excellent Bowser's Fury expansion, which offers an open-world setting with Cat Shines to collect.
In this guide, we'll be showing you all of the Cat Shine locations in Bowser's Fury.
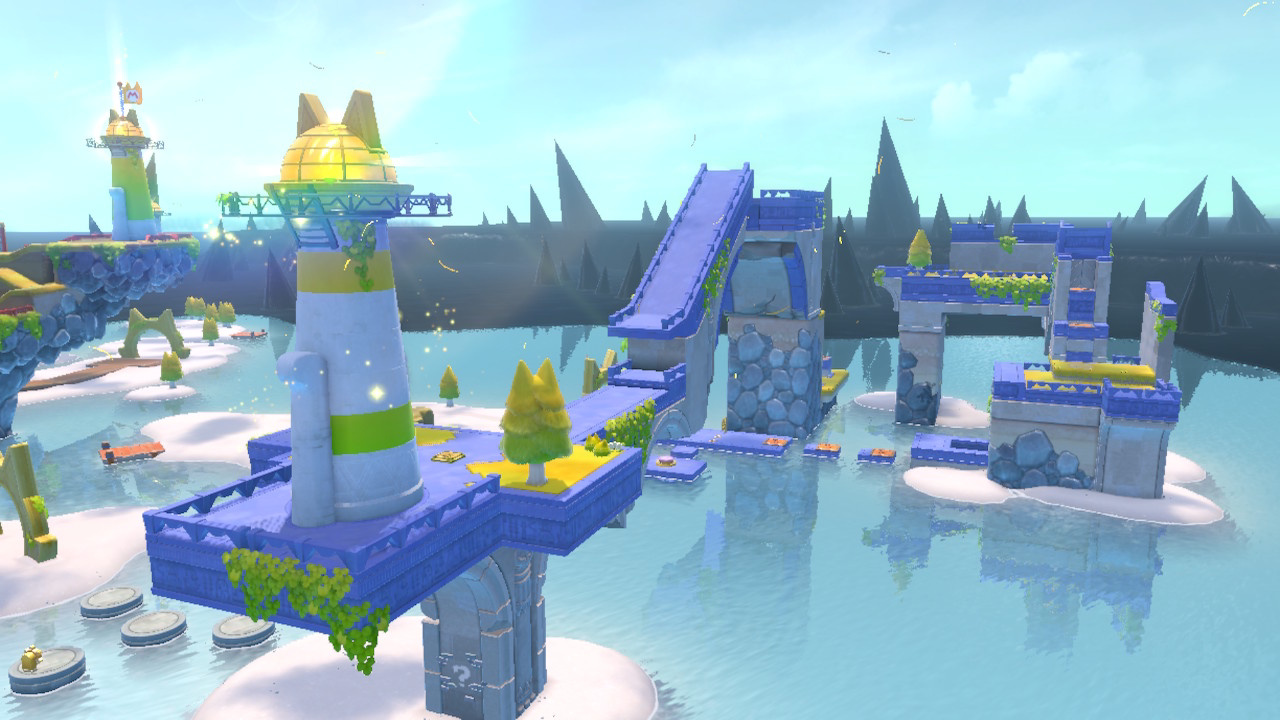
Pounce Bounce Isle Cat Shine Locations

Pounce Bounce Isle Cat Shine "Make The Lighthouse Shine"
The moment you enter the area, you'll see a bunch of bounce pads. Simply use these to climb up the island until you reach the lighthouse at the other end, which has the Shine in front of it.
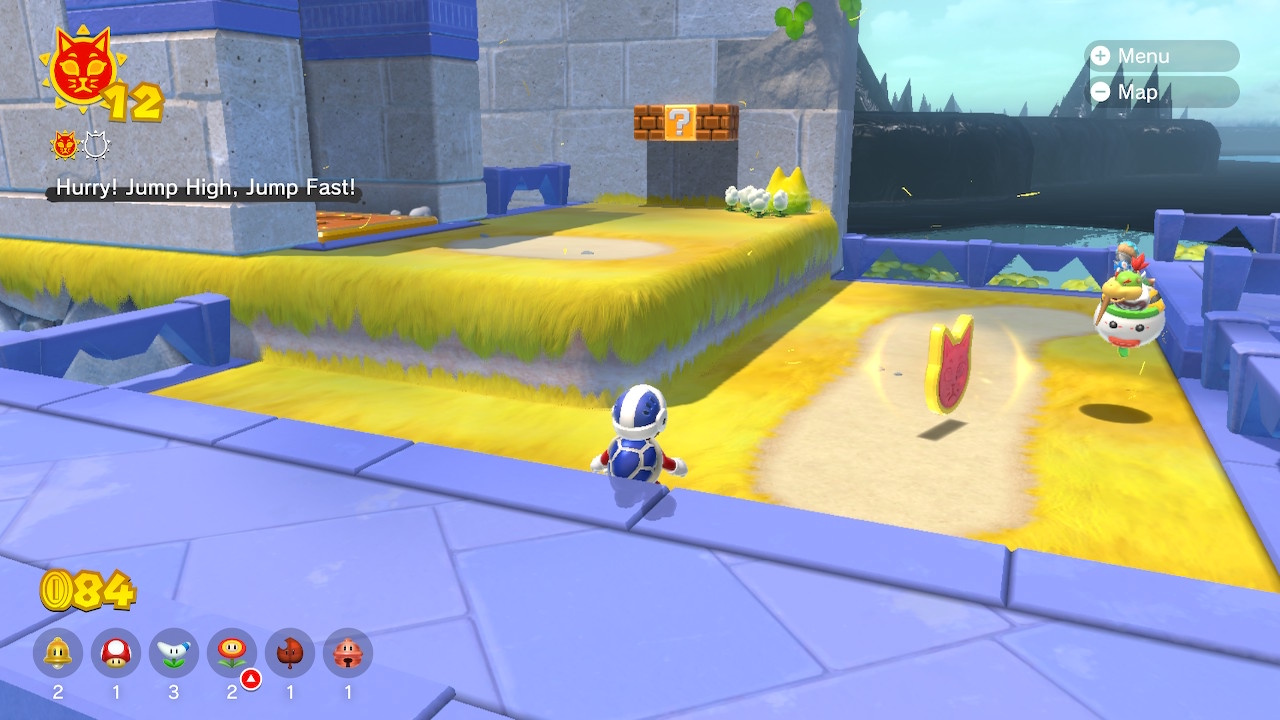
Pounce Bounce Isle Cat Shine "Hurry! Jump High, Jump Fast!"
Leave the area and return. The moment you walk through the archway you'll see some signs pointing to a big button on the right. This triggers another time-based challenge, where you'll have to run as fast as possible (Cat Mario is useful here) to grab the Shine just in front of the lighthouse. Don't worry if you run out of time, you can repeat this one as many times as you need to.
Pounce Bounce Isle Cat Shine "Key To The Cat Shine"
You know the drill by now – leave the island and return. You'll spot a Shine close to the entrance archway which is locked in a cage. Climb to where you find the third Cat Shine Shard (see below), and use the same hidden ledge to get the key.
Again, remember that if you come in contact with water the key will return to its original position, so use the bounce pads to climb the island (as if you were heading to the lighthouse) but, before taking the slide down to the lighthouse, jump through the gap to land right next to the cage.
Bring back to the cage but be careful, if the key falls into the water you'll have to go back to the wall to retrieve it.
Pounce Bounce Isle Cat Shine "Five Cat Shine Shards"
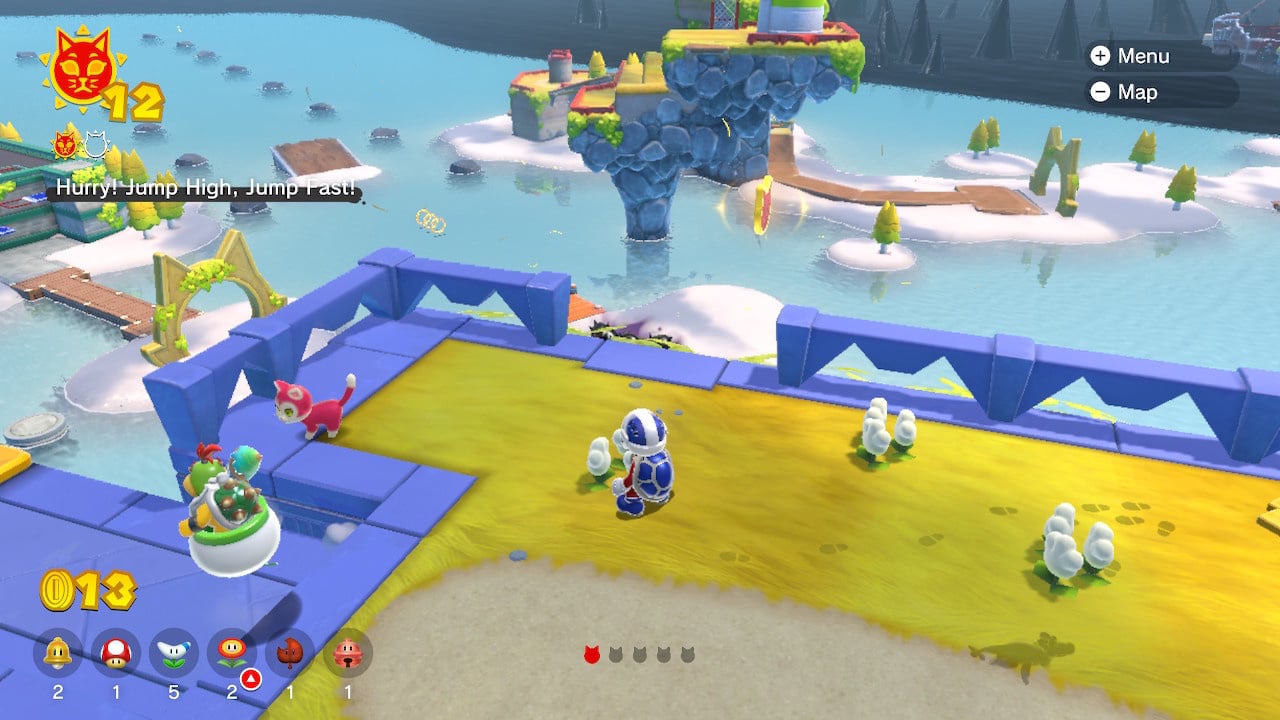
The first Cat Shine Shard is being carried by a group of enemies halfway up the island – there's a good chance you might even have picked this up earlier.
The next shard is directly above the one you've just collected. Use the bounce pads to climb, then jump over onto the ledge where the Shard is.
The third shard is located where the boomerang-throwing enemies are located. When you slide down the blue platform, you'll see a gap on the right that is easily missed. Rotate the camera and you'll notice that this leads to a platform behind the wall, which has a bounce pad that leads to the shard.
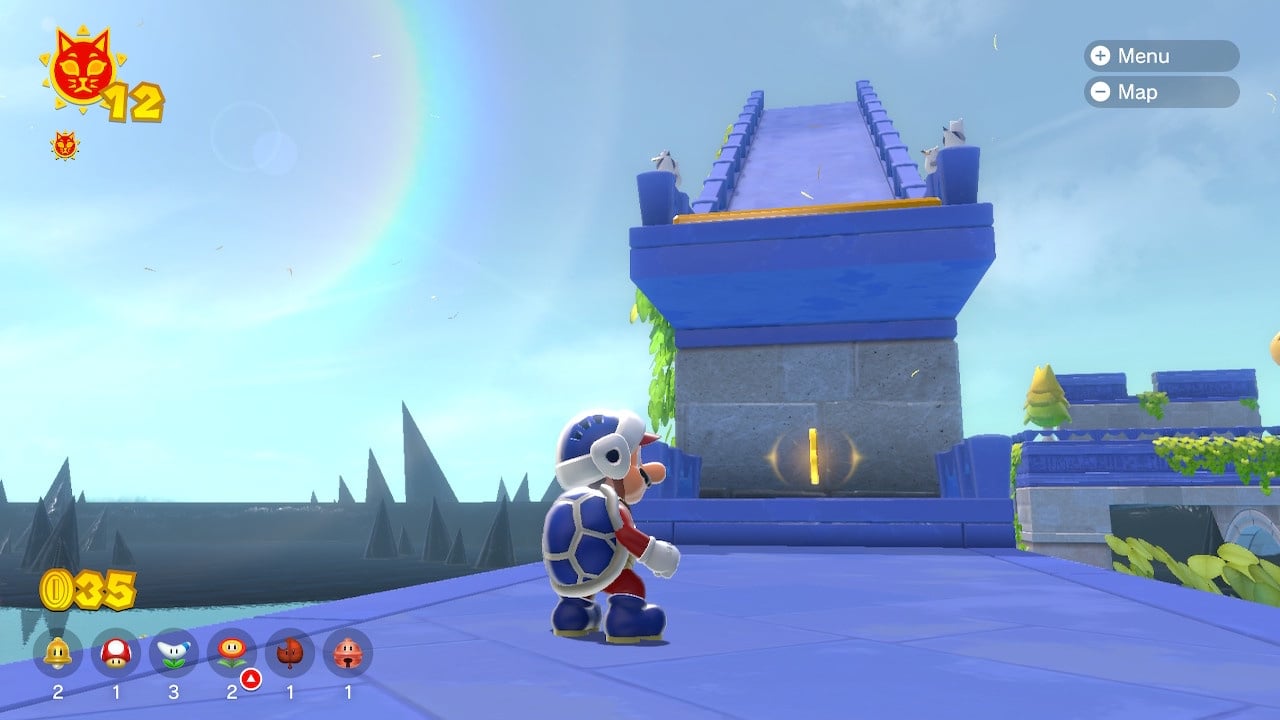
The next shard is easy to spot; just before you launch yourself down the slide which leads to the lighthouse, look to the right and you'll see the shard floating in mid-air. Leap out of the gap in the wall to grab it.
The fifth and final shard is an easy one to miss; once you've slid down the massive slide towards the lighthouse, turn around and you'll spot it underneath the big red bounce pad.
Pounce Bounce Isle Cat Shine "Blast The Fury Blocks"
Again, the Shine is hidden behind Bowser Blocks. These are located on the beach, to the left of the first large bounce pad you encounter. Wait for Fury Bowser to do his thing, and then grab the Shine.
Nice work – you've got another five Cat Shines! Now, head to the Lakeside Giga Bell.


Comments 0
Wow, no comments yet... why not be the first?
Leave A Comment
Hold on there, you need to login to post a comment...