Now in part seven of our Zelda: Link's Awakening walkthrough, we’ll finally get the Magnifying Glass and Boomerang, before glimpsing the truth of Koholint Island in the Ancient Ruins and entering the sixth dungeon, the Face Shrine.
Before you continue you'll want to fetch the magnifying lens, part five of the trading sequence. Done that? Okay, let's see what we can do with the lens.
Using the Magnifying Lens to find the Boomerang
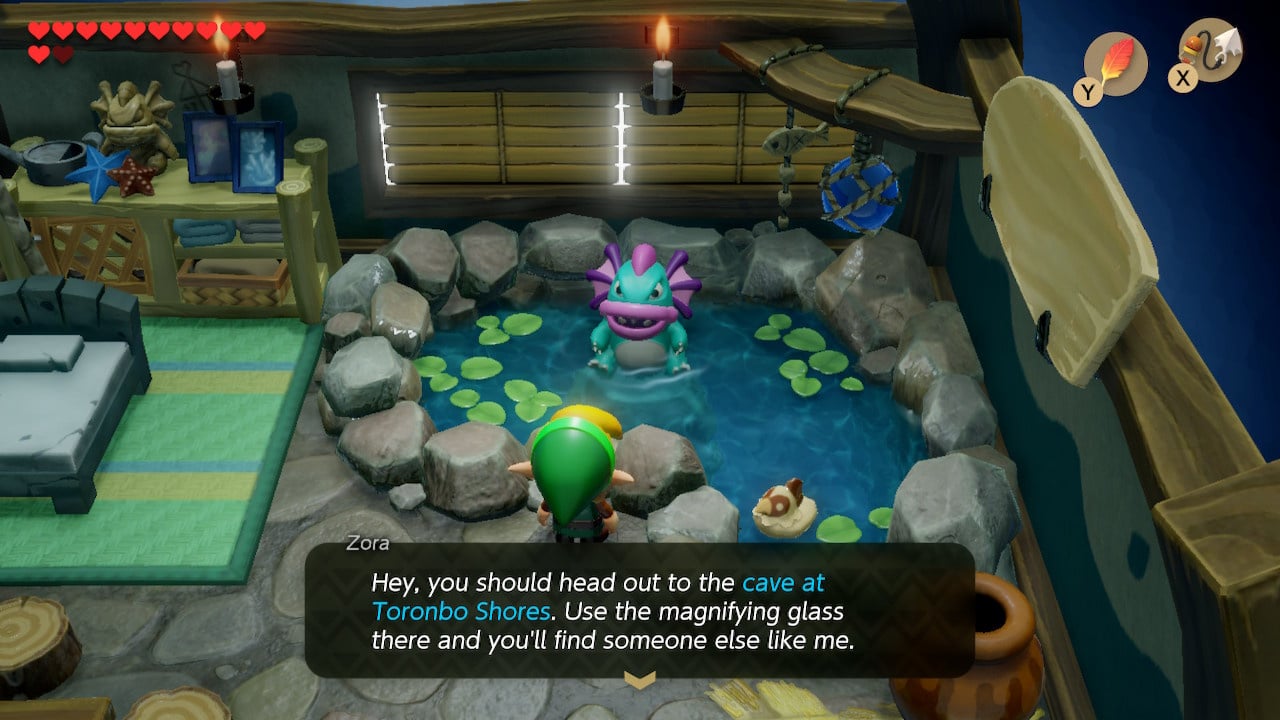
The northeastern house in the Animal Village appears unoccupied when you enter it earlier in the game. However, once you have the magnifying glass you will find a friendly Zora bathing in the pool there. In addition to handing you a secret seashell in exchange for your silence, he will tell you about a Cave at Tornobo Shores with another usually invisible resident.
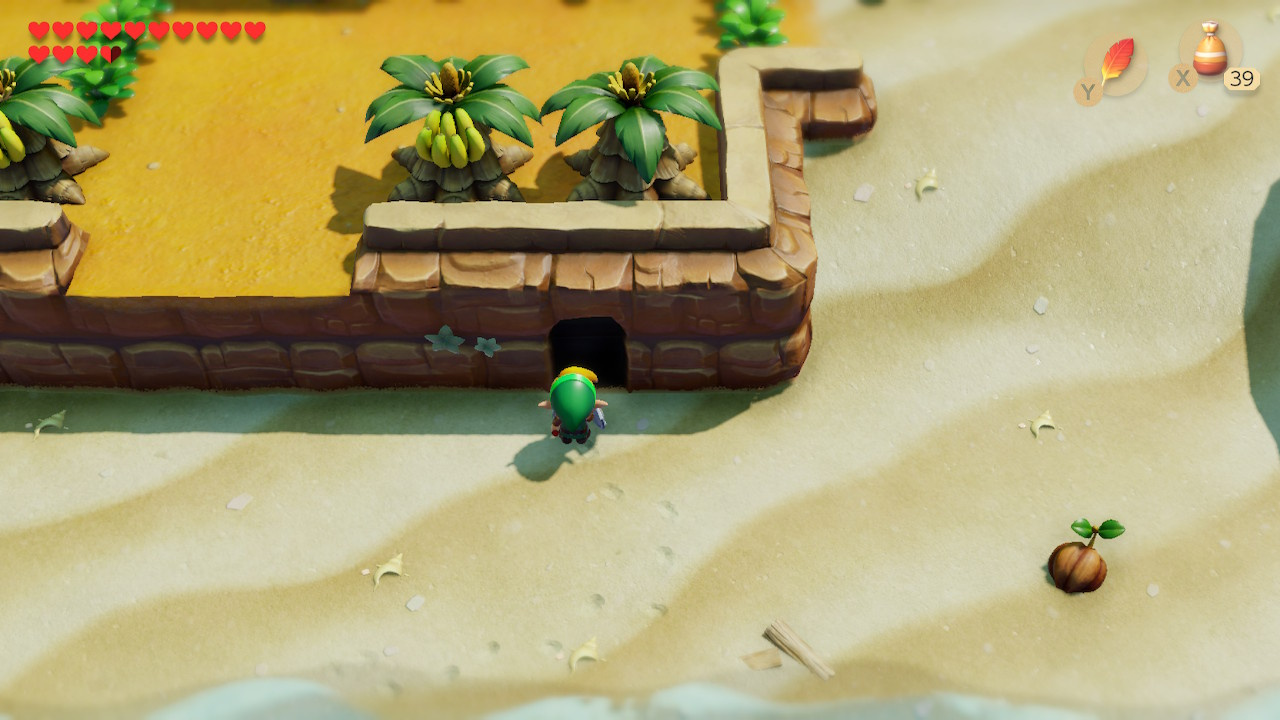
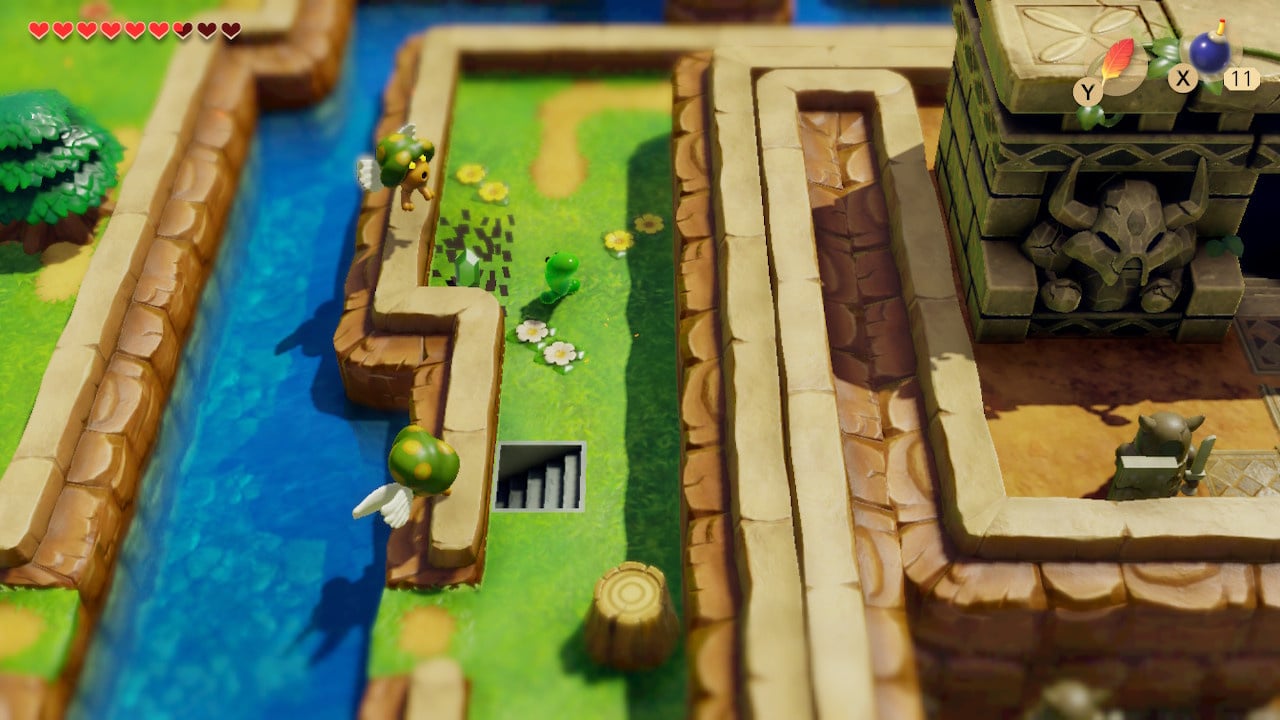
The cave is found south of the banana plantation and west of the secluded beach where you talked with Marin. Bomb the cracked wall here and head inside.
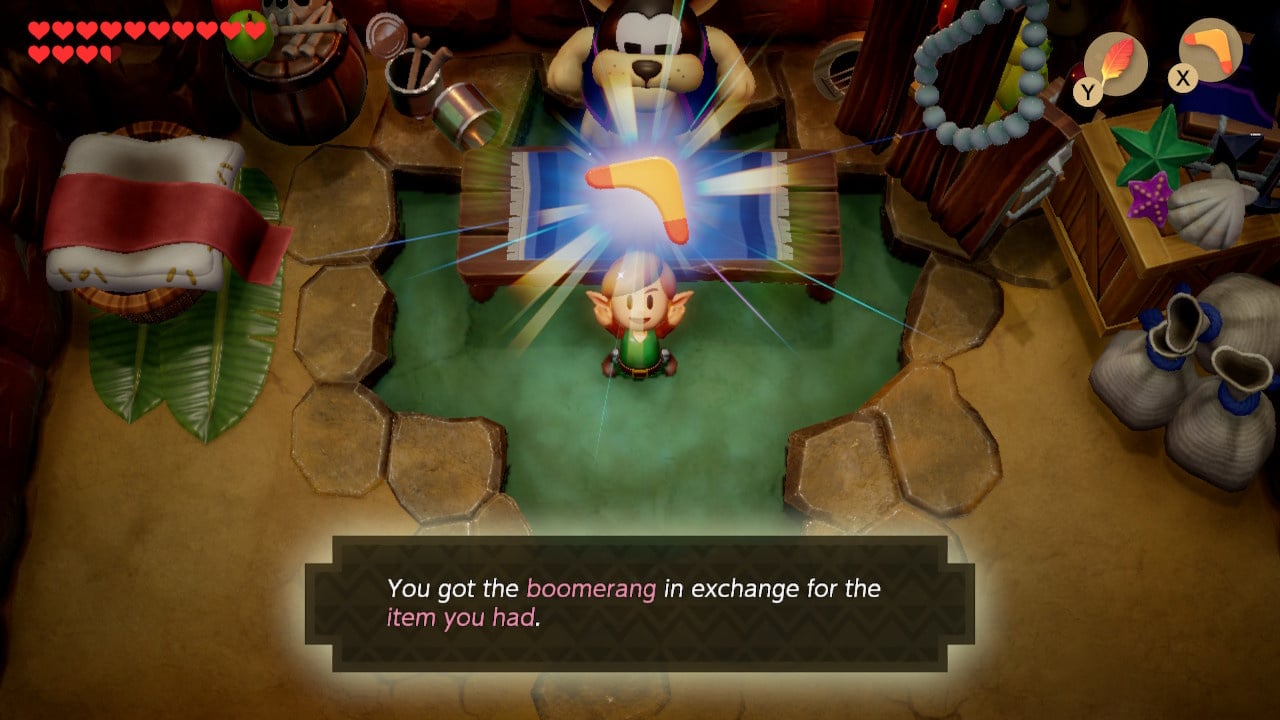
Come here before you have the Magnifying Lens and the cave will appear unoccupied – with the lens, you can see an Item Trading Goriya who has acquired a Boomerang. He would like one of your items in return, but it’s definitely worth it. If you have hunted down all secret seashells the shovel is an obvious choice for this, however - exclusively in the Switch remake, you can buy back your traded item for 300 gems anyway.
Ancient Ruins Walkthrough
Locating and Navigating
Return to the Animal Village and head north, past the stairs to the underwater passage that first brought you to these shores. Head east.
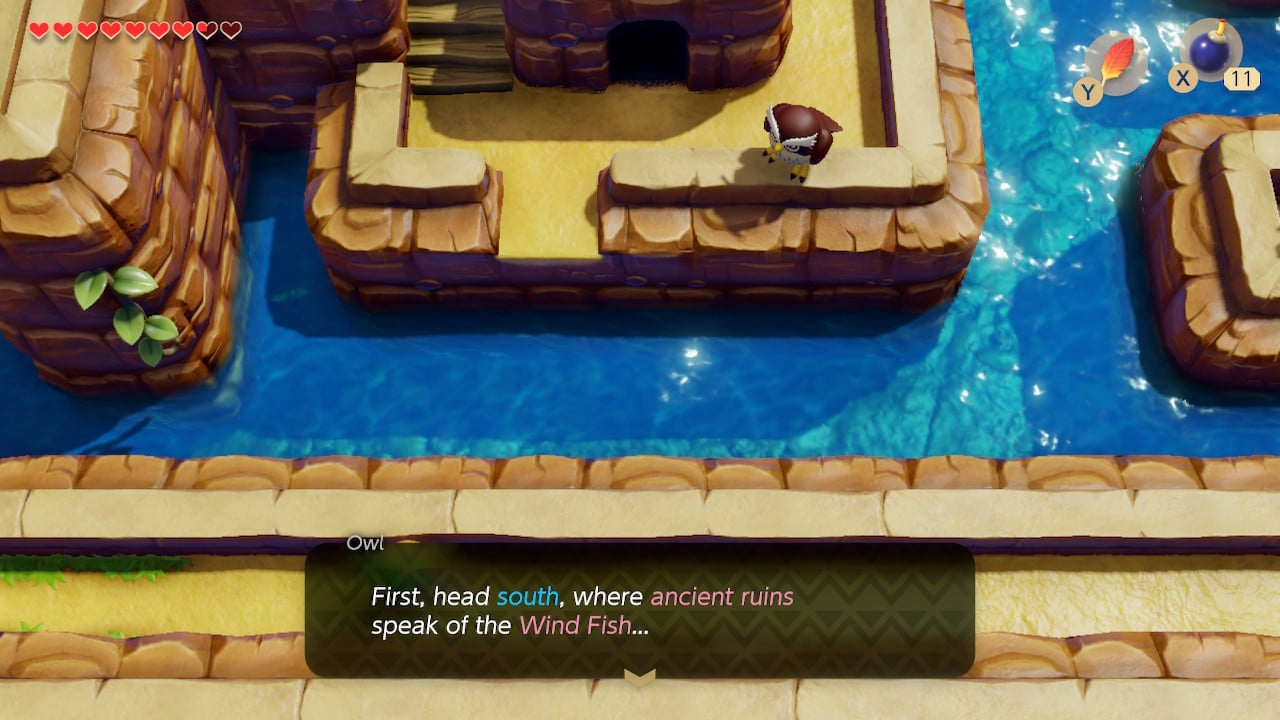
Assuming you haven’t already wandered this way earlier in the game, the Owl will greet you with an explanation of the area.
Hoot! There are two shrines: one to the north, the other to the south
First, head south, where ancient ruins speak of the Wind Fish…
You will learn much there…
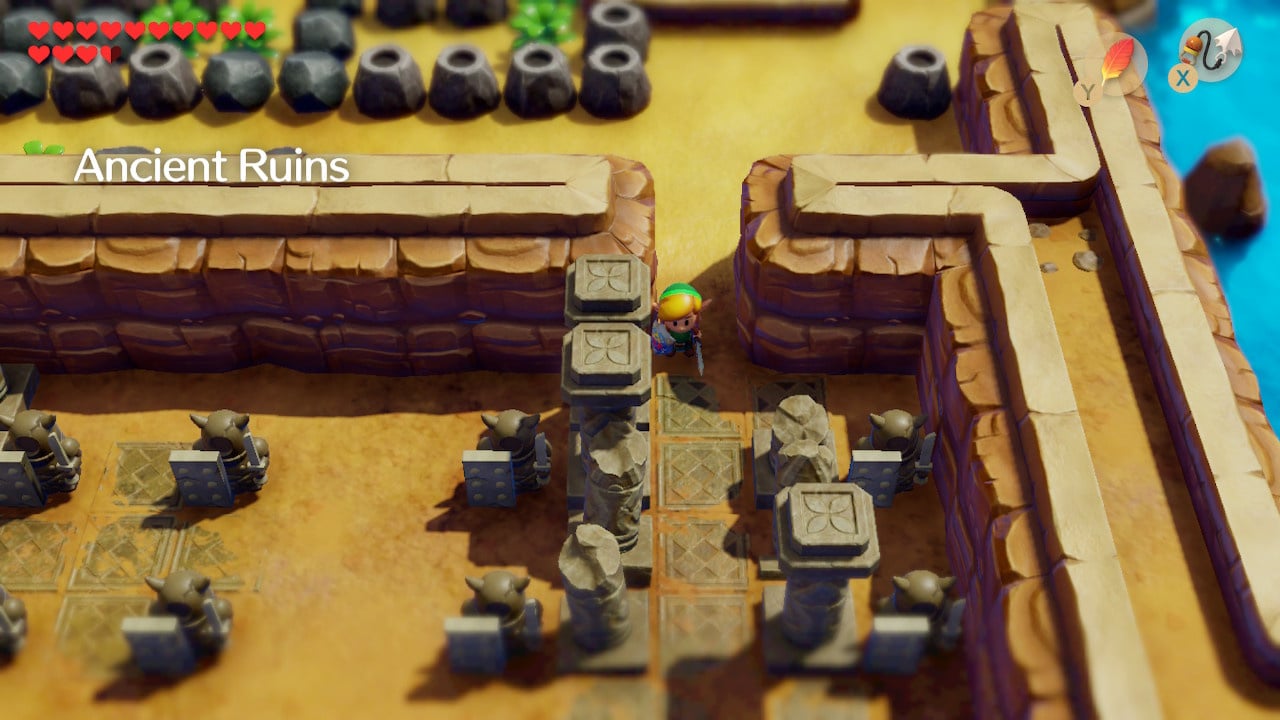
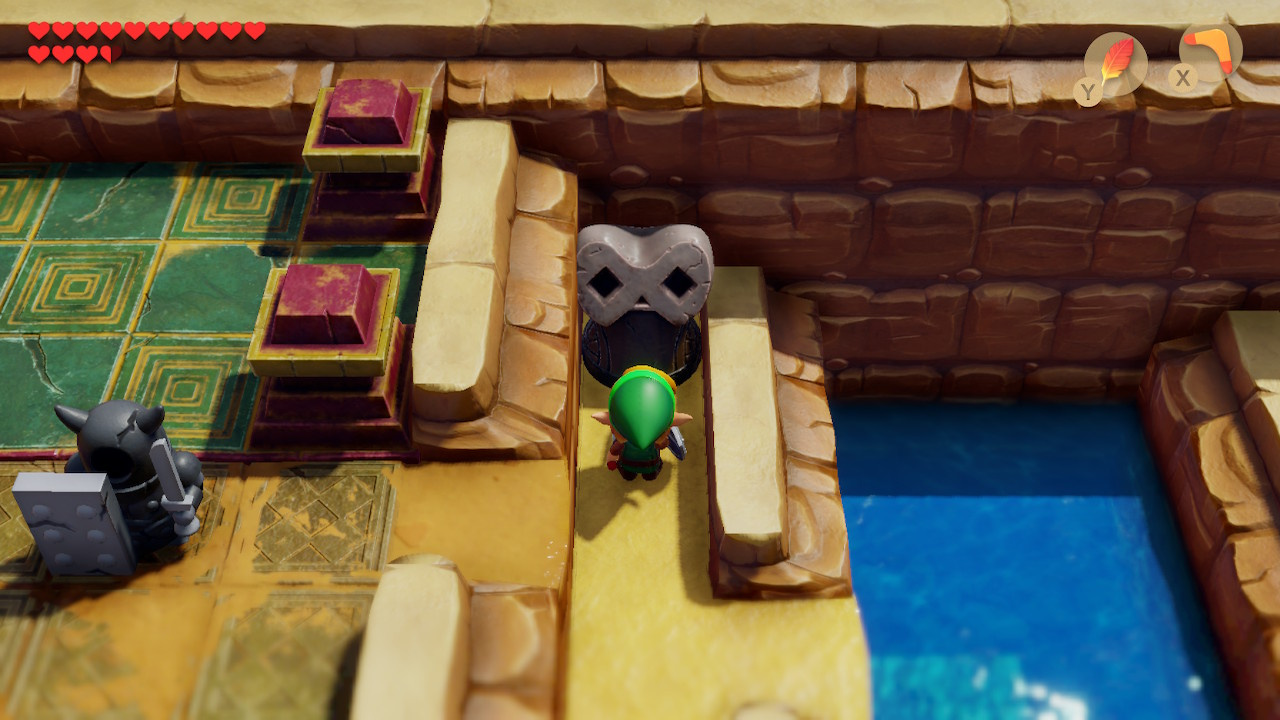
Head south as the Owl suggests. The Ancient Ruins is a deserted area filled with armed statues (Armos) with a vague Terracotta Army whiff about them. Continue heading south and intentionally walk into one of the Armos blocking your way.
Once touched, some Armos activate and begin hopping randomly in your direction. The only weapons that will hurt them are your Bow and Boomerang. They often drop arrows to replenish the former, which also does more damage.
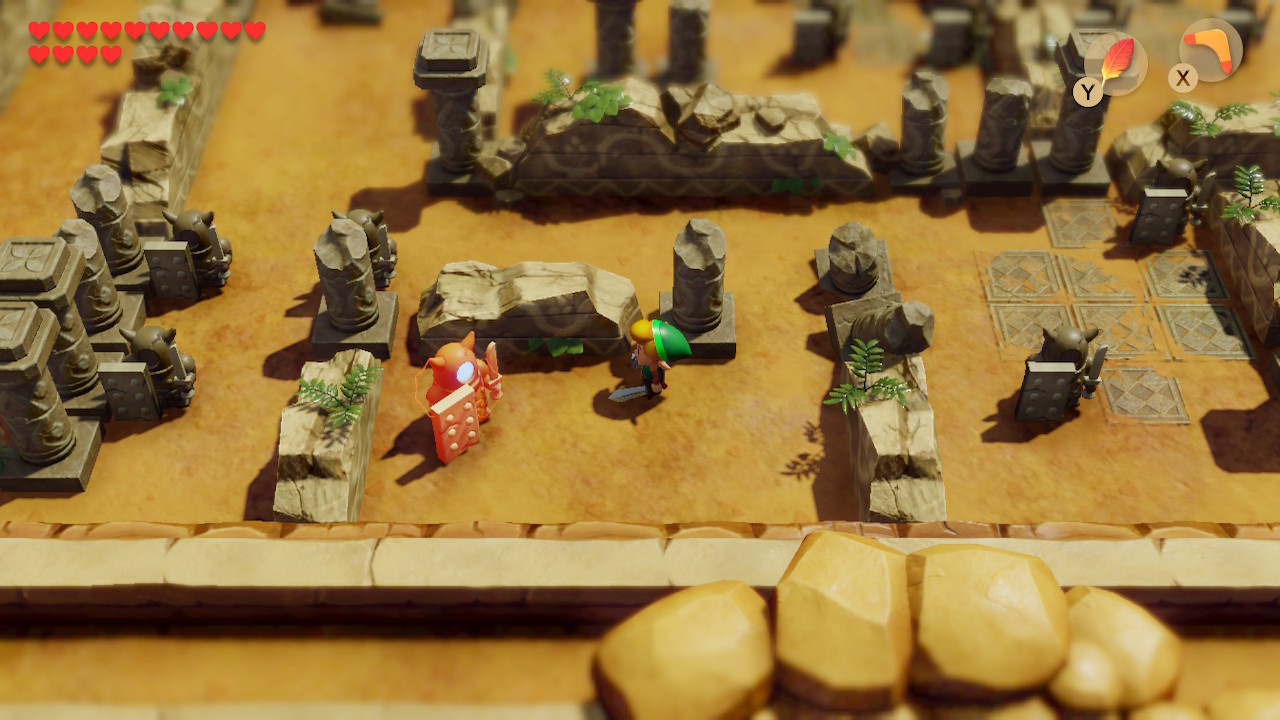
Continue heading in a general westerly direction, bumping up against Armos and fighting them as you go. The main building in the ancient ruins in found in the northwestern corner.
Armos Knight Miniboss and the Locating Face Key
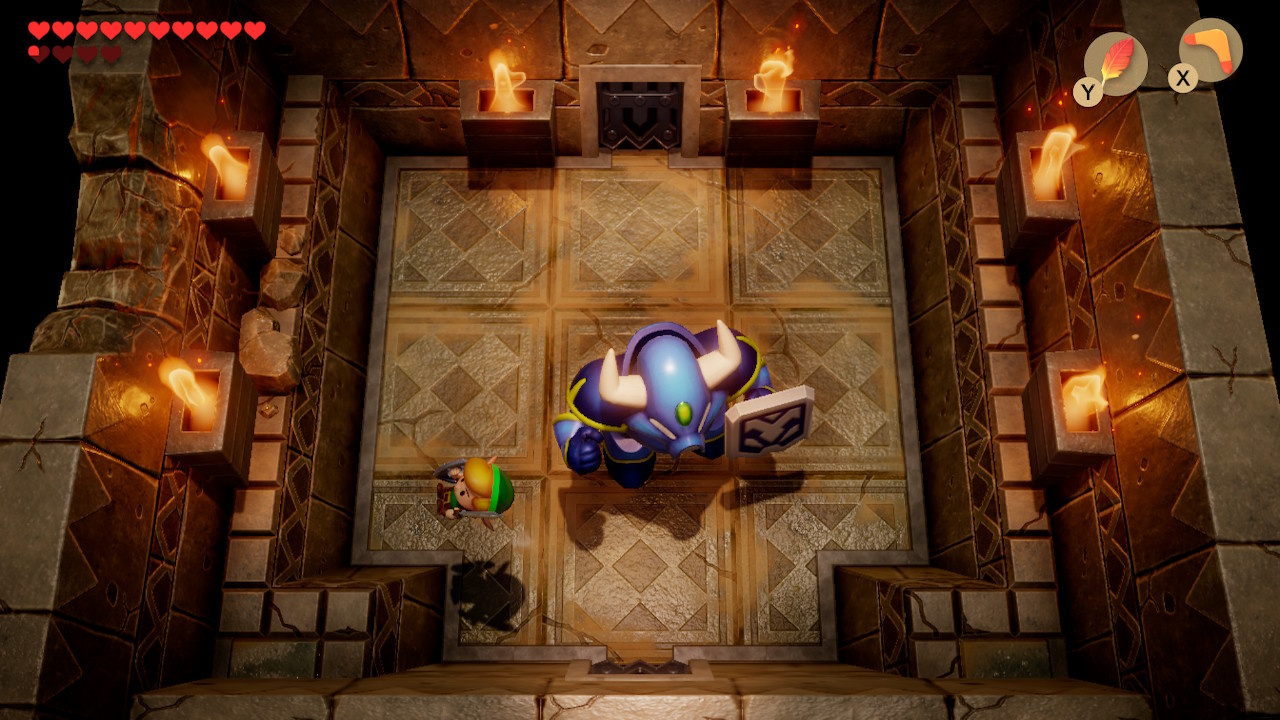
In the second room of the ruined building your progress will be stopped by a large Armos Knight. He will lumber towards you doing a fair bit of damage, and he will periodically jump – this shakes the floor, stunning and damaging you. Jump to avoid this. The Armos Knight is invulnerable to a lot of your tools – unlike the Armos you’ve fought up to now, he won’t be damaged by your boomerang. Use your bow, or alternatively a charged sword or dash attack (the sword attacks can be quite difficult to time towards the end of the fight, as the Armos Knight will speed up).
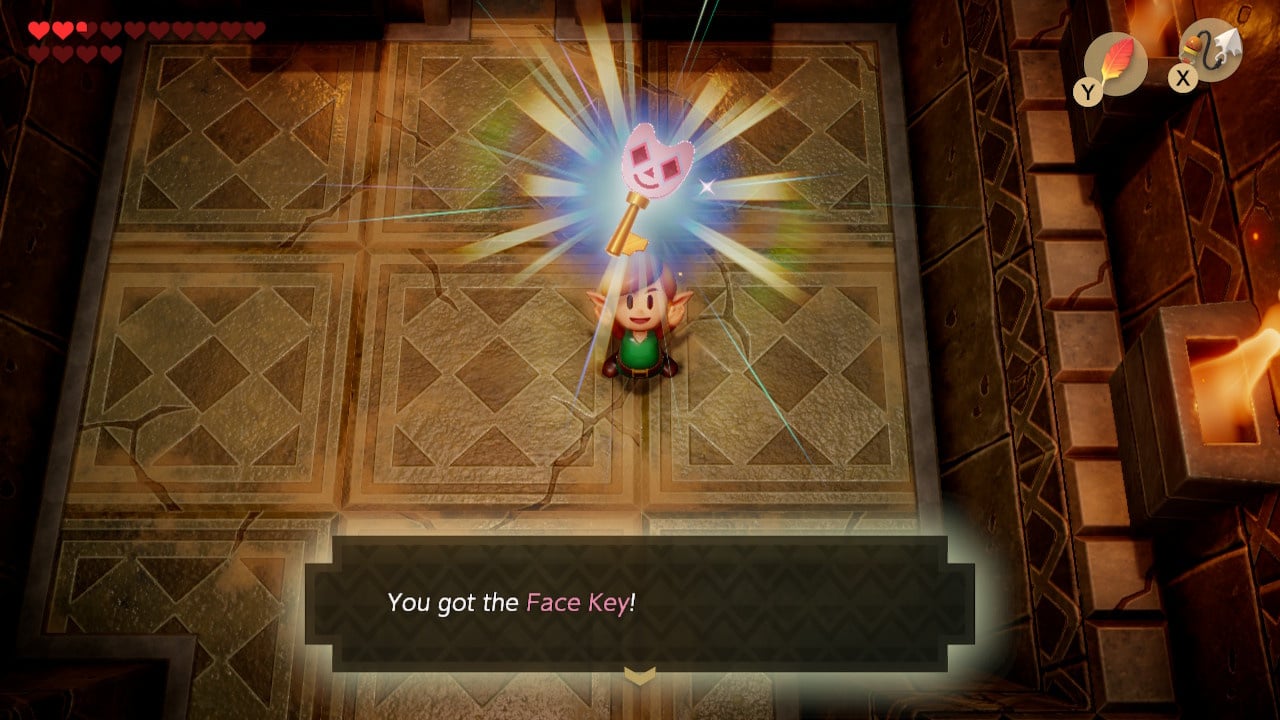
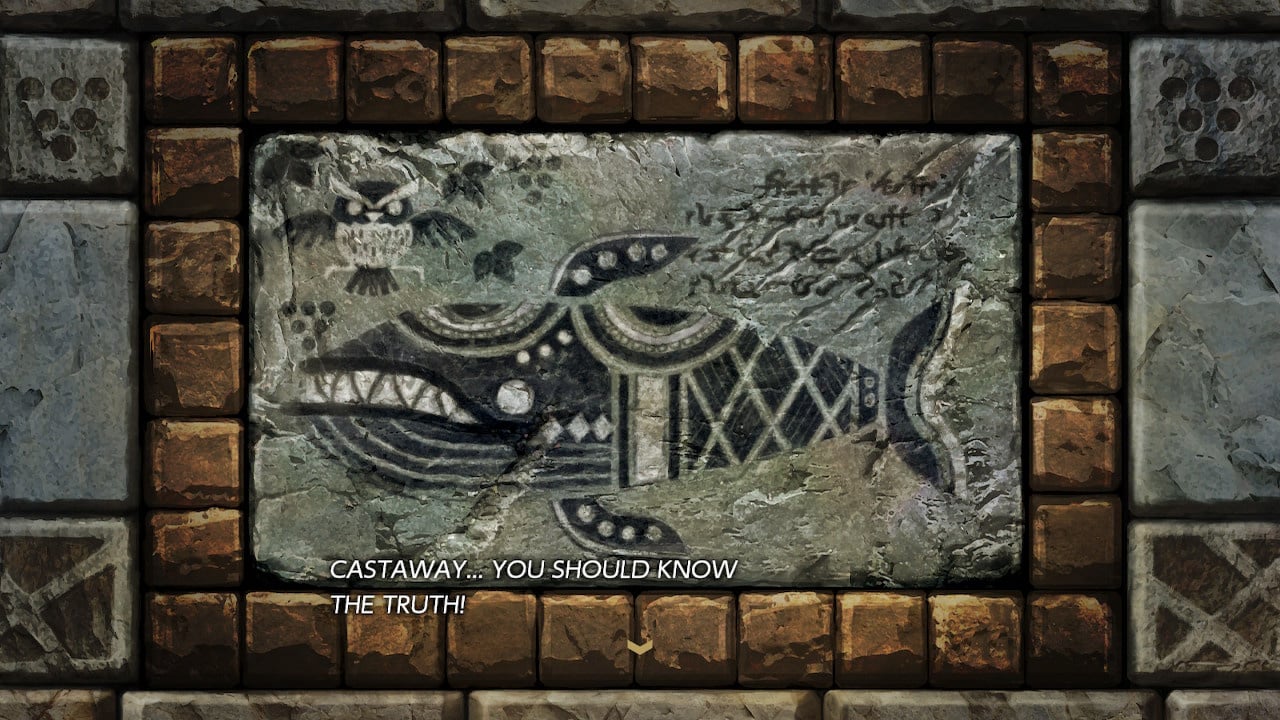
Do enough damage and the Armos Knight is destroyed. You will receive the Face Key and can now access the Face Shrine to the north. For now, head through the door to the top, light the torches and check the relief on the top wall.
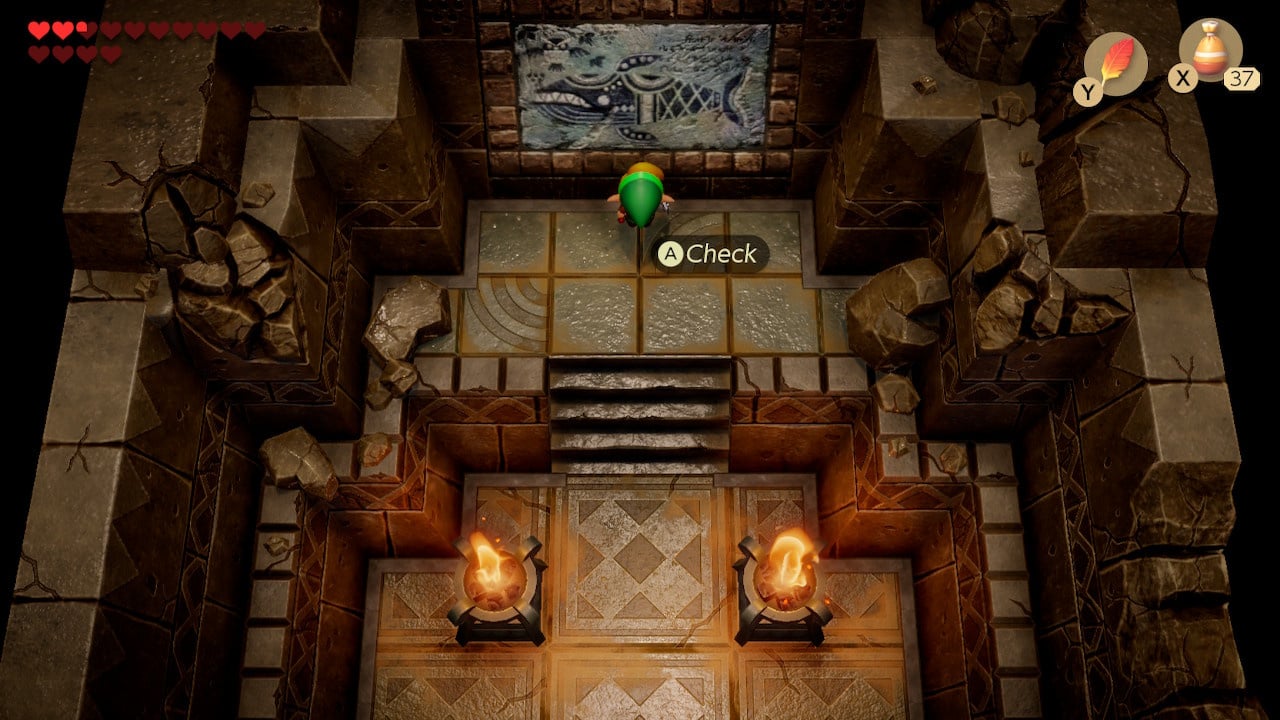
Link will read the text on the ancient image:
TO THE FINDER… THE ISLE OF KOHOLINT IS BUT AN ILLUSION.
HUMAN, MONSTER, SEA, SKY… A SCENE ON THE LID OF A SLEEPER’S EYE…
AWAKE THE DREAMER AND KOHOLINT WILL VANISH MUCH LIKE A BUBBLE ON A NEEDLE…
CASTAWAY… YOU SHOULD KNOW THE TRUTH!
Head outside and the Owl will swoop in to help you consider what you’ve just read:
Hoot! I see you have read the relief…
While it does say the island is but a dream of the Wind Fish, no one is really sure…
Just as you cannot know if a chest holds treasure until you open it, so you cannot tell if this is a dream until you awaken…
The only one who knows for sure is the Wind Fish…
Trust your feelings… Someday you will discover the answer…
Using the Face Key to Enter the Face Shrine
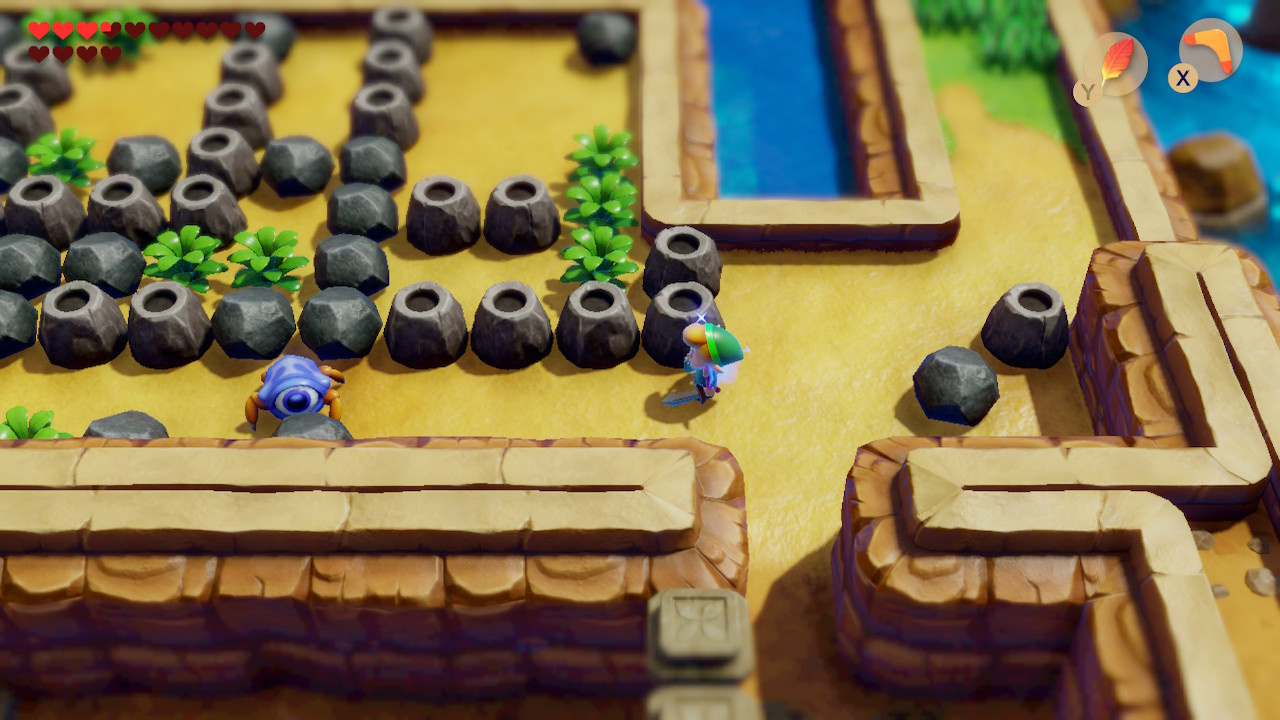
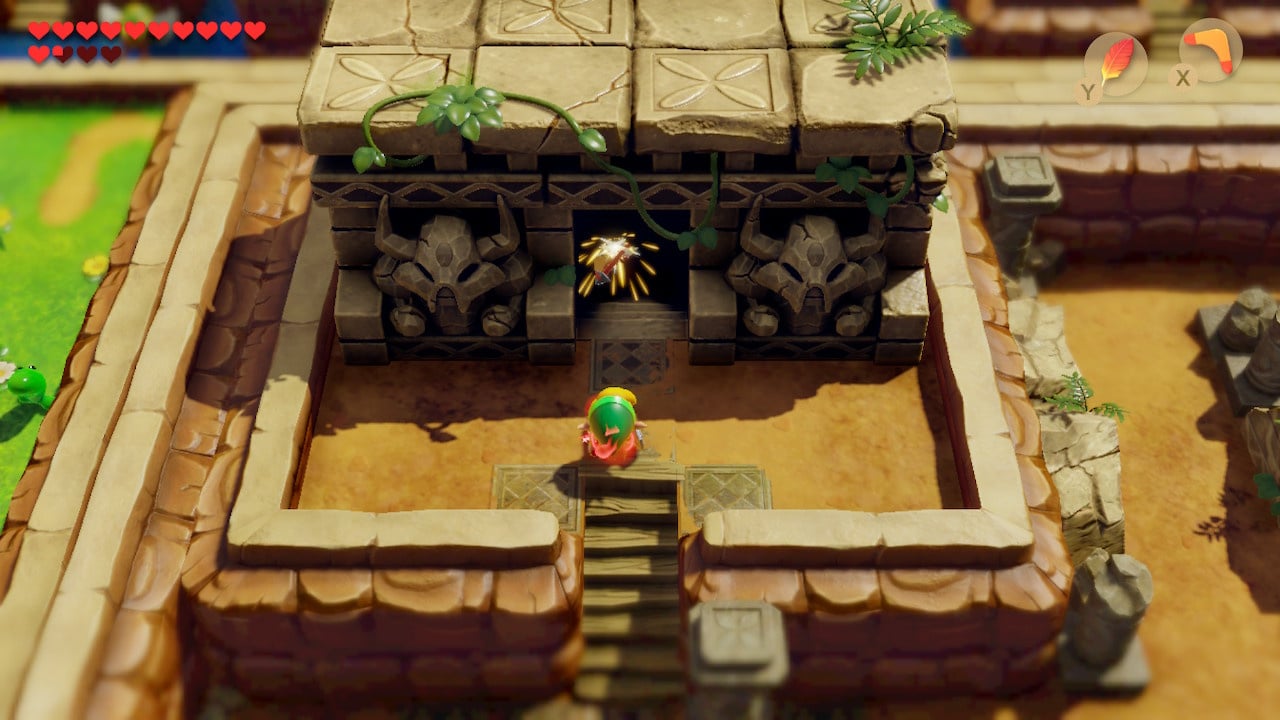
Dream or no dream, your adventure must continue. Exit the ancient ruins and work your way through the boulder maze, heading northwest.
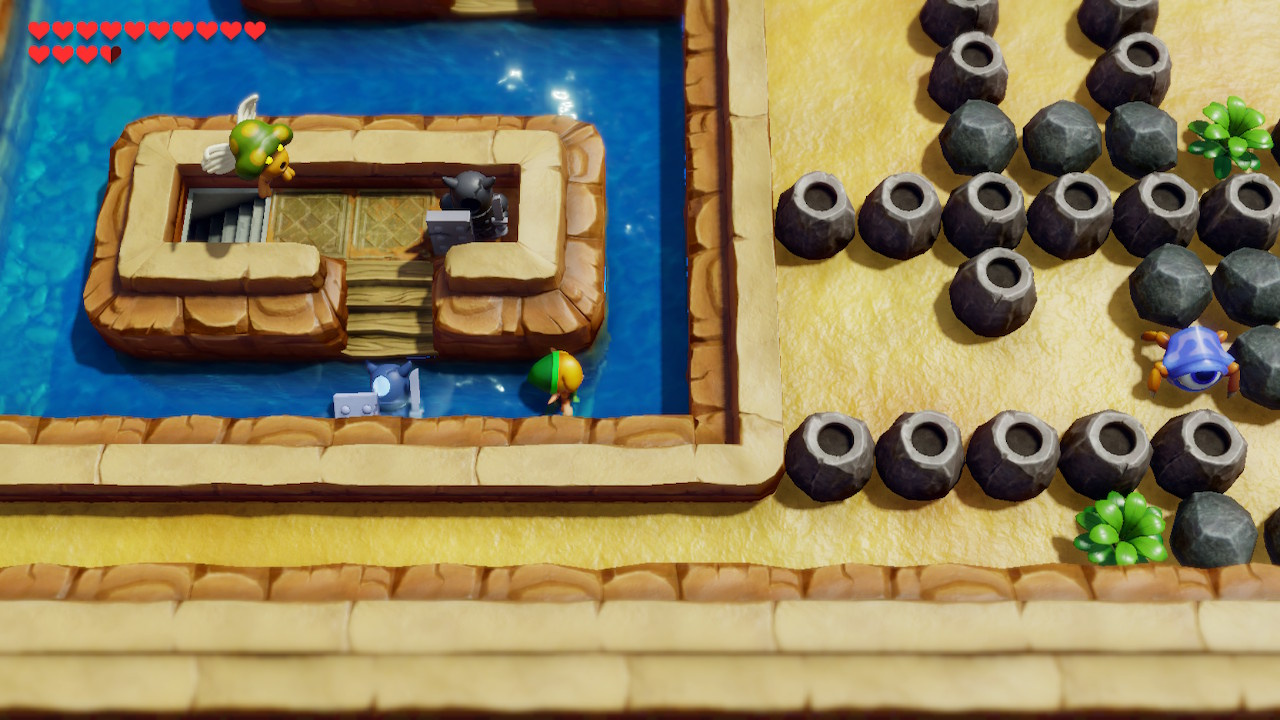
Take the stairs at the end of the boulder maze and jump into the water. Head for the small island with the two Armos statues – the lefthand one will activate as you touch it. Shoot it or lure it into the water and then head down the stairs that have been uncovered.
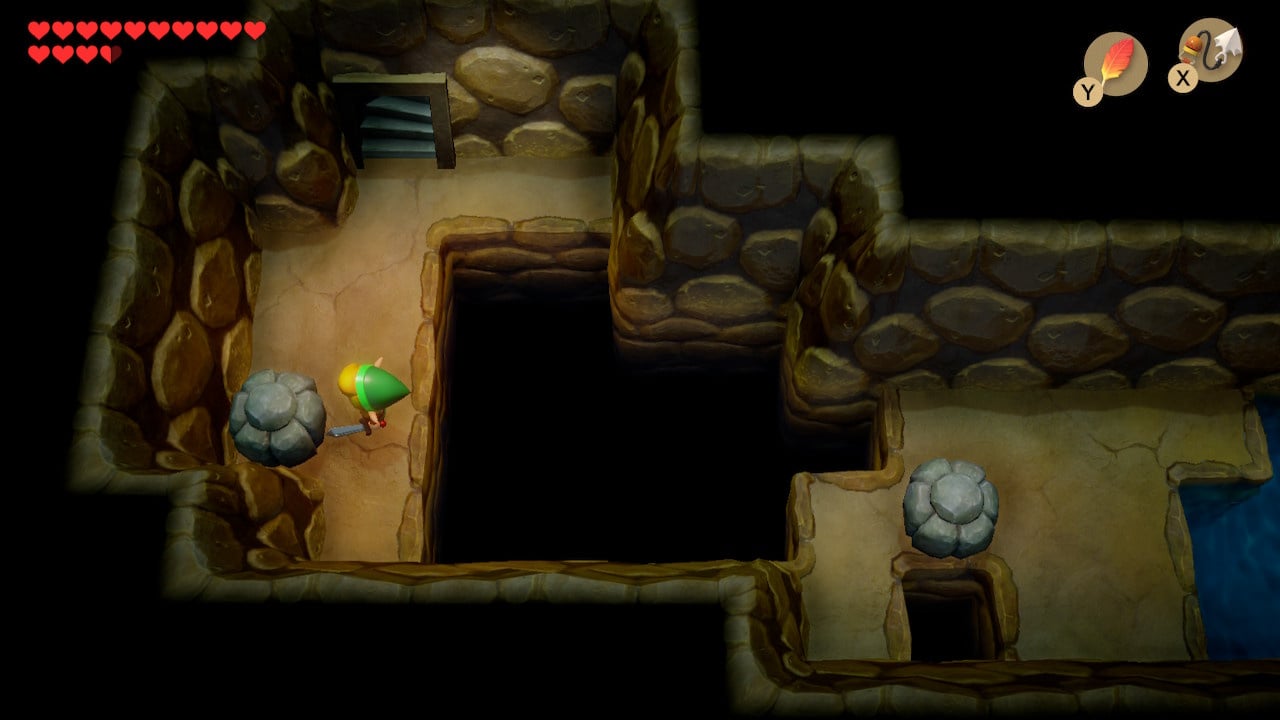
Head through the underwater cavern, using your hookshot to jump the chasm after the pool of water.
Locate the keyhole for the Face key in the Northeast corner of the island.
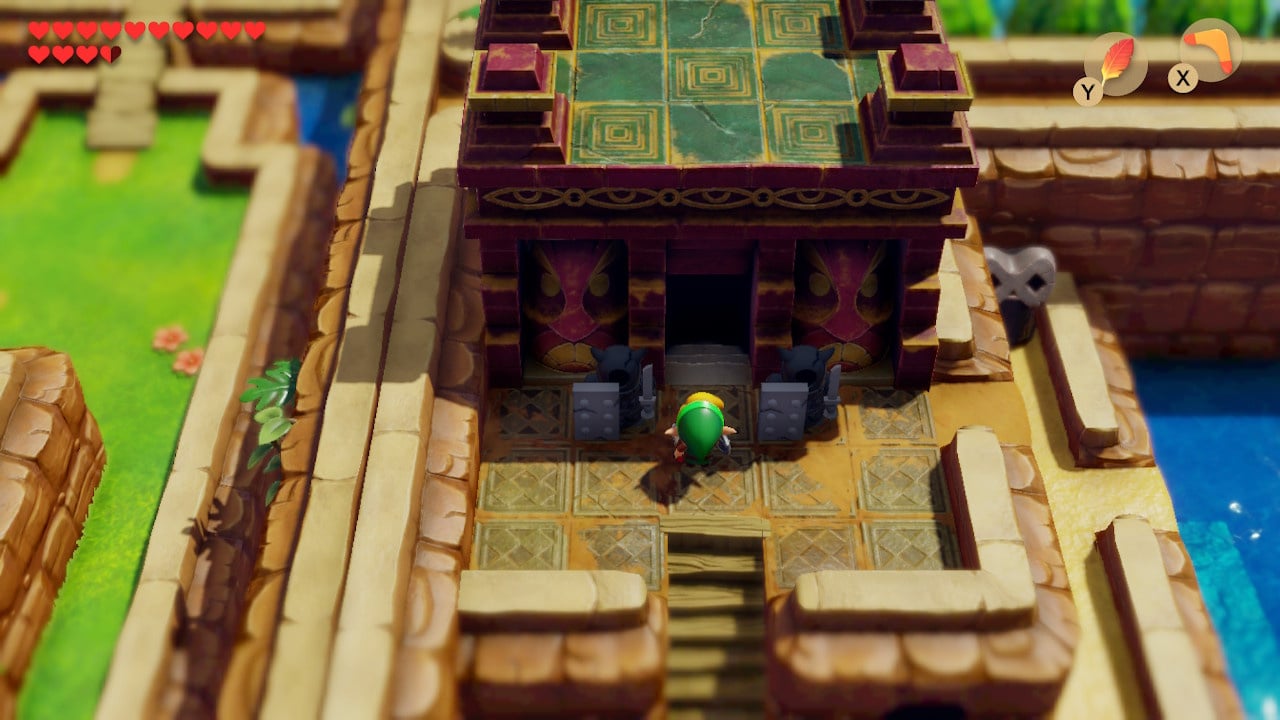
Head into the entrance that rose from the ground and ready yourself for dungeon number six.
Good work, Link. Time to continue our Zelda: Link's Awakening walkthrough and head inside the Face Shrine before learning How To Defeat The Face Shrine Boss.


Comments 0
Wow, no comments yet... why not be the first?
Leave A Comment
Hold on there, you need to login to post a comment...