Welcome to our Bloodstained: Ritual of the Night walkthrough for Nintendo Switch! If you're looking for more, head over to our complete Bloodstained guide page.
Bridge of Evil
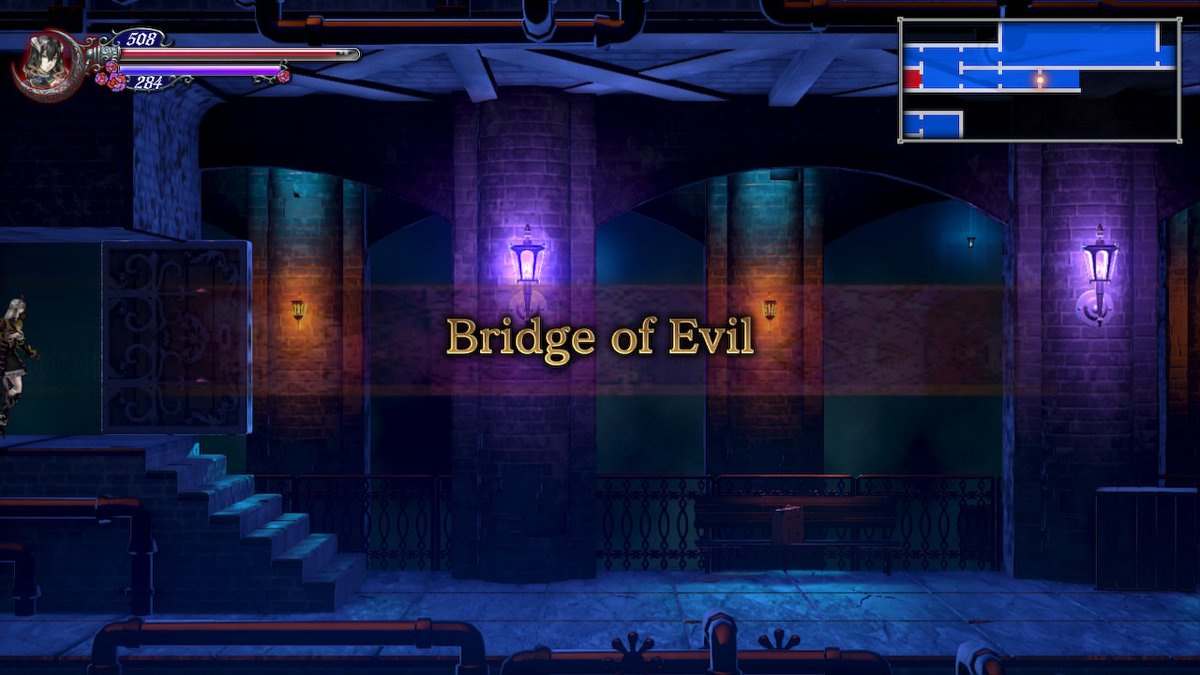
Once you enter the Bridge of Evil, continue right and face the new demons before you. There are Lilis, which are bunny-women, a Puppy, which is literally a giant puppy head and it hurts a lot to attack this cute pup, and there is a Cannon Morte. After taking them out, continue right through gates that will allow you to enter because of your Passplate.
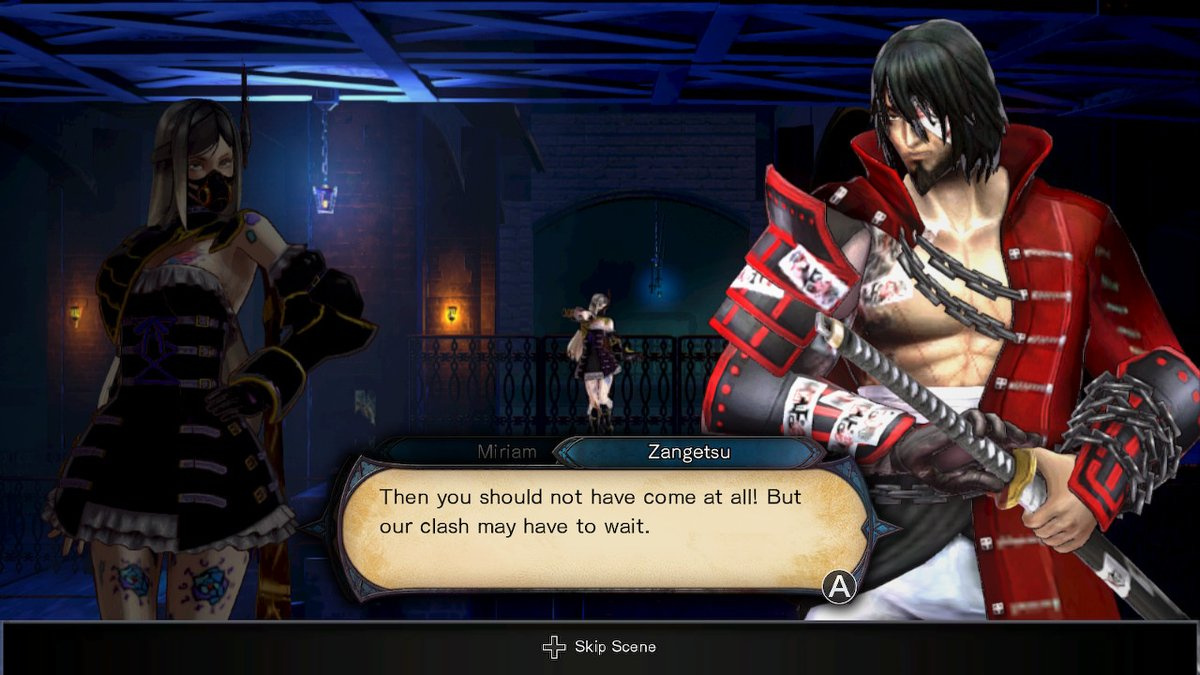
After you pass the gate, you’ll run into Zangetsu, the boss you fought earlier in the game. Fear not, though. You don’t have to fight him again.
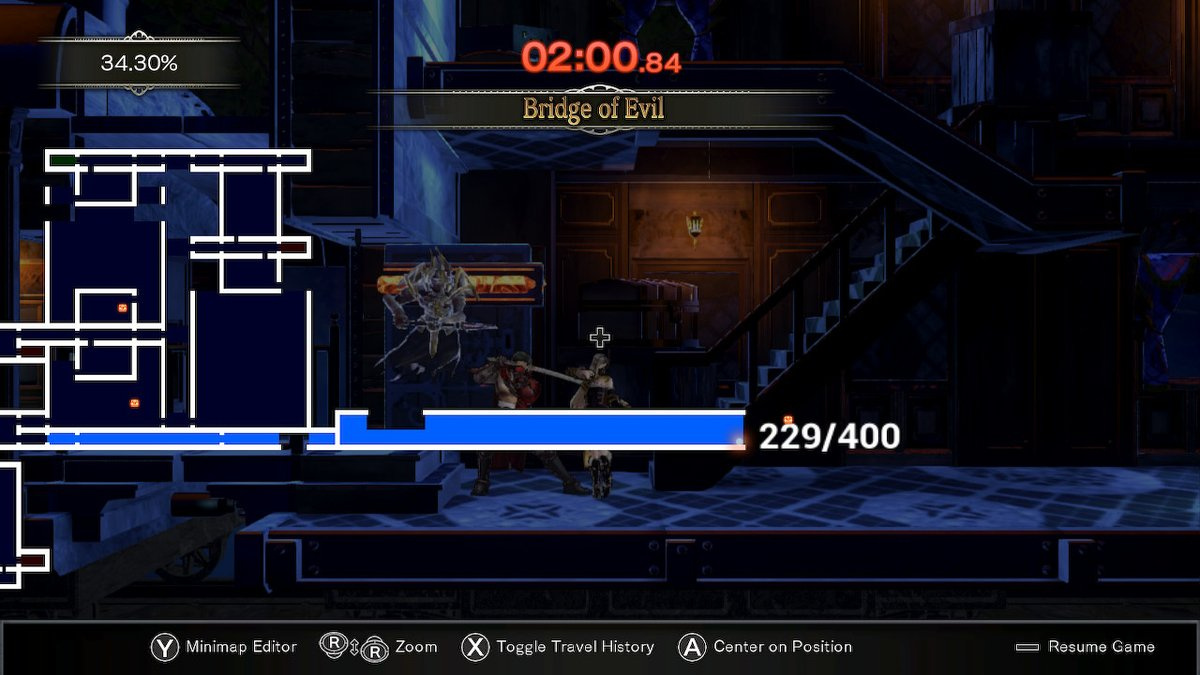
After a conversation with Zangetsu, you’ll be on a moving train. Proceed right and take out the Assassin. Jump onto car train ahead and drop through the ceiling of it. Continue right, kill the assassin and make your way to the next train car ahead of you.
Head up on the left, continue right, go back down and then go right once more. When you reach this point, Zangetsu will help you cross the gap to the next train. Before you move to the next train, jump to your left to pick up an Ammo Capacity Up.
Continue forward to the next train, making your way to the front by jumping over the train cars. When you can drop down, do so and then continue forward within the train cars. Open the red chest for some gold, hit the lever and now the pathway previously locked will open.
Go right until you reach a door sealed by magic. Use Miriam’s magic to open the door.
Continue through it, head up the ledges and go to the right corner of the train where you’ll find a Honebami inside of a green chest.
Now, drop down and go right until you see the boss door.
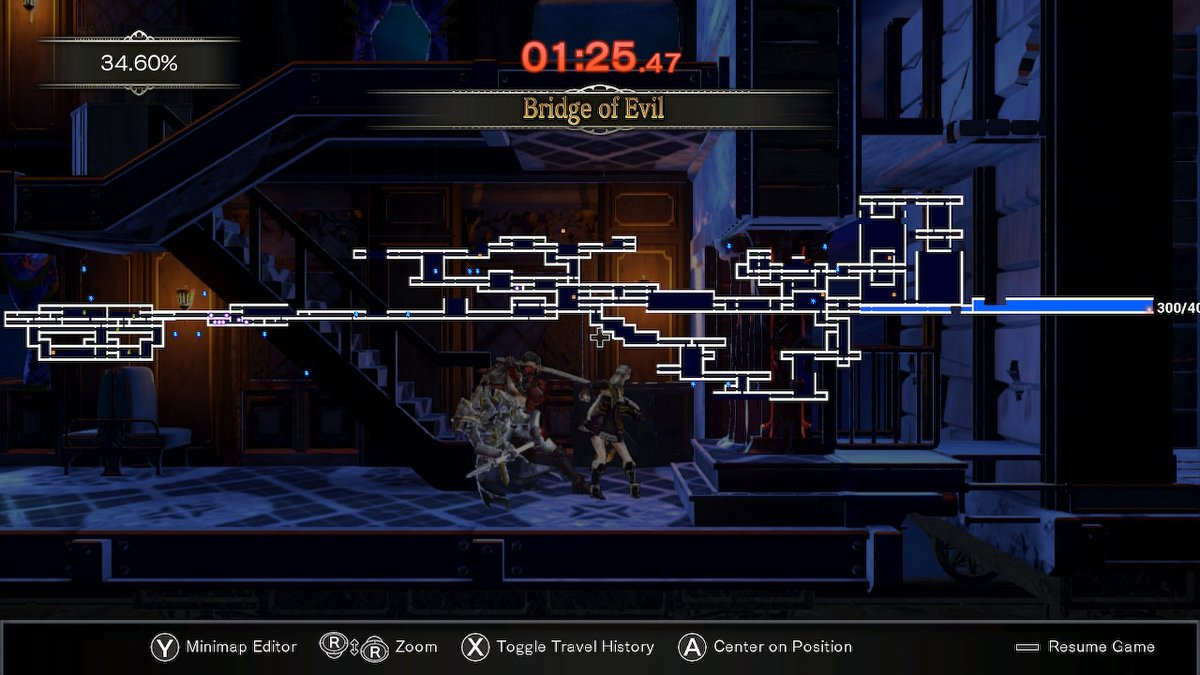
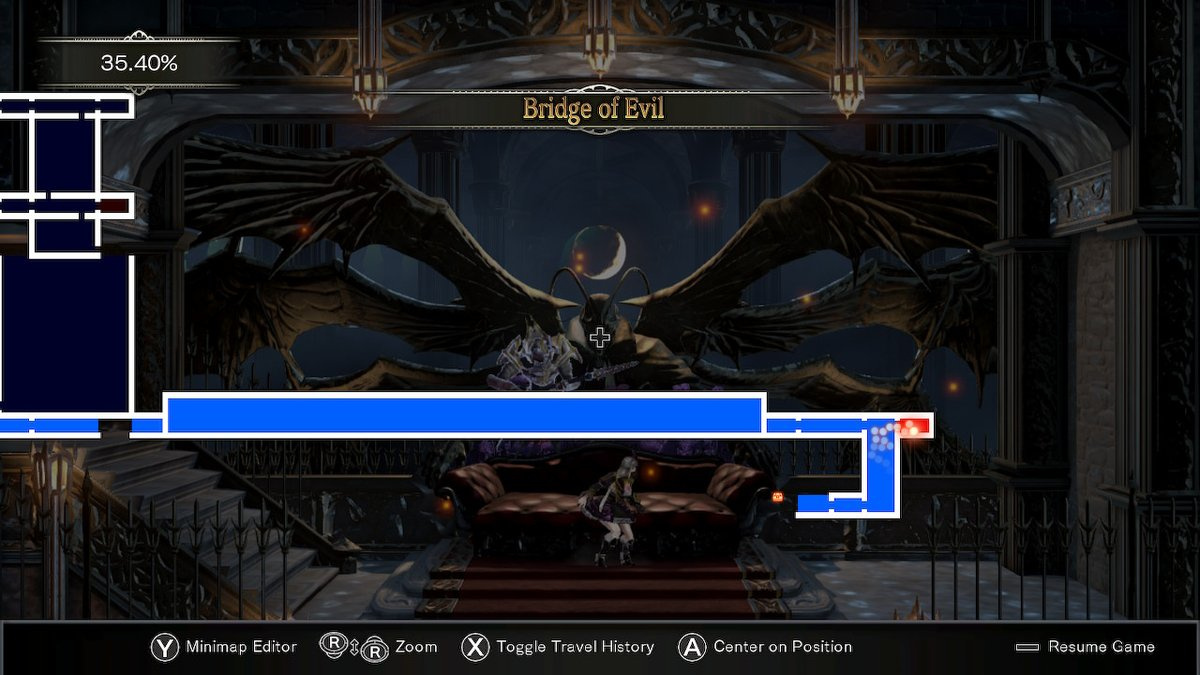
This is what your map should look like after completing the Bridge of Evil.
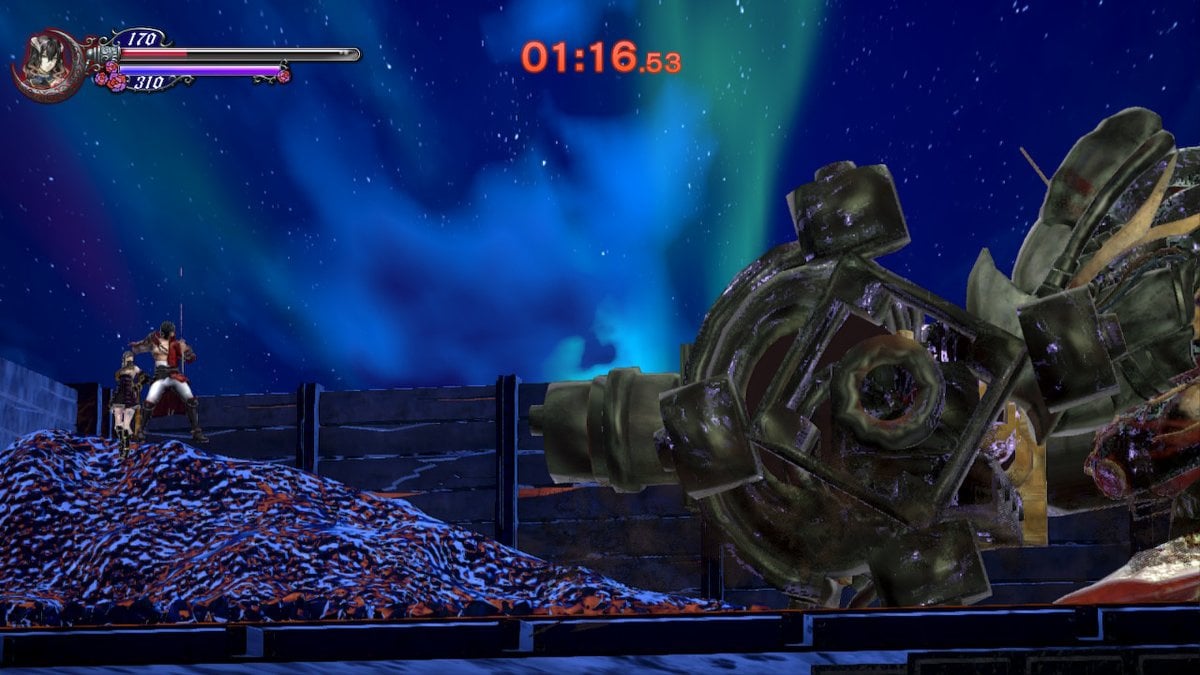
Boss Fight: Glutton Train
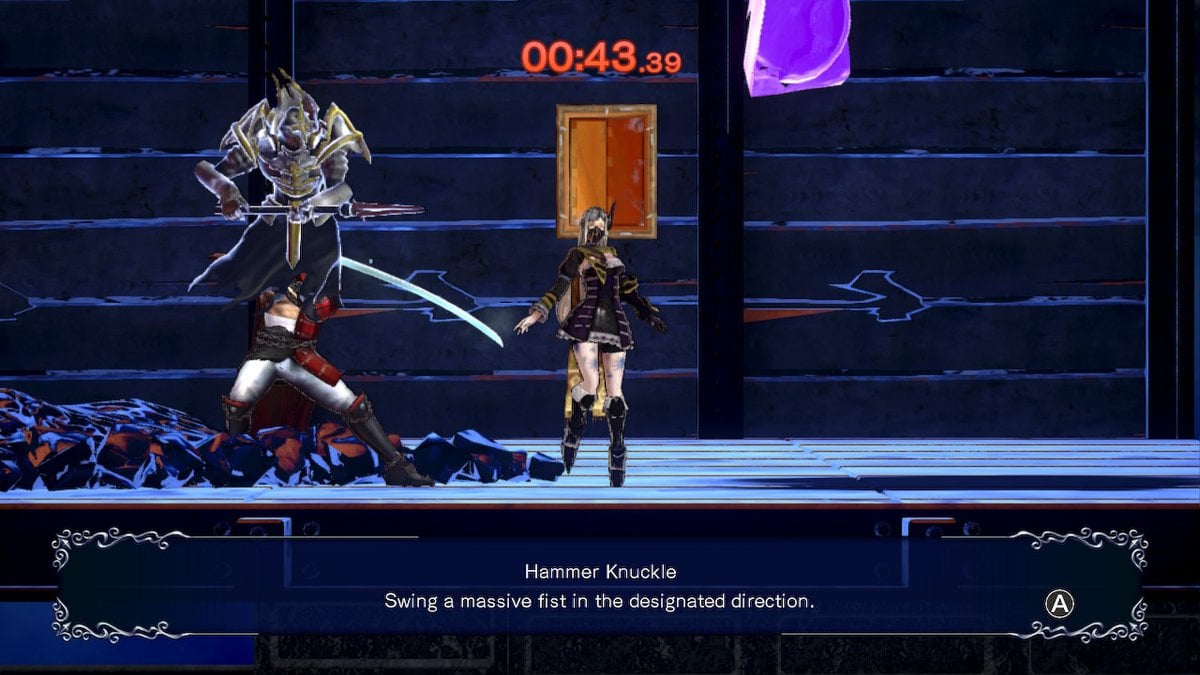
The Glutton Train is going to play out very similarly to the Craftwork boss fight except the Glutton Train is even easier and that’s because Zangetsu has joined the fight.
Our strategy for this fight is simple: Keep Welcome Company up at all times, stand right next to the boss and attack — don’t stop attacking. In a matter of 20 seconds or less, you and Zangetsu will have this boss destroyed.
When you complete the fight, you’ll get the Hammer Knuckle Shard, one of the best Shards in the game.
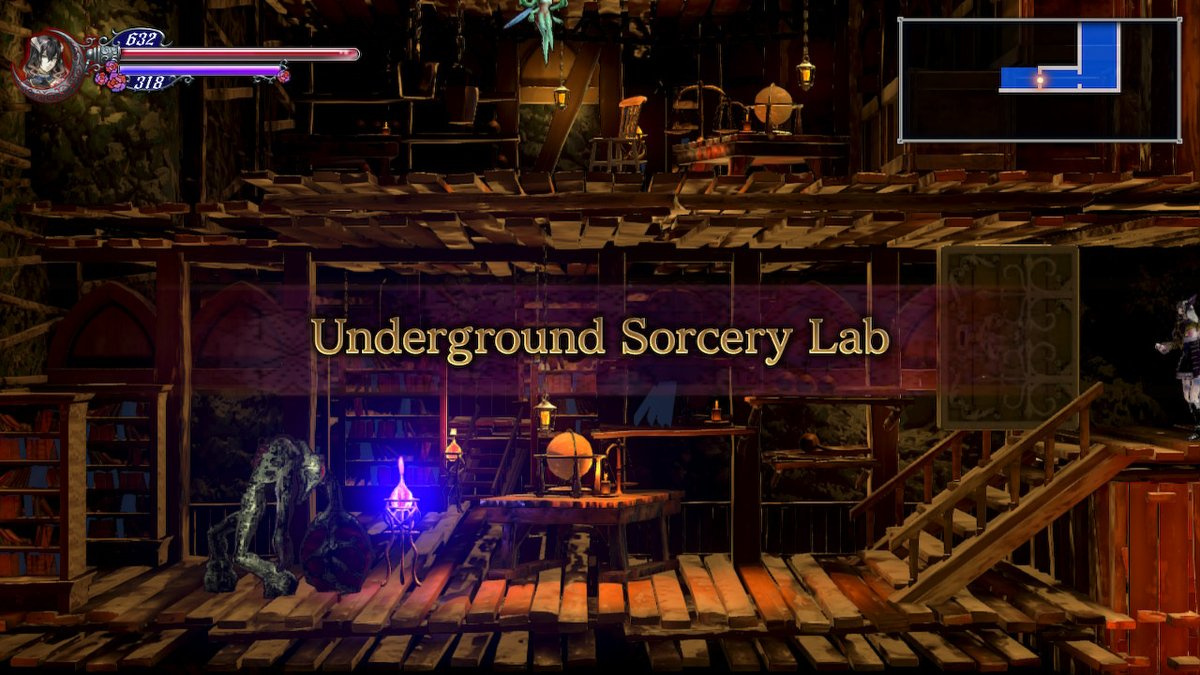
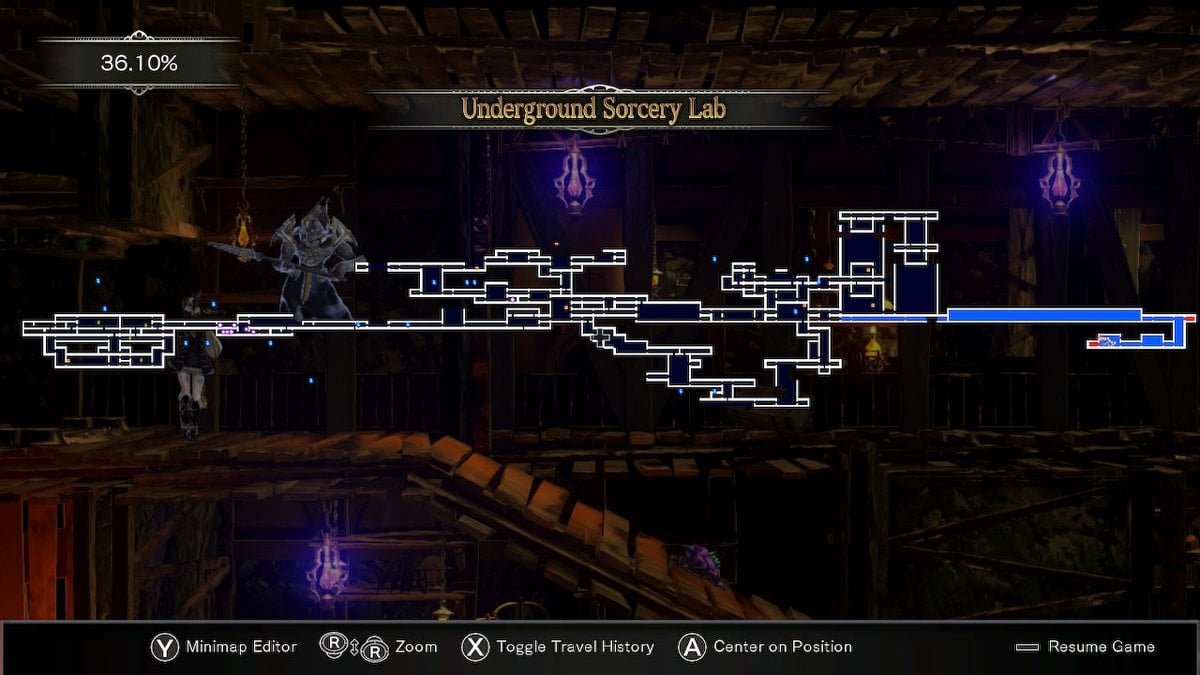
Underground Sorcery Lab
After you kill the Glutton Train, the train will arrive at its destination. After a short conversation with Zangetsu, he’ll depart. Head right and continue on to the next area by using the Passplate.
In the next room, jump over the gap and inspect the bookcase to get the Assassinate technique. After that, go through the top right door to discover a Save Room.
After you save, leave the Save Room and go down. Kill the Assassin and continue down. Follow the path left, jump down and jump up to the next ledge on the right. Attack the wall here to get an HP Max Up. Continue down to the bottom, head left and enter the Underground Sorcery Lab.
When you enter this new area, you’ll come across a new demon called a Bomber Morte. Take it out but be careful as if you wait too long, it will self-destruct and inflict a lot of damage to you. After you’ve taken care of that, jump up and make your way forward onto the path, which will have you going left, then down, then right, then down and left again. Continue left into a new room.
In this new room, you’ll encounter Dominique. After a conversation with her, head left into another room. Be wary of the poison frogs and the Bomber Morte in here and then continue left and take the left exit to find a Save Room. Before that Save Room is a bookcase you can inspect for some backstory. Save, exit the room and go up the stairs to find another boss door.
This is what your map should look like at the end of Underground Sorcery Lab.
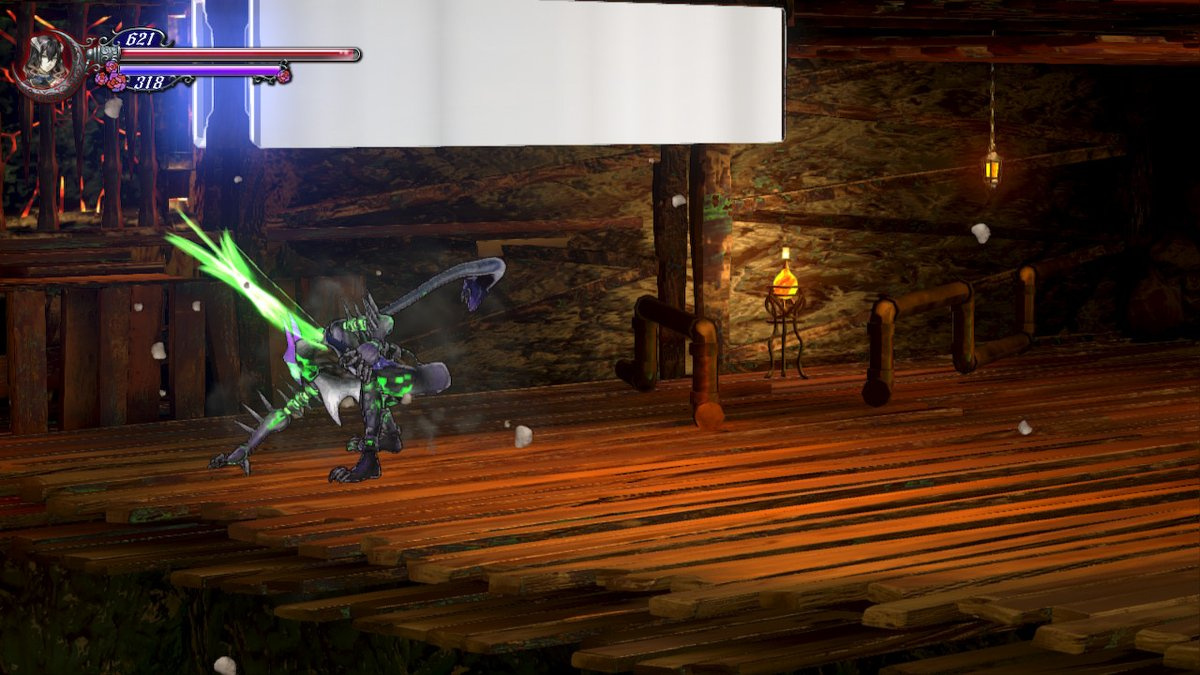
Boss Fight: Bathin
Bathin can be a tricky fight but if you know what he’s throwing at you, it’ll be over in no time. He has an array of moves that he’ll use against you and to counter those moves, you need to have Welcome Company up at all times and fast and powerful weapon equipped.
Bathin will often rely on a dash attack that will launch you across the room. He telegraphs this move by pulling his body backwards first. Another move to watch for is his line attack. Bathin will disappear and green lines will appear all over the room. Avoid being in one of these lines because in a moment, Bathin will quickly dash through these lines, damaging anything in his way.
Another move to watch for is his grenade-like projectiles. With this, he’ll toss a few orbs out and in a few seconds, those orbs will explode into fire. Make sure you’re not on top of these orbs. This can be tricky, though, because every so often, Bathin will pull out a purple lightsaber-like weapon to not only slash at you with, but push you into the fire with.
The last move to watch out for only happens when you get too close to Bathin for too long. He’ll curl his body inward before lashing out with spikes all over his body. Simply slide away from him to avoid this move.
In between all of these moves, your Welcome Company portraits and weapon should be constantly laying on the damage. After a minute or so, Bathin should go down.
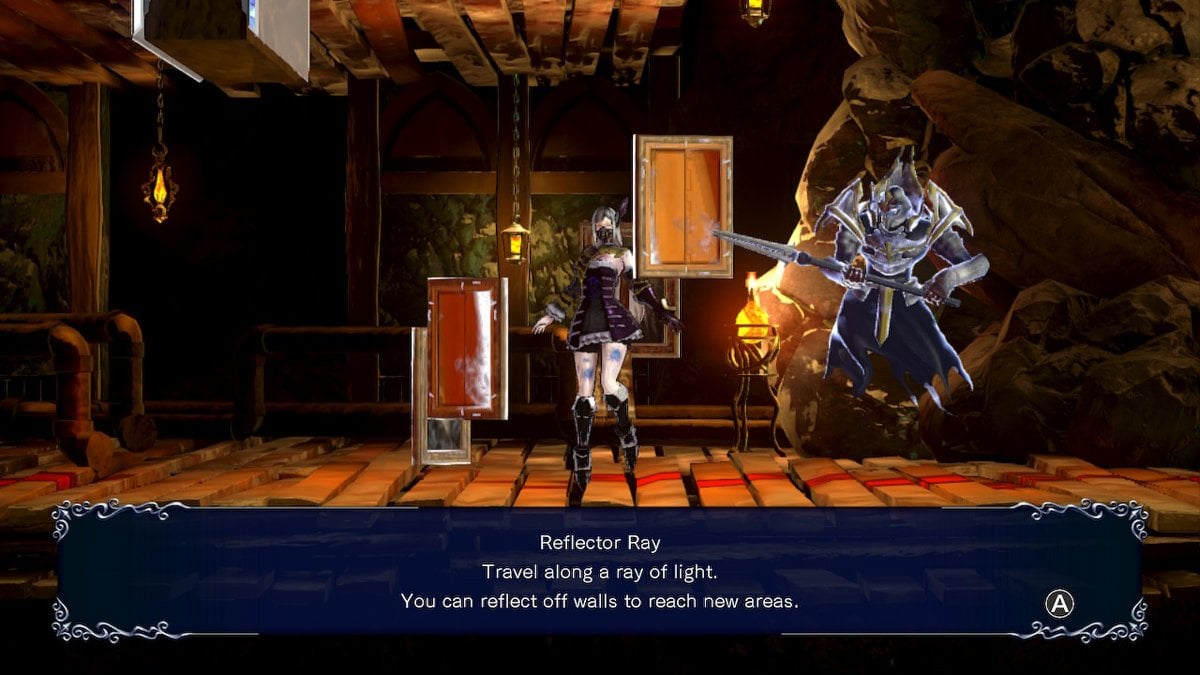
Upon defeating Bathin, you’ll receive the Reflector Ray Shard which will be useful in navigating previously unreachable parts of the game.
Now that you’ve defeated Bathin, it’s time to continue our journey into the Underground Sorcery Lab.
Underground Sorcery Lab - Continued
From Bathin’s room, head left. Drop down to the area below and go left to get an HP Max Up.
To the right of that pickup is a piece of floor you can destroy. Use Welcome Company to destroy it and drop down to find a secret room with an MP Max Up and a green chest with a Skull Necklace inside.
Jump back up to the room you were previously in, go up and kill the Sidhas demons and the Puppy. Observe the brown chest at the end of this hallway. While some gold or ingredients would be nice, this chest is actually a Mimic so immediately attack it.
After you kill the Mimic, continue up and go left where you’ll come across some more Sidhas and Bomber Morte demons. Kill them and go left until you see a hole in the wall.
Here, you’ll be able to try out your newest shard. Use the Reflector Ray to go through this hole so you can open the green chest with a Silver Power Ring inside on the other side. Go back from where you came and jump up to the ledge in the right corner. Inspect the bookcase here to get the Force Blast technique. After doing that, head through the right exit to find a stained glass portal room.

Use this portal to teleport to the Dian Cecht stained glass portal.
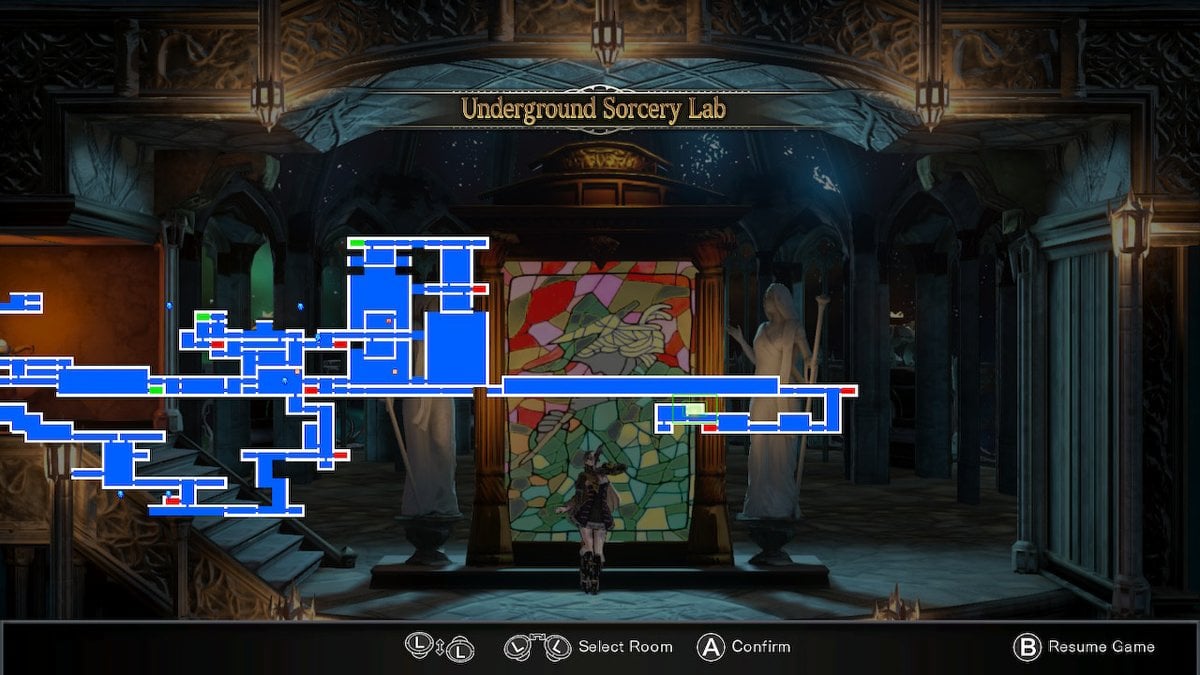
Your map should look like this at the end of the Underground Sorcery Lab.


Comments 0
Wow, no comments yet... why not be the first?
Leave A Comment
Hold on there, you need to login to post a comment...