Welcome to our Bloodstained: Ritual of the Night walkthrough for Nintendo Switch! If you're looking for more, head over to our complete Bloodstained guide page.
Dian Cecht Cathedral
With Zangetsu defeated, head left through the area you fought him in, defeat the Barbatos awaiting you and hop across the chandeliers until you reach a brown chest. Open it for a Waystone. From here, drop down and pick up an HP Max Up. Continue down and go right to pick up an Ammo Capacity Up.
After picking that up, go right and into a room where you’ll find a man named Benjamin. If you want 1000 gold and some experience, give him a Waystone. Otherwise, leave him be.
Return from where you came but remain on the bottom floor. Head to the left and enter a room with a Blood Grinder Knight and a bookcase. Kill the knight and inspect the bookcase to get the Eleventh Hour technique. Now, don’t leave the room yet — attack the wall to the left to get the Ulfberht Sword.
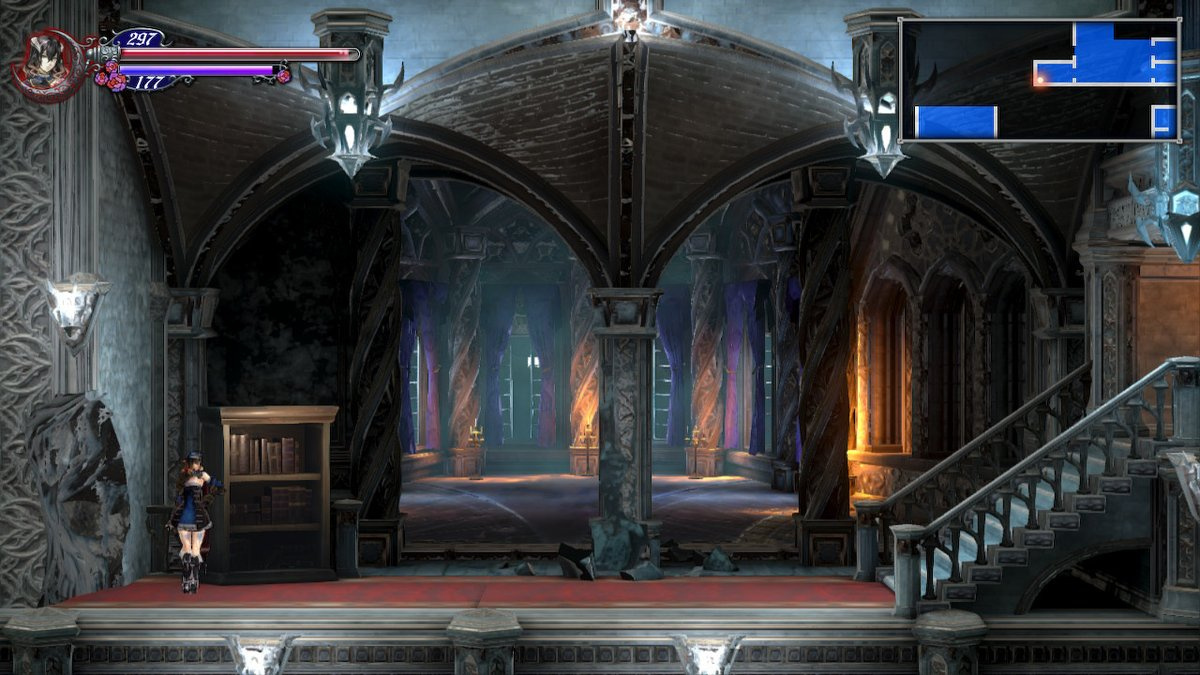
Return to the area on your left and head up. Go to the left and through the passageway. In here, you’ll find a Sabnock and two Blood Grinder Knights. Defeat them and head left to finally enter the Dian Cecht Cathedral.

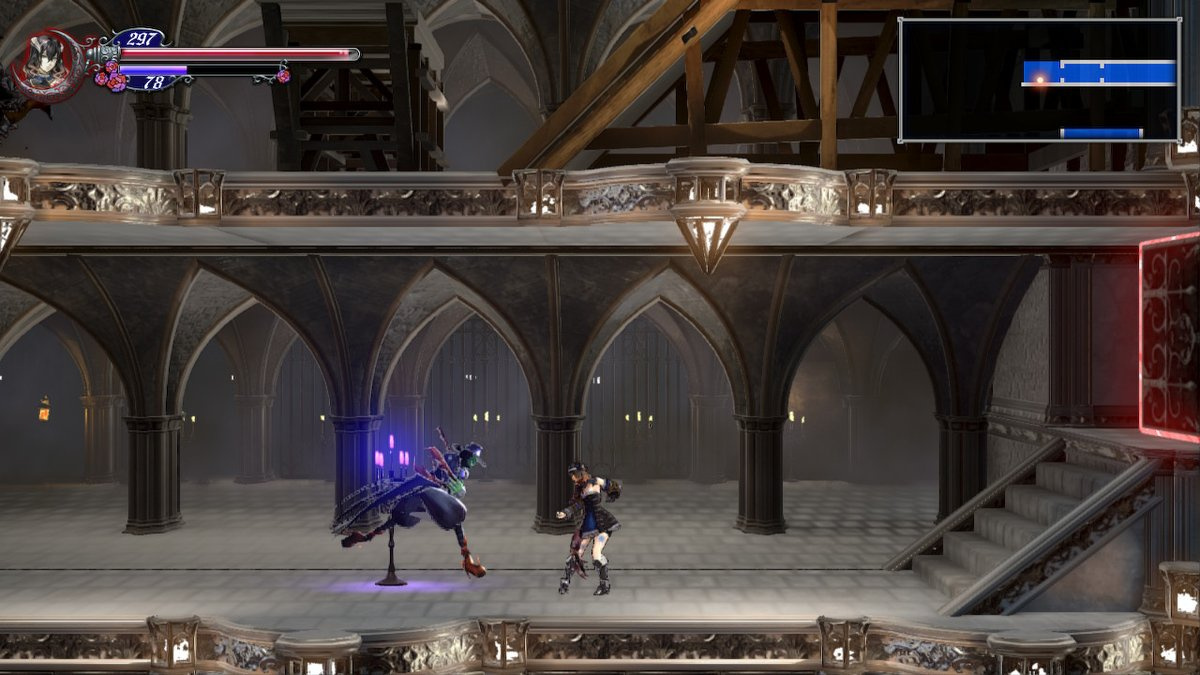
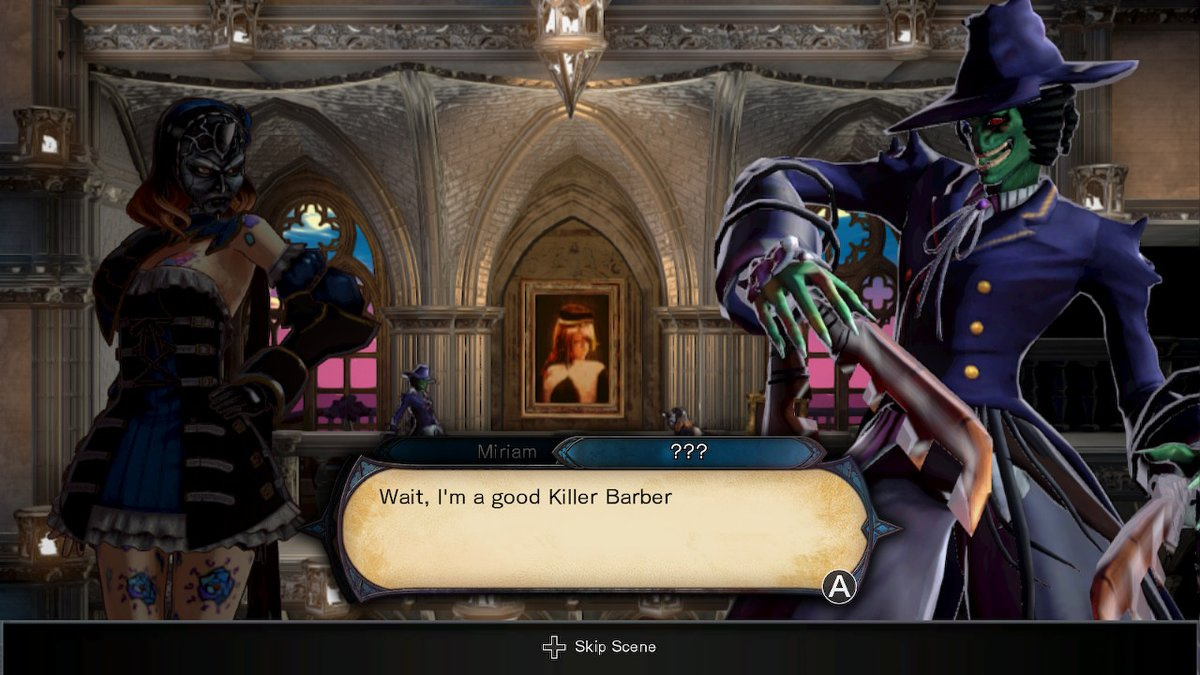
When you enter the cathedral, you’ll encounter the Killer Barber demon and while they might be small, they are extremely fast and can do a lot of damage in just a few seconds. Be extra careful when fighting these.
Kill this Killer Barber and head left to find a bookcase. Inspect it and you’ll get the Critical Swing technique. From here, continue left and then go down and to the left to find a Save Room. Head inside and save.
After that, return back to the first area of the cathedral and begin moving up.
Continue climbing up defeating enemies along the way until you see a white orb statue on the far left side. Destroy it and you’ll get the Skill Shard: Shortcut, which allows you to create Shard load-outs.
During your ascent, you’ll notice portraits flying off the wall — these portraits, known as Poltergeists, will hurt you so quickly take care of them. From the white orb statue, head to the opposite direction until you reach a wall on the right. Destroy this wall to obtain a MP Max Up.
After grabbing this, keep moving up and lookout for a wine-colored demon in a large dress. This is a Cyhyraeth and not only can it inflict over 50hp in one swipe, it can leave you Cursed which reduces your maximum MP and HP by half.
After killing the Cyhyraeth, head to the top left and go through a doorway. This will leave you in a hallway. Run through it, kill the Ordog and continue left to return to the Entrance area. You should start to see how everything is connected.
Continue left, hop over the gap and enter the room on your left to obtain a HP Max Up. Then, destroy the white orb statue nearby to get another Shortcut Skill Shard.
Head back to the main cathedral area by running right. When you see the exit in the right corner, head through it. This will take you to a small hallway with a Killer Barber. Kill it and go right. Then, go up the staircase on the right until you reach an exit. Take that exit.
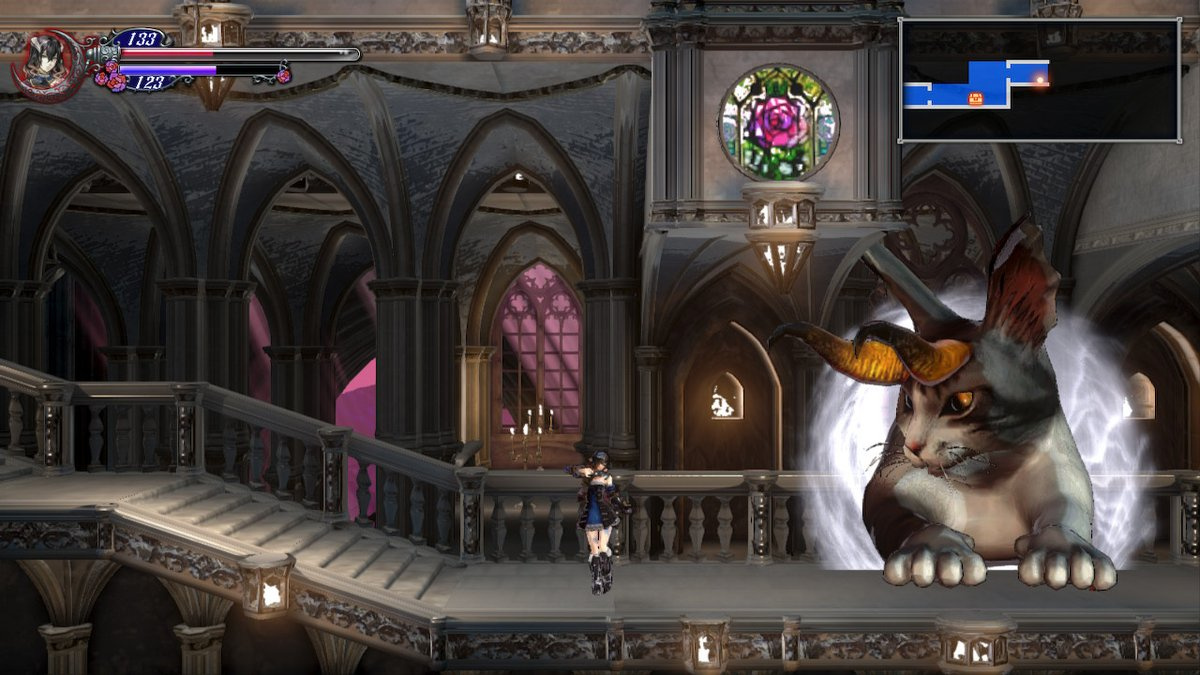
In the next room, you’ll see your first Nyabon demon. While it looks cute, it is not nice at all. Kill it quickly with a magical projectile and continue to the right of where this demon used to sit.
In the next area, you’ll encounter what is simply known as a Demon. It looks like a cross between a vampire and a gargoyle and it’s fairly simple to kill. After you kill it, go up the broken staircase and jump to the left ledge to find a green chest with the Dance Mask inside. Directly across from this mask is a bookcase that, upon inspecting it, will give you some more backstory.
From here, go to the ledge directly above you to pick up an Ammo Capacity Up. Head right to find another stained glass room. Inspect the stained glass and exit to the left.
After you’ve exited the stained glass room, continue left to another exit. In here, you’ll meet Todd the Barber. Todd can change your appearance. Specifically, he can change your hair, hair colour, costume main colour, costume sub colour, skin colour and eye colour.
Head back to the main area and go down to the floor. Once here, run to the right and through the exit. In this area, you’ll have to kill a Demon and a Killer Barber. After dispatching them, head right and you’ll reach an expansive area. Continue right, drop down and you should find a green chest which contains Hair Apparent (Braide).
The exit on the bottom right will take you to a Save Room (with a bookcase that will teach you the Rapid Fire technique before it) and the exit on the upper right side leads to the next boss.
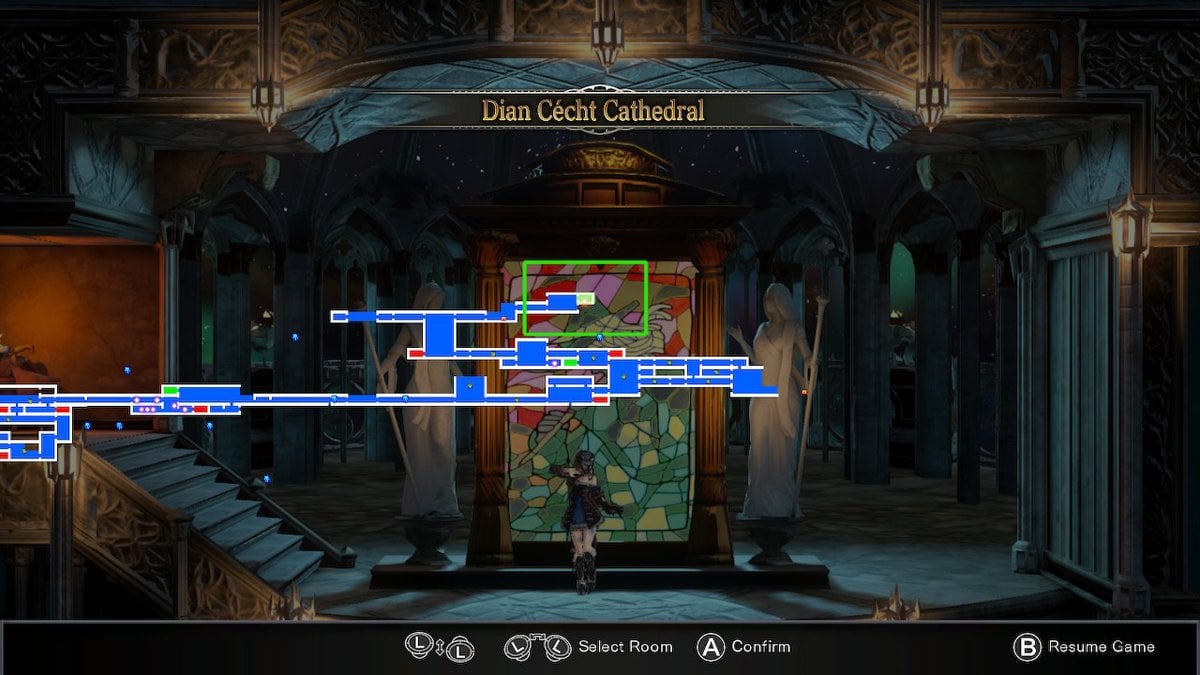
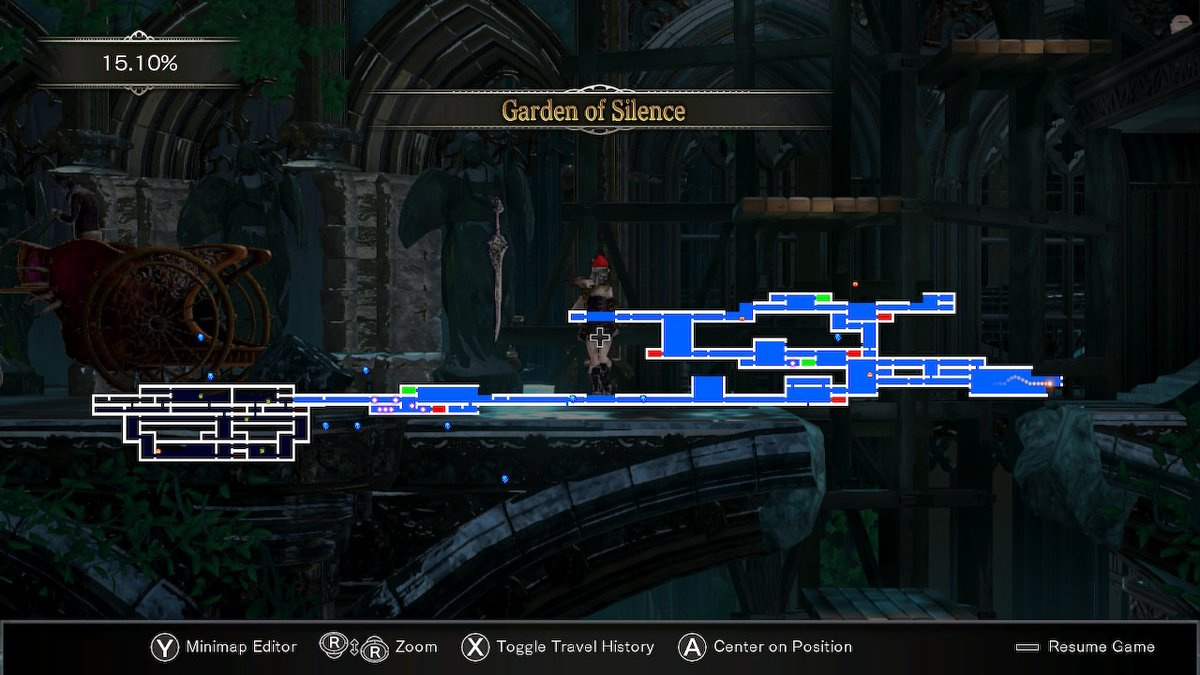
With the Dian Cecht Cathedral complete, this is what your map should look like.
Boss Fight: Craftwork
Craftwork is one of the easiest boss fights in the game. Sure, its attacks hit hard and they can bring your HP down quick, but we’re not going to let that happen.
If you’ve been defeating the Poltergeists you’ve come across in the cathedral, you’ve likely obtained the Welcome Company shard. If you haven’t, head back to the cathedral and farm some Poltergeist kills until you get it.
When this boss fight starts, press X to use Welcome Company. This will encompass Miriam with a number of portraits that can each do damage to Craftwork. With Welcome Company happening, rush the boss and spam Y to attack.
Craftwork will likely lay into you a few times but as long as you continue to spam your attacks and Welcome Company, you’ll kill him before he can kill you.
After killing Craftwork, head right to get an HP Max Up and the Unicorn Ring from the green chest.
Head back out into the room you fought Craftwork in and climb up to the exit in the upper right corner. In this room, you’ll find a green chest with Crusader’s Armor inside and a green orb statue beside it. Break this statue to get the Silver Knight Familiar Shard.
Now that you’ve got the Craftwork Shard, which you obtained upon defeating Craftwork, it’s time to head back to the Garden of Silence.
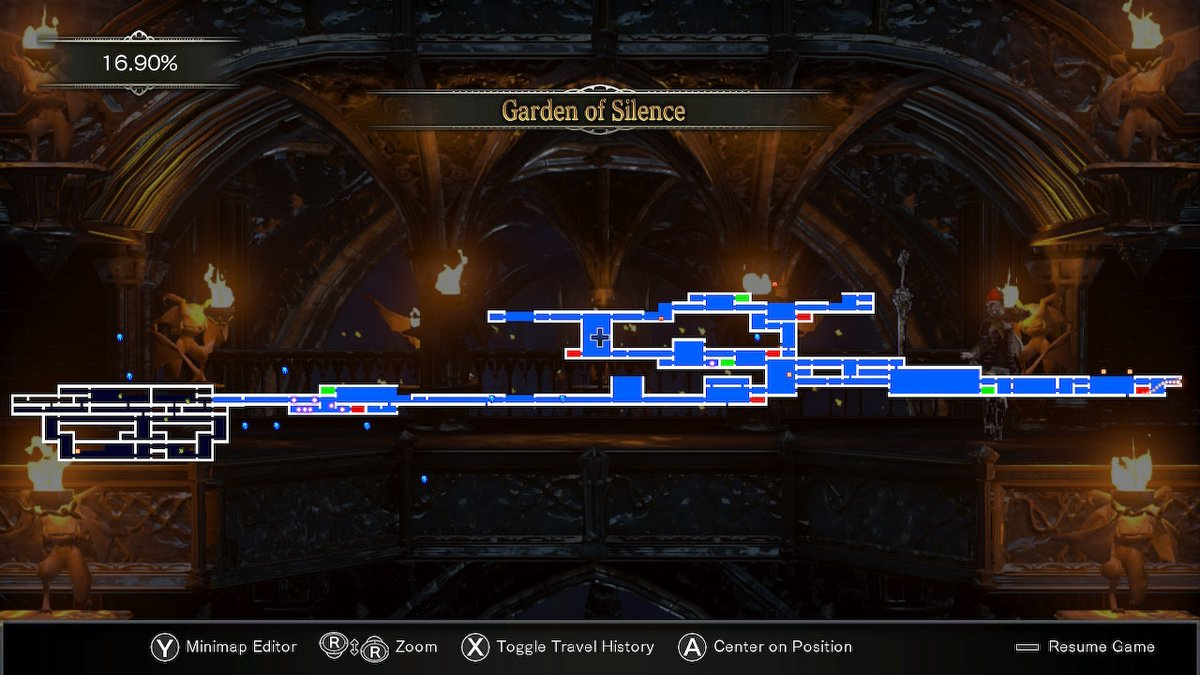
Garden of Silence
Once you’ve made your way back to the Garden of Silence by either foot or Bloodstained’s fast travel system — the stained glass portals — return to the area of the Garden of Silence where the purple and pink chariot sits outside. Drop down and proceed right until you come across an enemy known as an Iron Maiden.
Press R to use your Craftwork Shard which allows you to move objects at will. Use the Craftwork Shard to grab the Iron Maiden and move it forward to reach the ledge on the right. Climb over the ledge and drop down to a green chest holding a Beast Beret within.
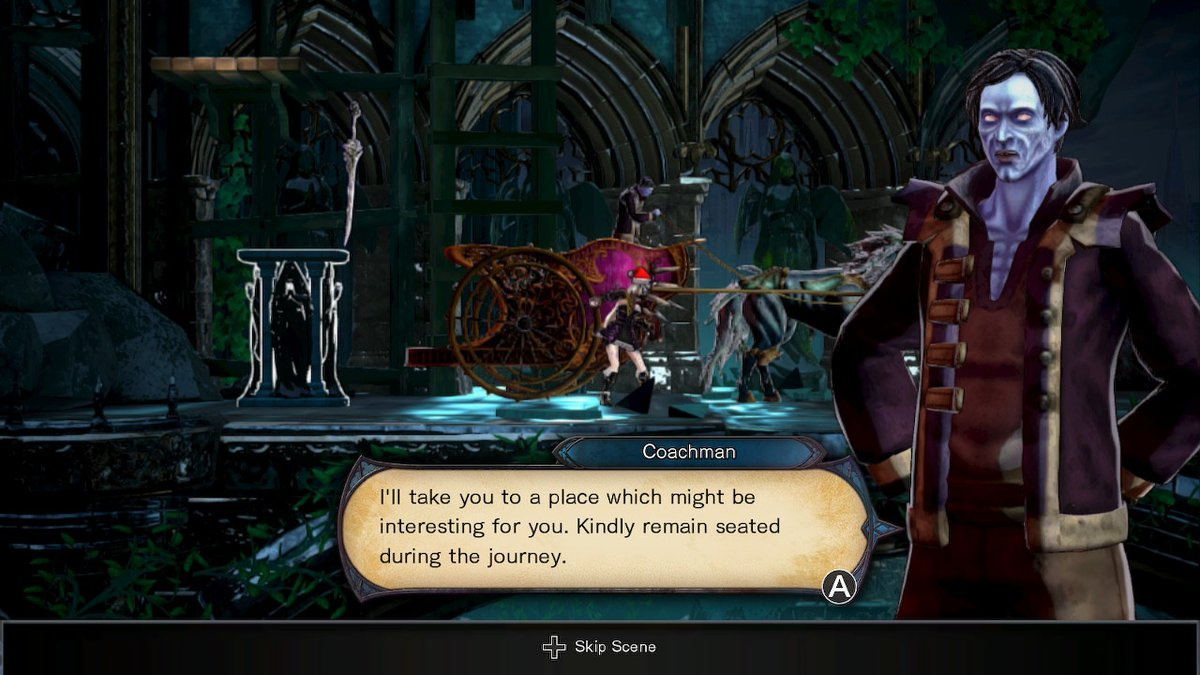
Head back to the purple and pink chariot and use the Craftwork Shard to move the stone pillar to the left side of the chariot. After doing that, speak to the chariot driver and he’ll take you across to the right side of the Garden of Silence.
Hop off the chariot and jump three platforms to the right to get an HP Max Up. Then, hop left across the platforms to find a green chest with a Kung Fu Vest. Head right to where you came from, drop down and inspect the bookcase on the bottom left to get the Hatchet Heel technique.
Go right from here and enter a room with a stained glass portal. Inspect it, leave the room and head up. Take the middle exit to the right. Assuming you take the correct exit, you should find yourself in a room with a red chest that contains 500 gold and another exit to the right of said chest.
Head through this exit and then go to the upper right corner. Walk through this door, kill the new enemy before you, aptly named the Carabosse, and hop across the stone pillars to the right to find an HP Max Up. From here, continue right until you come across a green chest. Open it up to get the Faerie Healing Item recipe.
Drop down below and head right. In here, climb to the upper left corner to find a blue chest with some ingredients inside.
From here, hop over to the upper right exit to find yourself in a short hallway with a bookcase. Inspect the bookcase to learn some backstory and then continue right. In the next room, head right until you hit a ledge. Fall from this ledge and then head left. When you reach a wall, attack it to uncover a secret with a MP Max Up in it and a red chest with 500 gold.
Leave from where you came, head right, open the blue chest for some ingredients and continue right until you find an Ammo Capacity Up. After picking this up, head left and climb back up to the top.
Up here, go right through a doorway and continue right across a bridge, killing the Buer Armor and Zagan demons you come across. Take the exit to the right and you’ll be in a small room with two Carabosses. Kill them both and advance to the bottom left room to come across a Save Room. Exit the Save Room and leave the area via the upper right exit.
This exit will lead you to the next area of the game.
Your map should look like this after making your way through the return to Garden of Silence.
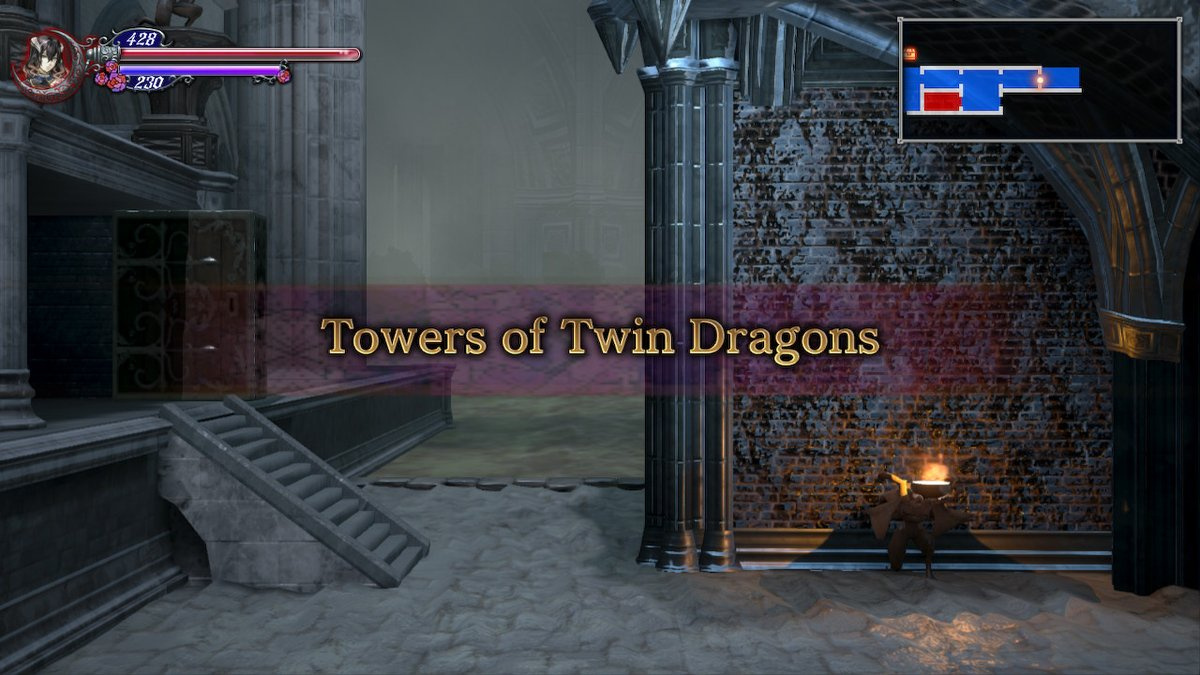
Towers of Twin Dragons
Head right and the screen will move to rotate Miriam onto the sloped side of one of the Twin Dragon towers. Continue forward until you can drop down. When you see that hole in the ground, drop through it and you’ll land in a spot with a Wolfman.
Kill the Wolfman and head right to the next room but be sure to open the brown chest for a new weapon. Walk through the small hallway and through the doorway on the right. Then, continue walking right until the screen rotates. At this point, you need to slide and if done so correctly, you’ll reach an Ammo Capacity Up.
After this, head back from where you came and get back on the sloped side of the Twin Dragons tower. Continue forward and jump on the first possible platform. From here, jump back to the sloped side and continue up.
Soon, you’ll come across a handful of platforms that can take you down.
Use them to get to the floor below and go left to find a green chest with Hair Apparent IV. From here, hop back up the platforms you came down on and continue along the pathway to the right. Kill the Buer Armor and continue across the gaps.
Jump on the machine cog and use it to go up. When you can, jump to the right to find a green chest with Sunglasses. After getting those, hop back onto the cog and jump for the cogs on the left. Continue forward on them to the left until you reach one of the falling platforms. Jump across this platform, kill the Scythe Mite and Wolfman and follow the passage down until you find a HP Max Up.
Head back to the falling platform you recently used and instead of jumping across it, fall down it. Follow the cogs down and to the left until you come across a green chest. Inside this chest is the Flying Edge sword.
From here, drop down and follow the passage up. This time, follow the passage up until you reach a doorway that will take you into the tower. Inside the tower, go right and jump up onto the platform, go left and then use Miriam’s magic to move the cog to create a ledge.
Use this ledge to jump into the next area. Here, there will be three Poltergeists for you to kill. After killing them, head right and open the green chest to get the Hyperventilator. After that, continue right and enter the next room to find another green chest, this time containing the Partisan.
Go left past this chest and continue left past the Poltergeists. In the next room on the left, you’ll come across Gebel. Soon, Alfred will show up and attack Gebel. After a brief fight, Gebel will flee.
Continue left past where all of this happened and you’ll come across a brown chest with an Ether in it. From here, drop down to the floor and head right to find a bookcase. Inspect it and you’ll learn the Power Slash technique. After this, take the exit at the bottom right to find a Save Room. Save and head back to the room prior. This time, go through the bottom left exit to enter the next area of Bloodstained.
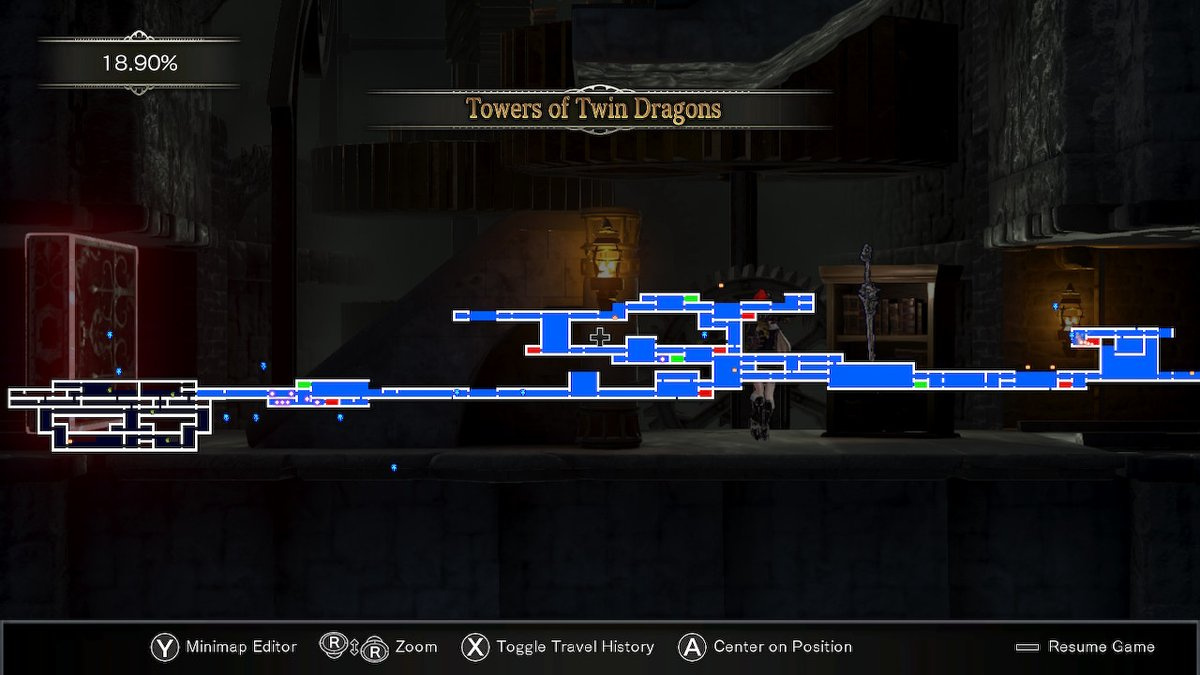
This is what your map should look like at the end of the Towers of Twin Dragons.


Comments 0
Wow, no comments yet... why not be the first?
Leave A Comment
Hold on there, you need to login to post a comment...