Puzzle pieces and KONG letters are the big collectibles in Donkey Kong Country: Tropical Freeze, provided you're not a total masochist and feel the need to run time trials or aim for 200% completion via hard mode. We really can't help you with that.
But we can help you collect all of the lovely puzzle pieces and KONG letters. While they're not easy to collect by any means, they are achievable. You also unlock some excellent extra content for putting in the effort, so we do recommend it.
Here, we'll cover how to find every single puzzle piece and KONG letter in Sea Breeze Cove, the fourth island in Donkey Kong Country: Tropical Freeze. You can also follow the links below for walkthroughs of the other islands. Enjoy!
Lost Mangroves | Autumn Heights | Bright Savannah | Sea Breeze Cove | Juicy Jungle | Donkey Kong Island | Secret Seclusion
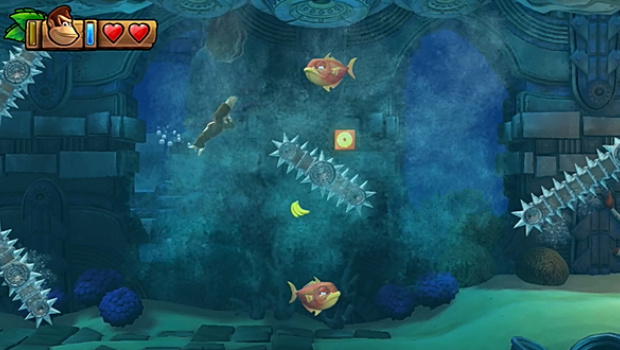
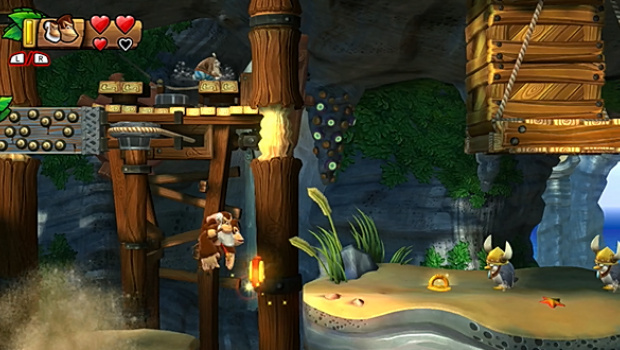
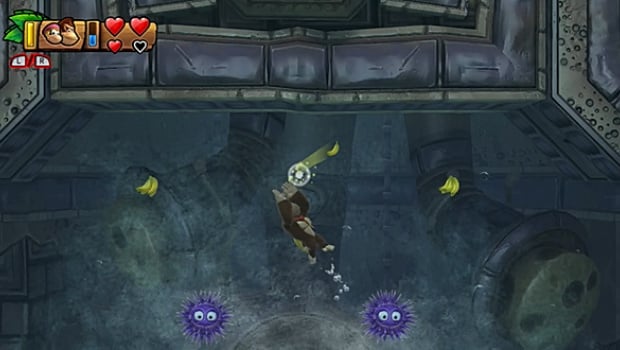
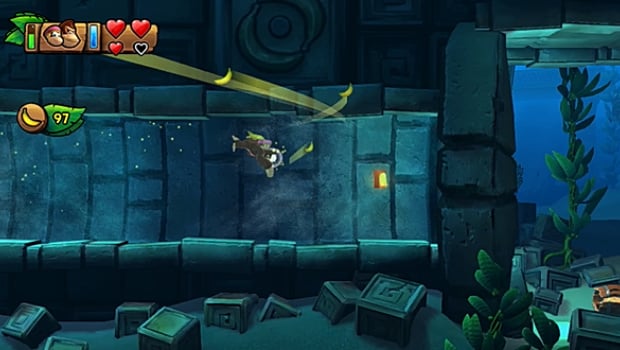
Deep Keep Walkthrough - Puzzle Pieces And Kong Letters
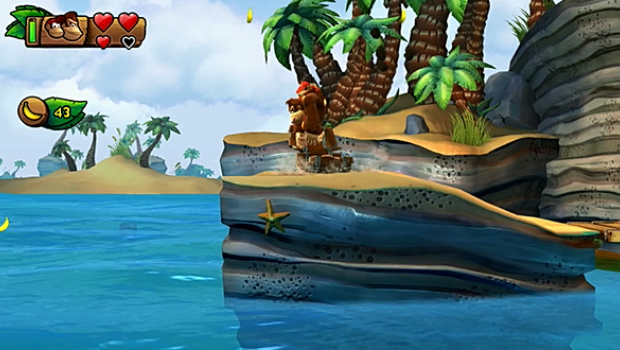
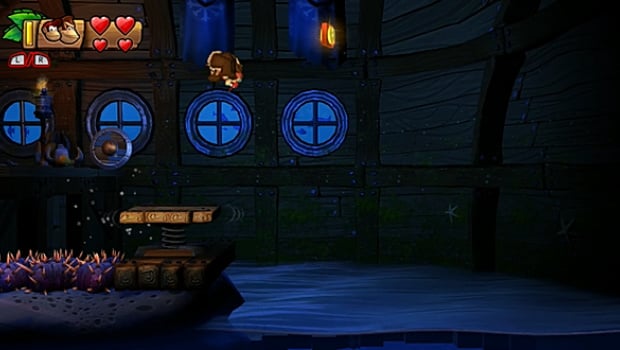
Deep Keep First Puzzle Piece
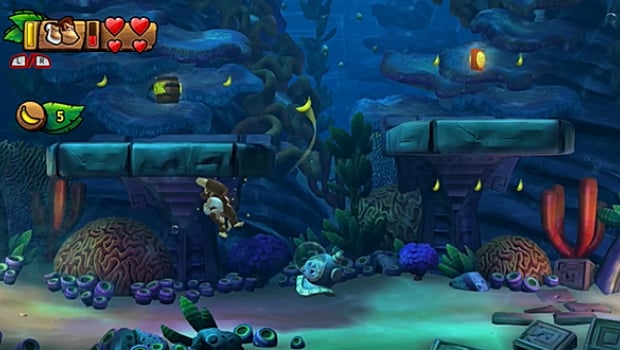
Cross the full length of the water to the right at the beginning of the level to find a small island with a chest on it. Stomp the chest to summon a bunch of bananas, then catch them all to get the first puzzle piece.
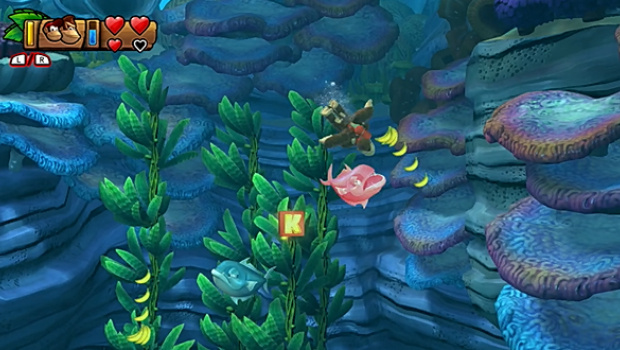
Deep Keep Kong Letter K
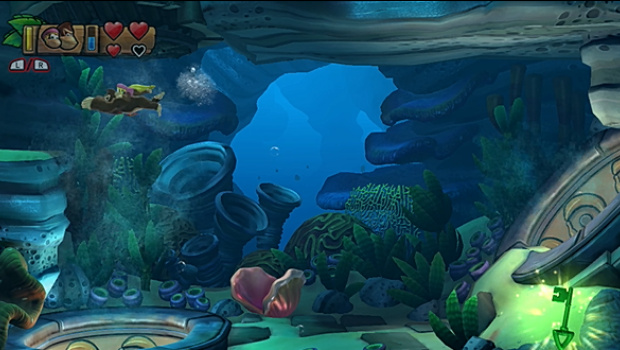
You'll grab the first KONG letter when you first dive into the water.
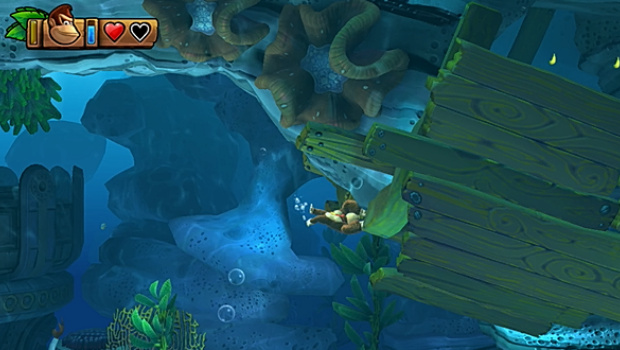
Deep Keep Second Puzzle Piece
The second puzzle piece is at the top rightmost point in the underground water cave. It's hiding behind a piece of ship wreckage.
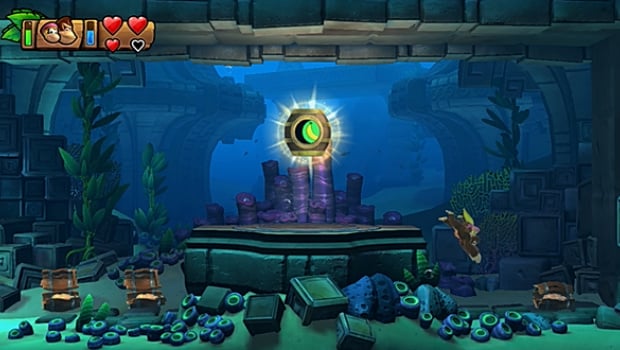
Deep Keep Kong Letter O
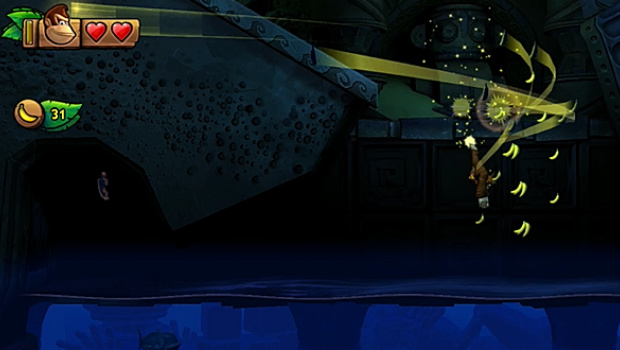
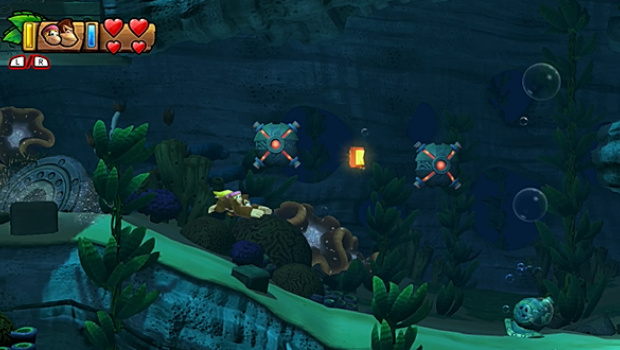
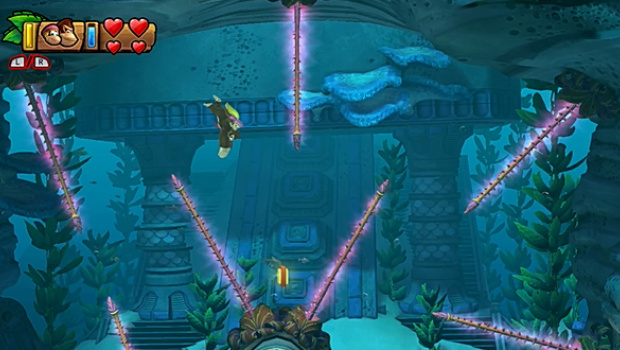
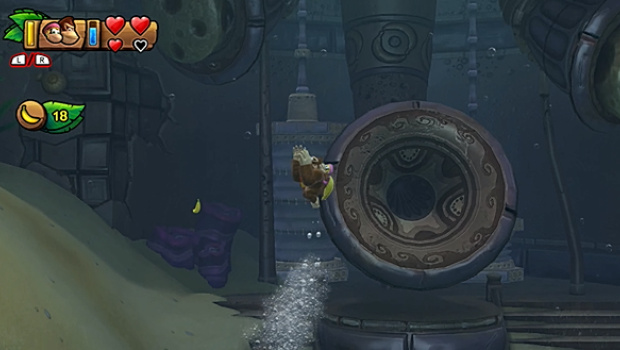
Just after you pass the first checkpoint, you'll find the O orbiting a spinning blade. Careful you don't get hurt while grabbing it.
Deep Keep Third Puzzle Piece
Just after you grab the O, look just under and to the right of the huge spinning blade. There's a door here. Spin attack it to access a secret area and grab all bananas within 30 seconds to grab the puzzle piece.
Deep Keep Fourth Puzzle Piece
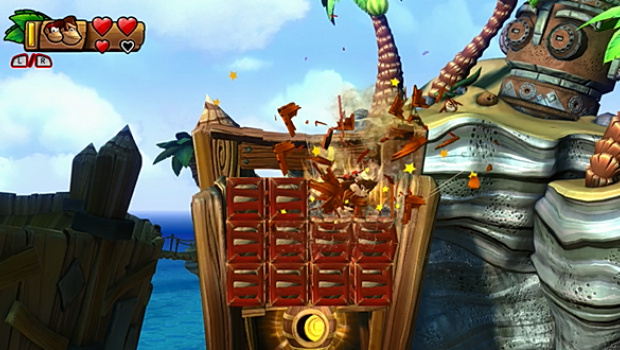
Keep heading right after you grab the third puzzle piece until you reach the point where you have to smash through a few broken rocks. Smash down once they're broken to find a secret area with the puzzle piece inside.
Deep Keep Fifth Puzzle Piece
A little further ahead you'll find a block covered in electricity. Swim past it then up and over the spikes. You'll come across a room with three lights in the centre. Swim through them all to activate them (or turn them off) then head back to the electric block. It will have fallen to the floor, opening a route to the fifth puzzle piece.
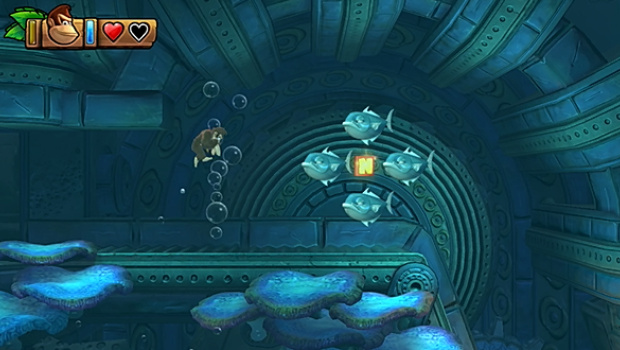
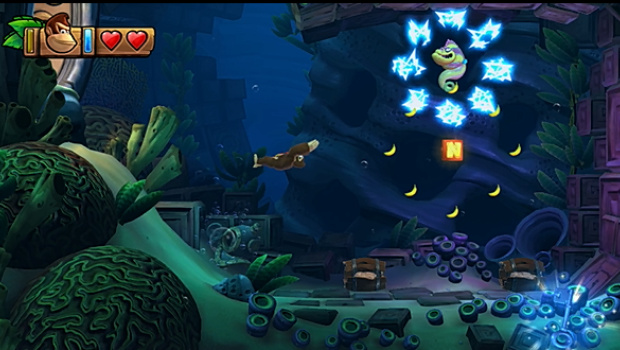
Deep Keep Kong Letter N
Pass the second checkpoint and you'll find the N just ahead. You'll have to spin attack a bunch of fish to get it though.
Deep Keep Sixth Puzzle Piece
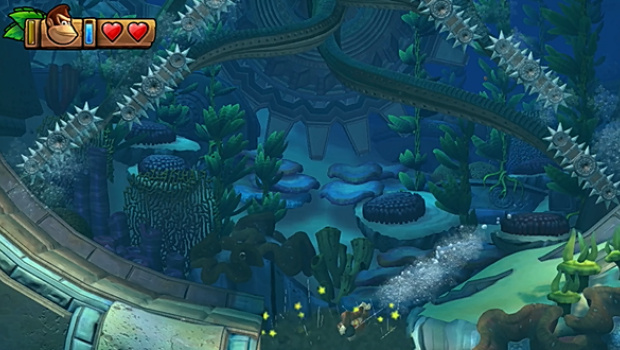
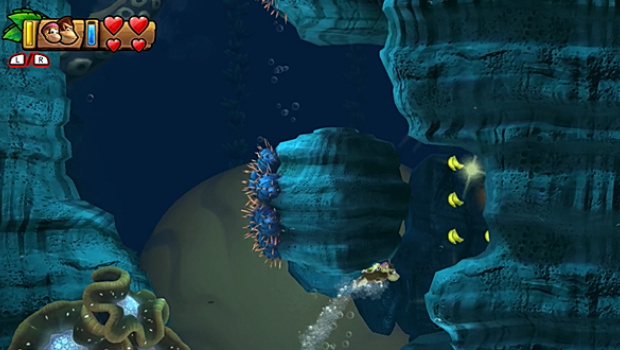
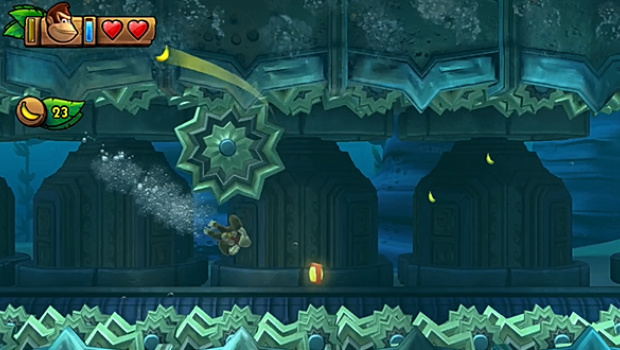
Reach the giant spinning spikes of death and swim below them. You'll see a bunch of crumbling rocks. Smash them and head inside. Grab all of the bananas in this secret area to get the puzzle piece.
Deep Keep Kong Letter G
You'll need to be a deft swimmer to grab the G. Swim right after the massive spinning spikes of death and you'll reach an area where you're constantly pushed forward. Grab the G on the way but be careful.

Deep Keep Seventh Puzzle Piece
At the end of the level, smash the ground beneath the barrel to find a secret area. Grab all bananas to get the final puzzle piece.

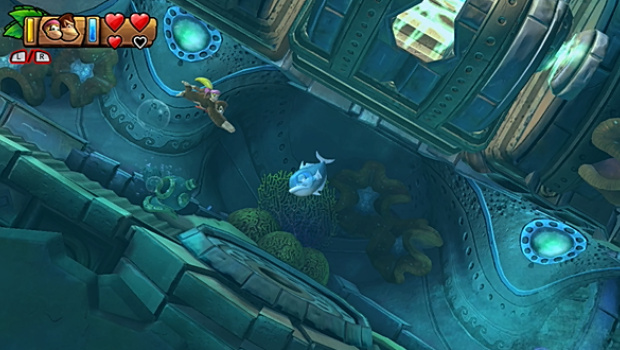
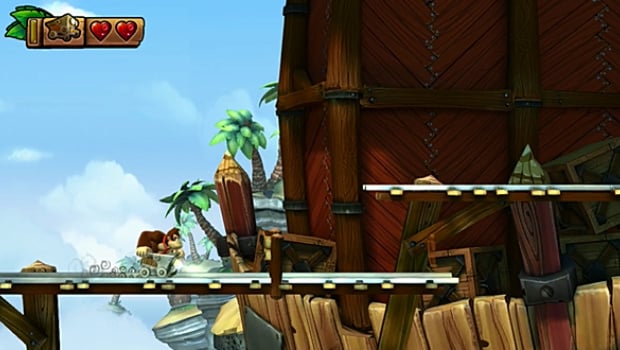
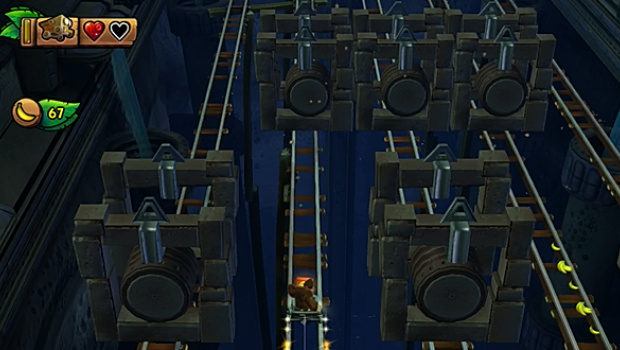
High Tide Ride Walkthrough - Puzzle Pieces And Kong Letters
High Tide Ride First Puzzle Piece
Underneath the first platform you can jump on, you'll see a barrel cannon. Drop into it to blast off into a secret area. Grab all of the bananas before the timer runs out to get the puzzle piece.
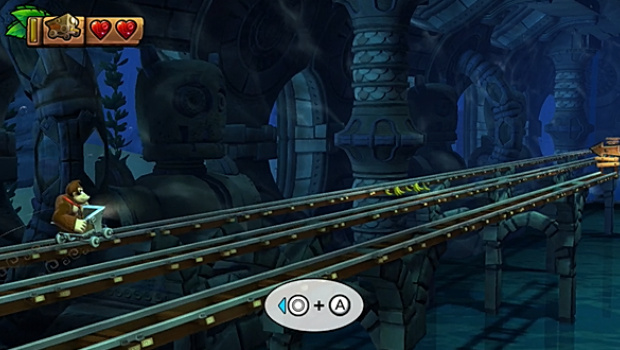
High Tide Ride Kong Letter K
The K is right at the beginning of the cart section. Jump just before the tracks start to slope downwards to land on the higher track, then jump over the barricade to grab the K.
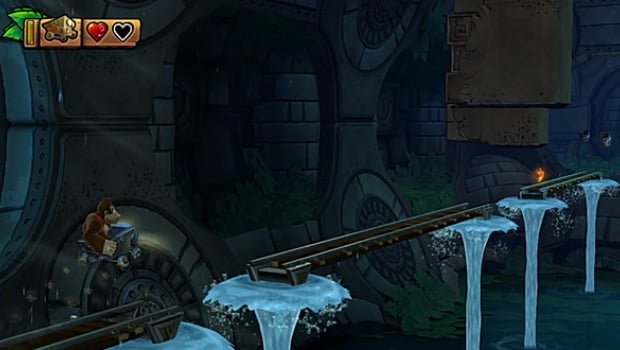
High Tide Ride Second Puzzle Piece
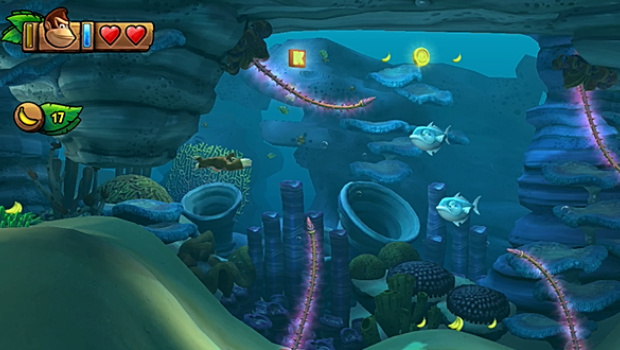
Right after you jump over a bunch of sharks in the mine cart section, you'll see the second puzzle piece just over a piece of wood. You're going to have to be an expert jumper to grab this one without losing a life.
High Tide Ride Third Puzzle Piece
You need to grab all of the bananas during the beginning of the cart section just after the first checkpoint to grab this puzzle piece.
High Tide Ride Kong Letter O
Right after the first checkpoint you'll reach a somewhat 3D section. The O is on the leftmost track. It's a small piece of track so get ready to jump right again shortly after.

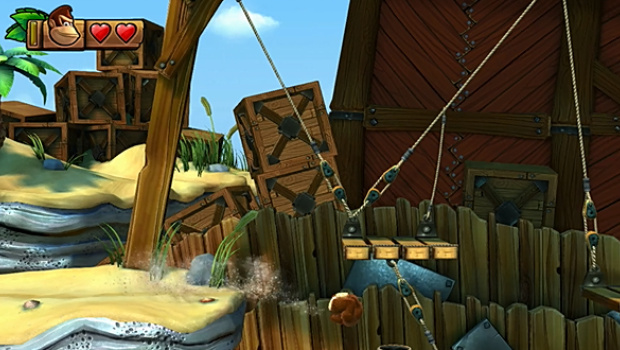
High Tide Ride Fourth Puzzle Piece
Then, during the section with the moving wooden walls, grab all of the bananas again to get the fourth puzzle piece. You will have to make a dangerous jump to the left to get it though, so be careful.

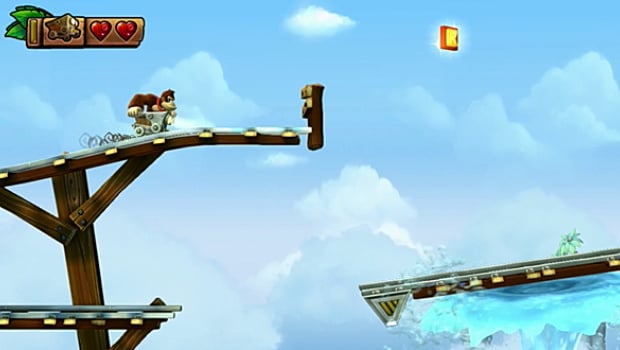
High Tide Ride Fifth Puzzle Piece
The final puzzle piece is just after the second checkpoint. While jumping the tracks, you'll see it in the distance before a wall covers it. Remember its location and make that ridiculous jump to grab it.
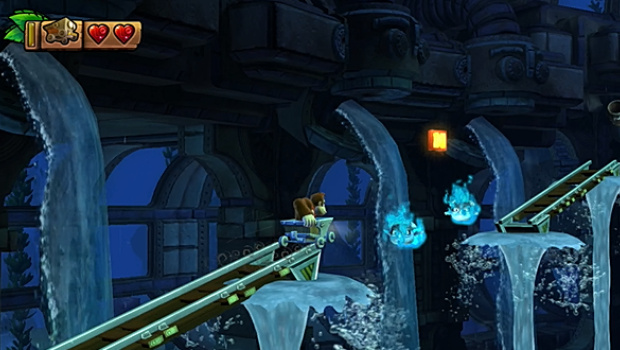
High Tide Ride Kong Letter N
The N is right before the third checkpoint. It's pretty easy to grab – just jump over the blue owls to get it.
High Tide Ride Kong Letter G
During the final section when all of the stone blocks are crashing down onto the tracks, you'll find the G on the inner left track.
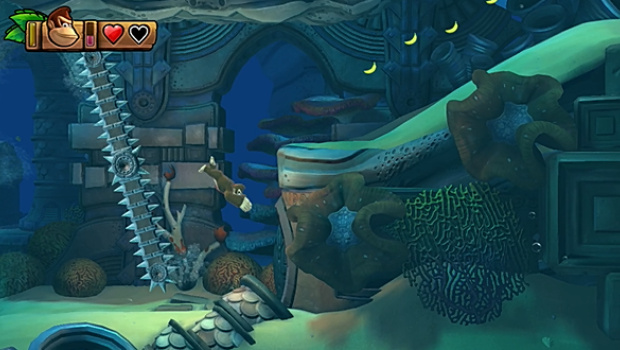
Amiss Abyss Walkthrough - Puzzle Pieces And Kong Letters
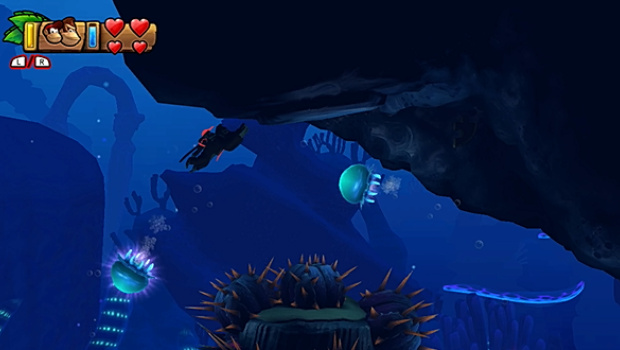
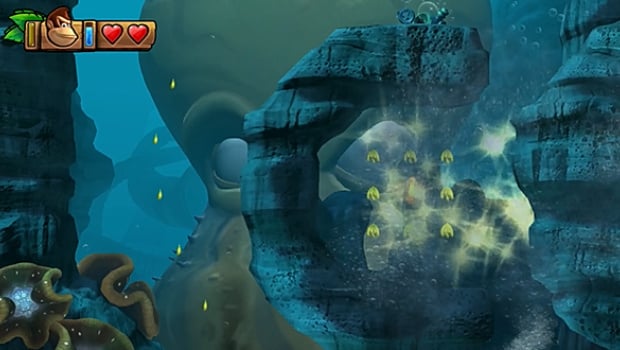
Amiss Abyss Kong Letter K
The first KONG letter is above and to the right as you enter the water. Don't just go and get it though – it's surrounded by dangerous underwater foliage. Instead, attack the fish just to the right to make them scatter, and lighting up the area as they do so. The foliage will disappear temporarily, allowing you to grab the K.
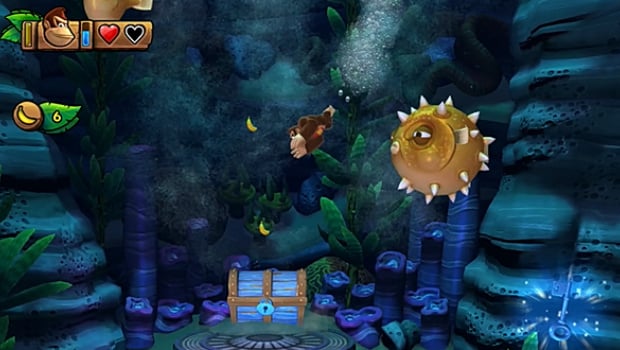
Amiss Abyss First Puzzle Piece
The first puzzle piece is quite far into the level. You'll come across an underground room full of puffer fish. Ignore them and swim up and to your right, smashing through a shipwreck, to find a room filled with bananas. Grab them all to get this puzzle piece.
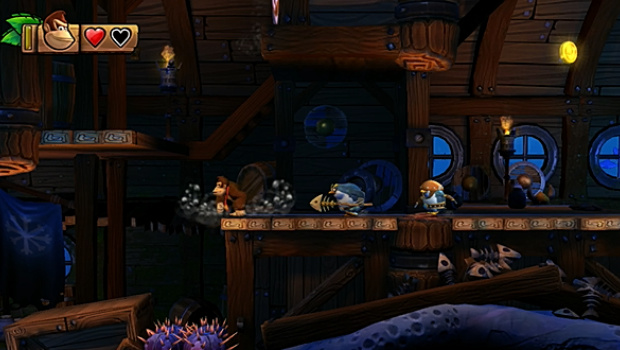
Amiss Abyss Second Puzzle Piece
Right after the first checkpoint, head right and defeat the spear penguin. Then, jump on the helmet penguin and grab him, then jump up and left onto the platform, then throw the penguin right to open up a secret area. Head inside and grab all of the bananas to get the second puzzle piece.
Amiss Abyss Kong Letter O
The O is right after the first checkpoint, and is super easy to grab. Use the springboard to bounce up there and grab it.
Amiss Abyss Third Puzzle Piece
Head into the water after the first checkpoint and swim downwards. You'll soon see a bunch of jellyfish swimming around some spikey things. Swim under them to the right, then up and backtrack slightly. The puzzle piece is just above and to the right of the jellyfish.
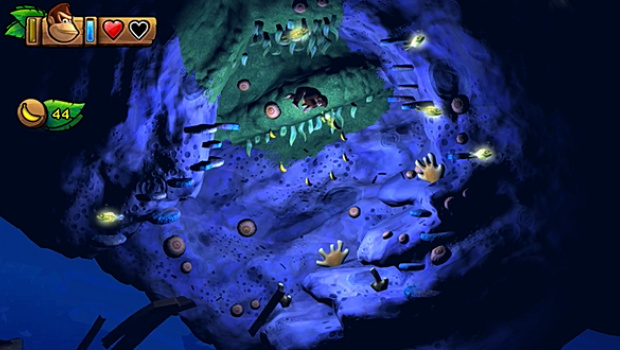
Amiss Abyss Fourth Puzzle Piece
Keep heading right past the jellyfish until you're in the huge underground chamber with a bunch of them. Collect all of the bananas in the middle of the spinning jellyfish to get the fourth puzzle piece.
Amiss Abyss Kong Letter N
The N is just above and to the right of the fourth puzzle piece.
Amiss Abyss Fifth Puzzle Piece
Collect all of the bananas above water just after grabbing the fourth puzzle piece to get the fifth.

Amiss Abyss Sixth Puzzle Piece
Head right after the second checkpoint and bounce off the helmet penguin's head, grab it, then head back left and chuck it at the sack. This will release a bunch of bananas. Grab them quickly and the sixth puzzle piece is yours.

Amiss Abyss Seventh Puzzle Piece
Right after grabbing the sixth puzzle piece, dive into the water and you'll see a tiny air pocket to your left with the puzzle piece inside.
Amiss Abyss Eighth Puzzle Piece
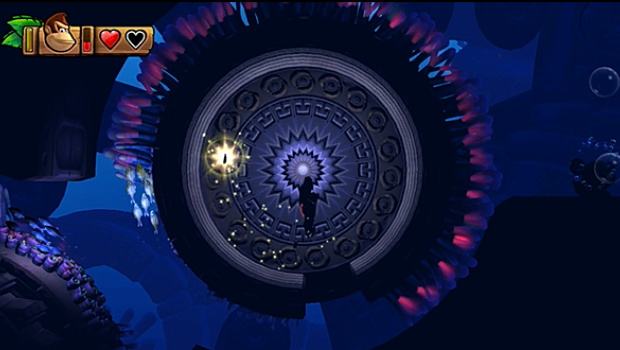
During the section where you have to follow fish around the dangerous underwater foliage (we don't know what else to call it!) follow the fish almost around the entire circumference of the second circle, and swim up at the base to find a secret area. Grab all of the bananas to get the eighth puzzle piece.
Amiss Abyss Kong Letter G
The final KONG letter is right in your path during the section where you have to swim quickly past electric seaweed closing in on you.
Amiss Abyss Ninth Puzzle Piece
At the end of the level, you'll spot a piece of wood just to the right of the exit barrel. Smash it to enter a secret area. Grab all bananas before the timer runs out to get the final puzzle piece.
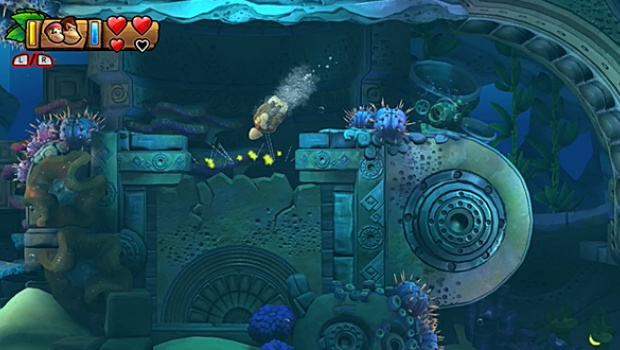
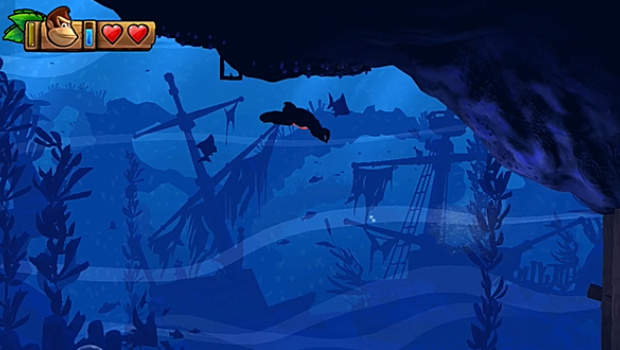
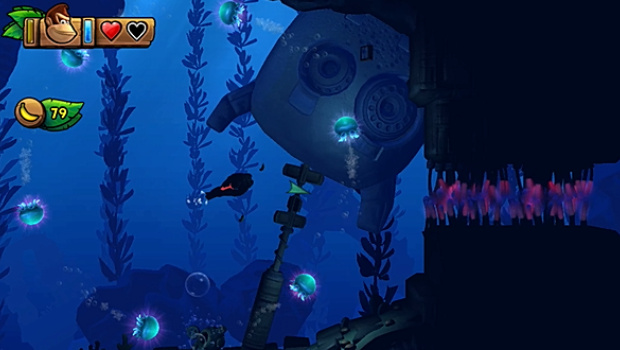
Irate Eight Walkthrough - Puzzle Pieces And Kong Letters
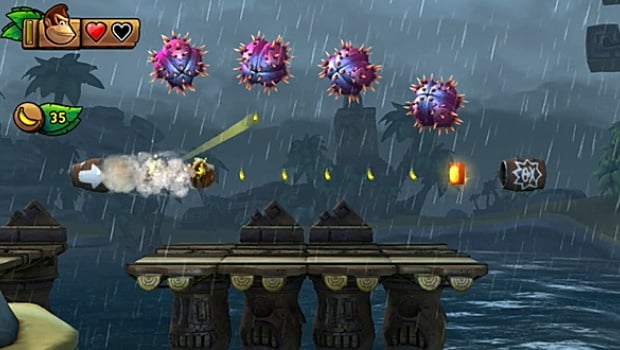
Irate Eight First Puzzle Piece
Climb up the vine at the beginning of the level and jump right to find a secret area. Grab all of the bananas to get the first puzzle piece.

Irate Eight Second Puzzle Piece
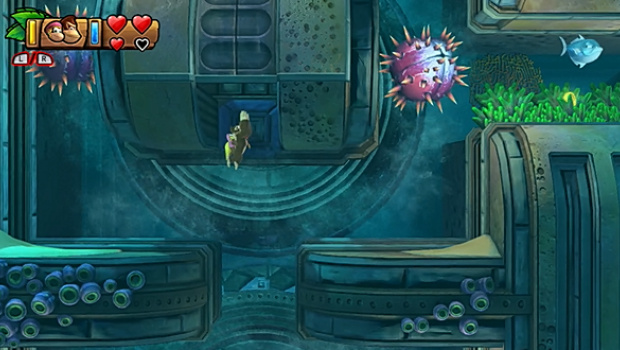
Dive into the water and swim to the right, grabbing the Dixie barrel along the way. You'll see a bunch of mines blocking your path. Swim close to trigger them, then avoid the shrapnel that flies out. Swim up through the hole just above where they were and grab all bananas to get the second puzzle piece.

Irate Eight Kong Letter K
The first KONG letter is in between two rotating mines. It's easier to swim close and let them blow up first before getting it, but avoid the shrapnel.
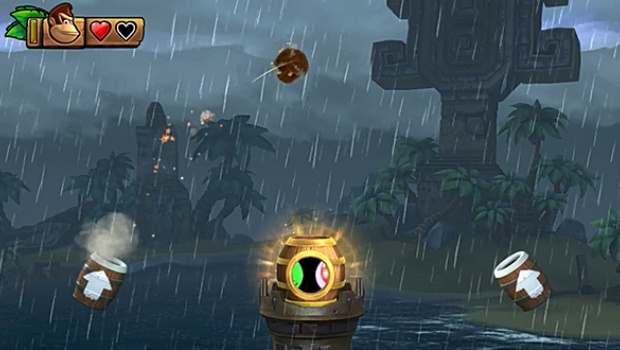
Irate Eight Third Puzzle Piece
During the chase sequence with the massive octopus, there's a secret area with the puzzle piece inside. Once you break the chain, swim immediately right and you'll find it – grab the puzzle piece and get out of there.
Irate Eight Kong Letter O
Just after you escape the octopus for the first time, you'll see the O between two barrels. Blast at the right moment to grab it.

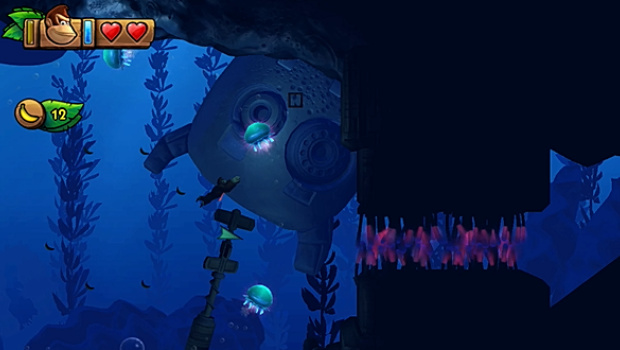
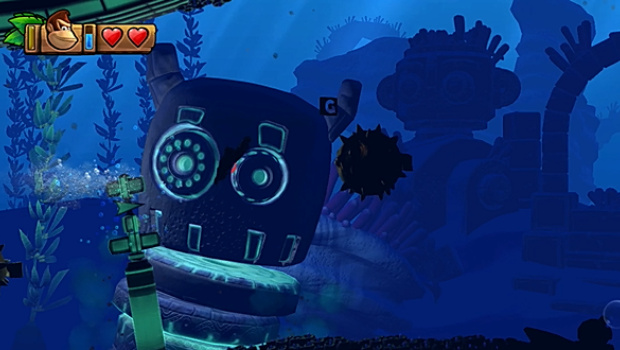
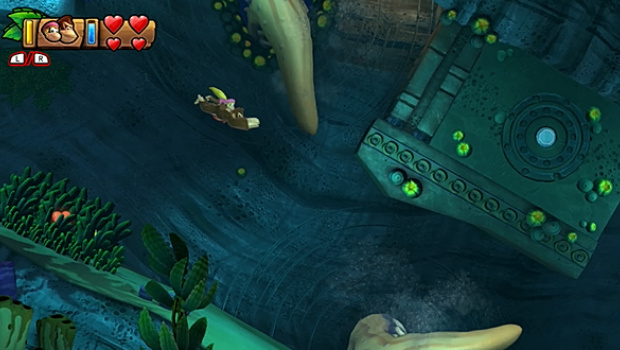
Irate Eight Fourth Puzzle Piece
Shortly after the first checkpoint, swim past a few tentacles until you see one periodically whacking at a wall. Look up and to its right and you should see an entrance to a secret area. Swim inside, grab all bananas within 30 seconds, and you'll get the puzzle piece.
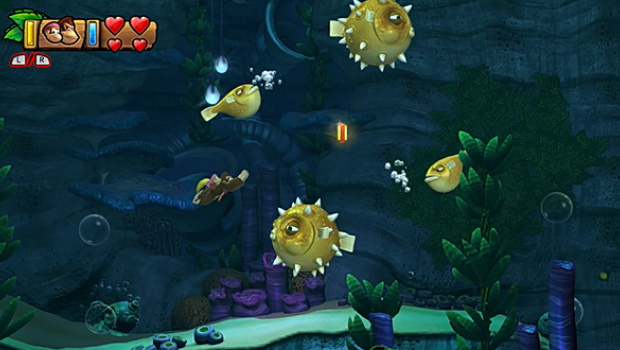
Irate Eight Kong Letter N
Shortly after the first checkpoint, you'll see the N in the middle of a bunch of circling pufferfish.
Irate Eight Kong Letter G
During the final octopus chase section, you'll see the G on your way upwards. Just grab it.

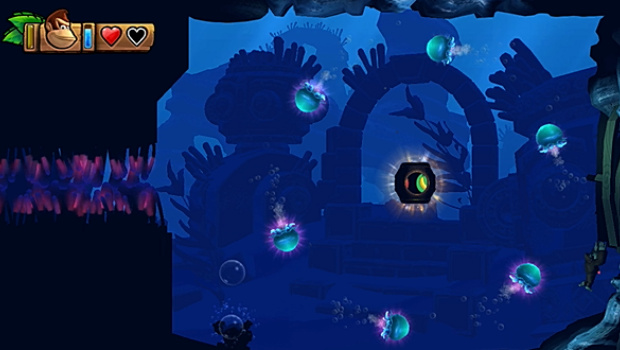
Irate Eight Fifth Puzzle Piece
Another chase sequence! Again, the puzzle piece is in a secret area, but this time it's infinitely harder to reach. You'll reach a stage where a bunch of tentacles periodically try to attack you from the right. Swim above them and to the right to reach the secret area with the puzzle piece. Be quick!
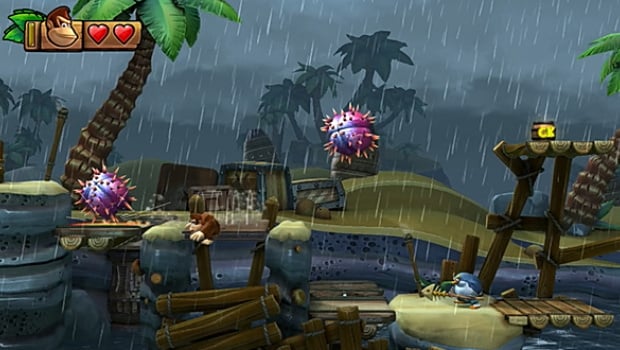
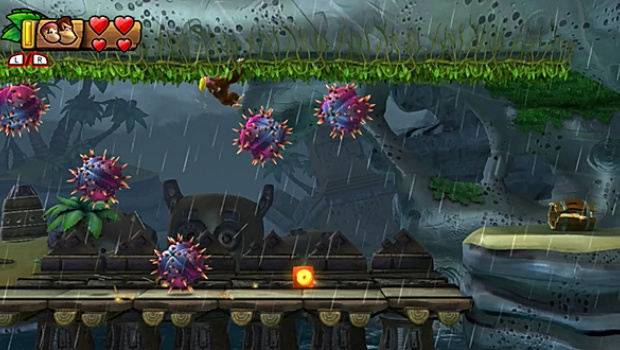
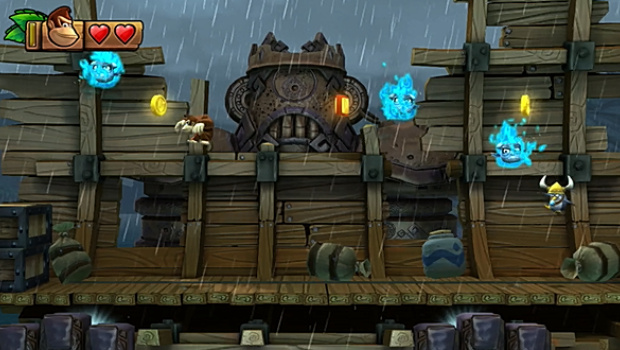
Sea Stack Attack Walkthrough - Puzzle Pieces And Kong Letters
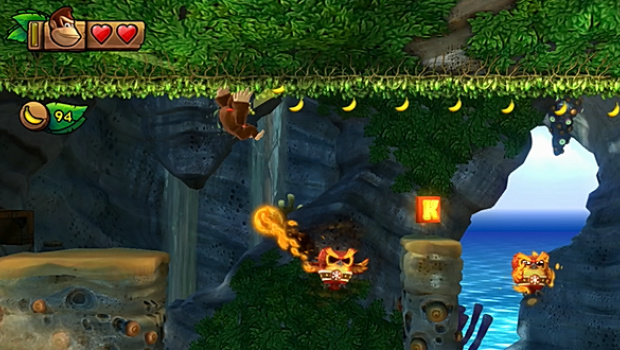
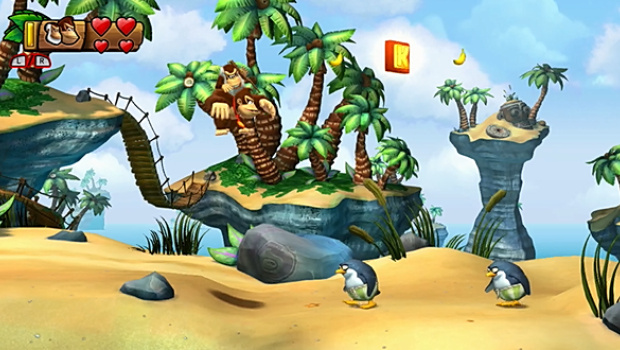
Sea Stack Attack Kong Letter K
Progress through the level until you reach a grassy ceiling above two flaming owls. Jump up and grab it, then swing your way across, and drop onto the platform with the K on it. Now, you'll have to roll jump or bop off the fire owl to get off this platform.
Sea Stack Attack First Puzzle Piece
Right after you grab the K, bounce left off the archer penguin to land in a secret area. Grab all of the bananas before the timer runs out to get the first puzzle piece.
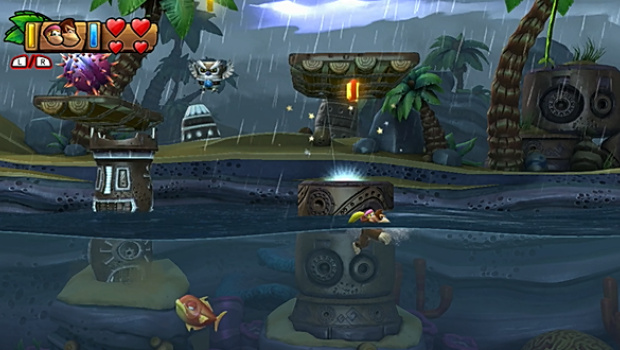
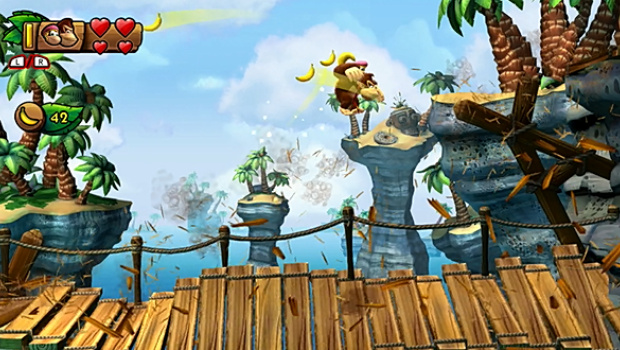
Sea Stack Attack Second Puzzle Piece
Pass the first checkpoint and you should see a root beneath the swinging spikey thing. Pull it up to get this puzzle piece.
Sea Stack Attack Kong Letter O
After grabbing the second puzzle piece you'll find the O. Wait until the platform has lowered then roll off and jump to grab this KONG letter with ease.
Sea Stack Attack Third Puzzle Piece
Shortly after grabbing the first puzzle piece, grab a melon bomb and chuck it up and to the left to break a wooden crate. The second puzzle piece is inside.

Sea Stack Attack Kong Letter N
The next KONG letter is located just after the third puzzle piece. Jump across the precarious platforms and bounce off a fish arrow to grab it.
Sea Stack Attack Fourth Puzzle Piece
Shortly after grabbing the N, you'll kick off a barrel cannon sequence. Right at the beginning, you'll see four coins rotating. Grab all of them by blasting back and forth to get the fourth puzzle piece.

Sea Stack Attack Fifth Puzzle Piece
After the fourth puzzle piece, you'll reach a checkpoint. Head right and grab either Cranky or Dixie and jump up the platforms to land on the topmost left one. You'll enter a secret area, and have to grab all 30 bananas before the timer runs out to get the fifth puzzle piece.
Sea Stack Attack Kong Letter G
Grab puzzle piece five and then head right. The G is behind the spikey board, so wait for it to get on the right side and grab the G quickly. You can duck under it to make this easier.
Sea Stack Attack Sixth Puzzle Piece
Grab the G and jump right and chuck a melon bomb at the two boxes to your right. Destroy them both to get the sixth puzzle piece.

Sea Stack Attack Seventh Puzzle Piece
Right at the end of the level, when you have to stomp on the boxes to enter the exit barrel, stomp on the two right boxes to get the final puzzle piece.
Current Capers Walkthrough - Puzzle Pieces And Kong Letters
Current Capers First Puzzle Piece
Dive into the water, grabbing all of the bananas on the way to get the first puzzle piece. Nice and easy.

Current Capers Second Puzzle Piece
Head further into the level until you reach a room with a gear and a bunch of purple spikey things. Attack the gear, then collect all of the bananas that appear to get the second puzzle piece.

Current Capers Kong Letter K
After the second puzzle piece, you'll find the first KONG letter in a room full of spikey purple tail things. If you have Cranky, he can whack them to get rid of them.
Current Capers Third Puzzle Piece
After the first checkpoint, backtrack with any buddy to grab a puzzle piece inside a chest to your left.
Current Capers Fourth Puzzle Piece
Grab the third piece and head right, smashing back into the water via a barrel cannon. You'll reach a section with purple spikey balls orbiting a few rooms. Head through the first and then swim straight up through the block in the second. Grab all of the bananas here to get the fourth puzzle piece.
Current Capers Kong Letter O
The O is in the room right after you get the fourth puzzle piece. You may need to swim around the entire room first to get it.
Current Capers Fifth Puzzle Piece
After the second checkpoint, head right and then straight up to find a secret room with 30 bananas to collect to get the final puzzle piece. If you pass a purple spikey tail thing, you've gone too far.

Current Capers Kong Letter N
After grabbing the final puzzle piece, head inside the room with the spikey tails and you'll find the N in the centre of it. Use Cranky's cane if you can to smash them, making this easier.

Current Capers Kong Letter G
Head into the next room and you'll have to avoid a bunch of spikes trying to murder you. Grab the G along the way.
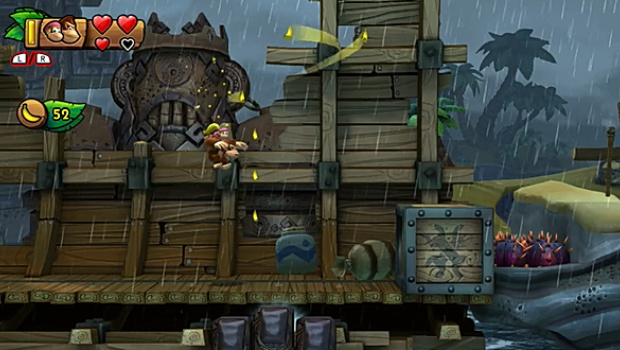
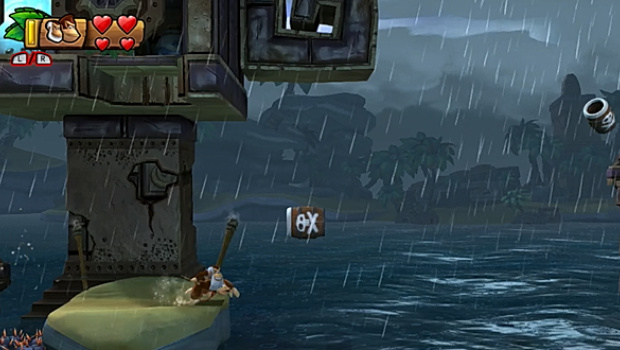
Rockin' Relics Walkthrough - Puzzle Pieces And Kong Letters
Rockin' Relics First Puzzle Piece
Jump over the platforms and sharks and stuff and over the spikey ball thing. On the platform just to the right of it, stomp to enter a secret area. Grab all of the bananas to get the next puzzle piece.
Rockin' Relics Kong Letter K
After grabbing the first puzzle piece, you'll see the K just above the water to your right. Dive in and then jump out of the water to get it.
Rockin' Relics Second Puzzle Piece
Grab all of the bananas in the water just after the K to get the second puzzle piece.
Rockin' Relics Third Puzzle Piece
Grab all of the bananas on the bouncing ship to get the third piece.
Rockin' Relics Fourth Puzzle Piece
After grabbing the O, dive into the water and smash through the floor in the centre to find a secret area. Grab all of the bananas to get the fourth puzzle piece.

Rockin' Relics Kong Letter O
After grabbing the third puzzle piece, you'll see the O underneath some spikey balls. It might be easier to grab this one from the water.
Rockin' Relics Fifth Puzzle Piece
Climb past the spikey balls and dive into the water. There's a barrel under the pier, and you can fling yourself into a secret area. Grab all of the bananas to get the fifth puzzle piece.
Rockin' Relics Sixth Puzzle Piece
Back in the water, again grab all of the bananas surrounding the suction (while avoiding the purple spikey creatures) to get the sixth puzzle piece.
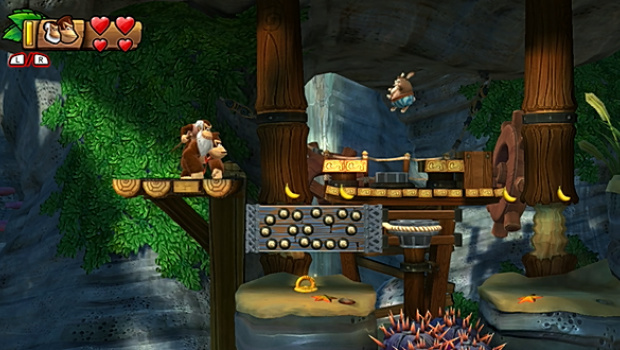
Rockin' Relics Kong Letter N
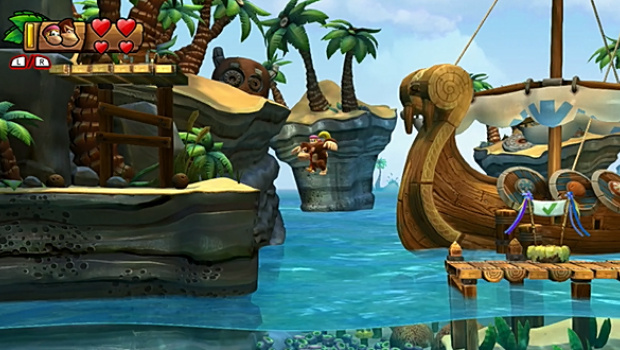
Pass the second checkpoint and you'll see the N on a rocking ship. Grab it while avoiding the owls.
Rockin' Relics Seventh Puzzle Piece
Grab all of the bananas on the seesaw wood panels just after grabbing the N to get the next puzzle piece. There's a timer so do it quickly.
Rockin' Relics Eighth Puzzle Piece
Shortly after the seventh puzzle piece, you'll find a barrel cannon. Don't jump into it and instead dive into the water to get the eighth puzzle piece.
Rockin' Relics Kong Letter G
You'll grab the G automatically while firing yourself out of a barrel cannon just after grabbing the eighth puzzle piece.
Rockin' Relics Ninth Puzzle Piece
At the end of the level, blast out of the barrel cannon when the exit barrel is lower to fire yourself to the adjacent cannon. Fire yourself through two more to get the next puzzle piece.
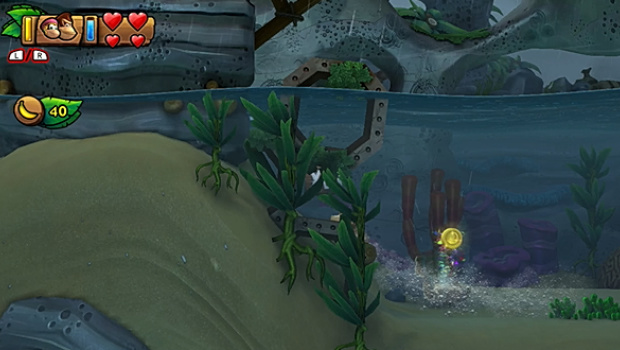
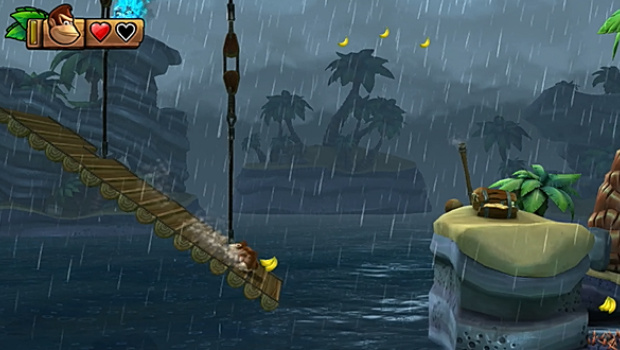
Shoal Atol Walkthrough - Puzzle Pieces And Kong Letters
Shoal Atol First Puzzle Piece
You'll need Dixie to get the first puzzle piece. Head towards the bridge, but don't be fooled by the banana bunch. Roll and jump into the centre of the bridge and then immediately jump off and use Dixie's helicopter hair to reach a platform on your right. Stomp on the chest, grab all of the bananas, and the first puzzle piece is yours.
Shoal Atol Kong Letter K
The K is right at the beginning of the level. You'll see it above a row of penguins, so just bop off their heads to get it.
Shoal Atol Kong Letter O
Once in the water, pass the red chest and head in the upmost passage. The O is waiting patiently for you in this room.
Shoal Atol Second Puzzle Piece
After grabbing the O, head up and left out of the room and then swim through the upper left of the second room (grab the red key along the way!) to enter a secret area. Grab all bananas within 30 seconds to get this puzzle piece.
Shoal Atol Third Puzzle Piece
After grabbing the second puzzle piece, you'll end up in the beginning area. Head down the lower right passage this time and through the next corridor. In this room, look just below you to the right and you'll see a chest. Smash it to get the third puzzle piece.

Shoal Atol Kong Letter N
Grab the third puzzle piece and leave the room on the bottom right. Head down in this room and you'll see an electric eel thing by the N. Kill it and grab it.
Shoal Atol Fourth Puzzle Piece
After grabbing the N, head left into a new room and you'll see three discs covering up holes in the ceiling of the next room. Ignore the first two and grab all of the bananas by the third one to open up a secret passage. Head inside and then into the next room after that. Swim downwards, and grab all of the bananas along the way to get the fourth puzzle piece.
Shoal Atol Kong Letter G
After grabbing the fourth puzzle piece, you'll end up at the beginning once again. Swim right past the red chest and into the lower right path. Here, open the yellow chest and grab the purple key, then open the door on your right. You'll get sucked through a corridor, and the G is inside. Grab it on the way.
Shoal Atol Fifth Puzzle Piece
At the end of the level, ignore the exit barrel and swim underneath it to the right. Smash the bottom right chest to get the final puzzle piece.


Comments 0
Wow, no comments yet... why not be the first?
Leave A Comment
Hold on there, you need to login to post a comment...