Puzzle pieces and KONG letters are the big collectibles in Donkey Kong Country: Tropical Freeze, provided you're not a total masochist and feel the need to run time trials or aim for 200% completion via hard mode. We really can't help you with that.
But we can help you collect all of the lovely puzzle pieces and KONG letters. While they're not easy to collect by any means, they are achievable. You also unlock some excellent extra content for putting in the effort, so we do recommend it.
Here, we'll cover how to find every single puzzle piece and KONG letter in Lost Mangroves, the first island in Donkey Kong Country: Tropical Freeze. You can also follow the links below for walkthroughs of the other islands. Enjoy!
Lost Mangroves | Autumn Heights | Bright Savannah | Sea Breeze Cove | Juicy Jungle | Donkey Kong Island | Secret Seclusion
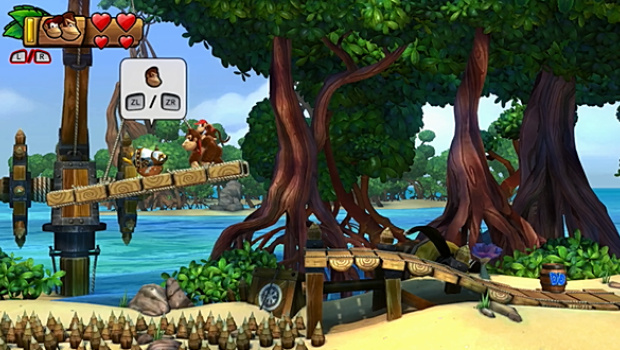
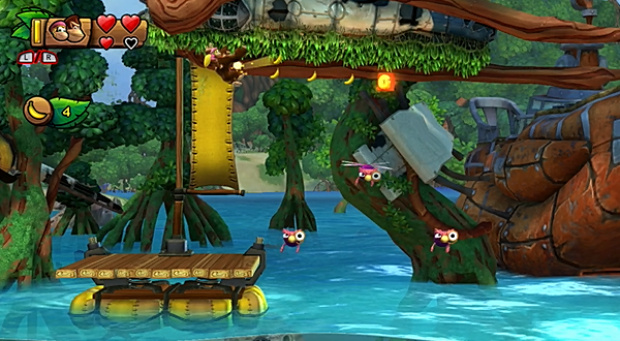
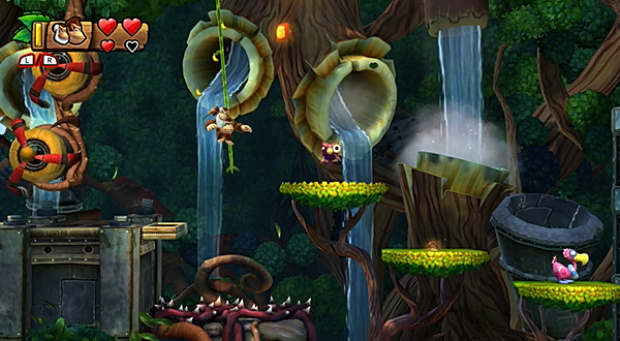
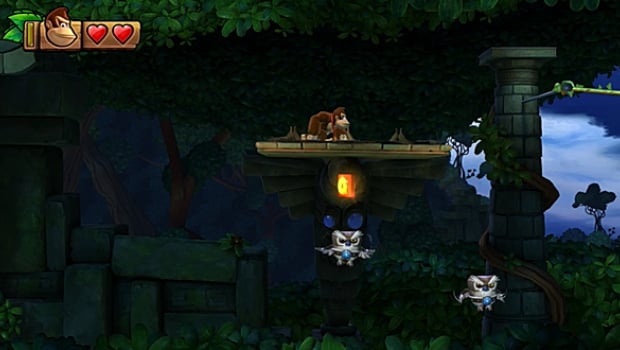
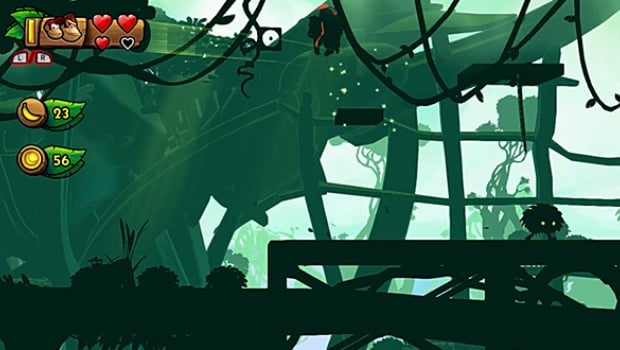
Mangrove Cove Walkthrough - Puzzle Pieces And Kong Letters
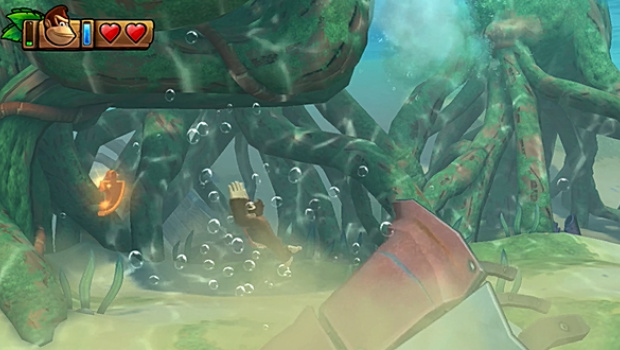
Mangrove Cove First Puzzle Piece
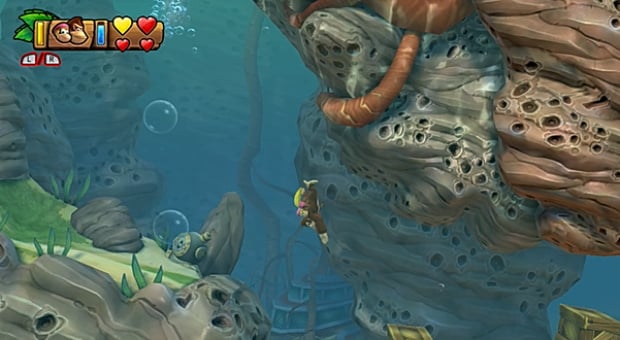
Head right and dive into the water at the beginning of the level, then turn immediately left and swim into the plane debris to get the first puzzle piece.
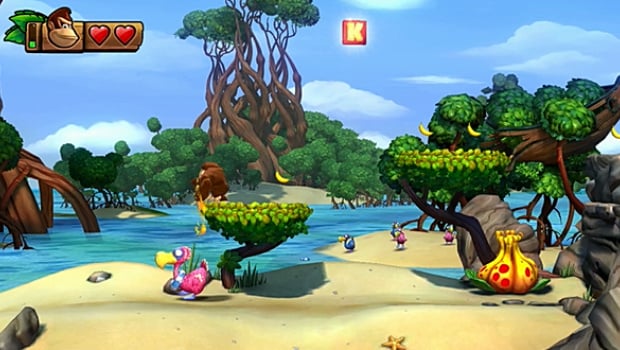
Mangrove Cove Kong Letter K
Exit the first water section and head right. You'll found two leafy platforms with the K between them. Simply jump to the highest on the right, then jump left and grab the K.
Mangrove Cove Second Puzzle Piece
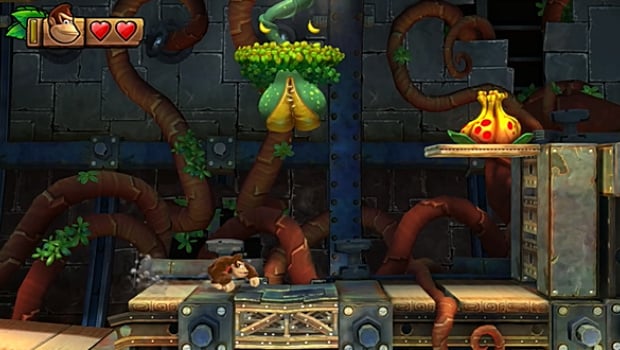
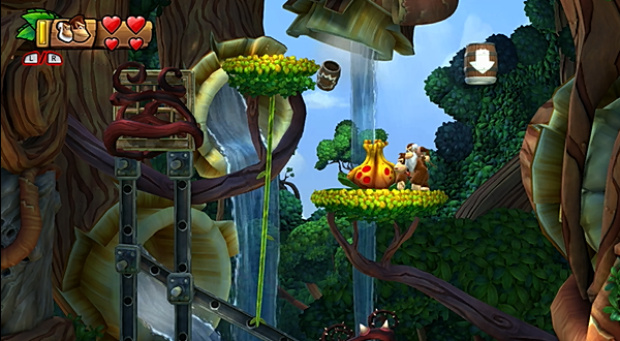
Right after the first Kong letter, don't break the stone blocks beneath you. Instead, jump on the grasshopper's head to your right when he's at the height of his jump and land on the leafy platform above and to the right of it. Ground pound to get the puzzle piece inside of the yellow plant. You can also pass underneath it, head right, and jump on the platform above the plant trying to eat you, let it climb to its peak, then leap across to the swinging platform and get to it this way.
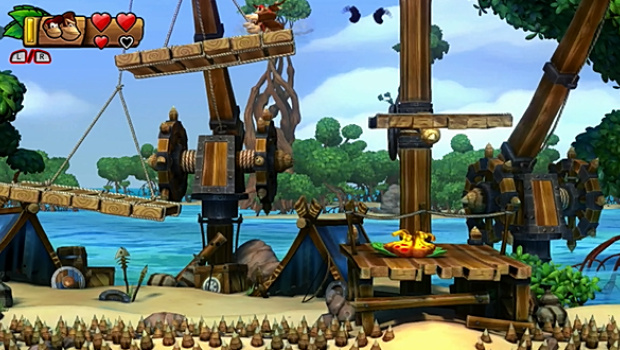
Mangrove Cove Third Puzzle Piece
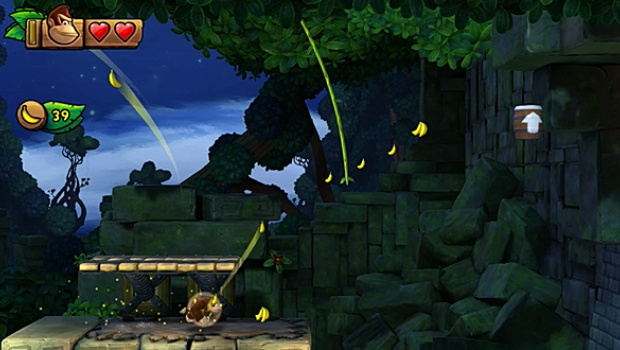
After finding the second puzzle piece, head right and use R2 to pull up the root, lowering the platform. Pull the root on the new platform to lower a second, and then pull the final root on the second platform. This will trigger a winged banana. Collect all of the bananas it leaves behind before the timer runs out to get the third puzzle piece.

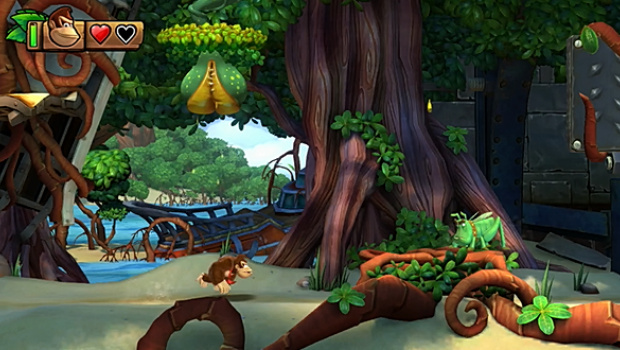
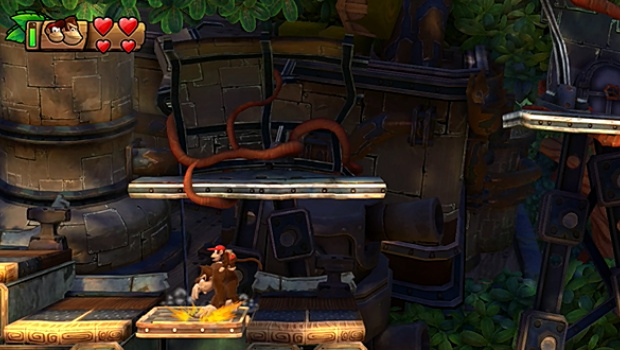
Mangrove Cove Fourth Puzzle Piece
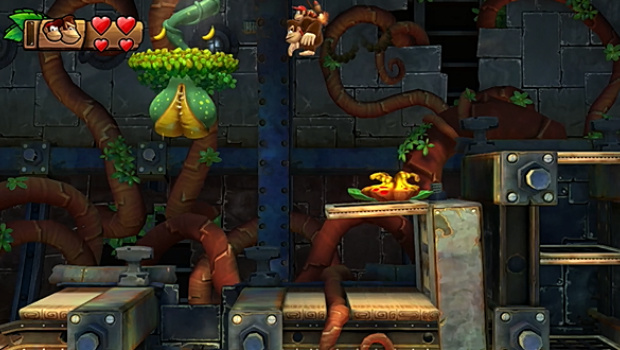
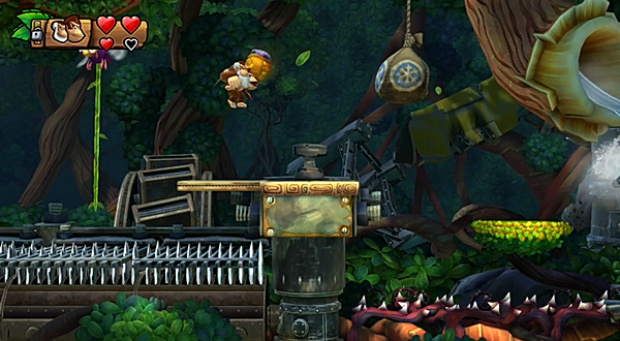
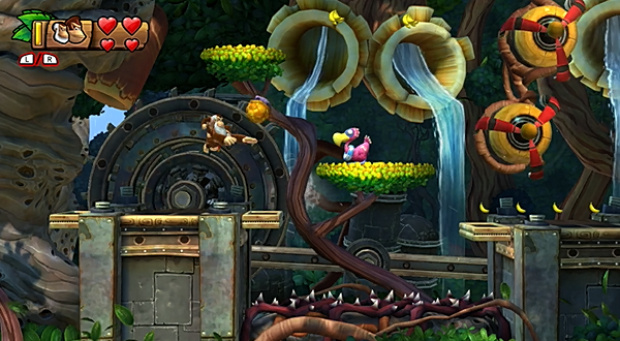
Right after the first checkpoint, pull the root to your right to enter the metal building and head inside. Here, avoid the biting plant and jump on the platform above it. Let it rise to its peak and then jump to the platform just to your left. This will reveal the fourth puzzle piece.
Mangrove Cove Fifth Puzzle Piece
You'll find another puzzle piece in a hidden section underneath the biting plant. Run underneath it to trigger the bite, then stomp the ground beneath it as it rises to reveal a hidden area. Jump up the platforms to grab the fifth puzzle piece.
Mangrove Cove Kong Letter O
Right after you collect the Diddy Kong barrel, head right and leap across the platforms floating on water. Roll and jump to the right off the second platform to collect the O, which is slightly hidden under the leafy platform above and to your right.

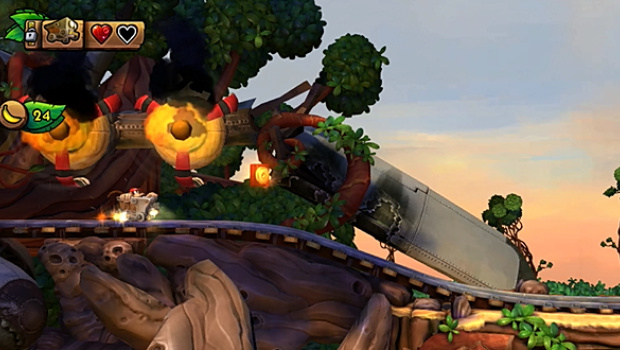
Mangrove Cove Sixth Puzzle Piece
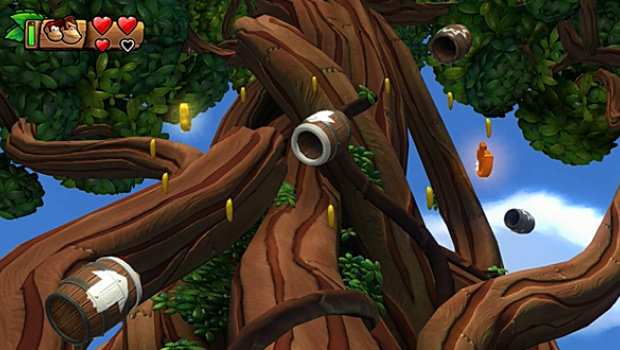
During the first barrel section, after firing yourself out of the first barrel you should see this puzzle piece spinning around the middle of two barrels. Time firing yourself out of the barrel just as it passes you to collect it. If you don't get it quite right the first time, you can try again during the next section.
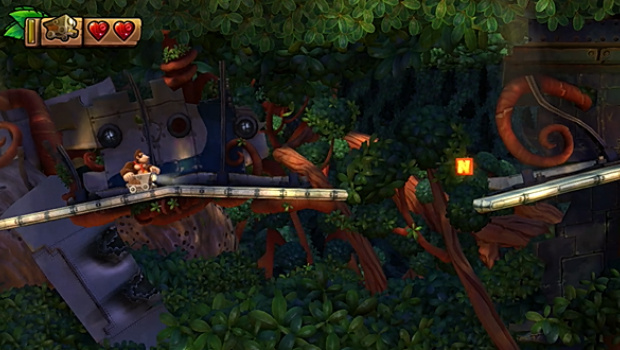
Mangrove Cove Kong Letter N
You'll find the N during the barrel section. Take the left path and time your blasts to grab it.

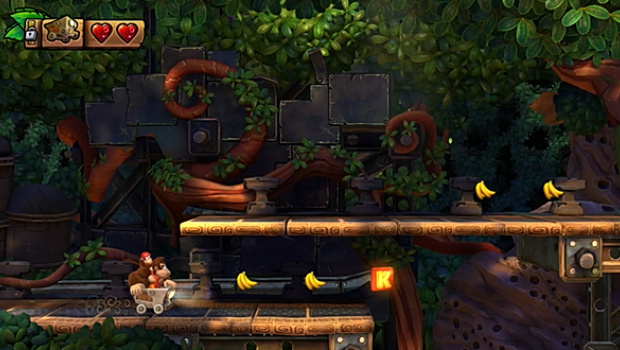
Mangrove Cove Seventh Puzzle Piece
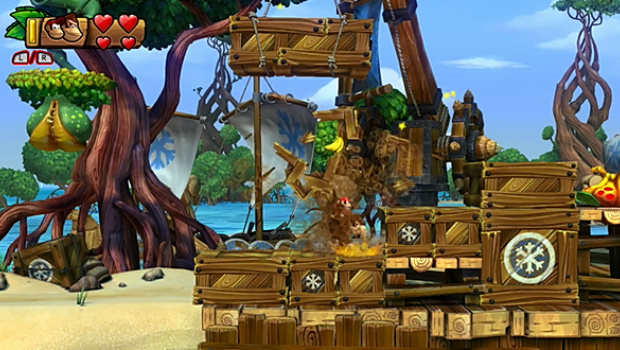
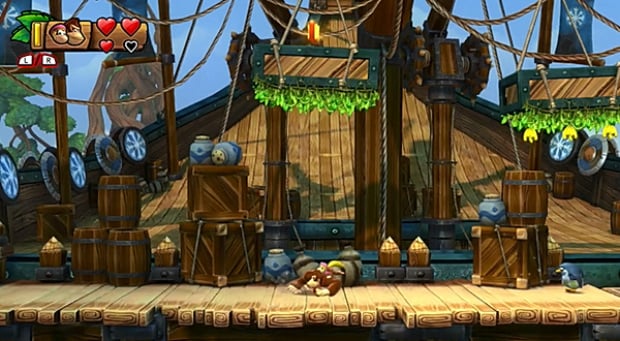
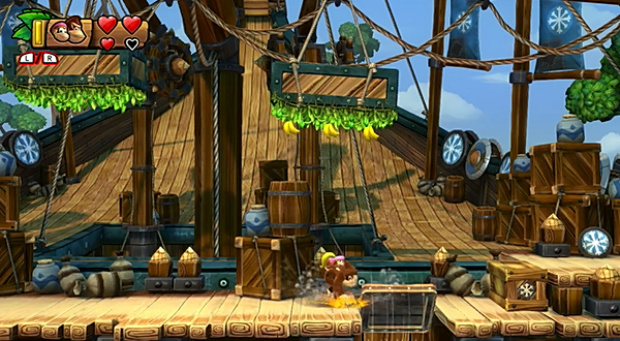
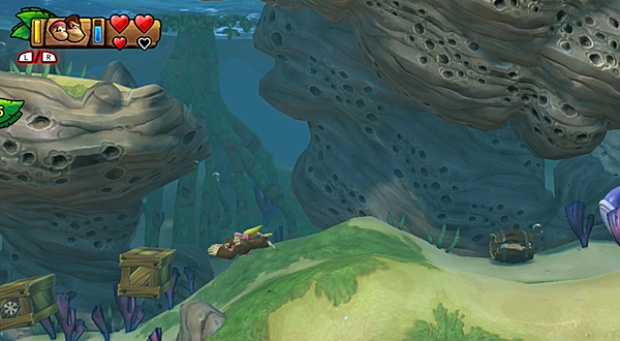
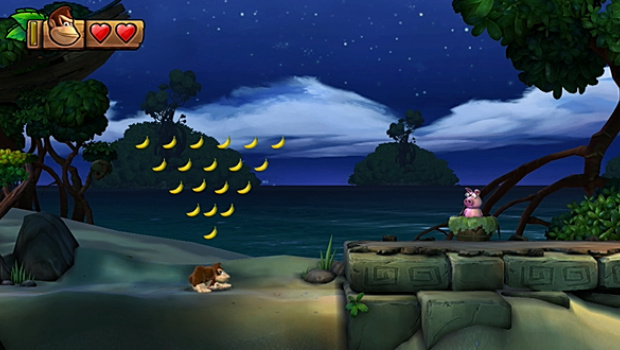
After the second checkpoint, head right past the ship and defeat the penguins. You'll come across a section with a bunch of wooden boxes to break. Break the two boxes just to the right of the yellow plant and then stomp on the ground. A collection of pigs will then start chucking bananas at you. Collect them all before any of them vanish, and they'll reward you with this puzzle piece.
Mangrove Cove Kong Letter G
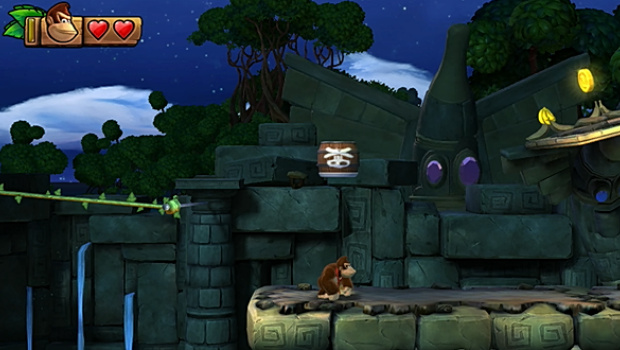
Right after you find the sixth puzzle piece, head right until you see a big red bullseye. Stun a nearby helmet enemy by jumping on its head, pick it up, and throw it at the bullseye. This will reveal a platform that the final KONG letter G is on.
Mangrove Cove Eighth Puzzle Piece
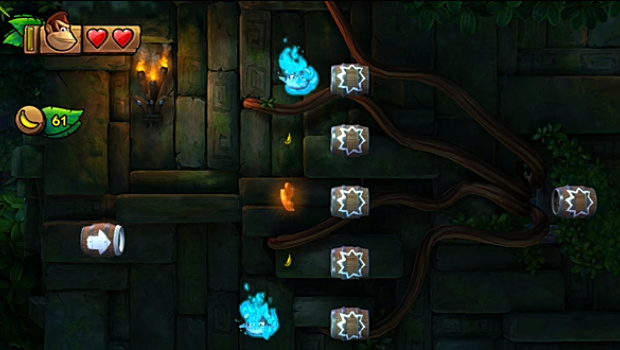
Right after grabbing the final KONG letter, jump to the highest swinging platform on your left and you should see a barrel up and to your left. Jump into it and fire yourself to a hidden section. Here, simply grab all of the bananas before the timer runs out to get the eighth puzzle piece.
Mangrove Cove Ninth Puzzle Piece
Right at the end of the level, head right instead of breaking the barrel, jump across the vines, and pull up the root to grab the final puzzle piece.
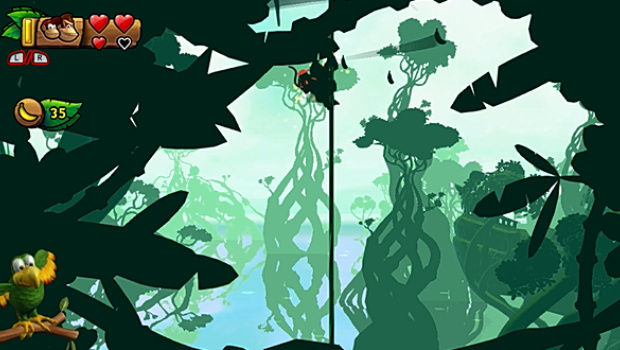
Shipwreck Shore Walkthrough - Puzzle Pieces And Kong Letters
Shipwreck Shore First Puzzle Piece
Right at the beginning of the level, turn left and break the two wooden boxes. Pull out the root beneath them to grab the first puzzle piece.

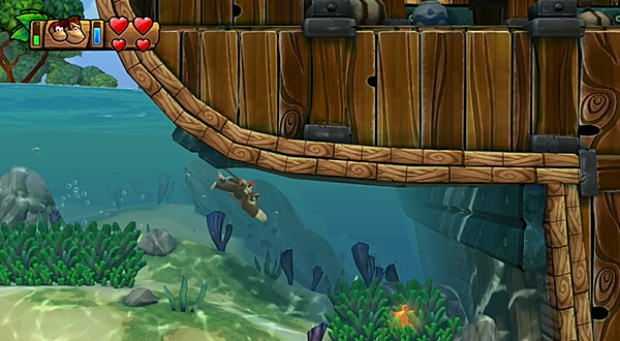
Shipwreck Shore Second Puzzle Piece
The second puzzle piece is in the water, underneath the first ship you encounter.
Shipwreck Shore Third Puzzle Piece
Stomp on the thin platform on the floor of the pirate ship to fall into a hidden area. Grab all of the bananas before the timer runs out to grab the third puzzle piece.
Shipwreck Shore Kong Letter K
The first KONG letter is on a swinging platform above the first ship. Head right until you're about to leave the ship, and jump across the two swinging platforms on your left to grab the K.
Shipwreck Shore Kong Letter O
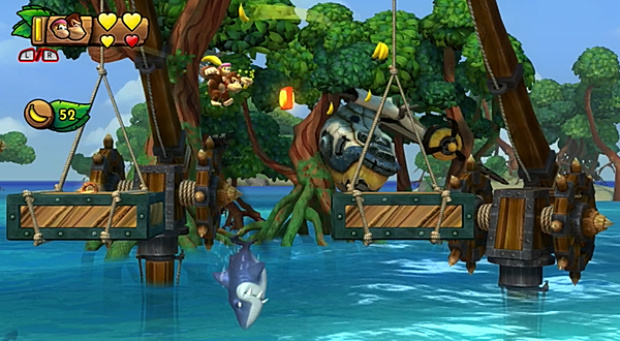
Then, leave the pirate ship and jump across the floating platforms (avoiding the sharks!) and grab the O along the way.
Shipwreck Shore Fourth Puzzle Piece
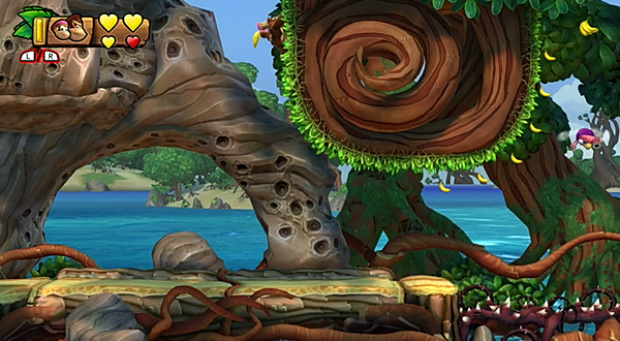
After the first checkpoint, head right until you see vines above you. Grab onto them and head left then jump across to the rock face. You'll find a secret area containing a puzzle piece.
Shipwreck Shore Fifth Puzzle Piece
Head right and break the yellow plant on top of the vines to reveal a bag. Drop into the water, avoid the turtles, and swim to your right. Jump on the helmet penguin to stun him, then grab and throw him at the bag to reveal the fifth puzzle piece.

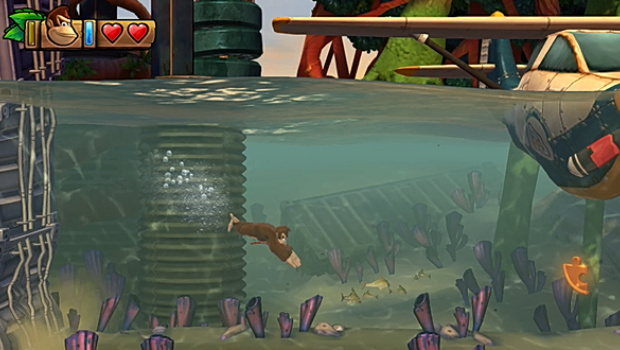
Shipwreck Shore Sixth Puzzle Piece
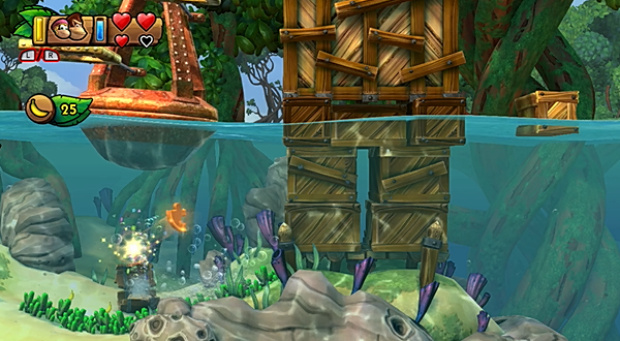
In the underwater section, break the first piece of wood then head below and to your left. Break the second, then collect all of the bananas to get the sixth puzzle piece.
Shipwreck Shore Seventh Puzzle Piece
Head right past the Dixie Kong barrel and break the wooden boxes to reveal the seventh puzzle piece.

Shipwreck Shore Kong Letter N
Just after grabbing the seventh puzzle piece, head up and to your left to grab the N.
Shipwreck Shore Eighth Puzzle Piece
Head right after the second checkpoint and dive into the water under the shark. Swim through the grass to your right to find the eighth puzzle piece.
Shipwreck Shore Ninth Puzzle Piece
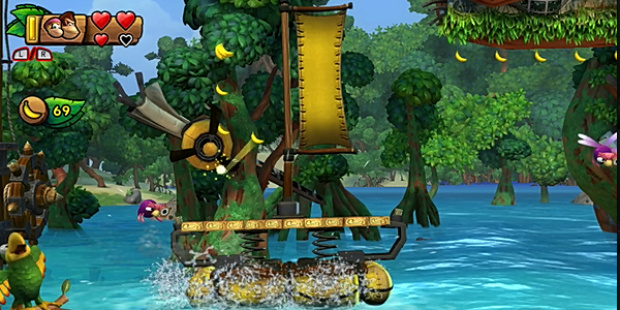
During the boat section towards the end of the level, grab all of the bananas along the way by stomping on the boat to fling yourself in the air and you'll get the final puzzle piece.
Shipwreck Shore Kong Letter G
You'll find the G shortly after the second checkpoint. Pass the grasshoppers on the small wooden boxes, and keep heading right until you see a few mosquitos. Jump on them and grab the vines above you to grab the G.
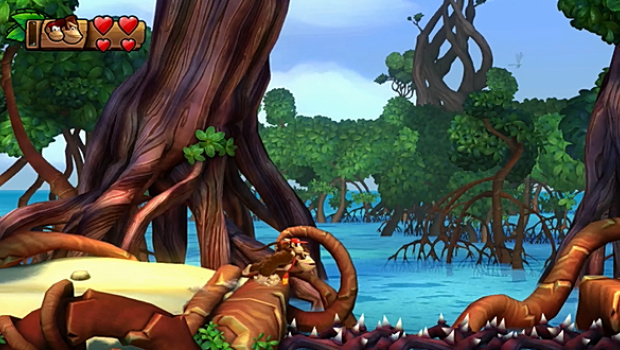
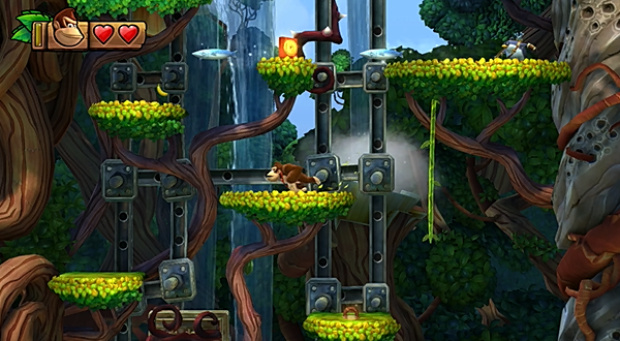
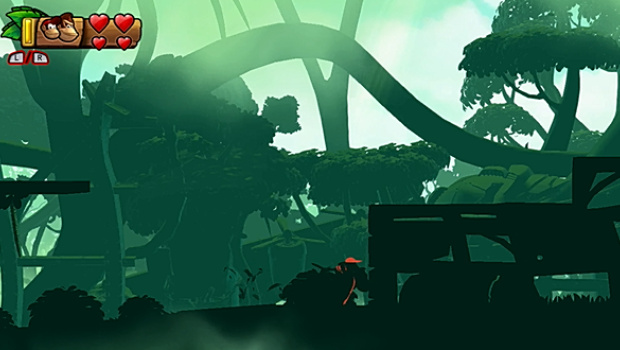
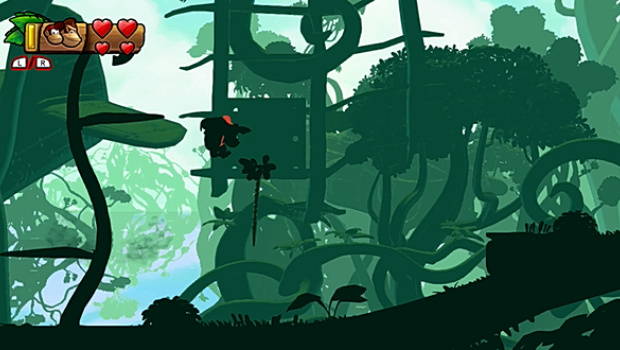
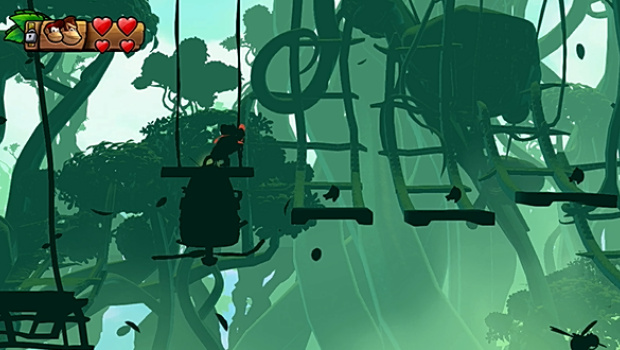
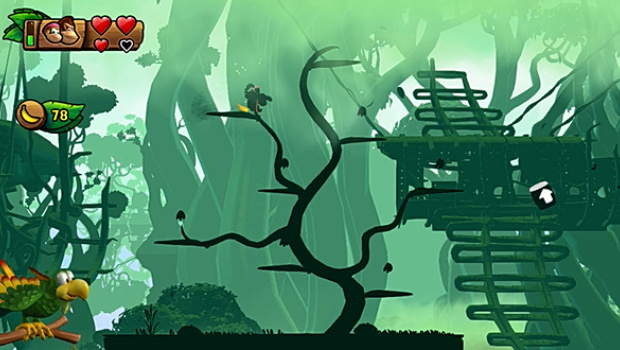
Canopy Chaos Walkthrough - Puzzle Pieces And Kong Letters
Canopy Chaos First Puzzle Piece
Jump across the two vines at the beginning of the level and drop down. Below, you should find a turtle. Jump on it to stun it then grab and throw it left to reveal a hidden area. Grab all the bananas before the timer runs out to grab the first puzzle piece.

Canopy Chaos Kong Letter K
You'll find the first KONG letter just after finding the first puzzle piece. Time your jump correctly to grab it.
Canopy Chaos Second Puzzle Piece
Shortly after grabbing Cranky Kong, defeat the fish-firing penguin and pogo on the vines to his right to grab the second puzzle piece.
Canopy Chaos Kong Letter O
The second KONG letter is on a platform just above and to the right of the first one.
Canopy Chaos Third Puzzle Piece
Right after grabbing the O you'll come across a barrel. Ignore it and jump onto the platform left, pull up the root, and you'll unlock the second puzzle piece to the left. You'll need Cranky Kong to grab it without taking damage.
Canopy Chaos Kong Letter N
You'll spot the N easily during a vine section. Time your jumps correctly to grab it while avoiding the mosquitos.

Canopy Chaos Fourth Puzzle Piece
Right after grabbing N, stun the turtle and chuck it at the bag to your right to release the third puzzle piece.
Canopy Chaos Fifth Puzzle Piece
During the section with the leafy platforms and snails, jump into the rock wall to find the fourth puzzle piece.
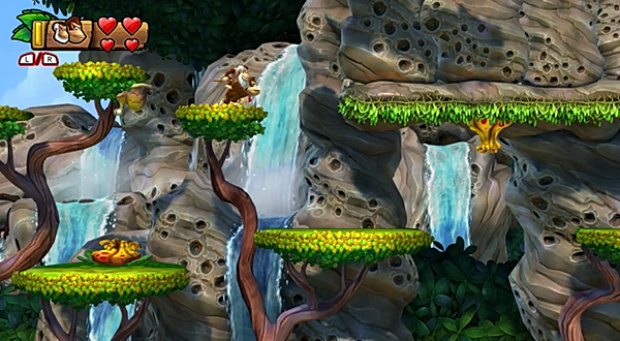
Canopy Chaos Sixth Puzzle Piece
Right after grabbing the fourth puzzle piece, jump into the next rock wall on your left to find a secret area. Collect all of the bananas within 30 seconds to grab this puzzle piece.
Canopy Chaos Kong Letter G
Grab the fifth puzzle piece, time your jump off the vine to grab the G with ease.
Canopy Chaos Seventh Puzzle Piece
Don't leave the level at the end. Instead, jump onto the wooden box to your right and use Cranky's walking stick to bounce onto the higher platform above you. You should be able to see the sixth puzzle piece to your left. Grab it.

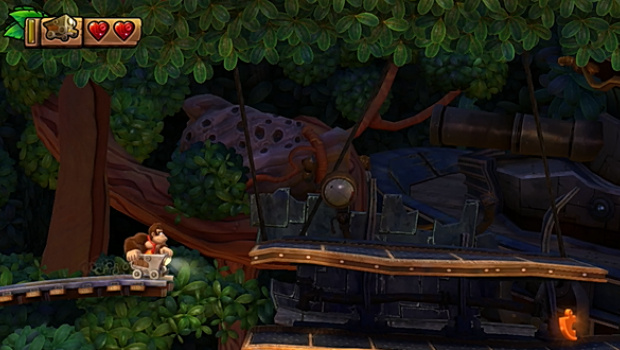
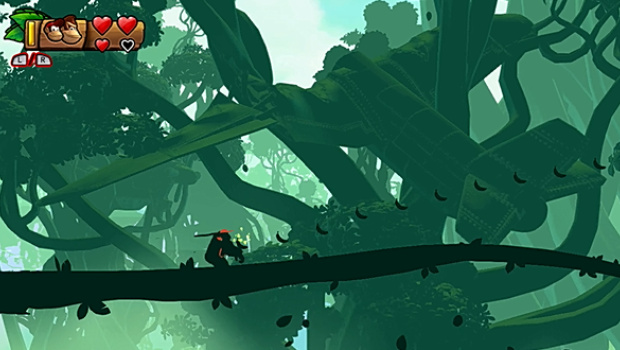
Trunk Twister Walkthrough - Puzzle Pieces And Kong Letters
Trunk Twister First Puzzle Piece
Head right at the beginning of the level and stomp on the thin platform to enter a secret area. Grab all of the bananas before the timer is up to get the first puzzle piece.
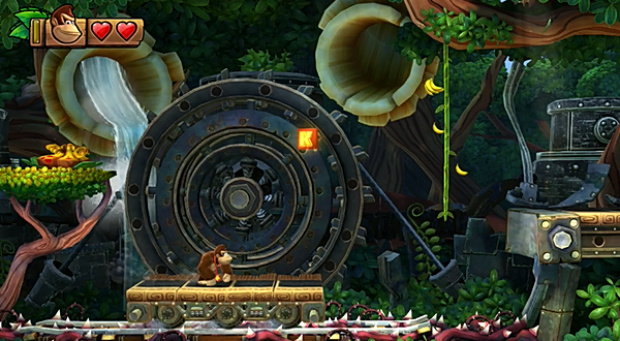
Trunk Twister Kong Letter K
The first KONG letter is right at the beginning of the mine kart section. You'll have to jump to a higher rail above you, but if you hold off until the last second, you'll grab the K.
Trunk Twister Second Puzzle Piece
The second puzzle piece requires bopping off two owl heads right after grabbing the K in the mine cart section. You have to time your jump correctly to land on the first owl's head, then jump right after bouncing on each of their heads to grab the piece.

Trunk Twister Kong Letter O
After the first checkpoint, duck under the helicopter blades and lift your head up right after escaping them to grab the O.
Trunk Twister Kong Letter N
Shortly after grabbing the O, keep an eye out beneath you for the N. The trick for this one is to fall off the platform onto it, rather than jumping.
Trunk Twister Third Puzzle Piece
After the second checkpoint, the third puzzle piece appears underneath a platform. Try to resist the urge to jump early to grab this.
Trunk Twister Kong Letter G
Right after grabbing the third puzzle piece, keep an eye out for the G above you. You have to jump on the crate and quickly jump off it to grab the G. It's tricky.

Trunk Twister Fourth Puzzle Piece
Right after you plummet down in the mine cart, duck as soon as you see propellers to automatically grab the fourth puzzle piece.

Trunk Twister Fifth Puzzle Piece
The final puzzle piece is right at the end of the level. Just dive in the water to grab it.
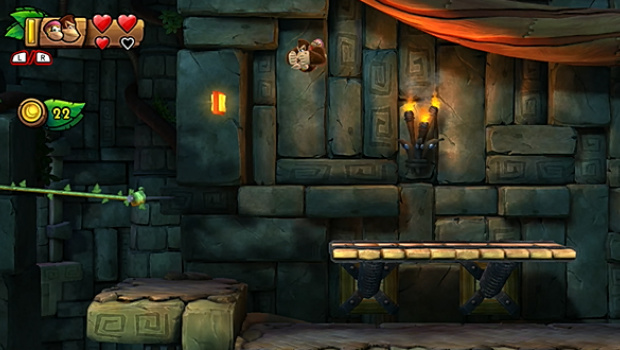
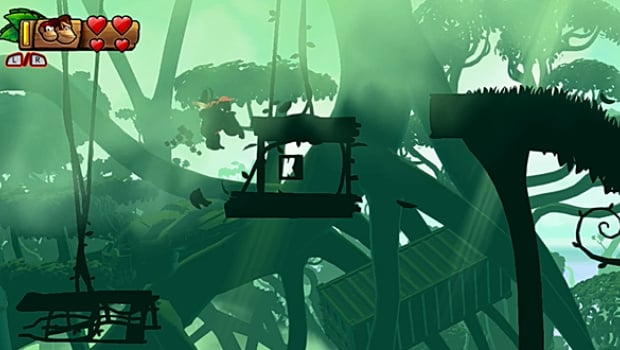
Zip-Line Shrine Walkthrough - Puzzle Pieces And Kong Letters
Zip-Line Shrine First Puzzle Piece
After you use the first zipline, back track left and stomp on the thin platform to fall into a secret area containing the first puzzle piece.

Zip-Line Shrine Kong Letter K
During the second zip-line section, jump at the right moment to collect this K letter.
Zip-Line Shrine Second Puzzle Piece
Right before you hit the first checkpoint, pull up the root underneath the hopping grasshopper to get the second puzzle piece.
Zip-Line Shrine Kong Letter O
Shortly after the first checkpoint, jump to the moving platforms and climb to the top. Leap over the mosquito on your left to grab the O.

Zip-Line Shrine Kong Letter N
Keep travelling right after O until you reach a zipline. Ride the entire length of it to grab the O along the way.
Zip-Line Shrine Third Puzzle Piece
Right after you grab the N, pull up the root beneath you and jump in the cannon to enter a secret area. Grab all of the bananas here to get the next puzzle piece.
Zip-Line Shrine Fourth Puzzle Piece
Right before the second checkpoint, you'll find a barrel section. Keep your eyes peeled for a puzzle piece and time your blast correctly to grab it.
Zip-Line Shrine Kong Letter G
Right after the second checkpoint, jump into the barrel and time your blast correctly to land on the platform. Then head right and rather than jump on the zipline, drop down and jump left across the owls to grab the G.
Zip-Line Shrine Fifth Puzzle Piece
Right after you grab G, pull the root underneath the bouncing platform to reveal three banana bunches. Grab them all to reveal the final puzzle piece.
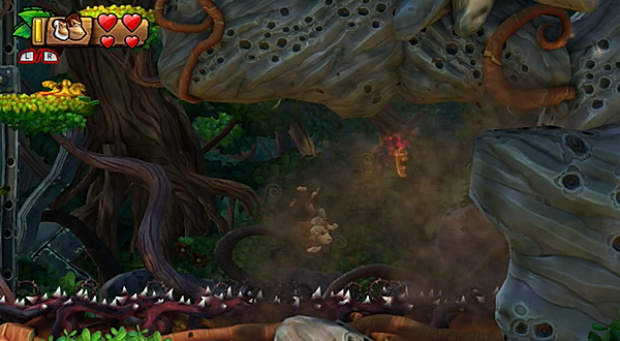
Busted Bayou Walkthrough - Puzzle Pieces And Kong Letters
Busted Bayou First Puzzle Piece
Turn left right at the beginning of the level and enter the cargo container to nab the first puzzle piece.

Busted Bayou Second Puzzle Piece
After avoiding the first mosquito, drop down to the platform below to reveal a hidden area. Stomp the yellow plant to grab the second puzzle piece.
Busted Bayou Kong Letter K
Right after grabbing the second puzzle piece, jump onto the floating platform to your right and let it fall. Then, leap across to the second floating platform to your right to grab the K.
Busted Bayou Third Puzzle Piece
After the first checkpoint, pull up the root to create two platforms leading to a swinging vine. Swing off it to a secret area containing the third puzzle piece.

Busted Bayou Kong Letter O
Shortly after the first checkpoint, keep an eye above you for the O. When you spot it, head right a bit and jump and grab the swinging vine. It will pull down a couple platforms that will take you right to the O.
Busted Bayou Fourth Puzzle Piece
Right after grabbing the O, head right a bit and defeat the grasshopper standing on a pick of rocks. Smash them, then pull up the root beneath it. This will trigger a flying banana. Grab everything it drops to nab the fourth puzzle piece.

Busted Bayou Fifth Puzzle Piece
While sliding down the really long vine, pay attention to the trees. At one point, they'll make the shape of a star. Position DK inside it to trigger a bunch of bananas. Collect them all to grab this puzzle piece.
Busted Bayou Sixth Puzzle Piece
After grabbing the third puzzle piece, drop below and pull up another root, basically breaking the level. Slide down the vine and at the bottom, head left and jump and grab another vine. This will trigger a bunch of platforms leading to the fourth puzzle piece.

Busted Bayou Seventh Puzzle Piece
Shortly after the second checkpoint, pull up yet another root on your right, triggering a couple of platforms. You won't be able to reach the puzzle piece until you jump on the vine to your right though, triggering a third platform.
Busted Bayou Kong Letter N
Just after the fifth puzzle piece, pull up ANOTHER root to trigger a ramp leading to the N. Be quick though, as it does fall down.
Busted Bayou Eighth Puzzle Piece
Right after grabbing the N, pull up YET ANOTHER root to trigger a bunch of bananas. Grab them all quickly to get the sixth puzzle piece. This section is a total breeze if you have a partner, as you can roll indefinitely to collect them all.
Busted Bayou Ninth Puzzle Piece
The final puzzle piece is right at the end of the level. You'll see a plug on the ground. Pull it up, and grab all of the bananas on the trees before they disappear to grab it.
Busted Bayou Kong Letter G
The G is located right at the end of the level. Grab the vine and leap across the platforms to grab it.


Comments 0
Wow, no comments yet... why not be the first?
Leave A Comment
Hold on there, you need to login to post a comment...