
Puzzle pieces and KONG letters are the big collectibles in Donkey Kong Country: Tropical Freeze, provided you're not a total masochist and feel the need to run time trials or aim for 200% completion via hard mode. We really can't help you with that.
But we can help you collect all of the lovely puzzle pieces and KONG letters. While they're not easy to collect by any means, they are achievable. You also unlock some excellent extra content for putting in the effort, so we do recommend it.
Here, we'll cover how to find every single puzzle piece and KONG letter in Juicy Jungle, the fifth island in Donkey Kong Country: Tropical Freeze. You can also follow the links below for walkthroughs of the other islands. Enjoy!
Lost Mangroves | Autumn Heights | Bright Savannah | Sea Breeze Cove | Juicy Jungle | Donkey Kong Island | Secret Seclusion
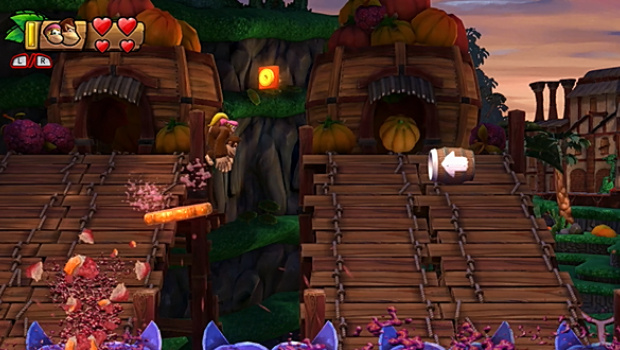
Harvest Hazards Walkthrough - Puzzle Pieces And Kong Letters
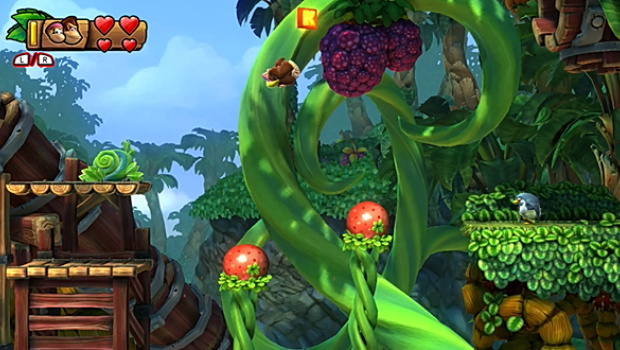
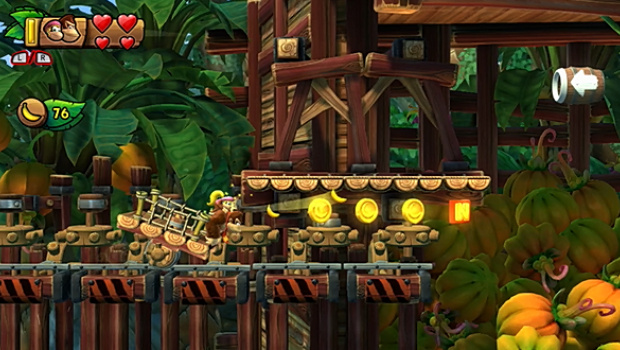
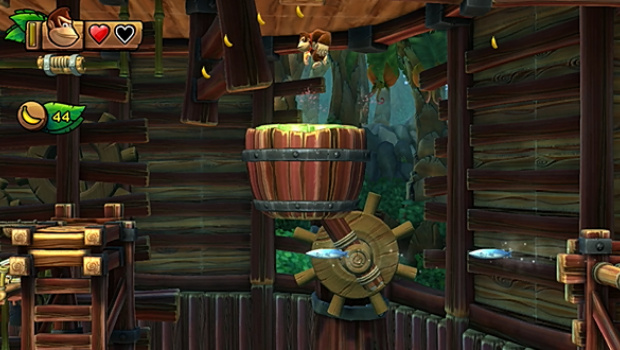
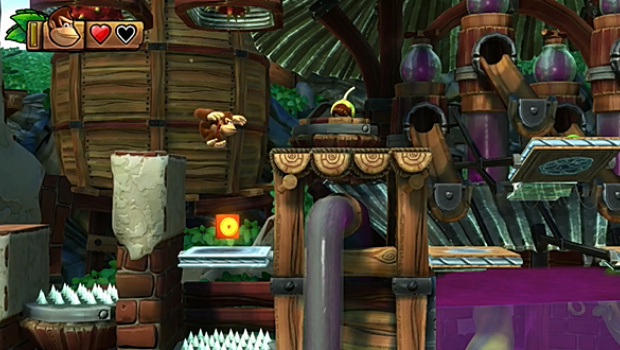
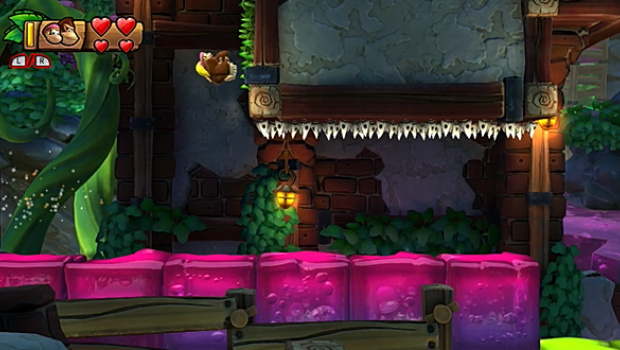
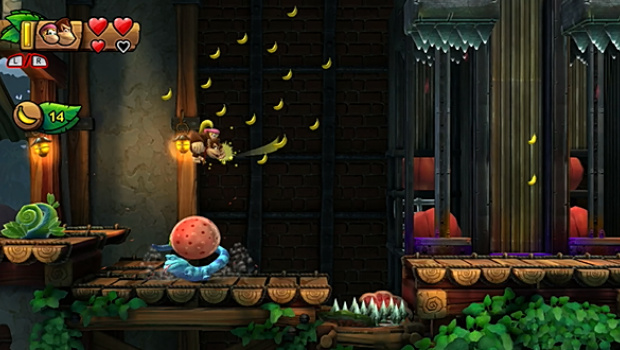
Harvest Hazards First Puzzle Piece
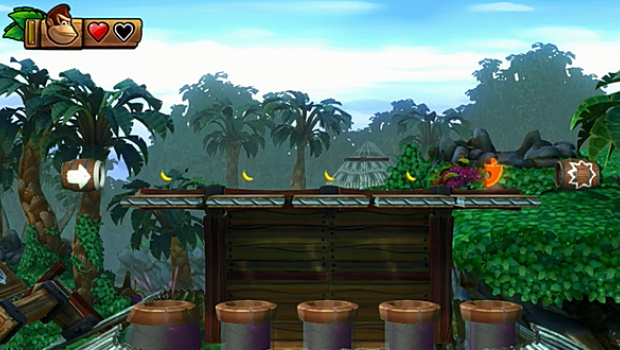
Stomp the fruit above the first buddy barrel to get the first puzzle piece.

Harvest Hazards Kong Letter K
Progress through the level until you see a buddy barrel. Just to the right is the K, and you can bounce on the strawberries to get it.
Harvest Hazards Second Puzzle Piece
Head right after the first puzzle piece and you'll see a bunch of claws smashing into the ground. The one on the far right alternates with a barrel cannon. Jump into it to enter a secret area, then grab all of the bananas to get this puzzle piece.
Harvest Hazards Third Puzzle Piece
Right next to the second puzzle piece is a blue lizard with a strawberry on its back. Bounce off the strawberry to grab all of the bananas above its head to get this puzzle piece.

Harvest Hazards Kong Letter O
Shortly after the first checkpoint, you'll reach a few cart sections. The O is in the second, and requires you to drive the cart off the edge of the tracks and then jump off it at the last second.
Harvest Hazards Fourth Puzzle Piece
Grab the O then carry on right. You'll see a barrel cannon just next to a few caterpillars. Jump into it to blast into a secret area. Grab all bananas to get this puzzle piece.
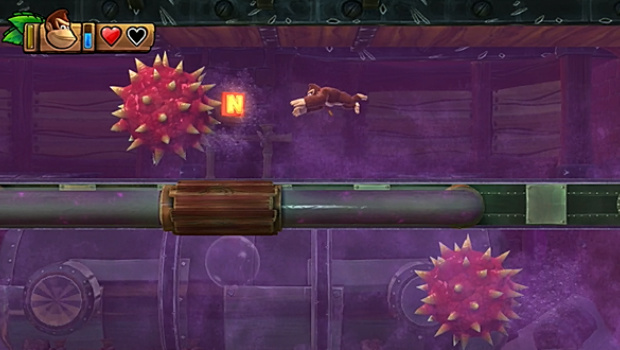
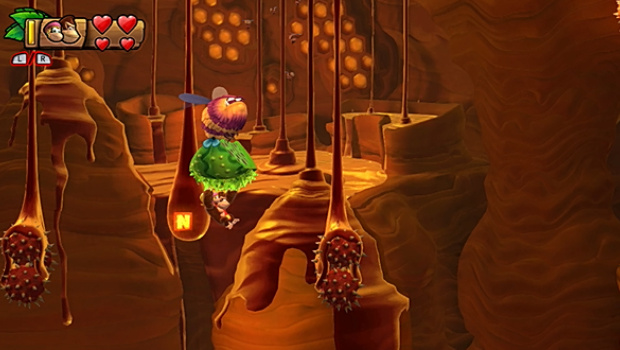
Harvest Hazards Kong Letter N
Be very careful grabbing the N. It's right at the end of a section of tracks that periodically fall. Test your nerve and jump off at the last second to get it.
Harvest Hazards Fifth Puzzle Piece
At the second checkpoint, smash the crate of fruit to allow the blue lizard to pass. Let it come towards the checkpoint then bounce on it to get the fifth puzzle piece above and to your right.
Harvest Hazards Sixth Puzzle Piece
The sixth puzzle piece is also hiding in plain sight. Head right past the claws and you'll see it on top of a set of rotating platforms. Jump carefully to get it.
Harvest Hazards Kong Letter G
Jump across a series of platforms just after you get the sixth puzzle piece and you'll see the G. Time your jump to get it.
Harvest Hazards Seventh Puzzle Piece
After grabbing G, get all of the bananas above the spinning watermelon basket to get the final puzzle piece.
Reckless Ride Walkthrough - Puzzle Pieces And Kong Letters
Reckless Ride First Puzzle Piece
That classic head left instead of right at the beginning comes back into play here. You'll find a secret area and have to grab all of the bananas to get the first puzzle piece.
Reckless Ride Second Puzzle Piece
Grab all of the bananas in the chain right at the beginning of the rocket ride to get the second puzzle piece.
Reckless Ride Kong Letter K
In the 2.5D section right after getting the second puzzle piece, keep an eye out for the K ahead. It's by a bunch of bananas.

Reckless Ride Third Puzzle Piece
At the end of the 2.5D section, grab all of the bananas in the chain to get the puzzle piece. You'll have to head between the two enemies to grab it, so bear that in mind.
Reckless Ride Kong Letter O
After the first checkpoint, head right and dodge the enemy's claws. You'll soon see the O beneath you, and it will require a dive of faith to get it.

Reckless Ride Fourth Puzzle Piece
During the second 2.5D section, grab the banana in the middle of the melon ring to get the fourth puzzle piece.

Reckless Ride Kong Letter N
After grabbing the fourth puzzle piece, keep an eye below you for the N.
Reckless Ride Kong Letter G
Right at the end of the final section, keep low after all of the fruit spills out to get all of the G underneath a broken hut.
Reckless Ride Fifth Puzzle Piece
Right at the end of the level, roll off the platform to the right of the exit barrel and jump under it to get into a barrel on the broken piece of the robot. It will fire you into a secret area. Grab all of the bananas before the timer runs out to get this annoying puzzle piece.
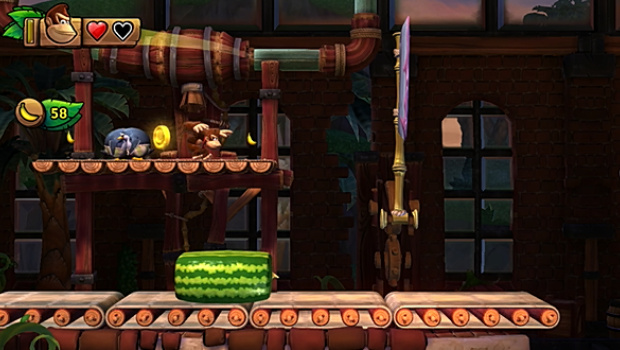
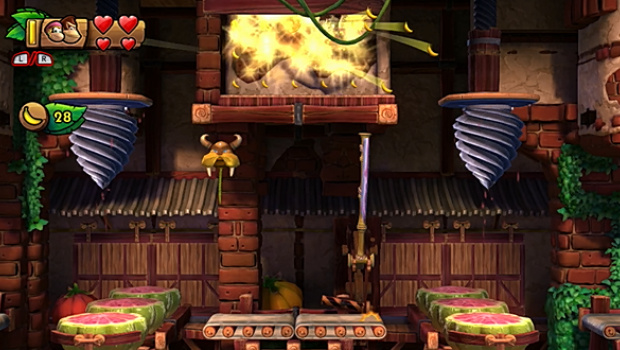
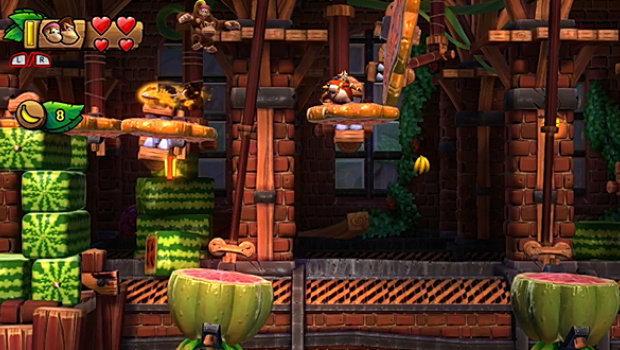
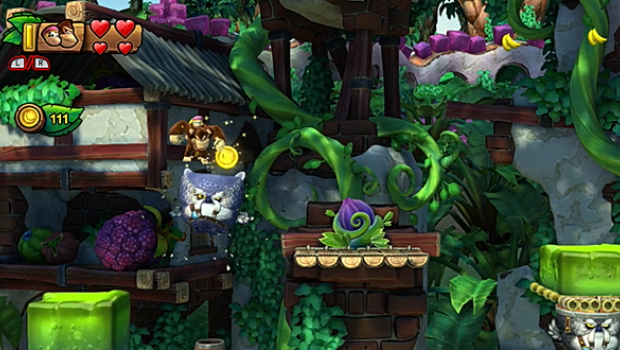
Fruity Factory Walkthrough - Puzzle Pieces And Kong Letters
Fruity Factory First Puzzle Piece
Smash the ground beneath the dangerous plant to find a secret area with a puzzle piece inside.

Fruity Factory Second Puzzle Piece
You'll come across a section with melons being split in half. If you have a buddy, jump up and left across the melons to find a secret area to get all bananas and then a puzzle piece. If you don't have a puzzle piece, head right until you find a buddy barrel, grab Dixie preferably, then head back.

Fruity Factory Kong Letter K
The K is above a fire owl. Wait until it's not on fire and bounce off it to get the K.
Fruity Factory Third Puzzle Piece
Head right past the first melon driller, then jump on top of it. Jump right and jump and grab the vine. Drop and jump right onto the next melon driller, let it bring you up, and then jump left to find a secret area, with a puzzle piece inside.

Fruity Factory Kong Letter O
It's easy enough to grab the O while you're bouncing off the broken fruit pieces into the barrel cannon. Dixie Kong makes this easy.
Fruity Factory Kong Letter N
Bounce off a watermelon to grab the N.
Fruity Factory Fourth Puzzle Piece
Head past the second checkpoint and you'll see two flipping spiky board. Jump across this section then back up and left to stomp on the purple plant. You'll get a puzzle piece.

Fruity Factory Kong Letter G
You have to make the jump over all of the watermelon stacks to get the G.

Fruity Factory Fifth Puzzle Piece
Right at the end, just when you think you're about to be fired into the exit barrel, you'll end up in a fruit mixer. Jump across the pieces of orange, but jump left to grab the puzzle piece at the end.

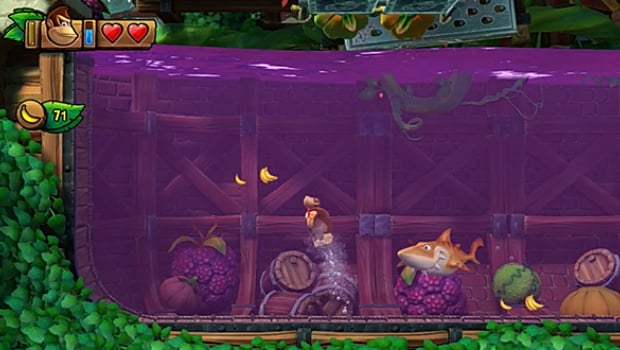
Panicky Paddles Walkthrough - Puzzle Pieces And Kong Letters
Panicky Paddles First Puzzle Piece
Head right until you find the big plant with teeth and a buddy barrel. Grab Dixie then leap over the plant. Just above and to your right you'll see a chest. Fly up to it and stomp on it to release a flying banana. Collect everything it leaves behind to get the first puzzle piece.

Panicky Paddles Kong Letter K
Just to the right of the first puzzle piece you'll see the K beneath a bunch of moving platforms. Stomp on the platforms at the right moment to land on the K letter.
Panicky Paddles Second Puzzle Piece
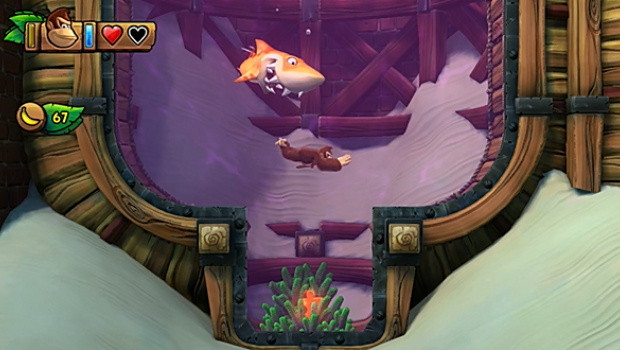
Just after grabbing the K, you'll come across a bunch of moving platforms again. Dive into the juice and grab all of the bananas while avoiding the shark to get the second puzzle piece.
Panicky Paddles Third Puzzle Piece
In the next section after grabbing the second puzzle piece, stomp on the paddles to drop down to the lower section, then stomp on the paddle above the bananas. You'll fall into a secret area. Grab all of the bananas within the time limit to get this puzzle piece.

Panicky Paddles Fourth Puzzle Piece
Head right after the third puzzle piece and dive into the juice. Head down and left and you'll see the puzzle piece.

Panicky Paddles Kong Letter O
Head right after the second checkpoint and you'll see the O beneath you on a paddle.
Panicky Paddles Fifth Puzzle Piece
After the second checkpoint, dive into the juice and swim to the bottom. Grab the bananas and the fifth puzzle piece will appear above you.
Panicky Paddles Sixth Puzzle Piece
Just to the right of the fifth puzzle piece you'll see a giant rabbit chucking bombs about. Grab one quickly, stomp on the paddle just under and to the left of him, and then chuck the bomb at the door ahead. You'll open up a door to a secret area. Head inside, grab all of the bananas within the time limit to get this puzzle piece.
Panicky Paddles Seventh Puzzle piece
Dive into the juice after grabbing the sixth puzzle piece and dive to the bottom. You'll find the seventh hiding in the grass.
Panicky Paddles Eighth Puzzle Piece
During the blast barrel section just after getting the seventh puzzle piece, you'll see the eighth puzzle piece at the end. Time your blast to get.
Panicky Paddles Ninth Puzzle Piece
Just after the third checkpoint, dive into the juice and swim right to the bottom. You'll find the puzzle piece in a secret area.
Panicky Paddles Kong Letter N
Above the eighth puzzle piece you'll find the N.
Panicky Paddles Kong Letter G
Grab the N then head right and you'll come across some fruit and spinning platforms and stuff. You'll see the G just to the right. If you have Diddy or Dixie, this one's pretty east. If not, you can roll jump and get it.
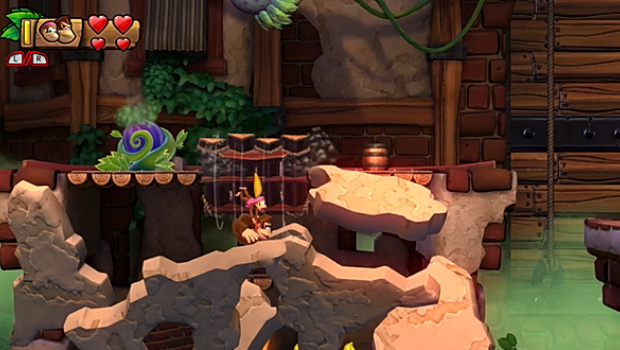
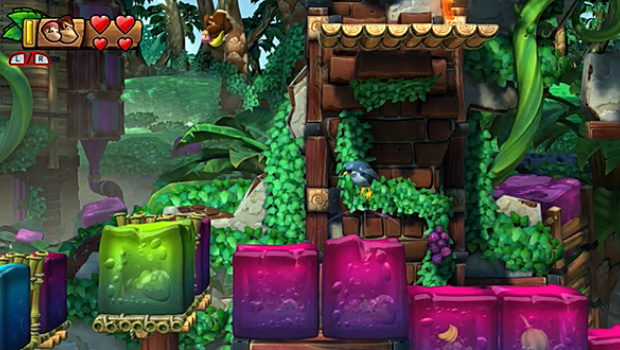
Jelly Jamboree Walkthrough - Puzzle Pieces And Kong Letters
Jelly Jamboree First Puzzle Piece
Roll at the jelly to the left at the beginning of the level to get the first puzzle piece.

Jelly Jamboree Second Puzzle Piece
Bounce across the jelly and you'll find some grass on a wall. Grab the grass and climb up, then stomp the purple fruit to get the second puzzle piece.
Jelly Jamboree Kong Letter K
Just after grabbing the second puzzle piece you'll enter a cannon and you'll see the K above you. Time your blast to get it.

Jelly Jamboree Kong Letter O
Keep moving right across the jelly after getting the K and you'll see the O above you. Bounce on the jelly just to the left of the K to trigger the higher jelly platform to appear on your right. Bounce on it to get the O.

Jelly Jamboree Third Puzzle Piece
Drop into the blast barrel beneath the blue owl to access a secret area. Grab all of the bananas within the time limit to get the third puzzle piece.
Jelly Jamboree Kong Letter N
At the first checkpoint, backtrack left to get the N.

Jelly Jamboree Fourth Puzzle Piece
Head right across the jelly platforms and you'll see the fourth puzzle piece above and to the right of it. Bounce on the blue platform to trigger the green platform on your right, then bounce on that to reach the puzzle piece.
Jelly Jamboree Fifth Puzzle Piece
At the second checkpoint, collect all of the bananas before they disappear to get the fifth puzzle piece.

Jelly Jamboree Kong Letter G
You'll find the G inside of a piece of green jelly. Bounce on the jelly next to it to free it.
Jelly Jamboree Sixth Puzzle Piece
Shortly after grabbing the fifth puzzle piece, grab a helmet penguin and chuck him at a sack to get this puzzle piece.

Jelly Jamboree Seventh Puzzle Piece
For the final puzzle piece, stomp on a platform to break a fruit beneath it. That's it.

Frosty Fruits Walkthrough - Puzzle Pieces And Kong Letters
Frosty Fruits First Puzzle Piece
Pull up the root frozen in the block of ice just to the left of the first checkpoint to release a flying banana. Collect everything it drops to get the first puzzle piece.
Frosty Fruits Kong Letter K
The first KONG letter is a little way into the level. You'll see it above a moving block of ice. Head beneath it, avoiding the spikes along the way, then bounce off the fruit to your right and back onto the black of ice. It will carry you to the K letter.

Frosty Fruits Second Puzzle Piece
Shortly after grabbing the O, you'll find a secret area just to the right of a frozen lollipop. Let the lollipop fall a bit then jump across to grab it.
Frosty Fruits Kong Letter O
You'll see the O near a bunch of lollipops. Stand on the lollipop just to the left of the O and let it fall until you can grab it while jumping.
Frosty Fruits Third Puzzle Piece
You'll come across a long section with spikes coming out of the ceiling. At the end, don't stomp on the frozen fruit to your right. Instead, jump right and you'll land on a hidden platform. Drop to your right to land in a barrel and blast out of it to get the next puzzle piece.

Frosty Fruits Kong Letter N
After grabbing the second puzzle, you'll grab the O while jumping across a bunch of ice blocks. Be careful!

Frosty Fruits Fourth Puzzle Piece
You'll see the fourth puzzle piece beneath an icy bridge. Stand on the frozen watermelon to the left and then jump right to land on a small platform. Fall off it on the right, grabbing the banana on the way down, and you'll land in a barrel cannon. Fire yourself out of it at the right moment to get this puzzle piece.
Frosty Fruits Kong Letter G
Shortly after grabbing the third puzzle piece, you'll find the G surrounded by spikes. Jump at the right moment to get the last KONG letter.
Frosty Fruits Fifth Puzzle Piece
Roll jump under the exit barrel right at the end of the level to reach the final puzzle piece. Wait until the drills get out of the way here to grab it safely.
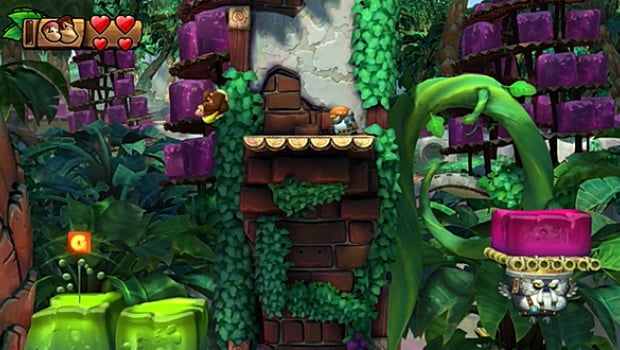
Beehive Brawl Walkthrough - Puzzle Pieces And Kong Letters
Beehive Brawl First Puzzle Piece
Try and enter the level with Cranky Kong to make this first puzzle piece much easier. At the beginning of the level, turn left and bounce along the spiky fruits to the vine at the end. Grab it to trigger a bunch of bananas. Collect them all before the timer runs out to get the first puzzle piece. If, for whatever reason, you can't bring Cranky Kong with you, there is a buddy barrel a little way into the level. Go and get that then backtrack.
Beehive Brawl Kong Letter K
Reach a section with grassy platforms and you'll find the K above one of them. Jump and grab it.

Beehive Brawl Second Puzzle Piece
Just after you climb the honeyfall, you'll come across two swinging platforms with grass on them. Leap across to the second, then let it climb to the top and leap to the left. You'll enter a secret area. Grab all of the bananas within the time limit to get this puzzle piece.
Beehive Brawl Third Puzzle Piece
Shortly after the first checkpoint, you'll reach two swinging grassy platforms. On the second, jump up onto the grassy roof and head left instead of right to find this puzzle piece.
Beehive Brawl Kong Letter O
Just after getting the third puzzle piece, head right across the grass and you'll see the O beneath you. Defeat the enemy, then roll jump to get it. If you still have Cranky, this will be much easier.
Beehive Brawl Fourth Puzzle Piece
Reach the second checkpoint and head left up the grassy wall. Jump right at the top to enter a secret area. Grab all of the bananas within the time limit to get this puzzle piece.
Beehive Brawl Fifth Puzzle Piece
Head right at the second checkpoint and let the bees fly you over the gap. At the end, you should see a platform just below and to the left of the main platform. Drop down, head right, and you'll get this puzzle piece.
Beehive Brawl Kong Letter N
You'll find the N at the end of the second bee section. Make sure you don't climb too high so you can get it.
Beehive Brawl Sixth Puzzle Piece
Just after grabbing the N, head right and jump onto the grassy platform. Let it swing you all the way to the right and then jump into the cannon just to the right of you. Fire your way through all of the barrel cannons to get this puzzle piece.
Beehive Brawl Seventh Puzzle Piece
Grab the sixth puzzle piece and then head back onto the swinging platform. Climb onto the higher swinging platform and let it carry you left, where you'll find a secret area. Stomp on the plant, grab all of the bananas, and get the final puzzle piece.
Beehive Brawl Kong Letter G
At the end of the level, you'll reach a grassy platform that bounces around like mad. Right at the end, you'll have to leap off it and grab a grassy wall to your right. Time your jump right and grab the K along the way.
Jammin' Jams Walkthrough - Puzzle Pieces And Kong Letters
Jammin' Jams First Puzzle Piece
Pass the first barrel cannon section and then bounce on the blue lizard. Grab all of the bananas above it to get the first puzzle piece.
Jammin' Jams Kong Letter K
You'll see the K above a helmet penguin so just bounce off its head to get it.
Jammin' Jams Second Puzzle Piece
Just above and to the left of the K is a platform with a plant on it. Jump up to it and then grab the grass to the left.
Jammin' Jams Kong Letter O
You'll find the O shortly after the second puzzle piece. It's just above a platform and it's pretty easy to get – especially if you have Dixie.

Jammin' Jams Kong Letter N
The N is located during a barrel section right after the O. Time your blast to get it.

Jammin' Jams Third Puzzle Piece
When you reach a long vine, climb to the top and jump to the platform at the top. You'll enter a secret area where you have to collect all of the bananas within a time limit. Good luck!
Jammin' Jams Fourth Puzzle Piece
After making your way across the grassy platforms with the annoying mice on wheels trying to kill you, bounce off the blue lizard with a strawberry on its back to get on top of it and then leap across them until you find a plant. Stomp on it to get this puzzle piece.

Jammin' Jams Fifth Puzzle Piece
The final puzzle piece is beneath those spiky metal things that try and crush you. You'll notice a broken one. Keep heading right and pull up the root underneath the three spiky metal things on your right. Be careful not to take damage. You'll get a watermelon bomb that you can chuck at the broken spiky thing to break it and get the final puzzle piece.

Jammin' Jams Kong Letter G
The G is during the barrel cannon section at the end. As ever, time your blast to get it.


Comments 0
Wow, no comments yet... why not be the first?
Leave A Comment
Hold on there, you need to login to post a comment...