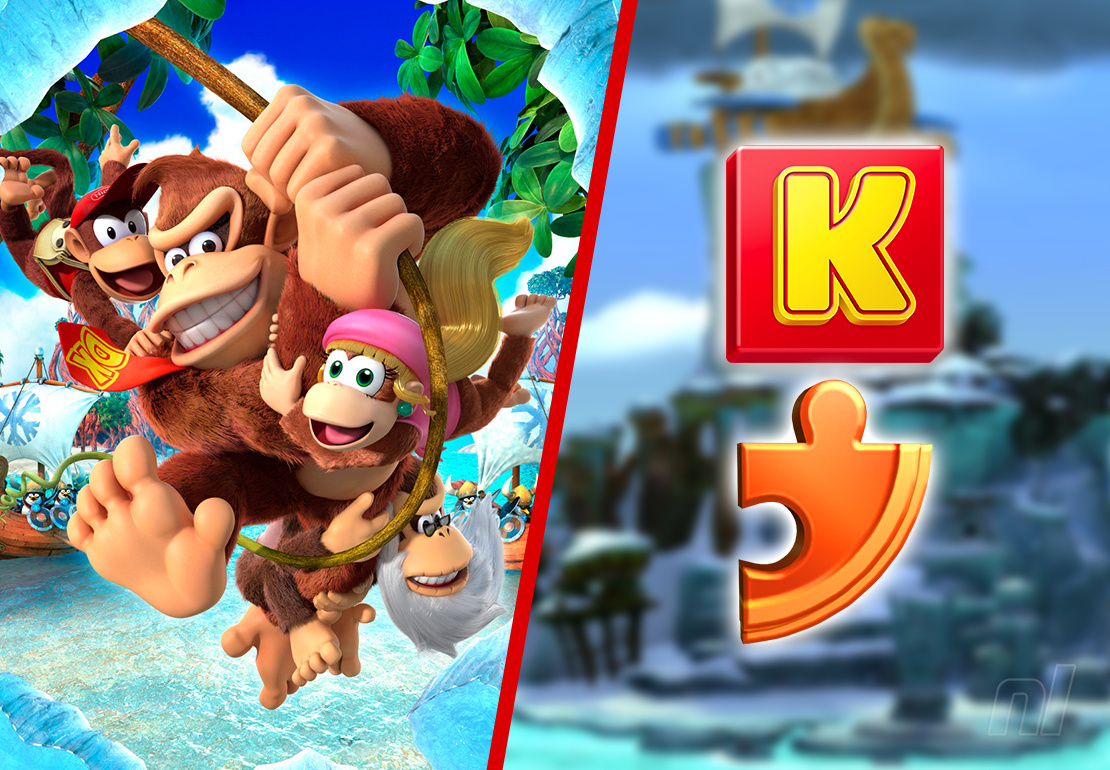
Puzzle pieces and KONG letters are the big collectibles in Donkey Kong Country: Tropical Freeze, provided you're not a total masochist and feel the need to run time trials or aim for 200% completion via hard mode. We really can't help you with that.
But we can help you collect all of the lovely puzzle pieces and KONG letters. While they're not easy to collect by any means, they are achievable. You also unlock some excellent extra content for putting in the effort, so we do recommend it.
Here, we'll cover how to find every single puzzle piece and KONG letter in Donkey Kong Island, the sixth island in Donkey Kong Country: Tropical Freeze. You can also follow the links below for walkthroughs of the other islands. Enjoy!
Lost Mangroves | Autumn Heights | Bright Savannah | Sea Breeze Cove | Juicy Jungle | Donkey Kong Island | Secret Seclusion
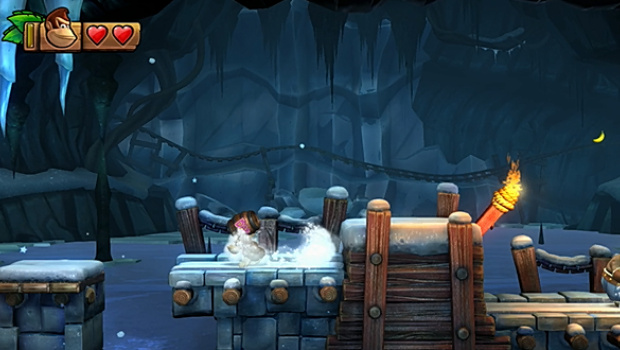
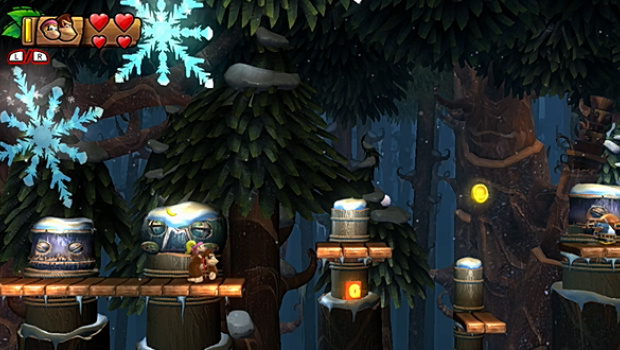
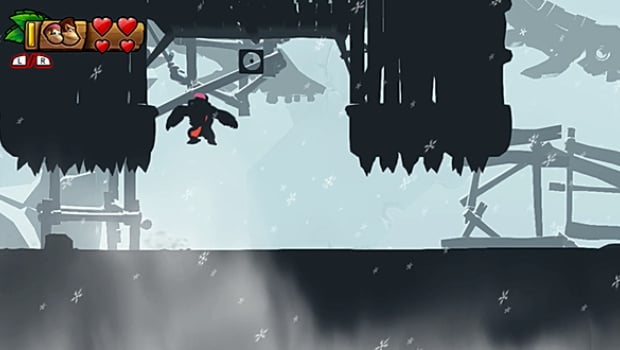
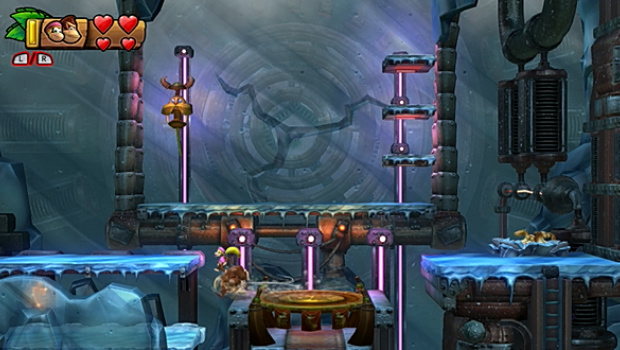
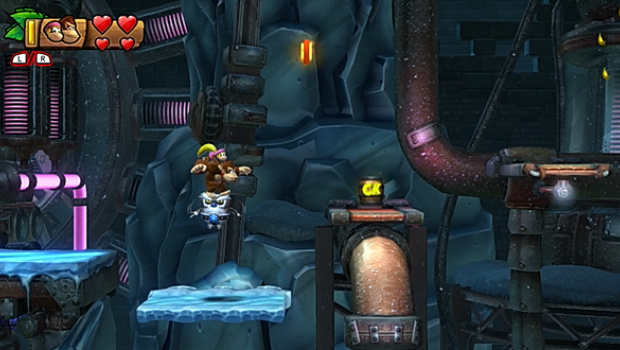
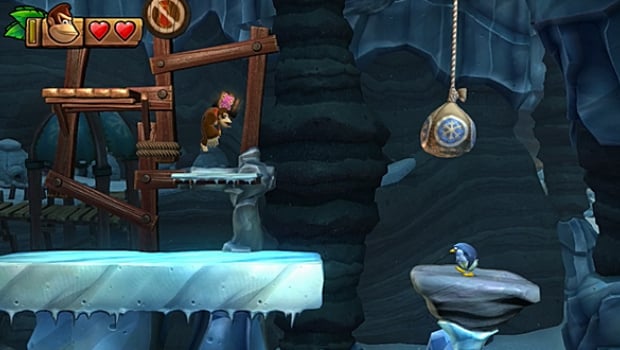
Homecoming Hijinks Walkthrough - Puzzle Pieces And Kong Letters
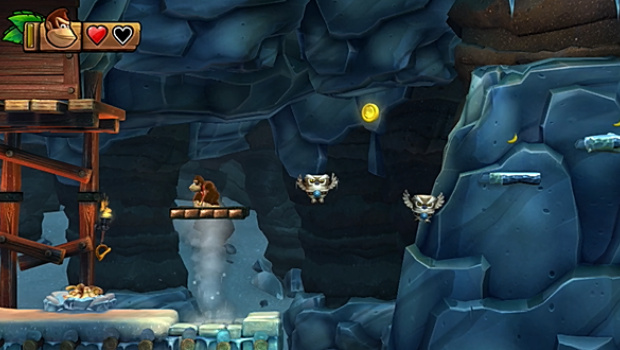
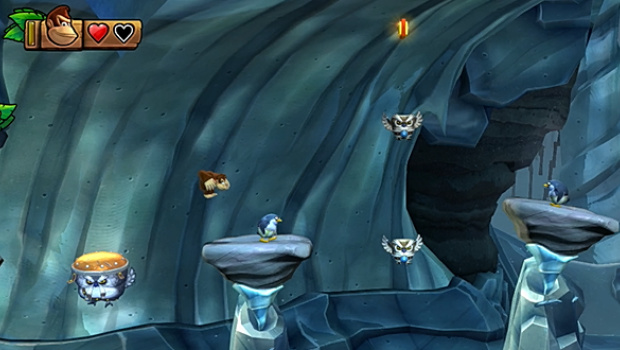
Homecoming Hijinks First Puzzle Piece
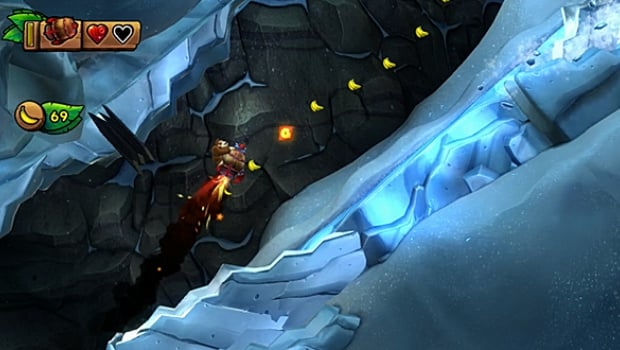
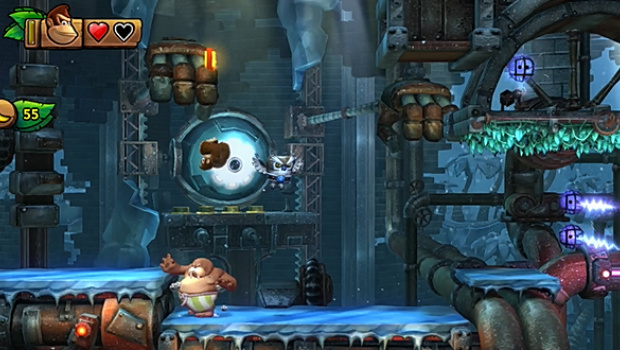
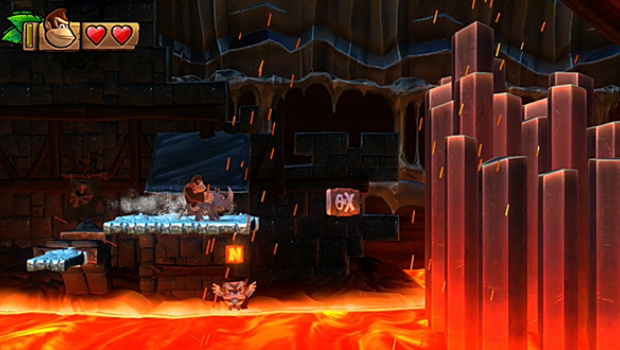
Shortly after the opening barrel blast section, you should see another barrel cannon just below you to the left. Jump inside and blast yourself to a secret area. Now, grab all of the bananas before the timer runs out to get the first puzzle piece.
Homecoming Hijinks Kong Letter K
Just to the right of the first checkpoint, you'll find the first KONG letter. Either use Diddy or Dixie to glide over, or roll jump and bounce off the owl's head.
Homecoming Hijinks Second Puzzle Piece
Reach the second checkpoint and head right. Jump on the big blue rabbit and grab the grass on the ceiling. Climb left and you'll reach a secret area. Stomp on the chest to get this puzzle piece.
Homecoming Hijinks Kong Letter O
After the K, you'll find just beneath an owl. Bounce on the owl's head and grab it as you fall into the barrel cannon.
Homecoming Hijinks Third Puzzle Piece
Keep heading right after grabbing the N, and you'll reach a section where you have to climb up a crumbling wall. Halfway up, you should see a secret area on the right side. Quickly jump in and grab the piece, then jump back out again and climb up the wall quickly before it falls.
Homecoming Hijinks Kong Letter N
Right after the second checkpoint, you'll see the N up ahead. Run quickly across the crumbling platform and land on the one beneath the N. Jump and grab it before moving on quickly.
Homecoming Hijinks Fourth Puzzle Piece
During the grassy climb up a tower, jump to a platform with a piece of wood on it to reveal the fourth puzzle piece.

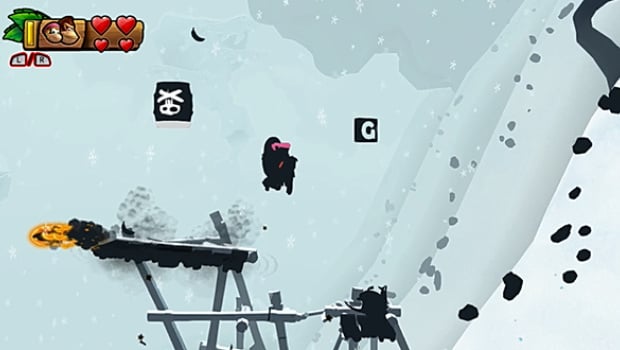
Homecoming Hijinks Kong Letter G
The G is right after the N. You'll see it above a flaming blue owl. You have to roll and then jump at the last minute to get it.
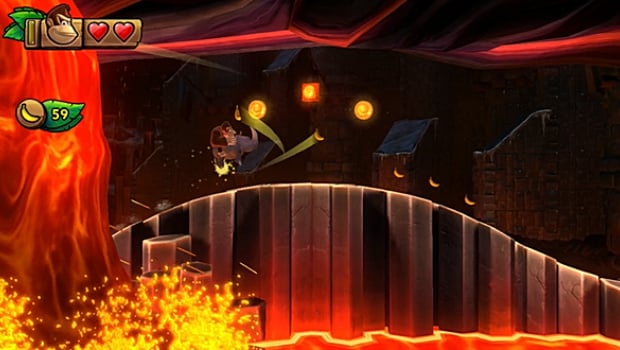
Homecoming Hijinks Fifth Puzzle Piece
At the end of the level, don't hit the exit barrel. Instead, grab all of the bananas surrounding it (roll jump to go underneath it without triggering it) and a puzzle piece will appear.

Seashore War Walkthrough - Puzzle Pieces And Kong Letters
Seashore War Kong Letter K
You'll find the K right at the beginning of the level. Bounce on the fish arrows to get it.
Seashore War First Puzzle Piece
Pull up the root just to the right of the K and you'll pull up the ship beneath you. You'll see a puzzle piece inside, and can get it by stomping on the platforms in the centre of the ship.
Seashore War Second Puzzle Piece
Right after the second puzzle piece, stomp on the fruit to release a barrel cannon. Jump into that to fling yourself into a secret area where you have to grab all of the bananas to get this puzzle piece.

Seashore War Kong Letter O
The O is surrounded by flaming blue owls. Just pull the root to the left of them to raise the boat, then grab it when you spot a gap in the blue owls.
Seashore War Third Puzzle Piece
Pass the ship you have to pull out of the water and stomp the fruit just after the fish flinging enemy. This will trigger bananas – gather them all to get the puzzle piece.
Seashore War Kong Letter N
The N is on a vine just after grabbing the third puzzle piece. Avoid the owl and grab it.

Seashore War Fourth Puzzle Piece
Grab the N and head over the ships. You'll land on a platform with a secret area beneath you. Stomp on the ice to shatter it and head inside. Grab all bananas before the timer runs out to get the fourth puzzle piece.
Seashore War Kong Letter G
You'll see the G shortly after you grab the fourth puzzle piece. You'll have to pull up the root just to the right of the flaming owl to lift up the ship, and then head backwards to get it.

Seashore War Fifth Puzzle Piece
You'll see a plant above and to your right shortly after the G. Bounce off the jumping enemy's head while it's mid-jump to get up there and stomp on the plant to get this final puzzle piece.
Aqueduct Assault Walkthrough - Puzzle Pieces And Kong Letters
Aqueduct Assault First Puzzle Piece
Jump across the platforms at the beginning of the level until you see a bunch of bananas appear behind you. Jump on the platform to get it and you'll see that a barrel cannon has appeared on your left. Jump inside it to reach a secret area. Now, grab all of the bananas before the timer runs out to get the first puzzle piece.
Aqueduct Assault Kong Letter K
Grab the first puzzle piece and you'll see the K just to your right. Stand on the platform above it and wait until it slides off, then jump and grab the K on your way into the barrel below.

Aqueduct Assault Kong Letter O
Shortly after grabbing the K, you'll see the O above an owl. Should be easy to grab it.
Aqueduct Assault Second Puzzle Piece
Keep heading right across the moving platforms until you find the penguin firing fish arrows. Grab all of the bananas above you to get the second puzzle piece.

Aqueduct Assault Third Puzzle Piece
Just to the right of the second puzzle piece, you'll see a door. Jump to the platform on the right and stun the helmet penguin, then carry it back and break the door. You'll find a puzzle piece inside.
Aqueduct Assault Fourth Puzzle Piece
Immediately after grabbing the N, back track and stomp the fruit to get the fourth puzzle piece.

Aqueduct Assault Kong Letter N
Keep heading right after the third puzzle piece and you'll see the N above you. Sit on the sliding block until you get the N.
Aqueduct Assault Fifth Puzzle Piece
Stomp the plant just to the left of the N to grab this puzzle piece.
Aqueduct Assault Kong Letter G
Towards the end of the level, a barrel cannon will fire you towards the G but you'll actually have to jump back to get it when you land.
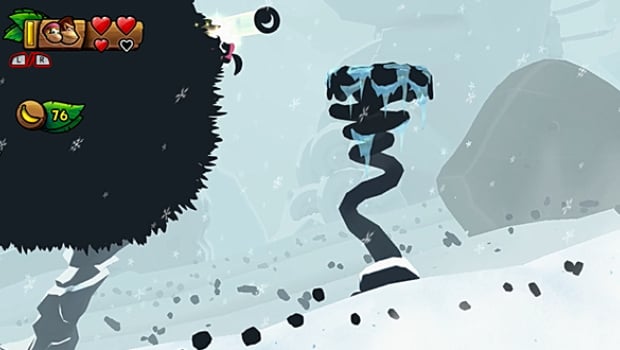
Blurry Flurry Walkthrough - Puzzle Pieces And Kong Letters
Blurry Flurry First Puzzle Piece
Pull up the root just to the right of the beginning of the level to get the first puzzle piece.

Blurry Flurry Second Puzzle Piece
Grab the buddy barrel shortly after getting the first puzzle piece and backtrack to the target. Smash it to enter a secret area where you have to grab all of the bananas before the timer runs out to get the second puzzle piece.
Blurry Flurry Third Puzzle Piece
This one's a nightmare. You have to collect all of the bananas in the two spinning circles to get the third puzzle piece. The trick here is to take a low position for the first circle, and a high position for the second. Aim for the lower middle of the first and the upper middle of the second and you should do this no problem.
Blurry Flurry Kong Letter K
You'll find the K at the beginning of the rocket barrel section. Doesn't require much to grab it.

Blurry Flurry Fourth Puzzle Piece
Collect all of the bananas in a line during the dip to get this puzzle piece.
Blurry Flurry Kong Letter O
The O appears during a section where you have to avoid a bunch of snowballs firing out of cannons.

Blurry Flurry Fifth Puzzle Piece
This one's a little trickier than the last, but gather all of the bananas in a line during the incline to get this puzzle piece.
Blurry Flurry Kong Letter N
Shortly after the fifth puzzle piece, you'll see the N above a chunk of ice.

Blurry Flurry Sixth Puzzle Piece
Another nightmare of a puzzle piece. Grab all of the bananas and coins during the next snowball section to get it. You'll probably lose a lot of lives.

Blurry Flurry Kong Letter G
The G is shortly after and is easy to spot and grab.
Blurry Flurry Seventh Puzzle Piece
Roll jump to the right past the exit barrel to find a wooden platform you can stomp on. Do so and enter a secret area. Grab all of the bananas within the time limit to get the puzzle piece.
Forest Folly Walkthrough - Puzzle Pieces And Kong Letters
Forest Folly First Puzzle Piece
Head right until you see a frozen fruit. Stomp it, collect all bananas, get the puzzle piece.
Forest Folly Kong Letter K
The K is easy. You'll find it just to the left of a grassy section. Just jump off the platform to its left at the right moment to get it while avoiding the snowflakes.
Forest Folly Kong Letter O
This one's tough though. When you reach a section where you have to hold onto a spinning grassy wheel, position yourself in the middle of the right-hand side and hold that position to get the O.
Forest Folly Second Puzzle Piece
After this section, wait until the springboard you land on is pointing left then stomp on it to fire into a secret area. Grab all of the bananas within the time limit to get this puzzle piece.

Forest Folly Third Puzzle Piece
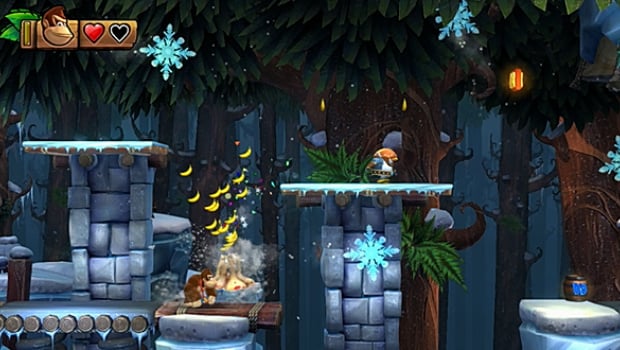
Shortly after, you'll reach three vines covered in bananas. Collect them all to summon the third puzzle piece.
Forest Folly Kong Letter N
Time your spring between the springboard platforms to get the N along the way.
Forest Folly Fourth Puzzle Piece
Time your blasts between the barrel cannons during the next section to grab this puzzle piece.

Forest Folly Fifth Puzzle Piece
Defeat the massive enemy with the hammer and stomp on the crate of fish to release a winged banana. Collect everything it drops to get this puzzle piece.
Forest Folly Kong Letter G
You can try and pull off a roll jump to get the G from underneath the platform, or use Dixie to make this very easy.
Cliffside Slide Walkthrough - Puzzle Pieces And Kong Letters
Cliffside Slide First Puzzle Piece
When you see the penguin wearing a spiky helmet, turn and head left. Go under the wooden platform to find the first puzzle piece.
Cliffside Slide Kong Letter K
The K appears shortly after the first puzzle piece. You'll move across a bunch of precarious platforms, and find the K above you. Be careful and grab it.
Cliffside Slide Second Puzzle Piece
Shortly after the first checkpoint, you'll find the second puzzle piece in another secret area. Look up and to your right and you'll see an enemy that spawns fish. Defeat it and head left behind it to get this puzzle piece.
Cliffside Slide Kong Letter O
Head right after grabbing the second puzzle piece and you'll find the O above you.
Cliffside Slide Third Puzzle Piece
Head right after the second puzzle piece, and over the precarious platforms, You'll find a section where you have to grab the grassy section above you. Jump to the right, and then jump on top of the grassy platform section and stomp on the fruit to get this puzzle piece.
Cliffside Slide Kong Letter N
The N is shortly after the second puzzle piece, above an owl.

Cliffside Slide Fourth Puzzle Piece
Shortly after the second checkpoint, head right and roll jump backwards onto a wooden platform to find a secret area. Stomp the fruit to get this puzzle piece.
Cliffside Slide Fifth Puzzle Piece
While climbing the avalanche at the end, stomp a plant along the way to get a puzzle piece.

Cliffside Slide Kong Letter G
Bounce off the archer penguin to get the G at the top of the avalanche.
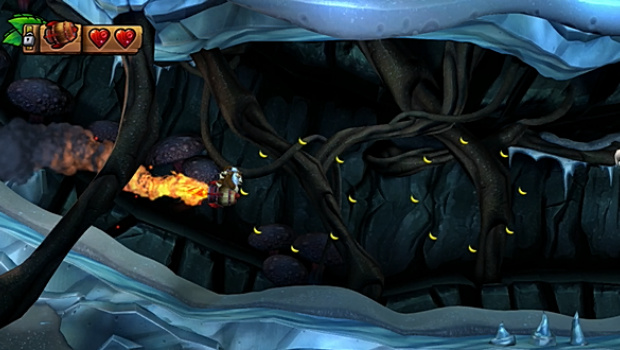
Frozen Frenzy Walkthrough - Puzzle Pieces And Kong Letters
Frozen Frenzy First Puzzle Piece
Jump in the barrel at the beginning of the level and fire yourself to the background. Pull the vine and fling yourself back then grab the first puzzle piece hiding in plain sight just to your left.
Frozen Frenzy Kong Letter K
Bounce off the owl just to the left of the buddy barrel to get the K. Or, just grab Dixie or Cranky and get it that way.
Frozen Frenzy Second Puzzle Piece
Shortly after grabbing the K, you'll find a piece of ice that looks different to the others just by two electric traps. Stomp on it to enter a secret area and grab all of the bananas to get this puzzle piece.
Frozen Frenzy Kong Letter O
The O is easy to grab – especially with Dixie. Just jump high over the zapper to grab it but mind the penguin as you land.

Frozen Frenzy Third Puzzle Piece
Gather all of the bananas in a row above the moving electrically charged platform to get this puzzle piece.

Frozen Frenzy Fourth Puzzle Piece
Look to the lower left of an upcoming slidey seesaw platform and you should see a barrel. Drop into it to fire into a secret area where you have to collect all of the bananas to get this puzzle piece.

Frozen Frenzy Fifth Puzzle Piece
Reach the next checkpoint then jump back across the vines and grab onto the grass to the top left of the screen. Climb up it then jump on top of the platform the vines are falling off to get this puzzle piece.
Frozen Frenzy Kong Letter N
You'll see the N above a walrus and owl. Bounce off each of them in sequence to get it.
Frozen Frenzy Kong Letter G
Wrapping up this level is easy. Bounce off the penguin during the section where you're running across broken ice to get the G.
Meltdown Mayhem Walkthrough - Puzzle Pieces And Kong Letters
Meltdown Mayhem First Puzzle Piece
Head right at the beginning and smash on the DK platform to allow you to progress right. Don't do so just yet though. Instead, head back left and you'll find a secret area has opened up. Head inside, collect all of the bananas, and get the puzzle piece.
Meltdown Mayhem Kong Letter K
Run across the icy platforms with Rambi and bounce off a penguin's head to get enough height to get the K.
Meltdown Mayhem Kong Letter O
Shortly after, you'll find the O. You have to be fast to grab this before the ground sinks into the lava.
Meltdown Mayhem Second Puzzle Piece
Smash through the next Rambi block after this to release a bunch of bananas. Get them all quickly to grab the second puzzle piece.
Meltdown Mayhem Third Puzzle Piece
Reach the checkpoint and slam a plant just by it to get a puzzle piece.

Meltdown Mayhem Fourth Puzzle Piece
You'll reach a square brick platform. Smash into it to find a secret area with a puzzle piece inside.
Meltdown Mayhem Fifth Puzzle Piece
Grab all of the bananas and coins above the platforms floating on lava to get this puzzle piece.
Meltdown Mayhem Kong Letter N
You'll see the N beneath an icy platform and just above an owl. Stand on the platform directly above the N and wait for it to melt. Land on the Owl and bop yourself into the cannon above and to the right to get this one.
Meltdown Mayhem Kong Letter G
At the end of the level while running from the wall of lava, jump to grab the G when you see it.
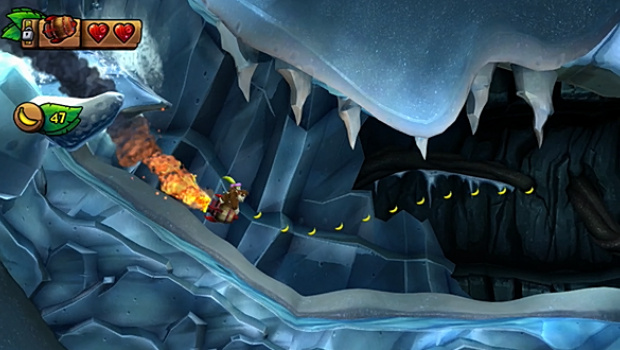
Dynamite Dash Walkthrough - Puzzle Pieces And Kong Letters
Dynamite Dash First Puzzle Piece
Collect all of the bananas and coins above the two switch platforms to get the first puzzle piece.
Dynamite Dash Kong Letter K
When you come across the K, jump between switches as the one to the right of it is dropping down.
Dynamite Dash Second Puzzle Piece
Reach the checkpoint and then look left. You'll see a line of bananas heading down. Drop and collect them to land in a barrel cannon that fires you to a secret area. Collect all bananas here to grab the puzzle piece.
Dynamite Dash Third Puzzle Piece
Grab all of the bananas on the spinning wheel of grass above two switches to get the third puzzle piece.
Dynamite Dash Kong Letter O
Time your shot between cannons during an upcoming barrel cannon section to get the O.
Dynamite Dash Fourth Puzzle Piece
Smash a cracked ice block just ahead and stomp the ground beneath it to enter another secret area. Grab all of the bananas within the time limit to get the fourth puzzle piece.
Dynamite Dash Fifth Puzzle Piece
Head further into the level until you reach a wooden section. Wait until an icicle drops just to the left and land on it, then head right to enter the wooden platform. Pull up a root here to get a puzzle piece.
Dynamite Dash Kong Letter N
You'll reach a section where you have to move quickly along a grassy ceiling before a set of explosions goes off. Be quick, because the N is at the end of this section.

Dynamite Dash Kong Letter G
During the end section where you have to slide along a bunch of vines, you'll see the G beneath you. Don't jump between these vines. Just let yourself fall naturally and you'll grab the G.
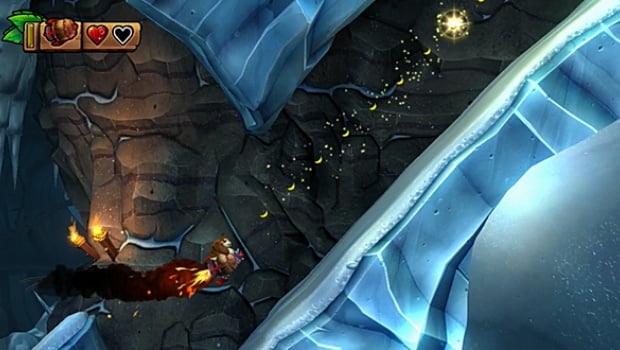
Icicle Arsenal Walkthrough - Puzzle Pieces And Kong Letters
Icicle Arsenal Kong Letter K
You'll see the K sandwiched between two icy shelves. Get on the top one and let it melt away to land on the K.
Icicle Arsenal First Puzzle Piece
You'll find a grassy section above you a short way into the level. Jump up and grab the grass then stomp on it to get that nasty mouse out of the way. Head left and stomp on the fruit to get this puzzle piece.
Icicle Arsenal Second Puzzle Piece
Shortly after, you'll find the second puzzle piece inside a sack just to your right. Grab the buddy barrel to the left and chuck it at the sack to release a bunch of bananas. Grab them all before they disappear and this puzzle piece is yours.
Icicle Arsenal Third Puzzle Piece
The third appears very shortly after the second! You'll find one of those nasty enemies with the big hammer. Wait until it lifts the hammer to hit you with it and roll into its belly three times to kill it, then pull out the root to get this puzzle piece.

Icicle Arsenal Kong Letter O
Just after the second checkpoint, you'll enter a short barrel cannon section. Be patient on the last blast because the O will appear.
Icicle Arsenal Fourth Puzzle Piece
After the first checkpoint, blast through the barrel cannons, then break both of the ice blocks just to your right. This will lower two platforms. Jump across them to the left then grab onto the grass above you. Head left and jump into the cannon to fire yourself into a secret area. You know the drill - grab all of the bananas quickly and this puzzle piece is yours.
Icicle Arsenal Fifth Puzzle Piece
Head right after getting the fourth puzzle piece and you'll see a root on a wooden platform. Pull it up to rise up and jump left to enter a secret area. Grab all of the bananas to get the fifth puzzle piece.
Icicle Arsenal Kong Letter N
Shortly after getting the fifth puzzle piece, you'll see the N above a pair of owls. If you have Dixie, this will be a breeze. If not, get onto the platform on the right and wait until the penguin moves to the left. Bop off its head and then off the topmost owl's head to get the N, but make sure to fall back right onto the platform.
Icicle Arsenal Sixth Puzzle Piece
Just after grabbing the N, head right and pull up the root to make the wooden platforms rise. Jump onto the rightmost one and use it to grab the grass above you. Stomp on the fruit and a barrel cannon will appear. Jump into that and fly to a secret area. Grab all bananas and you'll get this puzzle piece.
Icicle Arsenal Seventh Puzzle Piece
Towards the end of the level, you'll reach a section with two grassy bits above you. Grab onto the left one and move right. Don't jump over just yet though, as a puzzle piece will fall down.

Icicle Arsenal Kong Letter G
The G is a real nightmare to get. During the final barrel cannon section, you'll see it above two barrel cannons. You have to fire yourself into the right one, then immediately fire yourself back into the left one to get it. You then have to fire yourself immediately back into the right one to survive and finish the level. It's horrific.


Comments 0
Wow, no comments yet... why not be the first?
Leave A Comment
Hold on there, you need to login to post a comment...