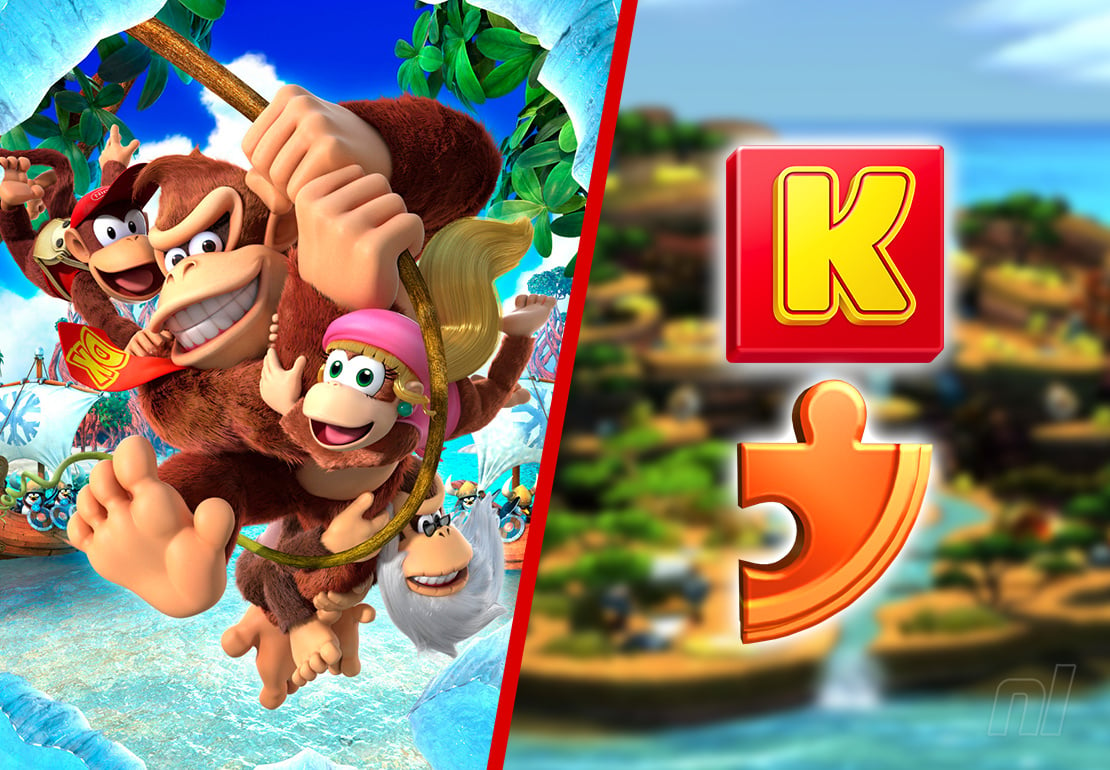
Puzzle pieces and KONG letters are the big collectibles in Donkey Kong Country: Tropical Freeze, provided you're not a total masochist and feel the need to run time trials or aim for 200% completion via hard mode. We really can't help you with that.
But we can help you collect all of the lovely puzzle pieces and KONG letters. While they're not easy to collect by any means, they are achievable. You also unlock some excellent extra content for putting in the effort, so we do recommend it.
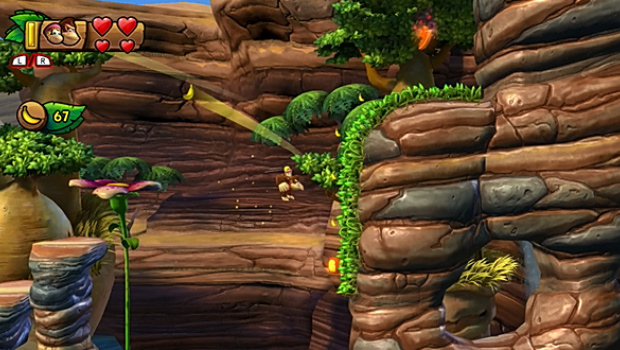
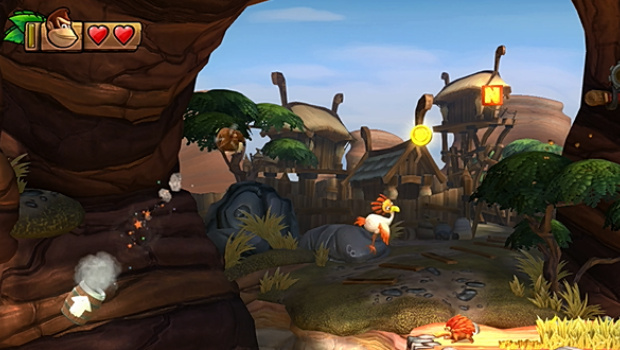
Here, we'll cover how to find every single puzzle piece and KONG letter in Bright Savannah, the third island in Donkey Kong Country: Tropical Freeze. You can also follow the links below for walkthroughs of the other islands. Enjoy!
Lost Mangroves | Autumn Heights | Bright Savannah | Sea Breeze Cove | Juicy Jungle | Donkey Kong Island | Secret Seclusion
Grassland Groove Walkthrough - Puzzle Pieces And Kong Letters
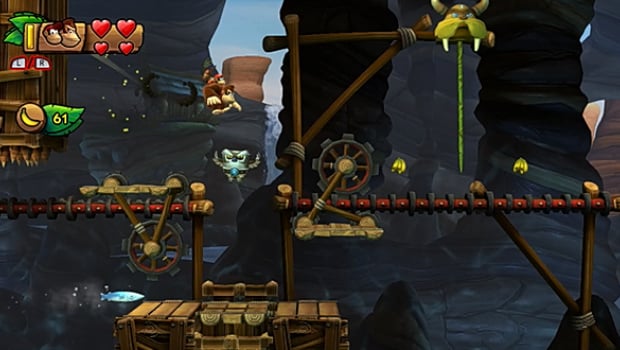
Grassland Groove First Puzzle Piece
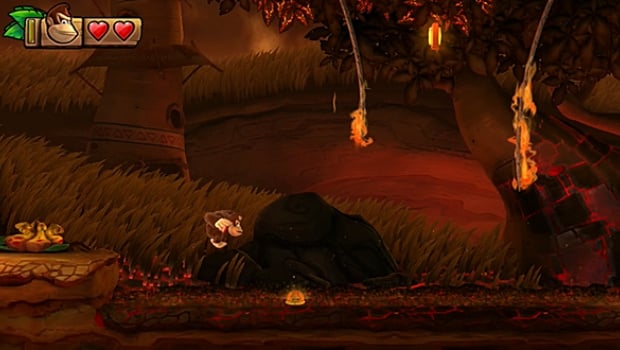
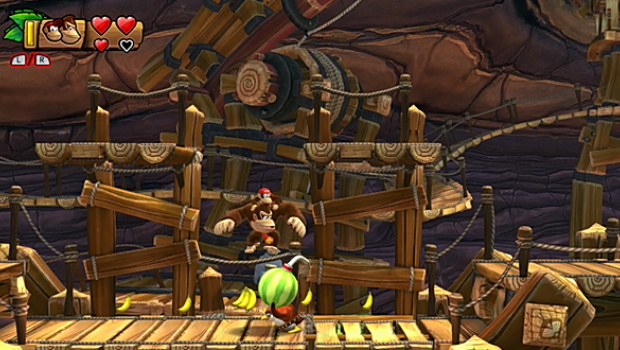
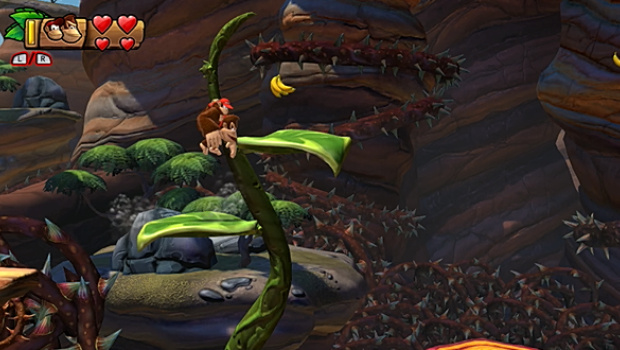
Head right until you see a bunch of dancing trees. Jump on the top left most branch and you'll trigger a flying banana. Collect all of the bananas it drops to get the puzzle piece.

Grassland Groove Kong Letter K
The K is just to the left of the first checkpoint. Roll jump to grab it.
Grassland Groove Second Puzzle Piece
Right after the first checkpoint, roll to break the grass under a dancing tree to find a root. Pull it up to get the second puzzle piece.
Grassland Groove Third Puzzle Piece
Shortly after the first checkpoint you'll find some vines you can grab onto above you. Do so, and head left to find a yellow plant. Smash it to get a puzzle piece.

Grassland Groove Fourth Puzzle Piece
Right after you've found the third puzzle piece, head right and you should see a barrel beneath you. Drop into it, avoiding the bird, and fire yourself out to grab the fourth puzzle piece.

Grassland Groove Fifth Puzzle Piece
At the second checkpoint, jump left instead of right and break the grass to find the fifth puzzle piece.
Grassland Groove Kong Letter O
Right after the second checkpoint, keep an eye out on your right while swinging across the vines. The O will intermittently appear.

Grassland Groove Sixth Puzzle Piece
Just after the second checkpoint, swing across the vines until you reach the one that moves back and forth. Grab all of the bananas here to get the sixth puzzle piece.
Grassland Groove Seventh Puzzle Piece
Just after the sixth, fire yourself through a few barrels then collect all of the bananas by the spiked barrel to get the seventh piece.
Grassland Groove Kong Letter N
Just after grabbing the seventh puzzle piece, time your roll jump to the right so you land on the totem with the N on it.
Grassland Groove Eighth Puzzle Piece
Shortly after this, break all of the grass underneath the totems and climb the vine up. You'll see a barrel. Jump into it to enter a secret area. You know the drill – grab all bananas before 30 seconds are up to get this puzzle piece.
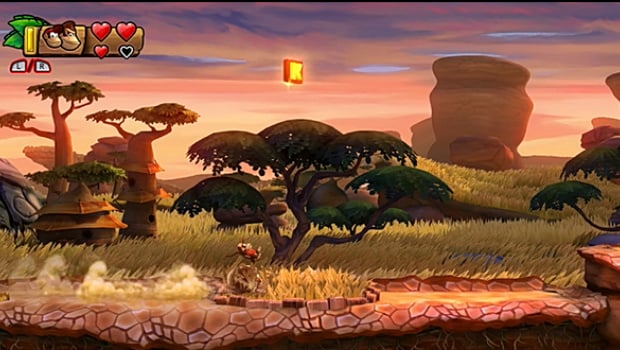
Grassland Groove Kong Letter G
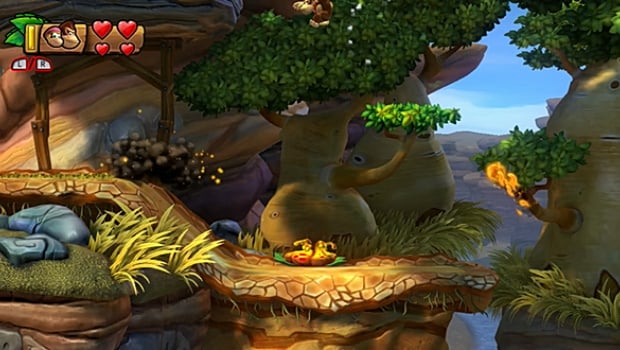
The G is towards the end of the level, while you're running across the snake-like sections with grass. You'll see the G on top of an owl.

Grassland Groove Ninth Puzzle Piece
During the final snake-like section of the level, grab all of the bananas the flying banana leaves behind to get this puzzle piece.

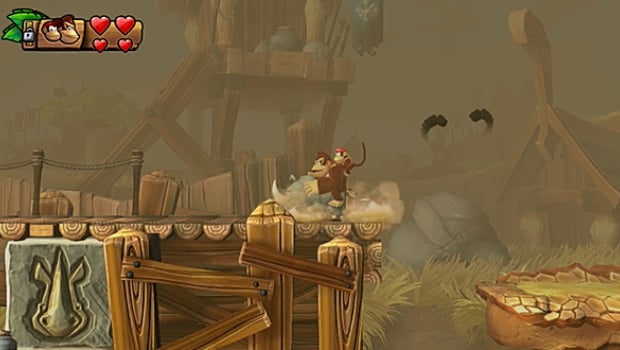
Baobab Bonanza Walkthrough - Puzzle Pieces And Kong Letters
Baobab Bonanza First Puzzle Piece
Grab all of the spinning bananas on the second tilting flower to grab the first puzzle piece.
Baobab Bonanza Kong Letter K
Just after grabbing the first puzzle piece, bounce off the enemy's head to grab the first KONG letter.
Baobab Bonanza Second Puzzle Piece
Shortly after grabbing the first puzzle piece, pull up the root beneath the large vine to force a bunch of flowers to appear. Then, stun and grab the helmet penguin and leap from the left flower to the right, then up to the higher flower. Chuck the penguin right and you'll smash open the door to a secret entrance. Head inside, grab all of the bananas in 30 seconds, and you'll get the puzzle piece.
Baobab Bonanza Kong Letter O
Just after the first checkpoint, you'll see the O beneath a grassy platform. Wait for the dangerous spiky fruits to pass then grab it.
Baobab Bonanza Third Puzzle Piece
Once you've grabbed the O, head up the hill and grab Dixie Kong out of the barrel. Then, jump and glide left to grab the third puzzle piece on top of the platform that the spikey fruit falls off of.

Baobab Bonanza Fourth Puzzle Piece
Head slightly right of the O and pull up the root on the floor. A bunch of bananas will appear. Collect them all to get the fourth puzzle piece.
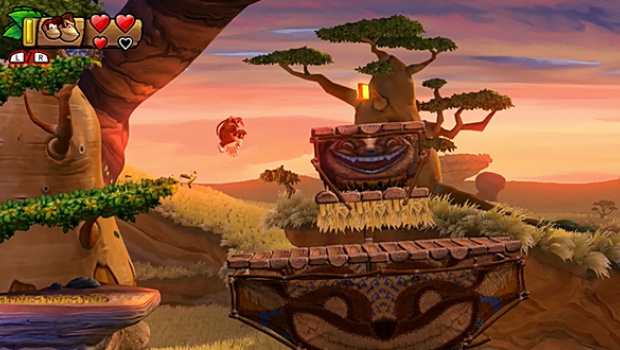
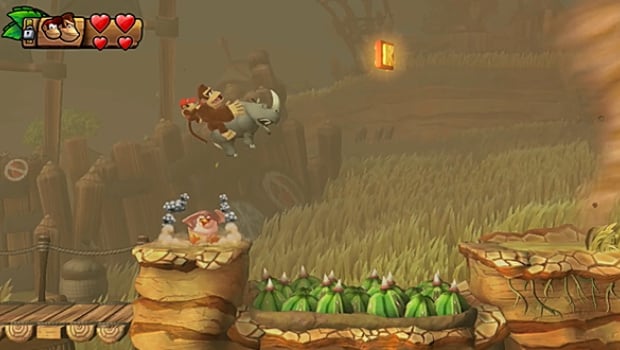
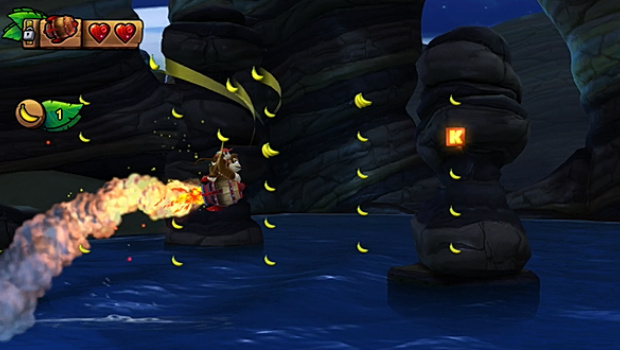
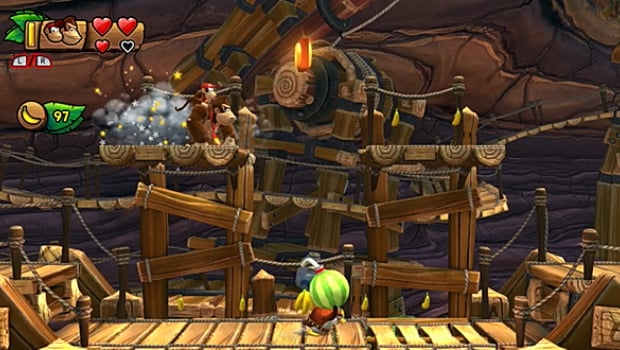
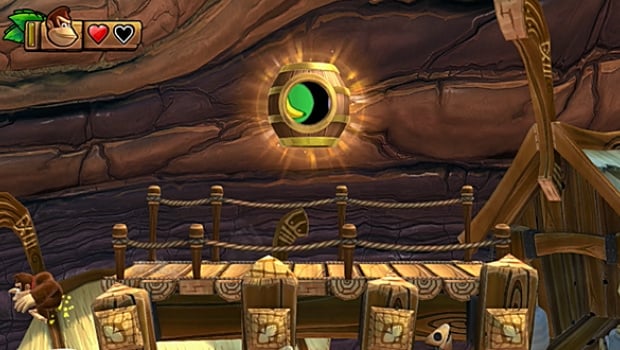
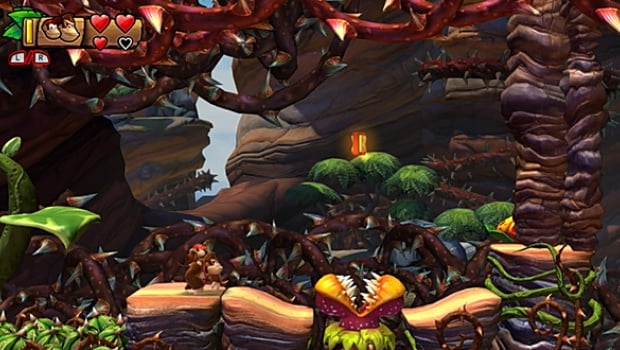
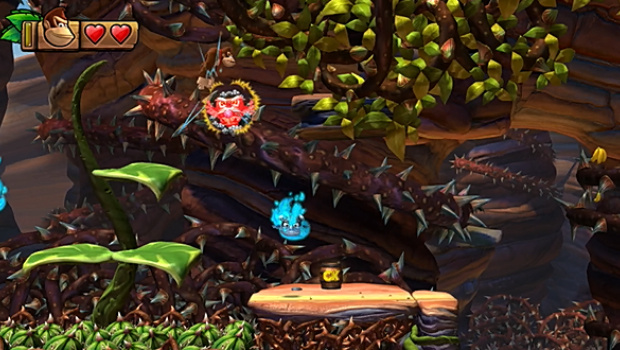
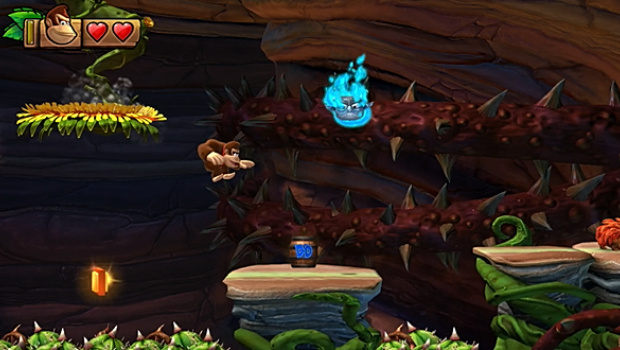
Baobab Bonanza Kong Letter N
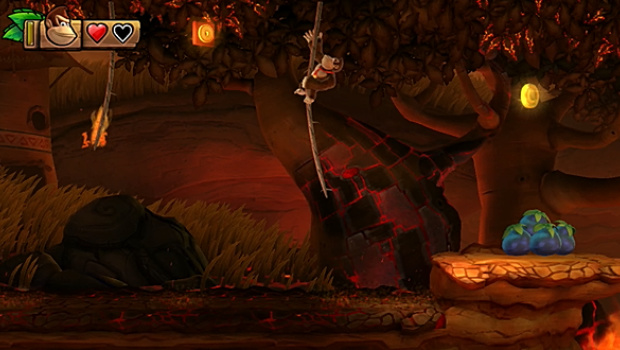
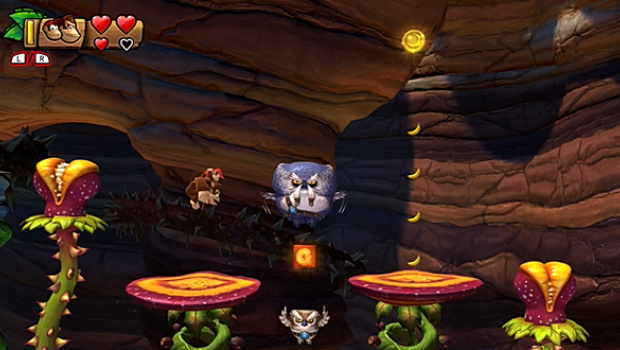
After grabbing the third puzzle piece, head right and grab the swinging vines. You should see the N on top of a flaming owl. Wait for it to shoot fire then jump off its head to grab the N.
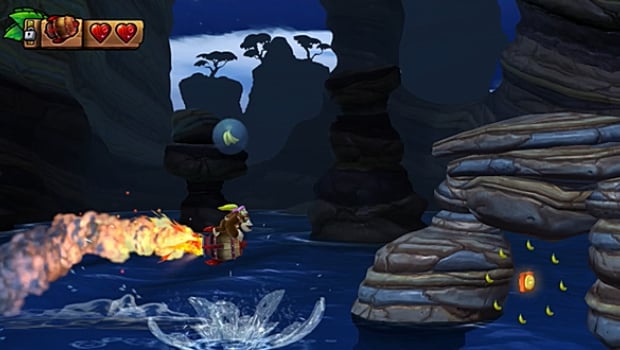
[image:21[/image]
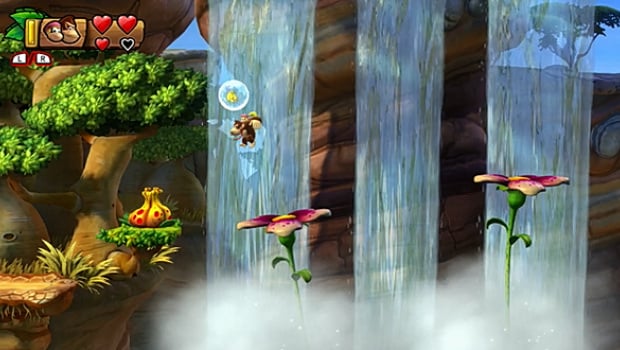
Baobab Bonanza Fifth Puzzle Piece
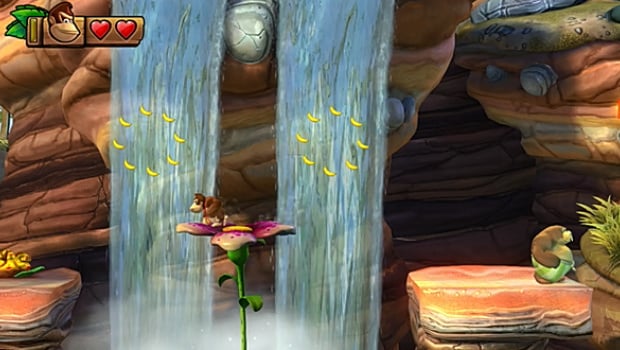
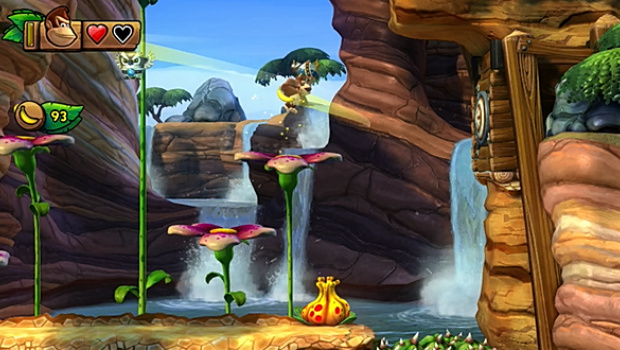
This next puzzle piece is highly annoying. You'll come across a waterfall with two tilting flowers. Don't just jump across them and run away, stick around until you see a bunch of bananas in bubbles. You have to collect all of them to get the puzzle piece. It's really, really hard.
Baobab Bonanza Sixth Puzzle Piece
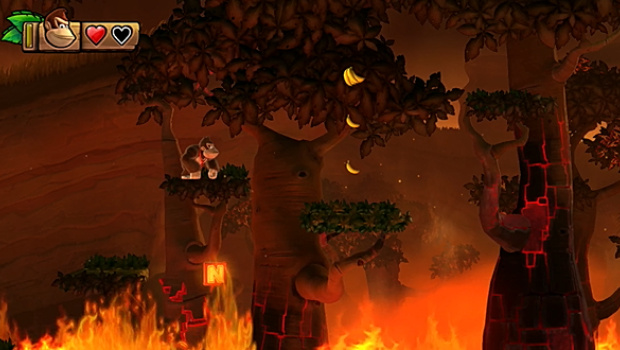
Carry on right, smash a yellow plant, and collect all of the bananas before they disappear to get this puzzle piece.
Baobab Bonanza Kong Letter G
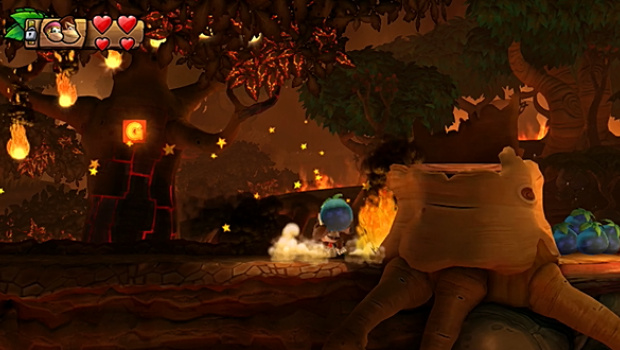
You'll find the G right at the end of the level, after you've been chased by the spiky fruit. Climb down the grassy bit you can grab to get it.
Baobab Bonanza Seventh Puzzle Piece
Grab all of the bananas and coins during the final section, while you're being chased by the giant spikey fruit, to grab this puzzle piece at the end.
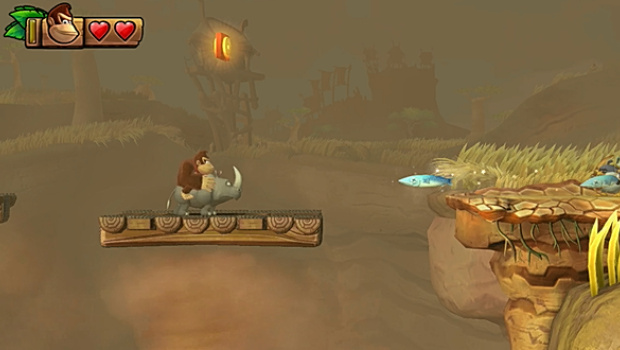
Frantic Fields Walkthrough - Puzzle Pieces And Kong Letters
Frantic Fields First Puzzle Piece
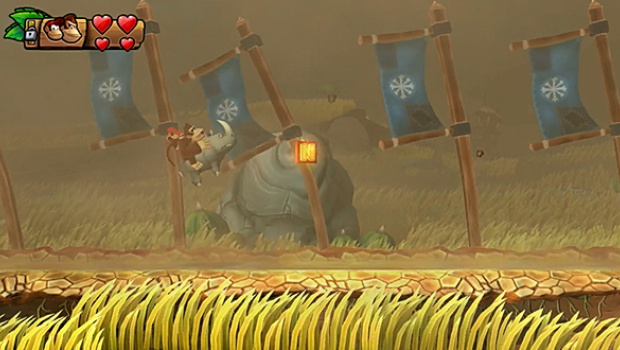
When you grab the rhino, head left instead of right and smash the stone block beneath the platform to access a secret area. Grab all of the bananas within 30 seconds to claim the first puzzle piece.
Frantic Fields Second Puzzle Piece
Head right after grabbing the rhino and run across the spikey cactuses, rather than the platforms, to access a secret area with the second puzzle piece inside.

Frantic Fields Kong Letter K
You'll find the first KONG letter right after you get the second puzzle piece. It's easy to spot, but to grab it go underneath it and let the whirlwind carry you up to get it.
Frantic Fields Kong Letter O
You'll find the O shortly after the lightning appears. Just remain calm, jump across the platforms, and wait until the third rises to its limit to grab the O.
Frantic Fields Third Puzzle Piece
You'll find the third puzzle piece shortly after the lighting section, when the enemies are being hurled at you from the foreground. Keep an eye on the floor and you'll find a root. Pull it up to get the third piece.
Frantic Fields Kong Letter N
During the section with the strong winds, move slowly until you see the N above you. Jump and grab it.
Frantic Fields Fourth Puzzle Piece
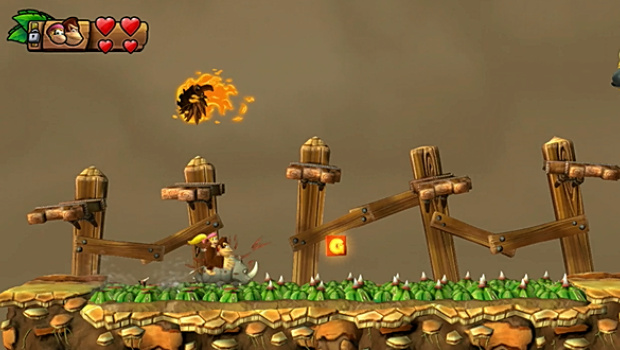
Backtrack after the final checkpoint and grab the rhino. Then, dash and jump left to land on a precarious platform with the fourth puzzle piece on it.

Frantic Fields Fifth Puzzle Piece
During the section where you're jumping across a bunch of broken platforms inside of the whirlwind, keep an eye above you for a barrel that comes floating past. You need to jump into it to access a secret area. Grab all of the bananas before the timer runs out to get the final puzzle piece.
Frantic Fields Kong Letter G
You need the rhino to grab the G without taking damage. Shortly after the fourth puzzle piece, you'll see the G beneath a platform.
Scorch 'N' Torch Walkthrough - Puzzle Pieces And Kong Letters
Scorch 'N' Torch First Puzzle Piece
Grab the first buddy barrel then head right. You need to throw the fruit at the fire to put it out, then roll across the grass to cut it. The first puzzle piece will then appear.
Scorch 'N' Torch Kong Letter K
Just after getting the first puzzle piece, head right and you'll see the K above a few platforms. Jump across them quickly to grab it. Careful though, as they will break after you jump on them, so you only get one shot.
Scorch 'N' Torch Second Puzzle Piece
Right before reaching the first checkpoint, grab all of the bananas on your way up the fallen tree to grab the second puzzle piece at the top.
Scorch 'N' Torch Third Puzzle Piece
Keep heading right until you find a burning section of grass with two birds flying above it. Backtrack a bit and grab a water fruit to put out the fire, then stomp on the platform to fall into a secret area. Grab all of the bananas here to get the third puzzle piece.
Scorch 'N' Torch Fourth Puzzle Piece
Jump across the next few platforms quickly, and you'll see a root on a burning section of ground. Quickly pull it up to grab the fourth puzzle piece.
Scorch 'N' Torch Kong Letter O
After grabbing the fourth puzzle piece, head right and you'll see the O above you. Grab a water fruit and throw it at the burning vine to put out the fire, then swing across the vines to grab the O.
Scorch 'N' Torch Kong Letter N
Grab the N during the section with falling trees. You'll have to be patient to find a platform that falls onto it.
Scorch 'N' Torch Fifth Puzzle Piece
After grabbing the O, head right and jump across a few falling trees. Be patient on the last one to get the puzzle piece on the topmost branch. (You may have to grab all bananas on the way to get this one.)

Scorch 'N' Torch Kong Letter G
The G is right after the N. You'll find a section with loads of fireballs falling from the sky. Time your route past them and grab the G along the way with a well-timed jump.

Scorch 'N' Torch Sixth Puzzle Piece
Just after grabbing the G, you'll see a burning section of grass just to your right. Jump over it, grab the water fruit, and put out the fire. Head inside the trunk to find a secret area. Grab all bananas to find the sixth puzzle piece.
Scorch 'N' Torch Seventh Puzzle Piece
The final puzzle piece is right at the end. Time your roll across the burning ground, while avoiding the barrel, to get to the other side. Then, roll over the grass to cut it and reveal the final puzzle piece.
Twilight Terror Walkthrough - Puzzle Pieces And Kong Letters
Twilight Terror First Puzzle Piece
Rather than jump in the barrel at the beginning of the level, dive into the water instead and head left to find a secret area. Grab all of the bananas before the timer runs out to get the first puzzle piece.
Twilight Terror Kong Letter K
You'll find the K at the beginning of your rocket journey. Keep an eye out for it after a string of bananas.
Twilight Terror Second Puzzle Piece
Shortly after grabbing the K, collect the string of bananas to grab the second puzzle piece.
Twilight Terror Kong Letter O
After the second puzzle piece, keep close to the water to grab the O underneath an arch.
Twilight Terror Third Puzzle Piece
After the O, keep low to find another arch with the puzzle piece inside.

Twilight Terror Fourth Puzzle Piece
Shortly after the checkpoint, head below two fish nets then go up and over the third to get the fourth puzzle piece.
Twilight Terror Kong Letter N
After the fourth puzzle piece, you'll find the N above another net.
Twilight Terror Kong Letter G
Pass the final checkpoint and a fish will blow bubbles with some nice things inside. The G is in the final bubble.
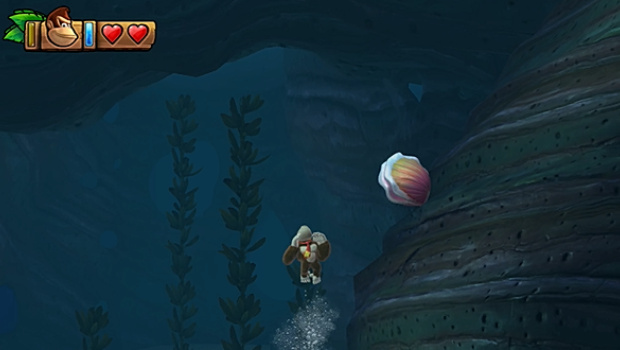
Twilight Terror Fifth Puzzle Piece
The fifth and final puzzle piece is inside a clam shell in the water at the end of the level. Roll into it to break it and grab it.
Cannon Canyon Walkthrough - Puzzle Pieces And Kong Letters
Cannon Canyon First Puzzle Piece
Grab the buddy barrel then jump right and backtrack to find a secret area. Grab all bananas to get this puzzle piece.
Cannon Canyon Kong Letter K
You'll find the K shortly after the first puzzle piece. Avoid the swinging bombs to grab it.

Cannon Canyon Second Puzzle Piece
You'll find the second puzzle piece right at the end of the first barrel section. Time your final blast wisely to grab it while avoiding the bombs.
Cannon Canyon Kong Letter O
After grabbing the third puzzle piece, you'll see the O across to platforms above you. Head underneath it and jump from the right-hand side to get it.
Cannon Canyon Third Puzzle Piece
After the first checkpoint, head right and roll the penguin with the melon bomb. Grab it and run left to chuck it at the wall to open up a secret area. Head inside and grab all of the bananas before the timer runs out to get the third piece.
Cannon Canyon Fourth Puzzle Piece
Slam the ground beneath the right-most falling pillar to find a secret area with the fourth puzzle piece inside.

Cannon Canyon Kong Letter N
Time your blast wisely during the final barrel section to get the N.
Cannon Canyon Kong Letter G
Time your blast wisely during the final barrel section to get the N.
Cannon Canyon Fifth Puzzle Piece
At the end of the level, fall off the platform on the left side to land in a barrel. Fire yourself to the puzzle piece to grab it.
Rickety Rafters Walkthrough - Puzzle Pieces And Kong Letters
Rickety Rafters First Puzzle Piece
Near the beginning of the level, you should see a platform that looks slightly different underneath an owl. Stomp on it to access a secret area, then grab all bananas within 30 seconds to get the first puzzle piece.
Rickety Rafters Kong Letter K
Just after grabbing the first puzzle piece, you'll see the first K letter above a flying chicken. Jump off its head to get it.
Rickety Rafters Second Puzzle Piece
Right after grabbing the K, you'll find two swinging vines. Look just beneath them and you should see a barrel canon. Jump into it and fire yourself into a secret area to grab the second puzzle piece.

Rickety Rafters Kong Letter O
The O is easy to spot. Shortly after passing a checkpoint, you'll see it over a flying owl. Bounce off its head to grab it.
Rickety Rafters Third Puzzle Piece
After grabbing the O, you'll come across a grassy surface you can grab. Rather than head right, climb to the left and jump to find a secret area with the third puzzle piece inside.
Rickety Rafters Kong Letter N
You'll find the N during a barrel blast section. Fire yourself out of the cannon so you land on the chicken's head, then bounce off it to grab this KONG letter.
Rickety Rafters Fourth Puzzle Piece
Shortly after jumping off a row of owls, you'll land in a blast barrel. Hold the grab button before you blast so you grab a vine along the way, revealing the fourth puzzle piece. Drop down to get it.

Rickety Rafters Kong Letter G
The G is quite tricky to grab. Ride the top platform right, then drop to the lower so you avoid the flaming owls. Then, quickly grab onto the vine and climb up it before jumping left to grab the G. Be quick because the platform will move back to its original position.
Rickety Rafters Fifth Puzzle Piece
At the end of the level, roll the grass on the bottom right of your screen to grab the final puzzle piece.
Bramble Scramble Walkthrough - Puzzle Pieces And Kong Letters
Bramble Scramble First Puzzle Piece
Jump on a plant platform at the beginning of the level and a few more will appear to your left. Jump across them until you reach a plant, then stomp it to get this puzzle piece.

Bramble Scramble Kong Letter K
Roll jump or use Dixie Kong to grab the K over a giant bitey plant. Just make sure it doesn't bite you.
Bramble Scramble Second Puzzle Piece
You'll find the second puzzle piece right after the first KONG letter. Jump on a plant and grab a banana bunch. A bunch more bananas will appear. Grab them all to get this puzzle piece.
Bramble Scramble Third Puzzle Piece
Keep an eye out for a barrel cannon. When you find one, jump left instead and grab onto a swinging vine. This will trigger a new barrel cannon to appear. Jump into it to fire to the background, then collect all of the bananas to get this puzzle piece.

Bramble Scramble Fourth Puzzle Piece
Right after the first checkpoint, bounce off the two owls to reach a secret ledge above the buddy barrel. Grab all of the bananas before the timer runs out to get this puzzle piece.
Bramble Scramble Kong Letter O
Again, this KONG letter is above a bitey plant. Roll jump or use a buddy to get it.
Bramble Scramble Fifth Puzzle Piece
Shortly after grabbing the second KONG letter, you'll find a plant with three leaves on it. Just beneath and to the right you'll see a random banana. Fall off the plant to get it and you'll land in a barrel cannon that will fire you off to the fifth puzzle piece.

Bramble Scramble Sixth Puzzle Piece
Right after this you'll come across a few hedgehogs on fire. Ignore them and head left to find a plant. Stomp it to release a bunch of bananas and collect all of them to get this puzzle piece.

Bramble Scramble Seventh Puzzle Piece
You'll find the seventh puzzle piece shortly after the sixth. Pass under a bunch of spikes, and then turn and jump on top of them to enter a hidden area. Grab all of the bananas before the timer runs out to get this puzzle piece.
Bramble Scramble Kong Letter N
You should see the N KONG letter right by the seventh puzzle piece. Grab the buddy barrel just to the right, and make sure it's Cranky or Dixie to get this one without taking damage.
Bramble Scramble Kong Letter G
Finally, you'll find the final KONG letter sandwiched between to owls. Take the safe route and bounce on the big owl three times to defeat it, then safely grab the G by bopping on the smaller owl. You could also roll jump to get it, or do a small bounce off the small owl. Whatever takes your fancy.


Comments 0
Wow, no comments yet... why not be the first?
Leave A Comment
Hold on there, you need to login to post a comment...