Puzzle pieces and KONG letters are the big collectibles in Donkey Kong Country: Tropical Freeze, provided you're not a total masochist and feel the need to run time trials or aim for 200% completion via hard mode. We really can't help you with that.
But we can help you collect all of the lovely puzzle pieces and KONG letters. While they're not easy to collect by any means, they are achievable. You also unlock some excellent extra content for putting in the effort, so we do recommend it.
Here, we'll cover how to find every single puzzle piece and KONG letter in Secret Seclusion, the seventh island in Donkey Kong Country: Tropical Freeze. You can also follow the links below for walkthroughs of the other islands. Enjoy!
Lost Mangroves | Autumn Heights | Bright Savannah | Sea Breeze Cove | Juicy Jungle | Donkey Kong Island | Secret Seclusion
1 - K: Swinger Flinger Walkthrough - Puzzle Pieces And Kong Letters
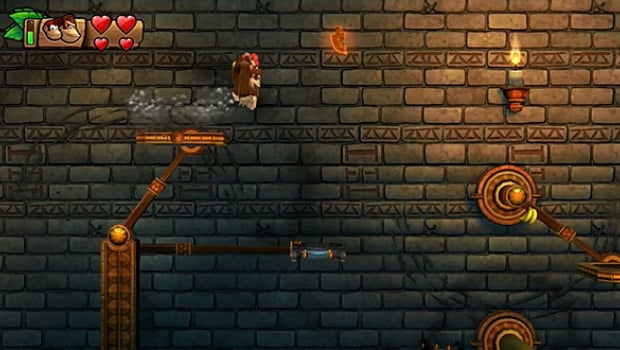
Swinger Flinger First Puzzle Piece
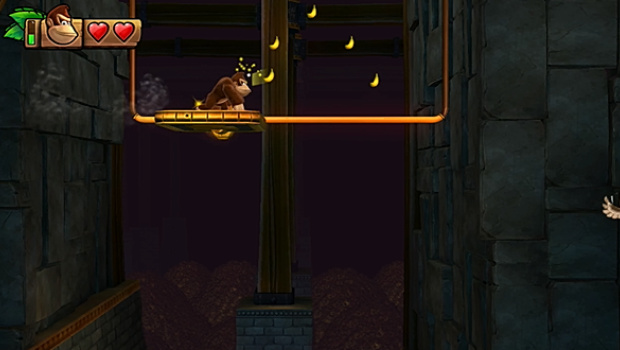
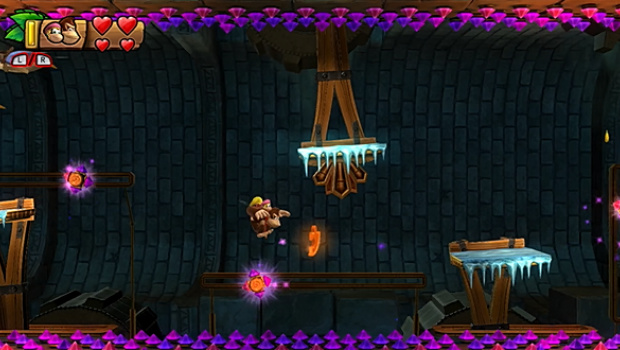
This puzzle piece is right after the first swinging vine section. You'll land on a cart that swings back and forth on rails, and you have to time your jump correctly to grab the piece and land back on the cart.
Swinger Flinger Second Puzzle Piece
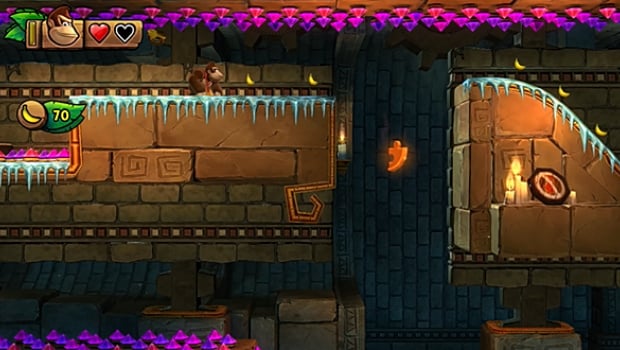
After you've bopped your way across the owls, you'll see a root under a swinging vine. You can't touch the vine, or you'll take damage, so duck under its swings until its safe, then pull up the root to get the puzzle piece.
Swinger Flinger Third Puzzle Piece
You'll spot the next puzzle piece easily enough. There's a section where you have to climb vines while avoiding purple spikes. Just time your jumps correctly and bop off the owl's head at the right time to grab this piece.
Swinger Flinger Fourth Puzzle Piece
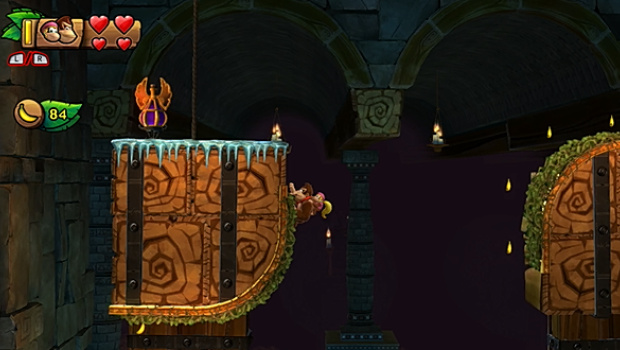
The fourth puzzle piece is on a section with four vines and spikes periodically falling down. Collect all of the bananas that appear around the vines to get the puzzle piece.

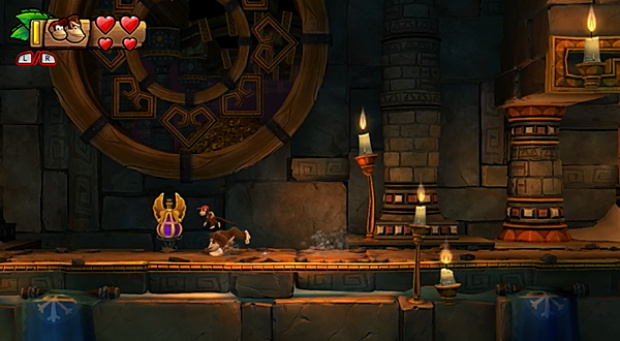
Swinger Flinger Fifth Puzzle Piece
Smash the purple jar at the end of the level to get the final puzzle piece nice and easy.
2 - K: Bopopolis Walkthrough - Puzzle Pieces
Bopopolis First Puzzle Piece
Collect all of the bananas as you bop off the collection of owl's heads at the start to trigger a puzzle piece that appears on your way to the barrel cannon.
Bopopolis Second Puzzle Piece
You'll see the next puzzle piece during the section where you have to bop off a bunch of penguin's heads to climb upwards. It will be beneath a platform, so you'll have to roll jump to get it without dying.
Bopopolis Third Puzzle Piece
The third puzzle piece also requires a roll jump. You'll see it, once again, hiding beneath a platform, so you'll have to roll jump off yours to grab it on your way to the giant owl.
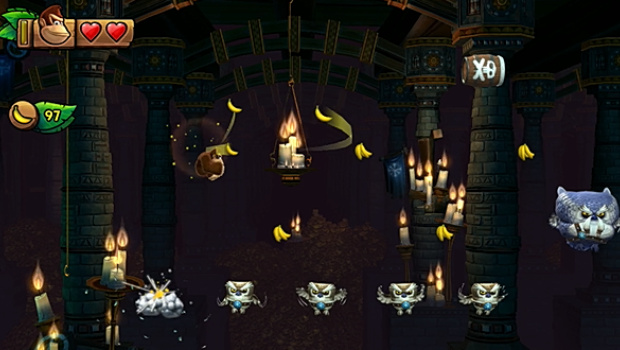
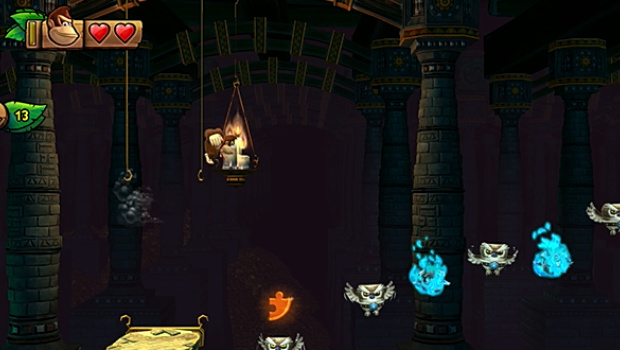
Bopopolis Fourth Puzzle Piece
You'll reach a trail of owls that are a mixture of normal owls and fiery blue owls. Wait. An owl will fly up with the puzzle piece on its head. Grab it.
Bopopolis Fifth Puzzle Piece
Use the power of patience once again to get the fifth puzzle piece. You'll reach a section with a spinning group of penguins on platforms. Wait until you see the fifth puzzle piece and drop onto the penguin's head to get it.
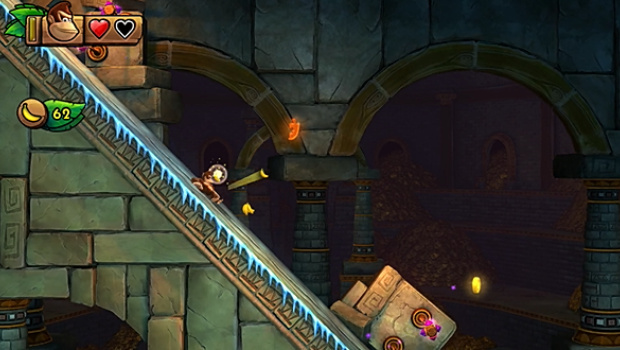
3 - K: Precarious Pendulums Walkthrough - Puzzle Pieces And Kong Letters
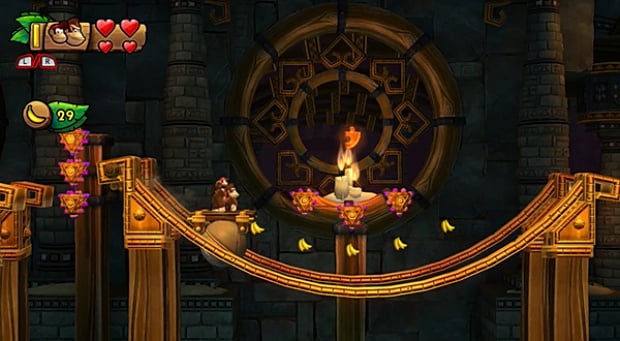
Precarious Pendulums First Puzzle Piece
Jump across the swinging platforms and you'll find a purple vase. Smash it to release a bunch of bananas. Grab them all to earn your puzzle piece.
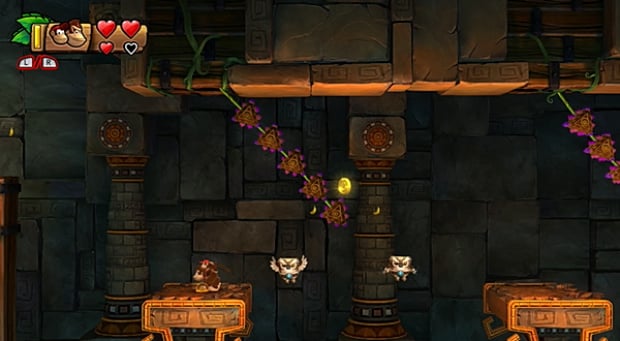
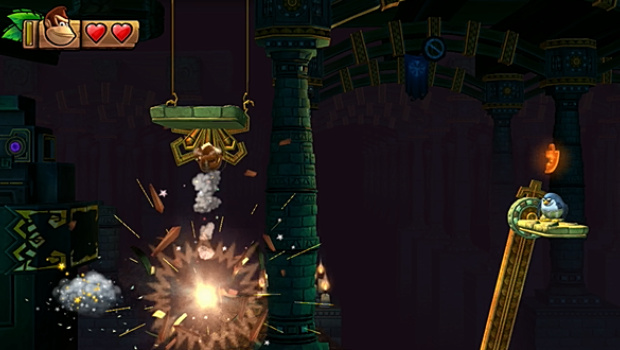
Precarious Pendulums Second Puzzle Piece
Shortly after, you'll reach a barrel cannon section. Fire into the second barrel and wait for it to point left. Be brave and fire yourself in that direction to get the second puzzle piece.
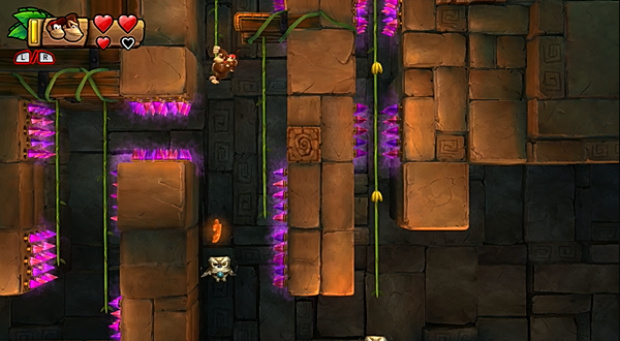
Precarious Pendulums Third Puzzle Piece
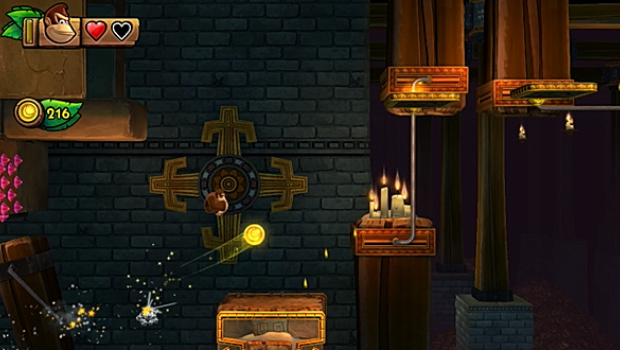
You'll find the third puzzle piece on the charged platforms. Keep doing small jumps to prevent the charge from hitting you until the puzzle piece comes overhead. Grab it and move on.

Precarious Pendulums Fourth Puzzle Piece
The next puzzle piece is in plain sight between a bunch of swinging platforms. Roll jump or use a buddy kong to grab it.
Precarious Pendulums Fifth Puzzle Piece
The last puzzle piece is very tricky to grab. You can try a heroic roll jump from the right and grab it on the way to the owl's head, bring Cranky Kong all the way to it to bounce off the spikes, or just take the hit and get this level over with.

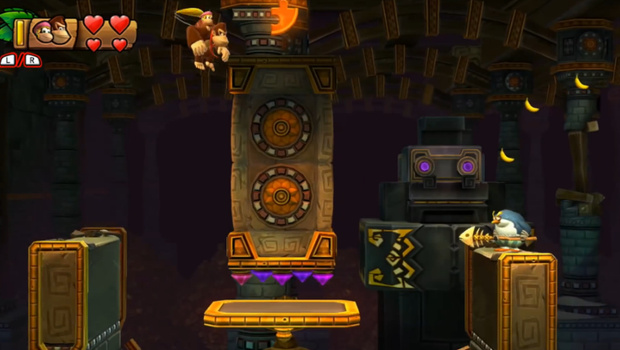
4 - K: Spinning Spines Walkthrough - Puzzle Pieces And Kong Letters
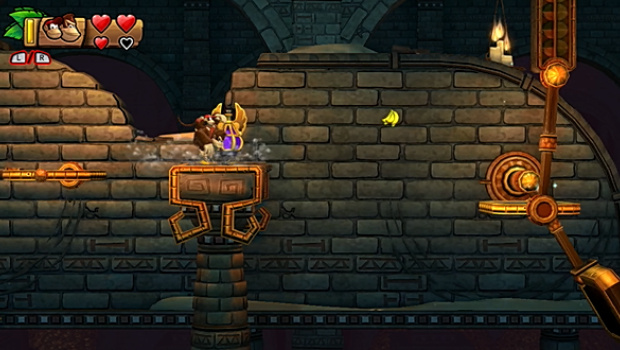
Spinning Spines First Puzzle Piece
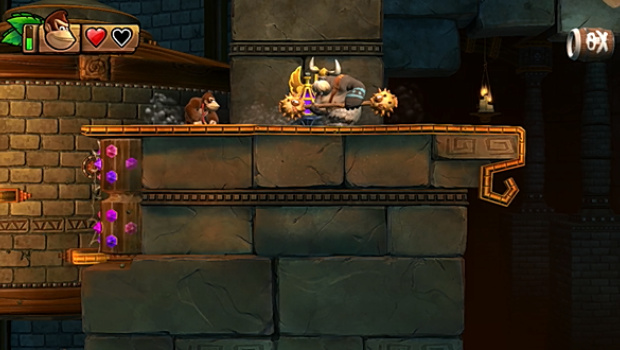
You'll find the first puzzle piece in a purple jar, but be careful as there's an annoying enemy guarding it. When it raises its hammer, roll into it to damage it. Do this three times and the enemy will go down. Stomp on the vase to get the puzzle piece.
Spinning Spines Second Puzzle Piece
The second puzzle piece is a bit tricky. You'll see it below and in the middle of a couple of platforms, and you have to bounce off the owl's head to get on the platform.

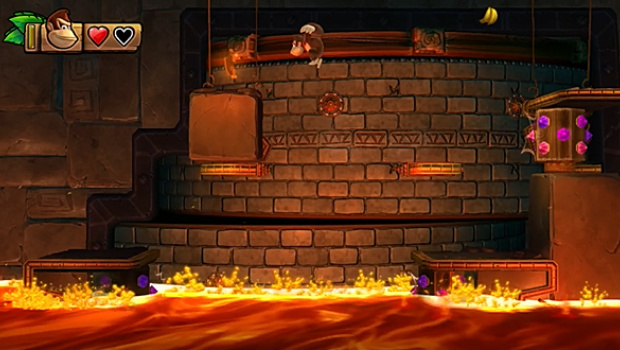
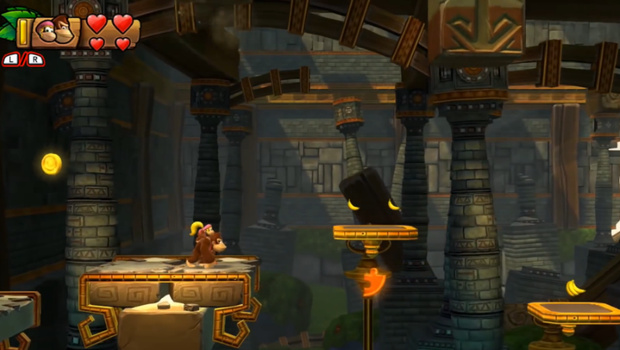
Spinning Spines Third Puzzle Piece
The next puzzle piece is found during a section where you have to climb a tower that's sinking in lava. You'll see it on the left, so just jump across to get it.
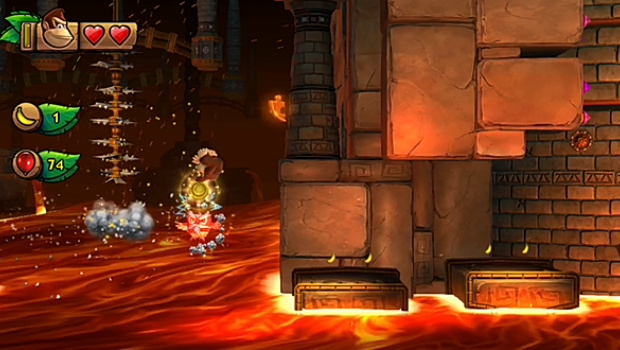
Spinning Spines Fourth Puzzle Piece
Bounce off the three owls shortly after the third to grab the fourth.
Spinning Spines Five Puzzle Piece
Fire left during the ending barrel cannon section to get the final puzzle piece.

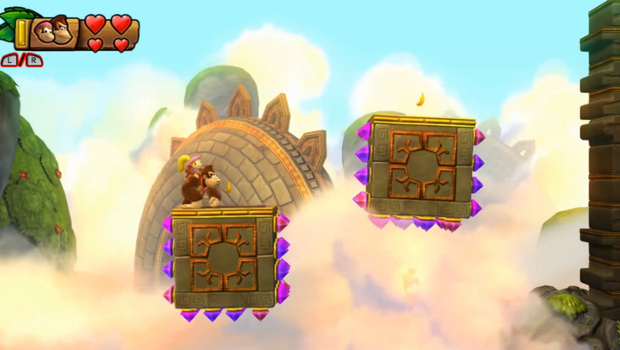
5 - K: Platform Problems Walkthrough - Puzzle Pieces And Kong Letters
Platform Problems First Puzzle Piece
One one of the first few moving platforms, you'll reach a triangle formation of bananas. Grab them all to get the first puzzle piece.
Platform Problems Second Puzzle Piece
You should spot a suspicious wall just above and to the left. Get on the platform to the right of it, let it climb to the top, then roll jump left to enter a secret platform with the puzzle piece on it.
Platform Problems Third Puzzle Piece
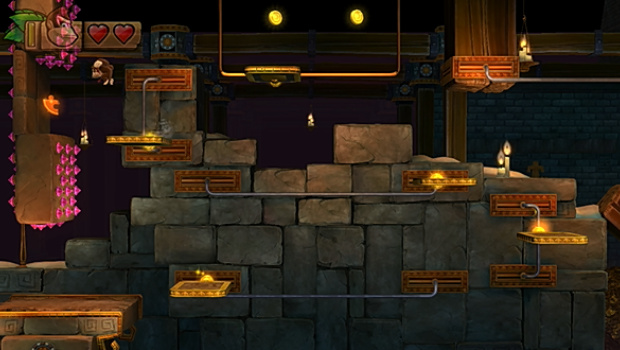
The third puzzle piece is in a section with a bunch of moving platforms. You'll see it on the top left of the screen. To get it, get on the platform just to the right and do a very small jump across.
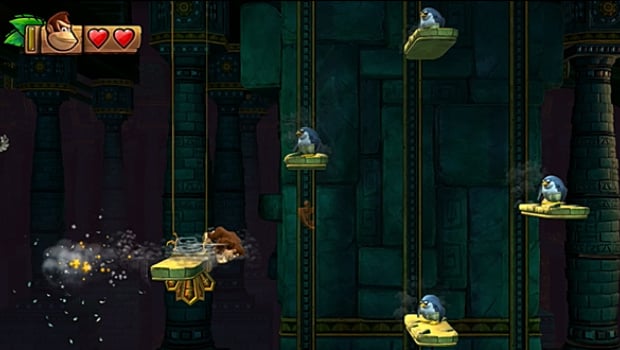
Platform Problems Fourth Puzzle Piece
You'll find the fourth puzzle piece on top of the middle of three owls. Just bounce off their heads to get it.

Platform Problems Fifth Puzzle Piece
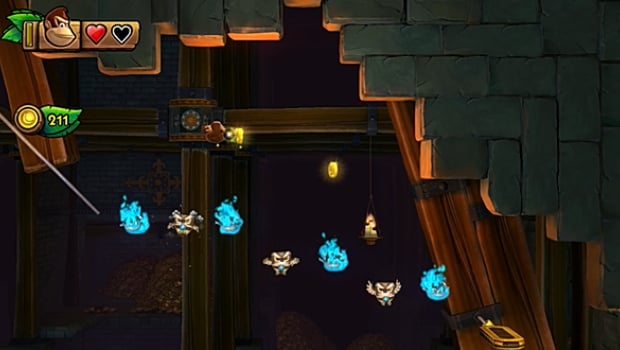
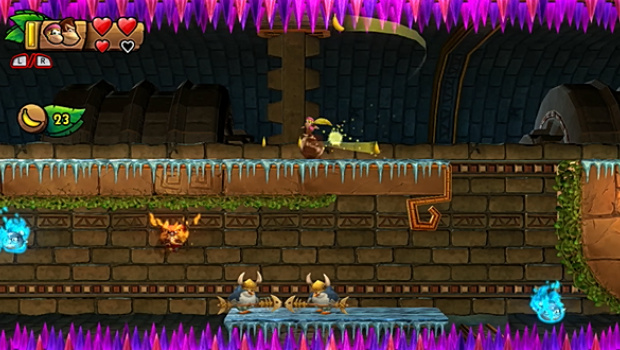
Finally, you have to collect all of the coins above three owls while avoiding the blue flame ones to reveal the final puzzle piece.
6 - K: Slippy Spikes Walkthrough - Puzzle Pieces And Kong Letters
Slippy Spikes First Puzzle Piece
Use Dixie's helicopter ability or Cranky's bouncy stick to get the first puzzle piece without taking damage.
Slippy Spikes Second Puzzle Piece
The second puzzle piece is shortly after. Keep an eye out for a root at the end of a slidey platform that raises into the spikes. Pull it up to reveal the puzzle piece.
Slippy Spikes Third Puzzle Piece
When climbing the grassy platforms, jump from the left to the right, then back on top of the left. Stomp the ornament to release a bunch of bananas. Collect them all and you'll get your hands on the third puzzle piece.
Slippy Spikes Fourth Puzzle Piece
You'll find a section that combines the grassy stuff with the icy stuff. Take the top lane and collect all of the bananas that appear to get this puzzle piece.
Slippy Spikes Fifth Puzzle Piece
The final puzzle piece requires a brave jump during the icy slide at the end of the level. You can do it!
7 - 1: Levitation Station Walkthrough - Puzzle Pieces And Kong Letters
Levitation Station First Puzzle Piece
You'll need Dixie or Diddy to grab this first puzzle piece. You'll see it beneath the first few platforms, and will have to roll jump underneath and use your buddy's ability to get yourself to safety. Might be one worth losing a life for.
Levitation Station Second Puzzle Piece
The next section will have an upper or lower path to choose and progress across. Take the upper path and you'll get the second puzzle piece along the way.

Levitation Station Third Puzzle Piece
This next puzzle piece is probably the most difficult in the game, we're sorry to say! You have to collect all of the fast moving bananas over two different platforms without missing a single one to get it. Prepare to break a few Joy-Cons.
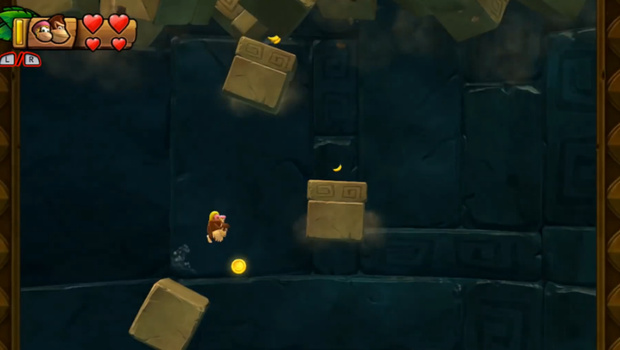
Levitation Station Fourth Puzzle Piece
The next one's pretty easy though. Grab all of the coins during the bit where you climb up a tower on floating blocks. As long as you don't do anything elaborate, you should get the coins with a normal jump.
Levitation Station Fifth Puzzle Piece
The final puzzle piece is between two owls towards the end of the level. Do a small bounce (don't jump off the owl's head, basically) between the two to get it safely without hurting your head on those spikes.
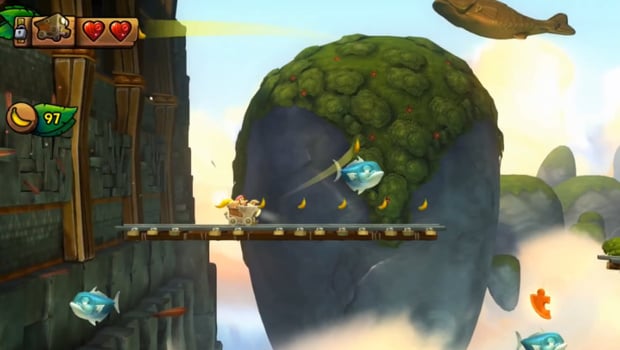
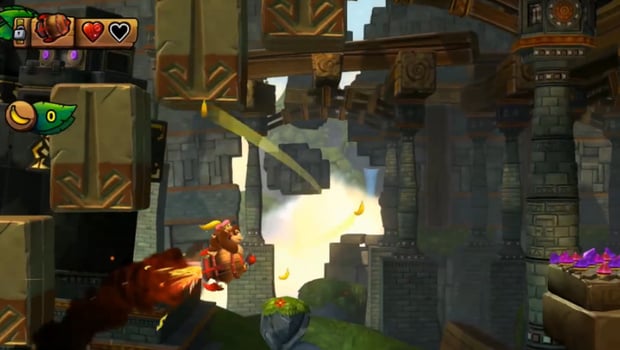
7 - 2: Rocket Rails Walkthrough - Puzzle Pieces And Kong Letters
Rocket Rails First Puzzle Piece
This one's high in the sky at the beginning of the level. You'll probably need Dixie or Cranky to make a jump that high.
Rocket Rails Second Puzzle Piece
The second piece is between two rail tracks, on top of a fish. To get it, don't jump off the tracks but do bounce immediately as you land on the fish to make it to the next track without dying.
Rocket Rails Third Puzzle Piece
You'll land in a pool of water shortly after. Climb out on to the left platform and stomp the purple vase to get this puzzle piece.

Rocket Rails Fourth Puzzle Piece
The next puzzle piece is beneath a platform as you go back indoors. Pull off an epic roll jump or use Dixie's helicopter hair to get it.
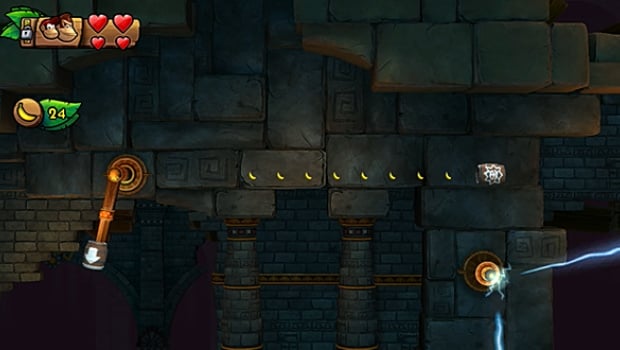
Rocket Rails Fifth Puzzle Piece
Grab all of the bananas in a line during the next rocket section to get the final puzzle piece.
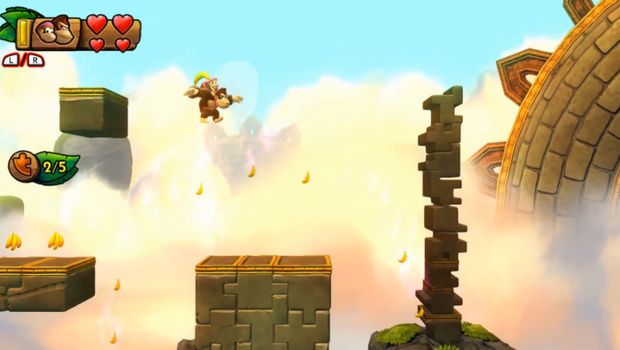
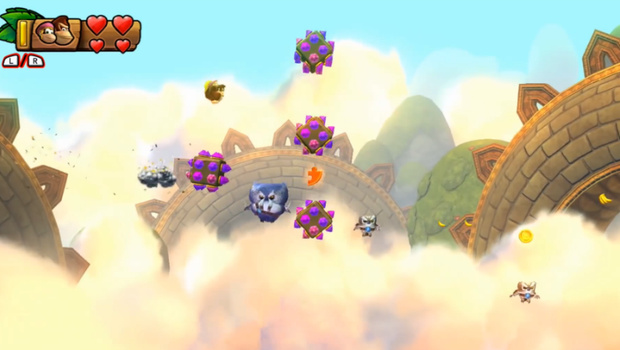
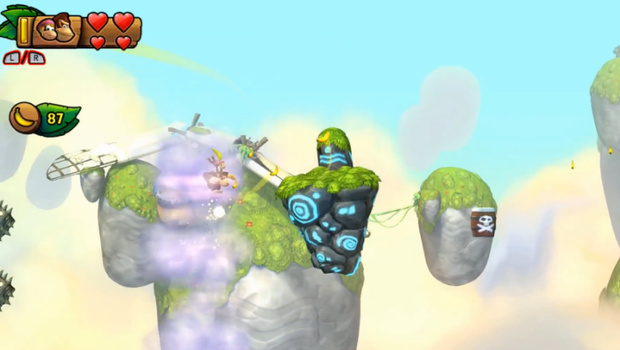
7 - 3: Crazy Clouds Walkthrough - Puzzle Pieces And Kong Letters
Crazy Clouds First Puzzle Piece
You'll jump in a small whirlwind at the beginning of this level. Grab all of the bananas on the way up and you'll get the puzzle piece at the top.
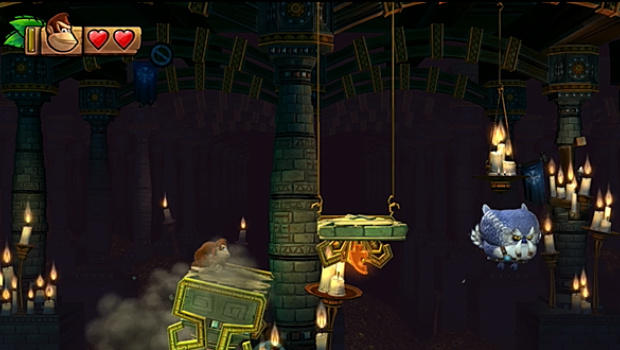
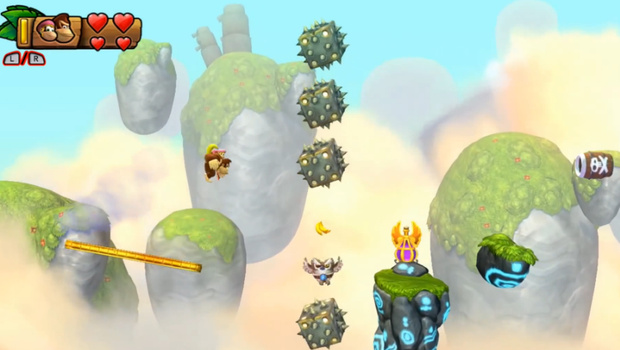
Crazy Clouds Second Puzzle Piece
When you see the next puzzle piece, wait on the topmost helicopter piece until the owls aren't on fire anymore, then roll jump and small bounce between them to get the puzzle piece. If you don't get it on the bounce, just bounce backwards off the right owl to grab it on your way down to the big owl below.

Crazy Clouds Third Puzzle Piece
Keep progressing until you find a purple vase just to the right of an owl and a bunch of spikey blocks. Smash it, grab all of the bananas, get the puzzle piece.
Crazy Clouds Fourth Puzzle Piece
You'll find another vase further into the level, on top of a broken piece of helicopter. Smash it to get the next puzzle piece.

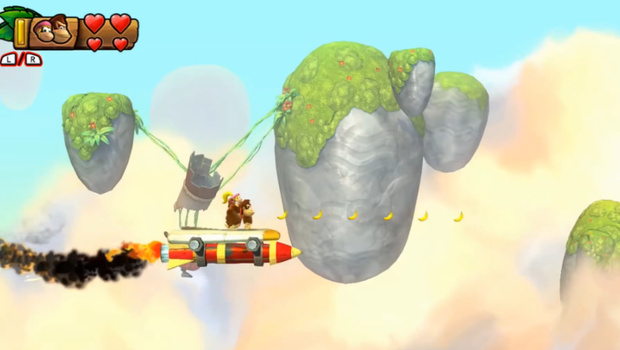
Crazy Clouds Fifth Puzzle Piece
The final puzzle piece is during a rocket plane ride at the end. Jump over the spikey cube when it appears to get it nice and safe like.


Comments 0
Wow, no comments yet... why not be the first?
Leave A Comment
Hold on there, you need to login to post a comment...