The Legend Of Zelda: Breath Of The Wild's final DLC, Champions' Ballad, went live back in December, and boy was it a good 'un. Not only did we get a bunch more shrines, a new dungeon, and some flashy new clothes to wear, we also got a new vehicle – the Master Cycle Zero.
This lets Link ride around Hyrule in a similar manner to his escapades in Mario Kart 8 Deluxe. That means very quickly by the way.
So if you want to make like Link on the Master Cycle Zero and get it really quickly, you're going to need a bit of a helping hand. For just that purpose, we've written a guide series on how to complete the new main quest. Read on to learn more!
Before you begin:
You first have to defeat the four divine beasts and then tackle the Divine Beast Tamer's Trial on the Great Plateau to unlock the next phases of the trial. We say phases, because the next section is split up into four, and you can complete them in any order. Each of the four trials is based on one of the champions.
This guide tackles Revali's, but we've also covered Daruk's, Mipha's, and Urbosa's elsewhere – as well as The Divine Trial, the finale of The Champions' Ballad DLC.
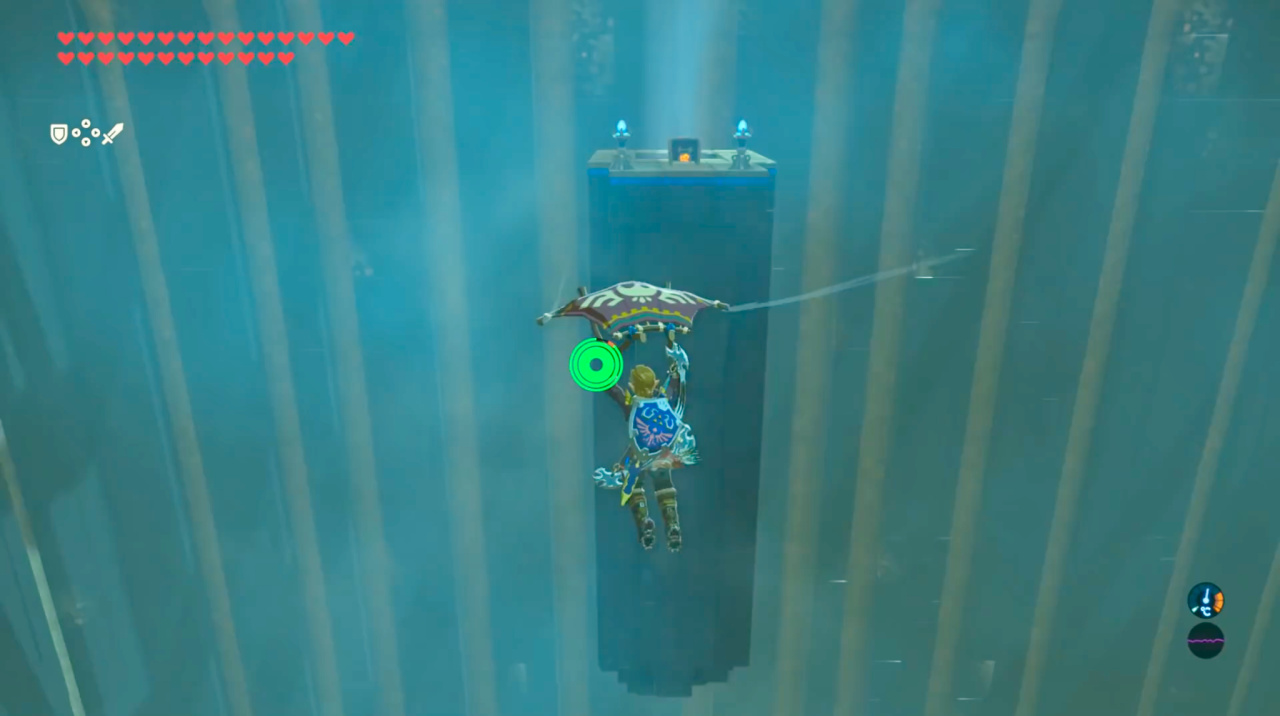
To begin Revali's Song, fast travel to Tabantha Tower and look north. In the distance, you should see what appears to be a broken shrine on a mountain in the distance. Glide over there. Take a closer look at each of the three pedestals, and you'll spot maps pointing to three different locations.
You need to go to these and complete a shrine located nearby to progress in Revali's Song. You can either find this yourself using these map markers and the cryptic clues provided in Kass's song, or simply read below and we'll direct you to each shrine.
Shira Gomar Shrine
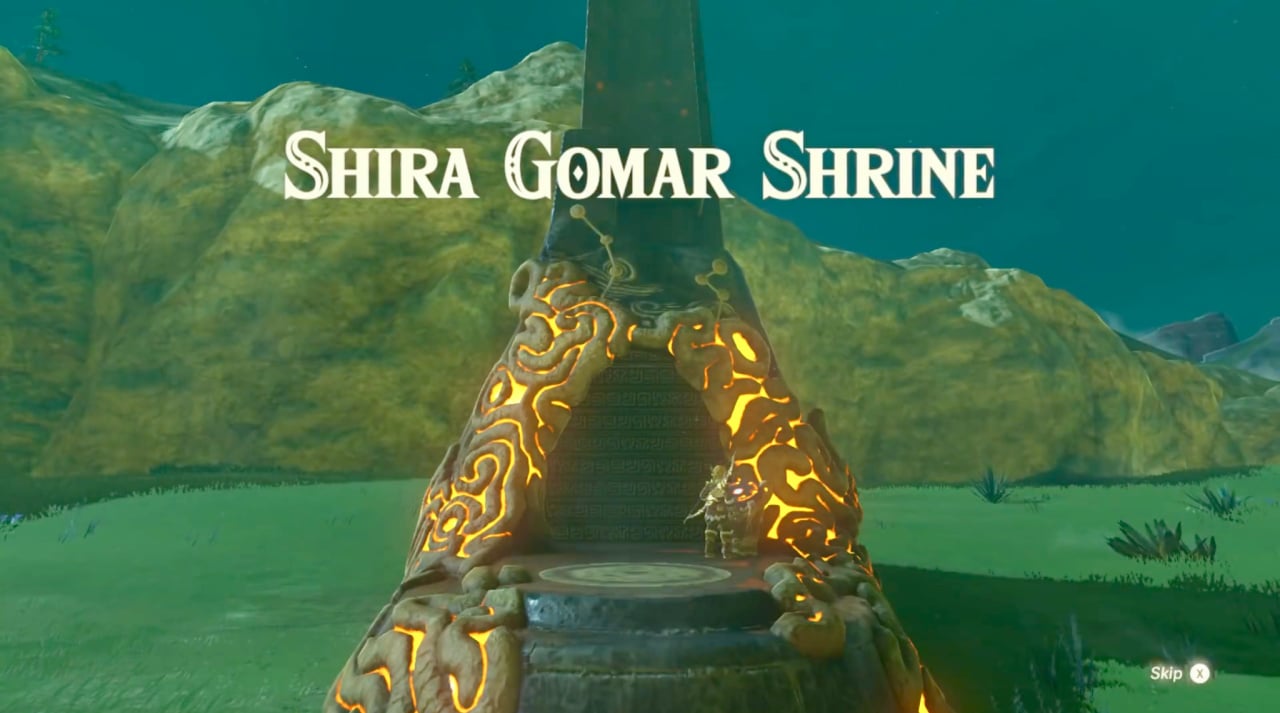
Shira Gomar Shrine, is located right by Tanagar Canyon, so fast travel over to Hebra Tower. This time, you want to glide over Tabantha Village Ruins heading towards Tanagar Canyon. You'll quickly spot a campfire in the canyon – glide down to it. Sit at the campfire and wait until night then turn around and run over to Mazli, the Rito that was sitting by the fire.
Look down into the canyon and you'll spot a dragon flying through it. Whip out your bow and fire an arrow at its horns, triggering the appearance of the Shira Gomar Shrine on the opposite side of the canyon. Use the updraft to glide over there and enter the shrine.
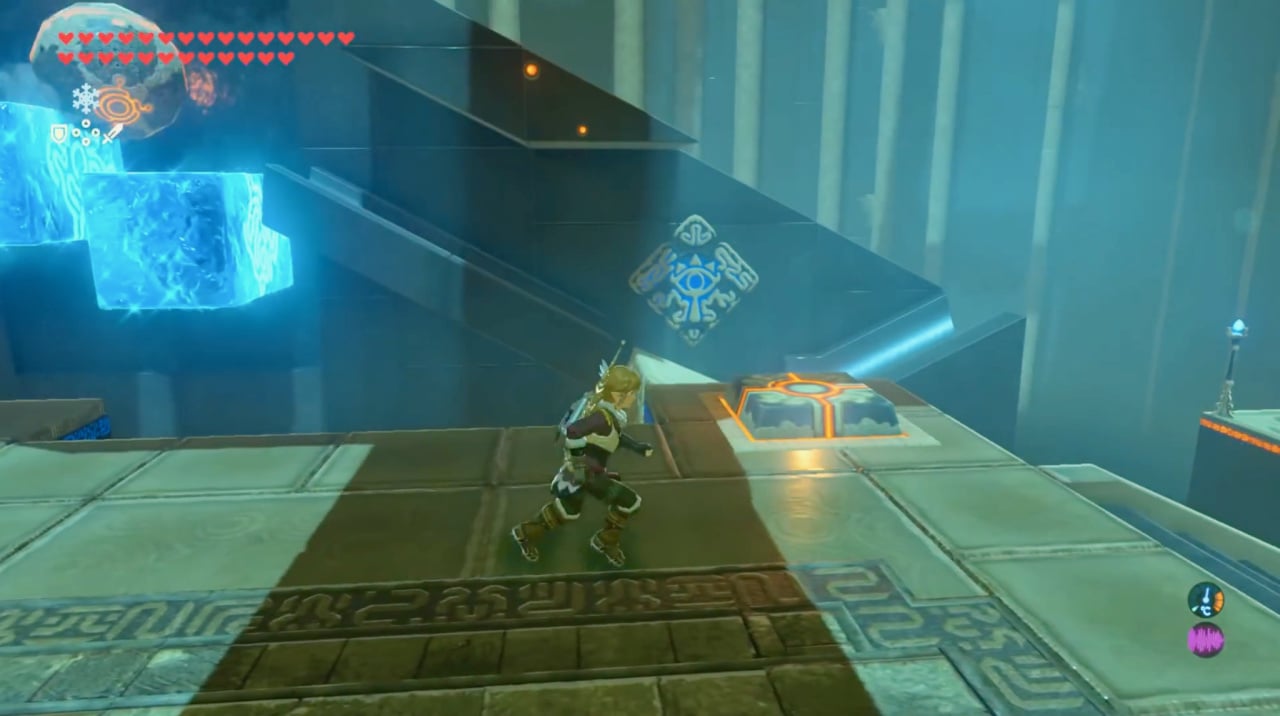
Once inside, run straight ahead and glide into the updrafts to carry you across to the next platform. Once there, pull out a bomb and chuck it into the next updraft to blow up the four cracked blocks above. Ride the updraft up. Then, pull out another bomb and chuck it in the funnel. The updraft will carry the bomb over and destroy the eight cracked blocks in front of you.

Ride the updraft across and then do the same again to fly left, landing on the rotating cog. Pull out Stasis and stop the cog when one of the updraft cannons is facing forward. Throw a bomb into the funnel and watch it blow up yet another collection of cracked blocks.
You probably don't have time to ride the updraft before Stasis wears off so wait until it recharges and stop the cog again in the same position. Make sure it isn't hitting the windmill though, or the gate won't open. Ride the updraft to the next platform. Run forward and ride the next set of updrafts all the way to the end of the shrine. You might have to stay in one to gain some height if you start to lose it.
Treasure Chests
Use Stasis to stop the rotating cog when the funnel is pointed towards the sides, rather than towards the cracked blocks. Ride the updraft and you'll float right over a platform with a treasure chest on it. Time your landing wisely and you should be able to grab it no bother.

Kiah Toza Shrine
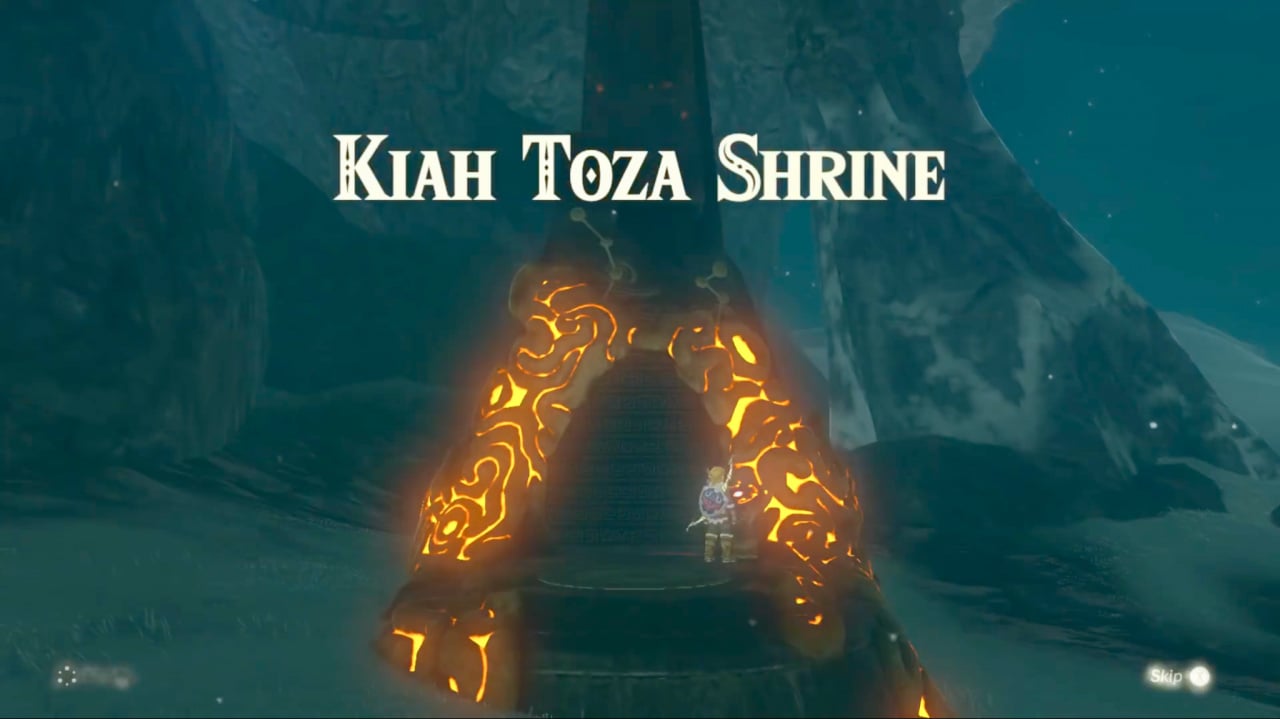
The Kiah Toza Shrine is on Hebra Peak, so fast travel to the Goma Asaagh Shrine. Head forward and turn left and you should immediately see a glowing circle of light. This part is really fun. Pull out a shield and surf on it down the mountain, making sure to go through each circle of light.
Be wary though, as there's a section where you have to glide through updrafts, and you'll have to avoid a few snow boulders on the way down. When you hit the final circle of light, the Kiah Toza Shrine will appear.
Head down the stairs and use the updraft to get onto the first platform, with a switch just to your left. To your right, you'll see a bunch of moveable metal boxes. Grab the furthest right and move it to the left, then do the opposite with the left so they're close to each other. Turn around and create a bridge out of the two metal boxes in front of you. This will create a set of bumpers and a bridge so the ball can pass through without falling off.
Run to the switch in front of you and step on it as the ball lands on the treadmill below. This will push it forwards and down the chute. Drop down next to the updraft and turn around. Use Stasis on the seesaw and then switch to Cryonis. Create a couple of platforms for the ball to travel over to the other side of the chute. Press the switch when the ball is at the bottom of the chute to propel it into the air, where it will settle in a hole and grant you access to the end of the shrine.
Treasure Chests
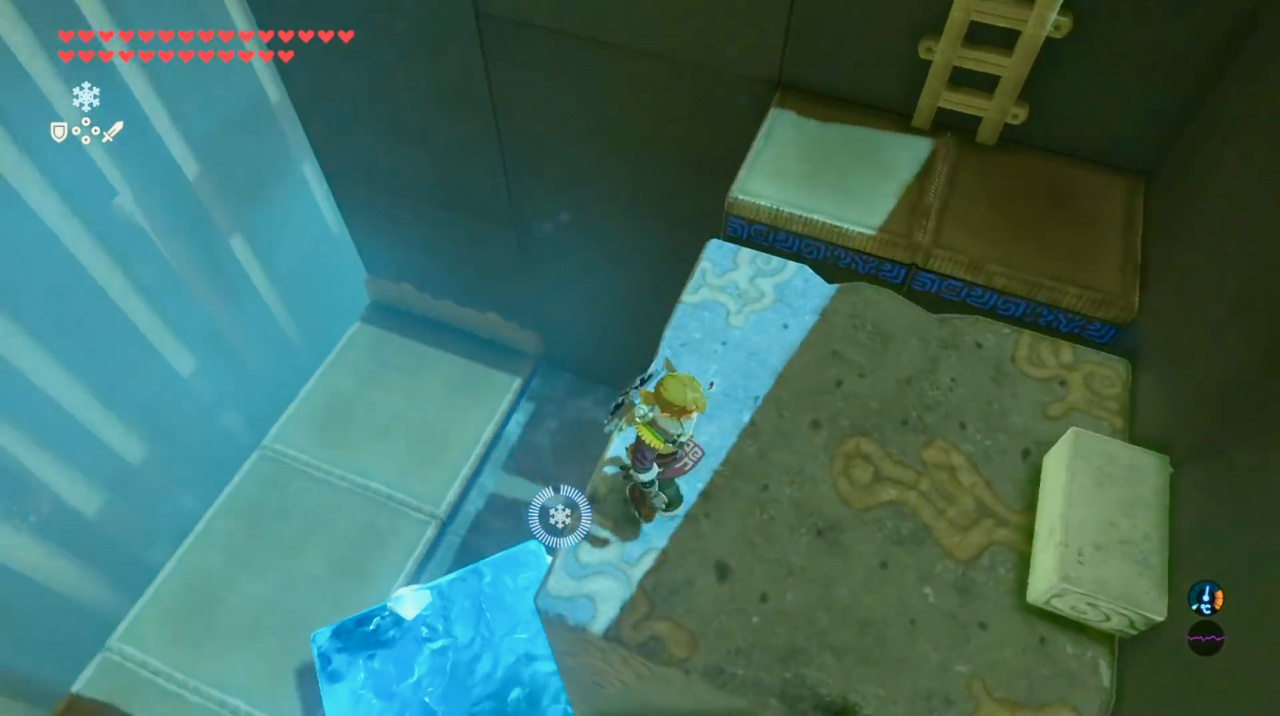
As soon as you enter the shrine, glide down the set of stairs and ride the updraft to the very top where the ball first spawns. Land on the platform next to it and head to the right. You'll see a platform stuck in water next to a set of ladders, but you won't be able to reach them. Climb on top of the platform, whip out Cryonis, and create a block of ice under the platform. That will raise it so its adjacent to the ladders. Climb them and then the two sets of stairs to your right to get the treasure.
Noe Rajee Shrine
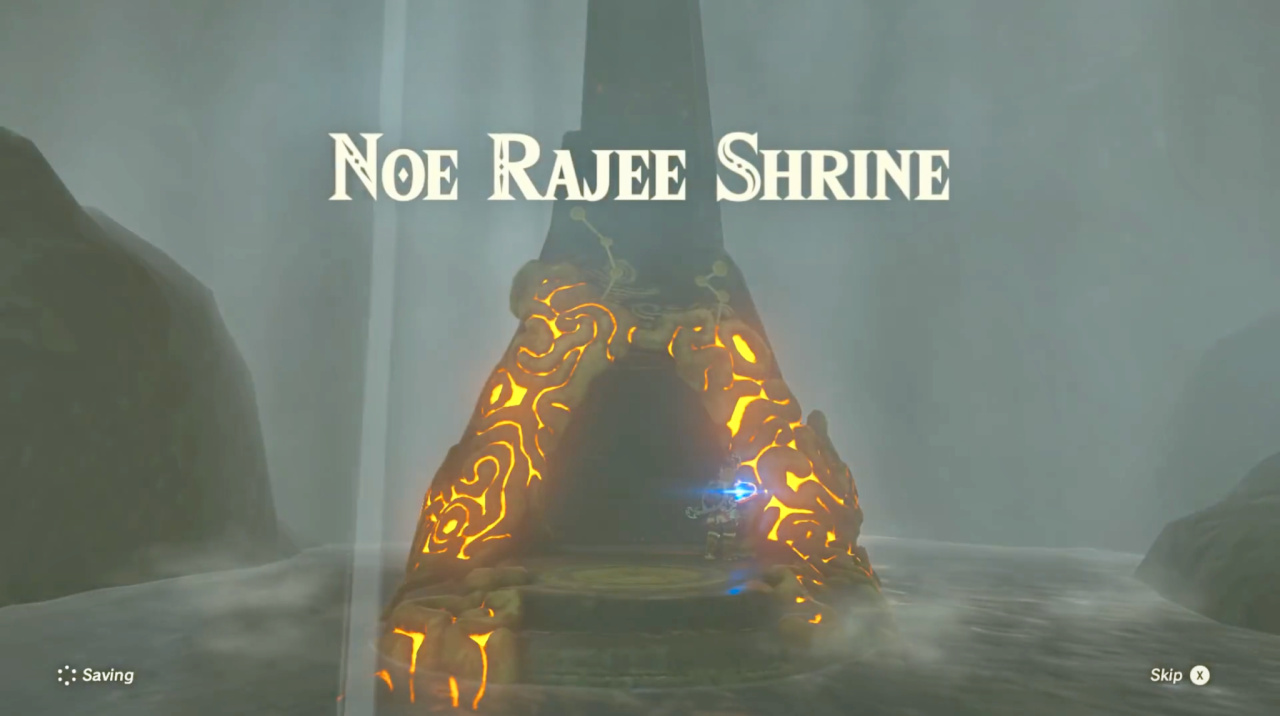
The Noe Rajee Shrine is located by Dronoc's Pass so fast travel to the Sha Warvo Shrine. Follow the path in front of you to the left until you reach Flight Range. Jump into the updraft and glide towards the pillar in the centre.
Pass it so the pillar is on your right, and when you're directly next to it whip out your bow and hit the eyes on the left, centre, and bottom left, then turn around and hit the eye directly behind you. This will trigger the Noe Rajee Shrine to appear in the water below. Drop down and enter .
Once inside, run towards the orange crystal and step onto the pedestal. Shoot the crystal with your bow and ride the updraft upwards then glide down to the platform. If you have bomb arrows, prepare them, then glide down towards the rotating pillar when the cracked blocks are visible. Blow them up on the way and land safely inside the pillar.

Alternatively, glide down to the updraft on the right and land on it. Then, get a bomb ready and let the updraft carry it upwards right at the moment the cracked blocks pass to blow them up.
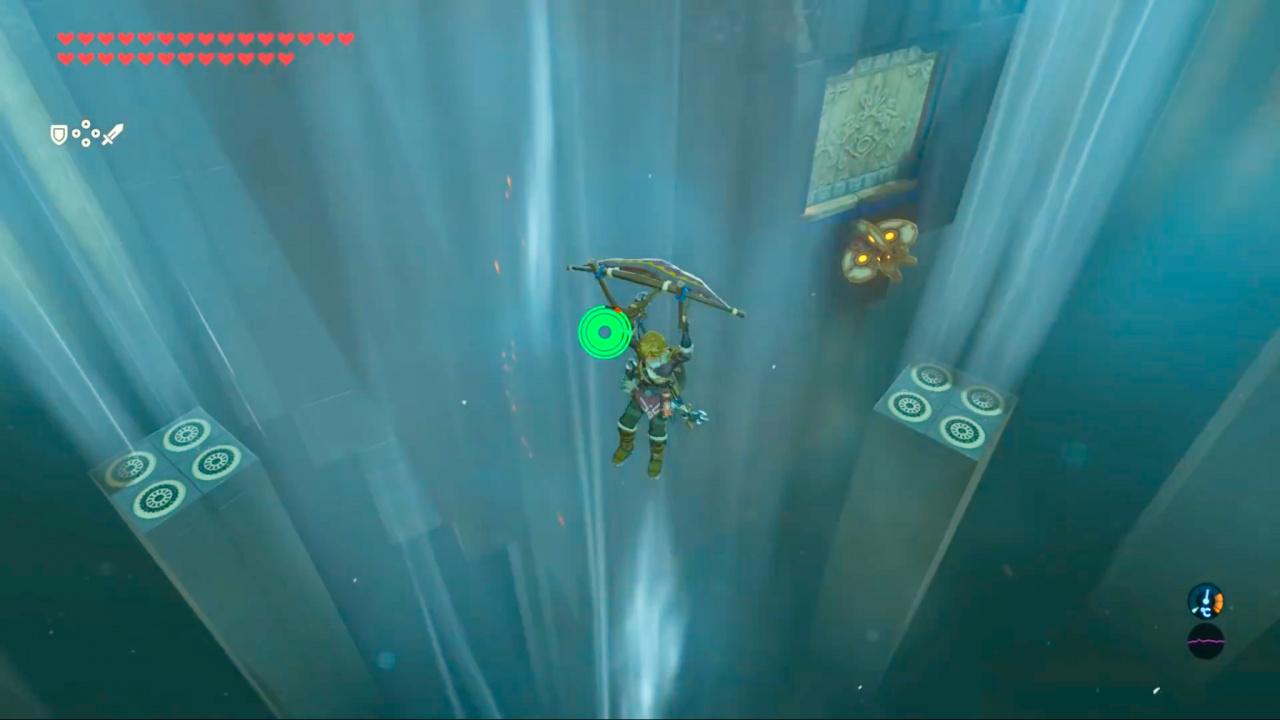
Once inside, hit the orange crystal to trigger a new updraft, then turn around and glide straight ahead, aiming for the two updrafts. Pick one and ride the updraft to the platform above.
Turn around and look at the rotating pillar. Towards the bottom, you should see a chamber with an updraft in it. Glide down to it, using the adjacent updrafts as support, then ride the updraft inside the rotating pillar. At the top you'll find an orange crystal. Hit it to turn on an updraft above you.
Go back down and exit the rotating pillar, aiming for one of the updrafts below. Land on one and once again look at the rotating pillar. You'll spot a windmill that, when triggered, opens the gate above it, revealing another orange crystal. Shoot it to turn on yet another updraft.
Ride the updrafts around the rotating pillar until you see a caged window. Inside, you should spot an orange crystal. Fire an arrow at it to active another updraft. Now ride each of the updrafts to the very top. From here you should be able to see the end of the shrine. Glide over to it to end the final shrine.
Treasure Chests
At the very top of the rotating pillar, look around until you see a treasure chest on top of a pillar. Glide towards it and around the pillar and you can access an updraft. Ride it up to the treasure chest.
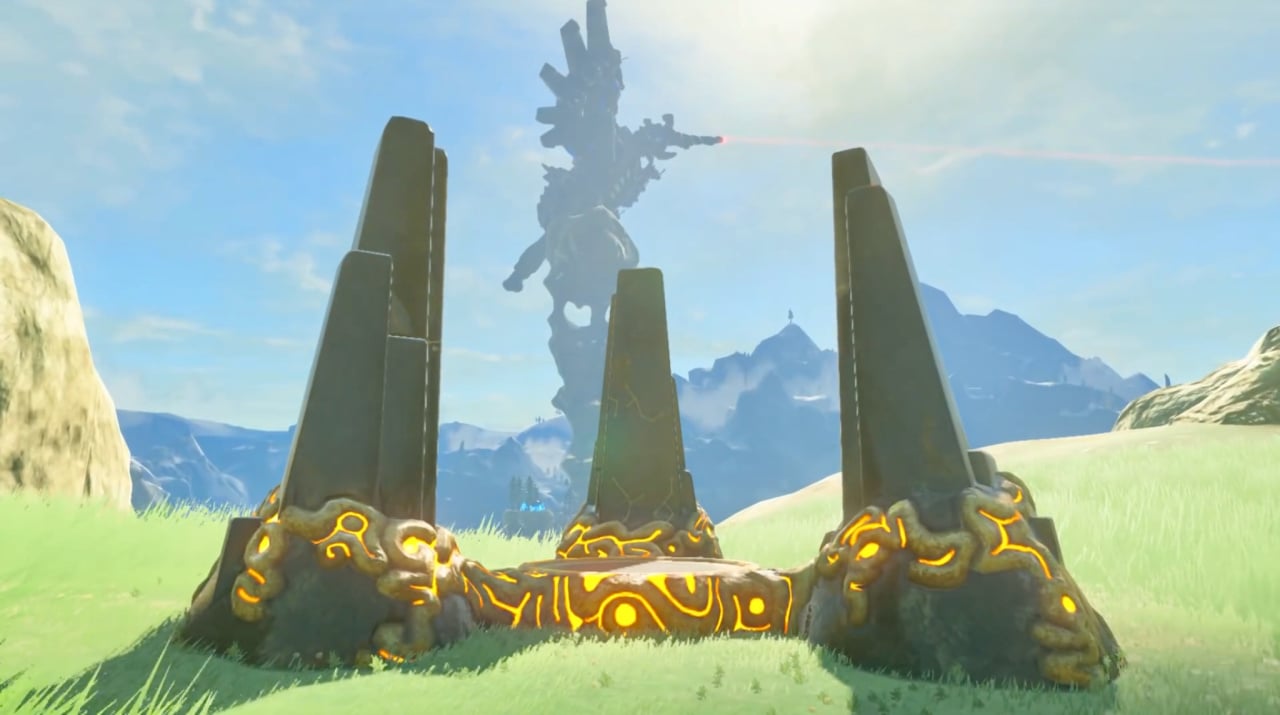
Windblight Ganon
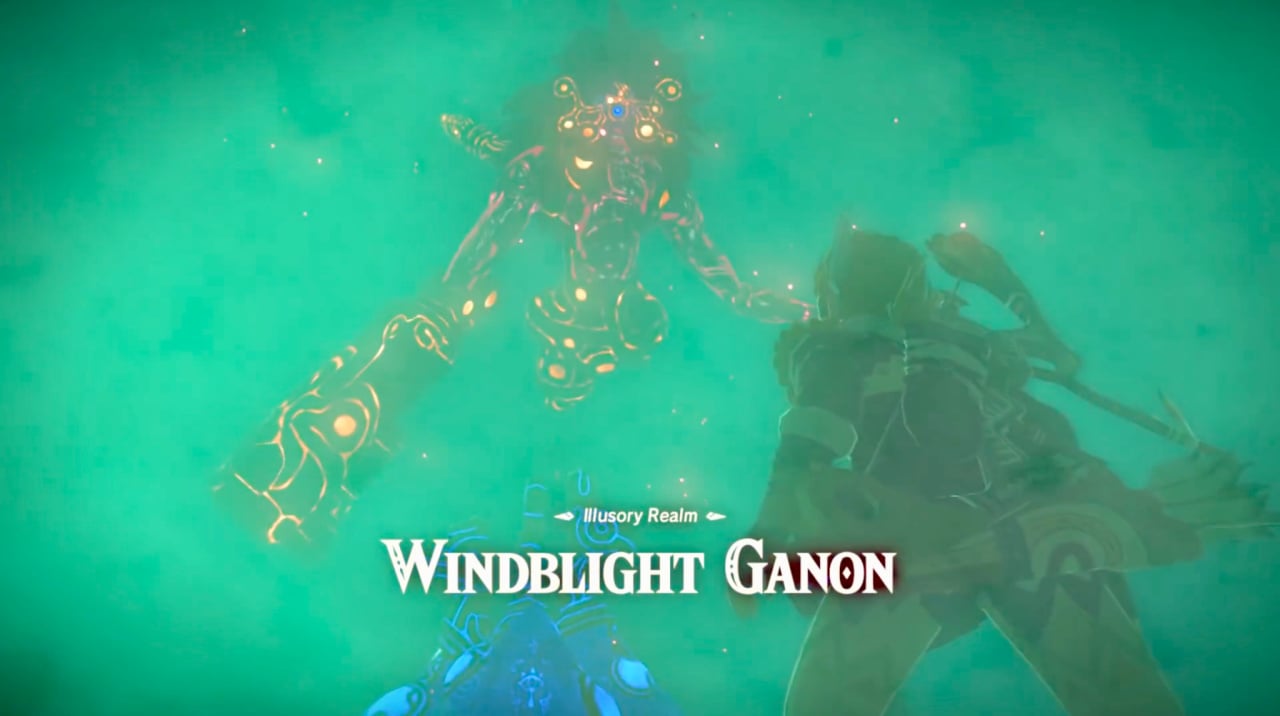
It's time to beat Windblight Ganon and finish off Revali's Song. Fast travel to Divine Beast Vah Medoh and as you get near a cutscene will trigger. You'll be invited to witness a memory, in which you have to face Windblight Ganon with only a feathered edge, falcon, duplex, and phrenic bows, 100 arrows, and five bomb arrows. You'll wear the snowquill set and have three healing items: a wildberry, endura shroom, and a raw bird drumstick.
As soon as the battle starts, run to the nearest updraft and glide up it to get some height. Whip out your bow and fire as many arrows at Windblight Ganon's eye as you can until you run out of stamina. After a few hits you'll stun him, so you can now run over and hit him with your feathered edge or keep on firing arrows from a safe distance. When he gets back up he'll turn into an orb and move elsewhere in the arena. Rinse and repeat these tactics until he's at half health.
At this point a cutscene will ensue in which Windblight Ganon summons a few drones. These magnify his attacks so you can either play it safe and take them out or ignore them if you're feeling confident. Either way, continue the same tactic of gliding up the updraft and firing your arrows at his eye. Be careful during this section though.

When he's at about quarter health, he'll start trying to fire a laser at you just like those nasty guardians do. Fire off a few arrows for sure, but make sure you're on the move before the laser lands. Eventually, Windblight Ganon will fall and a cutscene will ensue of his gnarly death.
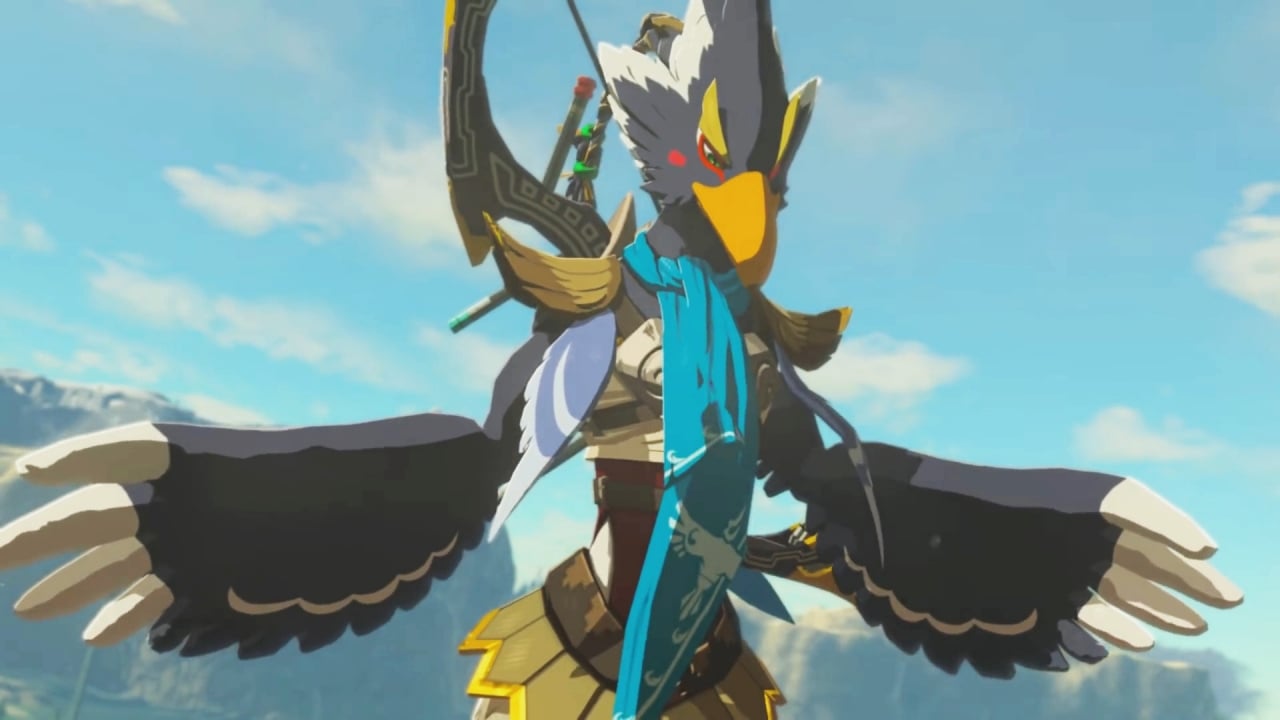
Revali's Song
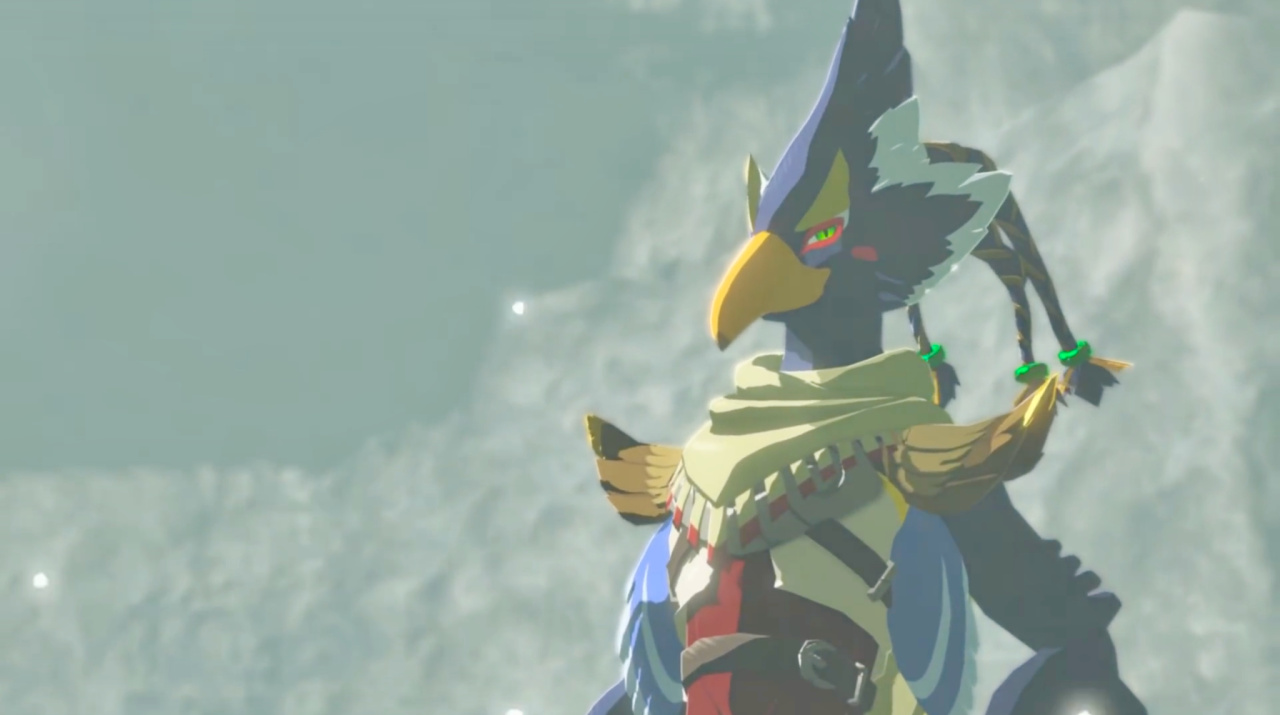
Directly after this, Link will wake up outside the Divine Beast Vah Medoh and Kass will sing a brand new song – Revali's Song. This will trigger another memory in which Zelda rides through a beautiful snowy landscape watching Revali train. You've successfully completed Revali's Song.


Comments 0
Wow, no comments yet... why not be the first?
Leave A Comment
Hold on there, you need to login to post a comment...