It has been an exciting few months for fans of the Super Nintendo. Nintendo’s own SNES Classic Mini brought plug-and-play nostalgia to the masses, while the announcement of the Analogue Super Nt promises to introduce a brand new high-end SNES clone - not just any clone of course, but one featuring super accurate FPGA-based emulation. Even so, no matter how accurate emulation gets, only the original hardware is good enough for some retro gamers.
If only the real deal will do for you, just what is the best version of the original SNES hardware and how do you get the best results out of your gaming setup? Unfortunately, the decision isn’t as simple as just rushing out and buying the first SNES console you see on eBay. Join Video Game Perfection's Matt Buxton as he leaps feet first down the rabbit hole to hunt for the 'ultimate' SNES console.
Model matters
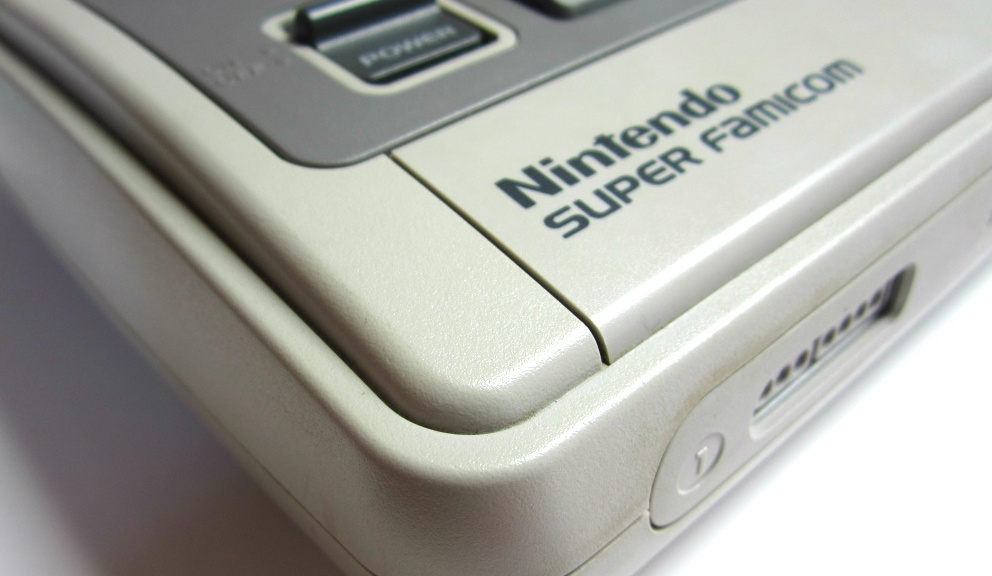
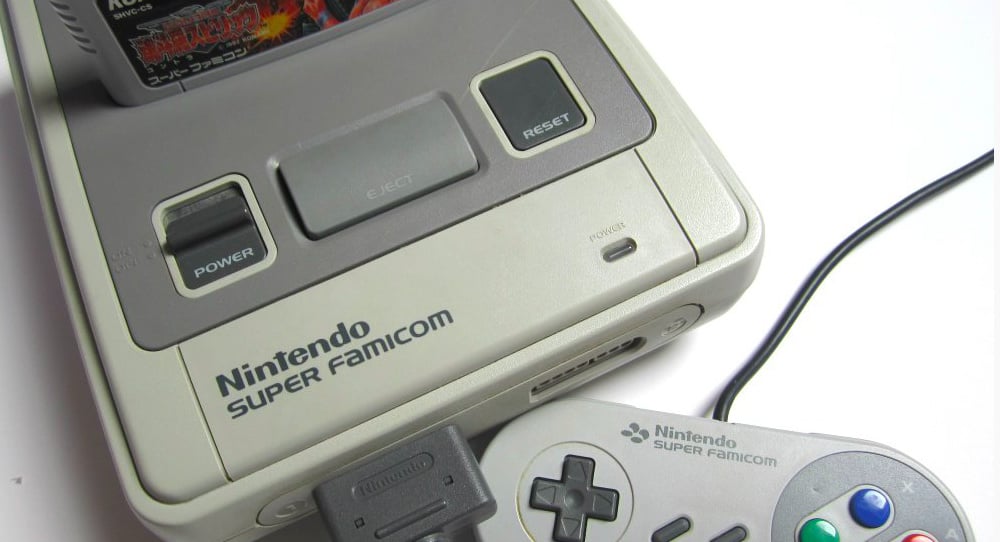
The first step in choosing a SNES console for your collection is deciding which model you want. There were a total of three different designs of the SNES external casing. The European SNES and the Japanese Super Famicom both come in the same gently-rounded exterior case, while the US model comes in a more boxy, square-looking case. Later in the console's life, Nintendo also launched the SNES Mini/Super Famicom Junior (not to be confused with the recently released SNES Classic Mini, of course) in the States and in Japan. This redesign resembled the European/Asian style SNES, but was predictably smaller and also did away with the power LED and the eject button.
If the console is going to take pride of place in your collection, you will probably want to choose the SNES case design that you personally like the best. Unfortunately, each different revision has its own set of advantages and disadvantages, as we’ll see in a moment. If you decide to import a machine, you should also keep in mind that power supplies from European SNES consoles cannot be used on SNES/Super Famicom hardware from other regions. In particular, never try to connect a European NES/SNES power supply unit to a Japanese Super Famicom. Although the plug will physically fit, the European power supplies output in alternating current (AC) and this will damage the Japanese Super Famicom which requires direct current (DC). However, if you happen to have a Mk1 Sega Mega Drive PSU lying around, you can use that to your power Super Famicom as it outputs DC and also happens to be the correct voltage and polarity (negative tip).
Do you want chips with that?
Internally, the Super Nintendo hardware went through two major revisions. The later models consolidated some of the machine's custom hardware onto a single piece of silicon. These machines are referred to by SNES enthusiasts as “1-chip”. 1-chip consoles are highly sought after, because they produce a much crisper, sharper RGB image when used with a properly wired RGB SCART cable and suitable TV or upscaler.
Finding one of these rarer 1-chip consoles is tricky. While certain serial numbers indicate a strong likelihood of a 1-chip lurking underneath, the only way to know for sure is to open a console and check. RetroRGB has an article here that delves into finding and identifying 1-chip consoles.
Another way to guarantee you get yourself a 1-chip console is to buy the redesigned SNES Mini or Super Famicom Junior. Unfortunately, these consoles do not output RGB. Even the worst RGB output from a SNES is better and clearer than composite video, so this may seem like a lost cause - but we will look at how to overcome this limitation later in the article.
Finally, before you go hunting for the fabled 1-chip SNES, remember that the 1-chip has some minor drawbacks of its own. Usually this is restricted to very minor glitches in some games (Demon’s Crest and Aladdin for example). Typically this manifests as some junk pixels in the game's borders or similar such issues. Although completely official, you could consider the 1-chip SNES systems to be clones of the original hardware specification, if you wanted to get technical. Given that we’re using original hardware to get a completely authentic experience, this is something you need to take into consideration.
Import taxing
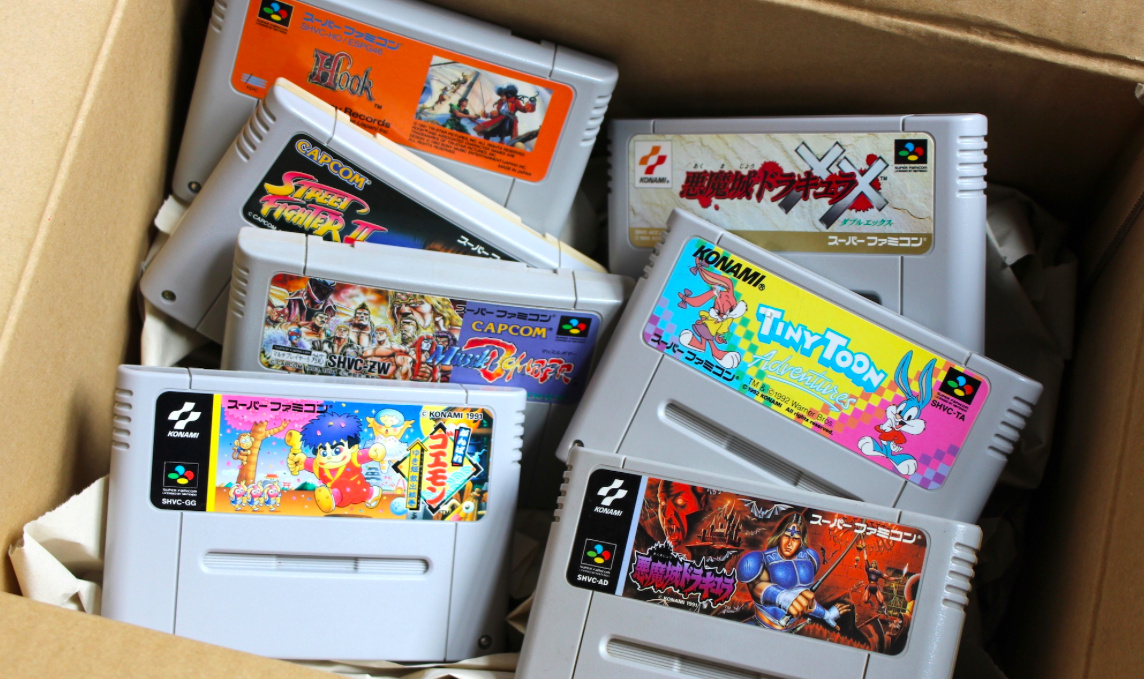
SNES software is region locked and as a modern day SNES enthusiast looking to explore the breadth of the console's library you will probably not want to be restricted to playing games from just one region. To get around this limitation, you could simply obtain a SNES console from each region, though that’s probably not desirable for most folks.
SNES region locking consists of two basic elements. On one level, there’s a physical incompatibility; US SNES cartridges are simply too wide to fit into Japanese or European consoles, while Japanese and European games are blocked from fitting into US hardware by two strategically placed plastic lugs. Internally, Nintendo also implemented a region lockout chip called the Checking Integrated Circuit, or CIC, which prevents Japanese or American games booting on European hardware (or vice versa), even if you can get around the physical incompatibility.
Starting with the CIC, an after-market modification called the “Super CIC” can be installed to any SNES or Super Famicom console. This sophisticated modification allows games from any region to load. More advanced versions of this modification, such as those offered by Video Game Perfection, also bring a host of other neat features, such as the ability to choose between 50hz (PAL) and 60hz (NTSC) refresh rates, or to reset the console all from the comfort of your controller. For the SNES Mini, the SuperCIC also restores the power LED.
To get around the cartridge slot incompatibilities, a simple adapter such as the “Protection Socket Slot” can be used. The other option is to break out the Dremel and tools and physically modify your SNES. This is easier on a US machine, as you simply have to remove two internal plastic lugs from inside the cartridge slot. On a Japanese or European machine, your only option is to physically cut and widen the cartridge slot. It’s a fiddly job and one little slip can ruin your classic console. Furthermore, when the work is done there is still a gap left around the cartridge slot as the cover no longer fits the entire opening. In short, it ruins the look of what is one of the most gorgeous retro consoles ever made.
We talked about differences in power supplies earlier in the article, so we should probably also mention that there is a small difference between SNES controllers manufactured for different regions. On European consoles, only European specific controllers will work, while Japanese and American consoles can use controllers from all over the world. Again, this limitation can be removed with a simple hardware modification.
Picture Perfect
Unless you’re feeling particularly nostalgic for the fuzzy RF or composite video connections of your childhood, you should take a moment to ensure you have the best AV cables for your classic SNES system. RGB is the best quality video signal available on the SNES (with the exception of the stock SNES Mini/Junior). High quality RGB cables are available from Retro Gaming Cables. In fine Nintendo tradition, the cable for the European SNES is not quite the same as the cable for the Japanese and American SNES, so make sure you get the correct one. Retro Gaming Cables' premium “Pack a Punch” cables are engineered for the very best quality audio and video.
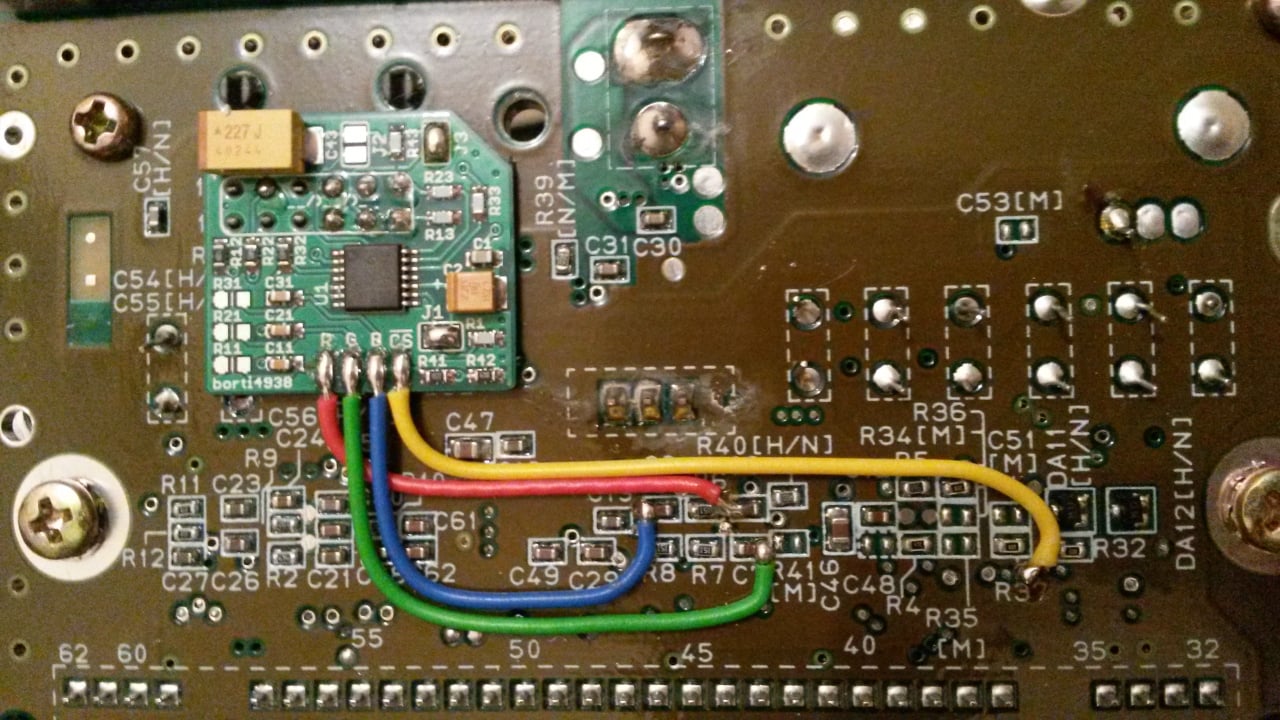
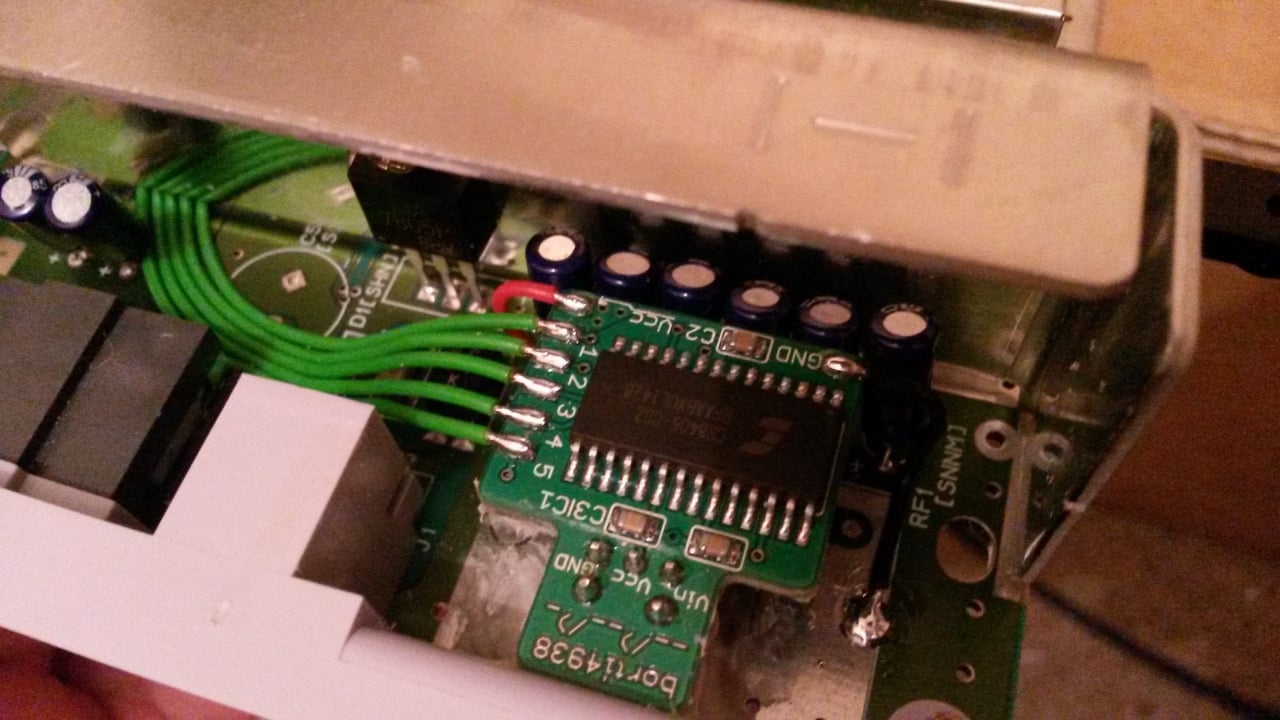
If you’re using a multi-chip SNES, getting the right RGB cable is all you need to do to ensure the best possible picture from your system. For the 1-chip consoles, things get a little more interesting. We already told you that 1-chip consoles produce a sharper image, however it was discovered that this can be improved further by the use of an RGB bypass amp. These little boards replace the stock RGB amplifier on the console with something more modern, improving the quality of the picture even further. A further modification can be done to reduce the ‘ghosting’ effect that many 1-chip consoles exhibit, resulting in a truly dazzling image. Again, VideoGamePerfection can provide the necessary components for DIY fitting or upgrade a console on your behalf.
The SNES Mini/Super Famicom Junior can also have this RGB amp installed, restoring RGB output and making the little console into a formidable contender for the best classic SNES system available.
Digital Audio
One complaint that SNES gamers often have is that, no matter what RGB or AV cables they use, there’s always some slight buzzing noise in the console's audio output. This is particularly noticeable during bright scenes in a game. There’s now a solution for this in the shape of the SNES digital audio mod. Install this little board into your console or have your favourite hardware modder do so on your behalf and you can then output pure, noise-free digital audio to your SPDIF/TOSLINK compatible amplifier, headphones or DAC. Note that the output signal from this modification is slightly off-spec and so won’t work on every available piece of audio equipment; the only way to know for sure is to try it.
Choose Your Display
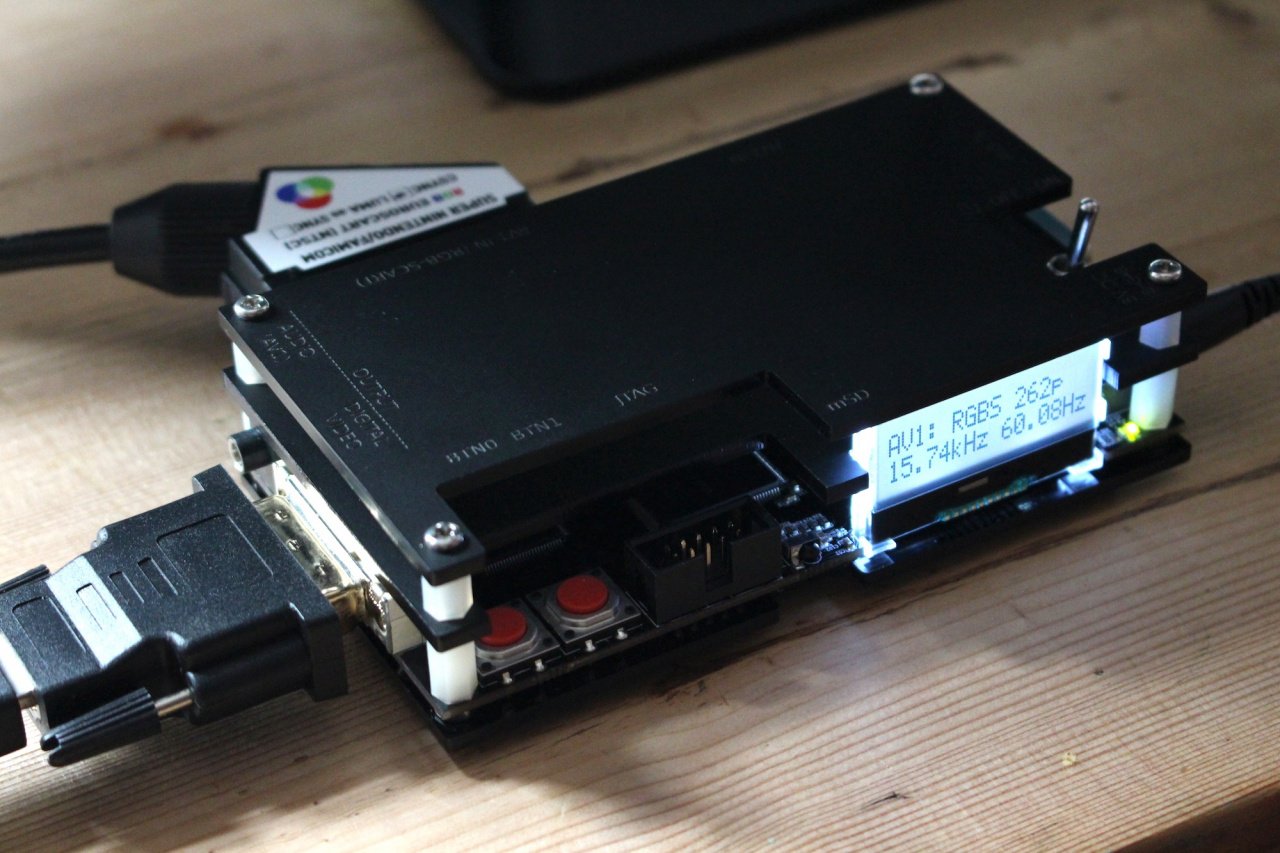
After going to all that effort to find an authentic, classic SNES console, don’t ruin the experience by plugging it directly into your HDTV. Modern TVs simply don’t process retro games consoles correctly, resulting in a disappointing sub-par image, especially when in motion. If you’re using a HDTV, couple your classic consoles with either the Open Source Scanline Converter or an XRGB Mini. Both of these converters have their strengths and weaknesses, but both will improve the picture leaps and bounds over what any HDTV can do on its own.
The newest firmware in the OSSC, due out of beta test any day now, has a particularly compelling feature that can compensate for some of the blur added by the original SNES consoles. It’s still not as sharp as the SNES Mini, but still a marked improvement and of course requires no modifications to the SNES console itself.
The other option is, of course, to find an old-school CRT television or RGB monitor. Professional RGB monitors, like the Sony PVM range, cost obscene amounts of money back in the '80s and '90s but can now be obtained second hand for more modest sums. If you’re going for the kind of SNES experience that only the richest could afford back when the console was current, a PVM monitor can offer that. Otherwise, any good quality consumer CRT TV with either a SCART socket or component video input will give excellent results. For sets equipped with only component video inputs, a good quality SCART to component converter or HD Retrovision’s dedicated SNES component video cables will unlock the set's full potential.
Conclusion
As you can see, the path to the ultimate, authentic Super Nintendo isn’t as straightforward as you might have expected. Pushing the original hardware to its limits is going to require hardware modifications, and for some purists that’s a step too far. Nevertheless, perfect playback of the SNES’ software library remains a compelling argument for hunting down original hardware and jumping through the required hoops to modify and upgrade it.


Comments 26
You know, I still haven't opened my SNES Classic Mini. This is all too technical for me.
Got a practically brand new 1-chip Super Famicom my shelf. I'd love to mod it, but equally I feel it's in too good a condition to be messed with. Might have to buy another one...
Great article by the way, pleased to see Matt on here.
That's not the optimal original SNES experience though. Current FPGA can already emulate the ahrdware of all 8-bit hardware, wait a year or two and buy a new FPGA console, that can emulate the console on the hardware level, meaning you get EXACTLY the same features (from the standpoint of the game, the console is exactly the same) and also get lagless HDMI and other modern features.
What you are showing here is how to desecrate a beautiful thing
I have a good crt tv I use with my snes/wii/gc. The image quality is perfect, at least for the games.
I've got both a PAL 1CHIP-02 SNES and a normal Super Famicom, both with RGB cables to a Sony PVM. I just use the Super Famicom, whilst the 1CHIP is crisper it's not worth it for borders and 50Hz. Ideally I would have got a 1CHIP Super Famicom from the off but oh well, as long as you don't compare them side by side a standard RGB signal from a SNES/SFC is fine.
For me it's all about the CRT with retro consoles. Nothing compares with their pureness, even Framemeisters and the like. I have a 15" CRT stored away in the loft for when the PVM gives up the ghost. Hopefully I'm set for the next couple of decades at least!
@Meowpheel I agree. I've recently set up my Wii with my CRT and RGB and it's so much better than component to a HDTV or even the HDMI from the Wii U. I wish I'd done it yonks ago
Modded NA Super Nintendo mini classic has every game I had as a kid and a few more, except Illusion of Gaia. I've got a modded Xbox for that one still. RIP my SNES collection I sold in college.
In theory, I think this is neat but I'm not such a purist that I'd bother going through all the trouble. Personally I think "authentic" is not always something worth seeking, and is often fueled primarily by nostalgia. For now, I have a CRT that works fine, and an original model SNES. If either of those quit on me, I'd possibly think about upgrading (although realistically I play SNES so rarely that I'd probably do nothing).
@Meowpheel SNAP! how it should be.
I put out some effort, modding a NA SNES Mini with an RGB board and buying a low-end PVM on ebay for $100 shipped. Not the best model monitor, but it replicates an arcade experience perfectly for me. SEGA Saturn games just shine on the screen too.
But I'm satisfied at this point. The effort people exert to get "perfect" picture and audio is borderline obsessive. "Never good enough. Must keep scrubbing! Must keep scrubbing!"
Nice article. Only just noticed who wrote it. Looking forward to my N64 coming back and seeing the difference.
Over the last couple months I've been working on getting most of my old consoles hooked up to my main HDTV with as high quality as possible with an XRGB Mini Framemeister.
Currently I've got an HDMI modded NES, an RGB modded SNES mini, an Ultra HDMI modded N64, a GameCube with S-Video (I'm on a waiting list for the HDMI plug and play), a Master System with RGB, a Genesis with RGB, a Saturn with RGB, a Dreamcast with VGA, an Xbox with component, a PS2 with RGB, and I've got PS3, PS Vita TV, PS4 Pro, Xbox 360, Xbox One, Wii U, and Switch hooked up via HDMI. All of that is going through a 5.1 surround sound system and is displayed on a 1080p HDTV.
Then in another room I've got an old CRT television with an Atari 2600, Intellevision, Turbografx 16, and another NES hooked up.
I may have gone too far in a few places.
These are always things I've wanted to do, but I've never had the time or money or time to learn how to do them. I have done the region plastic tab removal though, and it's honestly what every US SNES owner should do. (Forget the dremel, they'll come out easy with pliers.)
Thinking of just picking up some HD Retrovision component cables. I have the Genesis ones, and I'm beyond impressed with how crisp it looks on my HDTV.
I managed to get the 1Chip SNES myself. Here's a peak at how great it looks on HD Retrovision component cables:
https://youtu.be/bH_rGyTY57g
The original SNES did not have any software lockout for other region’s software. I had an original US SNES in the 1990s and played many Japanese games on it. All that needed to be done was cut part of the Japanese cartridge so it would fit in the system. Not the most elegant solution, but it worked. I remember playing Japanese versions of Turtles in Time, Super Mario All-Stars, and Yoshi’s Island before they came out in the US.
This may have changed with subsequent models, including the smaller version.
@Robotron2084 I decided to get an RGB modded N64 as I was using composite and it just wasn't cutting it. Well worth it. It's like a dirty lens has been removed from in front of your TV! I got a Jap one for about £80 on eBay I think. It doesn't play any of my PAL games but I have an ED64 so just use that. My PAL collection is now in the loft accruing in value (hopefully)
@MooPenguin32 US and JP SNES are both NTSC, no lockout, games are interchangeable on all models. You just cant play PAL carts from the EU or AUS and vice versa. I have a JP SFC and an adapter that allows me to play US games without modding the console's case. In a pinch you can unscrew the cart and plug the pcb straight into the console, it works.
@Hrimfaksi The Analogue Super Nt is already available for pre-order, shipping in February.
@MooPenguin32 There is a lockout chip, it's just that it considers Japan and NA to be the same region. You can't play EU games on an NA/JP SNES (and vice versa) without modding the console.
@bolt05 Gotcha. I re-read that part of the article and see where the author notes it pertaining to the European console. Thanks for clarifying.
@Guspaz Gotcha. I re-read that part of the article and see where the author notes it pertaining to the European console. Thanks for clarifying.
That's so much work. But I concede it does sound kind of fun. If I had the time and money I would do it. If I ever win the lottery, one of the things I have always considered doing is building a retro game room, and this would be a heck of a good place to start.
@MooPenguin32 no probs dude! Damn I love the SNES in general though. Great console. I'm torn right now about whether to look at buying an ossc or the analogue nt hdmi snes console. The ossc can do other consoles but you need all the rgb cables at $50 a piece. I have decided that Retro gaming ain't a cheap habit... My modded SNES mini of course does whatever I want and as does my desktop PC but the authenticity of a real system can't be beat. I still think it just looks better too.
I still have my SNES, had it for nearly 20 years, works perfectly. Am looking at expanding the collection of games, any suggestions?
I have the redesigned mini with an AV mod to allow RCA output and an led mod to allow for a POWER light when the unit is on. Haven't used it in years, though.
Tap here to load 26 comments
Leave A Comment
Hold on there, you need to login to post a comment...