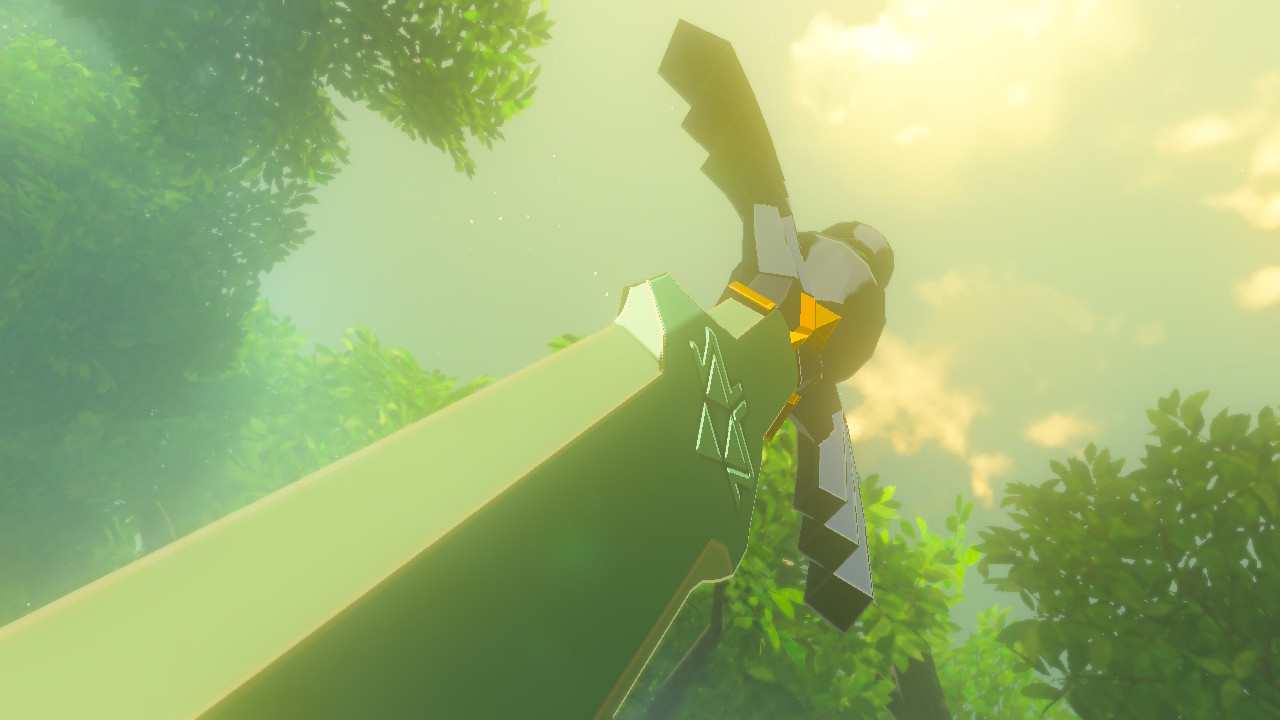
The first DLC pack for The Legend of Zelda: Breath of the Wild has been released and with it comes the Trial of the Sword, a series of 50 challenges split across three sections which Link must complete in order to fully power up the Master Sword. Completing all three sections will raise the Master Sword's power from 30 all the way to 60, releasing the power that normally only manifests when around creatures tainted by Calamity Ganon's dark power.
Clearing this trial is no simple task, so we here at Nintendo Life have scoured every nook and cranny of each floor to bring you the best strategies for defeating Ganon's minions. Read on for some in-depth strategies to help you on your path to unlocking the Master Sword's true potential.
This guide is for the Middle Trials. If you're looking for the Beginner Trials click here, or if you're in search of the Final Trials click here.
Before you Begin
It should be noted that the Trial of the Sword is certainly not easy. While not as difficult as Breath of the Wild's new Master Mode, it's no slouch. If you want to get through the trials without crushing your Joy-Con out of frustration we humbly recommend you check out the three tips below to help you prepare for the coming onslaught.
Track Treasure Chests
Few tips are going to be as critical as this one: set your Sheikah Sensor to track treasure chests. To do this, snap a photo of any treasure chest you find out there in Hyrule, then open your map, hit Y, choose change target and find and select that photo of a treasure chest you just took. This will help you locate hidden chests in any of the 50 floors you'll be battling your way through.
Max out Hearts
If you haven't yet finished all of Breath of the Wild's shrines, now would be a good time to do so. On later floors a single attack could take as much as 75 percent of your hearts, even at the maximum amount, so be sure to pray to those Goddess statues!
Visit Hestu
Weapons are a commodity in the Trial of the Sword. So much so, in fact, that you're going to need to expand your available melee weapon slots to make sure you have what it takes to make life easier on our hero. We had 19 slots going into the trials which certainly made life and inventory management much easier. We would recommend a minimum of 15 before you dive headlong into this. With 10 bow slots and seven shield slots we never found ourselves worrying, so we'd say those are the sweet spot for those items as well.
The Three Sections Of The Middle Trials
Unlike the beginning trials, the middle trials are separated into three distinct sections, each of which has a theme. The first section is all about using your paraglider to fly between platforms containing enemies. The second section has LInk navigating through pitch blackness to find and defeat his foes, and the final section has him fighting guardian-based foes.
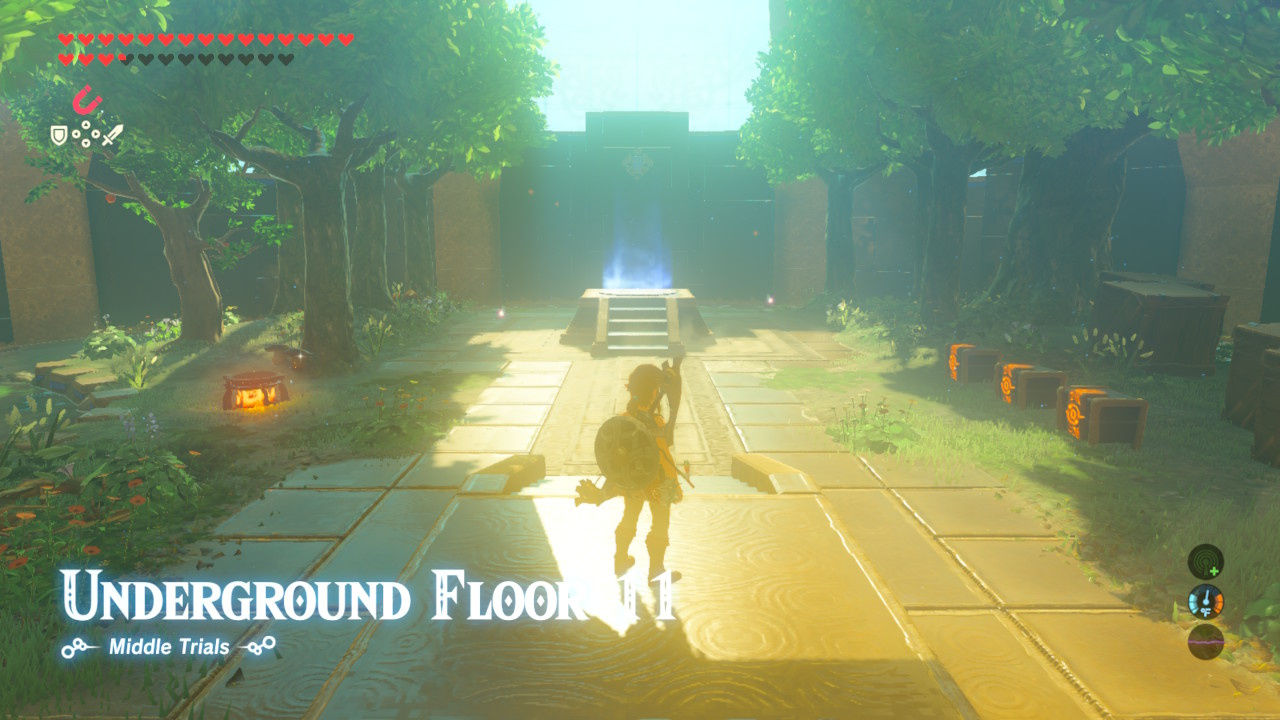
Floor 1

Directly in front of you you’ll find a platform with three Bokoblins, one of which is armed with fire arrows. To the left is a platform with two Bokoblins, and to the right is a couple of boxes and a lone Boko spear. Go to the right and take the spear, then to the left to take out the two Bokoblins there and get their weapons. Once you’ve taken care of your enemies, smash open boxes to collect fire arrows and some food. The Northern and Eastern platforms each have a treasure chest suspended on a wooden platform above them. If you managed to steal a bow from one of the Bokoblins you faced, use a fire arrow to burn up the platforms to get the chests; otherwise, a bomb will also do the trick.
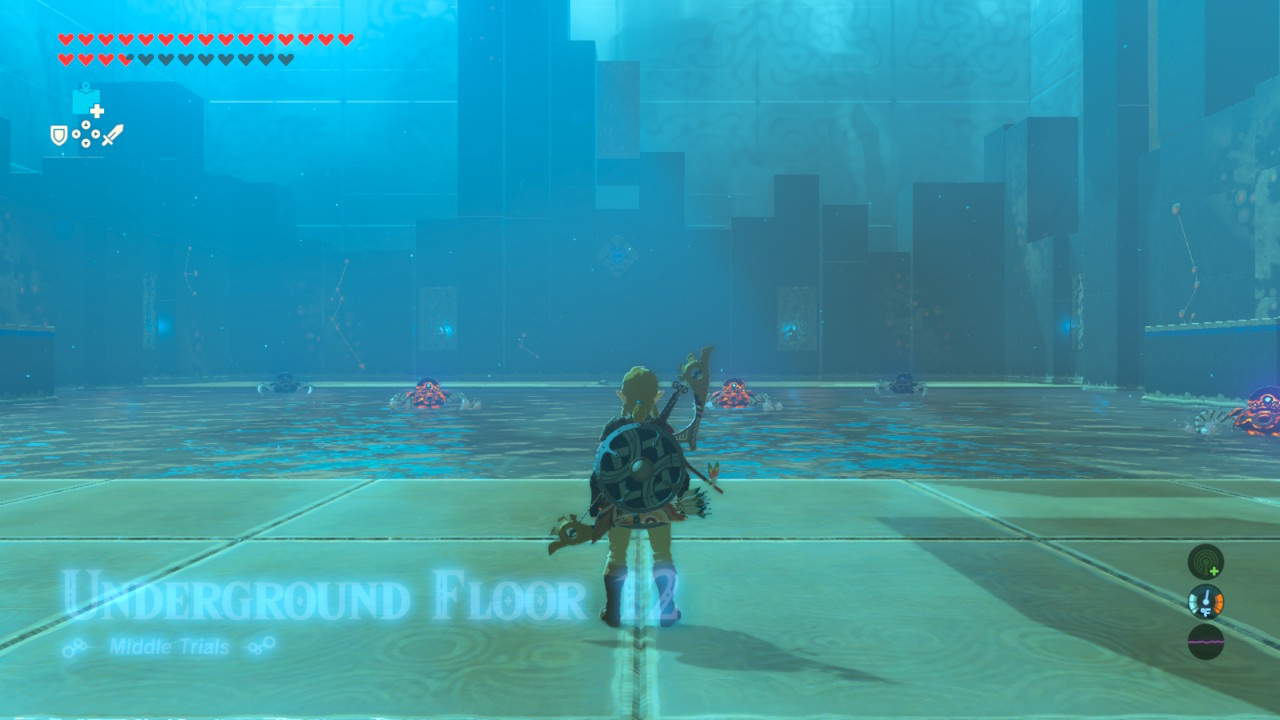
Floor 2

As soon as you spawn in the second floor, you’ll be rushed by two Bokoblins. Take them out before doing anything else. Directly above where you came in, you’ll spot a Wizrobe walking around in mid-air. Use your paraglider to sail up to his level and hit him in the head with an arrow; aim to have him drop into the chasm below as it’s easier to let him fall to his doom than to attempt to deal with him otherwise.
Around the corner from that first Wizrobe is another one. Repeat the same strategy to get it out of your way. Finally on the highest platform in the room is a lone Bokoblin archer. Open up your paraglider to get above him and catch him unaware with an arrow to the head. That will take it out in a single shot, thus clearing all the enemies from the floor. Smash the boxes next to your slain foe for some arrows to replace those you used. In the lower-right-hand corner of the room there’s a chest on a wooden platform. Bomb or burn the platform to get the chest which contains a sword and move on to the next floor.
Floor 3
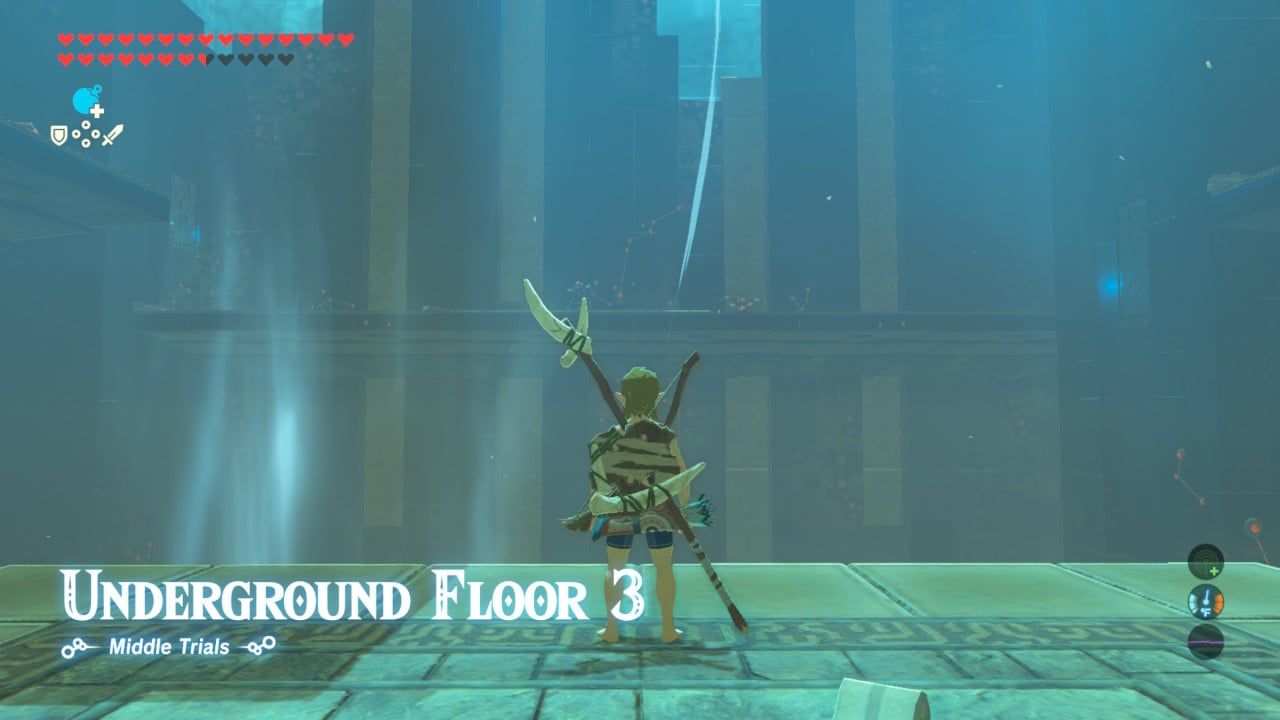
The third floor has three Bokoblins directly in front of you, a barricade to the right and a lone Bokoblin to the left. You’ll immediately be noticed upon entering the room, so you’ll want to take cover. Move to the right to use the Bokoblin’s own cover to your advantage. There will be a blue spear-wielding Bokoblin and a red archer with fire arrows. Take out the archer with a well placed arrow as you fly overhead, then use a second arrow to knock down the blue one before taking the fight to it.
Once they’re polished off you’ll want to move quickly as the other Bokoblins have bomb arrows capable of destroying your barricade. Jump off the ledge and open your paraglider to fly high above the battlefield revealing a blue Bokoblin archer on a floating platform. Use arrows to pop two of the Octorok balloons on one side of the platform which will drop your foe into the chasm below, then proceed toward the archer on the platform and drop it with an arrow to the head. Quickly recover your stamina then glide over to the ledge at the back of the room. Sail over the blue Bokoblin’s head then turn around and shoot it quickly to knock it down into the chasm. A single arrow to the head should be enough to kill each of the two red Bokoblin on either side of the ledge, then collect their weapons.
With the enemies out of the way, you can now smash all those boxes you found. There’s also a treasure chest on a floating platform in the lower-left of the room, we recommend using magnesis to grab it as popping the balloons will drop the chest into the chasm.
Floor 4
The fourth floor is the easiest so far, pitting Link against a single, limbless Guardian. You’ll be targeted the moment you enter, so jump, open your paraglider and put an arrow straight into the Guardian’s eye before making your way over to deal damage with your melee weapons. Whenever the Guardian targets you, hit its eye with another arrow and continue your assault. Once the Guardian is defeated, go to both the lower-left and lower-right of the room to recover chests; one held aloft with balloons and one by a wooden platform. Once you’ve collected your fill of items, move forward.
Floor 5
You’ve reached the first “rest” floor of the middle trials. This floor is just like the one found in the beginner trials, albeit a little more lavishly appointed. In the chests you’ll find some gear, including Hylian trousers to give you a little bit of protection for the challenges that lie ahead.
Floor 6

The next set of trials takes place in pitch darkness, meaning it’s going to be difficult to locate your foes. The starting point of each trial in this set is flanked by lit pyres on each side, so if you have a torch, make sure to grab it to help you make your way through the darkness. Of course the explosions of bombs can temporarily light your path as well, so make use of those if needed. You’ll see some flaming Keese flying directly toward you as soon as the trial starts; kill them, then take out the electric Chu Chu and two Keese on the left with a bomb. After they’re gone, make your way toward the back of the area to find one final Keese. Take it out and the area will light up indicating you’ve finished this floor. There’s nothing to grab in this area, so move on to the next floor.
Floor 7
When you first arrive, you’ll notice your standard skull-shaped enemy hideout directly in front of you; do not run to it. There is a fire Lizalfos to your left close to your location and a second one further back on the right. If you have ice arrows, equip them and make your way left, sticking close to torchlight. Lure the Lizalfos out into the light and hit it with an ice arrow for a one-shot kill, or lay waste to it using your other weapons, then relight your torch if you have one and venture over to the right to repeat this strategy on the second Lizalfos.
Find and climb a tree near the right eye of the hideout and cut the lantern down with an arrow to trigger an explosion, killing the enemies inside. If any survive, run in and cut them down, then ransack the hideout. As before, outside of the hideout there are no items or boxes, so move on to the next section.
Floor 8
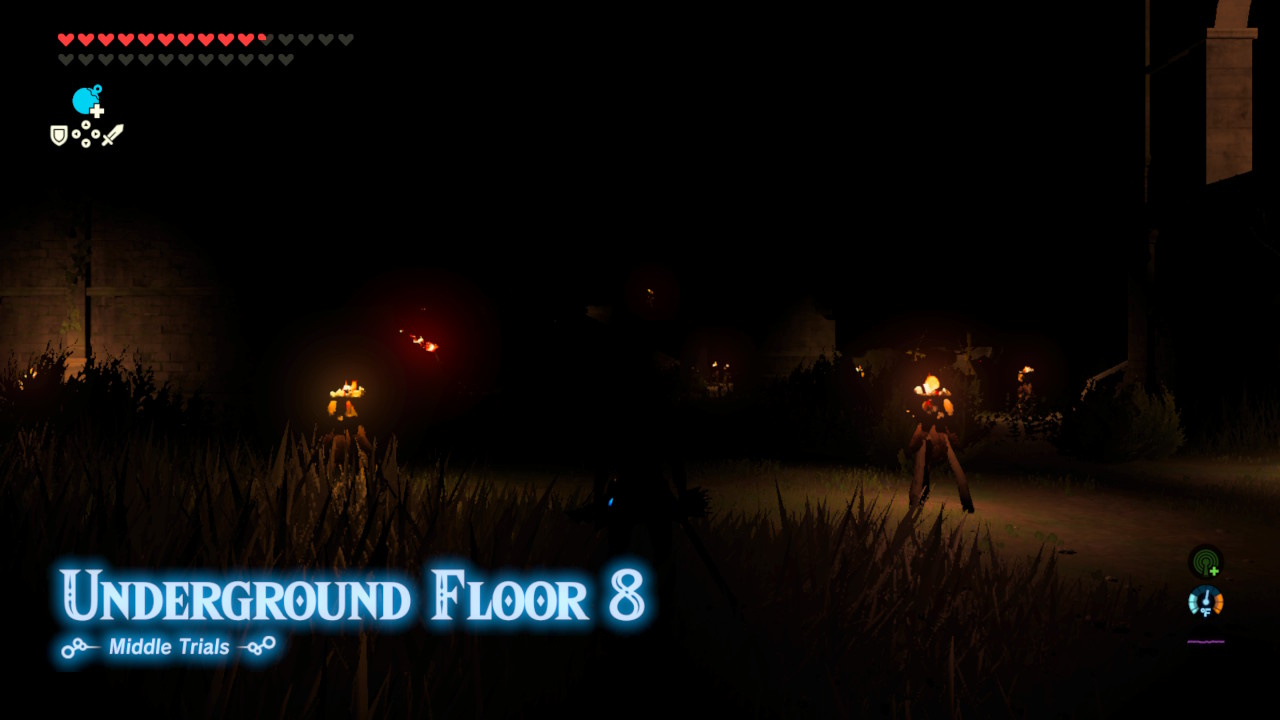
The eighth floor include multiple well-lit structures, so it’s not quite as hard to find your way around as the previous two floors, but you’ll still need to be careful. There’s some ruins to your right as you enter the stage, climb them and look straight ahead to find an enemy camp. There are three Bokoblins sitting around a campfire with their weapons in-hand.
Glide from the structure you’re on over to the camp and engage the Bokoblins. If you have bomb arrows handy, we recommend using them to send all the enemies flying, giving you an opportunity to potentially steal their gear.
From the camp, if you look left you’ll see a fire Wizrobe, if you have ice arrows, get them ready and make your approach, otherwise, wait for it to wave and down it with an arrow before using your weapons to take it out. Once you’ve dropped the Wizrobe, collect its Meteor rod and any treasure you may find and move on.
Floor 9
This one is really very easy. When you arrive, take a few steps forward to find a limbless Guardian target you. Despite the darkness there are no obstacles between you and the Guardian; shoot its eye with an arrow and close in to lay into with your melee weapons. Repeat this strategy until the Guardian is destroyed to clear the floor. There are a couple of boxes to smash and a torch to grab atop the structure in the lower-left; collect those and move on.
Floor 10
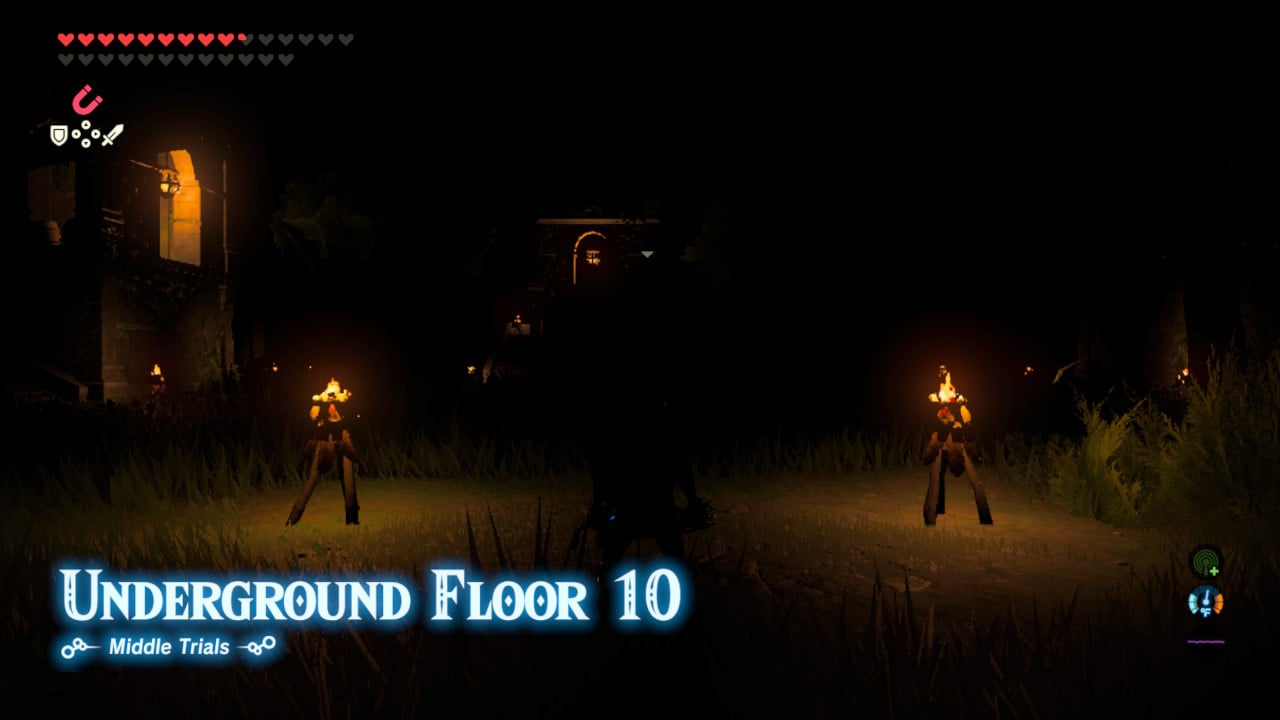
The tenth floor is another battle with a Hinox, though this time in complete darkness. Fortunately, the monster’s eye is completely visible in the dark, as are the weapons that hang from its neck. The arena is essentially a small square with buildings lining the sides. Fortunately, most of these buildings have lanterns to help you keep track of their location, so you don’t accidentally climb a structure while trying to make a strategic retreat. As before, try to get the Hinox’s eye with an arrow, then close in for a brief attack before retreating and trying again. Once you’ve defeated the monster, loot the items it drops and head to the next floor.
Floor 11
The eleventh floor is Link’s second rest stop, and it’s built just like the floor before it. Take the items, cook what you need and move on.
Floor 12
The first floor of the final leg of this challenge sees Link facing off against six Guardian scouts. Fortunately these scouts are laughably weak and can be done in with a single blow from a melee weapon. Dash between them dealing out a single strike and you should finish with this floor quickly. If this proves difficult for you, you can always use cryonis to make an ice pillar to serve as a shield from the Guardian's blasts while taking them out with arrows from a distance. Once they’re all gone, use cryonis to make a pillar to the platform with a treasure chest on it, collect it and go.
Floor 13
This time around you’ll be fighting the more formidable Guardian Scout II, which you find in shrines all over Hyrule. Each one has a different type of Guardian weapon which it will drop for you. There are three in total: one with a sword, one with a spear, and one with an axe. Do your best to fight them one-on-one if possible and dodge their attacks as they are quite damaging. Once you’ve killed all three and taken their weapons, go around the back of the platform in the northwest and use magnesis to find a movable block hiding a treasure chest. Move the block and open the chest to find a duplex bow, then move to the next floor.
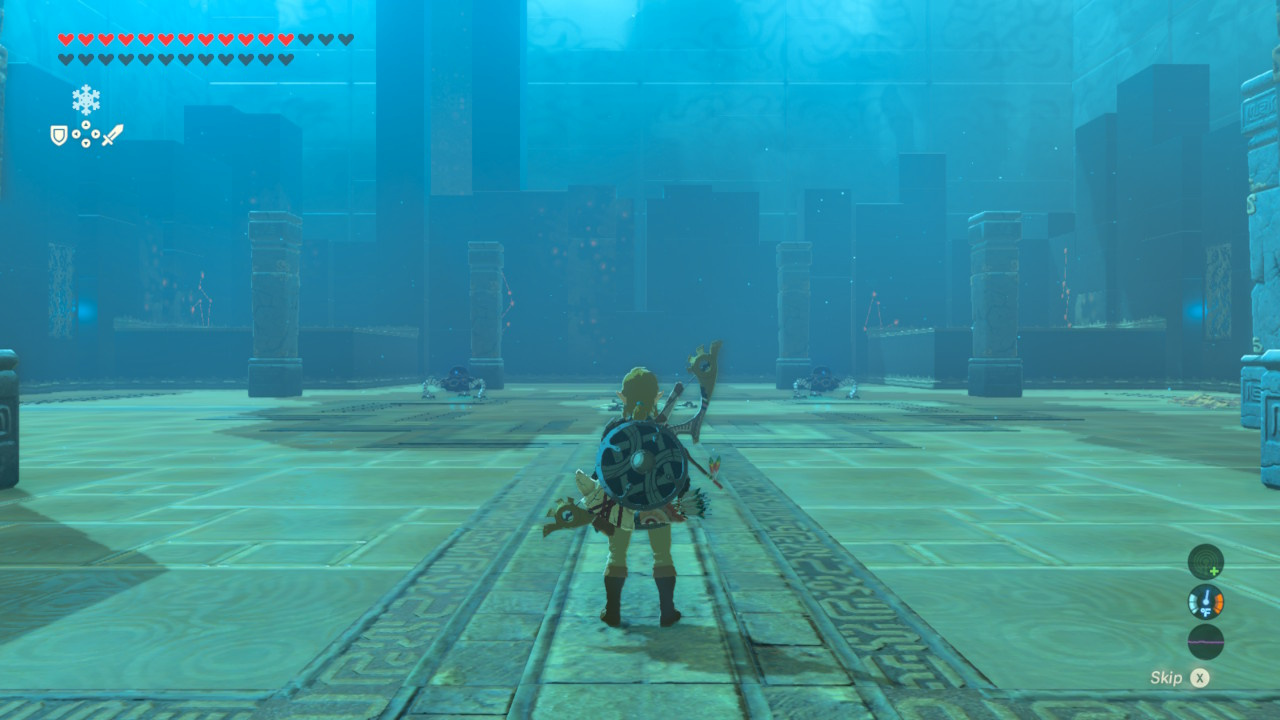
Floor 14
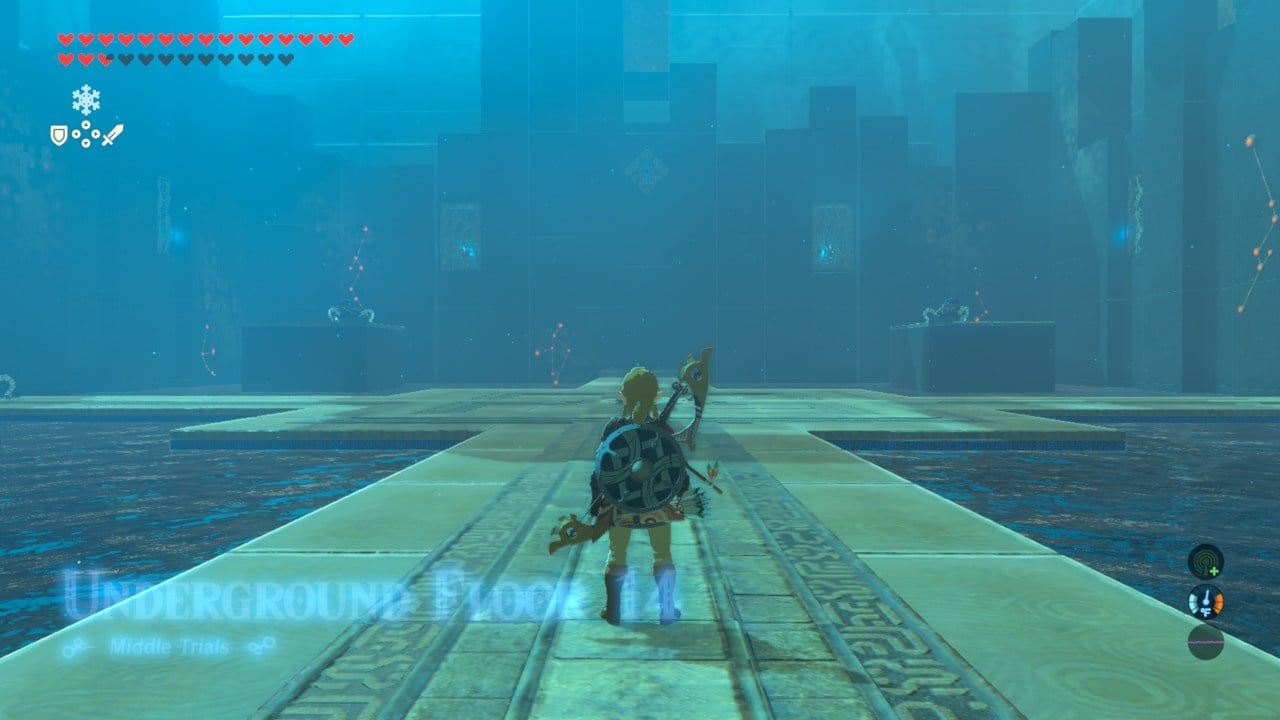
This one can seem daunting, but is quite easy if you know the correct way to handle it.
When you arrive you’ll immediately catch the eye of two Guardian scouts on either side of you. Whatever you do, don’t move forward so as not to aggro the two Guardian Scout IIs in the room. Hit each Guardian Scout in the eye with an arrow to kill them instantly, then use cryonis to get on top of the platform on which one of them stood. From there you’ll have a clear shot at one of the Guardian Scout IIs, depending on which platform you choose. Two arrows should be enough to nudge it into the water, killing it.
Repeat the process on the opposite side, then take out the two Guardian Scouts on the far end of the room with a single arrow apiece. With all of them out of the way, take a dip to collect the weapons the two Guardian Scout IIs dropped in the water, then use magnesis to fish the chest out of the water on the northeast side of the room and move on.
Floor 15
You’ll be facing off against two fully-armed Guardian Scout IIs this time, so you’ll want to divide and conquer. There are some patches of foliage on the ground that you can ignite if you still have fire arrows; otherwide, you’ll need to get an enemy to fire on you while standing on that spot.
Once you’ve lit them, use your paraglider to gain a height advantage and hit the scouts’ weak spots with arrows. There are three possible spots to do this, so repeat if necessary until both Guardians are destroyed. Loot their weapons and shelds and move to the final floor.
Floor 16
The final floor has Link facing off against a Guardian Scout IV. It’s an immensely tough enemy, but their patterns are simple to read and they can be quite easy to kill with the right tactics.
This particular scout is equipped with a sword, a spear and an axe. When it attacks with its sword, a jab with the spear is soon to follow. Attacks from the scout’s axe always come in pairs, too. It’s important to know these habits, as you can land blows against the scout while it’s busy in its attack pattern by circling around its body and attacking from a side you know it won’t be using.
Keep circling around the scout and attacking it until it takes its distance attempts to do a spin attack. When it does this, hide behind a pillar. The scout will smash into the pillar, stunning itself in the process. Keep attacking until the scout reaches about 10 percent of its life. When it does it will retreat and start charging shots. The key to defeating it during this phase is to sprint to avoid its shots, then close in while it’s charging to deliver as many blows as you can. Repeat this as many times as necessary to clear the floor and complete the middle trials and gain access to the final trials.


Comments 6
Another amazing tip for floor 1 are the metal boxes use the magnesis to use that to take down the enemies under instead of wasting your weapons also use it as a way to get to the chest if you dont have a bow cuz of it maybe fell of the cliff. Also the guardian in the 6th room is really easy, all you have to do is go under it then go right destroy those boxes and then jump up and go behind it and start hitting it, The guardian won't attack you and it's a easy win. Also always try to use bombs on red bokoblins and aim for their heads as they die in one hit and make everything alot easier. good luck!
Also be aware of that guardian in the dark, it makes shielding alot more difficult but once you know how to shield the laser you shouldn't have any difficulties.
Still annoyed from last night. Died at the very last section of the Middle Trials of the Sword. Was doing really well. Weapons weren't doing much damage, even the Ancient weapons so I switched to the Flameblade Sword, that was doing the trick. You really can't afford to get hit, it takes a huge chunk off your health. It was an earlier section in the dark with a Fire Wizzrobe that did all the damage. Dropped Armageddon from Heaven on top of me. I'll know better next time hopefully. Not replaying it again this evening. Need a break after getting so close. The Guardian had less than 1/3 of its health left. Now it's another hour maybe 2 hour slog ahead.
In the first room you can let the Bokoblin with the Fire Arrows do your job for you instead of wasting one of your own to get the chest on the right on the right. Simply glide over and hover in front of the leaves below the platform, then move just as he readies to fire at you, and his arrow will ignite the leaves and drop the chest down where you can get to it.
On the tenth floor there's a very high pillar in the room near a corner. If you climb all the way to the top you can continuously chuck bombs at the hinox until he dies. It's time-consuming, but there's also no possible way to get hurt once you're up there, so it's by far the safest.
The first time I fought a guardian scout mark IV was at the chaas qeta shrine right off the coast of hateno. I had basically rushed from the great plateau to kakariko, then hateno, having only basic gear with no stasis+. After a dozen grueling tries lasting up to 20 minutes, I was finally able to beat him using single every resource I had, claiming some overpowered equipment as my reward.
So basically, floor 16 wasn't exactly a challenge and felt much closer to sweet, sweet revenge.
Tap here to load 6 comments
Leave A Comment
Hold on there, you need to login to post a comment...