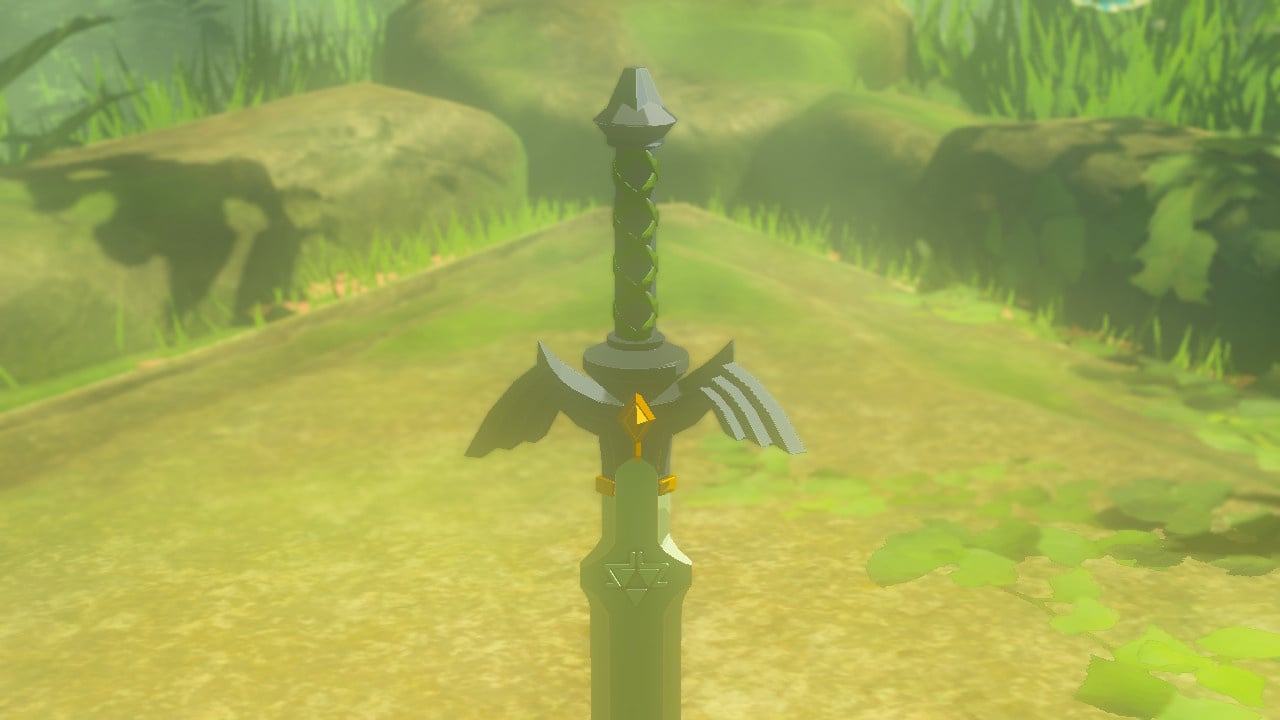
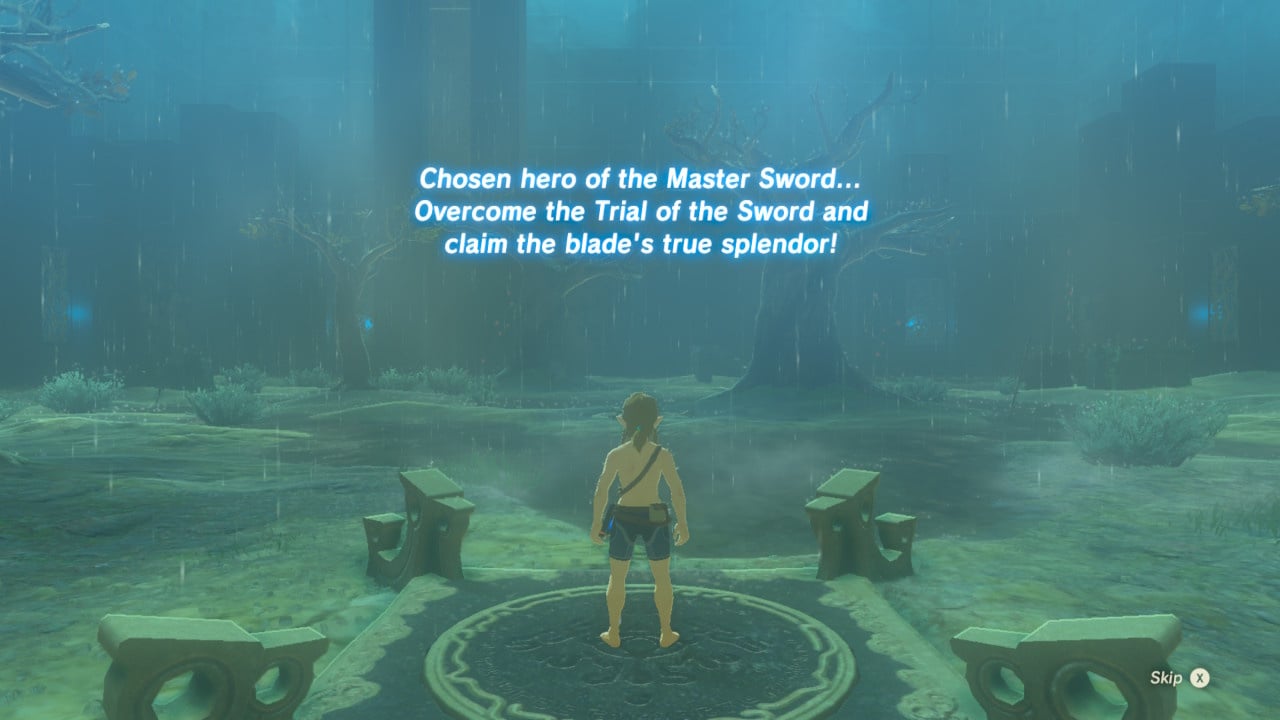
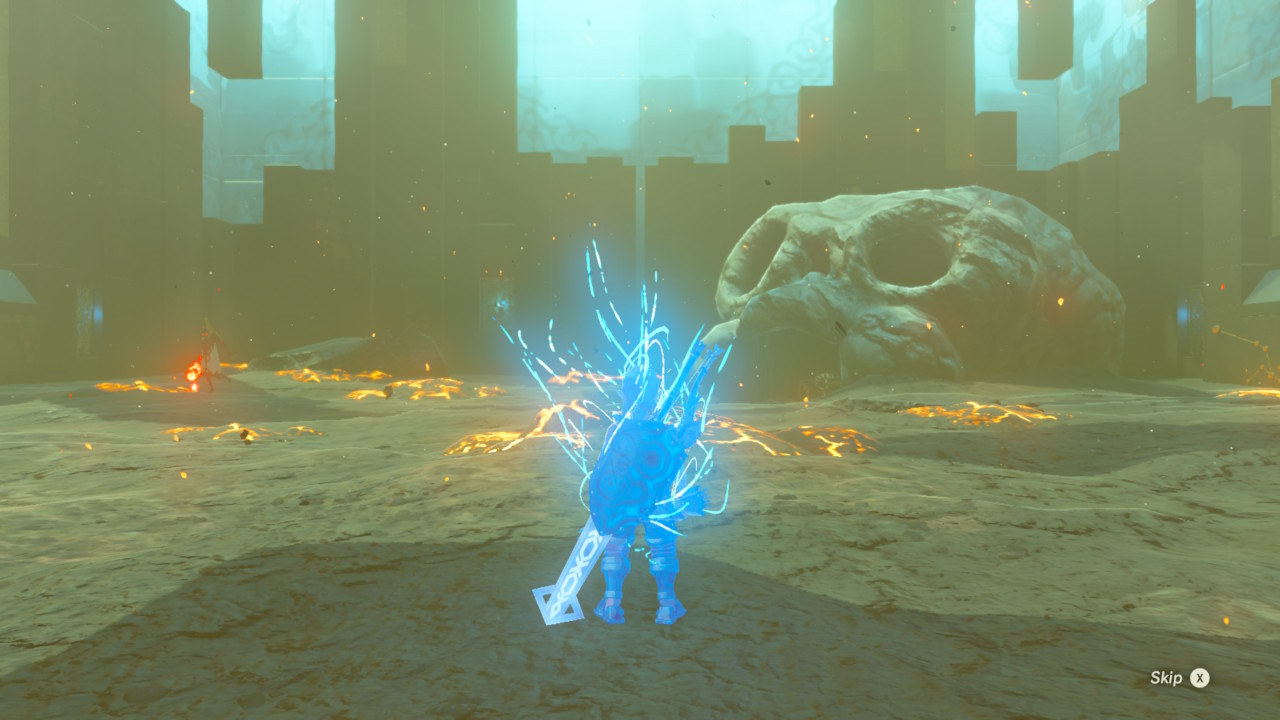
The first DLC pack for The Legend of Zelda: Breath of the Wild has been released and with it comes the Trial of the Sword, a series of 50 challenges split across three sections Link must complete in order to fully power up the Master Sword. Completing all three sections will raise the Master Sword's power from 30 all the way to 60, releasing the power that normally only manifests when around creatures tainted by Calamity Ganon's dark power. Clearing this trial is no simple task, so we here at Nintendo Life have scoured every nook and cranny of each floor to bring you the best strategies for defeating Ganon's minions. Read on for some in-depth strategies to help you on your path to unlocking the Master Sword's true potential.
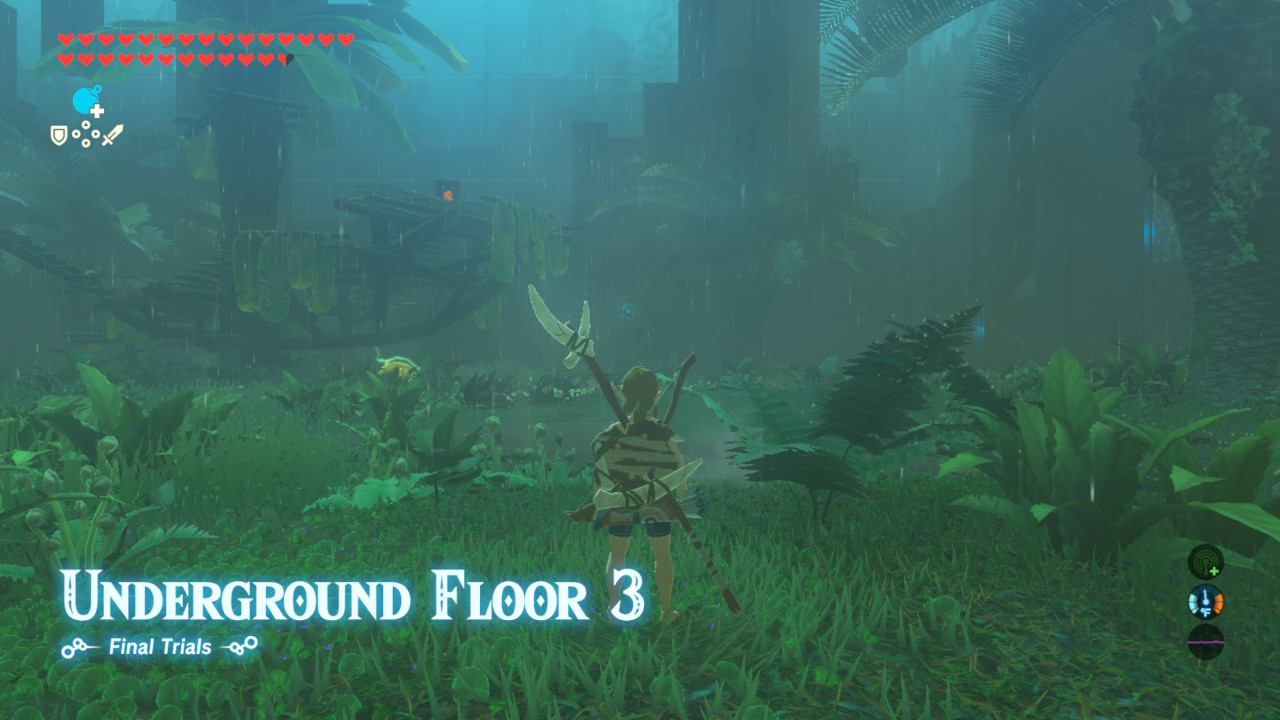
This guide is for the Final Trials. If you're looking for the Beginner Trials click here, or if you're in search of the Middle Trials click here.
Before you Begin
It should be noted that the Trial of the Sword is certainly not easy. While not as difficult as Breath of the Wild's new Master Mode, it's no slouch. If you want to get through the trials without crushing your joy con out of frustration, we humbly recommend you check out the three tips below to help you prepare for the coming onslaught.
Track Treasure Chests
Few tips are going to be as critical as this one: set your Sheikah Sensor to track treasure chests. To do this, snap a photo of any treasure chest you find out there in Hyrule, then open your map, hit Y, choose change target and find and select that photo of a treasure chest you just took. This will help you locate hidden chests in any of the 50 floors you'll be battling your way through.
Max out Hearts
If you haven't yet finished all of Breath of the Wild's shrines, now would be a good time to do so. On later floors a single attack could take as much as 75 percent of your hearts, even at the maximum amount, so be sure to pray to those Goddess statues!
Visit Hestu
Weapons are a commodity in the Trial of the Sword. So much so, in fact, that you're going to need to expand your available melee weapon slots to make sure you have what it takes to make life easier on our hero. We had 19 slots going into the trials which certainly made life and inventory management much easier. We would recommend a minimum of 15 before you dive headlong into this. With 10 bow slots and seven shield slots we never found ourselves worrying, so we'd say those are the sweet spot for those items as well.
Floor 1
The first several floors of the final trials take place during a lightning storm, which means metal items are going to do you more harm than good. At the beginning of the first floor, several Stalkoblin will spawn all around you, and to your right you’ll find a rusty halberd. Make a mad dash for the halberd and grab it. In front of you will be a Stalkoblin archer; use the spear to knock it down and collect is bow. Repeat this for the next closest enemy, steal its weapon and switch to it before you’re struck by lightning.
Keep smashing up Stalkoblin until there are none left, being mindful of lightning strikes along the way. Once you’ve cleared them out, smash the boxes in the upper-right for some arrows and move to the next floor.
Floor 2
When you arrive on the second floor, you’ll see an enemy hideout and a couple of electric Keese on the right. Use the Boko spear you picked up on the last floor to take out the Keese.
The hideout appears empty at first, but contains three Lizalfos. Throw a bomb through the entrance then walk in and quickly dash out. When you see the Lizalfos rise from the ground, detonate the bomb to kill them. If any heads survive, run in and finish the job to clear the floor. Collect the items in the hideout, then head to the next floor.
Floor 3
The third floor has an empty outpost and two electric Chu Chus, which is conspicuous for good reason. Use bombs to kill the two Chu Chus, then make your way up to the outpost. Hang a right and use magnesis to grab the metal treasure chest. Get the contents out of it, then use magnesis to lift the treasure chest and drop it over the side of the outpost.
Open the second chest and watch the Stalmoblin spawn. If you’re lucky, lightning will strike the chest you dropped, stunning a few Stalmoblin. While they’re stunned, jump down and kill them and grab their weapons, then attack the remaining Stalmoblin to clear the floor. Once the Stalmoblin are gone, there’s nothing else to collect so go to the next area.
Floor 4
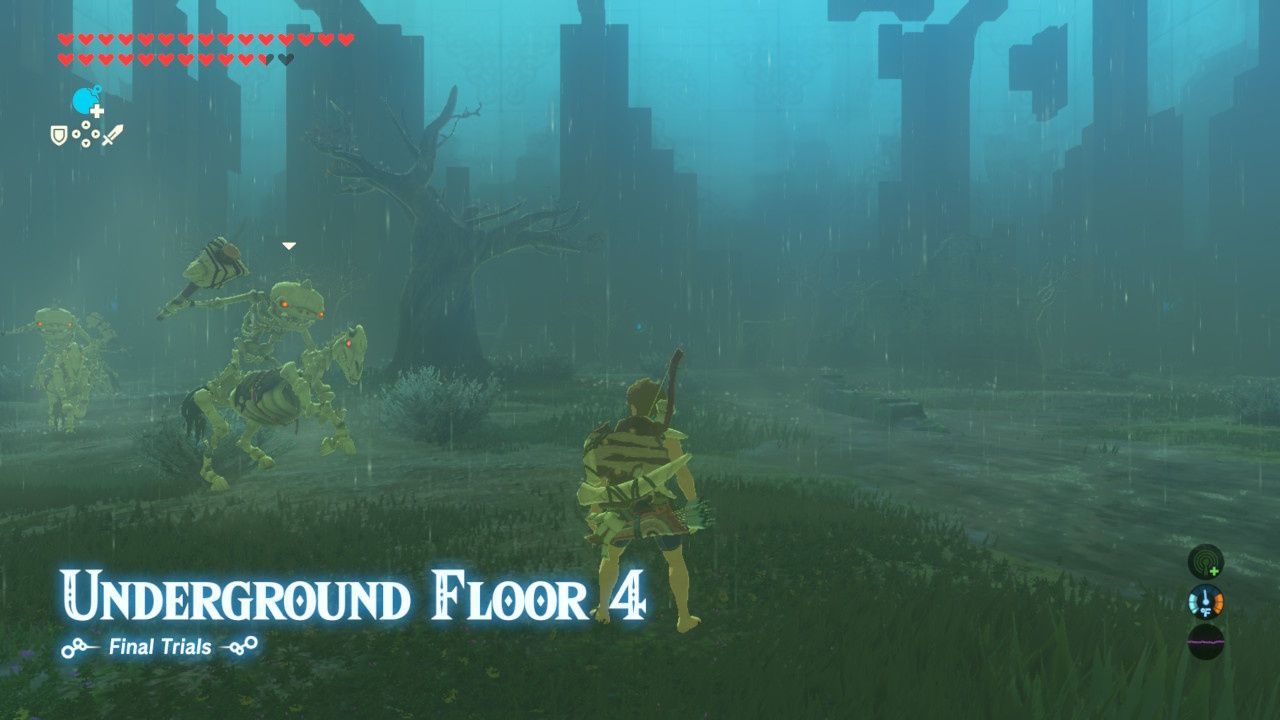
To your left, you’ll see a horde of mounted Stalkoblin charging you. Equip a spear to fight them from a distance and throw a bomb their way to take out as many as you can in one go. Once you’ve cleared the initial pack, steal a horse and make your way right. Use Link’s ability to dismount and shoot each of the Stalkoblin in the head to kill them, as the archers can be a bit tricky to fight otherwise.
Once they’re down the floor is clear. There are boxes in a few spots around the floor, so smash those, collect their contents and go to the fifth floor.
Floor 5
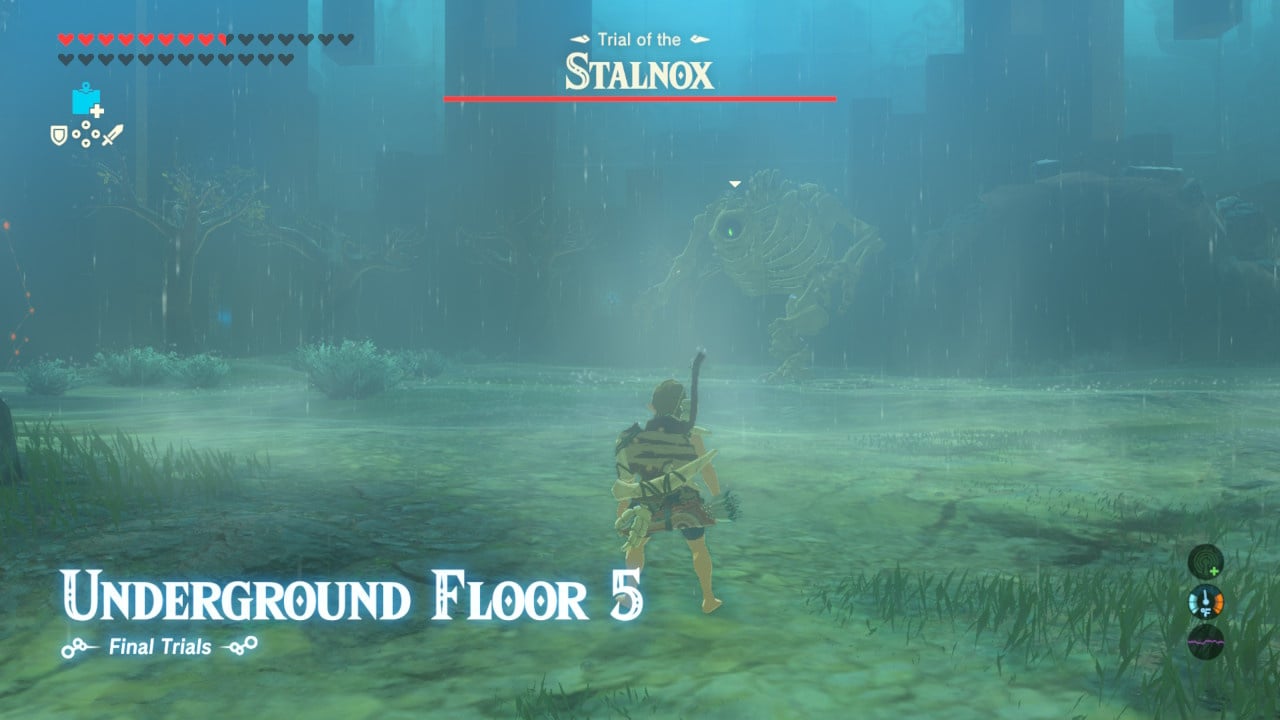
The fifth floor houses the first miniboss of the final trials in a Stalnox. Shoot it in the eye to down it, then attack it. Keep up that pattern until its eye pops out when you shoot it, then attack the eye to kill the Stalnox. Collect the items it drops and smash the boxes around the stage, then get the chest near the upper-left-hand corner of the area to find some ice arrows that you’ll need in the next area.
Floor 6
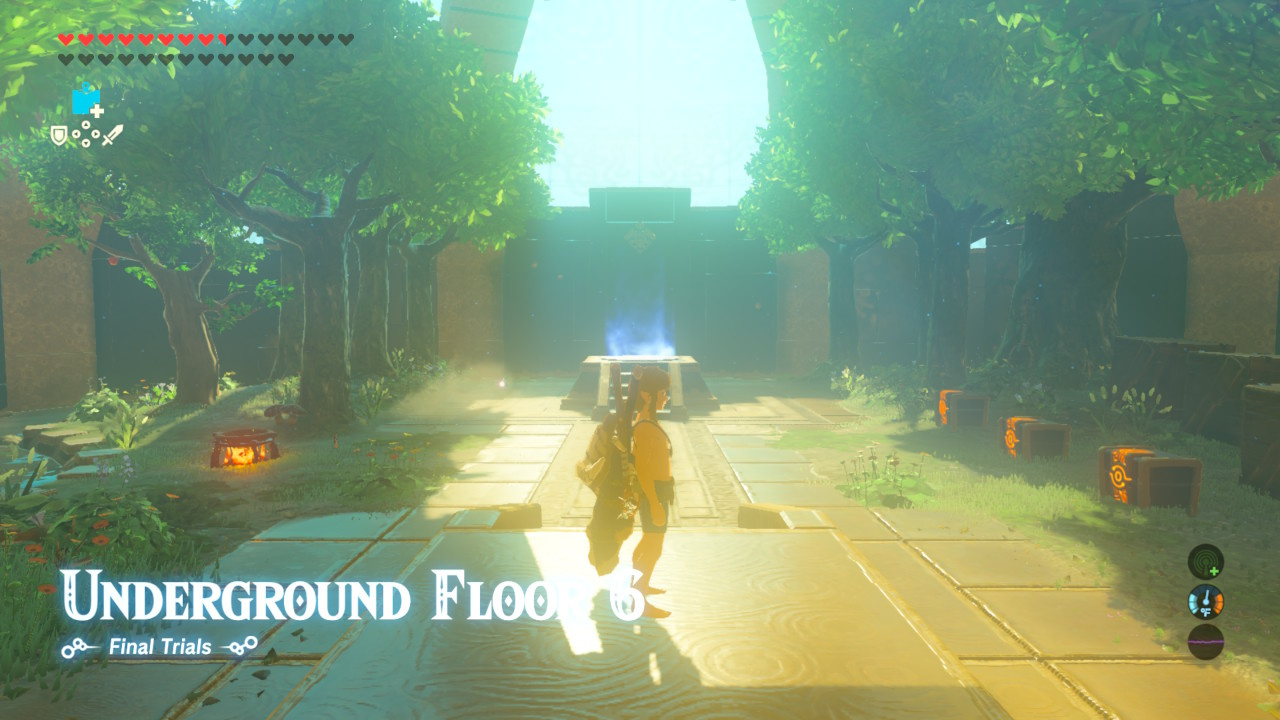
The next area is the first rest area of the final trials. In it you’ll find flamebreaker boots, which you’ll need to survive the next area. As usual, gather up all your gear, cook your meals and move on when you’re ready.
Floor 7
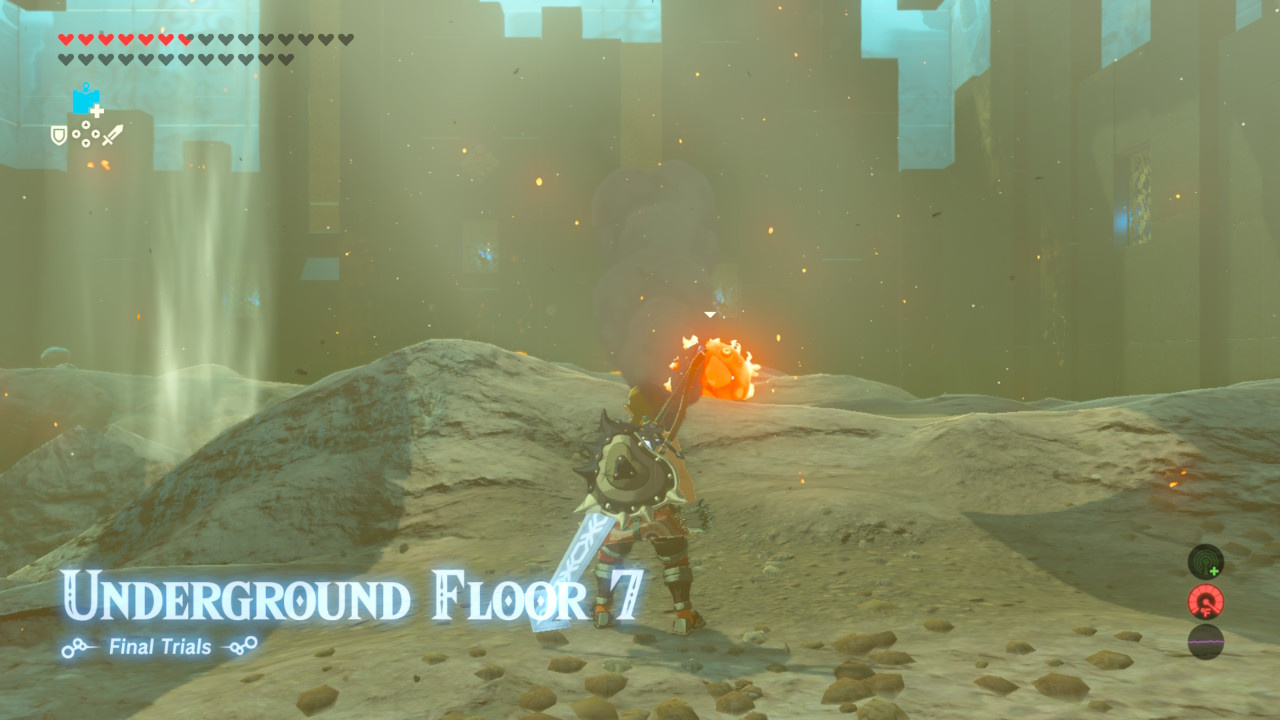
This floor is relatively simple, but you’ll want to make sure all your items are metal as any wooden items will burn up. In front of you you’ll find a fire Chu Chu, bomb it and keep moving. Up ahead you’ll see a suspicious-looking lava rock. That’s actually a Molten Pebbit, or a Small Talus. Bomb it before it gets up to kill it before it becomes a threat.
There’s another one near it which you can also bomb, just be mindful of the ranged attacks from the nearby Octorok. Once you’ve killed both Pebbits, charge the Octorok and throw a bomb into its mouth as it’s inhaling. Once the Octorok has ingested the bomb, detonate it to clear the floor and move on.
Floor 8
The eighth challenge sees Link battling three Lizalfos archers across three rocky islands resting in a lake of magma. Each of the three archers is a fire Lizalfos armed with fire arrows. In between each of the three islands is at least one updraft, so pick your first target and jump off, opening your paraglider on the way.
Once you get your boost, take out your bow and arrow and shoot the Lizalfos. If you have ice arrows, one shot from them will spell instant doom. If you don’t, you can knock the Lizalfos down with a headshot and use the Great Frostblade dropped by the Stalnox you fought earlier for the same effect.
Two of the three islands contain a box, so smash it to take whatever lies inside, and once you’re done with your three foes you can move on as there is nothing hidden elsewhere on this floor.
Floor 9
This challenge begins with a Wizrobe placed to your left and an enemy hideout in front of you. Use whatever ice-based weaponry you have at your disposal to make quick work of the Wizrobe, then climb up near the right eye of the hideout.
If you feel like being frugal with your weapons and arrows, you can throw bombs in there to cheese the Moblin and two Lizalfos with little risk of ever being caught. Once they’ve been dispatched, grab up the items in the hideout and go to the next floor.
Floor 10
There are two main sections in floor 10, the first has a lone Lizalfos archer on an island, and the second is a camp containing three Moblins. The Lizalfos is easy enough to take out if you follow the same strategy we laid out for earlier battles. Fly overhead using the nearby air vent and your paraglider, then either kill the Lizalfos with an ice arrow or stun it and kill it using more conventional means.
After you’ve taken care of the Lizalfos, it’s time to take out the three moblin on the tower. If you have no need for the weapons the Moblins are carrying, you can knock them into the magma below for some quick kills. Otherwise we highly recommend relying on arrows and headshots to do the work for you, as a single attack from a well-armed Moblin can take as many as 15 hearts from Link.
Once you’ve successfully killed all three Moblins, head down to the lowest floor of the Moblin tower and use magnesis to fish a chest out of the water that contains three ancient arrows. We suggest you save these for later trials near the end, as things only get tougher from here.
Floor 11
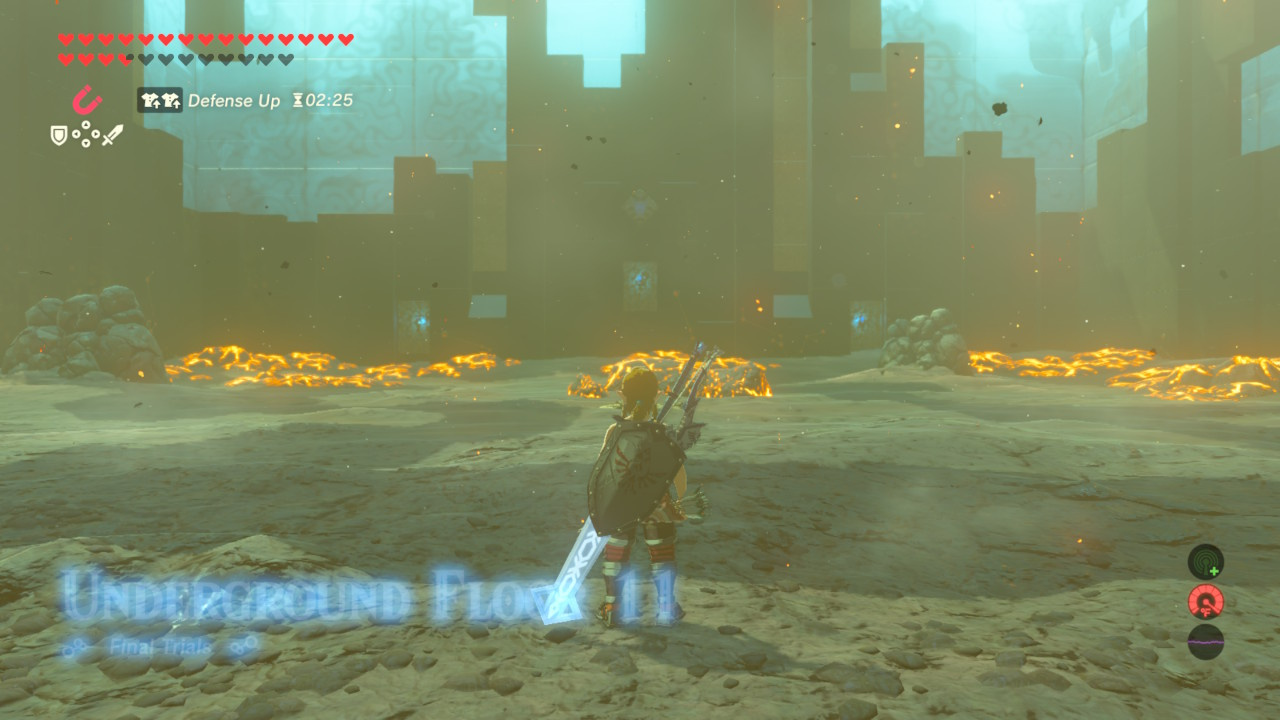
The 11th floor is home to the final challenge’s second boss, an Igneo Talus. You’re going to have to devise some means of smother its flames before climbing it to attack. If you still have the Great Frostblade that Stalnox dropped several floors back, this boss will be a piece of cake. Otherwise, there are several piles of rocks you can bomb to reveal air vents that will allow you to get above your foe and hit its weak point with arrows and bombs.
Once you’ve downed your foe, there are two boxes you can break to find some items. Once you’ve got them be on your way to the 12th floor for Link’s next rest stop.
Floor 12
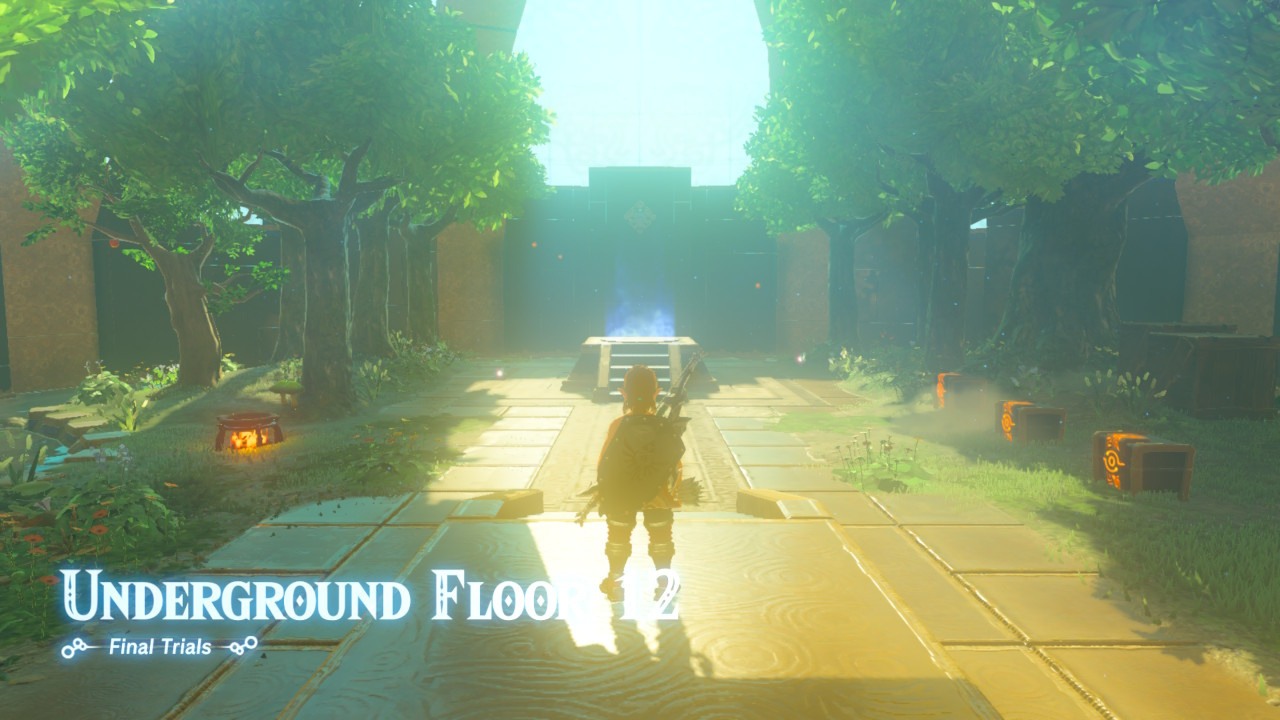
As usual, collect all the items you can carry and cook what you need. Of special note is that this floor contains two fairies and several items designed to help Link weather cold environments.
The next set of floors are all too cold for Link without the help of these items, so make sure to use them in dishes that last as long as possible. We recommend throwing the fish and peppers together in a pot for maximum effect.
Floor 13
This floor starts out similarly to the first floor of the hot levels. You’ll first encounter two ice Pebblins that look like blocks of ice along your path; bomb them before they get a chance to rise to kill them without incident. After that you’ll come across a lone ice Chu Chu; give it the same treatment and proceed along the path until you come across a Bokoblin camp. At this point you can either go to the right and retrieve the bomb arrows in the chest encased in ice to make short work of them, or engage them directly. Either way they aren’t very difficult.
When that’s done, break open the boxes near the camp to find some food, which you can cook using the provided pot if you have a fire-starting item handy. After you’ve collected everything, go through the teleporter to the next floor.
Floor 14
In this challenge you’ll want to take the path laid out for you. To your right you’ll find two ice Chu Chu and Lizalfos. Take the Lizalfos out with a fire arrow and bomb the two Chu Chu, then start sneaking your way up the steps.
Equip the spear the Lizalfos drops and get sneak strikes on each Bokoblin you find to kill them in a single blow. Atop the tower is a silver Moblin. Rely on your arrows to take this one out, but do whatever it takes not to get hit.
Once you’re done with it head to the upper-right-hand corner of the level and melt the ice to reveal a chest containing three ancient arrows. Smash any boxes you left behind then go to the next floor.
Floor 15
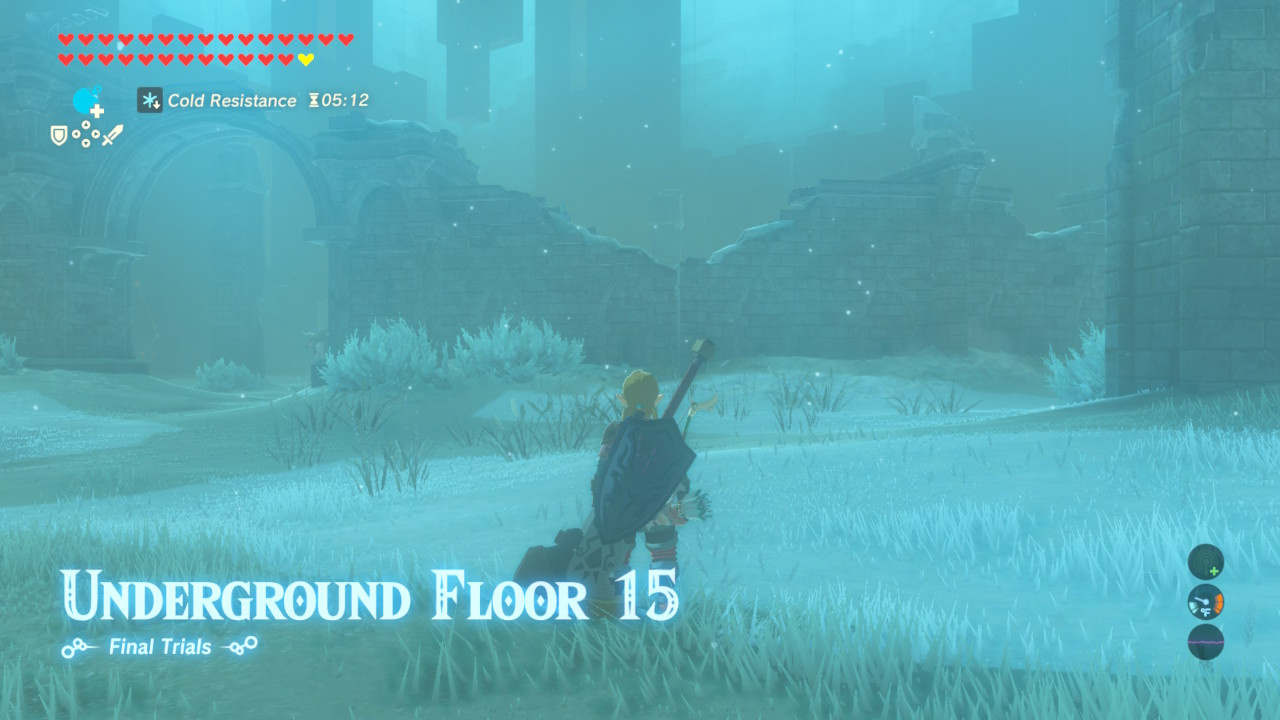
The beginning of this trial doesn’t reveal any threats, but don’t rest on your laurels thinking everything is okay, because there are a number of things to worry about on this floor. To your right are the broken remains of a tower. Climb them to reveal an ice Wizrobe, three Bokoblin around a campfire and a Moblin keeping patrol.
Jump off and open your paraglider, then fire a bomb arrow or drop a bomb onto the Bokoblin camp. While they’re busy with that, land and run to the log to the right to steal their weapons before they can arm themselves and finish them off.
With them out of the way, turn your attention to the Wizrobe. Kill it with a fire arrow and steal its weapon. To defeat the Moblin easily, freeze it with the Wizrobe’s weapon, then hit it with the stone smasher you got a few floors back. Do this three times and it will be done. Once you’ve done that, collect any items you missed and head down to the 16th floor.
Floor 16
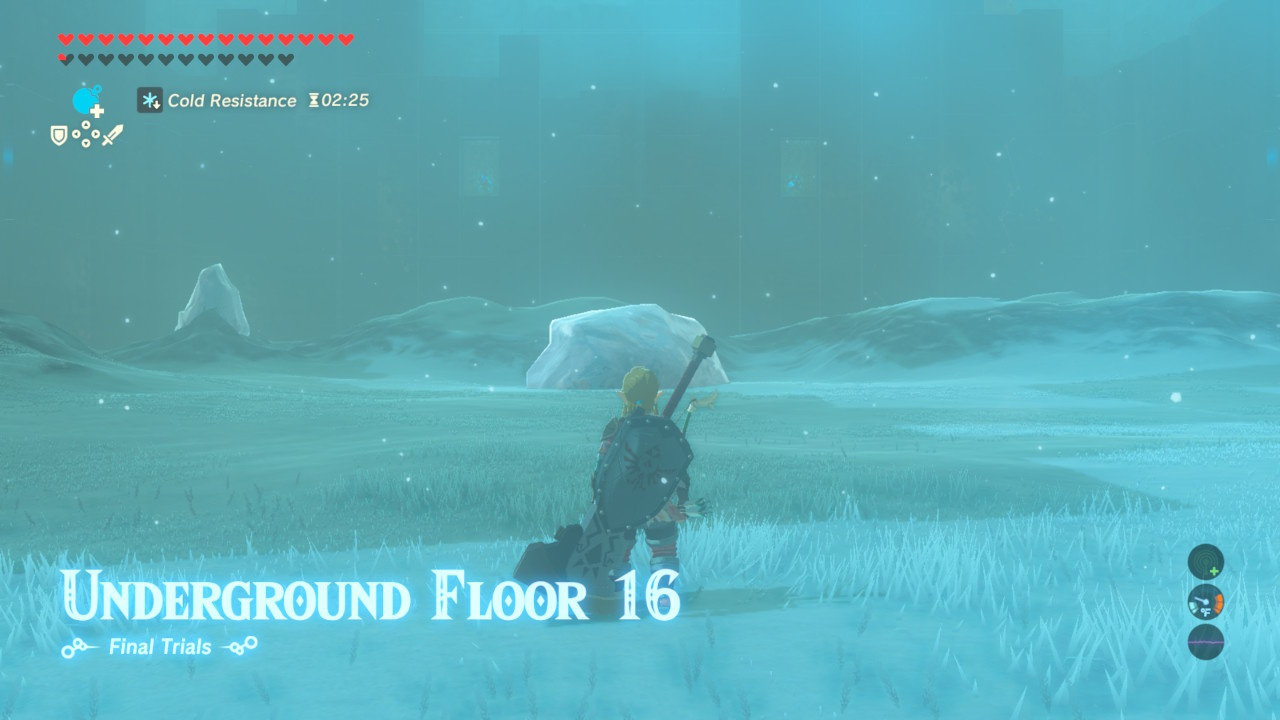
This is a one-on-one fight with a Frost Talus. Use any fire-based items you may have or the supplied explosive barrels to defrost it, then climb it and hit its weak point like any talus. Once it’s defeated, move on to floor 17.
Floor 17
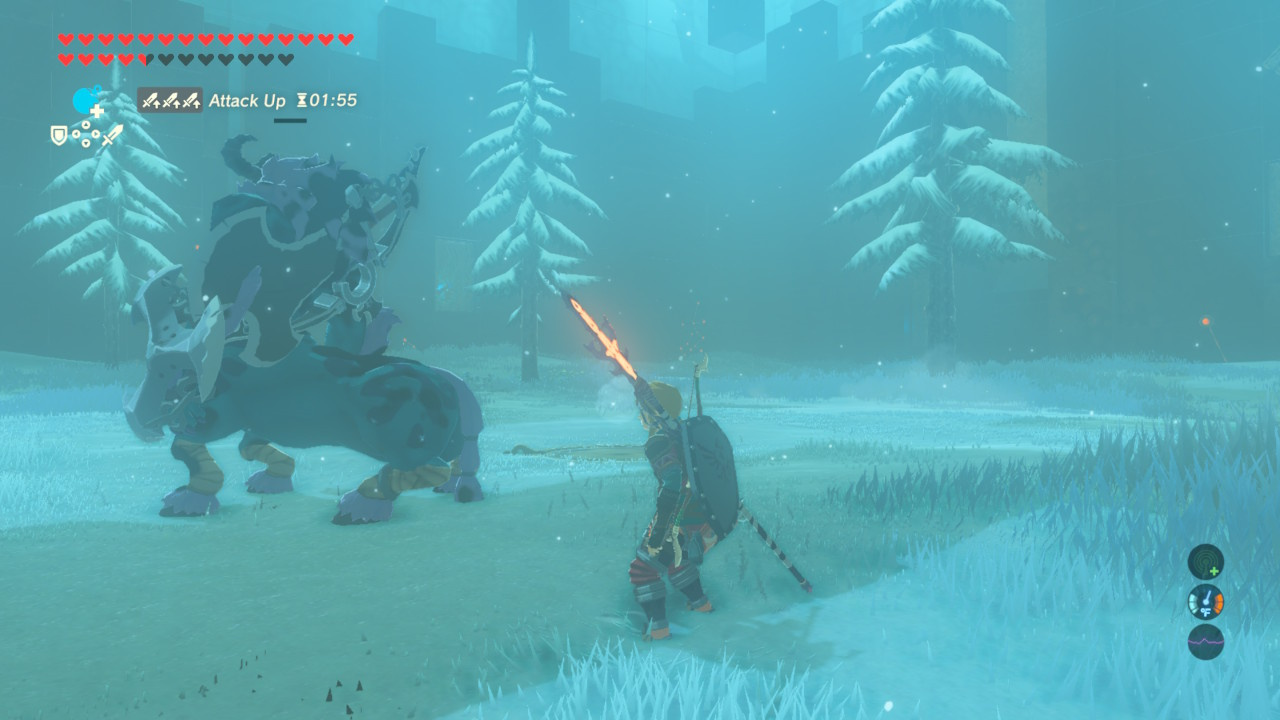
The boss of this section is none other than a Lynel. This fight could drag on and cost you innumerable hearts, weapons and food items. Rather than that, loose one of your ancient arrows on this guy, watch him die instantly, collect the bomb arrows in the chest encased in ice in the upper-right and call it a day. You’re welcome.
Floor 18
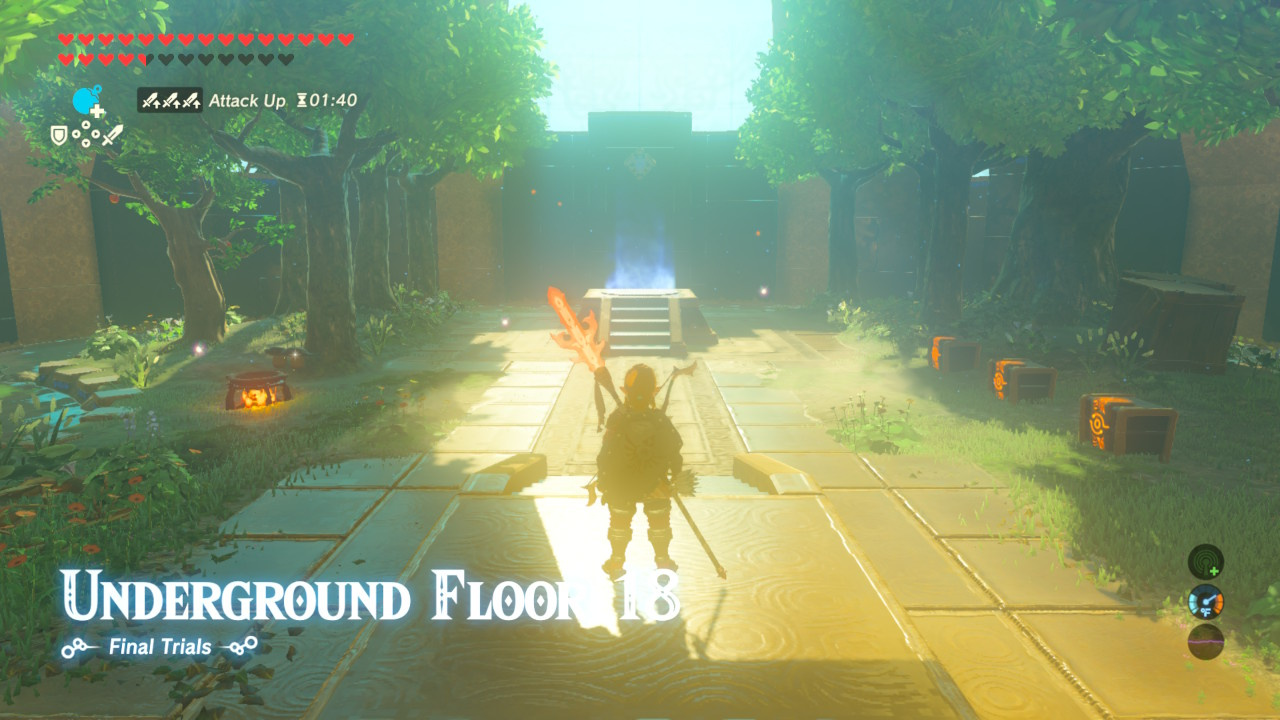
This is Link’s final rest top. Grab all the items, fairies and fish you can, cook everything you need and get moving to the last leg of your journey to complete the Master Sword.
Floor 19
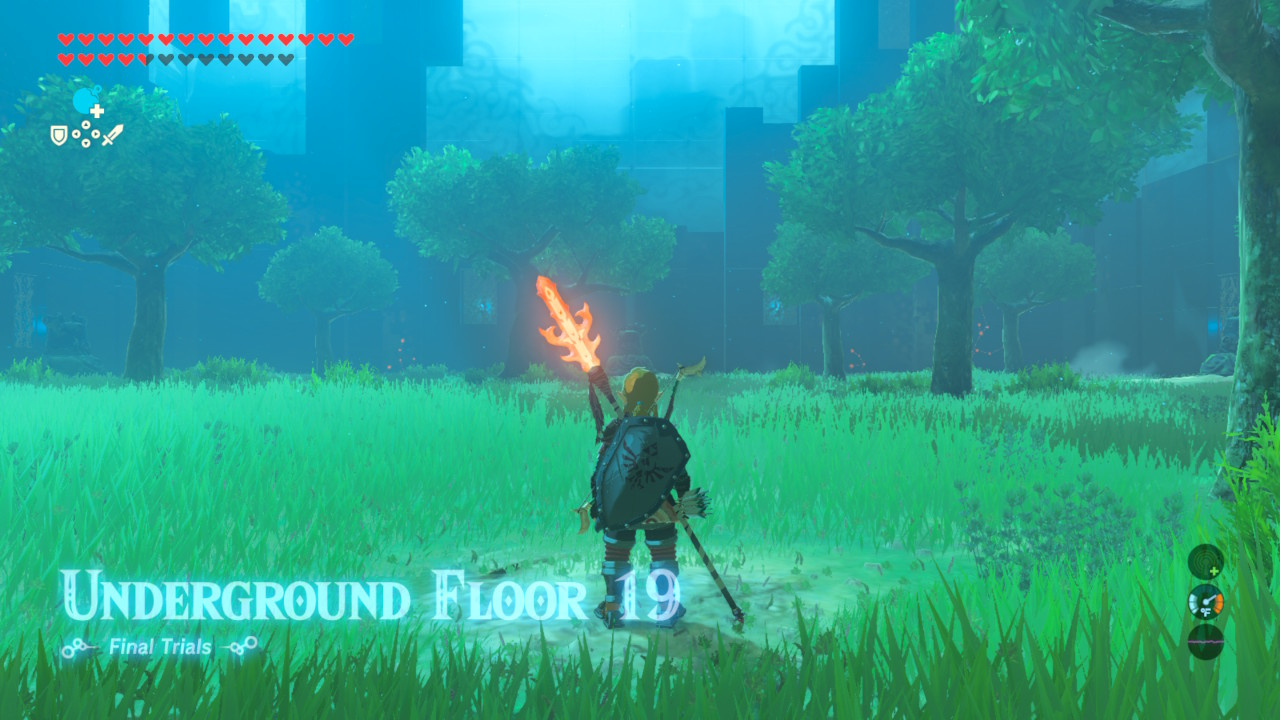
This room is lined with limbless Guardians, though initially only the one directly in front of you is active. Approach it and kill it using your melee weapons. If it targets you, fire an arrow into its eye. Once you’ve defeated this one, two more on opposing sides of the room will activate. Use the trees for cover and approach the one closest to you. Hide between it and the wall while attacking it to protect yourself from attacks from the Guardian on the opposing side.
Once it’s one-on-one, take the remaining Guardian out using the same technique and brace yourself for the final part of the challenge as three Guardians awaken and begin to target you. Run toward the Guardian in the back of the room closest to where you came in and hide between it and the wall while attacking it. Note that you’ll have to constantly switch sides while attacking to avoid being shot by either of the Guardians on either side of you.
Once that first Guardian is down, run to the left and wedge yourself between that Guardian and the wall and take it out similarly to how you did the other Guardians to this point. After that, you’re back to one-on-one. Just as before, use the trees to break the guardian’s line of sight, get in close and let it have it.
Once they’re all gone head the Southwest corner of the room and use magnesis to unearth a treasure chest containing a shield. Once you’ve got the shield move on.
Floor 20
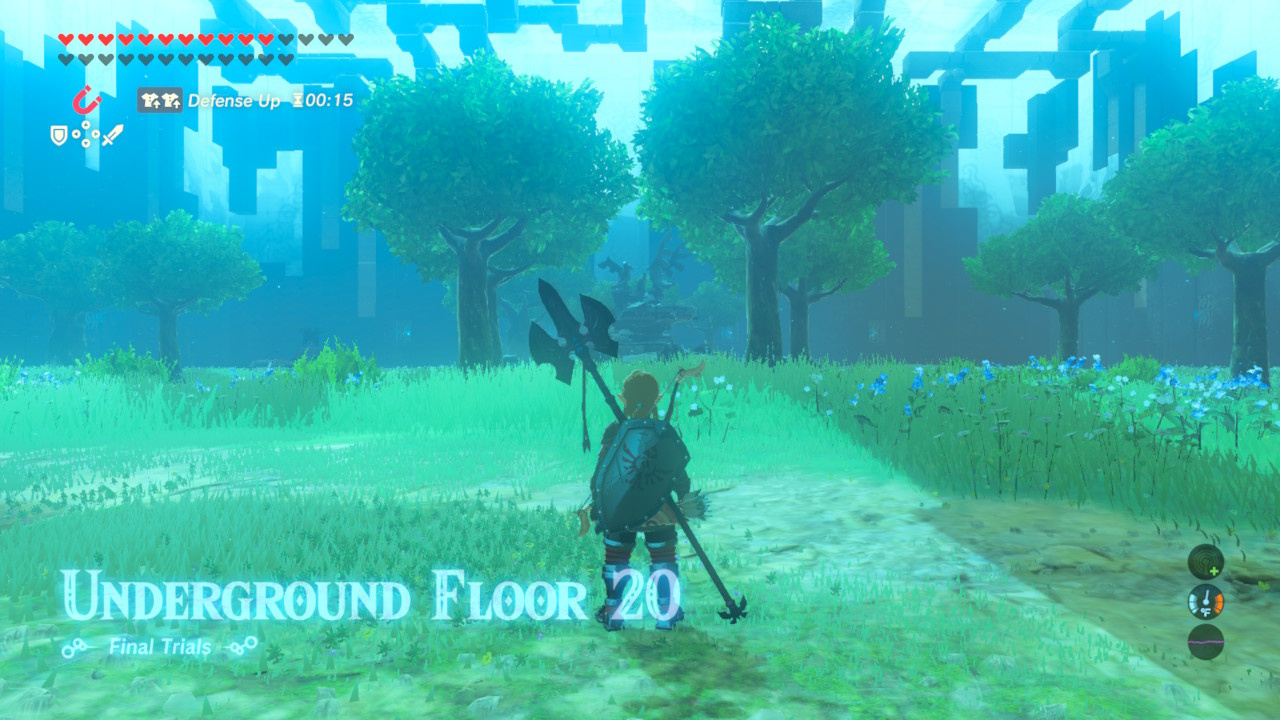
The 20th floor contains a single enemy - a Guardian with all of its legs intact. There are some horses to the right you can use to approach, but we prefer simply sneaking up on it using the cover of the trees between you and it. Once you’re within striking distance, attack the Guardian’s legs, cutting them off one by one. The Guardian should remain stunned from each leg being removed long enough to allow you to get the next one. Once you’ve gotten all the legs, the Guardian is a sitting duck. Attacking it from behind will cause it to fire its laser, potentially knocking it over and leaving its underside exposed for you to attack freely. If it does manage to lock onto you, just shoot its eye with an arrow and continue your assault. Once it’s destroyed, this floor is done. Collect the few items from the box and barrels in the center, then go to the 21st floor.
Floor 21
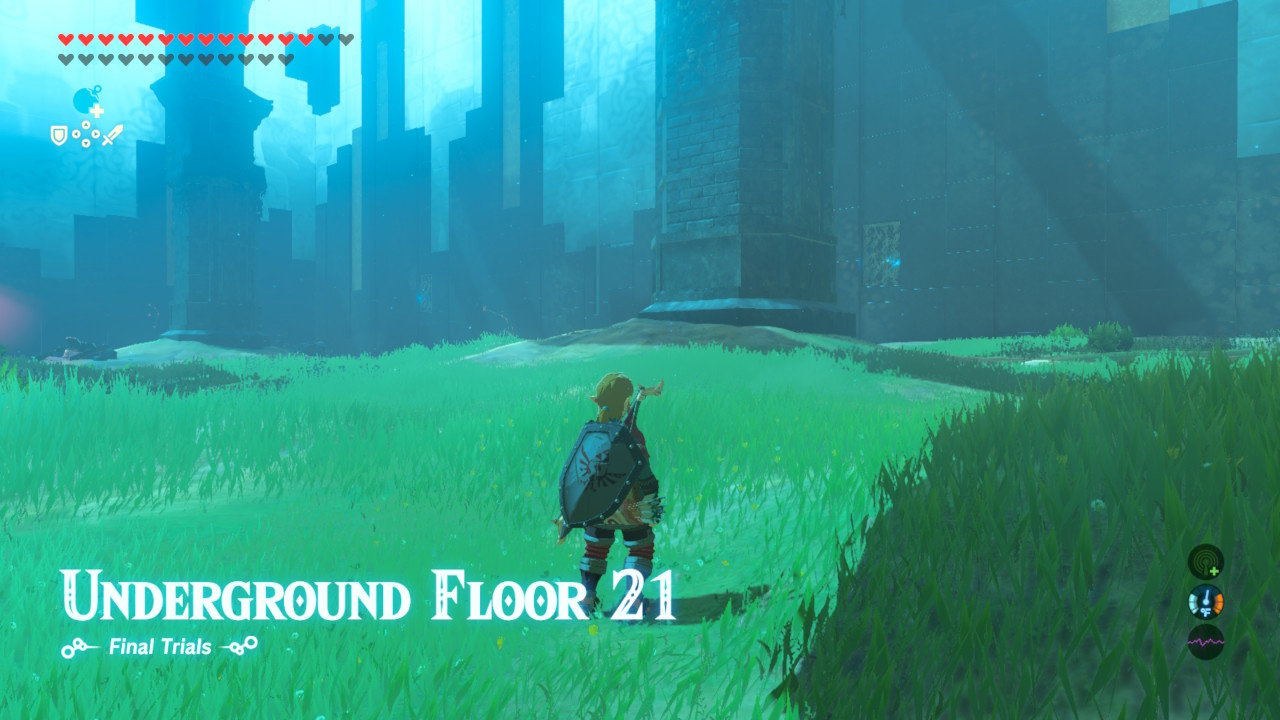
Like the floor before it, the 21st floor contains a lone enemy. This time, however, you’ll have to contend with a Guardian Skywatcher which is flying around the area. Fortunately, there are five towers Link can climb to get a better vantage point.
Climb the tower to your right to get a better view of the Guardian as well as to locate a chest atop the center tower. Use your paraglider to glide over and collect the bomb arrows in the chest.
Once you have the arrows, fire an arrow at the Guardian to get its attention. When it looks up to fire at you, shoot an ancient arrow into its eye to finish the battle quickly. The bomb arrows were the only item in this area, so once you’ve taken care of the Guardian, head straight for the exit.
Floor 22
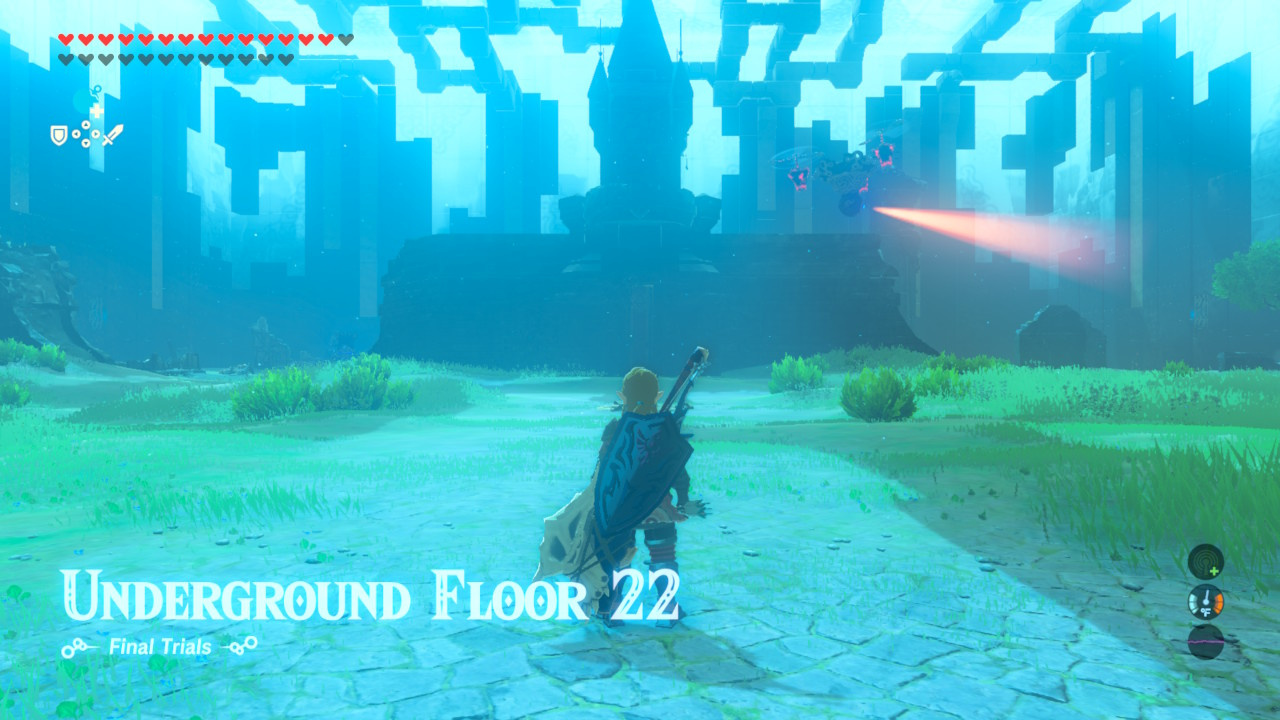
This time instead of one Guardian, you’ll have three to deal with.
In addition to the regular Guardian and Skywatcher varieties, a Guardian Turret joins in the fun as well. Rather than rushing into the fray, we recommend you take on the turret first. Run to the right then straight forward to catch its attention. As before, stick to the trees to break its line of sight and get close to the tower it rests atop. Climb the tower and fire an ancient arrow into this Guardian’s eye to close the book on it, then descend and do the same to the standard guardian roaming around nearby.
Smash the barrels in the house-looking ruins nearby and gather any items in them, then when the Skywatcher is on the opposite side of the castle-type ruins it’s circling, run inside, gather the bow from the chest and climb upstairs. As before, get its attention and fire an ancient arrow into its weakpoint to make short work of it.
Once you’ve done this, head to the crumbled section of wall attached to the ruins the Skywatcher was circling to get a shield from a chest. Before you move to the final floor, make sure you have a spear equipped and your ancient arrows selected as things are a bit hectic.
Floor 23
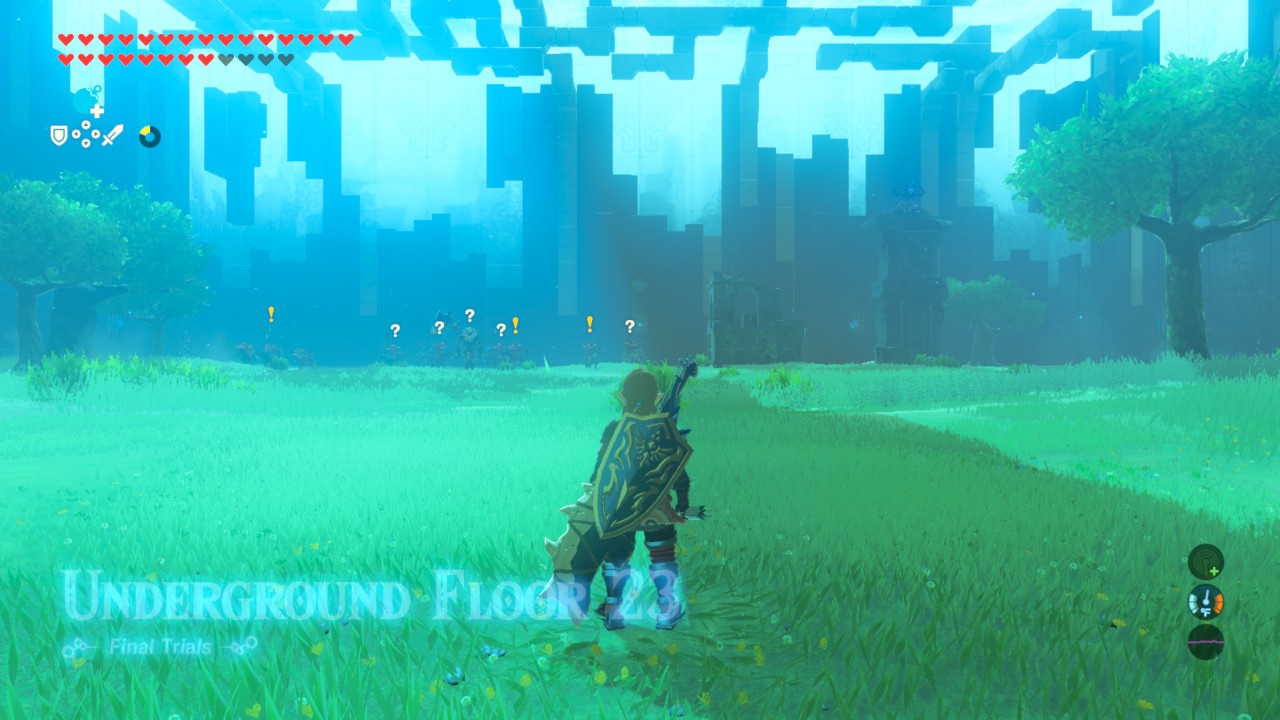
As soon as you set foot in this area, you’ll be greated by a Lynel and eight Bokoblin on horseback. There’s also a Guardian Turret in the upper-right, but it won’t take notice of you yet. Fortunately, the Bokoblin are all of the weakest, red variety.
Take out the Lynel as quickly as possible with an ancient arrow, then use a bomb or explosive arrow to knock the bokoblin off their horses. Fend them off with your spear, which should make easy work of them.
With all of them defeated, make a dash toward the Guardian Turret, using the ruins in the middle of the field as cover from its laser. Climb the tower and defeat the turret to clear the Trial of the Sword.
If you've made it this far, then congratulations are in order, as you've fully powered up the Master Sword and completed the Trial of the Sword. Do you have plans to continue your adventure in Hyrule? Let us know what you plan to do with your newfound power by leaving a comment.


Comments 20
I can just imagine what's waiting at the end.
Tip for the first floor, on the left there is a bokoblin arm on the ground, which you can beat the enemies with to get their nonmetal weapons. Then you can collect the metal weapons for later "lightningfree"" floors.
Got all the way to the 17th floor on the final trials before being killed by the Lionel. I'm usually pretty good at fighting them but I was off my game there, lol I'll keep that tip in mind to use an ancient arrow on them. I wasn't aware it was an instant kill. XD
@Steve_Bowling @Findonovan95 Erm, it's *Lynel... imagine the horror of an enemy that sings 'Hello' every time you encounter it 😬
Dang this is extensive. Already beat the trial though! C:
However, I disagree that Master Mode is harder than this. Just like the base game, Master Mode only seems hard at the beginning, then gets easier as you acquire more hearts, stamina, armor and weapon slots.
At the first rest area of the Final Trial.
I'll beat it this weekend. I've gotta finish what I started.
@TeeJay has led the way
It took me a few tries, and 4 hours total, but I finally beat the final! I used bombs a lot, so that slowed things down. lol.
Beat it second try (death was due to an electric keese on the second floor) but only used ancient arrows on the turrets. I wish they didn't give the player up to 9 ancient arrows, it really trivialises some of the challenges.
@TeeJay To be fair, I think this has the same issue. I only ever had the most trouble at the start of each trial, and died the most at the beginning trial. Once you get to the rest stops, the game throws way too much gear, fairies and full heals at you for no real reason. On top of that, ancient arrows should not have been available in this, making several fights almost brain-dead easy, and there's a lack of truly difficult enemies later on (about two silver enemies in the whole thing and RED bokoblins in the final room).
Also, additional tip for floor 7: leave the octorok alone until you've killed the other enemies, then start dropping the rusted weapons you got previously so that it polishes them; fairly simple way to get some more decent weapons early on in the trial.
And for floors 13 to 17, having a meteor rod or flamespear equipped eliminates the need for cold resistance food. At that point you can either use bombs to deal damage or constantly swap between your damage dealing weapon and fire weapon; as long as you're fast enough you won't take cold damage but you'll still be able to deal damage without using up your elemental weapon!
@Darkhound1999 don't forget you can give the octorok rusty shields as well to renew them
On floor 19, i just went to the nearest one on my right and reflected it's laser, taking it out in one shot. I just kept that up, going down line of guardians from left to right. Didn't break a single weapon
@Markiemania95 it'd be great if it sounded like this: https://m.youtube.com/watch?v=LtQUJMBH8uE
@Koudai1979 I was referring to the Lionel Richie song Hello (as they were calling Lynels 'Lionels'), rather than the Adele one, but that's still kinda fitting haha!
@Markiemania95 oh lol. I've heard of him, but I'm not sure if I've heard of any of his songs.
@Markiemania95 Haha! Thanks! I can't believe I didn't catch that.
@Markiemania95 I looked up that song. I have heard it before.
Playing Master Mode.
Don't have the Master Sword yet.
Still feeling like a boss because of this:
Yup. This is going on the wall in Hateno!
Oh man... I'll really have to use that chest tracking tip. I thought I was pretty thorough, but I only found 3 of the 9 Ancient Arrows, and even then I wasted one of them.
Made it to the 23rd floor, then got slaughtered as I was basically helpless at that point. Should be much more straightforward with an extra 6 Ancient Arrows to play with though. Will try again tonight.
Thanks for the guide.
What's the deal with the pluralization? You can add "S"s to ends of most of them, this isn't Pokemon.
Tap here to load 20 comments
Leave A Comment
Hold on there, you need to login to post a comment...