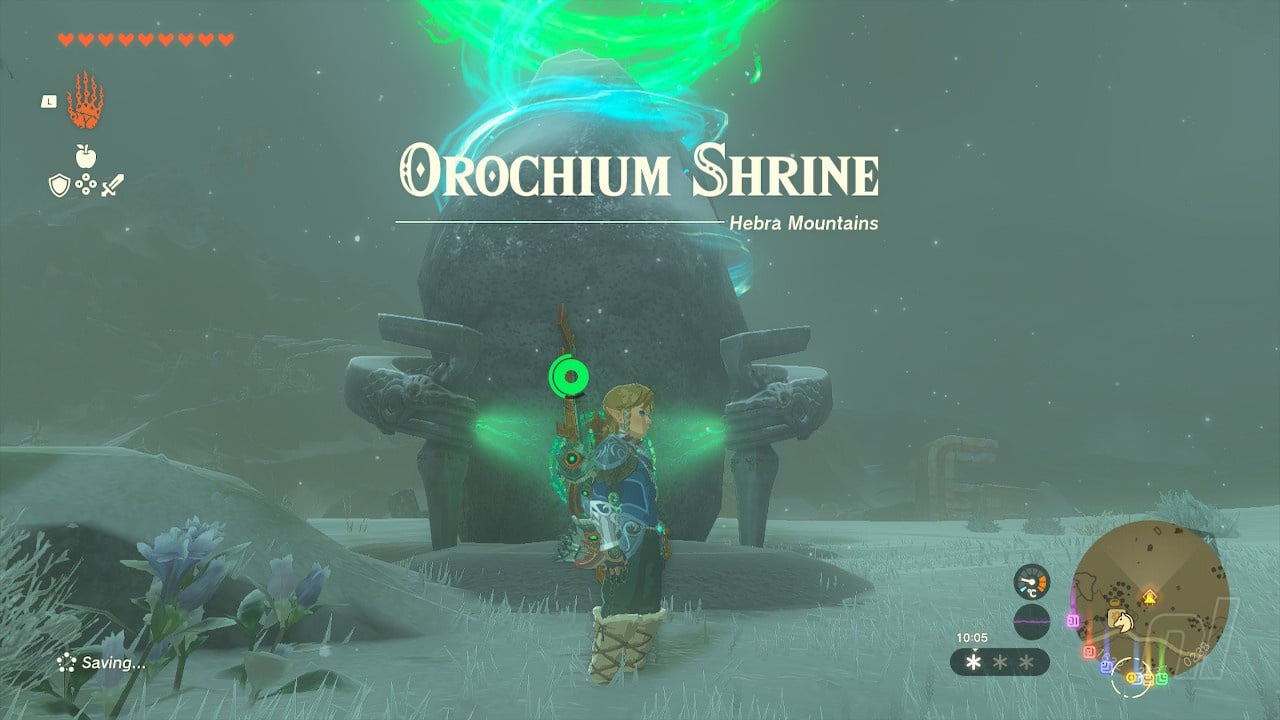
Of all of the shrines in the snowy fields of Hebra and Tabantha, Orochium Shrine is one of the more difficult tasks sent by the Zonai in The Legend of Zelda: Tears of the Kingdom.
Titled Courage to Fall, this Shrine trial might sound pretty straightforward, but a simple step through the green glowing door and all of that changes. Don't worry, we've got the best solution for this tricky shrine for you.
Here's how to find Orochium Shrine, and how to clear the Courage to Fall.
Zelda: Tears Of The Kingdom: Orochium Shrine Solution
Where to find Orochium Shrine
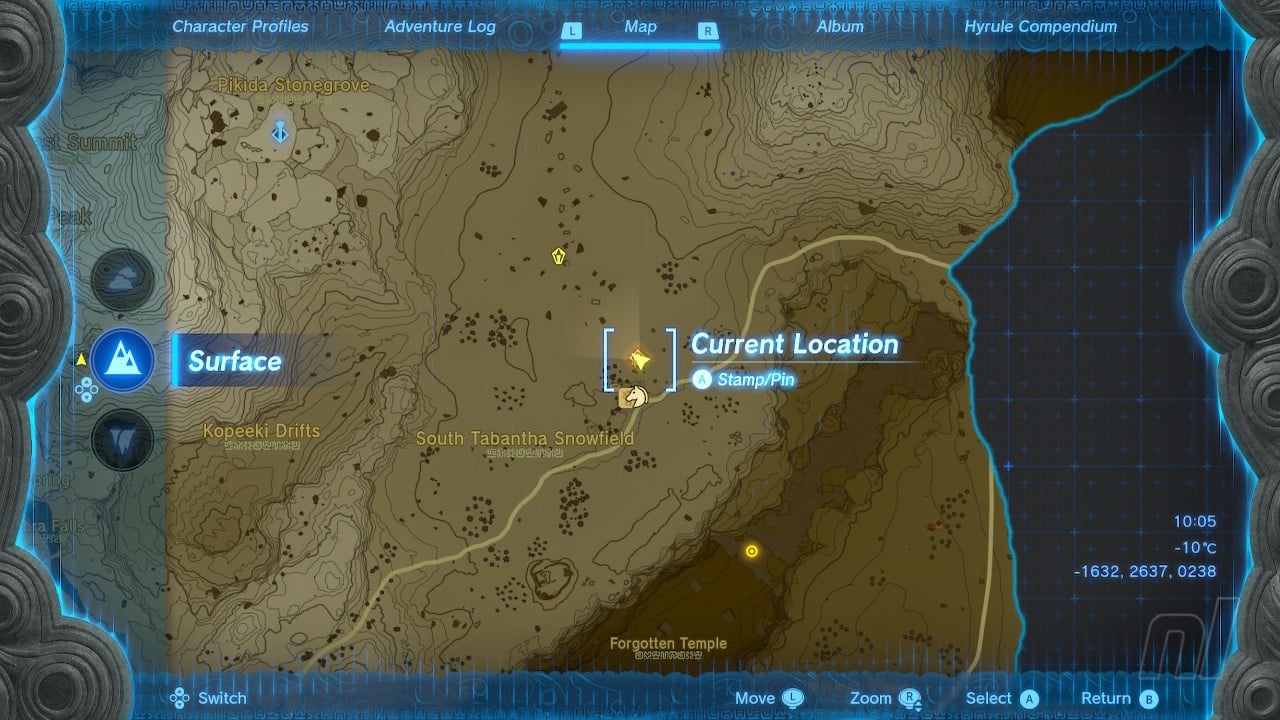
Orochium Shrine can be found in the Hebra Mountains region to the far southeast of Pikida Stonegrove Skyview Tower, and just north of the Snowfields Stable.
The shrine's coordinates are roughly -1632, 2637, 0238, and it's just off of the beaten path, near some ancient Zonai ruins. North of the shrine is North Lomei Labyrinth.
How to solve Orochium Shrine
Orochium Shrine requires the use of two of Link's abilities — Ultrahand and Ascend. Other than that, there are a few Constructs that you'll want to take down to make your life easier. If you have any Zonai weapons on you, those will make short work of the robots.
Otherwise, bring yourself and your courage, because you're going to need it!
Orochium Shrine - Courage to Fall solution
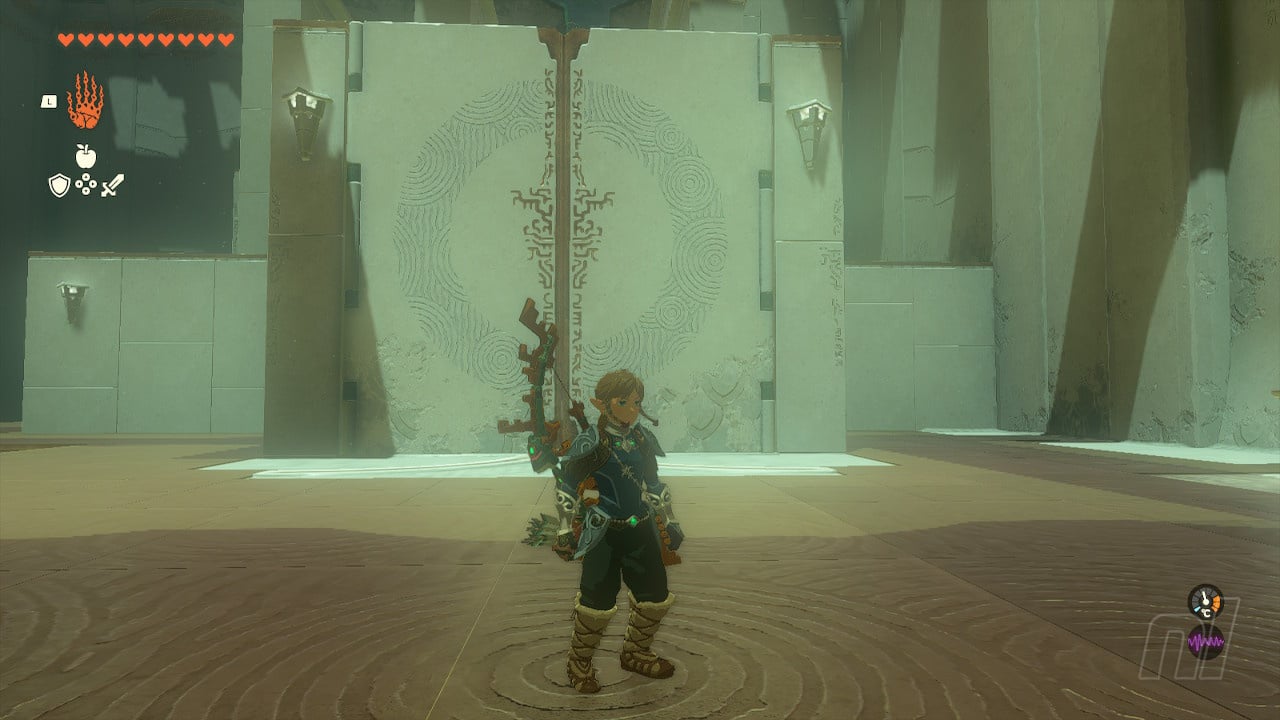
Enter the shrine and walk into the main chamber. You'll notice a slot for a ball to go in on the floor on the right, and two large stone doors in front of you. Use Ultrahand to open the doors to reveal a laser corridor. Don't go through the doors, however.
Instead, go left and follow the path around. Destroy the Construct and run towards a suspended pillar. get under it and used Ascend to go up. Climb up the ladder, crouch down, and go through the small gap on your right.
In the next room, drop down, fight another Construct, and then follow the path around to the other side for a chest containing 5 arrows. Then, return to the middle of the room and use Ultrahand to open more double doors.
You'll see another laser room with a locked green door ahead of you. Trip one of the lasers to drop down a floor to yet another laser room. In this corridor, make your way through the lasers, and open the chest for a Small Key. Use Ascend here to appear at the back of the green door room, where you'll see two elevator platforms.
Go back to the green door, destroy two Constructs, and unlock the door to reveal the ball you need. Grab it (either yourself or with Ultrahand) and make your way back to the green platforms (where you Ascended to after getting the key). Ride the platform up, and put the ball in the hole to open up a room which has a Wing Zonai device with three fans on it.
Pull the Wing out with Ultrahand, then take the ball out of the switch and stick it to the wing. Position the wing on the track in front of you, get on it, and ride the device back to the beginning. Once you land, remove the ball from the wing, put it in the hole that you saw right at the start, and open up the final room to claim your Light of Blessing.
Who would've thought you had to trip lasers, right? Some real Tom Cruise stuff right there. We've got a location guide and map for all Shrines, which you should check out if you're trying to find all of them in TOTK. For now, why not head on over to our walkthrough for more hints and tips?


Comments 2
Great example of the developers being too clever and ending up with an objectively bad shrine.
Having to randomly trigger the lasers is a bunch of BS.
Tap here to load 2 comments
Leave A Comment
Hold on there, you need to login to post a comment...