So, the time has finally come to climb Mount Tamaranch and wake the Wind Fish. In this final part of our Zelda: Link's Awakening walkthrough, we’ll cover everything you need to know to navigate to the final boss and do damage to each of its forms.
Additionally covered: how to find the Color Dungeon.
Mount Tamaranch
How to Read the ‘Dark Secrets and Mysteries of Koholint’
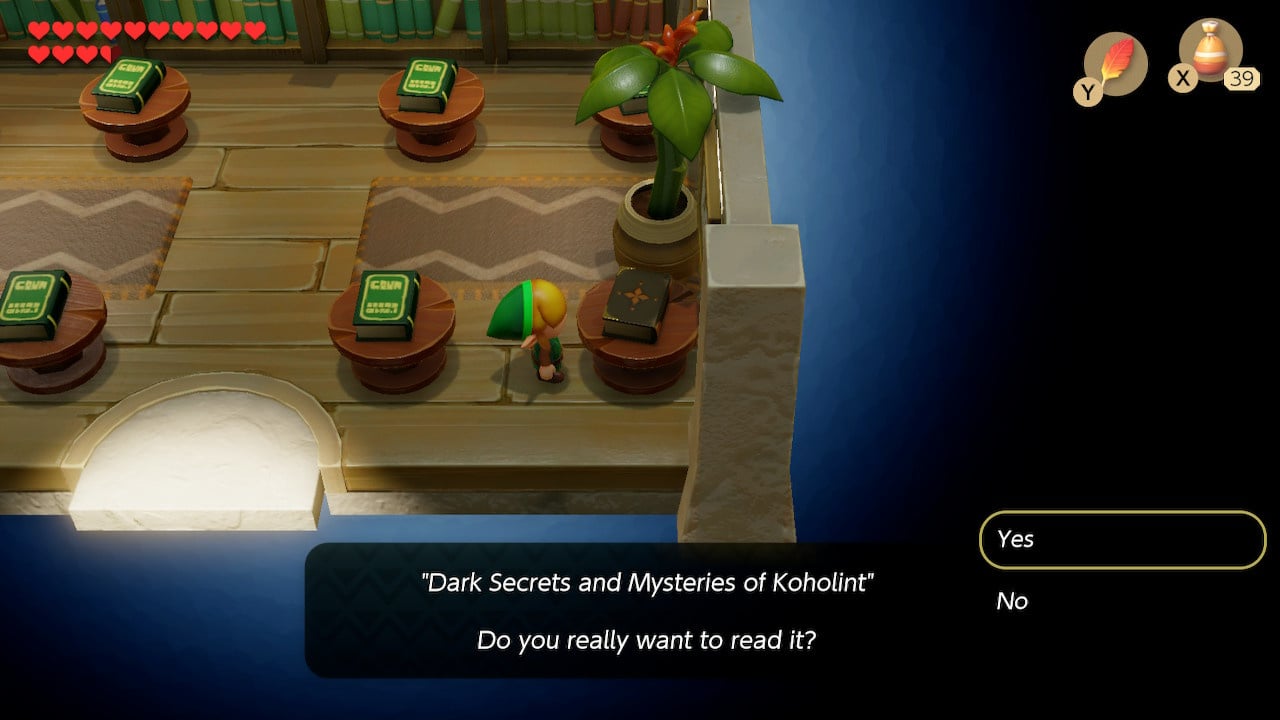
If you head to Mount Tamaranch and enter the Wind Fish’s Egg you will find yourself in an endless dungeon with no clear path forward. You should head to the library in Mabe Village first instead – if you visited there at the beginning of the game, you may remember a book in the lower right corner that you couldn’t yet read.
The key to reading this book is the Magnifying Lens item. If you do not yet have this item, please read the trading sequence recap below and return when you are done. Otherwise, skip ahead to the directions.
The Link’s Awakening Trading Sequence Recap: A Link to the Parts
If you do not yet have the Magnifying Lens, check out what we had to say about the trading sequence guide.
Get Directions Through the Wind Fish’s Egg Dungeon
Read the “Dark Secrets and Mysteries of Koholint” and you will see the following:
Round and round, the passageways of the egg…
[A sequence of eight directional arrows]
Hmmmmmm, this book reeks of secrets…
Unfortunately, there’s no point us giving you the sequence we received while writing this guide – the directions each player must head are randomly generated when the game is started, so you will have to read the book for yourself!
Bonus: How to Find the Color Dungeon Using ‘’The Hidden Power of Color”
Back in 1998, after nine years of monochrome handheld gaming, Nintendo updated the Game Boy line to include a shocking new development: color (or ‘colour’ for commonwealth readers and fans of the superfluous ‘u’). They commemorated this startling invention with the original Zelda remake, Link’s Awakening DX, colourising the original release and adding a ninth dungeon – the color dungeon.
21 years later, and gaming handhelds look a little different. But the color dungeon is still accessible, even if its main gimmick is even less revelatory.
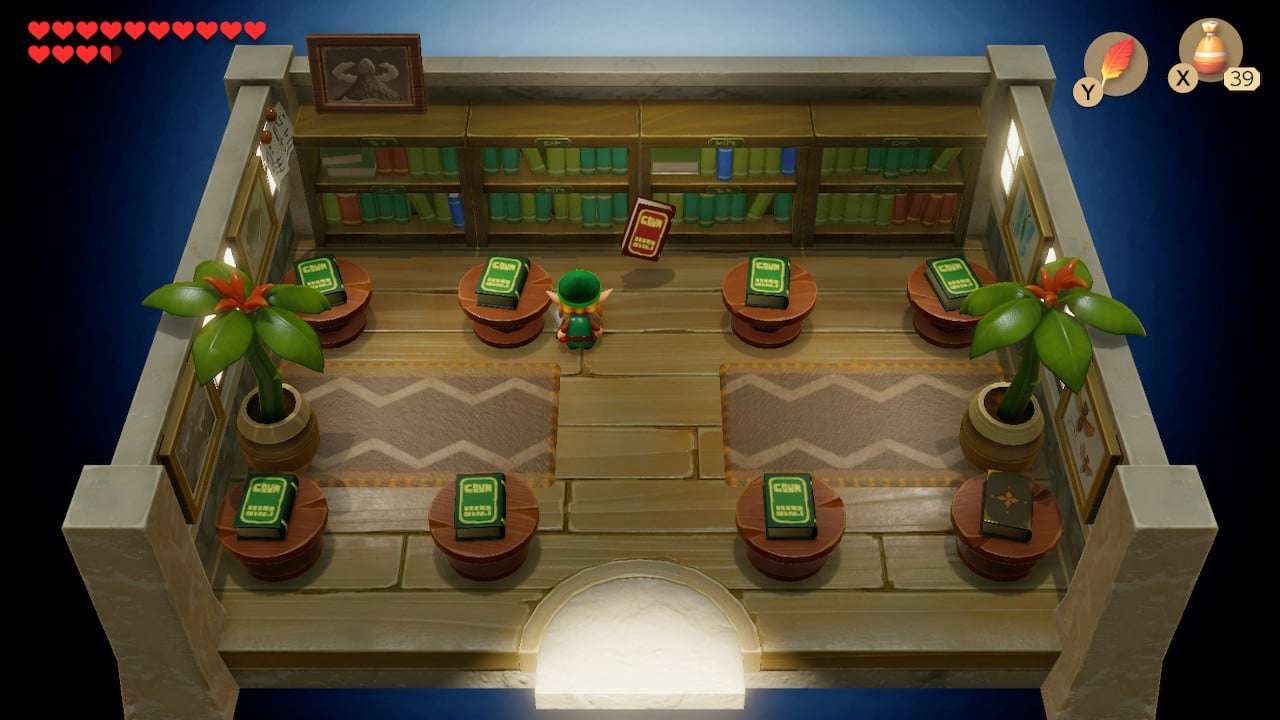
To access the color dungeon (available any time after the Key Cavern), dash into the bookcase on the top wall of the Mabe Village library and read the book you dislodge.
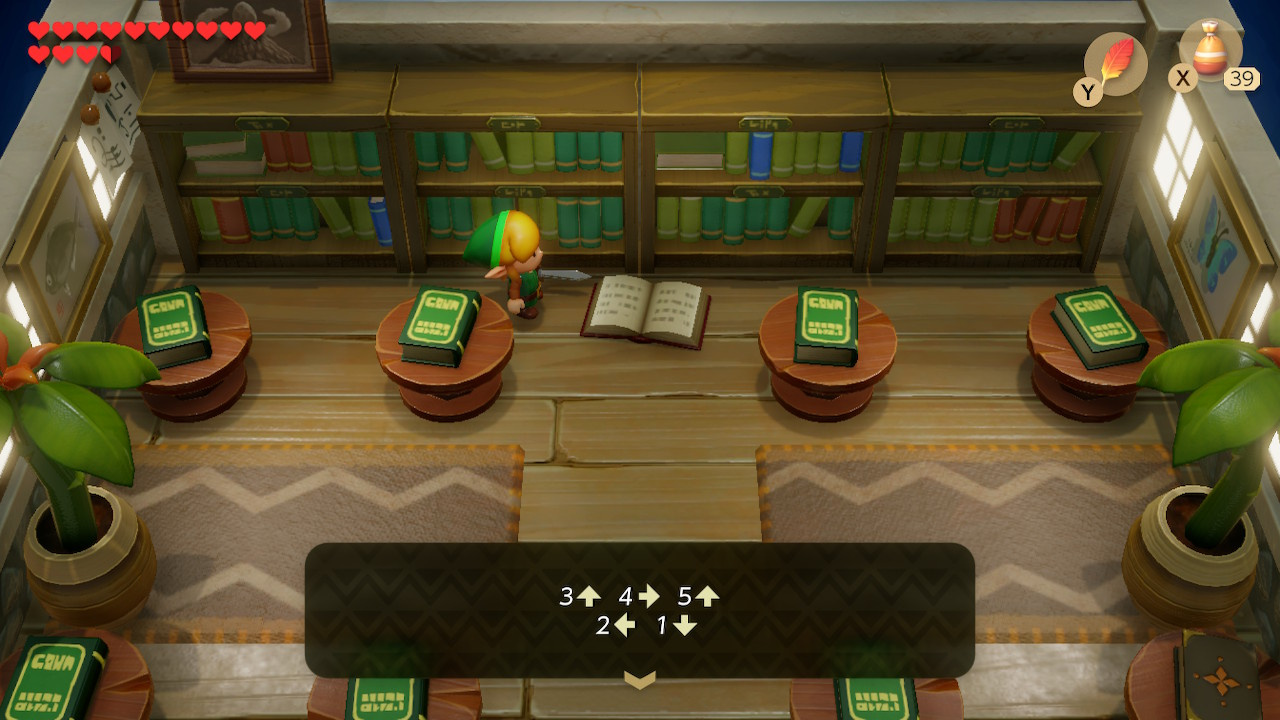
“The Hidden Power of Color”
“There’s a new world of color under the five gravestones:”
“3 (Up) 4 (Right) 5 (Up)
2 (Left) 1 (Down)”
“Try with all your might and you may open a new path. Are you worthy to receive the power of color?”
What’s this “world of color” about? Maybe you should try it and see!
Head to the Graveyard and look for the only group of five tombstones (they’re in the south east corner). Push them in the order indicated (i.e. clockwise, starting in the lower right) and in the directions indicated by the arrows.
We’ll let you tackle this one on your own – get to the end and you can choose between a red tunic (doubles attack power) or a blue tunic (doubles defence power).
Wind Fish’s Egg Walkthrough
Entering the Wind Fish's Egg
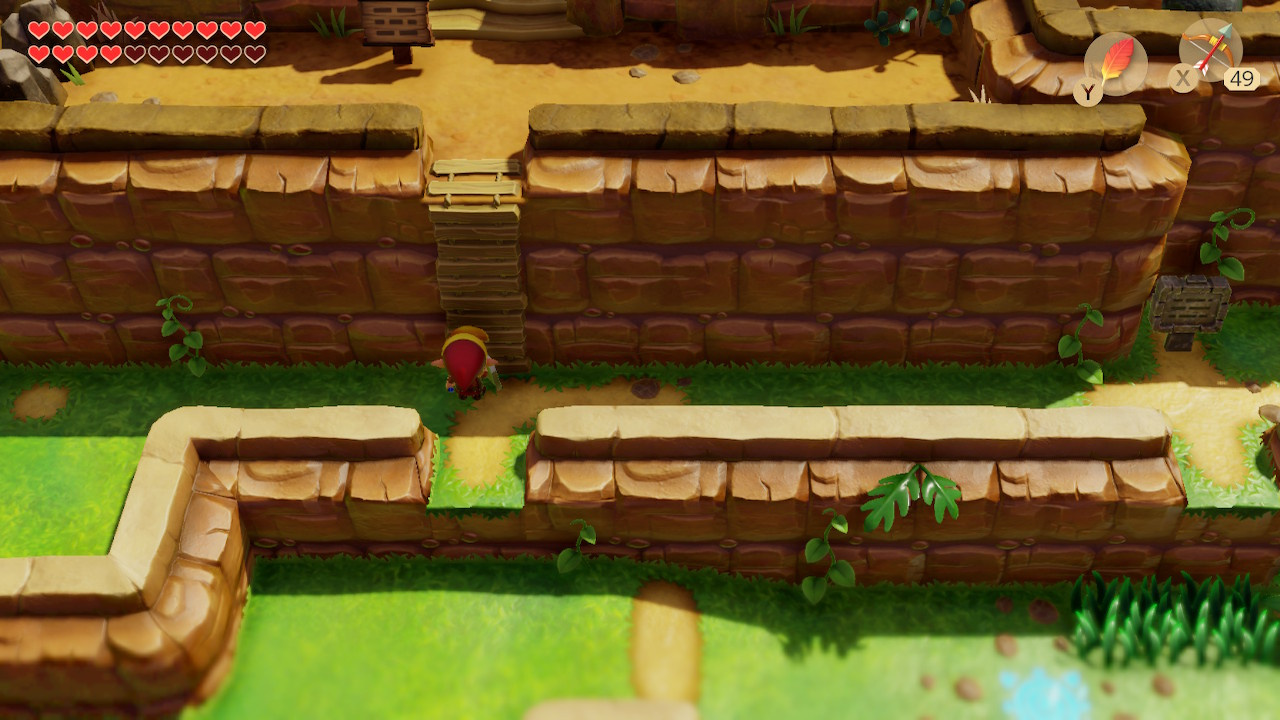
The path to Mount Tamaranch can be found up the first ladder by the cliffs above Manbo’s Pond. Climb the ladder and walk all the way up to the egg at the peak.
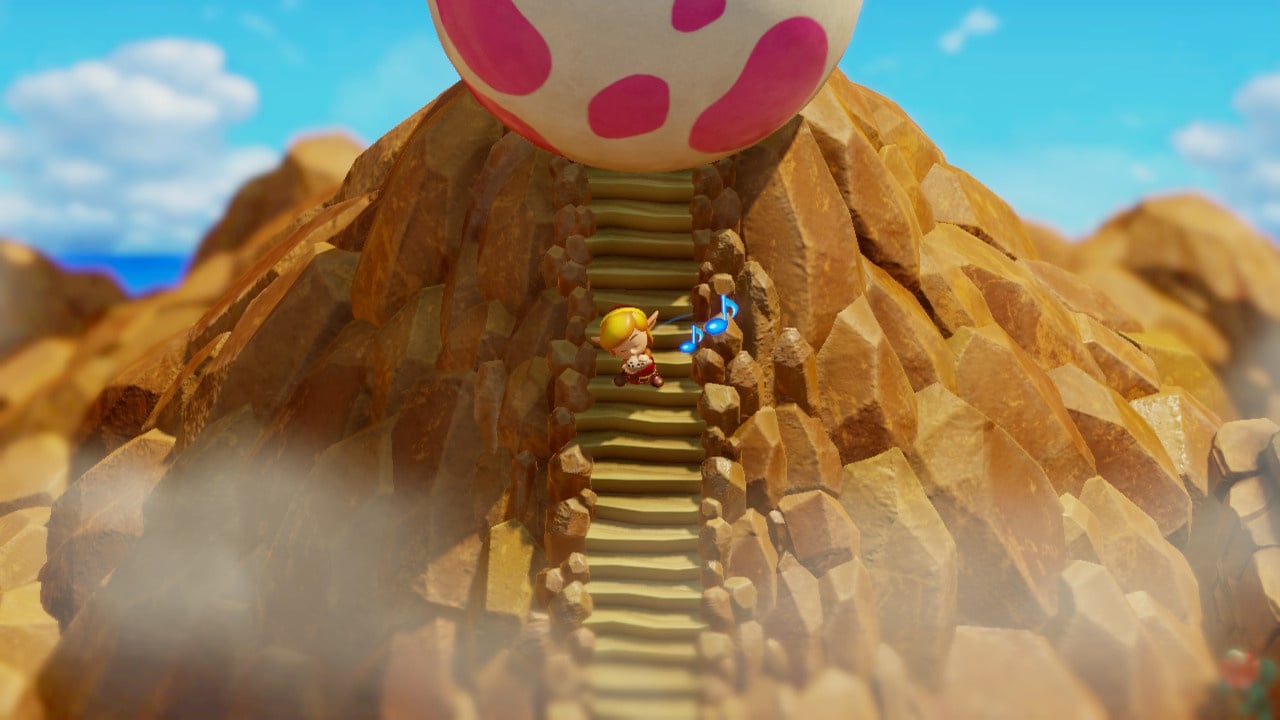
En route to the Turtle Rock, the Owl mentioned that Marin had made her own attempt to wake the egg – by singing the Ballad of the Wind Fish. Play your own rendition with the Ocarina (learnt from Marin).

As you continue your Ocarina song, the Siren’s Instruments you claimed from Koholint’s Eight Dungeons begin playing along.

Suddenly, cracks appear in the Egg – forming a doorway. The owl lands atop the egg and encourages you onward:
The time has come… The Wind Fish awaits…
Enter the egg… Hoot! Hoot!
Wind Fish's Egg Maze Directions
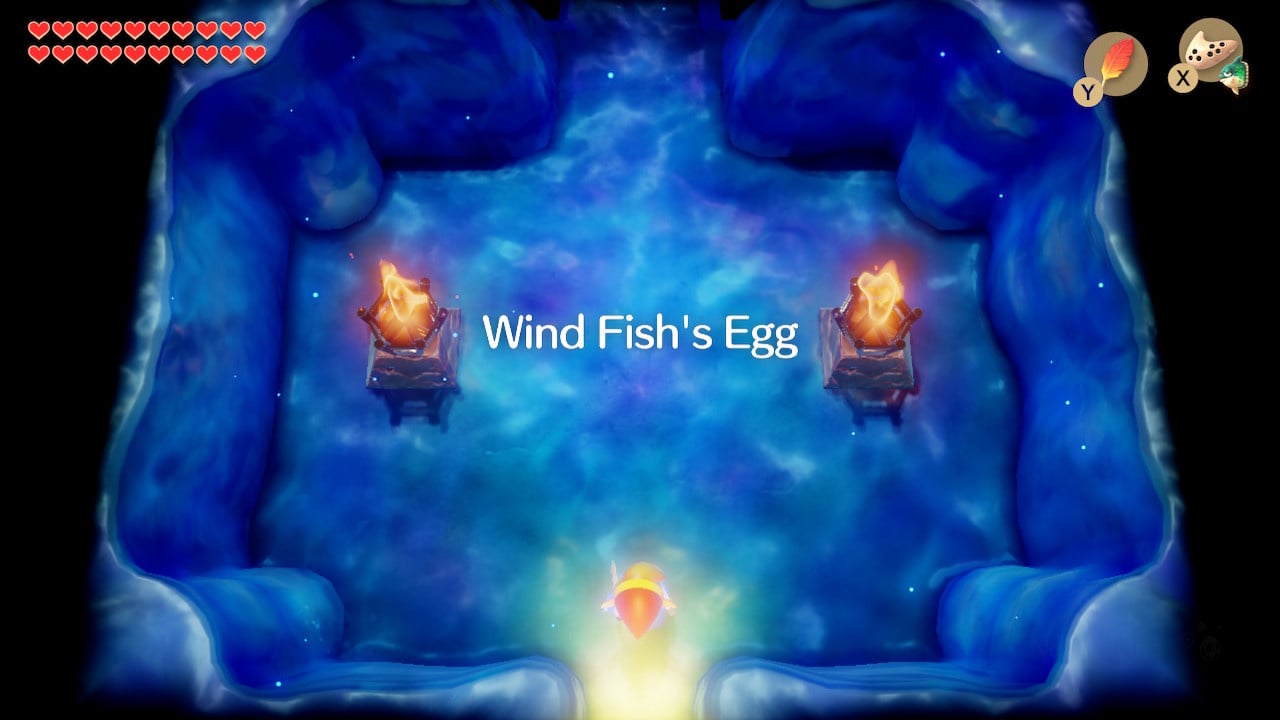
Head up in starting screen and then drop into the abyss in the next room. Once you land, head upwards again.

Next, you will journey through a series of identical looking, four-exit rooms. This is where you should follow the sequence of directions you read in the “Dark Secrets and Mysteries of Koholint” (again, as mentioned above, these are generated when starting the game, so you will have to read them yourself in the Mabe Village library).

If you follow the correct sequence of directions, the ninth room will contain a hole in the ground and you will hear a chime confirming that you’re in the right place. Step into the abyss to enter the boss chamber.
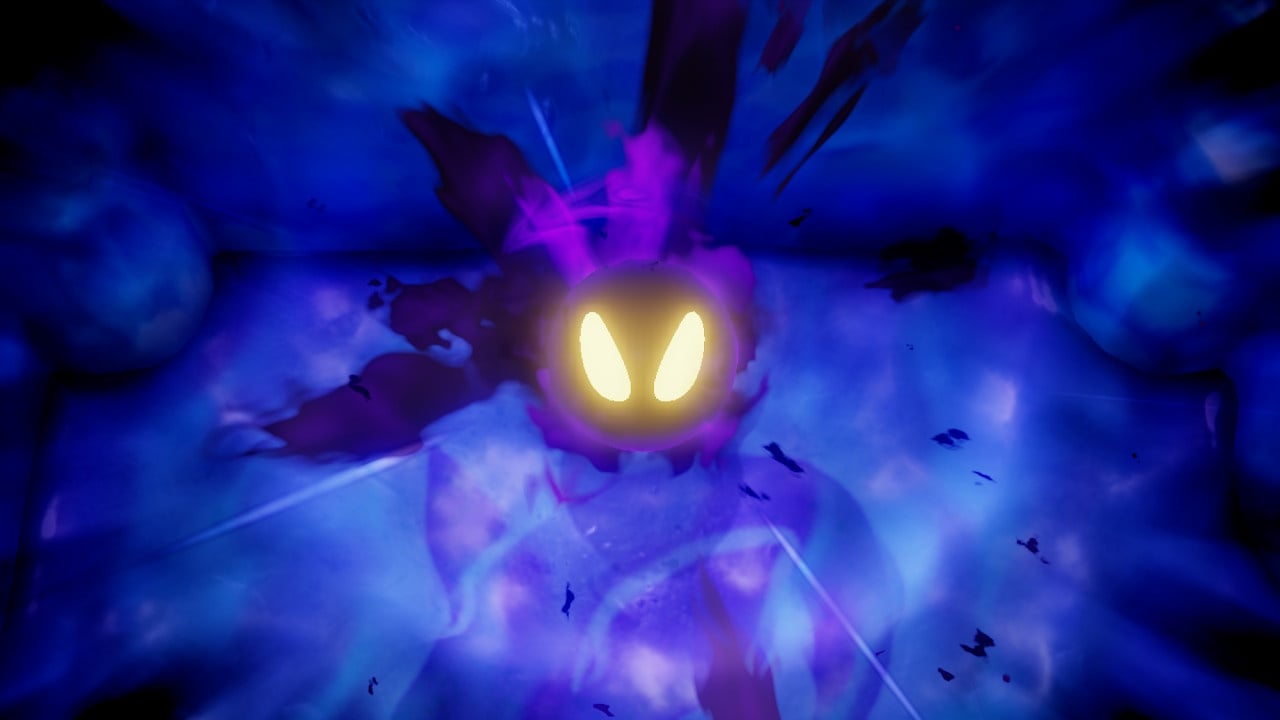
Defeating the Shadow Nightmare
As you arrive in the boss’ chamber, a voice calls out to you:
We were born of nightmares…
To take over this world, we made the Wind Fish sleep endlessly!
If the Wind Fish doesn’t wake up, this island will never disappear!
We would have been the masters of this place…
But you had to come here and disrupt our plans!
Heh heh! You can never defeat us!
Let's rumble!
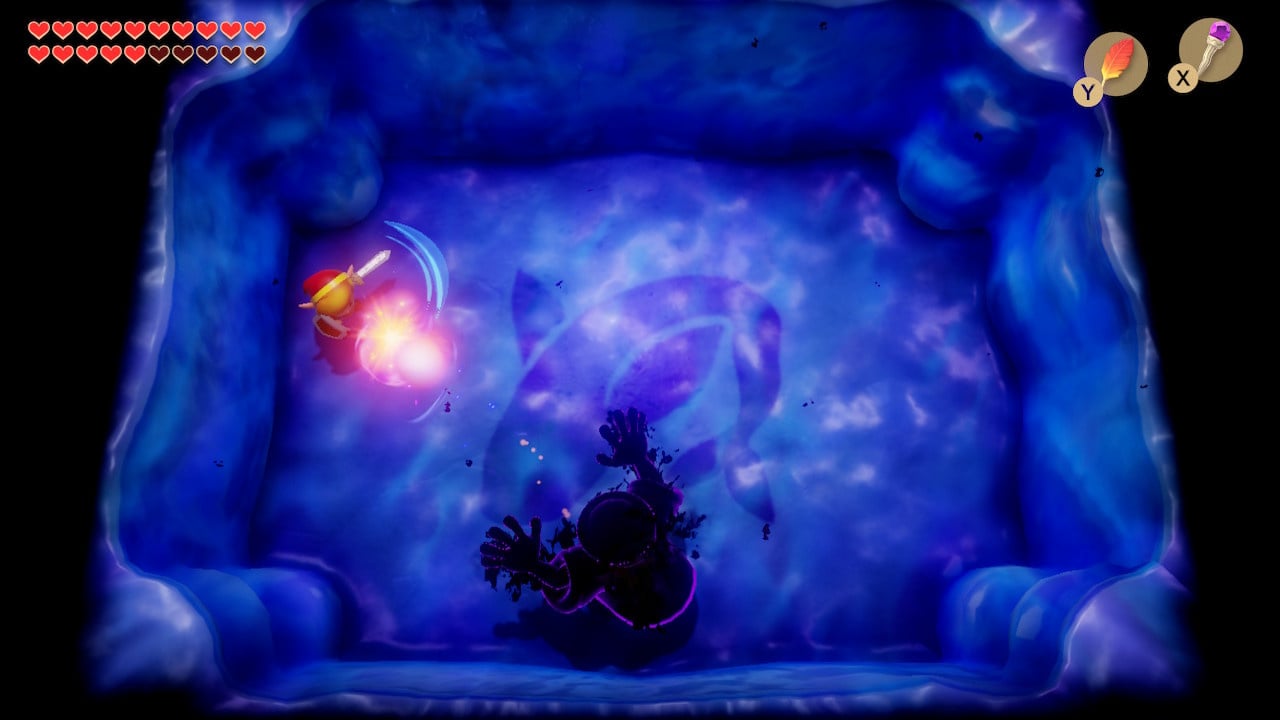
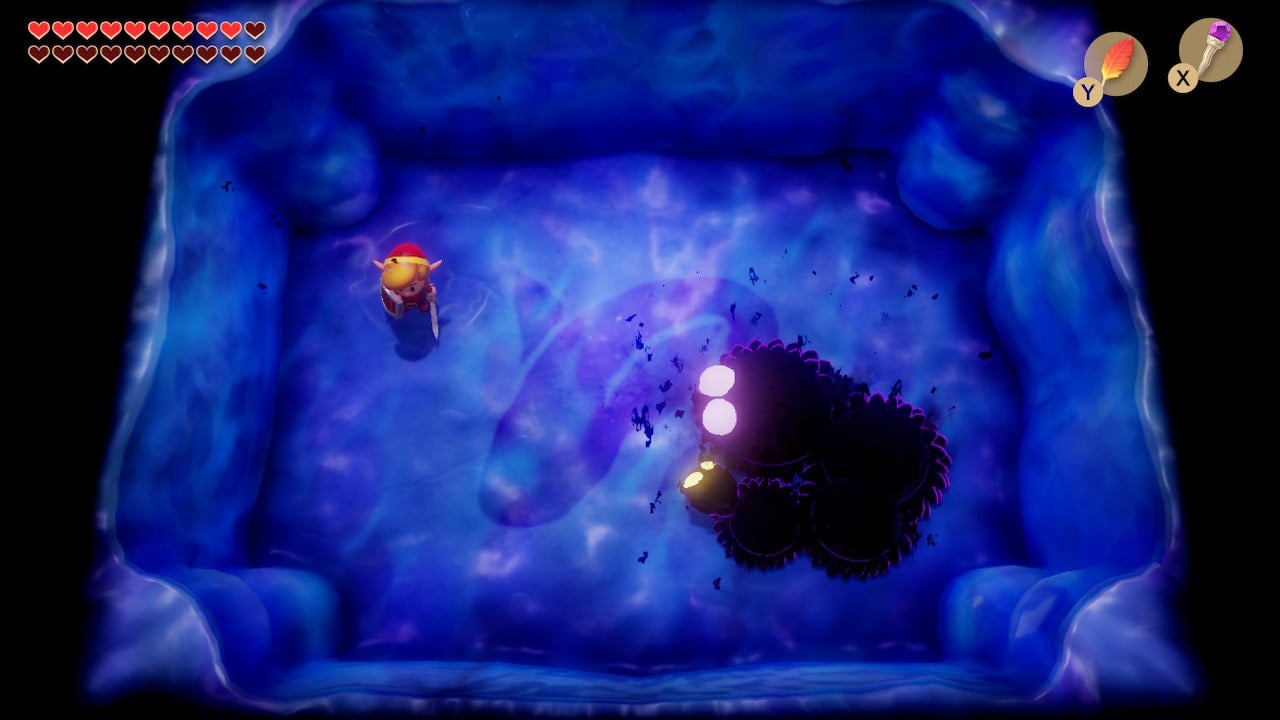
Something pitch black forms below Link’s feet and sneaks to the opposite side of the room, reconstituting itself into a ball of darkness and shadow – this is the Shadow Nightmare, and its gimmick will be to take the form of familiar enemies and bosses across five forms, each with a different attack pattern and weakness.

The first form bounces around the room like a Zol (the common blob enemy), however it is apparently impervious to all of your weaponry (simply disappearing with no sign of a hit). Your key tool is your magic powder. Chuck some powder as it lands and it will soon take on its second form.
The second form is the shadow of Link to the Past’s Agahnim – he will throw a red ball of magic at you which can be deflected back with your sword, provided you are facing the shadow. Sometimes four smaller magic balls will be thrown your way – these cannot be deflected and should be dodged/jumped instead.
The third form is a repeat of the Moldorm miniboss, though it is stronger overall and moves quicker in its critical phase. Hit the end of its tail to send it packing.
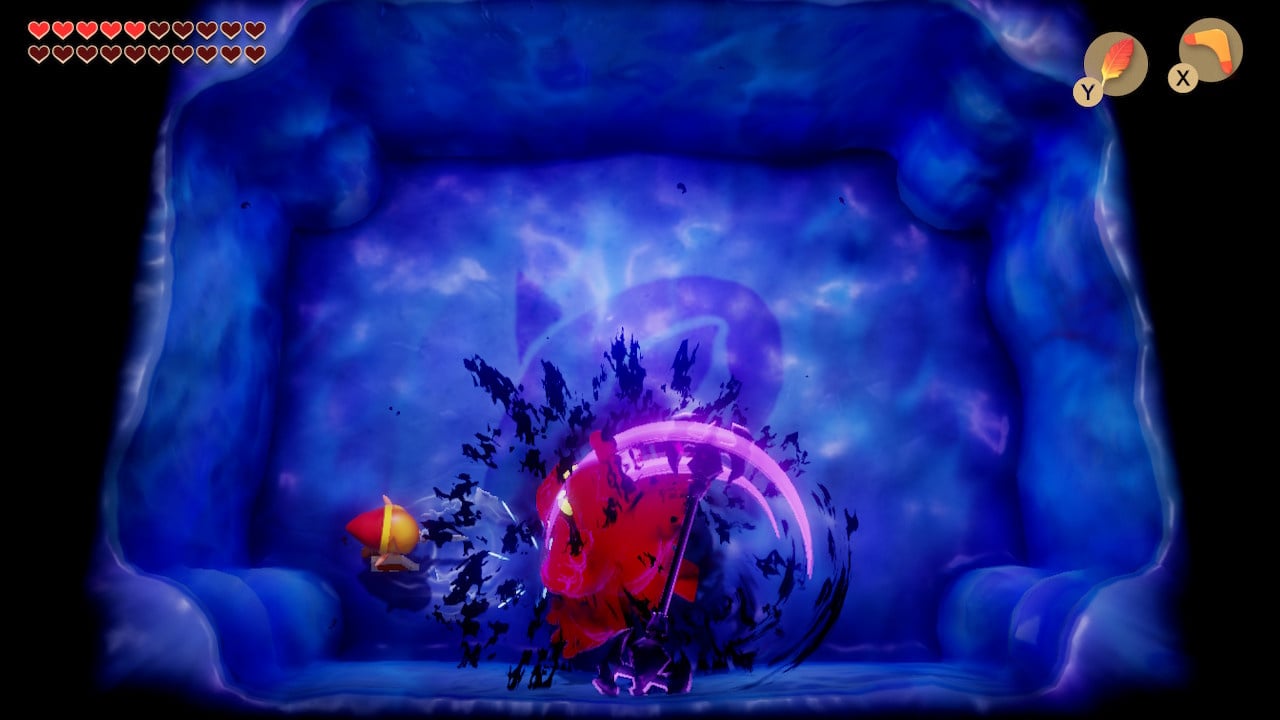
Form number four is the Shadow of Ganon. He will twirl his double-ended trident and summon several blazing bats for Link to dodge. Once the bats have been avoided, he will throw the trident, spinning it in place – use this opportunity to aim a pegasus boot-enabled dash attack straight at him.
In the fifth phase, the shadow nightmare returns to a blob-like form, leaving a trail behind it as it slides across the floor. Charge a spin attack to damage it.
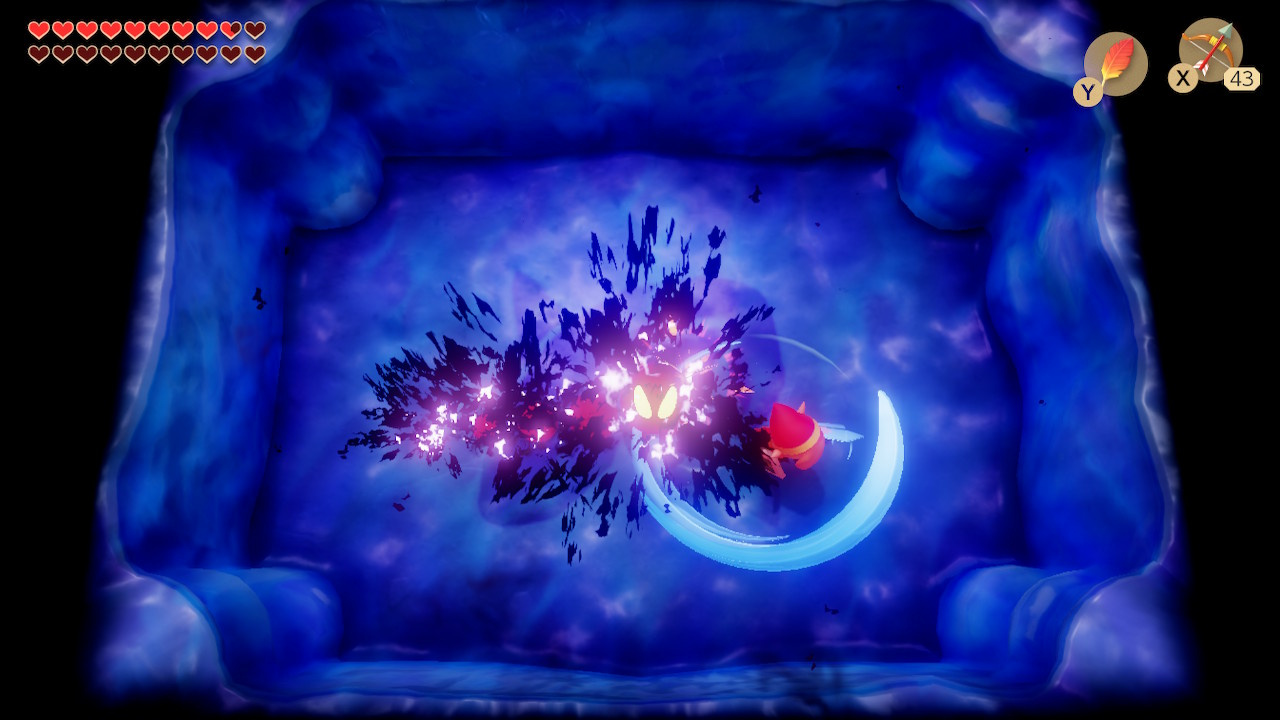
Defeating the Final Boss’s Final Form, Dethl
Finally, the shadow will take on its ultimate form – a huge, usually closed eye set in a large body with two spiked arms that sweep up and down. The goal is to wait for the eye to open and shoot it with an arrow (or the boomerang) while jumping over the arms as they move.
Once you’ve done enough damage, the defeated Shadow Nightmare will mournfully say:
This island is going to disappear…
Our world is going to disappear…
Our world…
Our… world…
Ending Cutscenes
And that’s it – you’ve completed Link’s Awakening. The Owl calls to you, unseen:
…Link, you have beaten all the Nightmares!
Climb the stairs before you!
Stairs appear at the top of the screen and you automatically climb them. The Owl hovers above a platform in a starry sky.
Hoot!
Young lad… I mean, Link, the hero! You have defeated the Nightmares!
You have proven your wisdom, courage, and power!
… … … …
As part of the Wind Fish’s spirit…
I am the guardian of his dream world…
But one day, the nightmares entered the dream and began wreaking havoc.
Then you, Link, came to rescue the island…
I have always trusted in your courage.
I knew that you could turn back the nightmares.
Thank you, Link… My work is done…
The Wind Fish will wake soon.
Goodbye… Hoot!
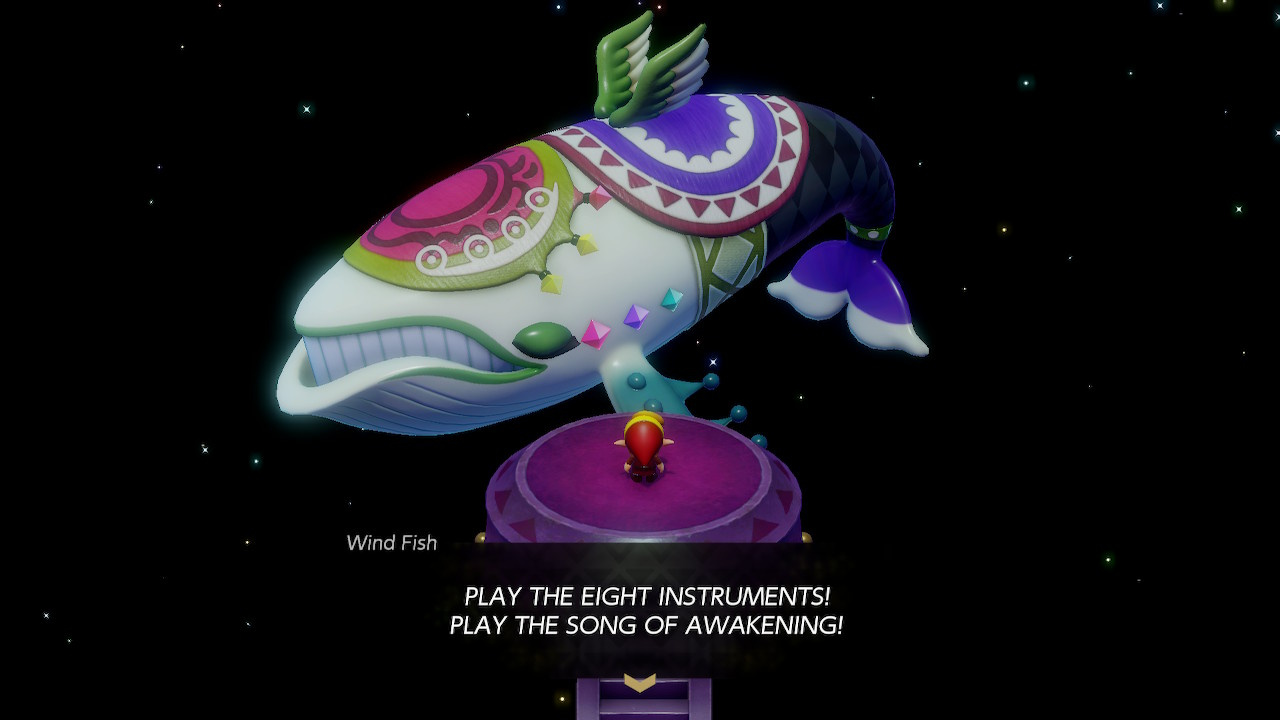
The owl disappears and the Wind Fish materialises and finally makes its appearance:
… … … …
I AM THE WIND FISH…
LONG HAS BEEN MY SLUMBER…
IN MY DREAMS… AN EGG APPEARED…
IT WAS SURROUNDED BY AN ISLAND, WITH PEOPLE… ANIMALS…
AN ENTIRE WORLD!
… … … …
BUT, VERILY, IT BE THE NATURE OF DREAMS TO END!
WHEN IT DOST AWAKEN, KOHOLINT WILL BE GONE…
ONLY THE MEMORY OF THIS DREAM LAND WILL EXIST IN THE WAKING WORLD…
SOMEDAY, THOU MAY RECALL THIS ISLAND…
THAT MEMORY MAKES THE DREAM WORLD REAL…
… … … …
COME, Link…
LET US AWAKEN… TOGETHER!
PLAY THE EIGHT INSTRUMENTS! PLAY THE SONG OF AWAKENING!
The Siren’s Instruments play and we see a montage of scenes in Mabe Village, fading to white, ending with Marin singing by the wind vane. Then Koholint Island is seen in a calm sea – and slowly, it disappears into nothing.
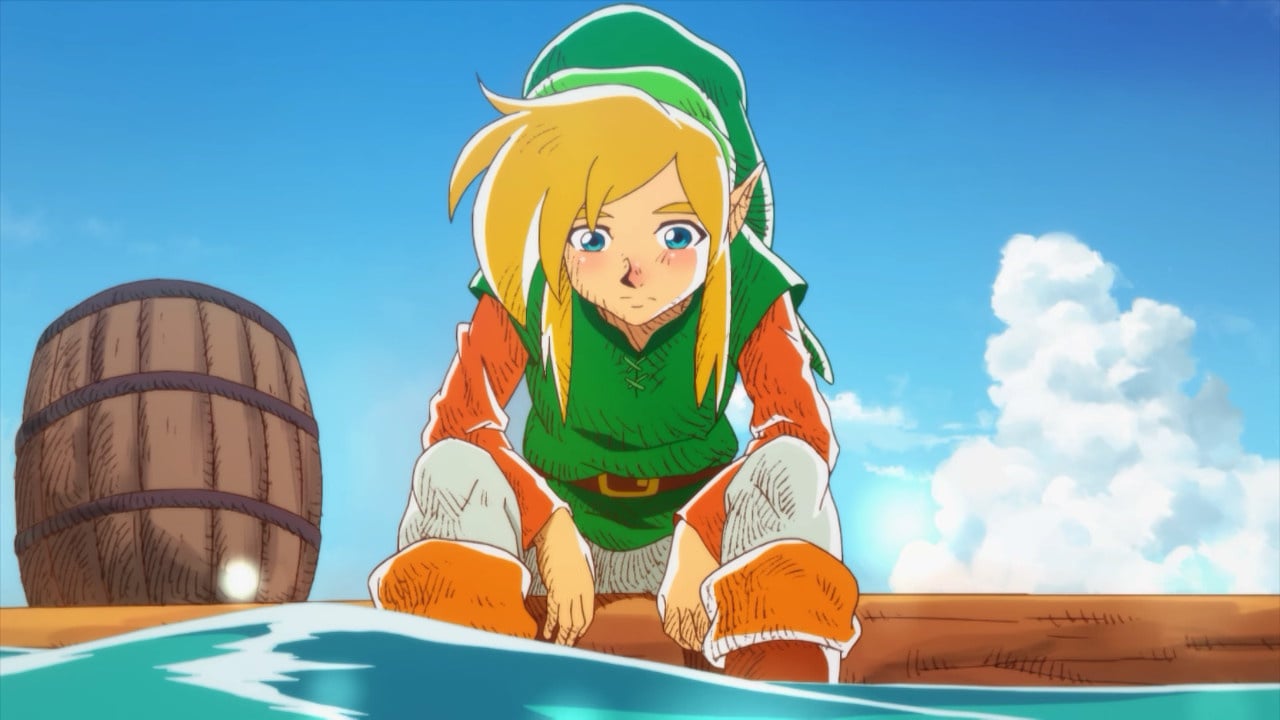
Link meanwhile is carried through the starry sky by a jet of water. A circling seagull squawks and Link wakes at last, draped on a part of his destroyed ship. Suddenly, the Wind Fish flies overhead and Link watches it fly off over the horizon. The credits roll.
Bonus Scene
If you managed to complete the game without dying (being revived by the secret medicine is allowed), you will see a smiling Marin against the sky, singing the Ballad of the Wind Fish. A bird – perhaps the seagull she wished to be – flies off into the blue.
Completed Save File
You can reload your completed save file to mop up any of the last secrets (e.g. heart pieces and secret seashells), dungeon challenges or other side-tasks you haven’t yet completed.
Thanks for using our Zelda: Link's Awakening walkthrough, we hope you found it useful!


Comments 3
For what it's worth, there are a couple of hardcoded routes through the Wind Fish Egg. Every time you start a new file, there's a unique route generated specifically for your playthrough that is listed in the book. But you can take one of the hardcoded routes instead. I always go: right, up, right, up, left, up, left, up.
This game had some not so evident puzzle solutions. The guide was helpful for the sticky points without being necessary for most of the game play. Thanks.
Came to check how to get the hidden scene. Wish it was something like getting all the secret shells. Looks like I'd have to start over again. Though I don't want to go back through with fricking Moldworm as the first boss!!
Tap here to load 3 comments
Leave A Comment
Hold on there, you need to login to post a comment...