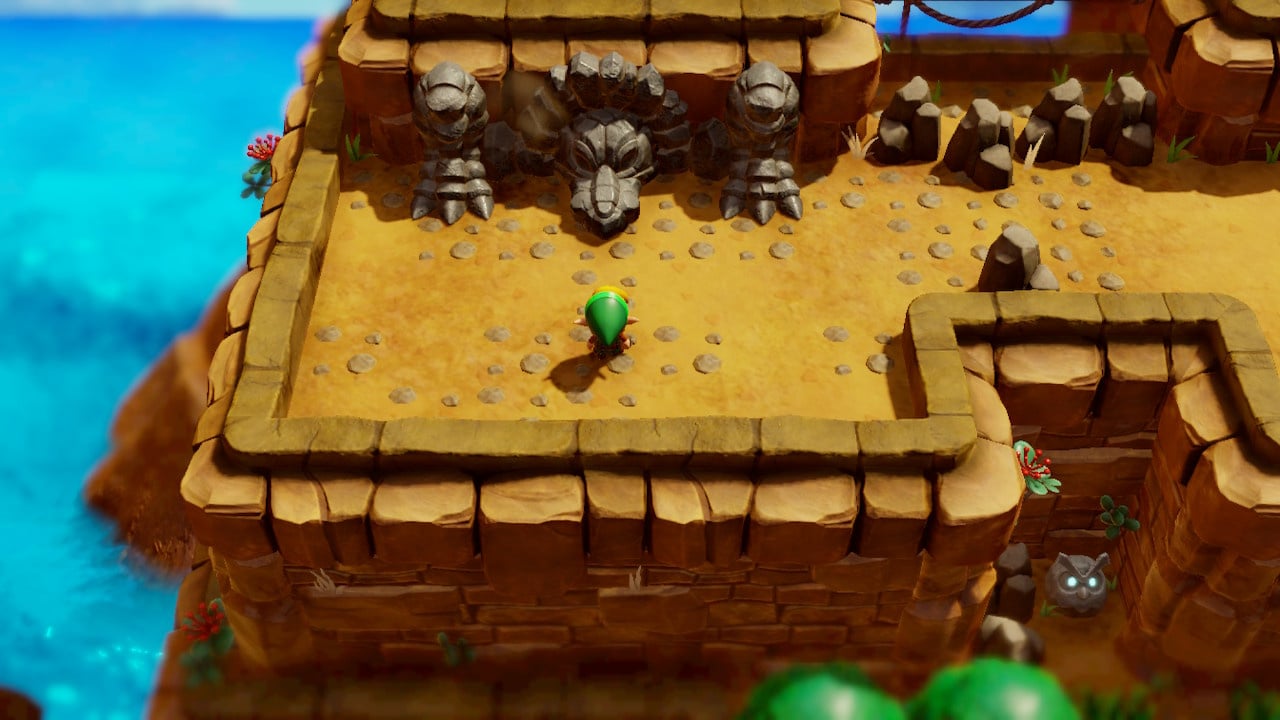
Continuing part nine of our Zelda: Link's Awakening walkthrough we'll navigate through Turtle Rock finding the Map, Compass and getting the Hot Rod.
Turtle Rock Walkthrough
Locating the Turtle Rock Compass
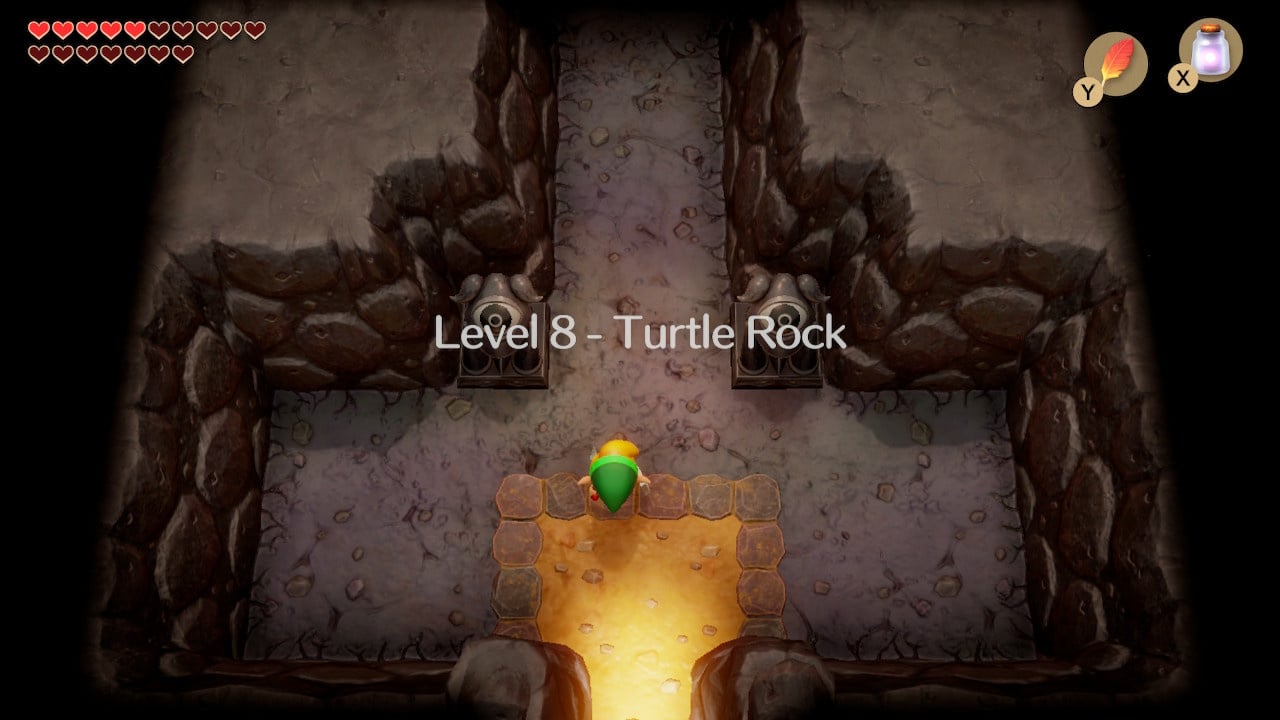
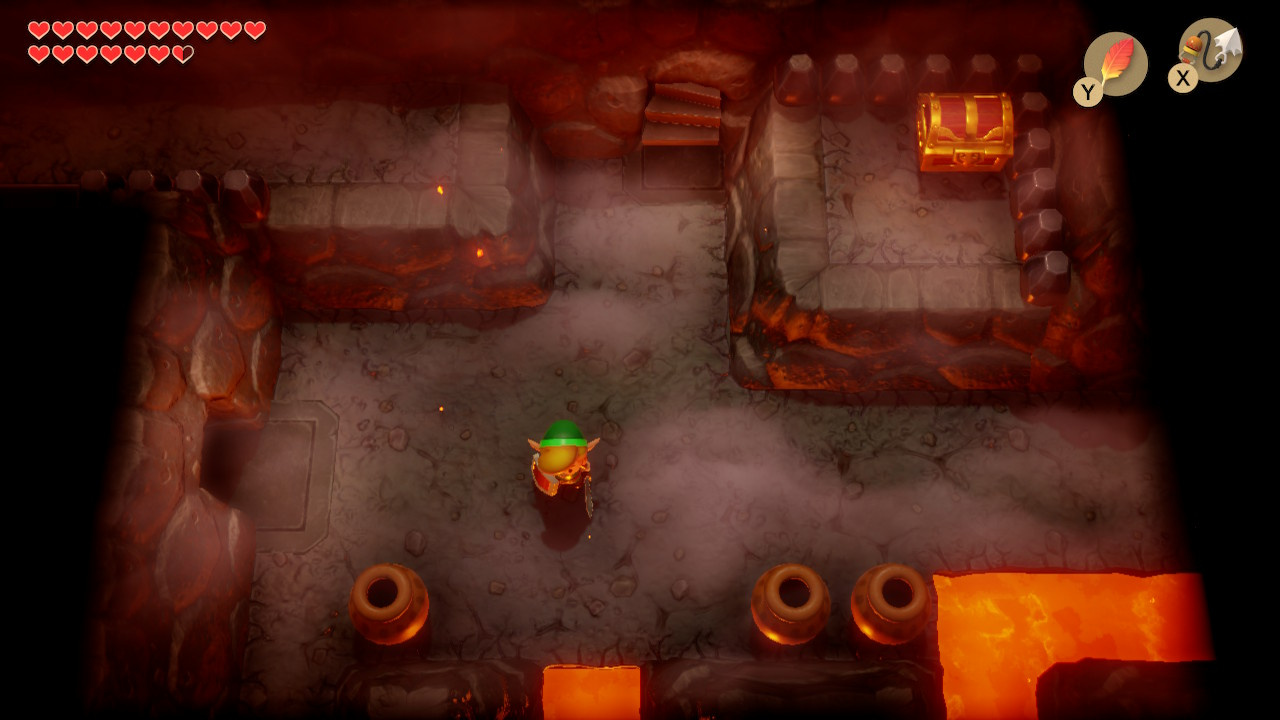
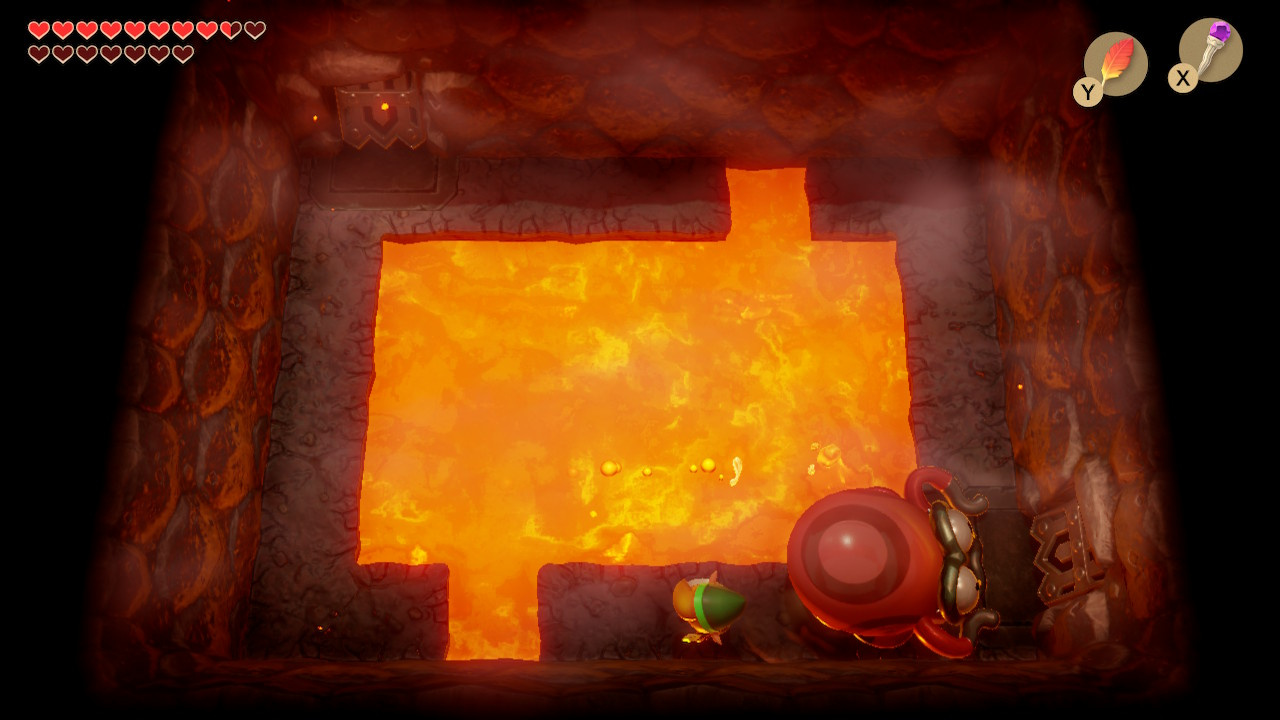
You’ve made it to the last of the instrument dungeons. Expect plenty of fights and lava, and step forward.

The devil-winged Vire enemy in the next room must be taken out before you can access either the left or right exits. It will retreat if you throw a boomerang its way, shoot an arrow from too far or get too close with your sword. Keep a modest distance and hit it with arrows or your hookshot. It will split into two smaller Vire for one last attack to be avoided or killed (the doors open either way). Take the left exit for now, and head upwards in the next room.
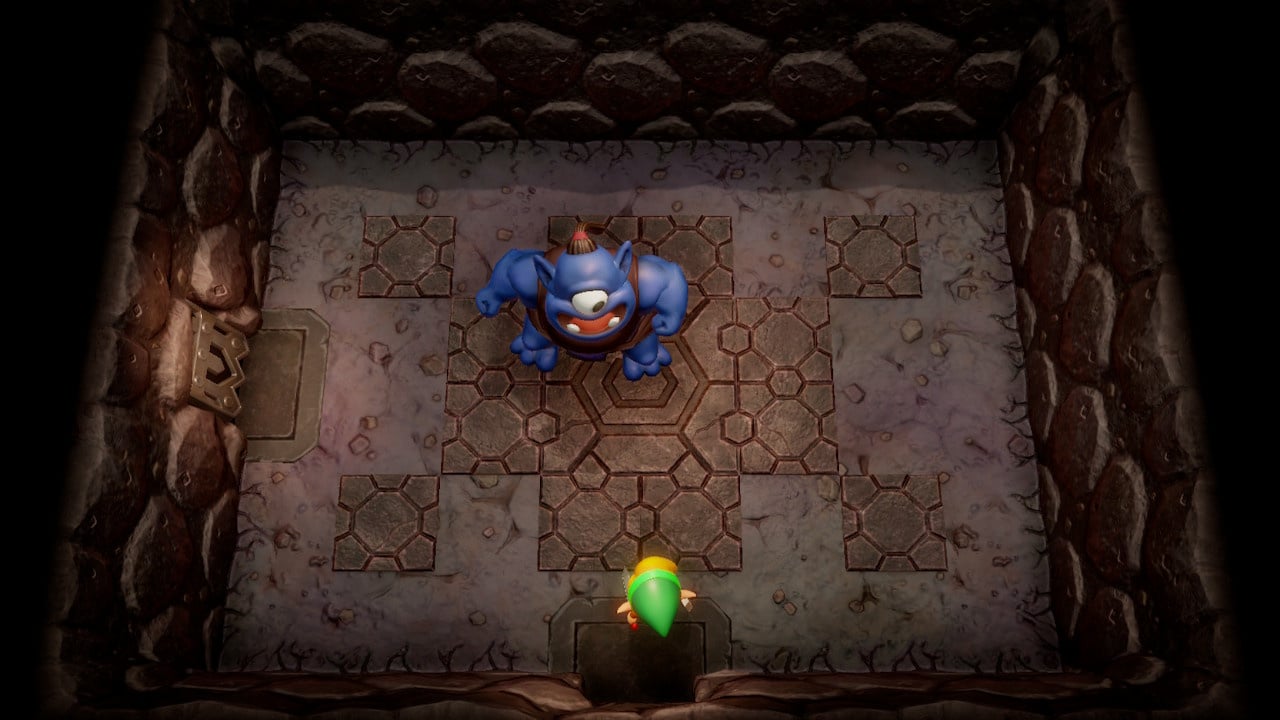
In the subsequent room you will encounter a Blue Hinox – the first of many Minibosses in this dungeon. You can take it out with a few quick shots of your bow. Head left when you have triumphed over the Hinox.
The next room introduces a new device that will pop up in several rooms from this point forward a tile-paving machine that can be directed with the left stick once activated. When you hit a wall you stop. If you manage to fill the entire chasm here (head left, turn up in line with torch, then round and down) a chest will spawn containing 20 rupees.
Use the land you’ve created to head downwards. Clear the next room for another chest (50 rupees) and then head left.
Time for another repeat miniboss – the very first you ever fought in fact. You know how to beat this one. Head through the door in the lower left when you’re done.
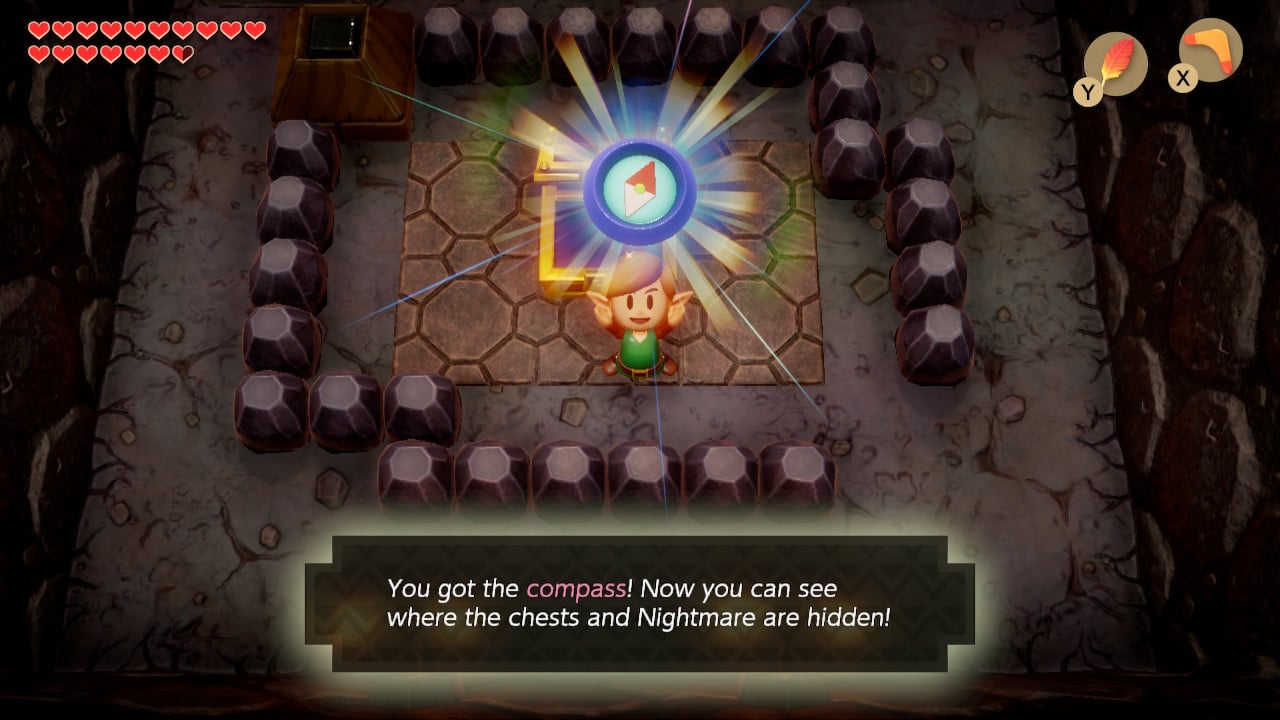
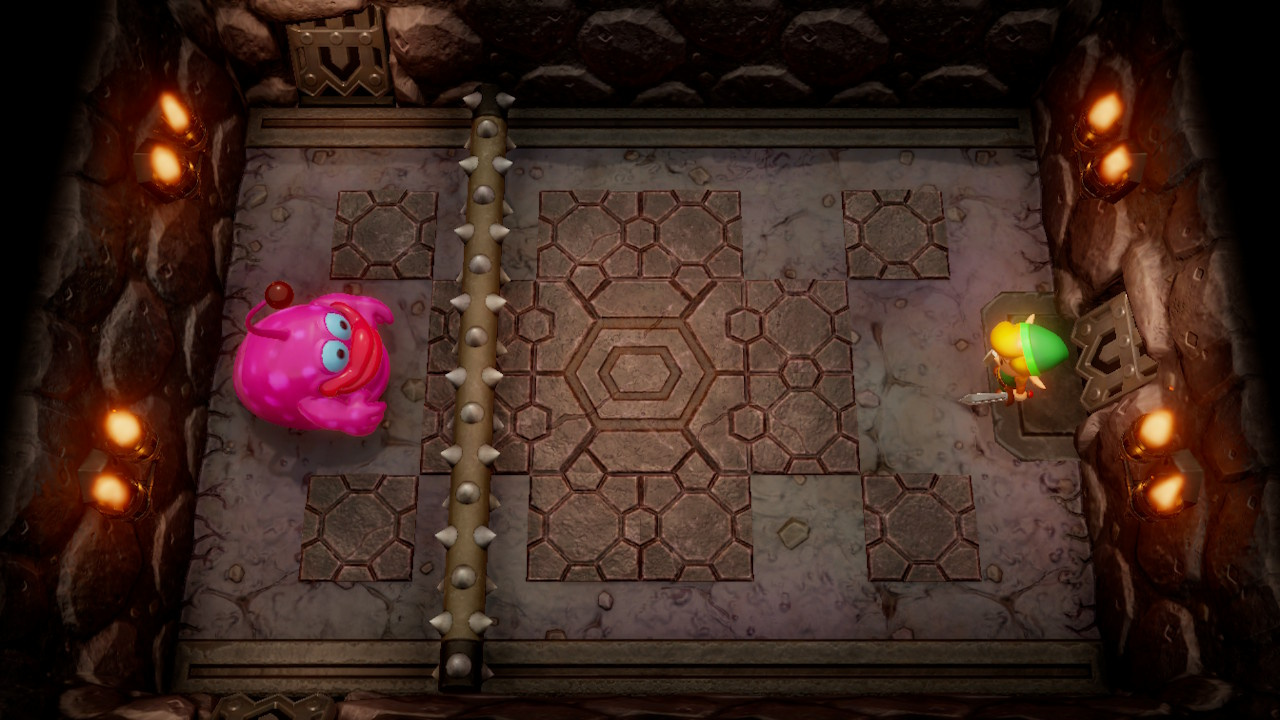
Deal with the Vacuum Mouth in the lower right and the Zol that appear in the enclosed area, then open the chest to claim the Dungeon’s compass.
Acquiring the Stone Beak and Locate Turtle Rock Dungeon Map
Return to the previous room and take the top exit. You’ll fight another Vire – a Small Key will drop once it has been dispatched.
You’ve accomplished as much as you can in the south west of the dungeon for now, so head all the way back to the room where you first encountered a Vire (potentially using Manbo’s Mambo). Take the top exit.
Follow the path to the right until you reach another tile-paving machine. Use it to create a bridge to the land to the left.
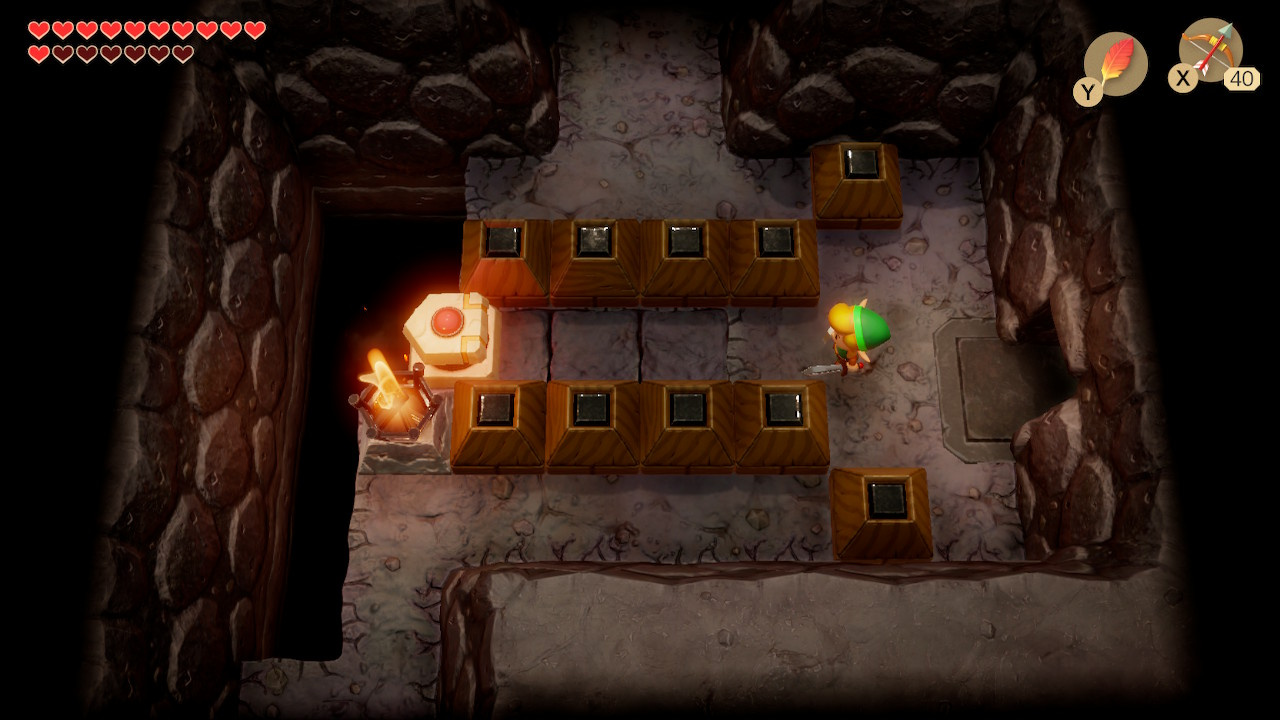
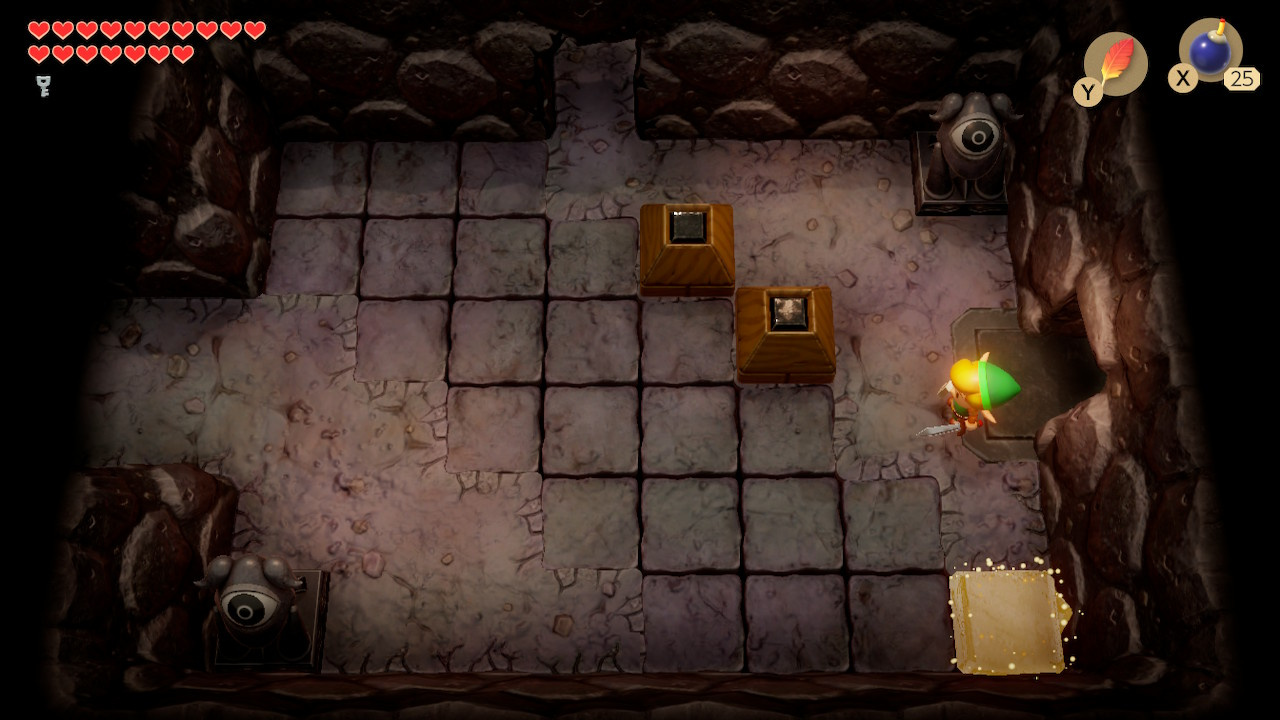
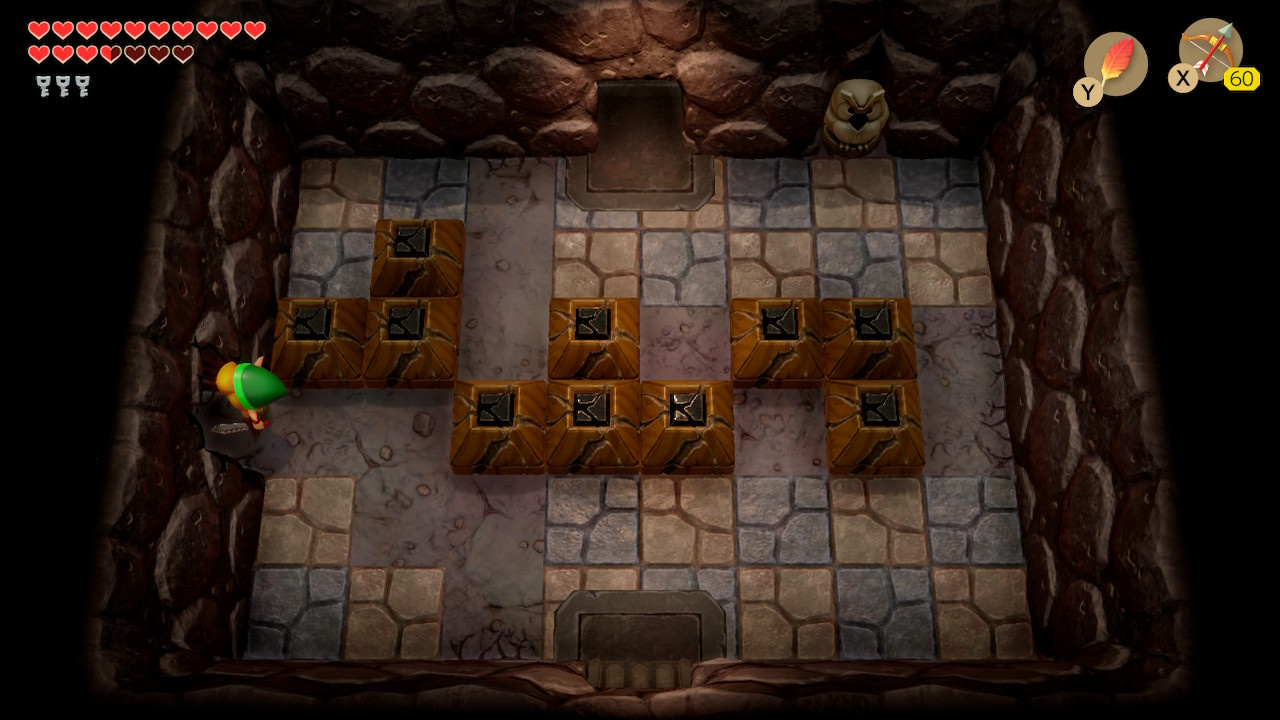
The chest beyond the wooden blocks can be reached by pushing the top and bottom blocks left, and then pushing the centre one down.
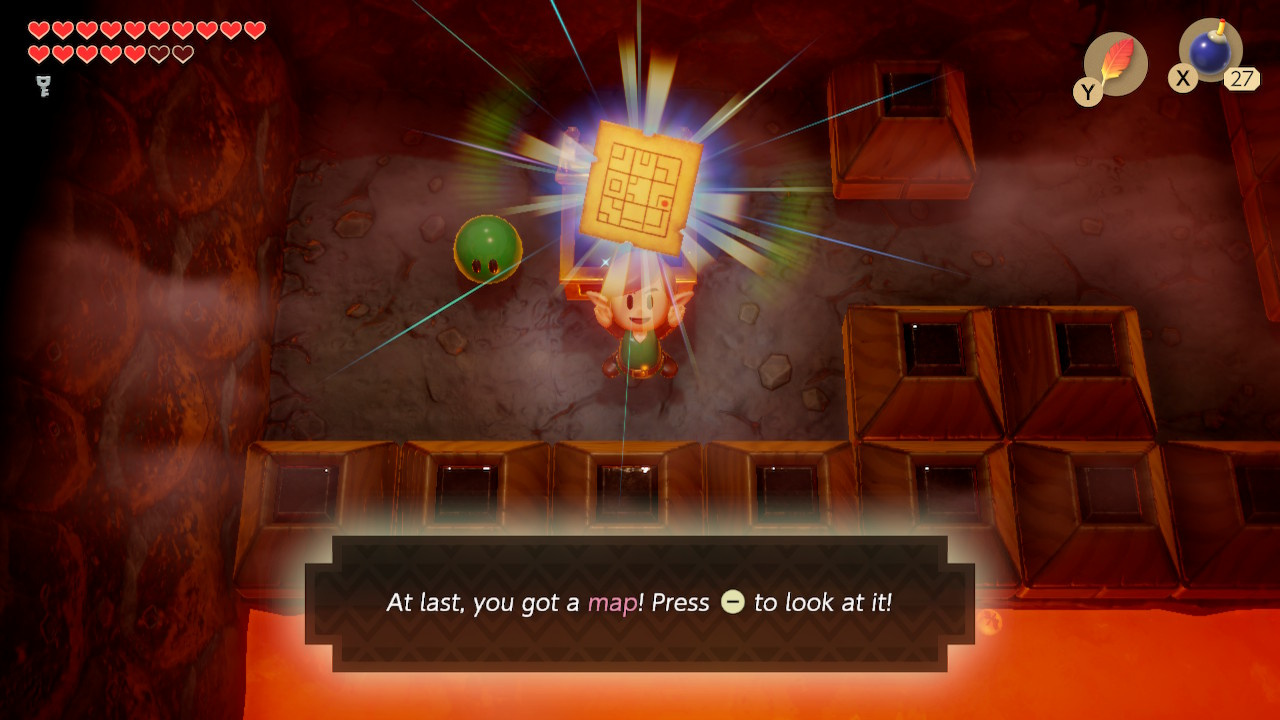
This chest contains the dungeon map. Next, bomb the cracked wall nearby. Head through and then follow the path left to the stairs.
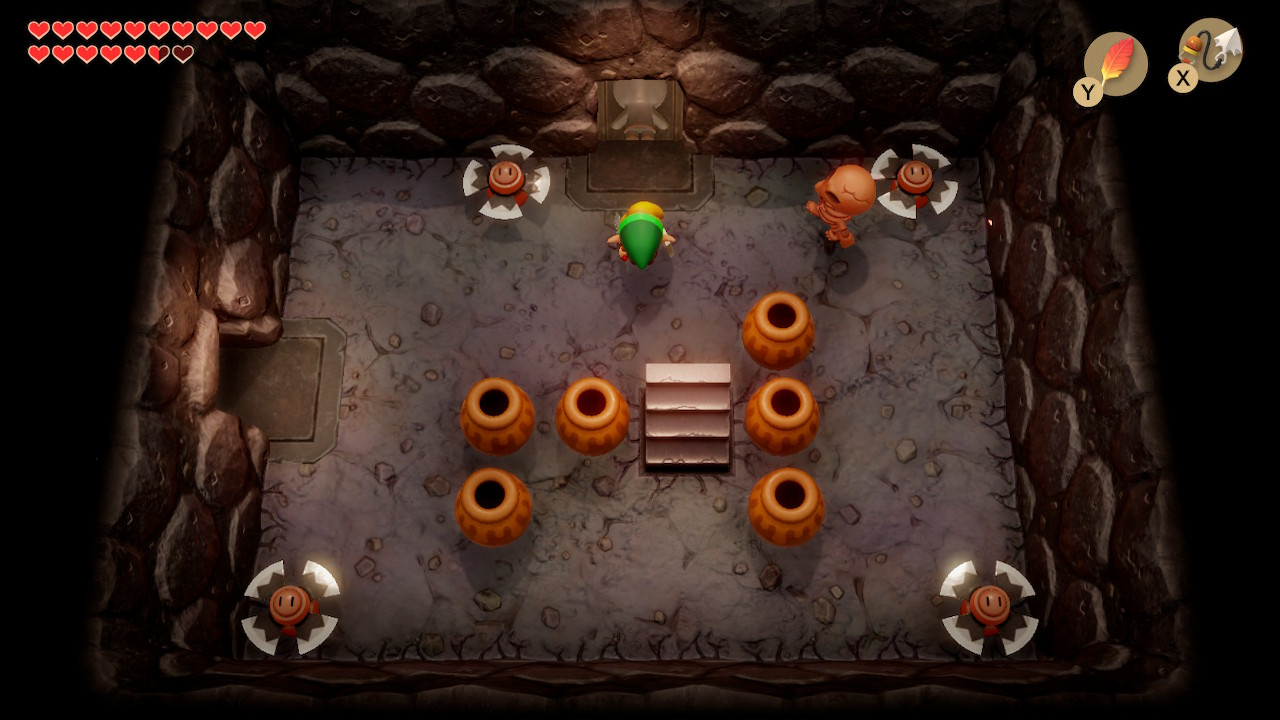
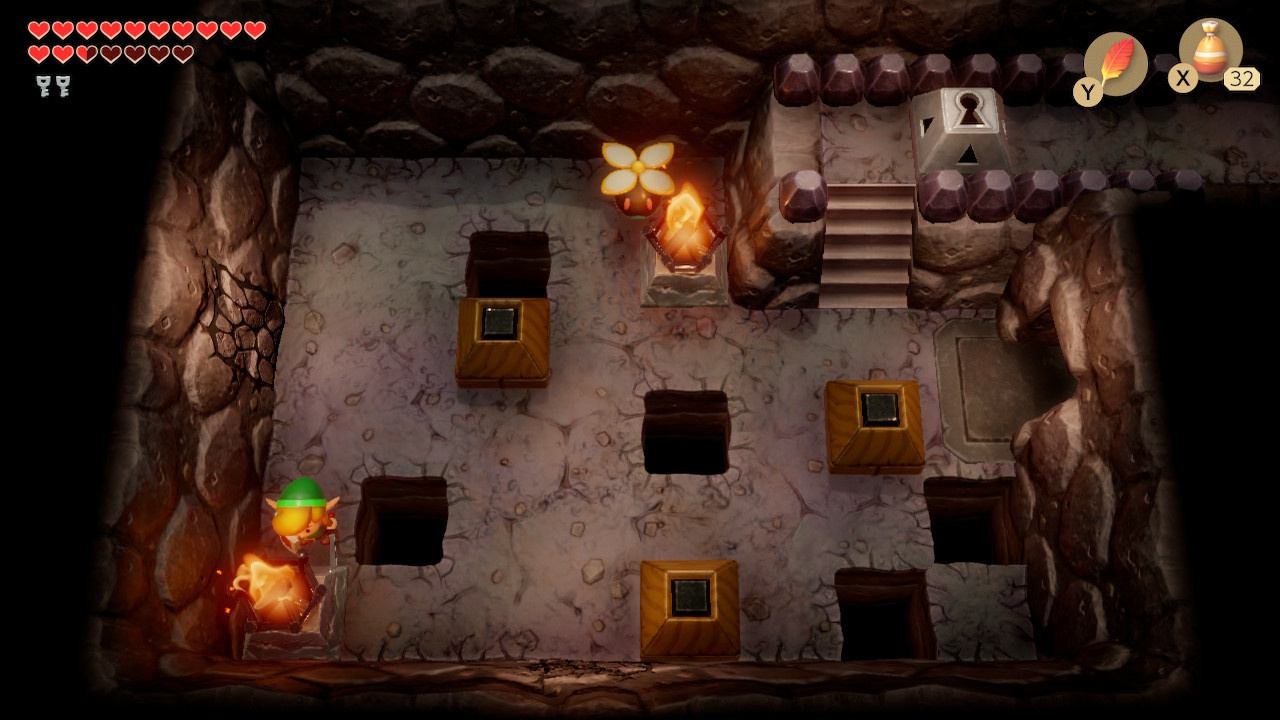
You will enter an underground sidescrolling area with a series of jumping flames (Podoboo) to dodge and ladders to traverse. Exit this area and you will emerge into a corridor with three snakes, three pots and a chest. Kill the snakes to open the upper door.
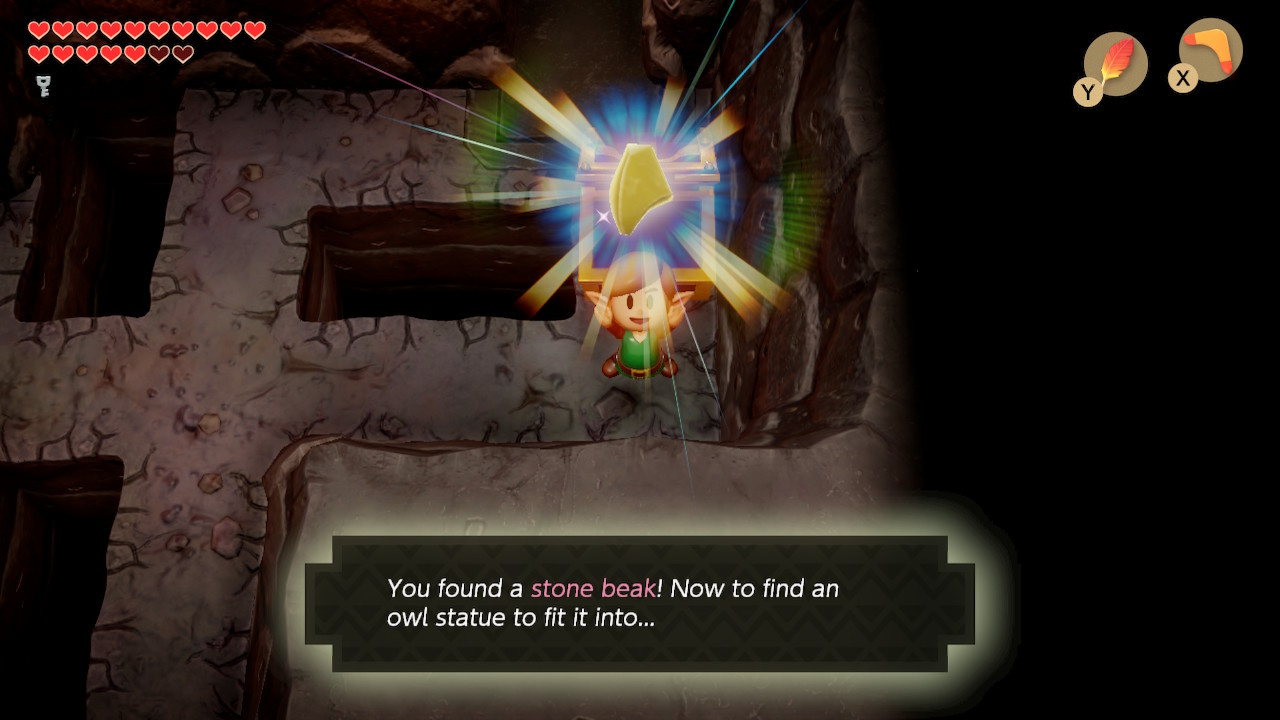
Inside the chest is the Stone Beak. Grab it, and head through the upper door.
Accessing the North of Turtle Rock

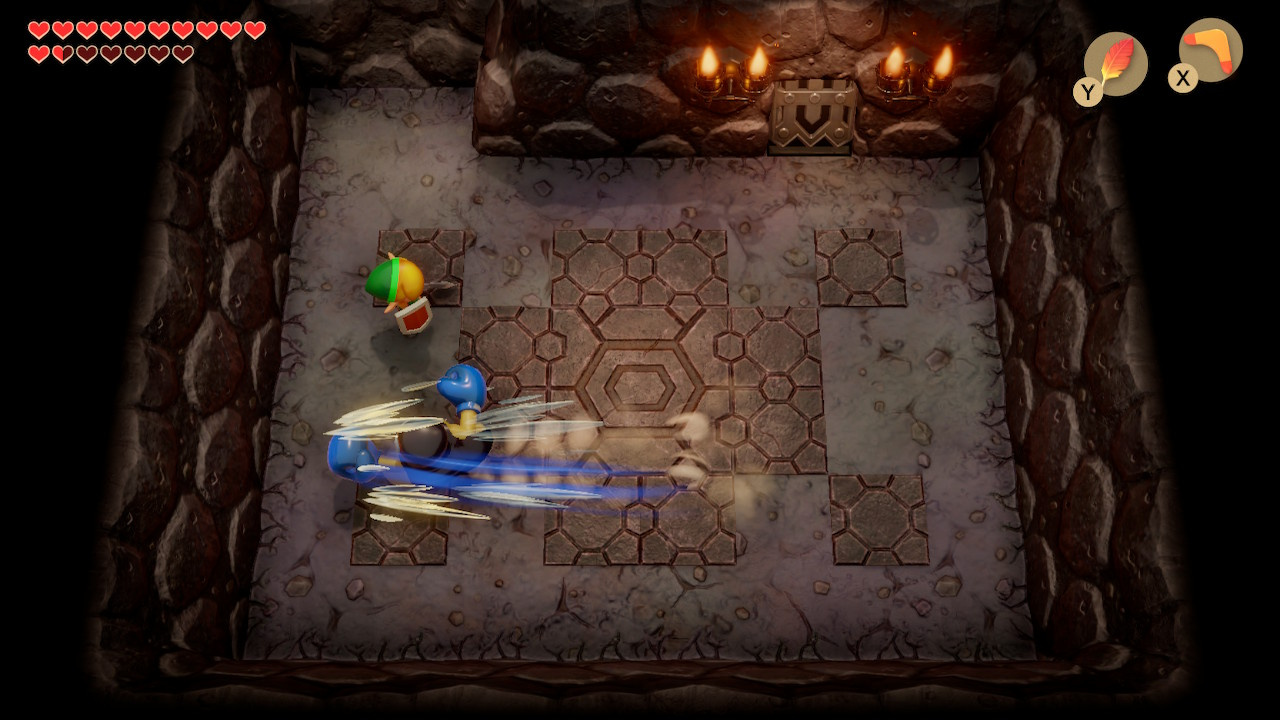
One room up from the Stone Beak is a repeat of the Smasher boss fight. As before, get to the metal ball it throws before it gets there, and chase after it to return the favour. All three exits will swing open once it’s dead.

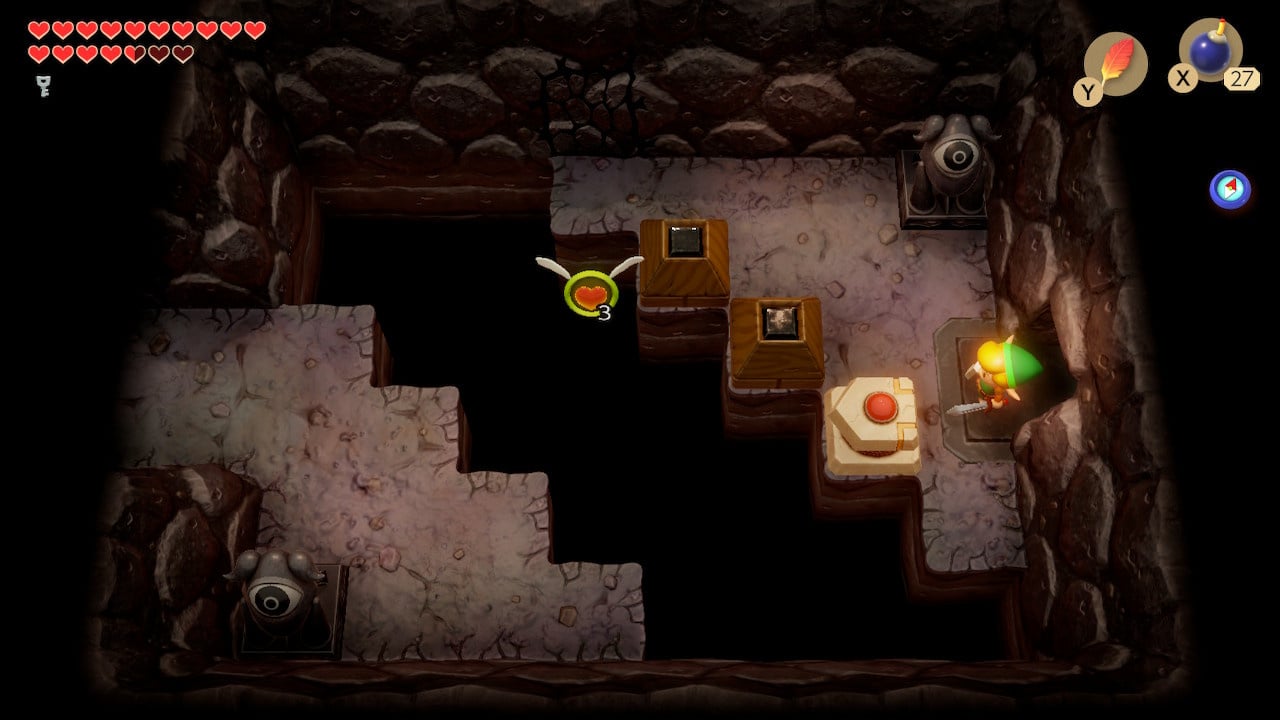
You can optionally, take the top exit to check in with the Owl Statue in the lower left. This will confirm both how to use the tile-paving machine (the rock that rolls), and that if you manage to work out a pattern that fills all spaces, you can expect something good to happen.
Fill all the holes with the rock that rolls. This (L-Stick) is the key!
You can leave this room by standing on the switch to the right. Head back down to the Smasher’s room.
Head left in the smasher’s boss chamber and you’ll find a room with a wide chasm and a tile paving machine (the ‘rock that rolls’ mentioned by the Owl Statue). Let’s park that for a moment though: there’s a crack in the top wall that you absolutely should bomb.

The next room contains a gem switch and a cracked wall to the left. (Bombing the cracked wall will give you a convenient path back to the central, lava filled room. We won’t be going through just yet).
Hit the gem switch once to turn it orange (the only barriers of note in the dungeon are blue and you want them to be down). Now head back down a screen to the room with the tile-paving machine.
Filling the enter trench with floor tiles isn’t entirely straightforward. You start on the third row and it’s easy enough to fill everything above this in – just zig-zag left and up until you reach the upper left, then zig-zag down and right. However, you will run out of space if you try to repeat this pattern.
The solution is to, once you have reach the lowest, leftmost square, head right, then up, then right, then down, then right.
Once this is done, a Small Key will drop.
At this point, you will want to return to the central lava-filled room with the tile-paving machine. If you prefer to see all of the dungeon’s rooms, you may want to do this via the stairs in the room with the Owl Statue - you will emerge in a room with some Arm-Mimics, from which you should head up, then left, then up.

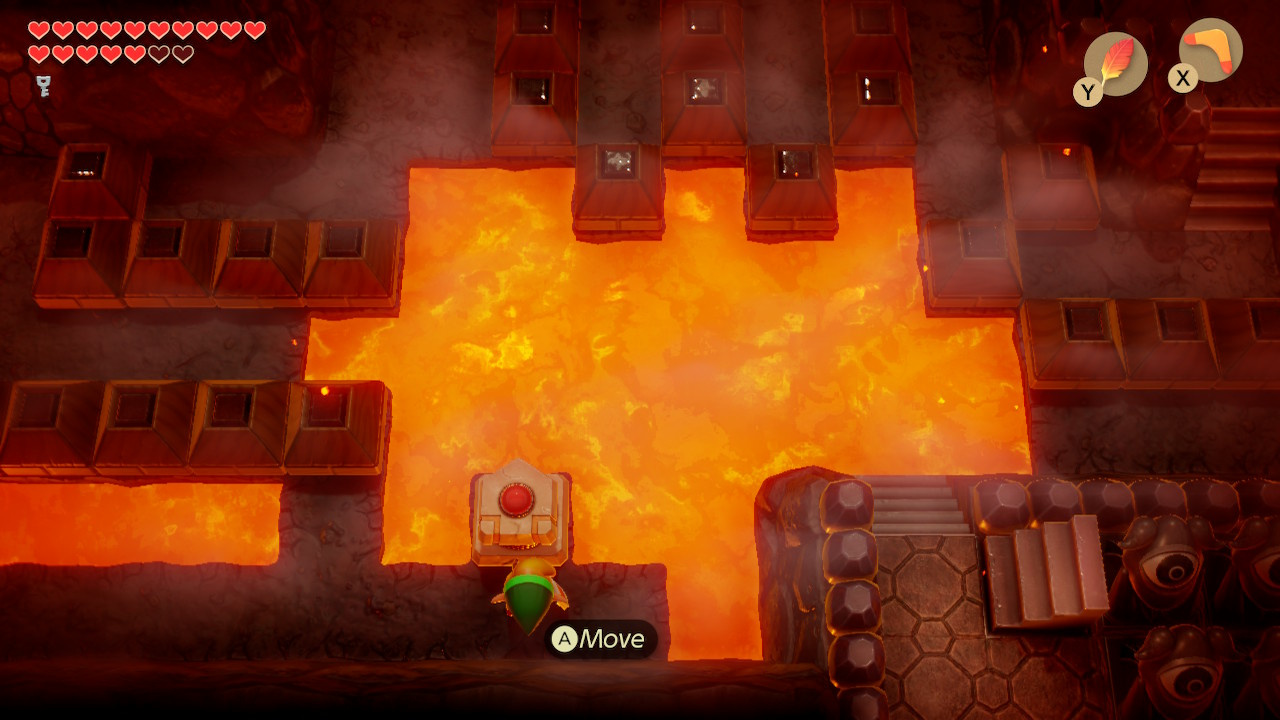
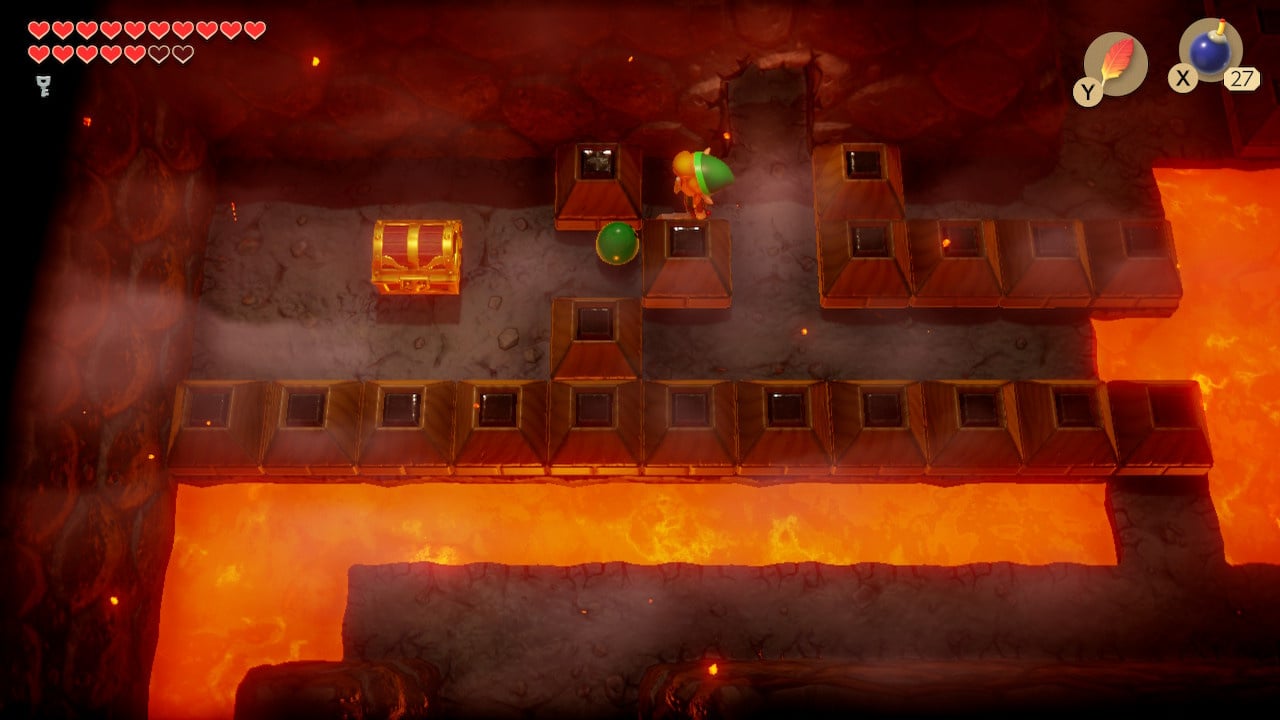
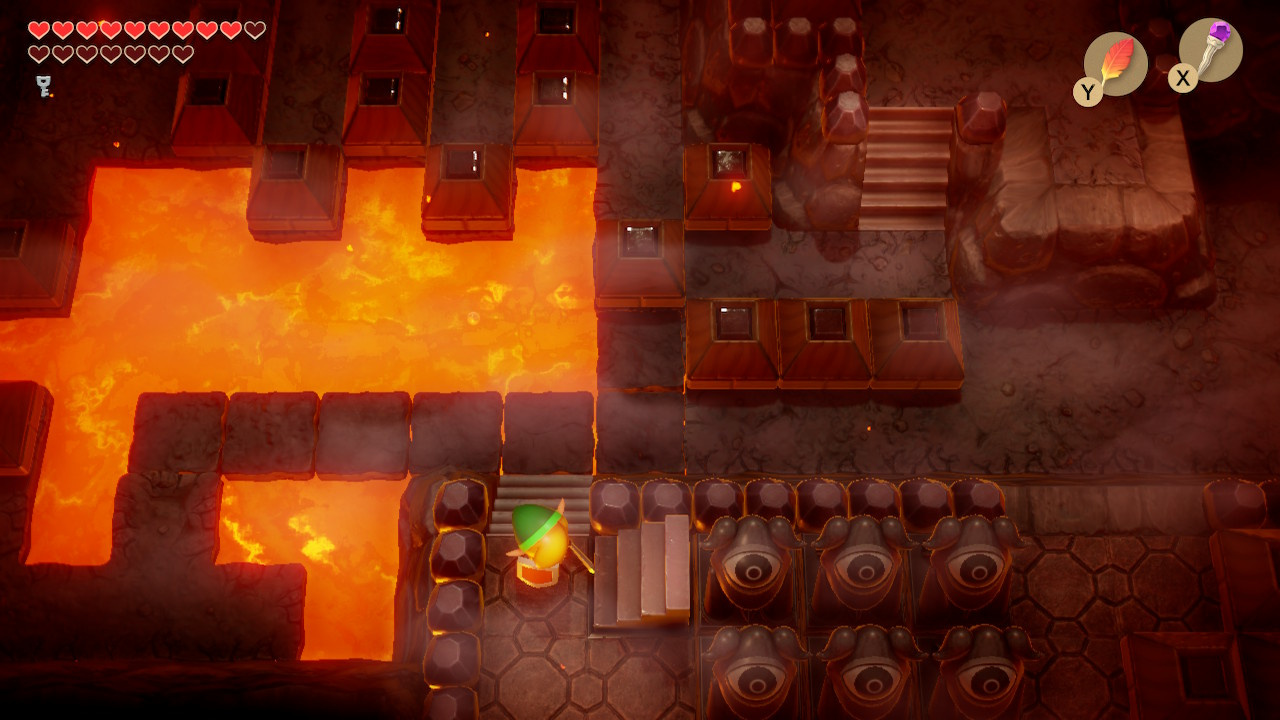
Once in the lava-filled room, use the tile-paving machine to build a path to the land in the upper right. Push the wooden block here left onto the lava to gain access to a path leading upwards.

At the end of this path is a lock block – spend one of your keys.
Head right and unlock the door your find there with your second key. In the next room, avoid the blades and take the one way door (the stairs lead to a dead-end which you can drop into later).
Gathering Small Keys to fight the Miniboss
No room has every tried harder to make you bomb a wall than the next. There’s a bomb pickup, and once you’ve gone to town on all of those cracked blocks, you will notice the gigantic arrow point at the visibly cracked left wall.
So of course, what we’re going to do is bomb nothing. Definitely remember to come back here later, but as you haven’t got enough small keys for the room it reveals, let’s find something else to do for now.
Destroy all enemies to open the upper door (there are some Green Zol hiding here), and check in with the Owl Statue:
To defeat the monsters who hold the key, attack them from a higher place.
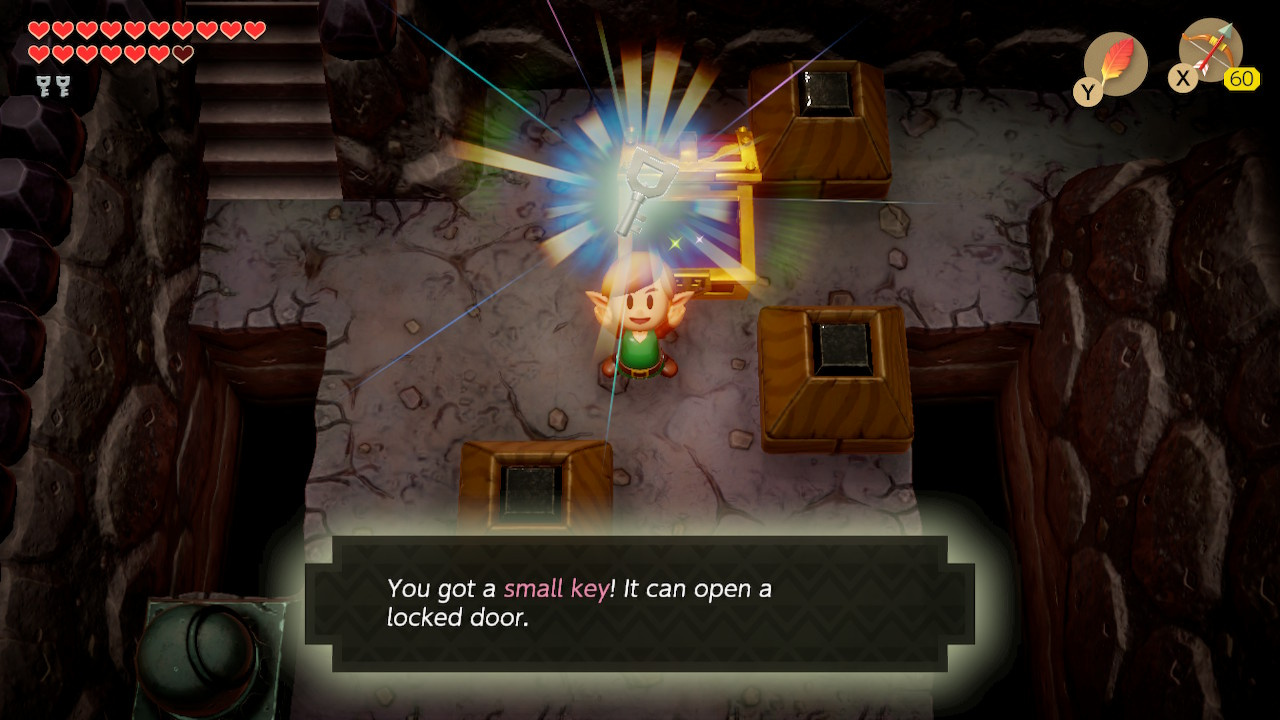
The next room presents you with two mummy-like Gibdo enemies and a lot of crumbling floor tiles. Kill both of the Gibdos and a Small Key will drop near the door via which you entered. Pick it up and head left.
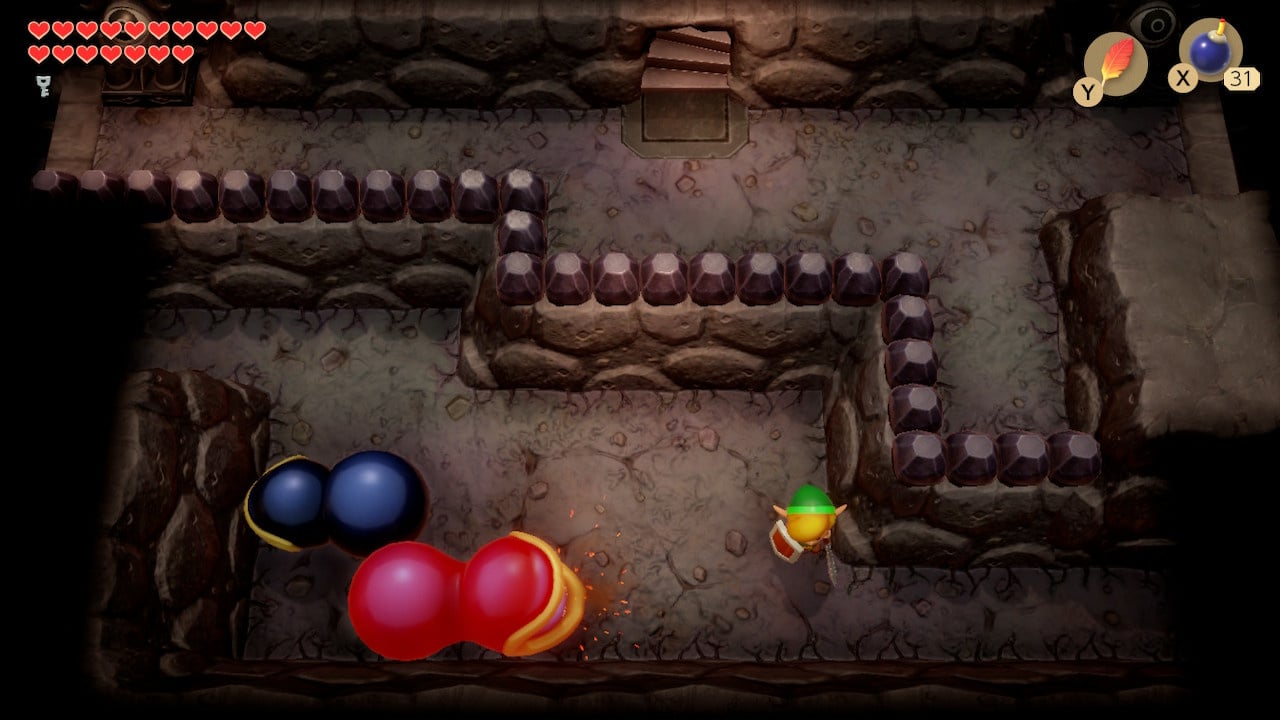
The next room features two Dodongo Snakes working their way around a narrow corridor. Head past them and to the left instead of fighting them for now. If you kill them, a chest will spawn on the upper level (as you explore you will realise that you cannot get to the upper level without the chest disappearing – the Owl Statue’s words about ‘attack them from a higher place’ are relevant here).

Optionally in the next room, head north and hookshot over to the chest for some secret medicine. You will need to drop onto the stable ground to the right and follow a path that will eventually take you back to the stairs a few rooms back (the ones in the room with the one-way door).
If you decide to skip this detour (or once you have looped back), head left – you will need to use your small key to get through. In the next room you will see the Nightmare Door, which is apparently reachable via a set of stairs. Continue heading left.
The next room has a bunch of entrances and exits to try out. If you head through the left door you will soon loop back into this room on the raised level – hookshot across to the chest for 50 rupees.
The stairs on the top wall are the next port of call – they actually lead outside, to the roof of the dungeon.
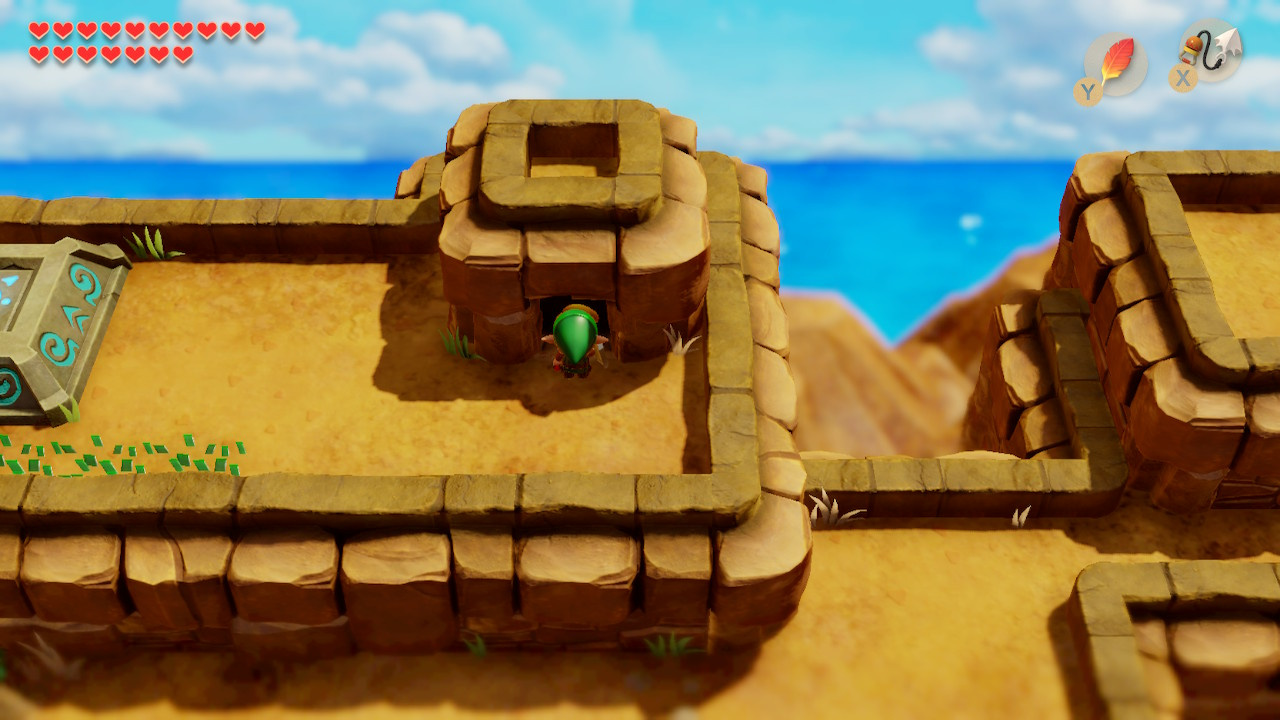
You will find a heart piece up some steps. Head east and activate the warp point, then re-enter the dungeon via the door that’s along a little further.
You emerge on the raised level above the Dodongo Snakes – as before, lob your bombs in front of them to get them to blow up. The Small Key chest will appear on your level.
Return to the room where you first exited the dungeon and head south.
Speaking to the Owl Statue in this next room you will receive the following message:
If the statue looks strange, shoot it with the bow.
The strangeness of the statue in this room when compared to any other statue in this dungeon is open for debate, but it sure is convenient that there’s a raised step directly opposite. Step up and fire your bow at the statue and a Small Key will fall for you to pick up.
If you head down you will be able to replenish a few useful items. The real way forward is to head through the narrow corridor to the left.
As you enter the next room, you will see a chest with two wooden blocks in front of it. Push the blocks out of the way (in the screenshot the left one has been pushed down and the right one has been pushed right, though this is actually a more awkward solution than pushing the blocks up and left respectively). You now have three small keys to work with.
Fighting the Blaino Turtle Rock Miniboss and Finding the Fire Rod
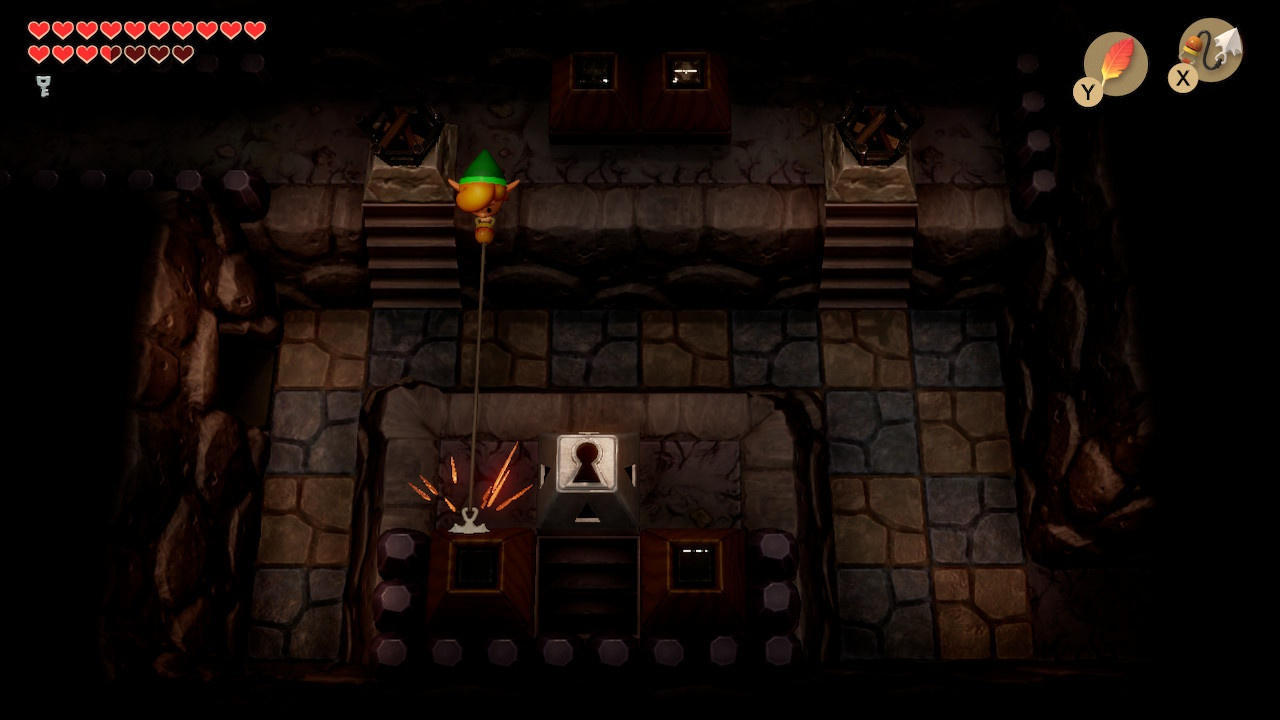
Backtrack to the room with the owl statue and the cracked blocks covering the giant arrow and bomb the lefthand wall if you haven’t already. The next three rooms all have unlit torches in to make the way forward a little easier to see – in the first, unlock the lock block in the lower left corner and head down the passage there. Head through the left door in the second room.
In the third room you will notice a cracked area in the lefthand wall – this can be bombed to provide a passage to the room where you shot the statue (this can be useful later). The way forward instead involves unlocking the lock block in the upper right.
Follow the raised path back to room two. Hookshot over the gap and use up your third Small Key.
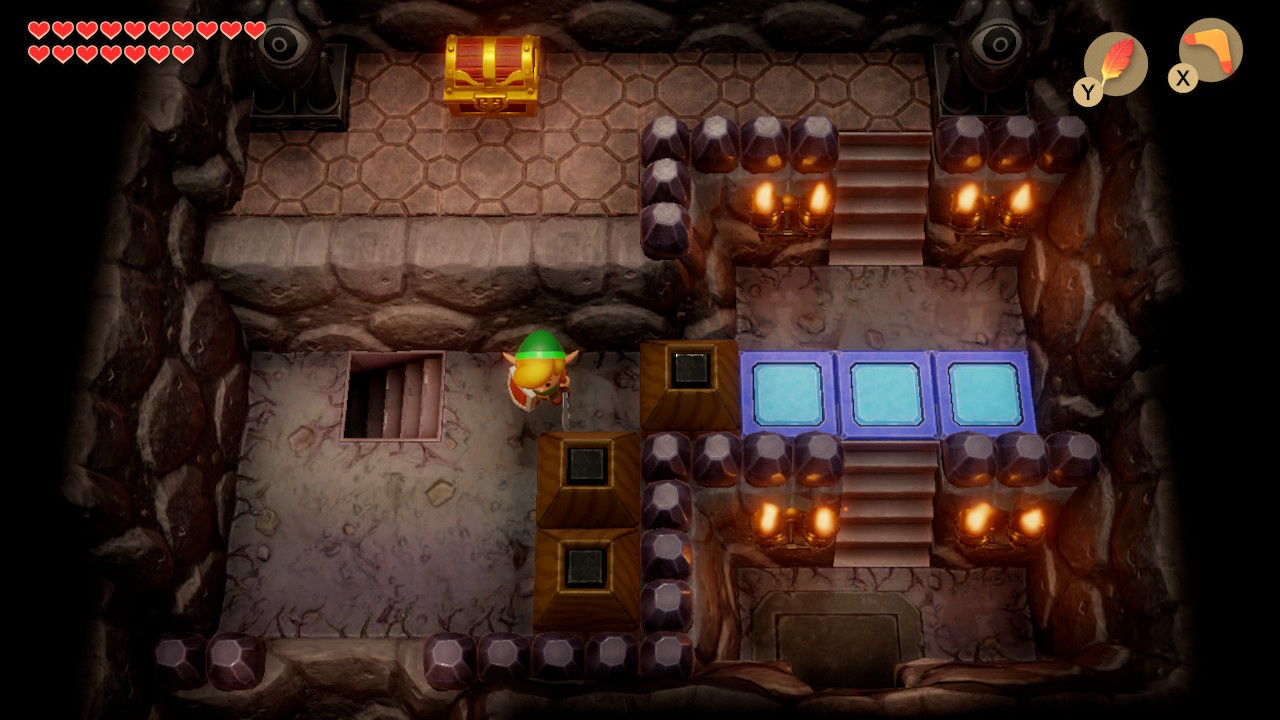
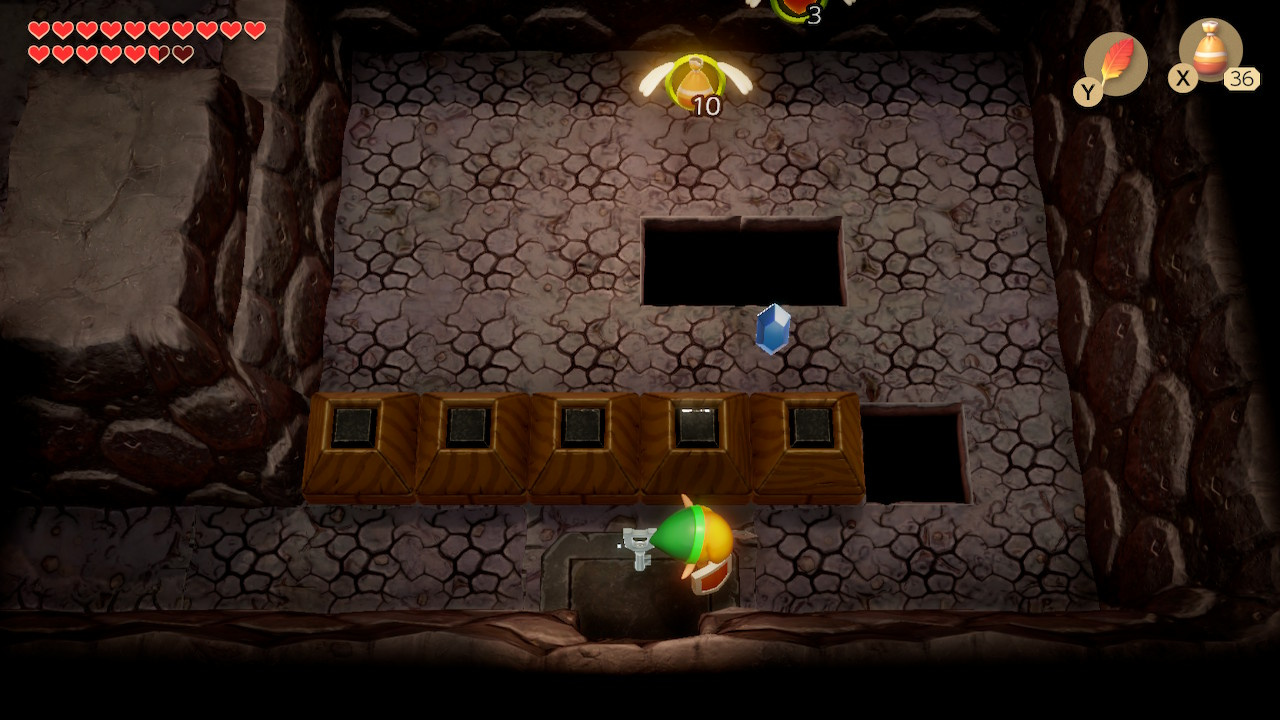
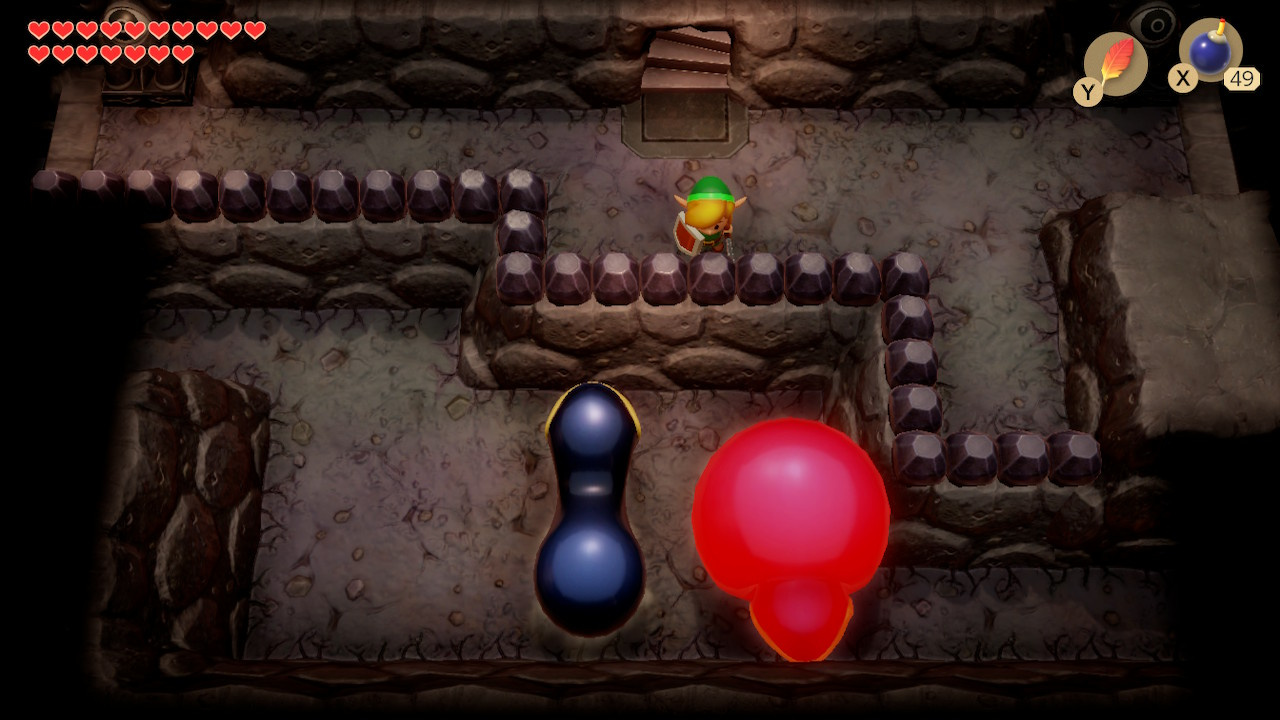
Head through the sidescrolling area, (featuring some tricky-ish platforming) and emerge into an area with some blue barriers and a chest. If the barriers are up, you will have to backtrack to the gem switch mentioned in “Accessing the North of Turtle Rock”, though you can leave this until after the Miniboss encounter if you would prefer. When you are ready, drop off the ledge in the lower left.
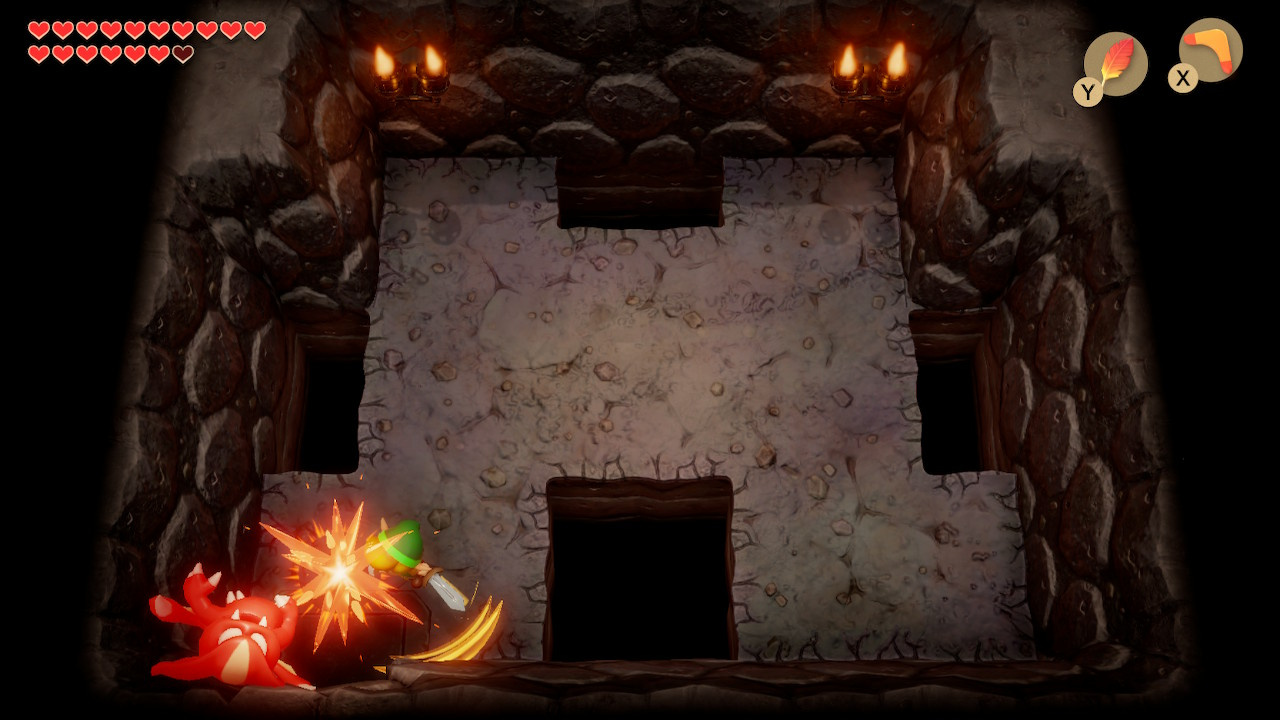
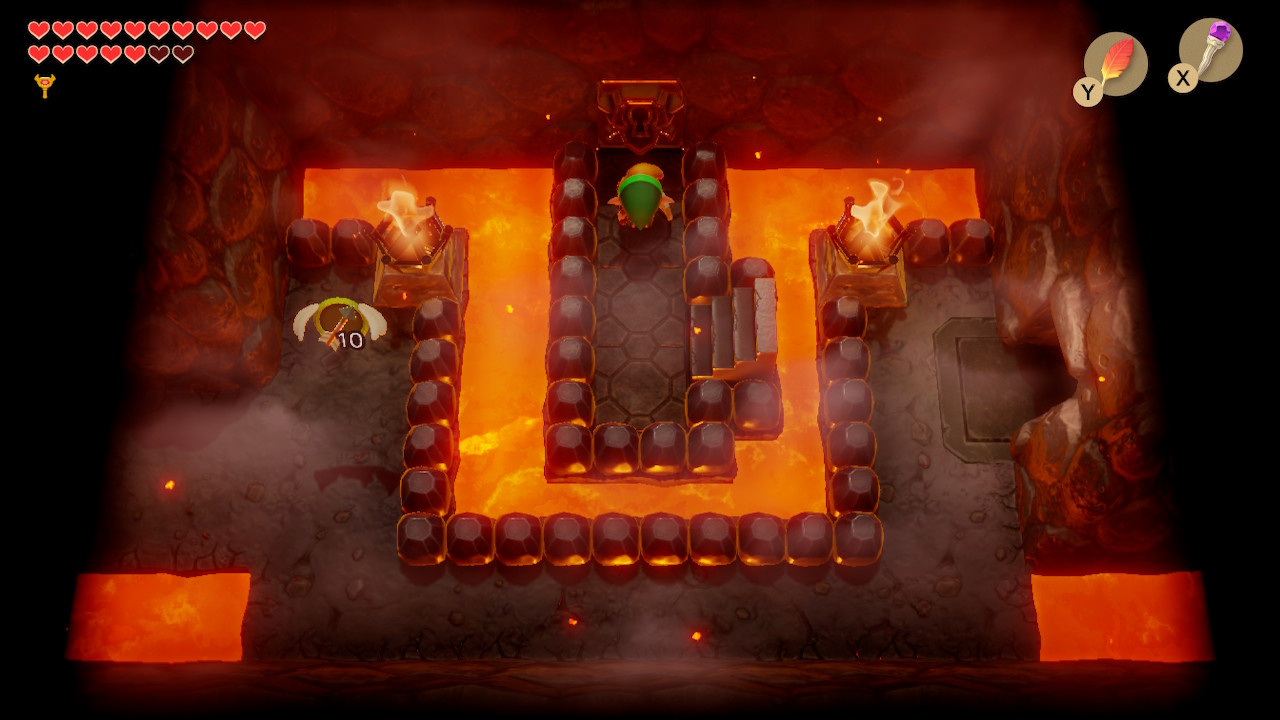
Blaino’s boxing gloves should give you some idea of what you’re up against – his hooks and dashes are nasty when they clip you, so do your best to sidestep and jump him, then throw everything you have at his exposed back.
Once you’ve eliminated him, leave via the top door (or use the blue portal if you need to go back for the gem switch).
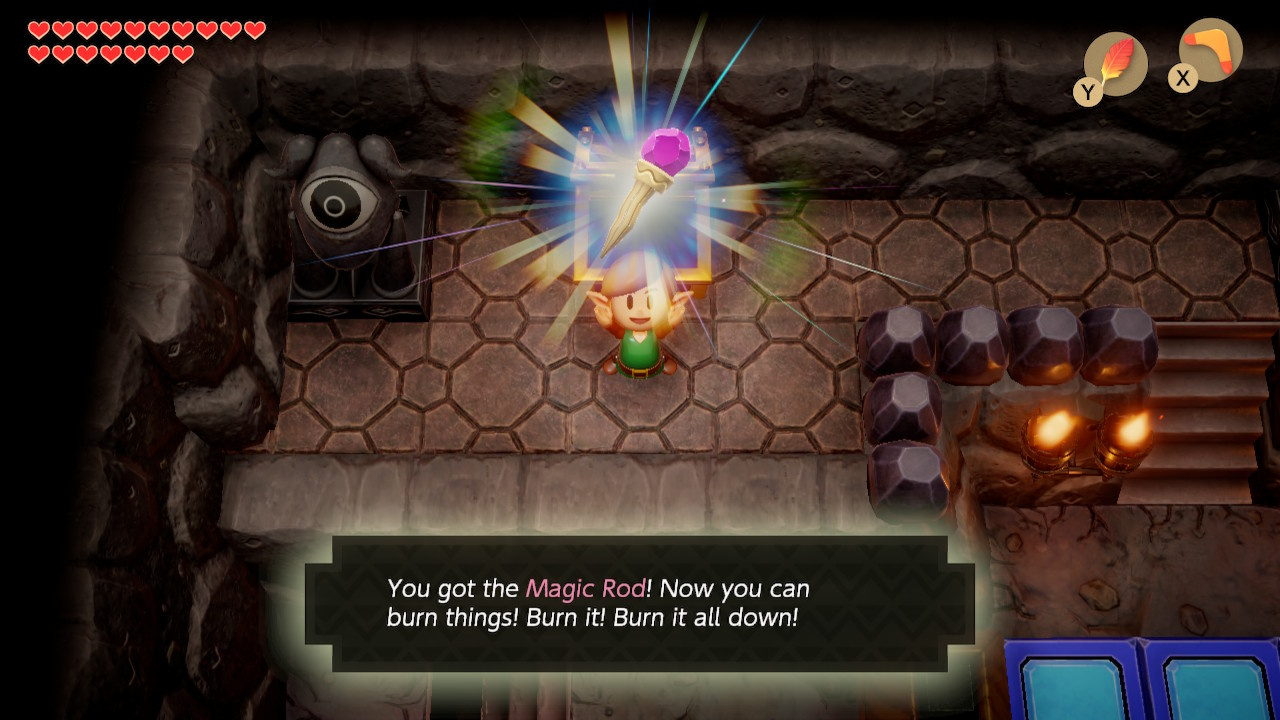
Head up the steps and open the chest for the fireball chucking Magic Rod.
Finding the Turtle Rock Nightmare Boss Key
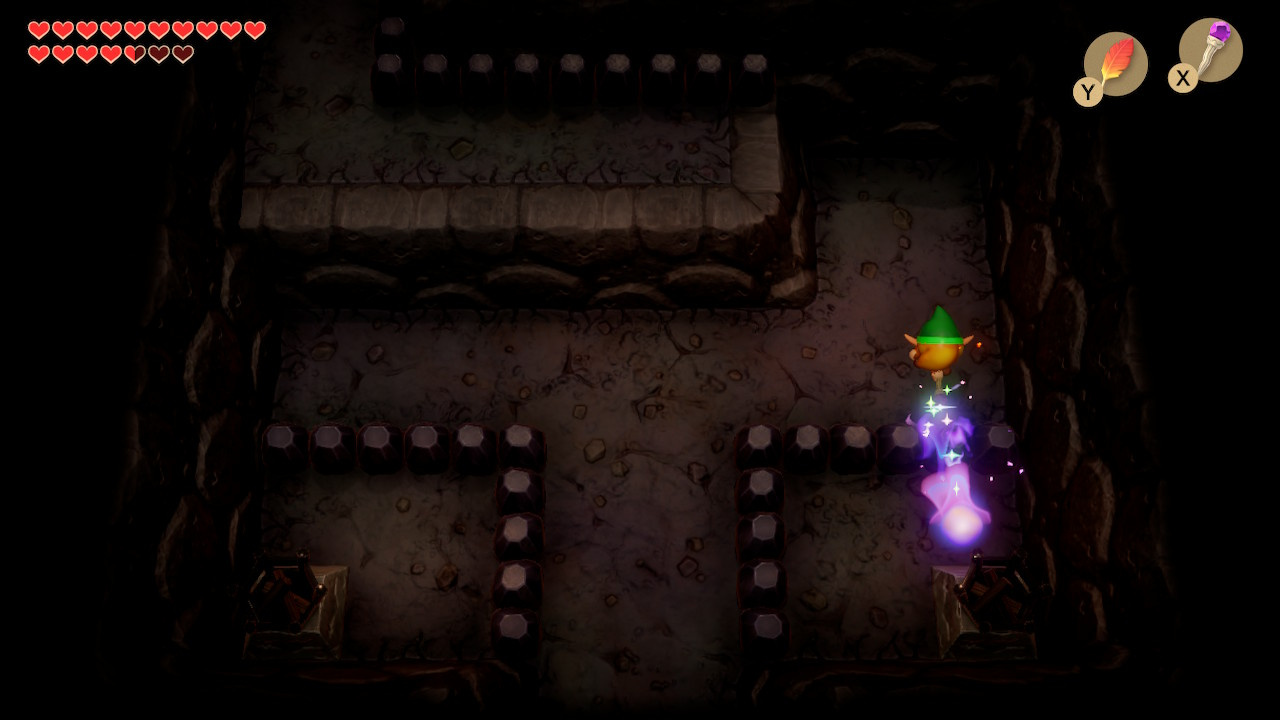
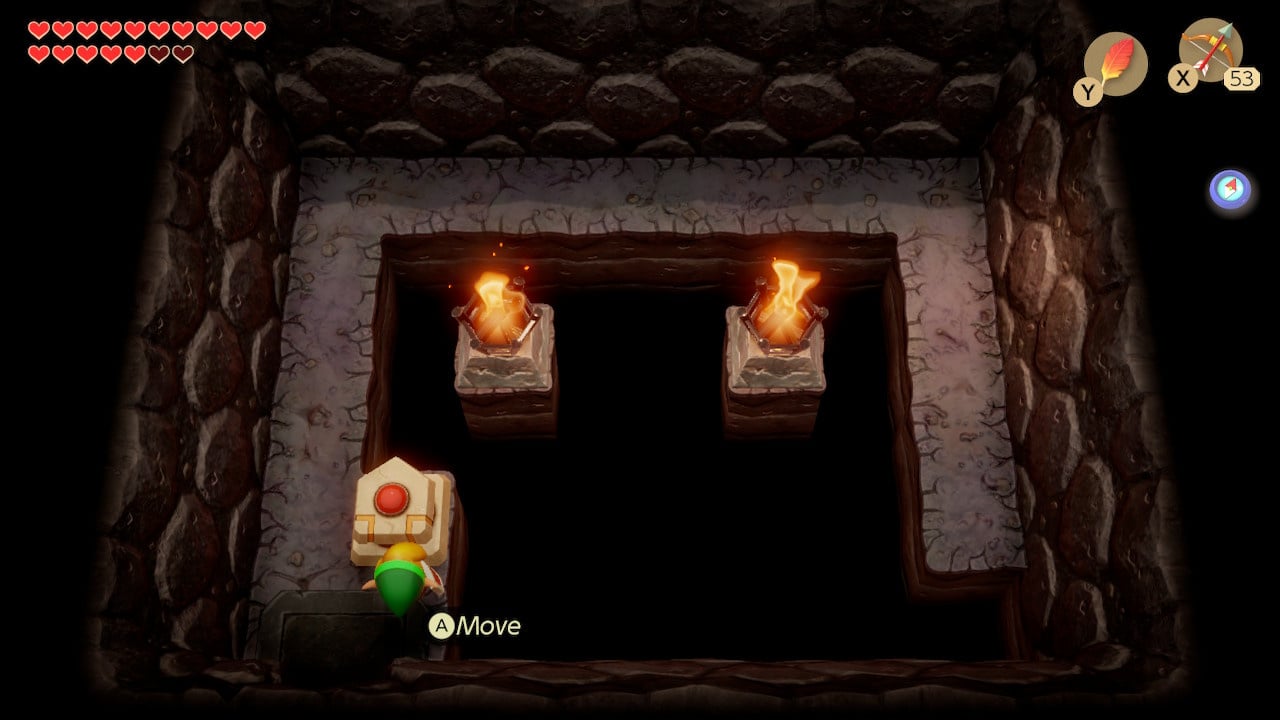
Backtrack to the room with the arrow/statue puzzle and head left, then take the exit in the lower left. Jump down from the raised area and use your Magic Rod to throw fireballs at both of the unlit torches – this will reward you with a chest and inside, a Small Key.
Head south and you will realise you’re back in the southwest corner of the dungeon again. Backtrack to the room where you fought your first Vire and head north to get back to the large central room.
Use the tile-paving machine to build a bridge to the steps in the lower right and climb the stairs.
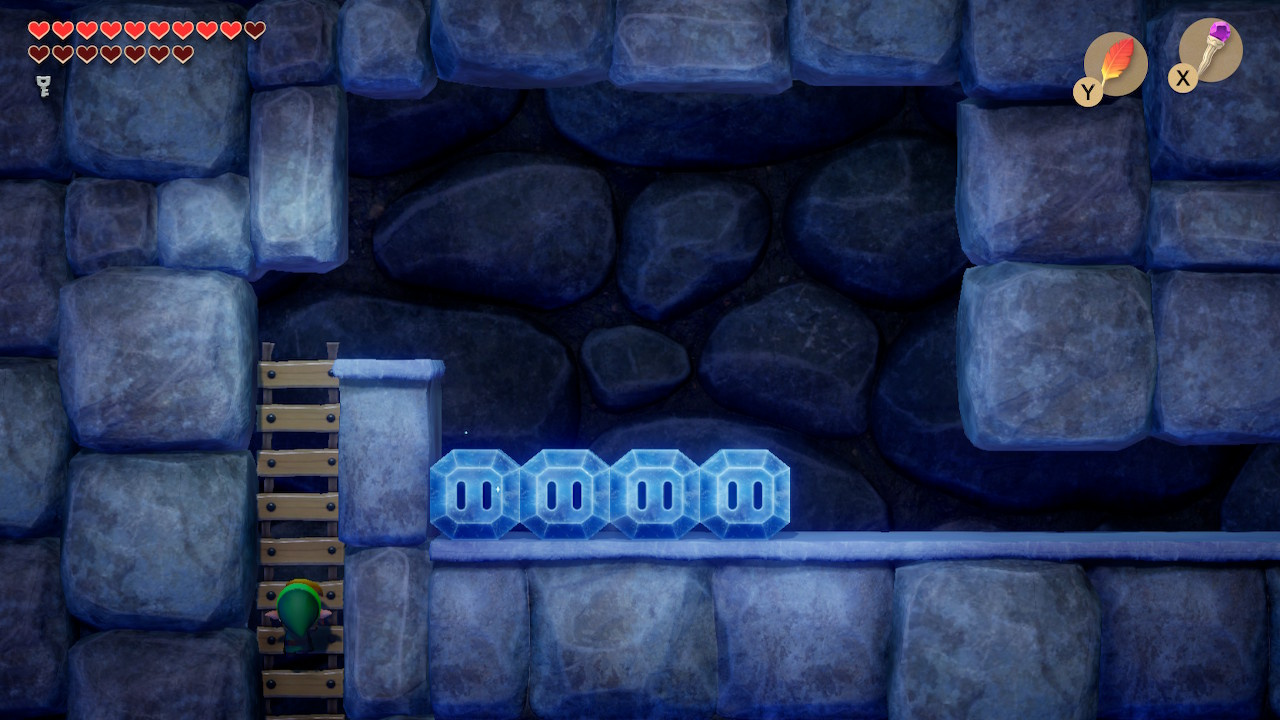
Next you will enter a sidescrolling area with some ice blocks – use the fire rod to melt a path (in the example above, the lower layer has been left so that Link can still hop up to the ladder).
Follow the route and spend a small key to enter a rematch miniboss arena with Cue- Ball. As before, jump as it rushes you to attack from the back, and try to get some ranged shots in from the side. Leave via the top left exit when you’re done.
The next room features the tile-laying machine and a large expanse of space to fill. The solution is as follows:
- Fill the entire of the left hand column (head up three spaces)
- Head right and fill in the gap between the torches (head right two spaces, down one, right one, up one, right two)
- Head down to the third row, turn left and fill it
- Zig zag between rows four and five and then finally into the corner (head down two spaces, right one, up two, right one etc.)

With the chasm filled, a chest will appear in the upper right, containing the Nightmare key.
Defeating the Turtle Rock Boss

Backtrack to the central room and build a path towards the right side of the room. In the upper right is a staircase and the route to the Nightmare.
The path forward once again heads into a sidescrolling section – the first section can be cleared by removing all ice and simply dropping into the gap on the left.
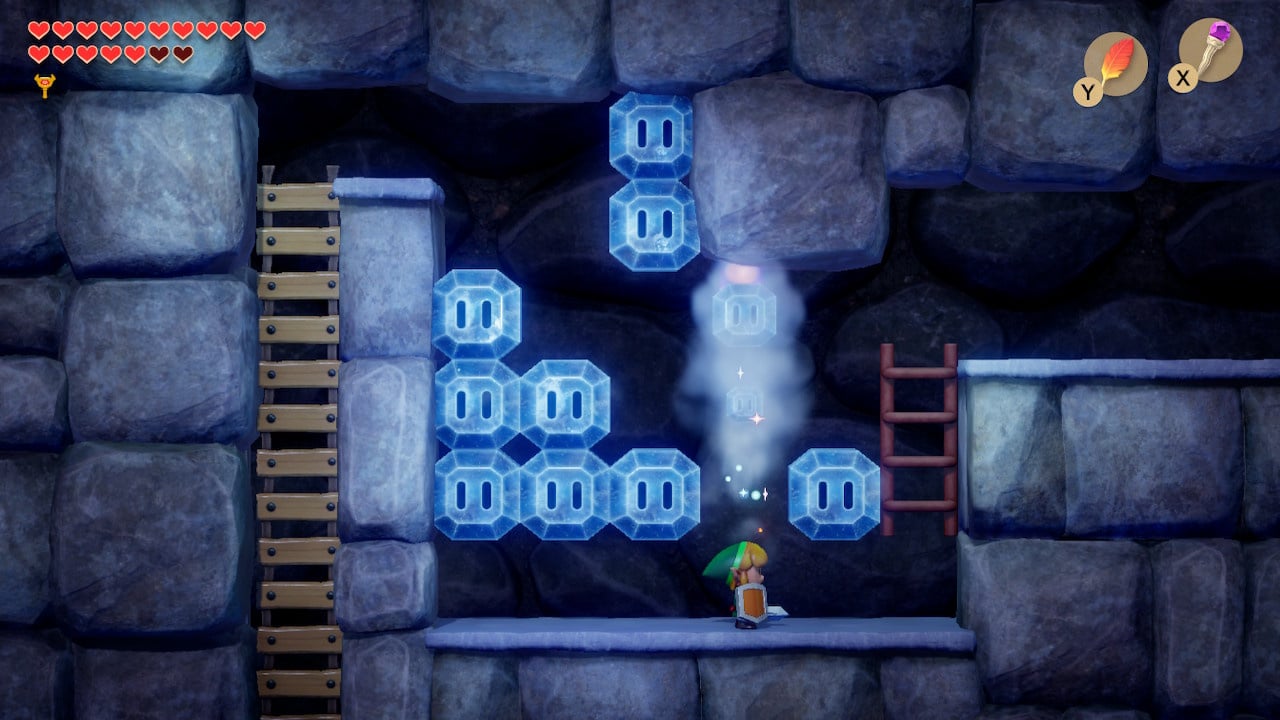
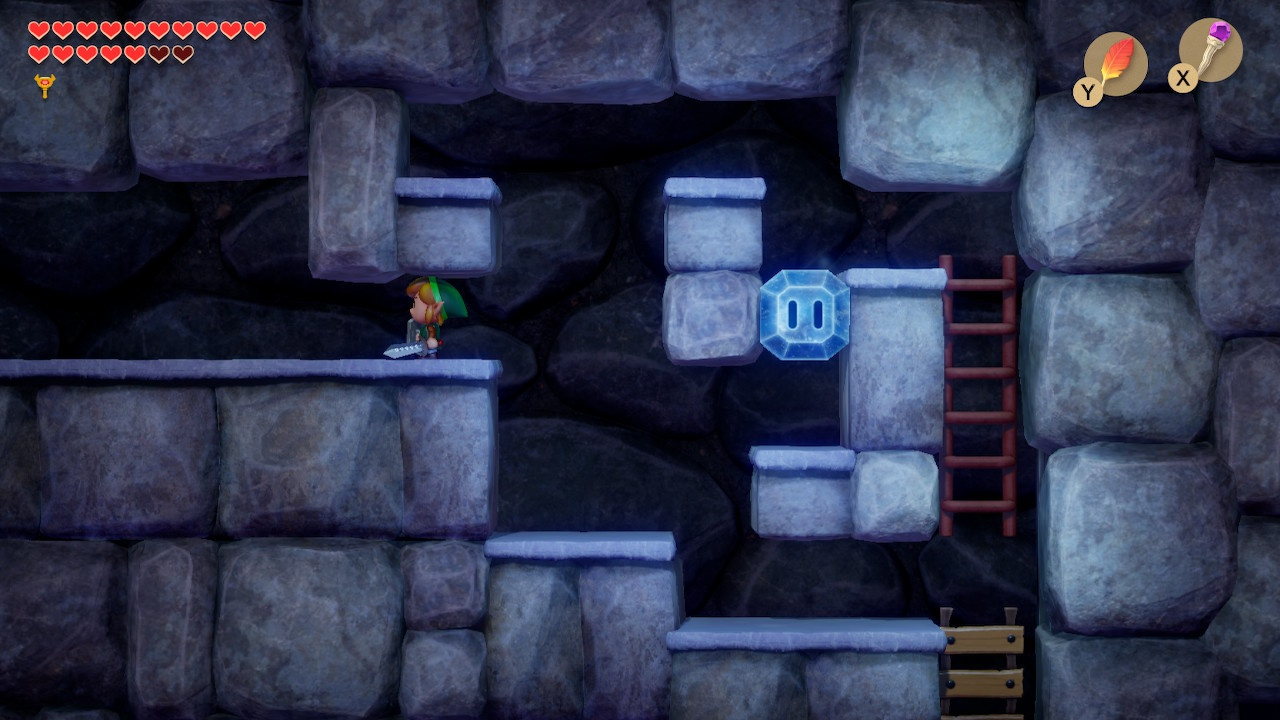
The second requires a little more care, as if you remove too many blocks you can make it impassable. Climb down the ladder and fire up at the column of ice blocks in the second space from the right (as shown in the screenshot above) and you should be able to make it up and over.
You’re finally at the Nightmare’s door. Pop the key in, and ready yourself for the battle ahead.
Prepared? Let's continue our Zelda: Link's Awakening walkthrough and learn How To Defeat Turtle Rock Boss before we head towards the Wind Fish's Egg and the Final Boss.


Comments 0
Wow, no comments yet... why not be the first?
Leave A Comment
Hold on there, you need to login to post a comment...