
Continuing Part Two of our Zelda Link's Awakening walkthrough, we explore the game’s first dungeon, the Tail Cave, and find our first game item: Roc's Feather.
Level 1: Tail Cave Walkthrough
Locate the Tail Cave Compass

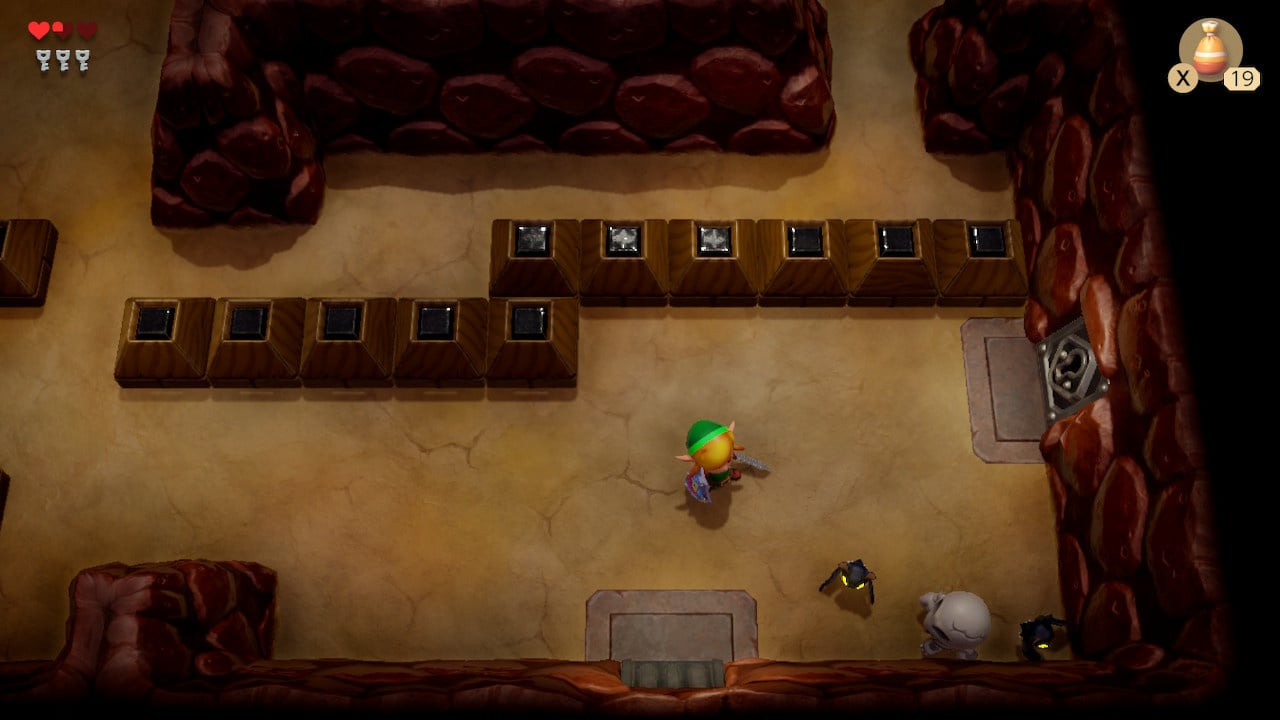
The first room of the Tail Cave gives you the option of heading left or directly forwards – left is a deadend with a couple of critical items, so head there first.
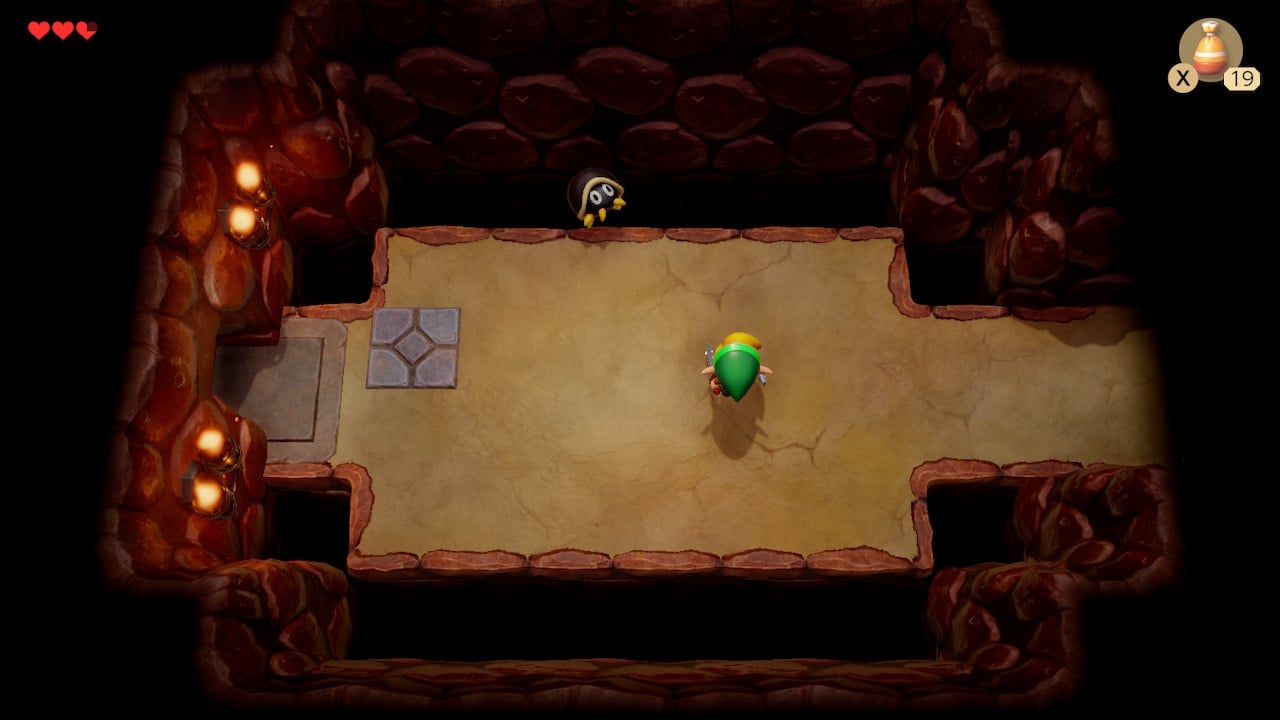
The Hardhat Beetle in the next room cannot be directly damaged with your sword – however, it can be pushed around with either your sword or shield – push it off the edges of the walkway and a Small Key will drop on the paved tile on the left – pick it up. Now continue to head left.
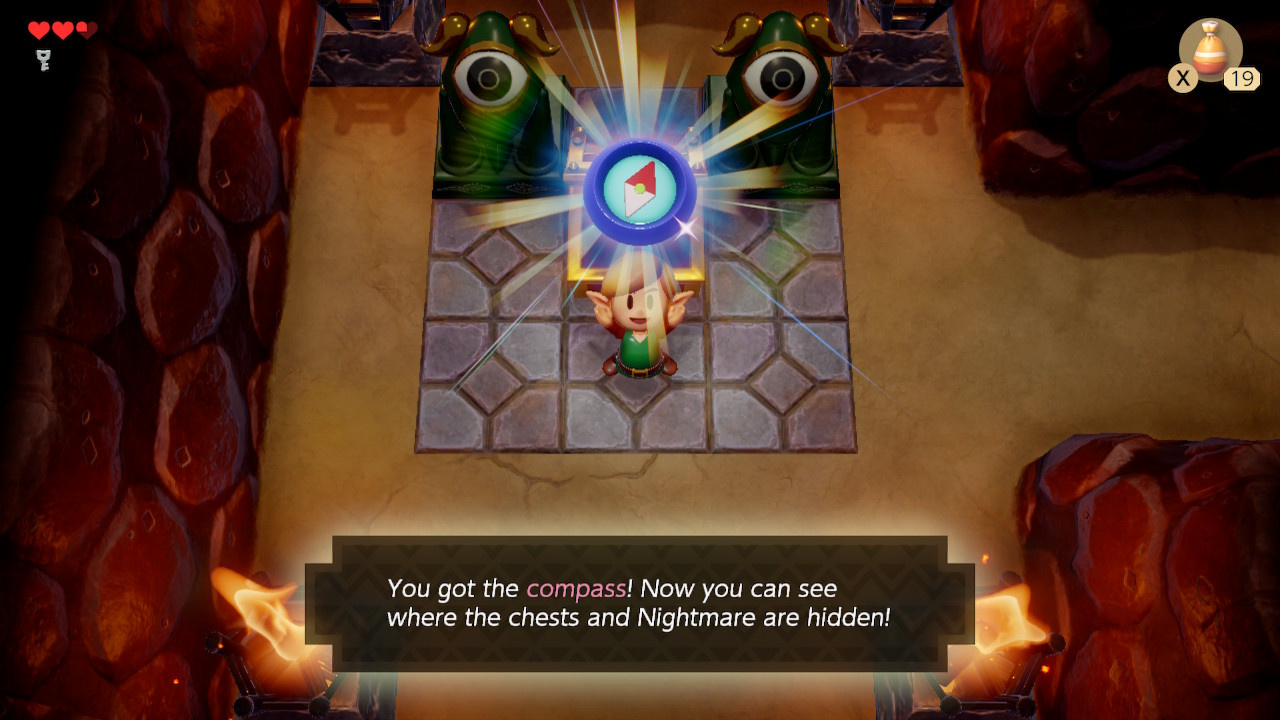
The door slams shut as you enter the next room – defeat the Buzz Blobs (green blob enemies) to unlock the door. Open the chest and pick up the compass – within its dungeon the compass:
- Adds the location of all chests to the map
- Adds the location of the Nightmare (the dungeon’s main boss) to the map
- Plays a tone when you are ‘near’ a key – it will usually be found in a nearby chest or (as in the previous room) will drop from the ceiling when certain conditions are met
Your business concluded down this little cul-de-sac, return to the Tail Cave’s entrance.
Retrieving the Tail Cave Map
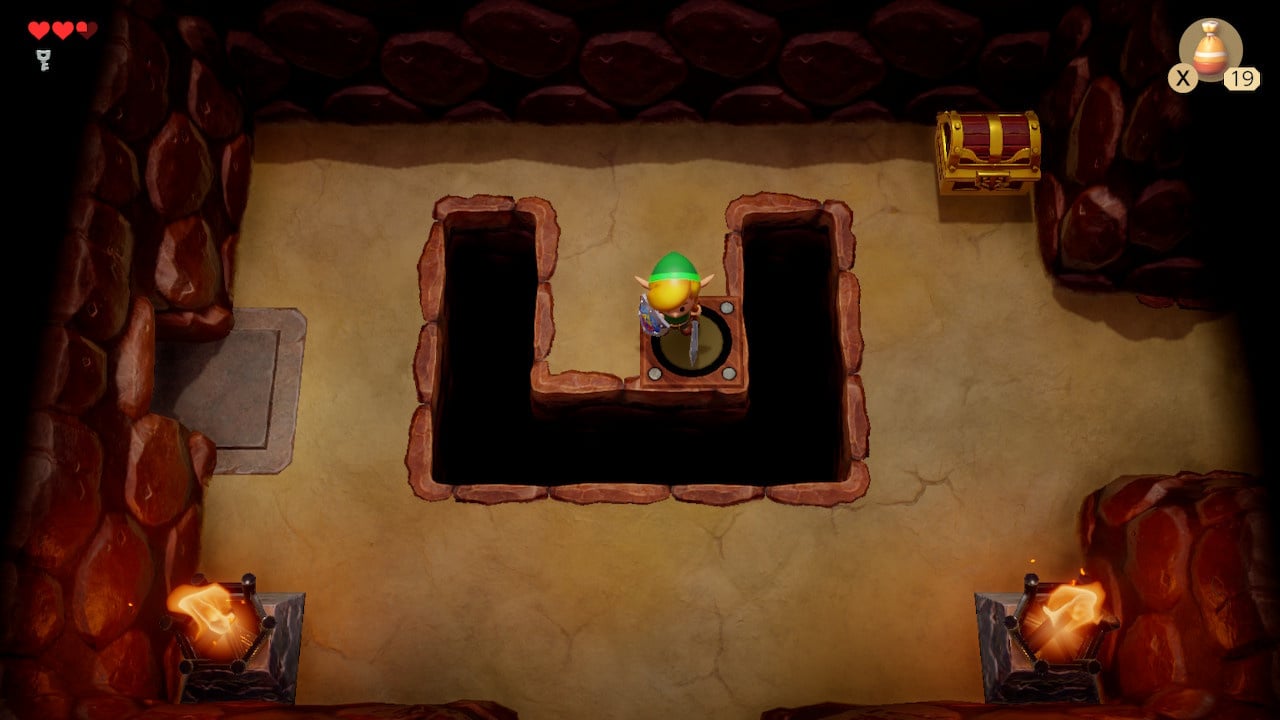
Head north – clear the room of enemies and step on the button to reveal a chest – inside is another Small Key. Exit using the passage on the right.
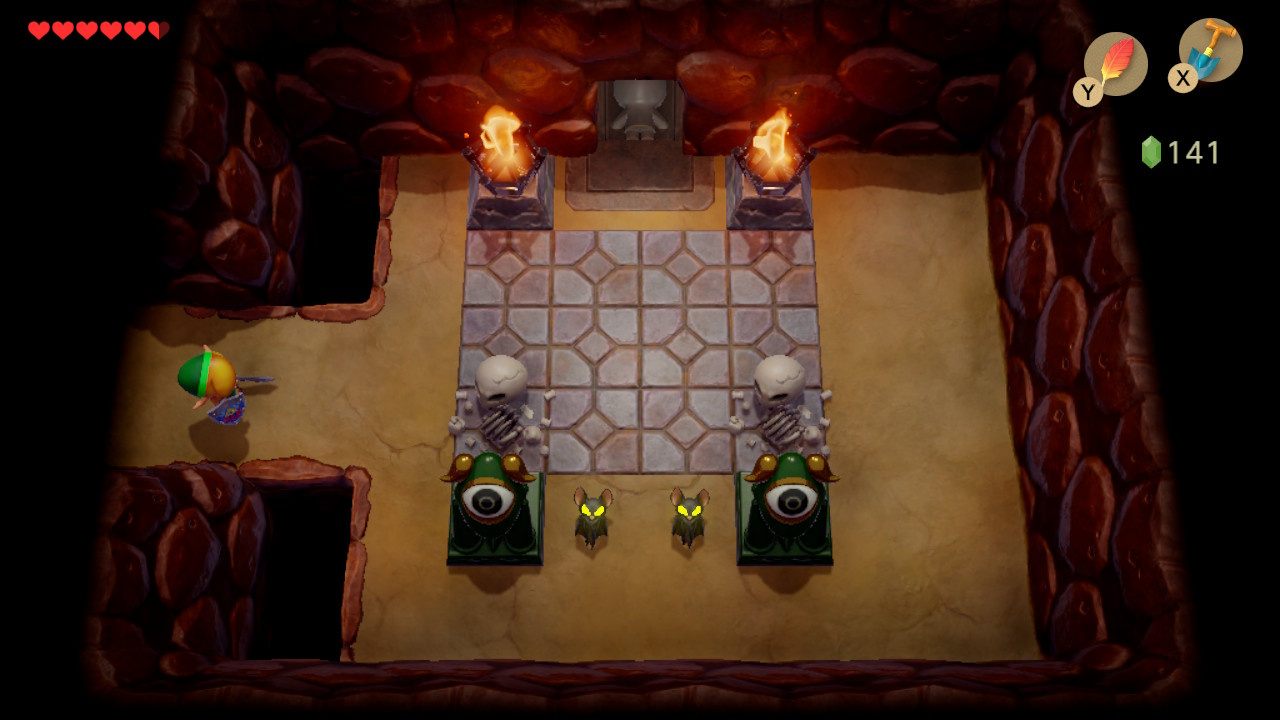
In this room you’ll find two Keese (bats) and two Stalfos (skeletons). The latter will jump out of the way of your sword attacks – either back them against a wall or charge your sword attack (hold B) to do damage. Clear the room and a chest will appear – containing the Dungeon Map.
Though you can go through a one-way door the north, in the interests of visiting every room, return back the way you came and take the left exit this time. Dispatch the four Keese and exit to the north (smash the purple rocks as you enter).
Acquiring the Tail Cave Stone Beak
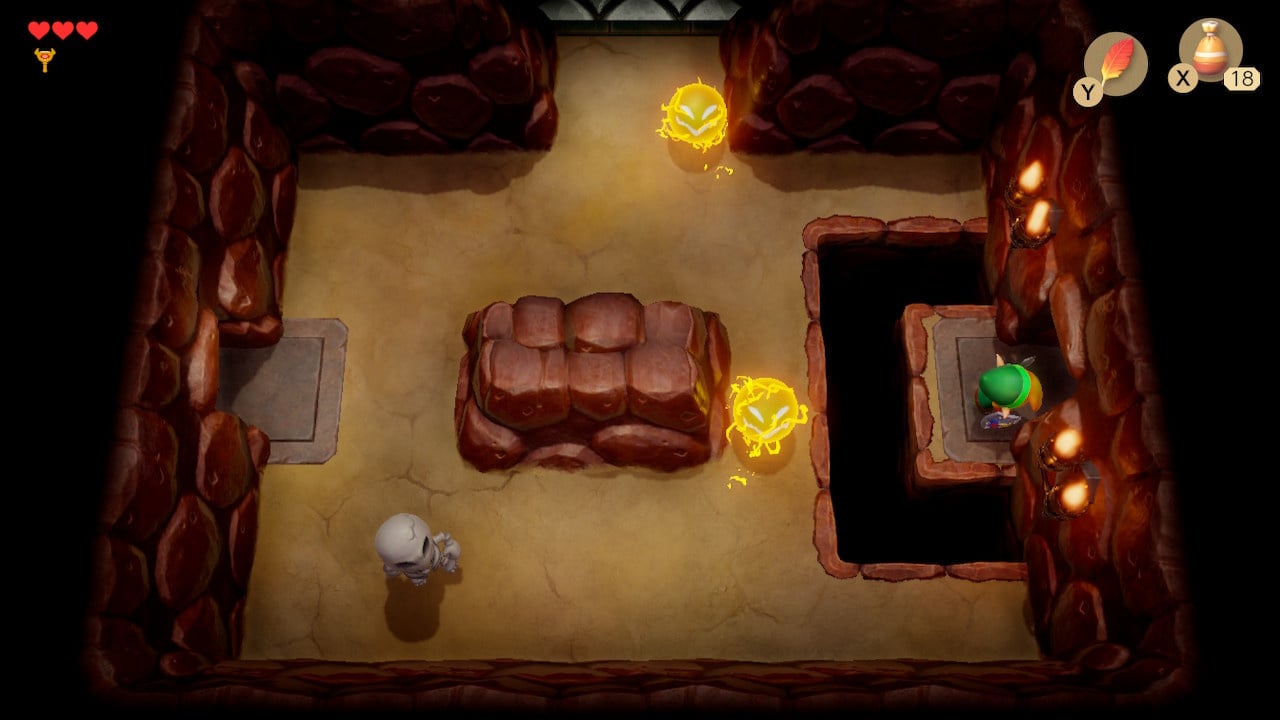
The room to the north is a large hub of sorts for the dungeon, with several exits and other things to accomplish.
- The chest in the middle of the room contains a small key for your collection
- Kill both of the Mini-Moldorms in the room (the yellow worm-like enemy) and a hidden chest with 20 rupees will appear
- Use a bomb on the cracked wall in the bottom left to locate a Secret Seashell
For now, head to the lower right corner of the room and open the locked door with one of your small keys. In the next room use the north exit to enter a room with a green-tiled floor.

The enemies in this room (Three-of-a-Kind) display a succession of playing card symbols – the goal is to get them to stop on the symbol. Swing your sword to make them stop. Once all symbols match, a chest will spawn containing a stone beak which can be placed in the various owl statues around the dungeon. Try it on the one in this room and it’ll say:
“Turn aside the spined ones with a shield…”
Retrieving Roc’s Feather
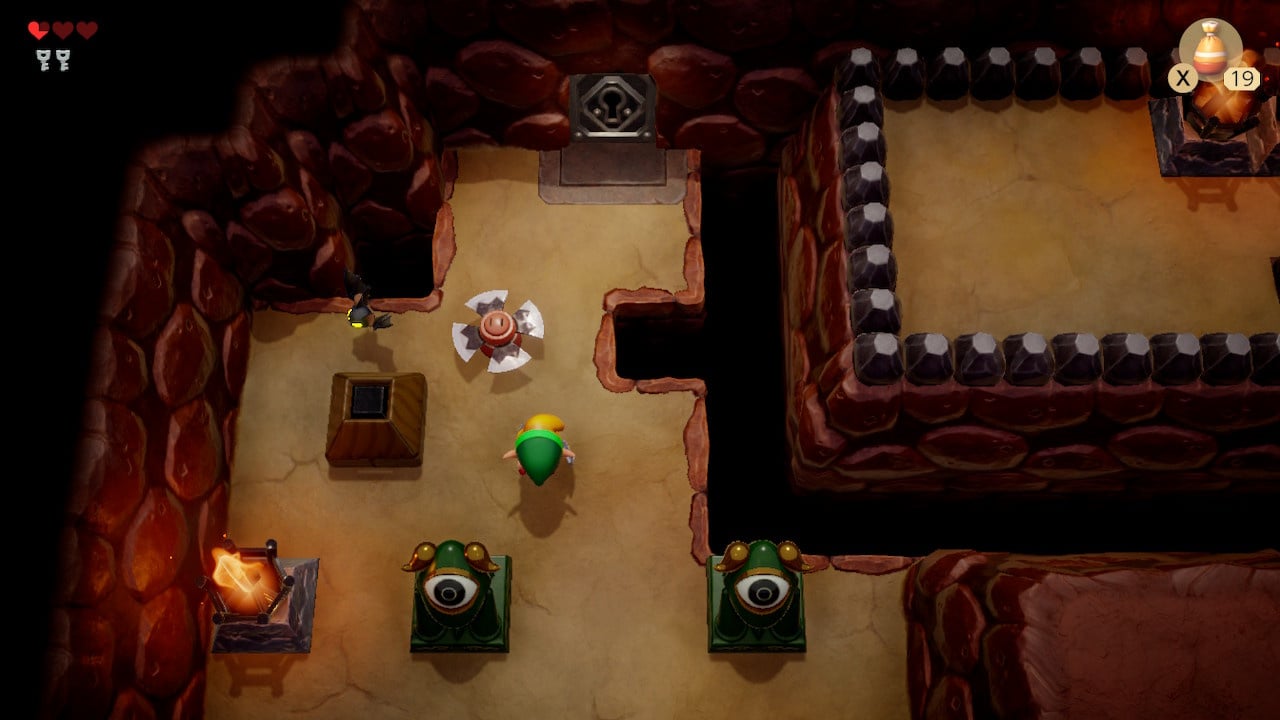
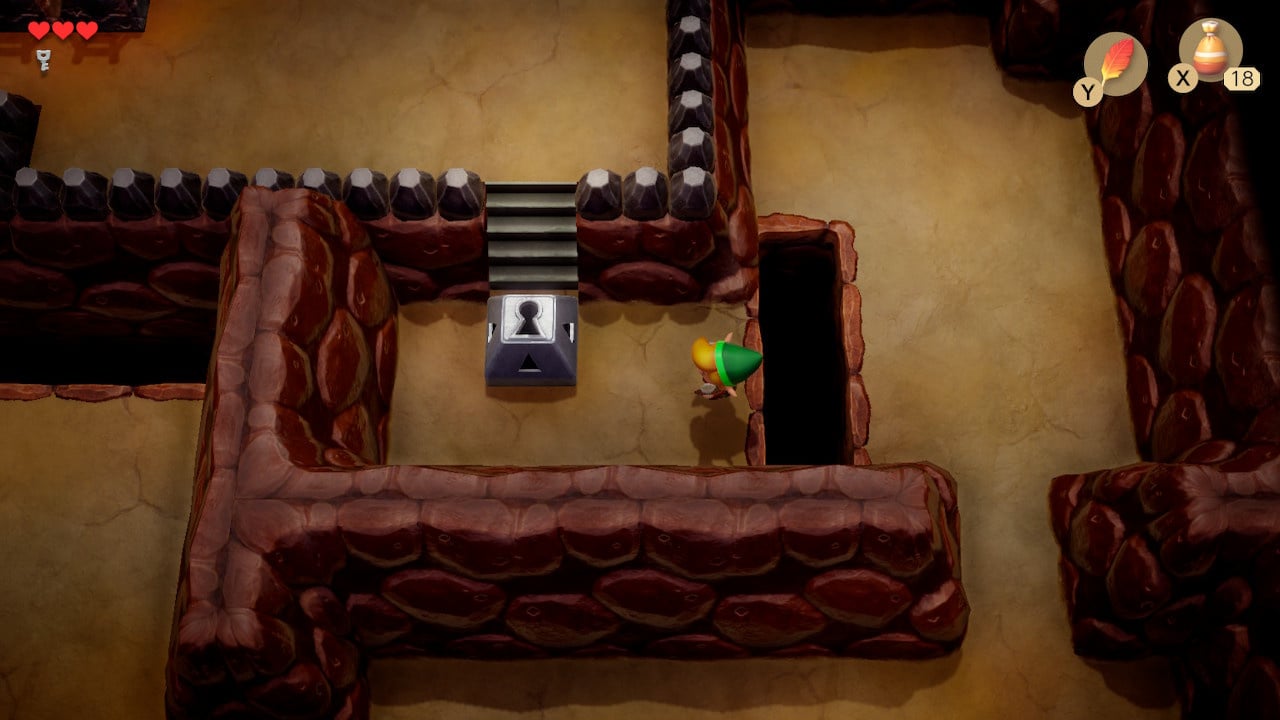
Return to the main hub room and head to the top left corner. Approach the moving blade trap and stop before you trigger it – as it slowly returns to place, move towards the locked door and use a small key.
You enter a long room – take an anti-clockwise route to the upper left corner and place the Stone Beak in the Owl Statue for a message:
“If there is a door that you can’t open move a square block”
The message is useful to remember at several points in Link’s Awakening, but here it’s asking you to consider your immediate surroundings – isn’t that leftmost block just screaming to be pushed into a zig-zag pattern with its neighbours? Give it a push to the right and the door in the left wall will open. Go on through.
In the next room you will find a couple of Spiked Beetle enemies – hit them with your sword and you’ll do no damage. However, you may remember (and the nearby Owl Statue will remind you) that you can “Turn aside the spined ones with a shield…” – put your shield up with R and push those enemies into a pit!
Once the room is clear of enemies, a set of stairs appears in the upper right of the room. Head down and you’ll find yourself in a side-scrolling section with some enemies that will be familiar to any Mario players in the audience (that’ll be everyone then) - Goombas. Traverse this room and climb the ladder to the next area.

Head north and dodge the blade traps – open the chest for the Tail Cave’s main treasure – Roc’s Feather. Open your inventory (+) and equip the feather to the X or Y buttons – this handy item will allow you to jump over gaps – hugely useful throughout the game.
Finding The Tail Cave Nightmare Key
Return to the large hub room and head to the northeast corner. With Roc’s Feather equipped you can now hop over the gap – use a small key on the lock block, climb the stairs and open the chest – inside you’ll find the Nightmare Key, necessary for accessing Moldorm’s battle arena.
Fighting The Rolling Bones Miniboss
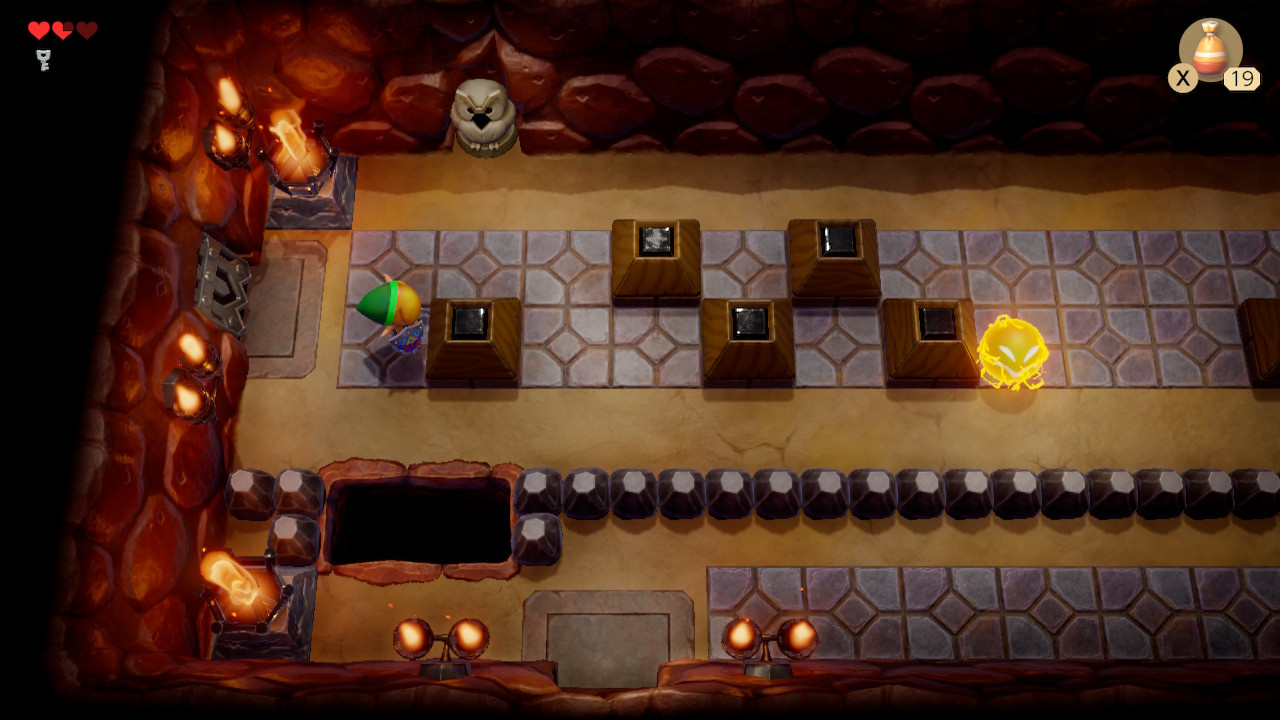
Before you fight Moldorm, you must first deal with a miniboss – Rolling Bones. Exit the large hub room using the southeastern door (the one you took on the way to the room with the green-tiled floor). Jump the gap in the first room with Roc’s Feather and head through the door.
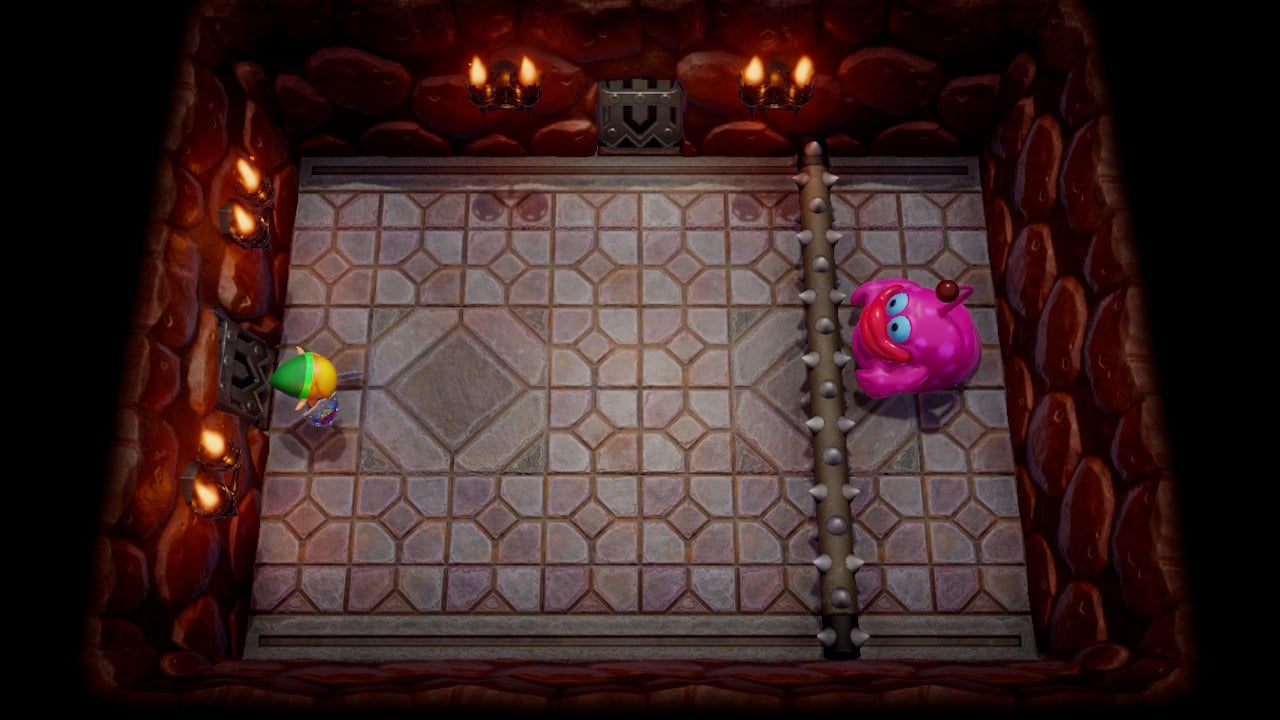
Rolling Bones is a simple boss to help get you comfortable with using Roc’s Feather. He rolls a spiked beam across the length of the room – jump it and get as many Sword swipes (or charges) in as you can before he jumps back on the other side. Repeat until he is defeated. A blue portal will open linking to the entrance – handy if you’re worried about health or want to pick up some supplies. Once you’re ready, head out of the top exit.
Tail Cave Boss: Moldorm

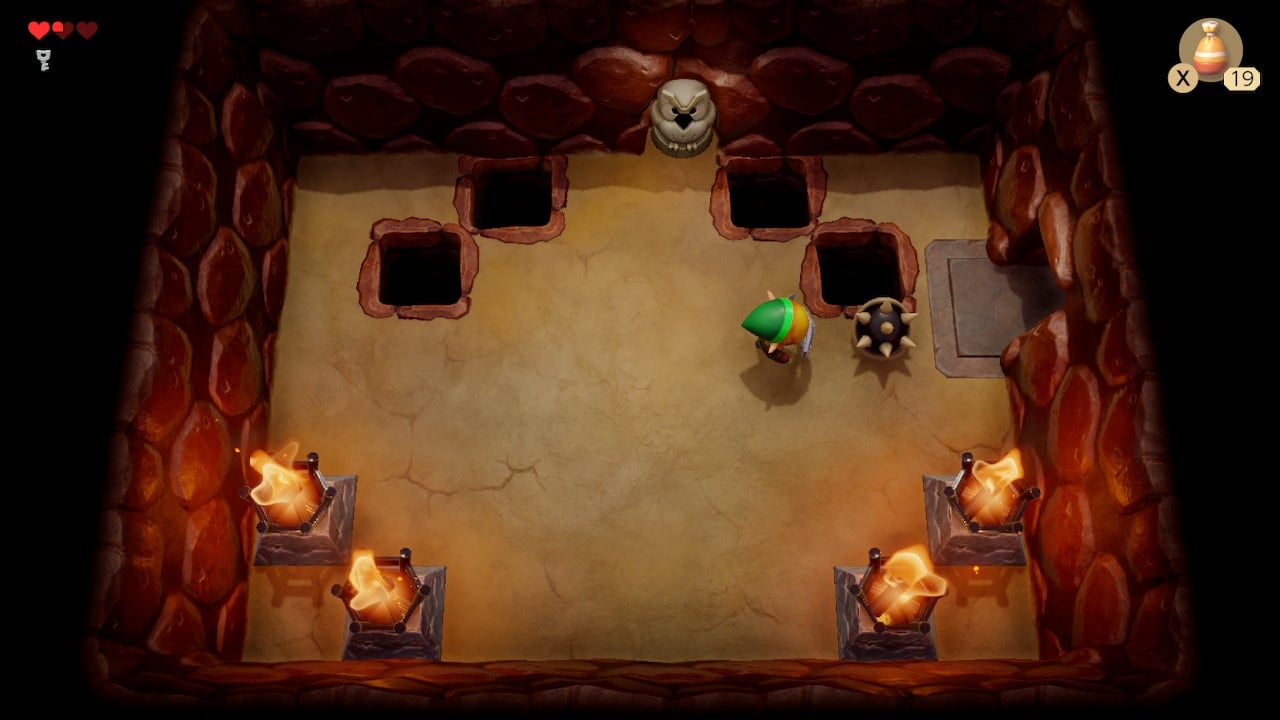
Head towards the boss door taking care to avoid the blade traps in the next room. The stairs here lead to the dungeon you can fall into when fighting the boss – there’s not really a reason to head there for the time being.
With the Roc Feather and nightmare key we're ready to continue our Zelda: Link's Awakening walkthrough and Defeat The Tail Cave Boss before setting off towards the Bottle Grotto by rescuing BowWow.


Comments 0
Wow, no comments yet... why not be the first?
Leave A Comment
Hold on there, you need to login to post a comment...