Concluding part three of our Zelda: Link's Awakening walkthrough we learn how to defeat the game’s third boss: Slime Eye.
How To Defeat Slime Eye - Key Cavern Boss (Level 3)
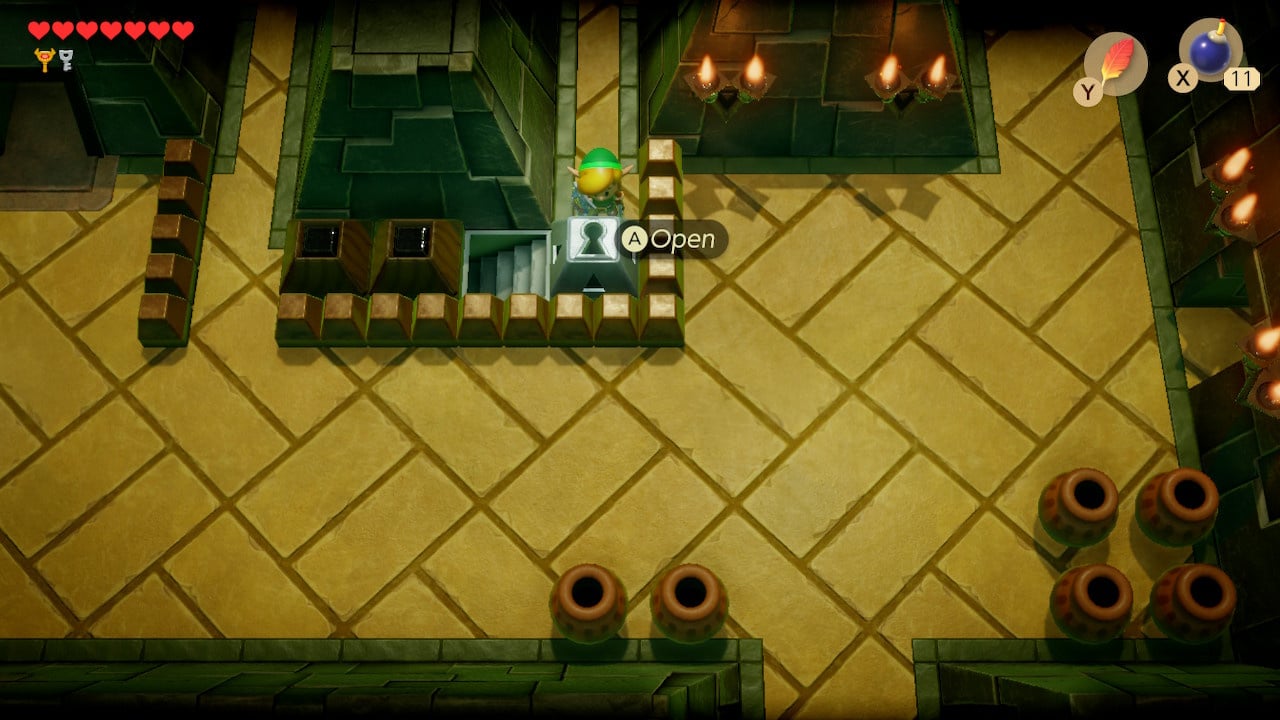
Head to the lock blocks in the central area and use your four small keys to access the stairs.
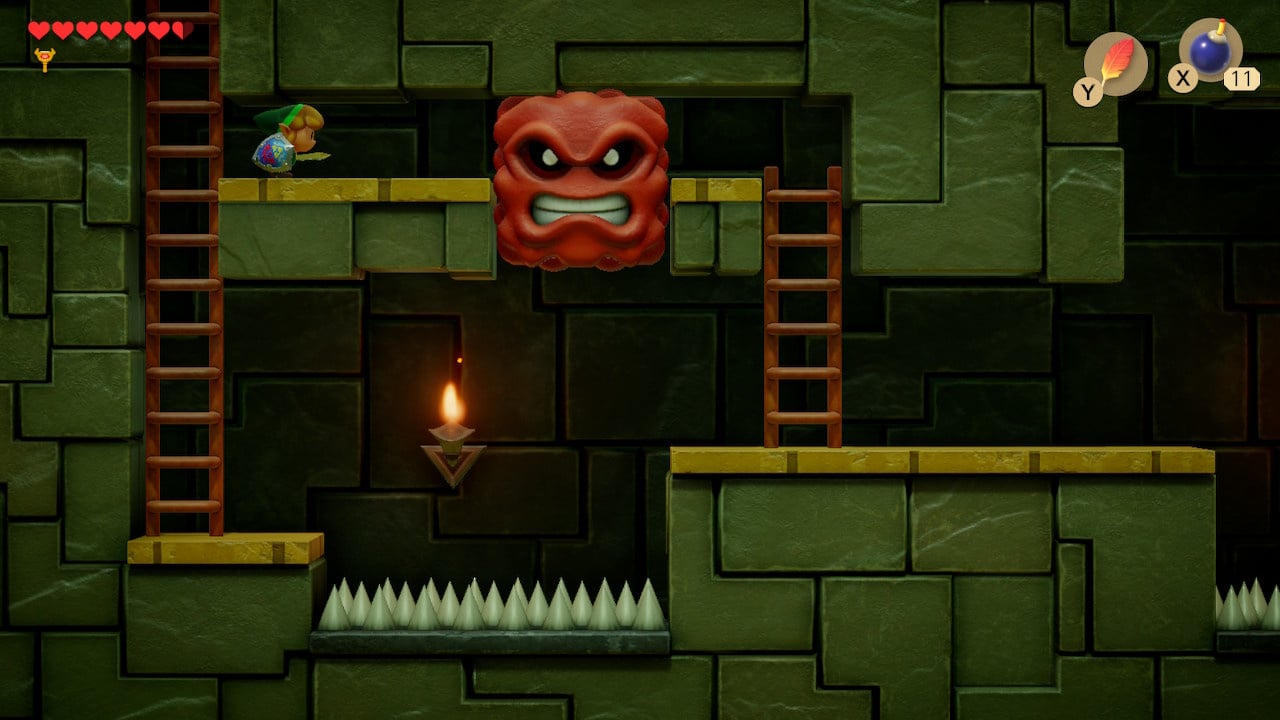
In the sidescrolling area below you’ll find a Mega Thwomp suspended over a spiked pit. Dash towards the Mega Thwomp and it will fall on the spikes, providing a platform to safely step on. Dash jump over the next set of spikes and leave the sidescrolling area. Use dash jumps to clear the next area of inflatable barriers and enemies and leave the room.
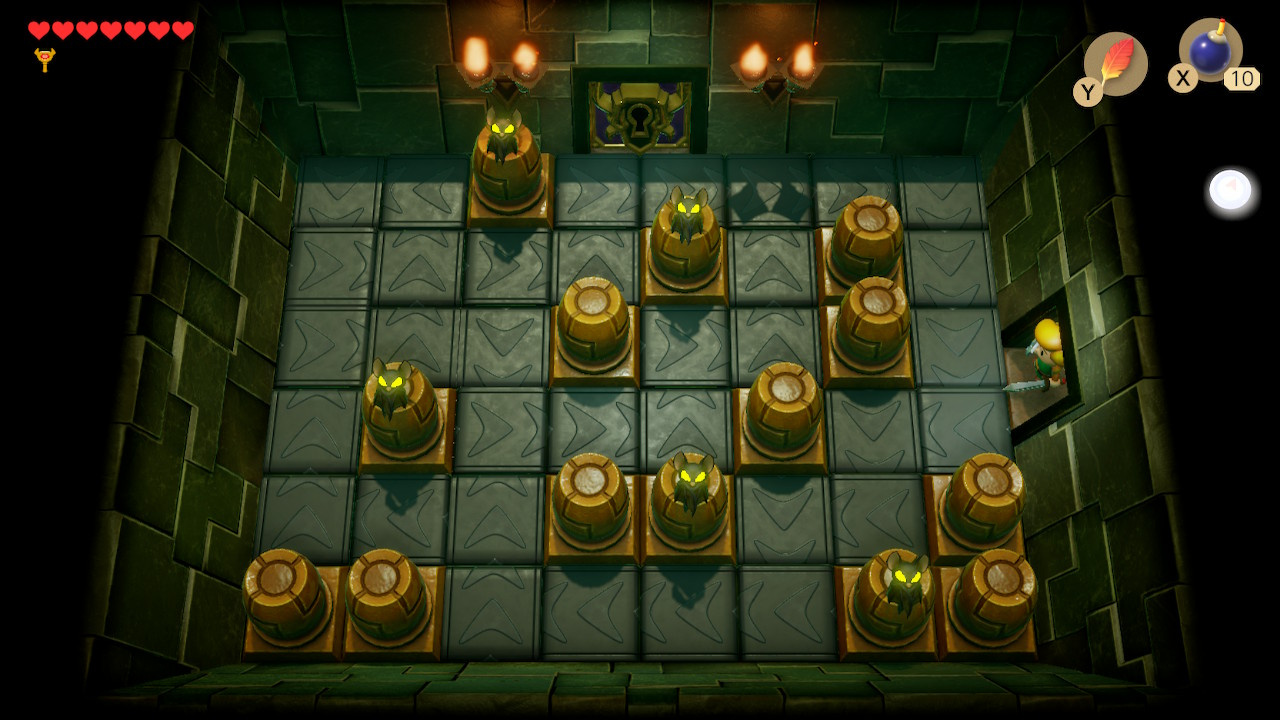
You’ve reached the final room before the Nightmare, with a quick maze of conveyors and Keese to kill. You will get a small key for dispatching all the Keese. Head through the Nightmare’s door to face the dungeon’s final boss.
I’ve been in every single room in the Key Cavern, why do I have an extra Small Key?
This is intentional – there is one more key than there are unlockable doors in the dungeon. By skipping technically non-essential doors (specifically, the top, bottom and left-hand doors in the room with four unlockable doors) you could otherwise arrive at the boss having spent all your Small Keys (though without the stone beak or dungeon map). Having one extra key available before the boss ensures that you can still return to visit all rooms in the dungeon later.
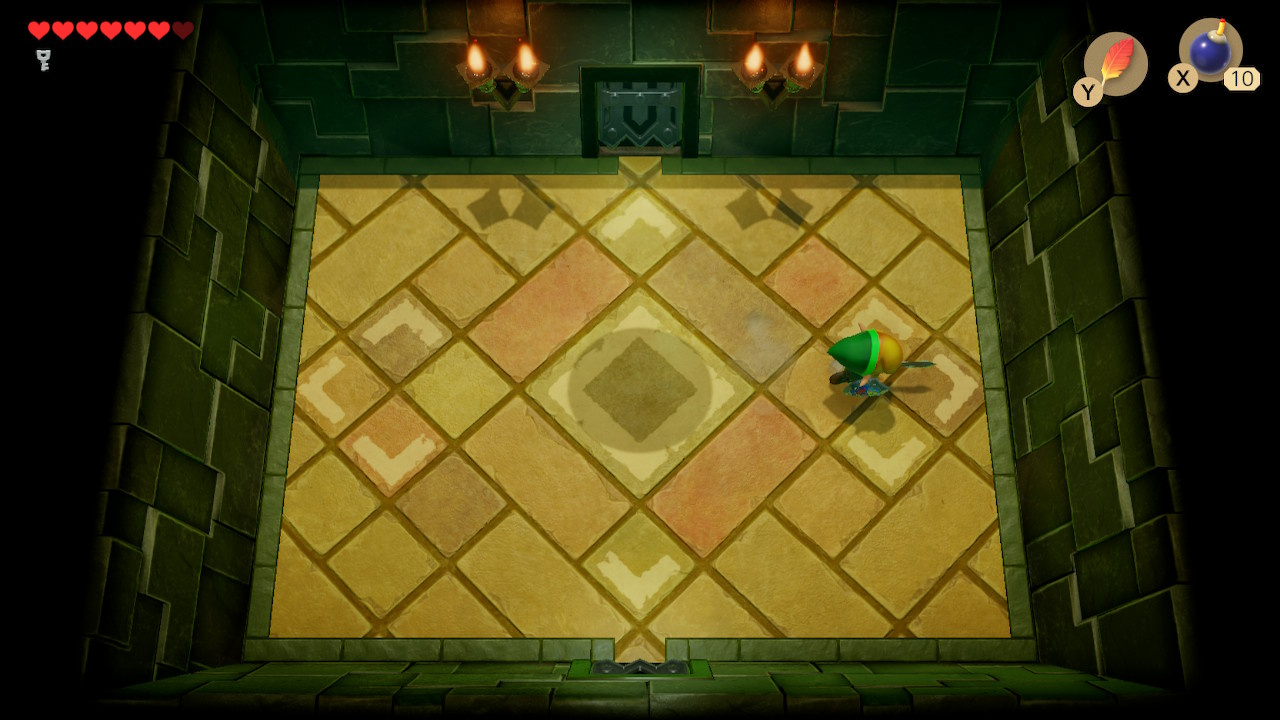
As you step into the empty boss room, an unseen voice taunts you:
NEENER NEENER! You can’t find me! NYAH NYAH!
Zol (green blob) enemies will spawn periodically, but other than a tell-tale shadow above the centre of the room, there’s no sign of the Nightmare. Use your dash to run headlong into the wall to force it to appear.
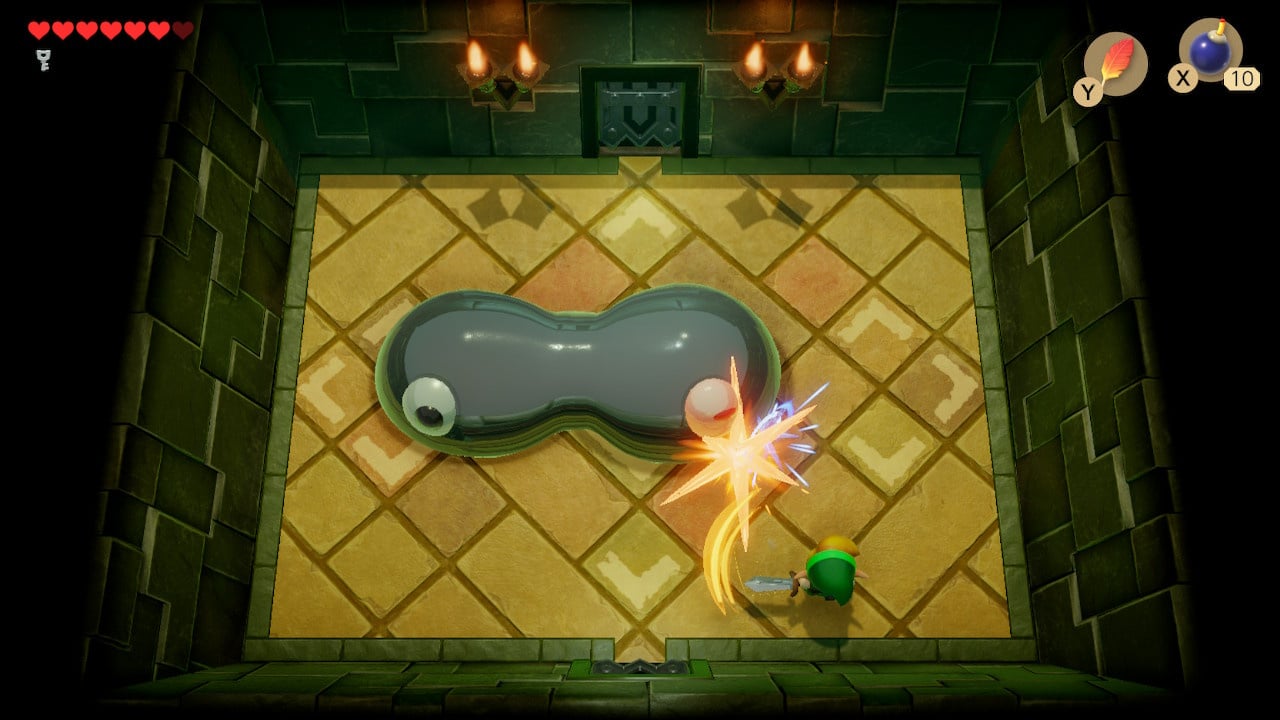
Hit the Slime Eye in its single large eye and it will stretch to reveal a second eye. Hit one of the eyes again for a further stretch. If left for too long it will contract again.
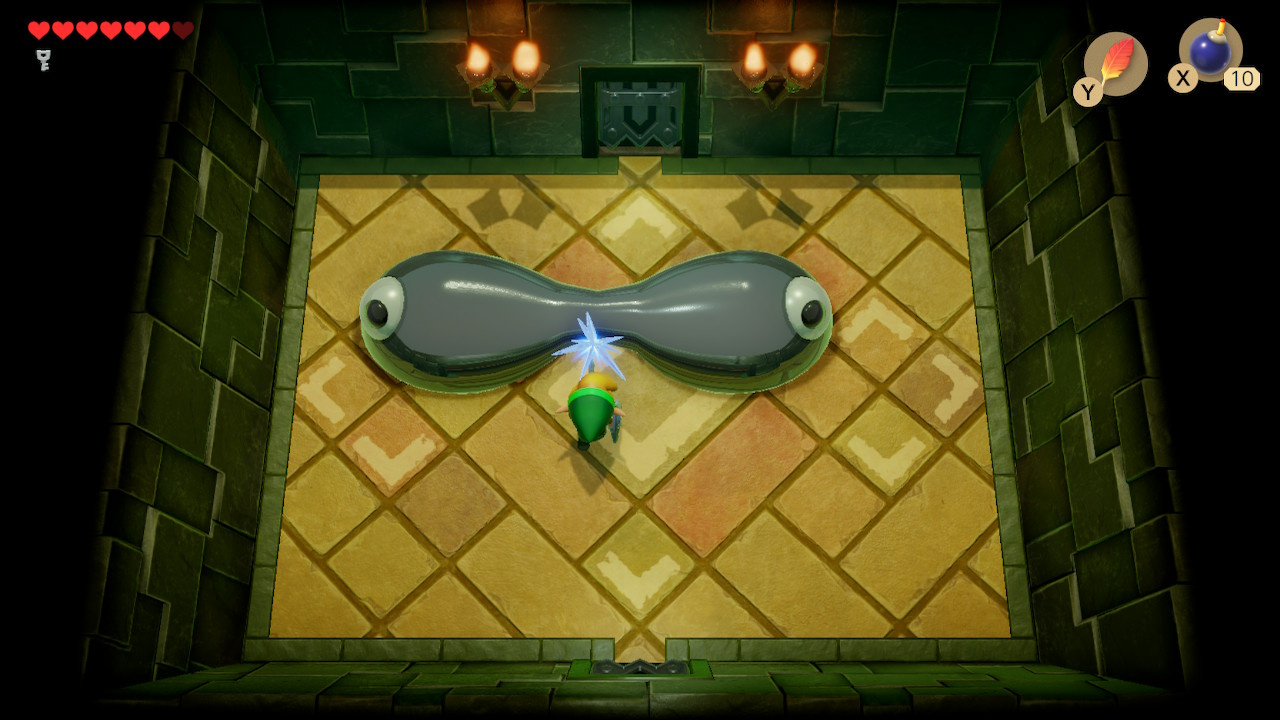
The idea here is to force the Slime Eye into maximum stretchiness. You can then dash at its thin centre, forcing it to divide into two separate, smaller Slime Eyes. Hit both eyes a few more times and the Slime Eye will explode, handing you a heart container and opening the path forward.

Climb the pedestal in the next room to claim your third instrument, the Sea Lily’s Bell. Once more, your screen will turn white and the mysterious voice hints at your next destination…
...WATERFALL…
It is hidden in the waterfall…
Congrats! With Slime Eye defeated we can continue our quest in our Zelda: Link's Awakening walkthrough by finding the Angler Key Location, visit Animal Village, Yarna Desert and Mountain Waterfall that lead us to Angler's Tunnel and Getting The Flippers before learning How To Defeat Angler's Tunnel Boss (Level 4).


Comments 0
Wow, no comments yet... why not be the first?
Leave A Comment
Hold on there, you need to login to post a comment...