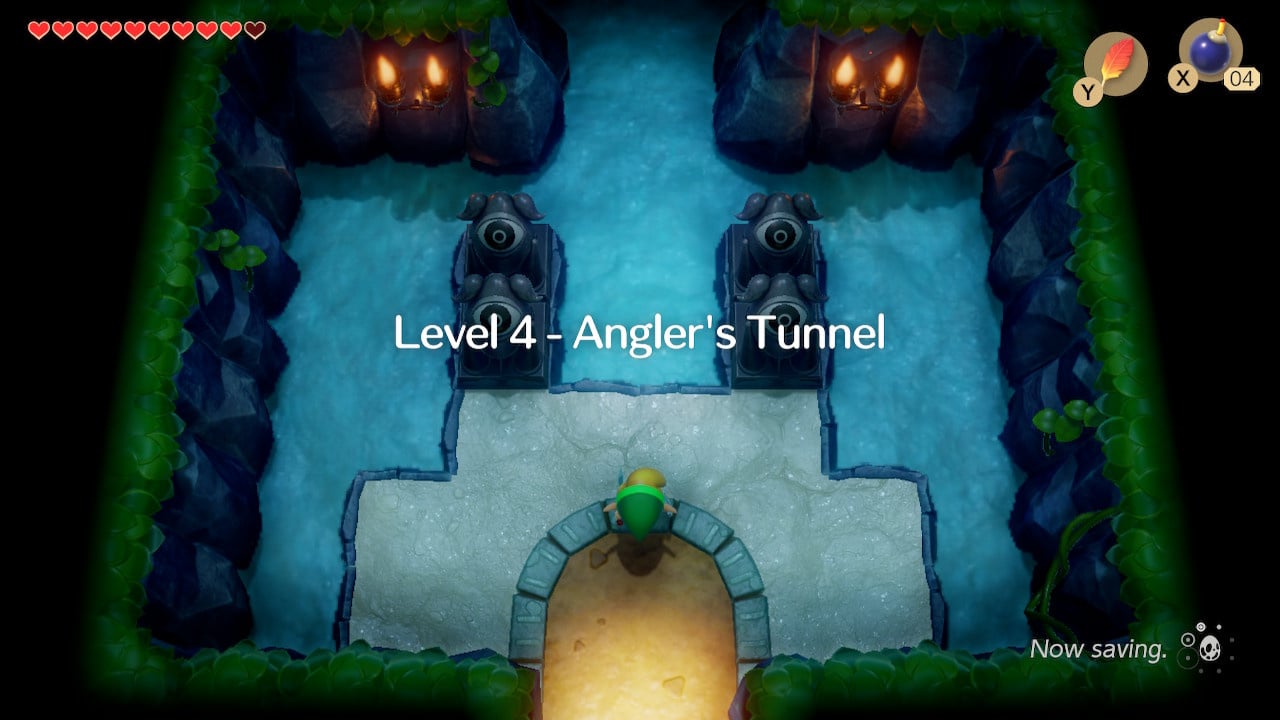
Continuing part five of our Zelda: Link's Awakening walkthrough we will explore the Angler's Tunnel dungeon finding the Map and Compass along with the Flippers before defeating the Level 4 boss.
Angler’s Tunnel Walkthrough
Locate Compass, Stone Beak and Angler’s Tunnel Dungeon Map
Well, your travels on the surface of Koholint Island certainly took you far and wide. Thankfully, the Angler’s Tunnel is a relatively small dungeon. In fact, you can actually get yourself three crucial items in quick succession. Head north from the entrance and step through the shallow water – keep an eye on the difference between this water and deeper areas as you proceed, as you cannot swim (yet!)
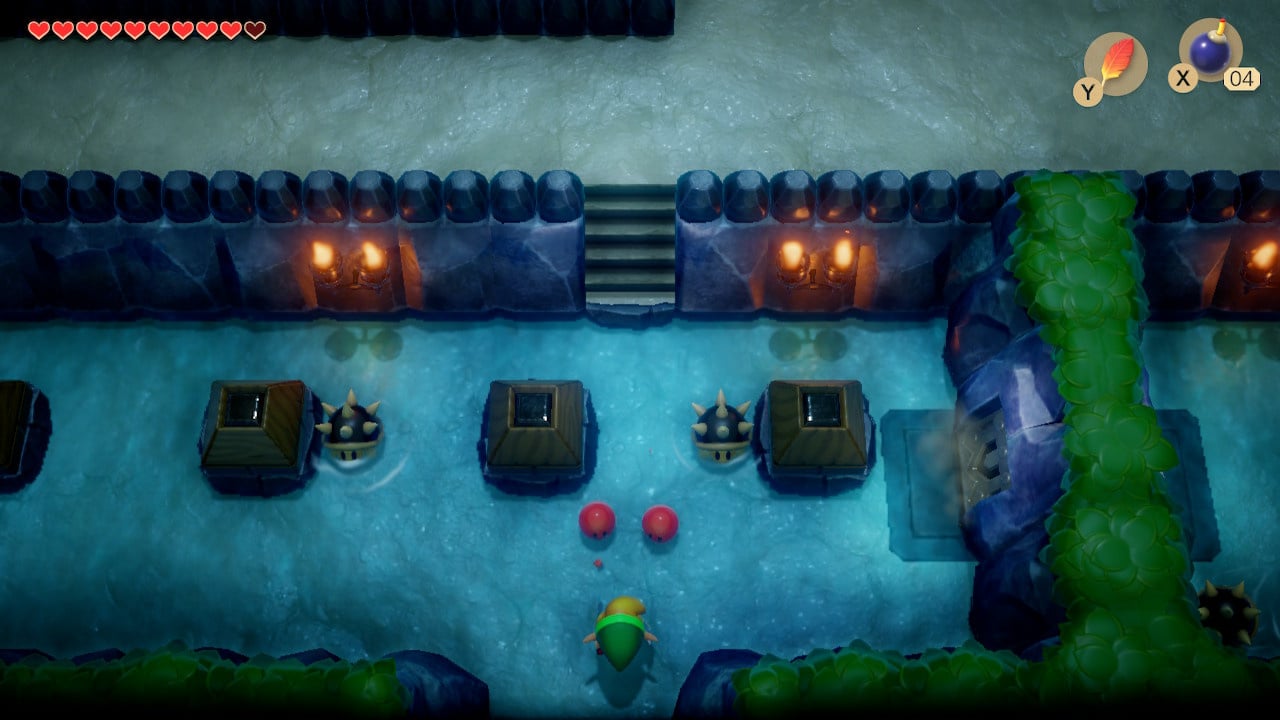
Dispatch the red gel and spiked beetles to open the door to the right (remember to flip the spiked beetles with your shield). Head through.

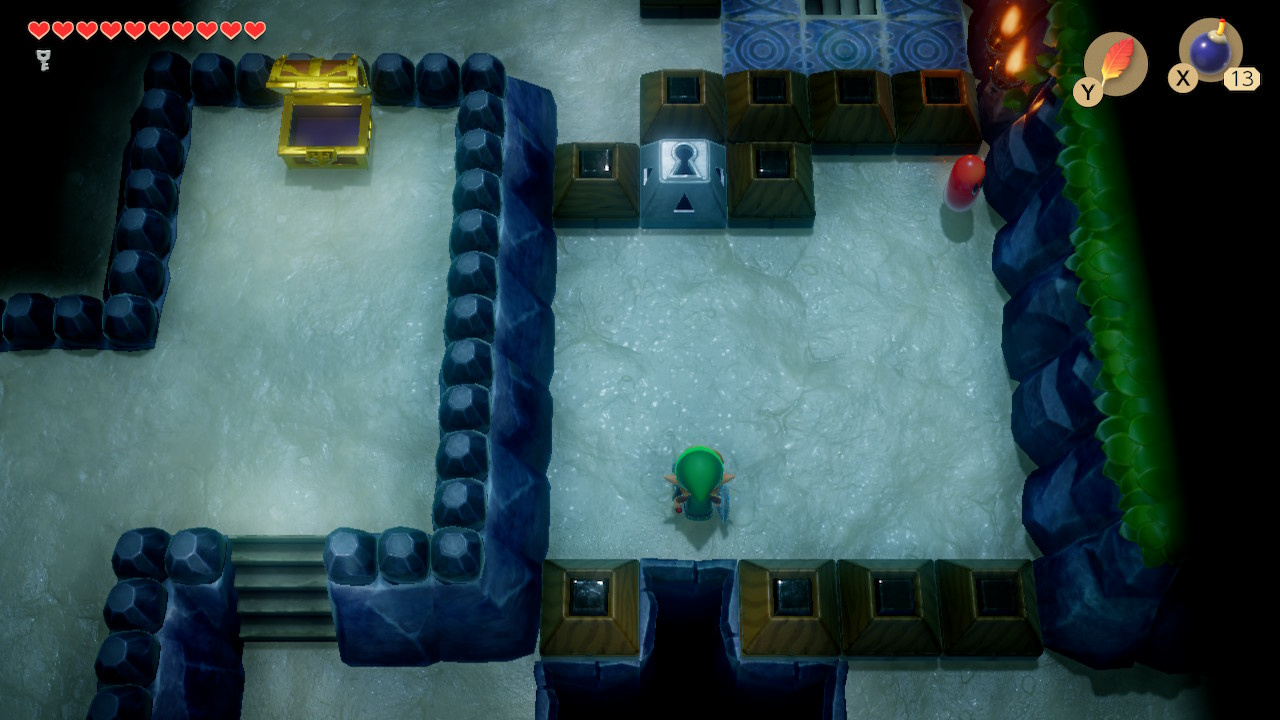
Claim the compass from the chest. We’ll return to this room in a bit, but for now, go back through the door you just entered, climb the stairs to the upper level and head right.
Take the exit in the lower right corner of the upper area.
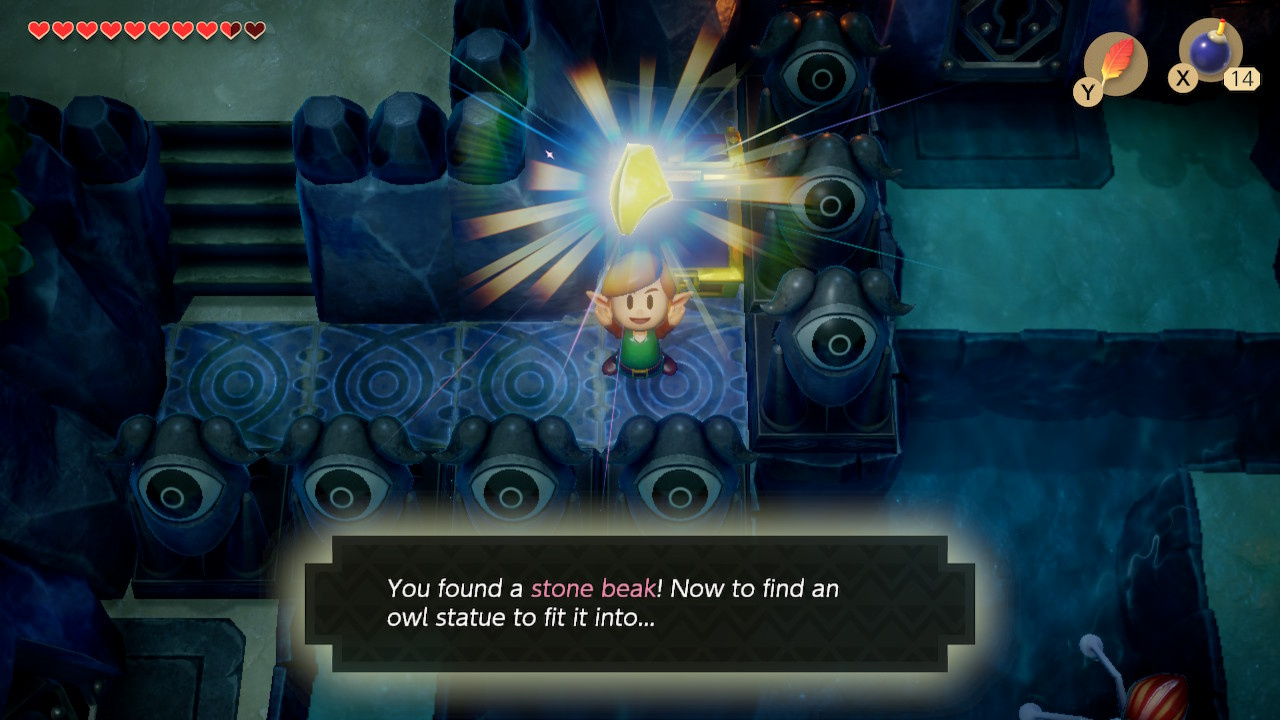
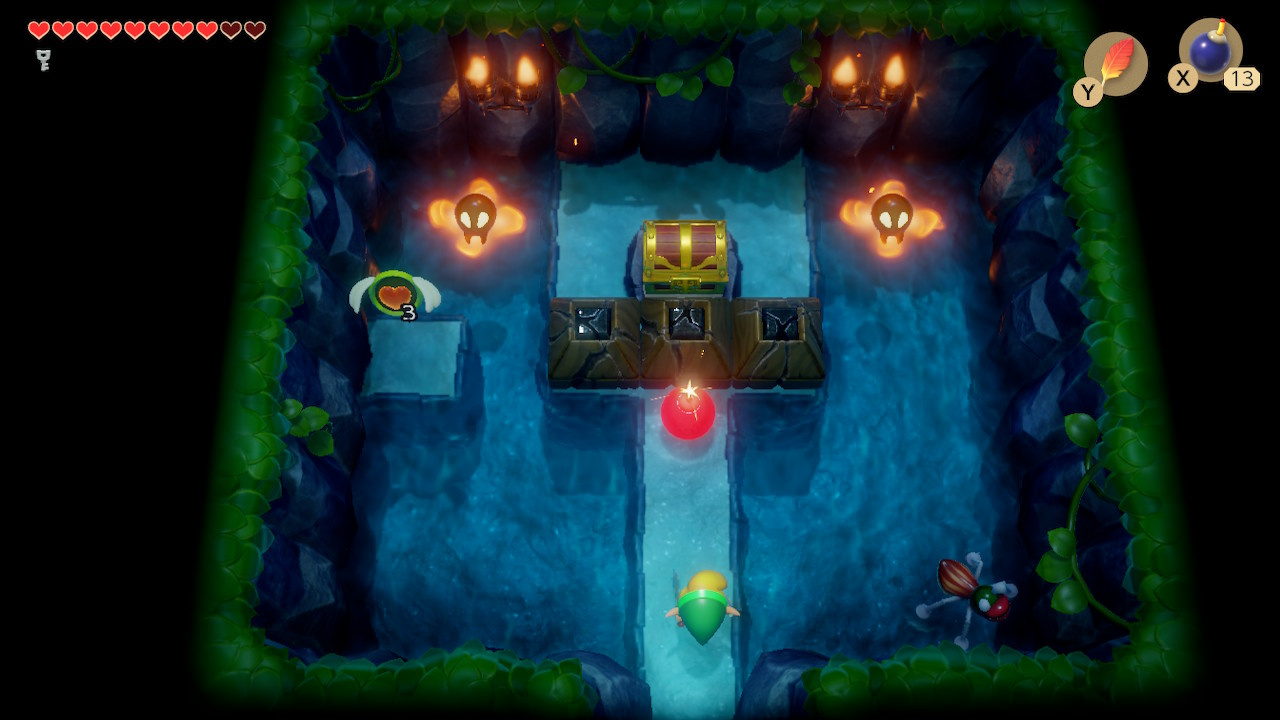
Head down the stairs and open the chest for the second dungeon item – the Stone Beak.

Return to the upper area and head up and along the long path.
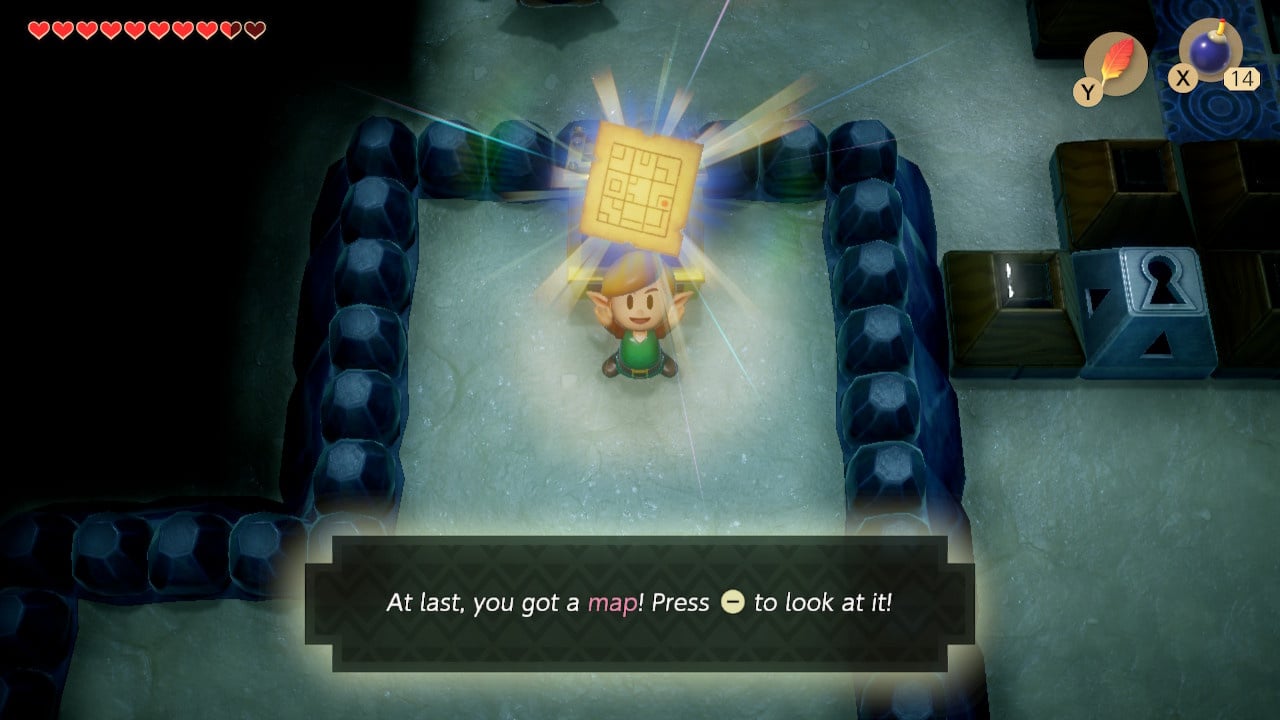
At the top of the path is another chest and within is the third dungeon item – the Dungeon Map.
Small Key Round Up
Immediately below the chest is a set of stairs. Jump the chasm with a dash jump and continue heading right.
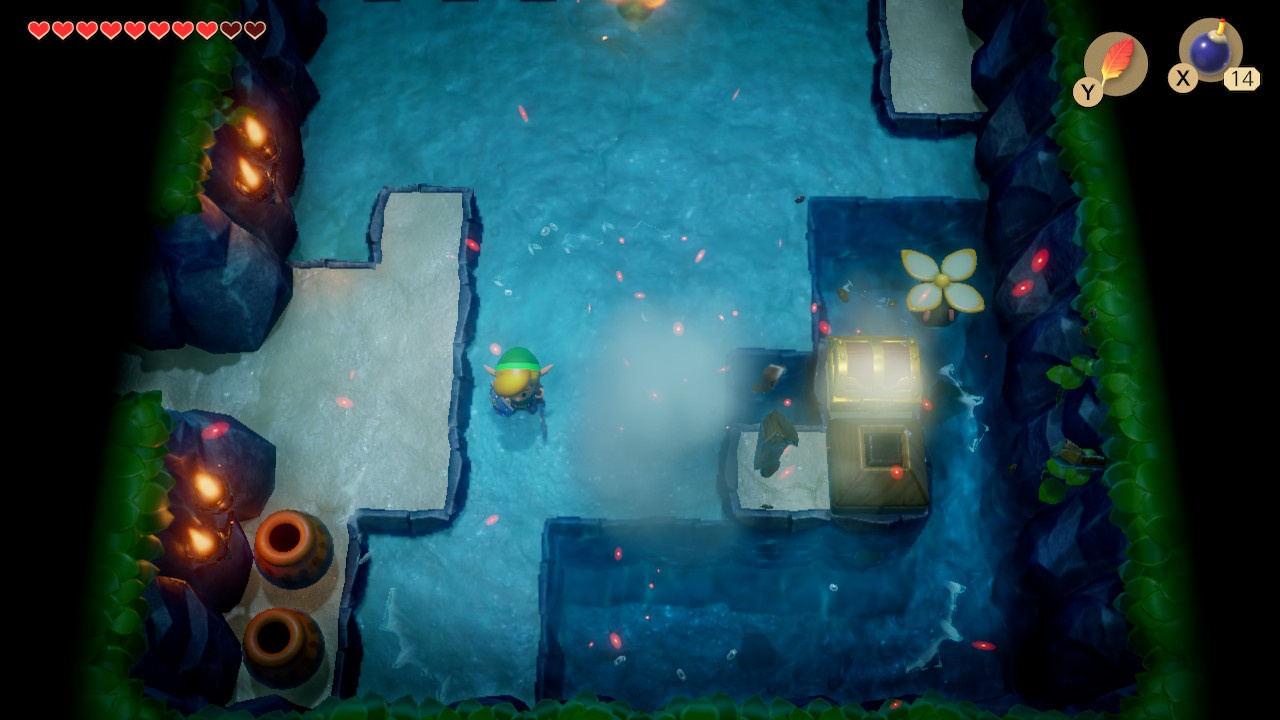
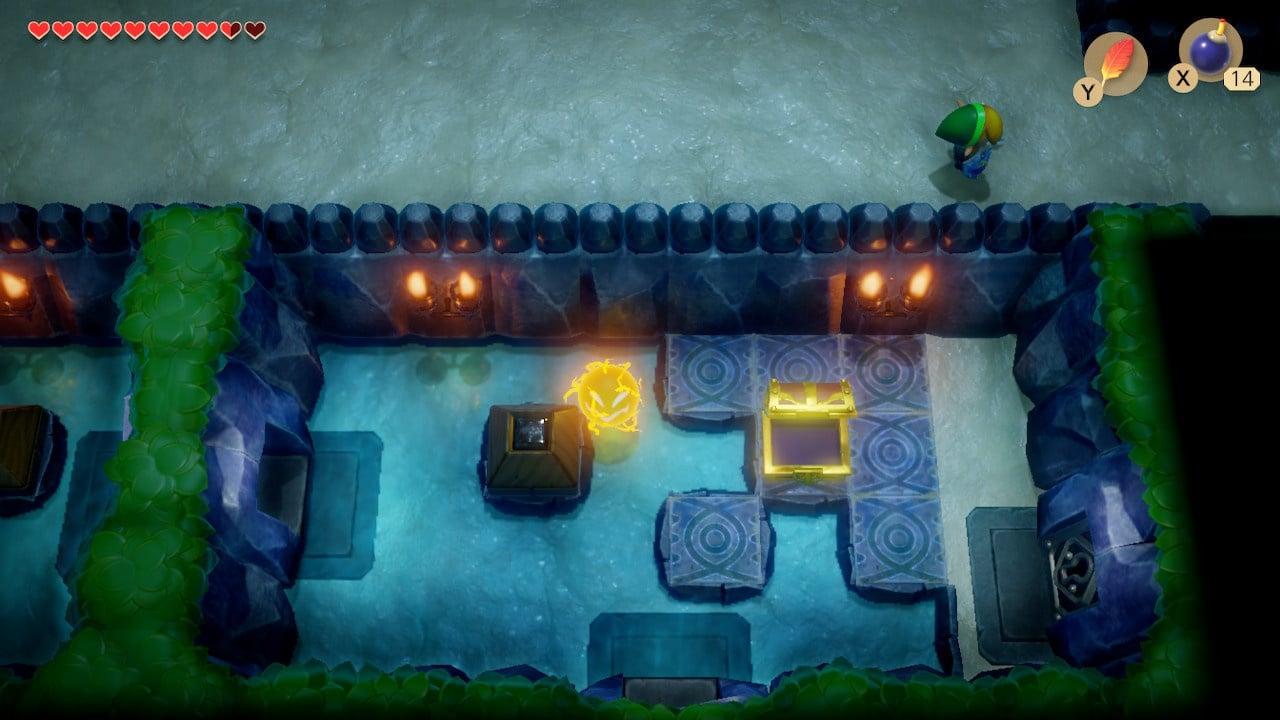
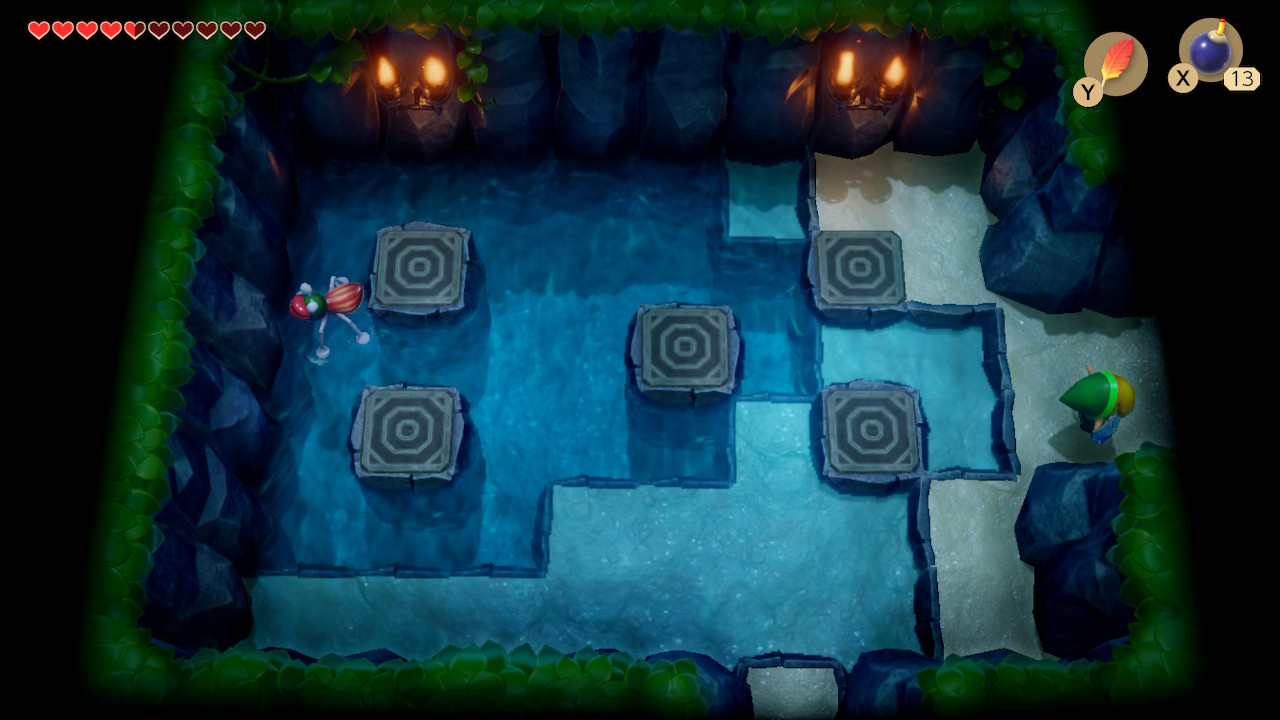
The next area is flooded – mind not to fall into the deeper sections. As you enter you will see a pair of pushable blocks - the lefthand one is cracked. Place a bomb next to it to destroy it. Push the remaining block into the water. Open the chest and claim a Small Key – the first of five.
Exit the first flooded room by heading north. The next room is similarly flooded, with even less walking space. Bomb the cracked blocks and open the chest for your second Small Key.
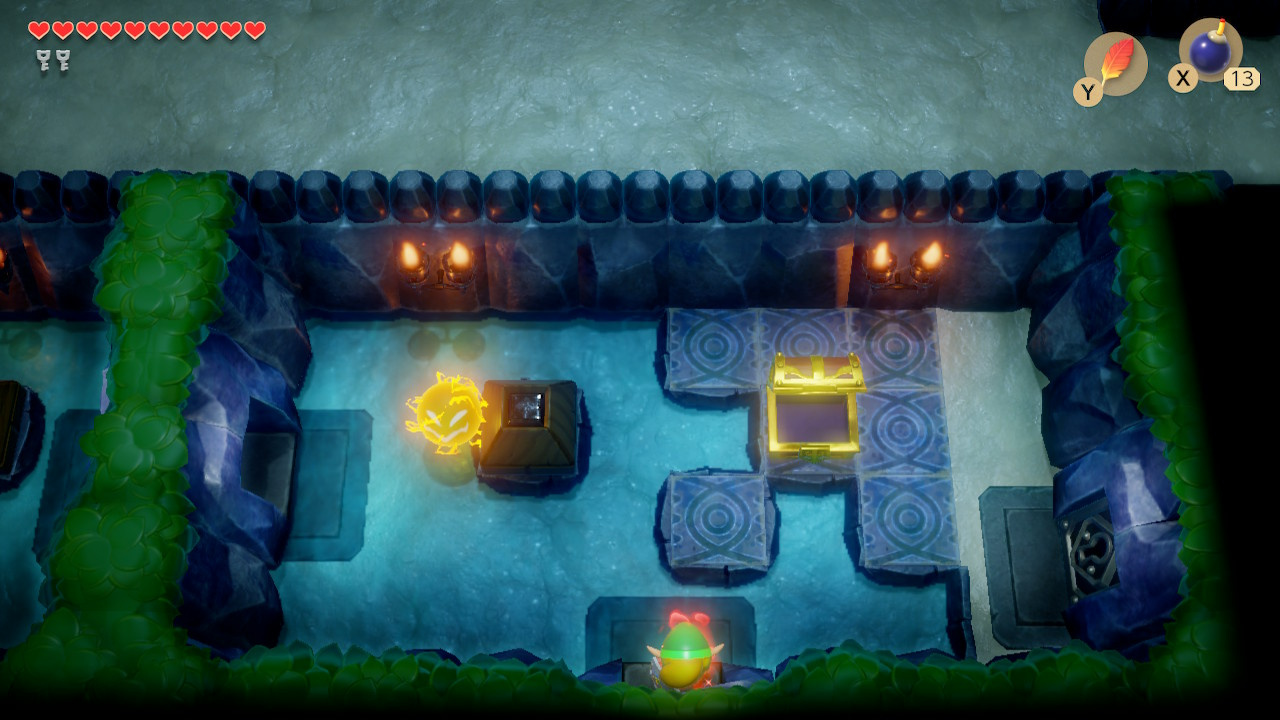
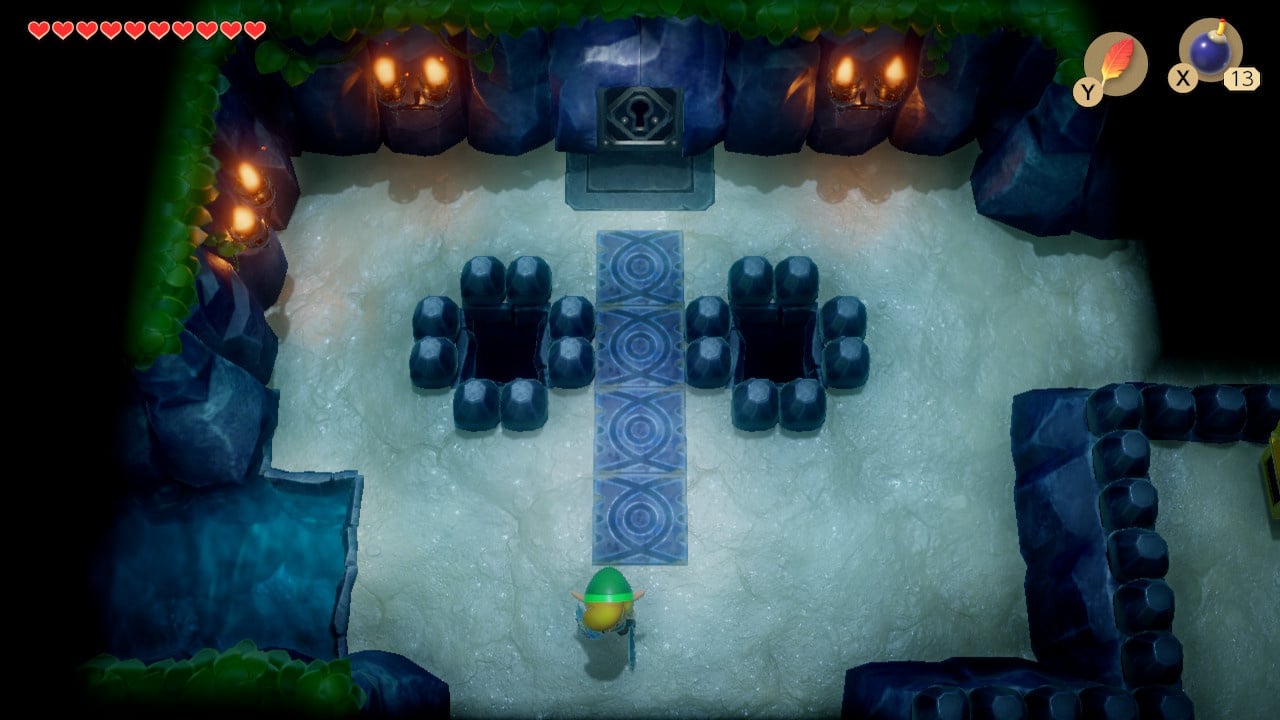
Head back to the start of the dungeon and return to the room with the first chest where you found the compass. Head through the open door to the south.
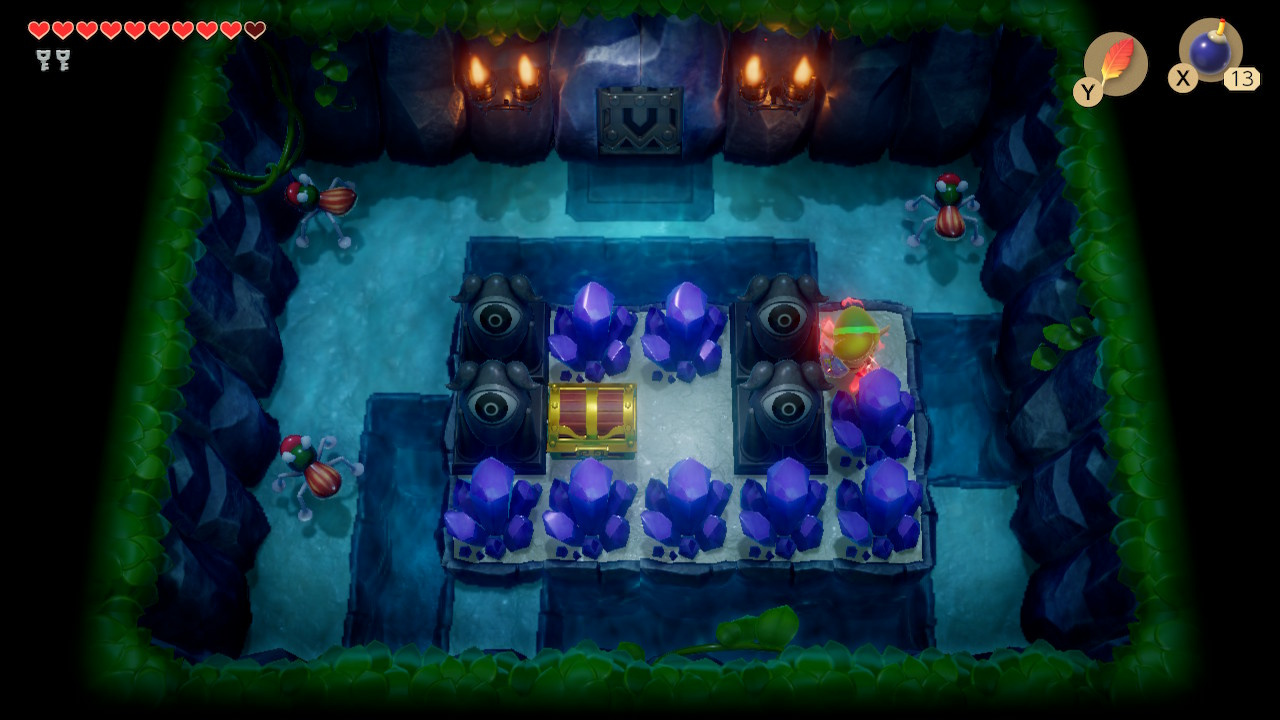
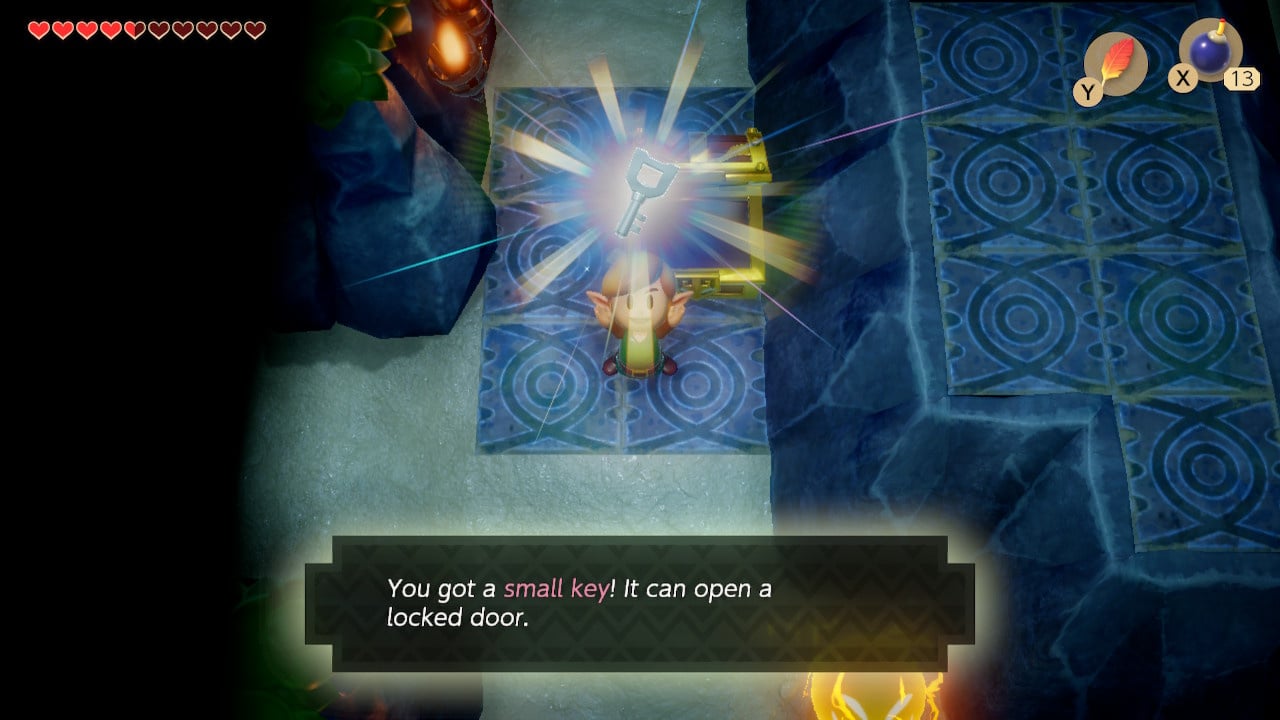
Swing your sword at the purple gems to gain access to the chest. Open it up for your third Small Key. Return to the previous room and exit through the locked door to the right. Unlock the door in the next room too.
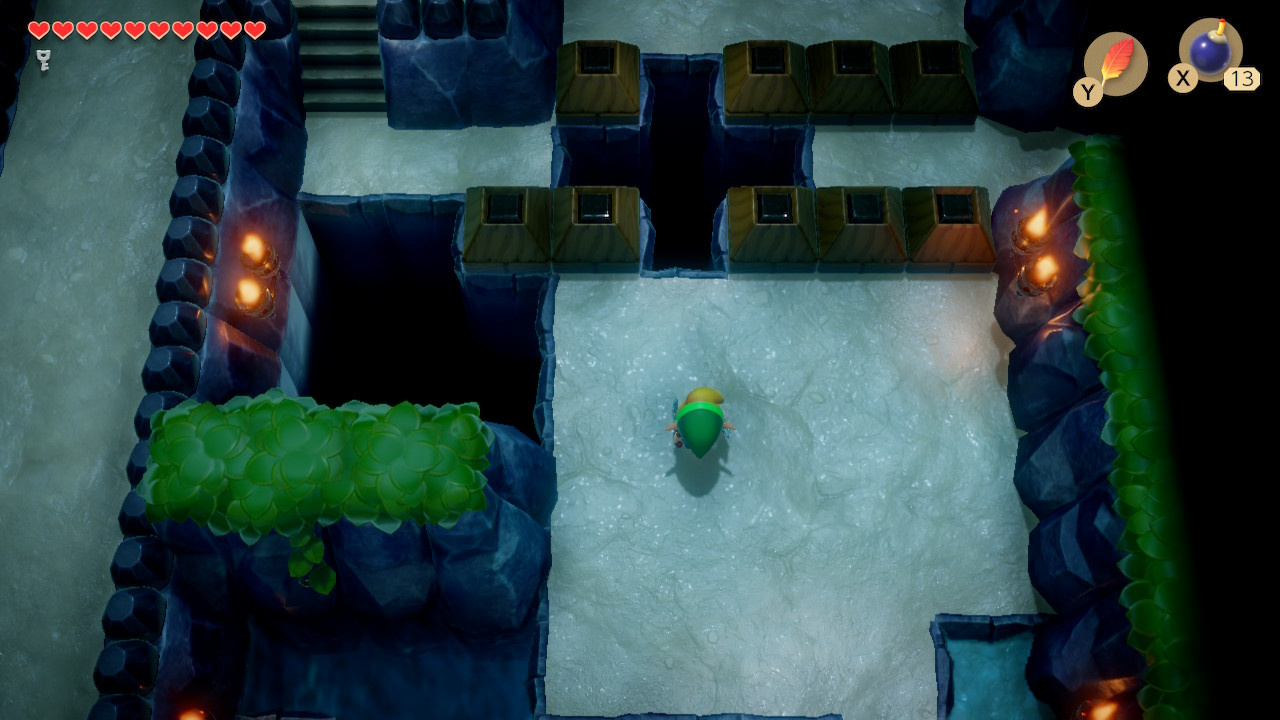
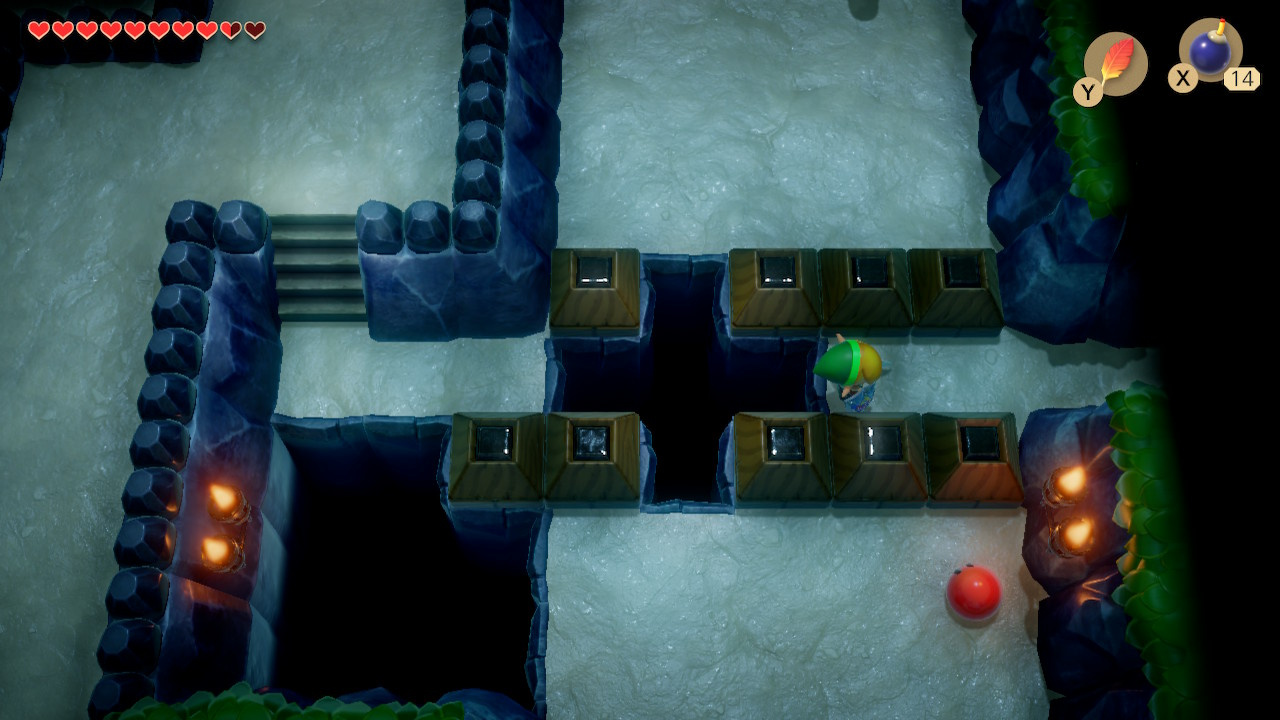
You’re now approaching the chasm from earlier from a different angle – execute a dash jump to clear the gap and continue heading north.
On the other side of the chasm you will find an arrangement of blocks. Unlock the lock block and push the block above where the lock block was up. Head left.
Kill the red gel enemies in this room and the fourth small key will drop from the ceiling – and fall immediately into the lefthand pit. In the previous room, the staircase we blocked off contains a sidescrolling area into which the key has now fallen - however, the key is now in deep water and is not currently within reach. For now, you should head down.
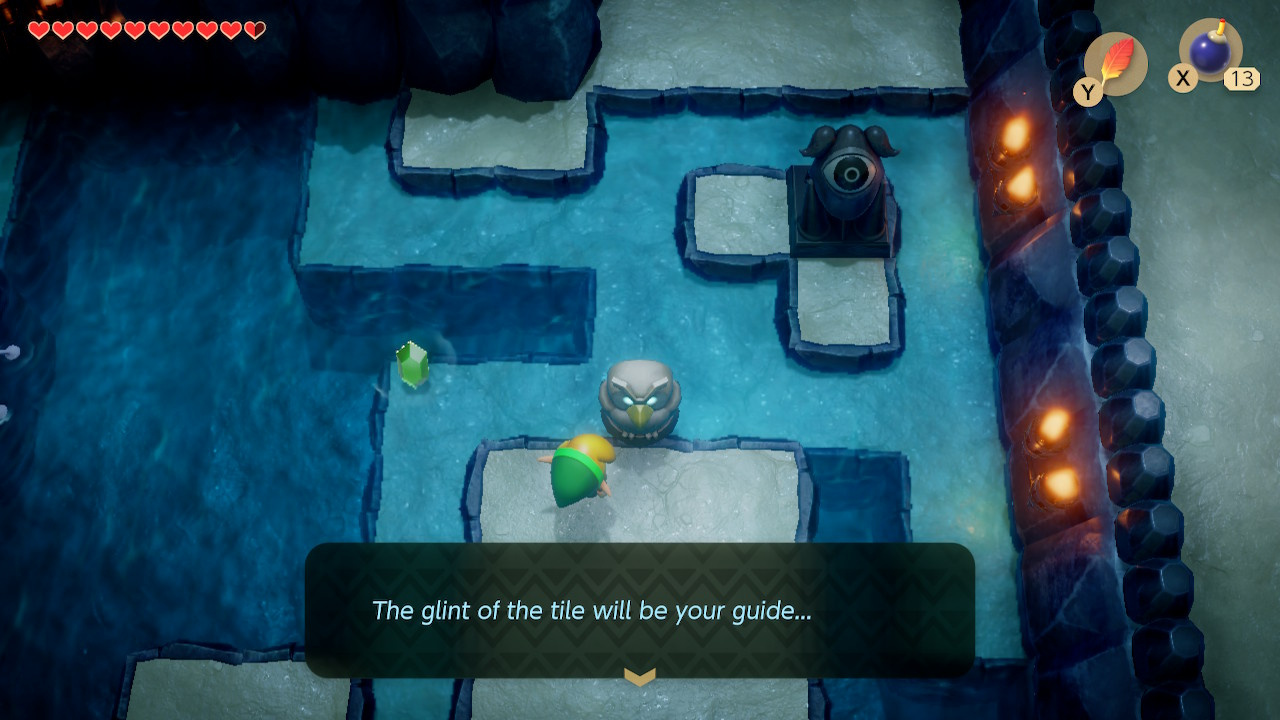
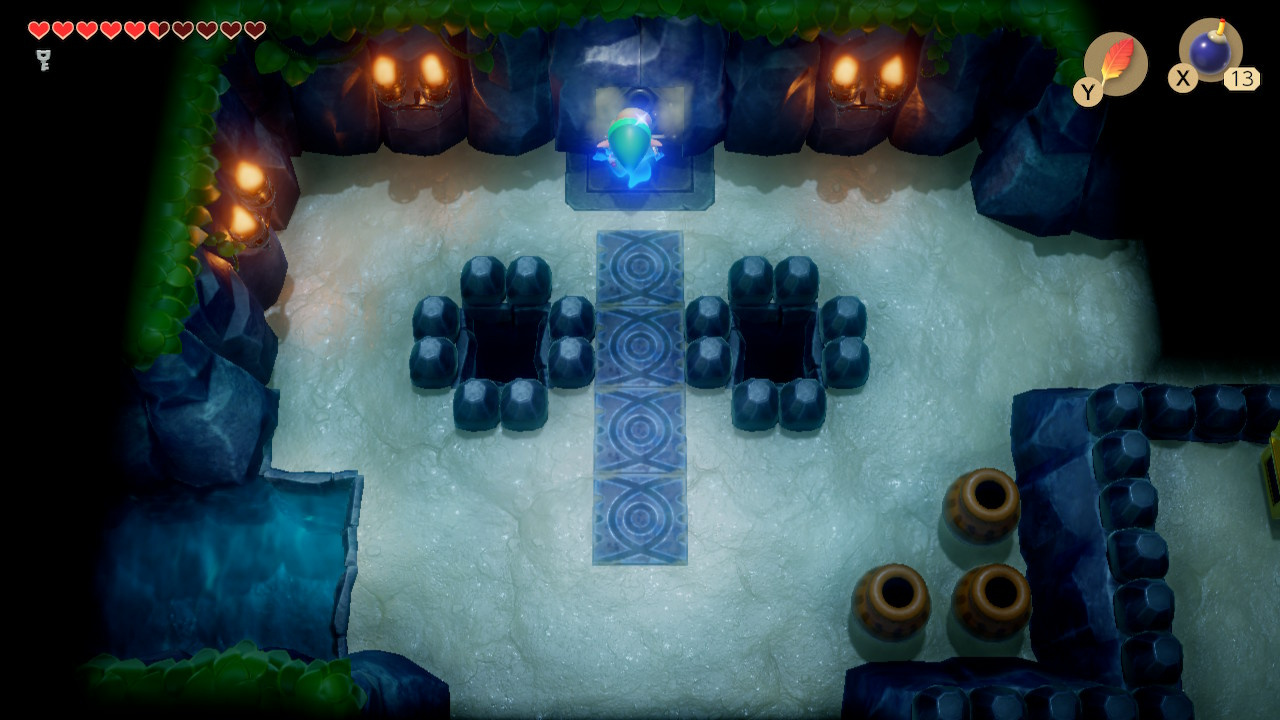
Heading down you will enter a large flooded room. Talk to the Owl statue for some words about an upcoming puzzle:
The glint of the tile will be your guide…
Continue heading down and turn left when the shallow water allows.
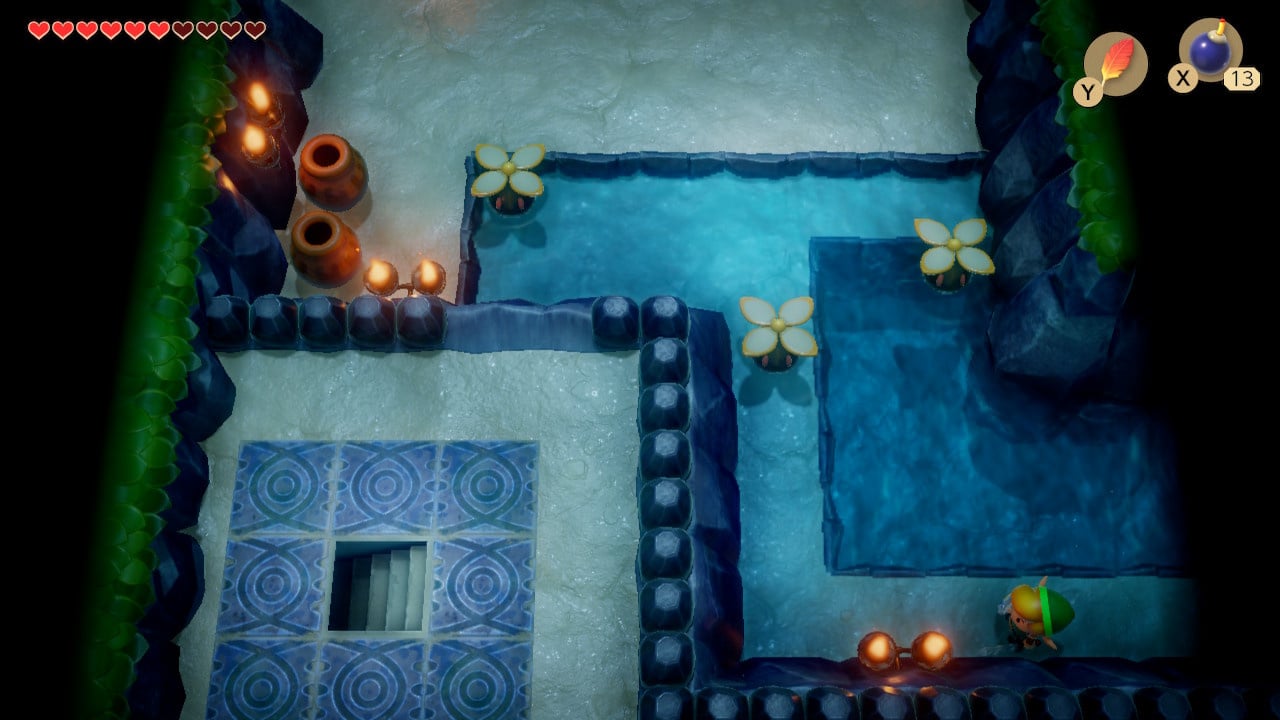
Climb out of the water and head north in the next room.
The next room contains the puzzle that the Owl Statue was referencing – however, you cannot yet reach the upper left tile (without first stepping on another tile), so the puzzle is unsolvable for now. Just head right for now.
You will find a chest in a small annex of a larger room – here you’ll find the dungeon’s fifth and final Small Key (though the fourth remains in deep water for now).
Fighting Cue Ball - Angler’s Tunnel Miniboss
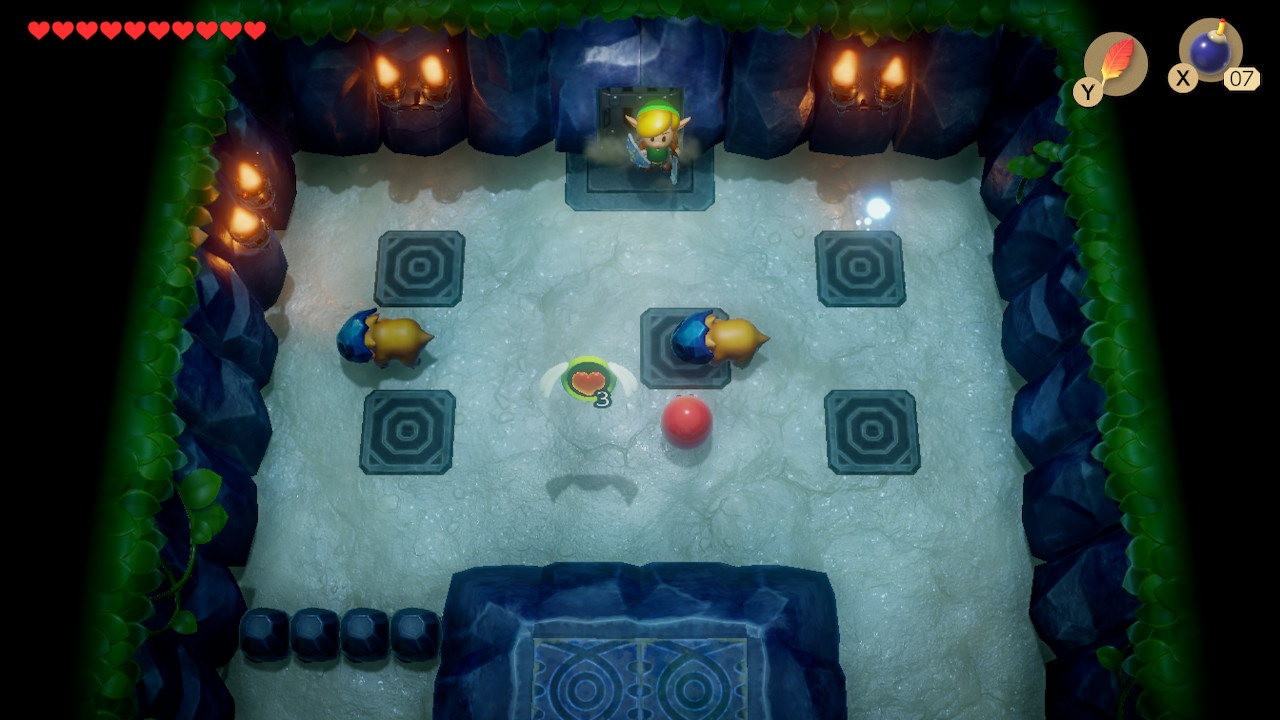
With the one unspent key in your inventory, circle back around the rooms you’ve just been in until you reach the locked door (in the room where you saw the fourth key fall). Head through to encounter the Angler Tunnel’s miniboss, Cue Ball.

Cue Ball charges along the edges of his boss room, moving faster than Link – he’s also impervious to your sword swings from the front – you need to get at him from the back. There are two ways to achieve this – firstly, use Roc’s Feather to jump him as he charges you, then turn and get a few hits in. Secondly, you can get hits in from the side because he stops for a beat or two before each turn. Head north once Cue Ball is dead.
Finding the Flippers
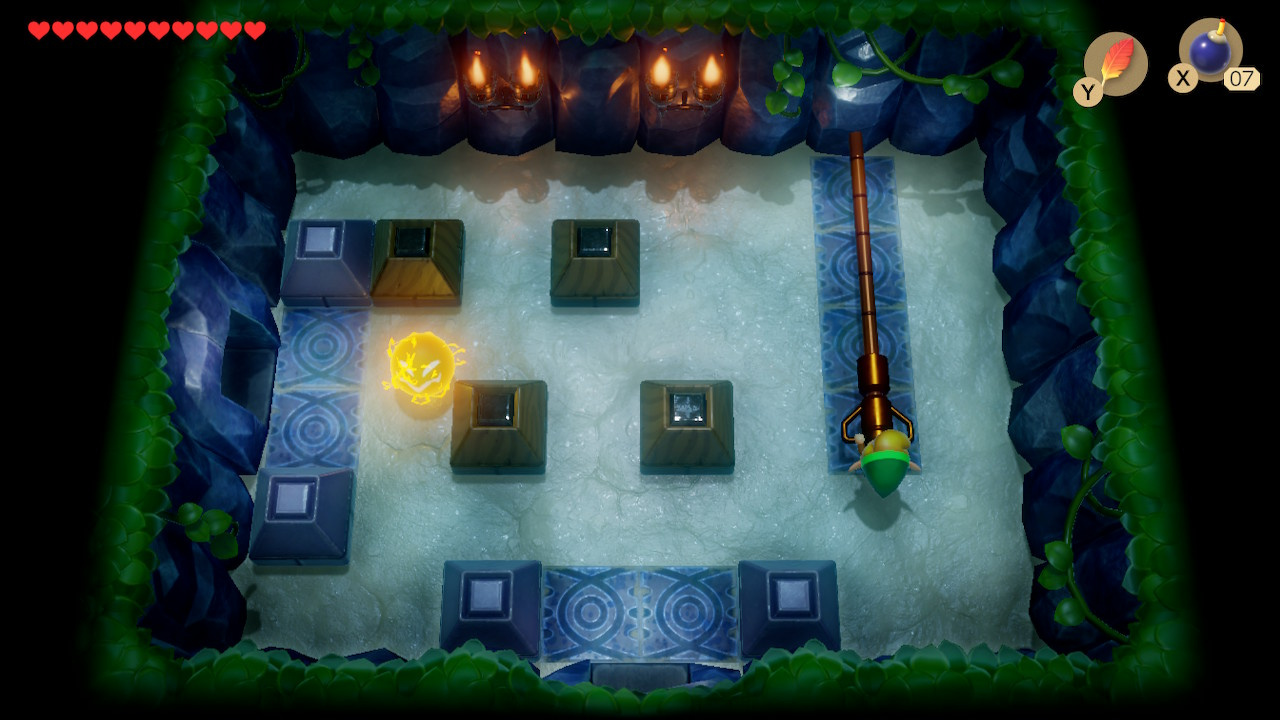
As you enter the next room, two blocks will start to slide into place covering both the entrance and exit. Their movement is linked to a long lever on the upper right of the room – pull it back down to reset the blocks, and head through the left exit (making sure to time letting go of the lever with the movement of the Spark).
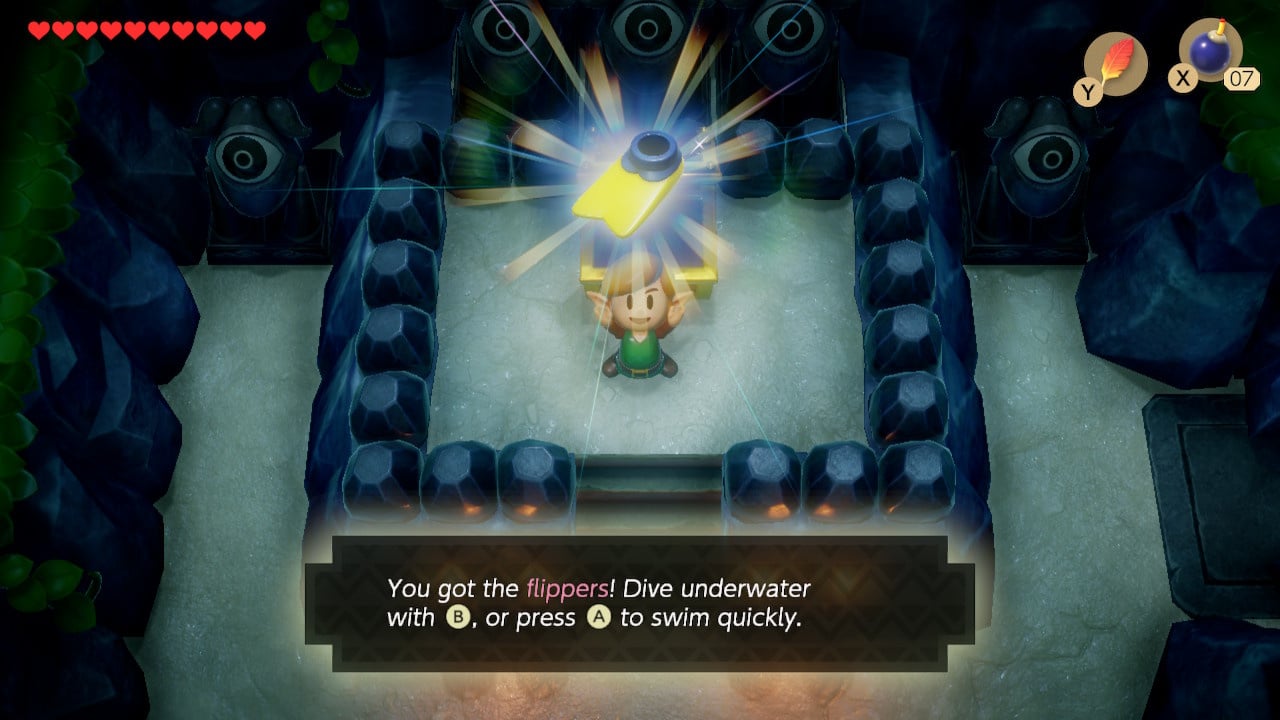
Dodge the fireballs as you enter the next room and climb the pedestal to open the chest – inside you will find the Flippers which allow you to enter and dive in deep water, something that is going to be hugely useful in both this dungeon and the many lakes and rivers of the overworld. Head down and exit the room.
Finding the Angler’s Tunnel Nightmare Boss Key
The next room contains the light-up tile puzzle we saw in the partially flooded room earlier, though this one has a floating ball of light hopping from tile to tile. Step on the first tile and follow the sequence that the light takes: Upper right, upper left, centre, lower left, lower right. Note that following the sequence doesn’t actually achieve anything in this room. Head down-screen, push the block out of the way and then head left.
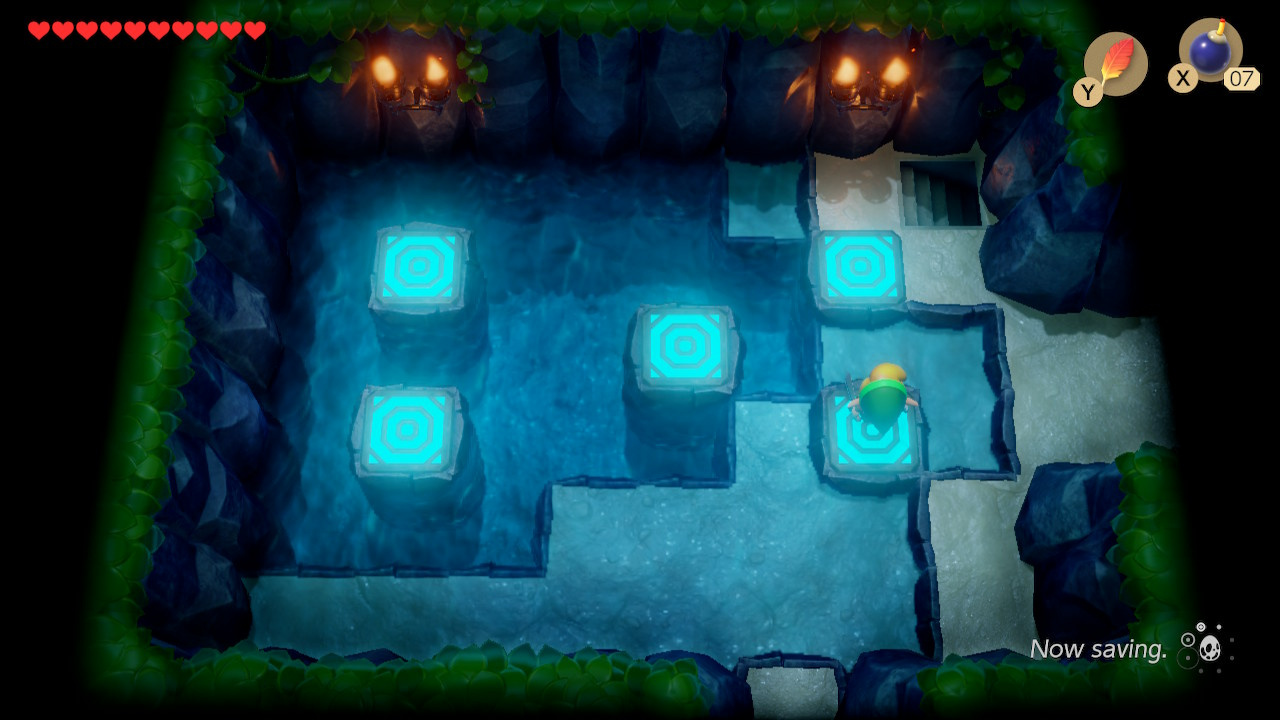
You’ve arrived back in the flooded room with the light up tiles. The version you just left was (literally) a dry run for this one, so enter the sequence you just followed again: Upper right, upper left, centre, lower left, lower right. Once the pattern is complete, a set of stairs will appear in the upper right. Take it.

You enter an underwater sidescrolling area with some thwomps to dodge – they fall as you get close, and you have to swim quickly under them before they return into place. The leftmost thwomp can be tricky to get on top of – you need to trigger it, quickly climb the ladder and jump using Roc’s Feather (it can be quicker to climb only two-thirds of the way up the ladder).
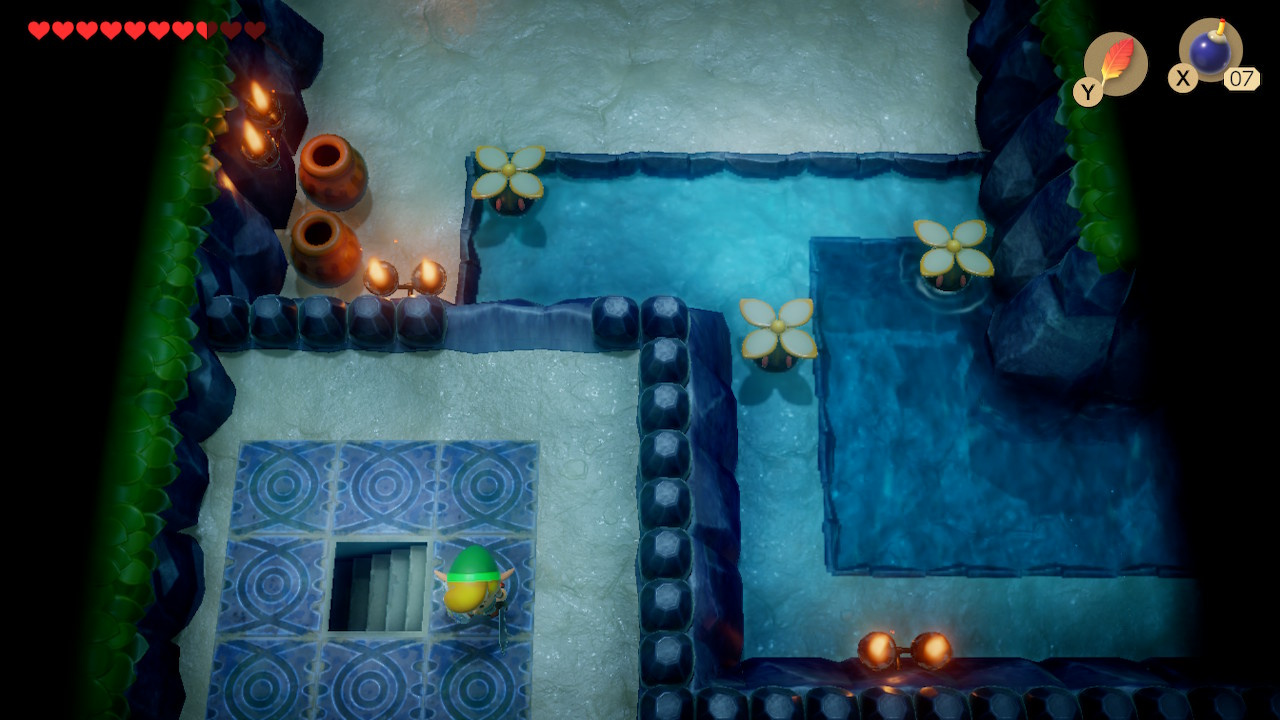
Exiting the sidescrolling area you find yourself in the lower corner of one of the flooded rooms from earlier – don’t jump down the ledge just yet.
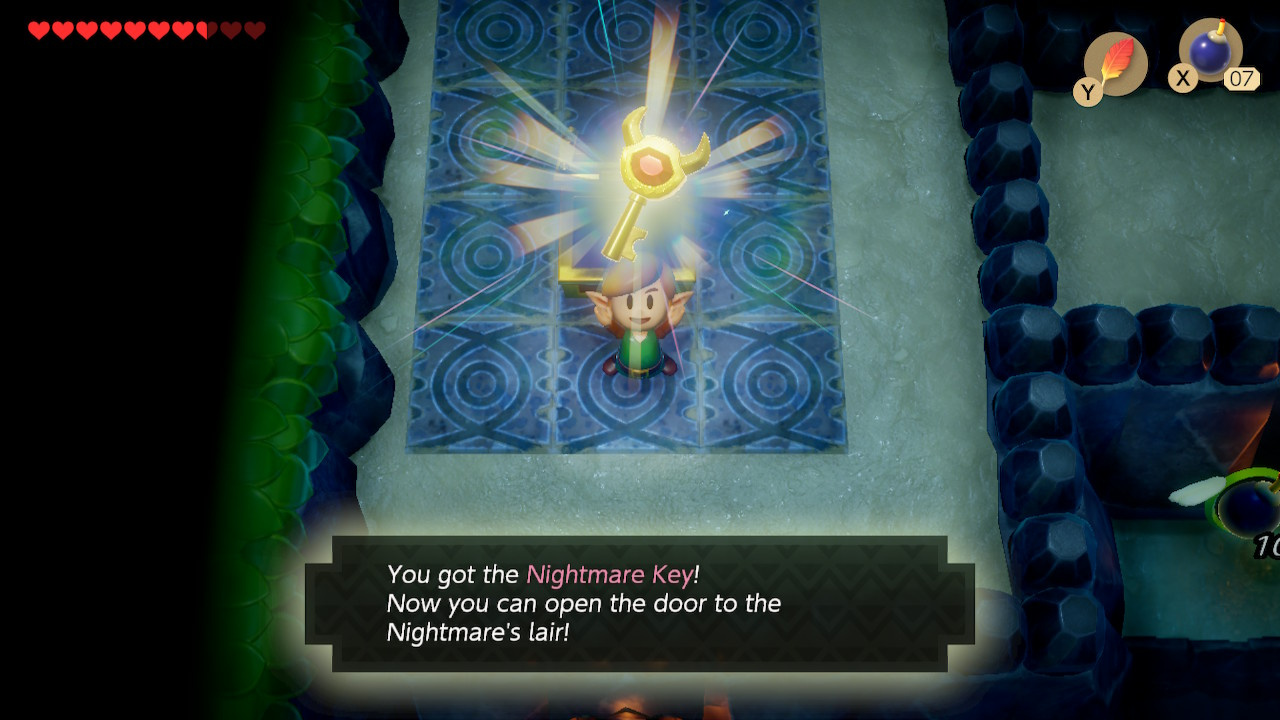
Head down a screen and the raised area continues, leading to a chest containing the Nightmare Key.
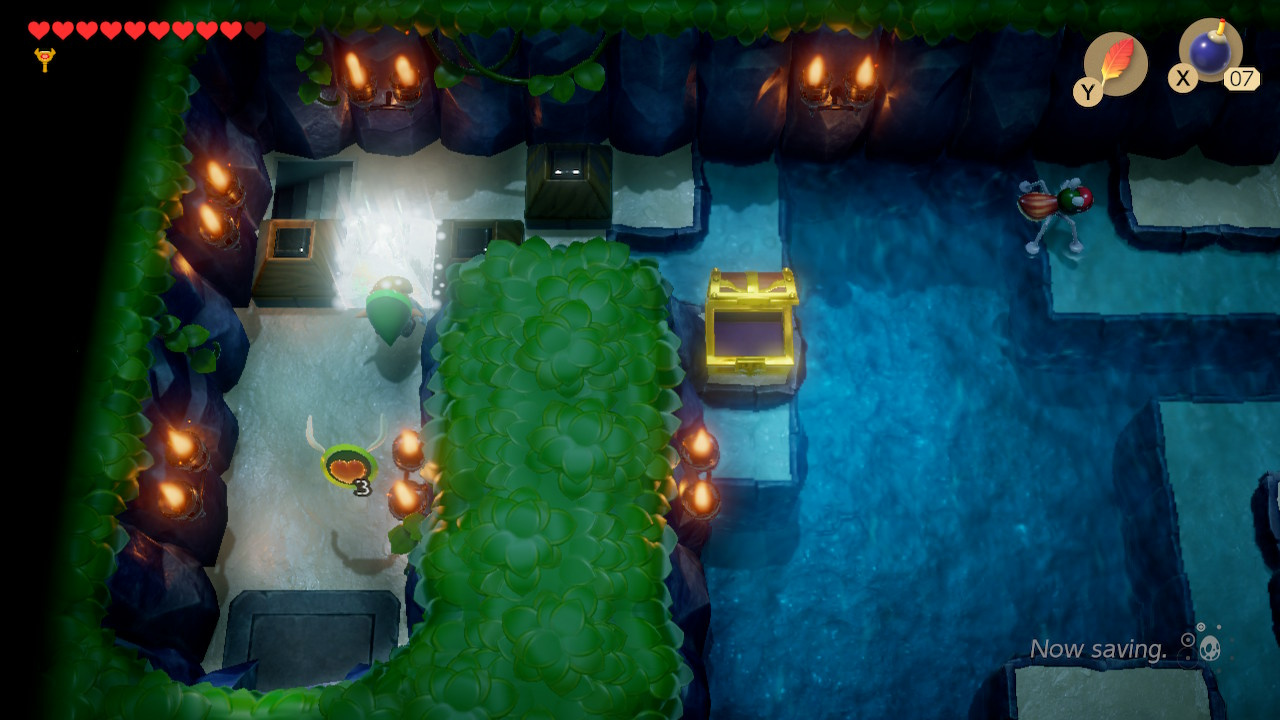
At this point there will be several unopened chests on your map containing useful rupees – there’s nothing special involved in claiming any of these – just use your new swimming powers to access them.
The way forward to the dungeon’s nightmare is still blocked, however, because we’re yet to pick up the Small Key that fell into the pit earlier. Go to the sidescrolling area into which the key has fallen (use the stairs one screen right of the room where you saw the key falling, which you may also remember as the room with the entrance to the earlier miniboss). Take a swim and grab your Small Key.
Defeating the Angler’s Tunnel Boss

In the lower left corner of the large central flooded room there is a closed door with a large button beside it. Swim over the gap and press the button and the door will open.
Head through the door and use your key in the lock-block. Head down the stairs.

Swim through the sidescrolling area and climb back out – follow the pathway round and you will find the door to the Nightmare’s lair.
Flippers at the ready, we can continue our Zelda: Link's Awakening walkthrough and learn How To Defeat The Angler's Tunnel Boss before heading back out to Martha's Bay and escorting a Pink Ghost.


Comments 0
Wow, no comments yet... why not be the first?
Leave A Comment
Hold on there, you need to login to post a comment...